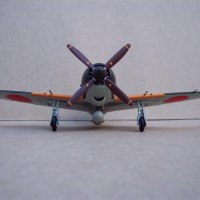
Building The “Double Hun” in 48th scale.

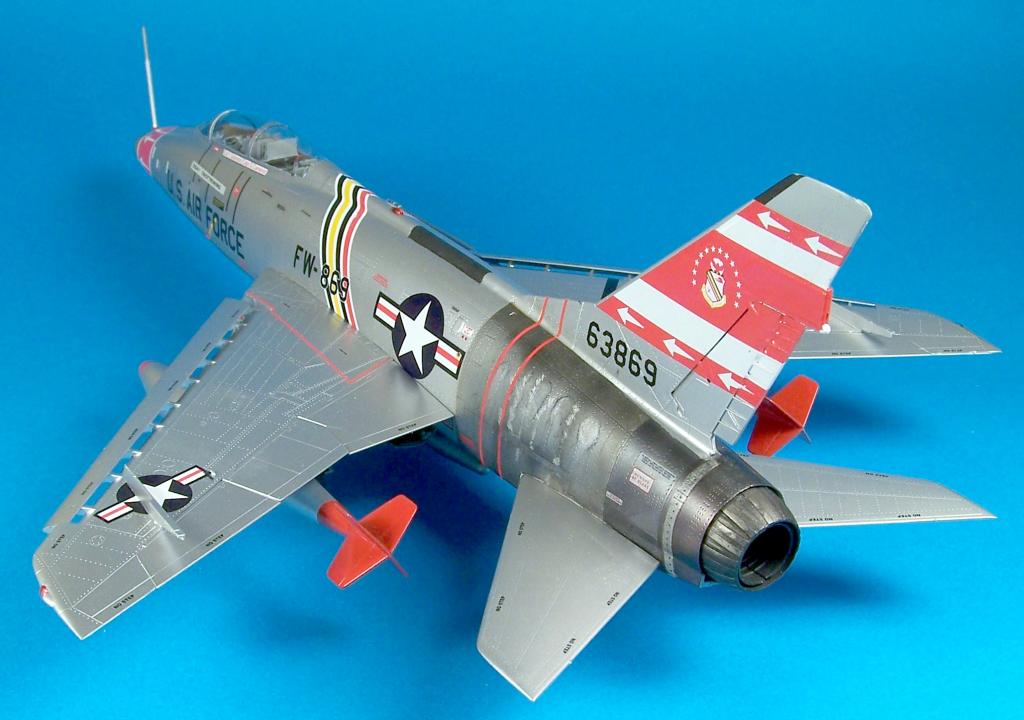
It has been 30 years or so since I built the Monogram F-100D “Super Sabre”, one of my favorite airplanes and one of my favorite models. I still have it in the display case after all these years. Several years ago I got a hold of a resin conversion for a F-100F and put it in the box of another Monogram kit to be built at some point in the future. Recently I managed to purchase the Trumpeter 48th scale F-100F Super Sabre, kit number 02840, along with a set of decals from Super Scale International, number MS481250, depicting the scheme of the WWII “Ace” Col. F. Gabreski when he commanded the 354th TFW.
If you have ever read one of my build articles, you know I like to set some personal goals I want to achieve with most of my projects, and this project was no different. Whereas my earlier Sabre was a natural metal finish, this one was going to be a lacquer silver finish. Both schemes shared the signature burned panels on the rear fuselage, which allowed me some artistic license. I also decided to build this version as an out of the box project in spite of a few problems with the kit. It has been suggested that one could take a few parts from a Monogram kit to produce a more correct model, but I resisted, and kept to the plan. After checking the kit over I decided that the fit was good enough to allow me to build the model in components, meaning I could paint and decal the wings and fuselage as separate components, which made masking and handling so much easier.
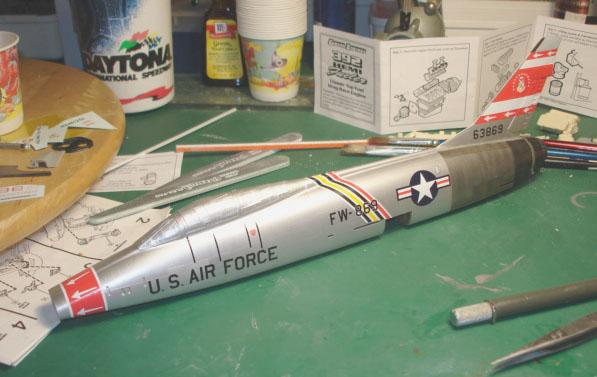
As with most models, I started with the cockpit. I found that with careful cutting and splicing, the cockpit decals made for a nice colorful interior, and laid down nicely over the raised details. Once the cockpit was complete I painted the exhaust cone, glued in all of the rest of the interior pieces and closed up the fuselage. I had decided that I would keep the canopy closed this time, so I dipped the canopy in Future, masked it off and glued it in the closed position with white glue. After cleaning up any glued seams I primed the fuselage with Tamiya White Fine Primer, and after drying, laid down a couple of coats of Tamiya Silver Leaf.
Now came the fun part, doing the burned panels on the rear of the fuselage. I checked several reference books for guidance and realized that no two planes where the same. I picked a couple of profiles that I liked and set out to replicate them as best as I could. This process is pretty hit and miss, requiring you to experment until you get something you like. I gathered up some Alcald II colors; Duraluminum, Stainless Steel, Semi-matt Aluminum, Dark Aluminum and Magnesium and had at it. When I built my earlier “D” model, these paints were not around and I had to do it with enamel paint using thinner to blend the colors. Reading an article in Air Modeler on the Faded F-100 Drone issue 31, I learned how to use the airbrush to achieve some of the effects I wanted.
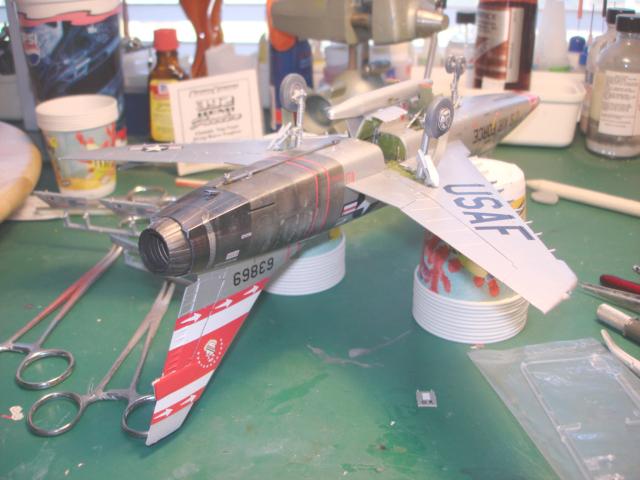
Decals for the fuselage came next and that is where I ran into another problem. There was a fit problem on the tail, which required me to buy a second sheet so I could slice and dice things to get the right size. I had also built the wings and stabilizers along the way complete with paint and decals.
Everything went together as planned and no nose weight was required. I was pleasantly surprised how quickly the build was completed. I found this kit to be a joy to build right out of the box and I can recommend it to anyone looking to add a F-100F to his collection.


First Rate, Jack, glad to see you are still building, and Merry Christmas!
One of my favorites as well, Jack...the best lookin' Thunderbird ever as far as I'm concerned. Nice job.
Excellent work. You'd never know it's supposed to be an el crapo kit. 🙂
Wow, a showpiece for sure
Really nice effort.
Dang Jack, you nailed it my friend! Great lookin' Hun!
Gary