Another #$%^#@! Hasegawa Fw-190?
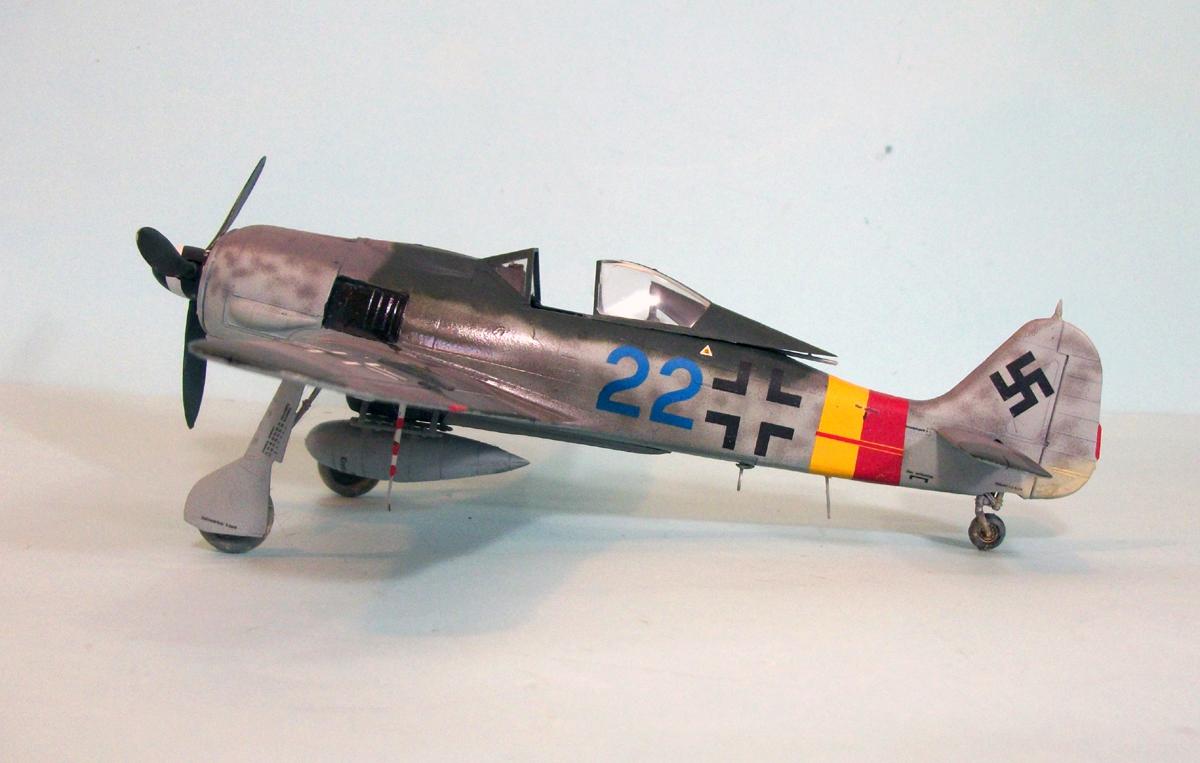
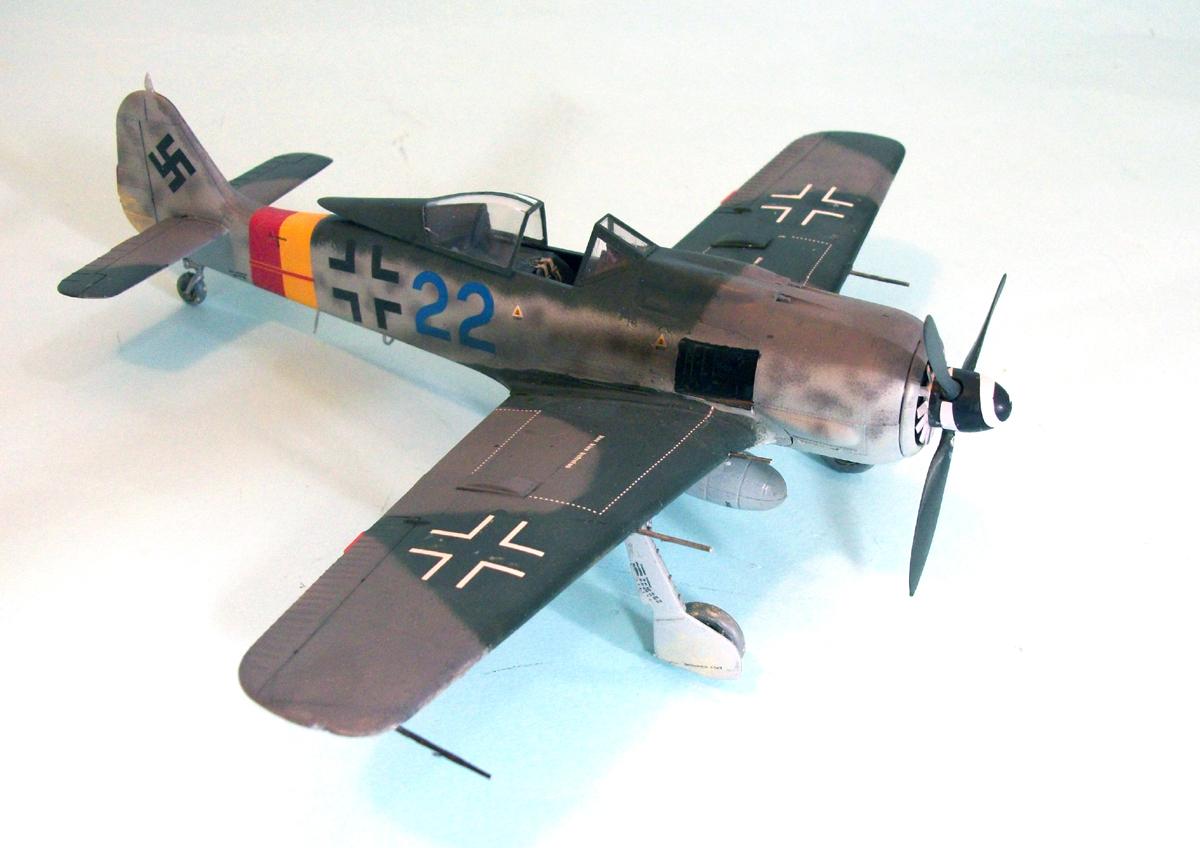
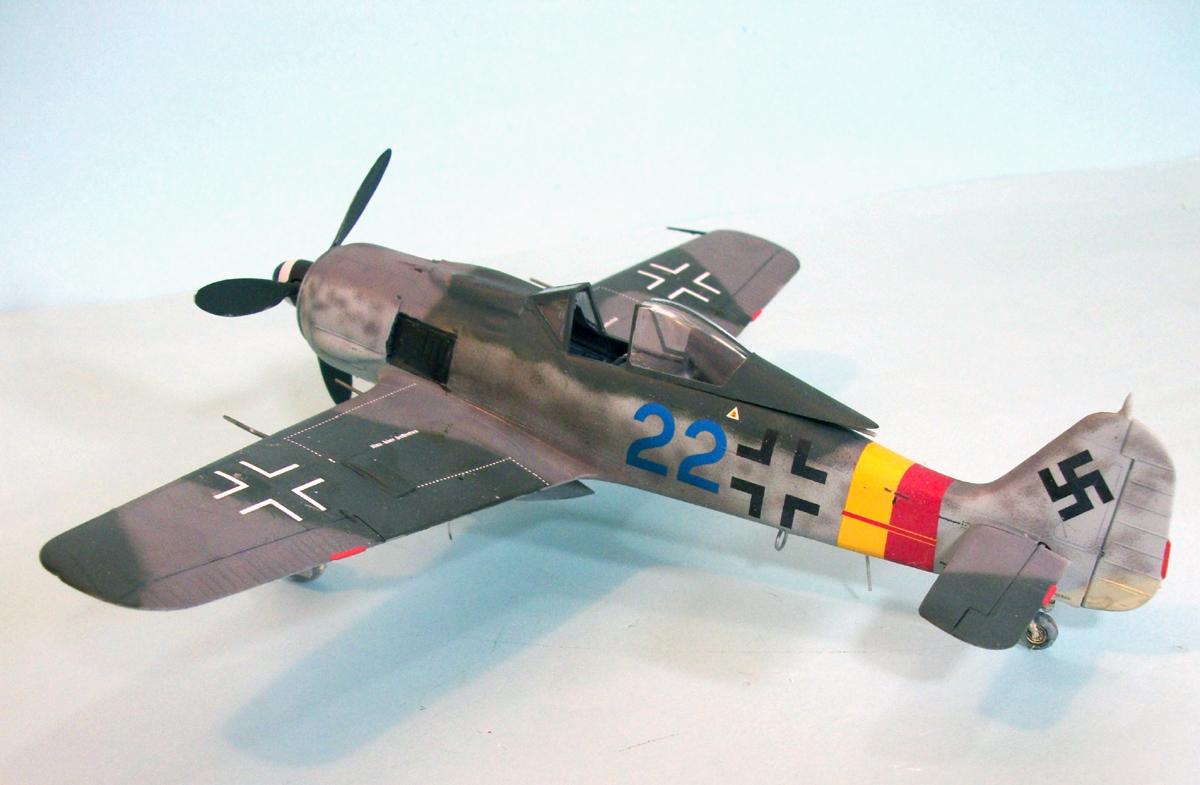
Yeah, another Hasegawa Fw-190 - it's what happens when you buy a stash of kits that were previously owned by a guy who liked the Fw-190 as much as I do. This is the limited-run Fw-190A-9, last of the radial Wurgers. markings from the kit decals for an airplane of JG 301 in the last few months of the war.
I'm not sure the difficulty Stan had mating the wing to the fuselage, but you do have to pinch it there at the leading edge right at the fuselage to get it to tighten in right or you will have an embarrassing seam. Other than that, it has enough detail, combined with buildability, making Hasegawa's Fw-190s the second-best kits of this airplane in 1/48, following the release of the re-done Eduard radial 190s in 2018.
This was reviewed over at Modeling Madness last Wednesday, but I get to put up more pictures here.
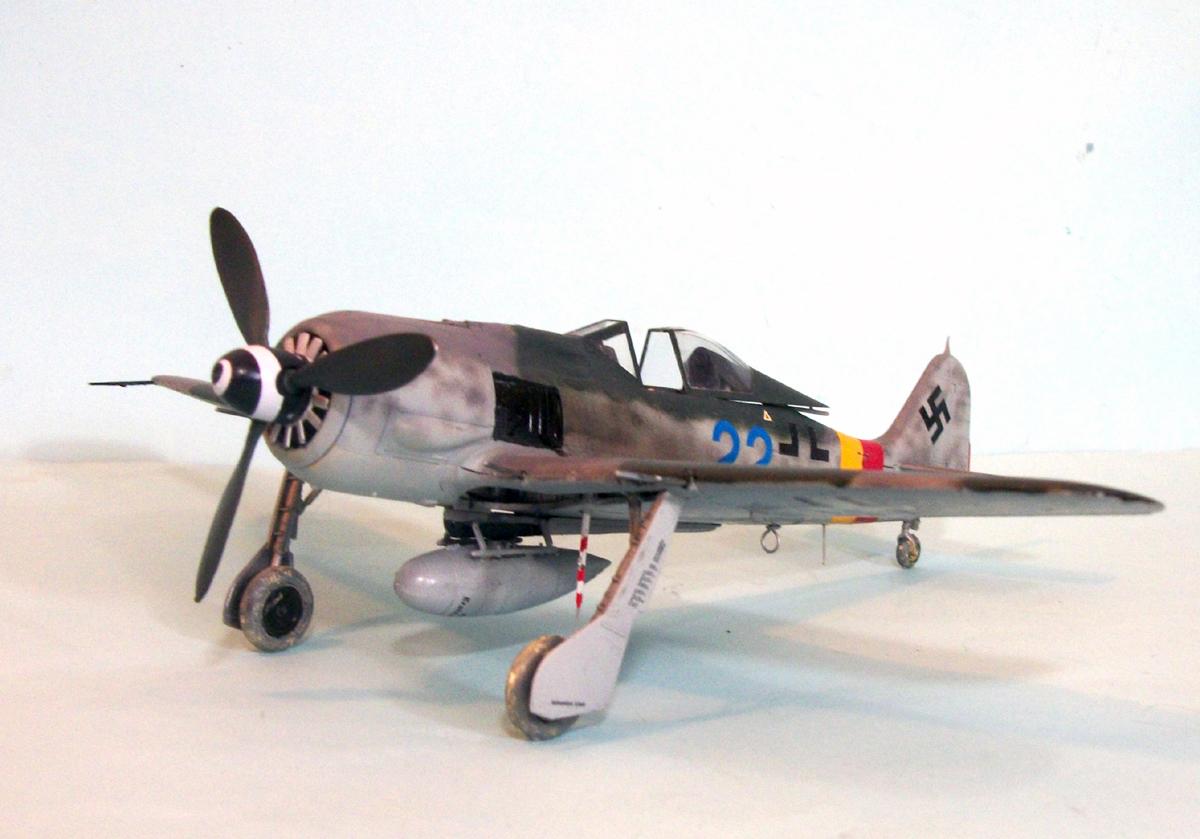
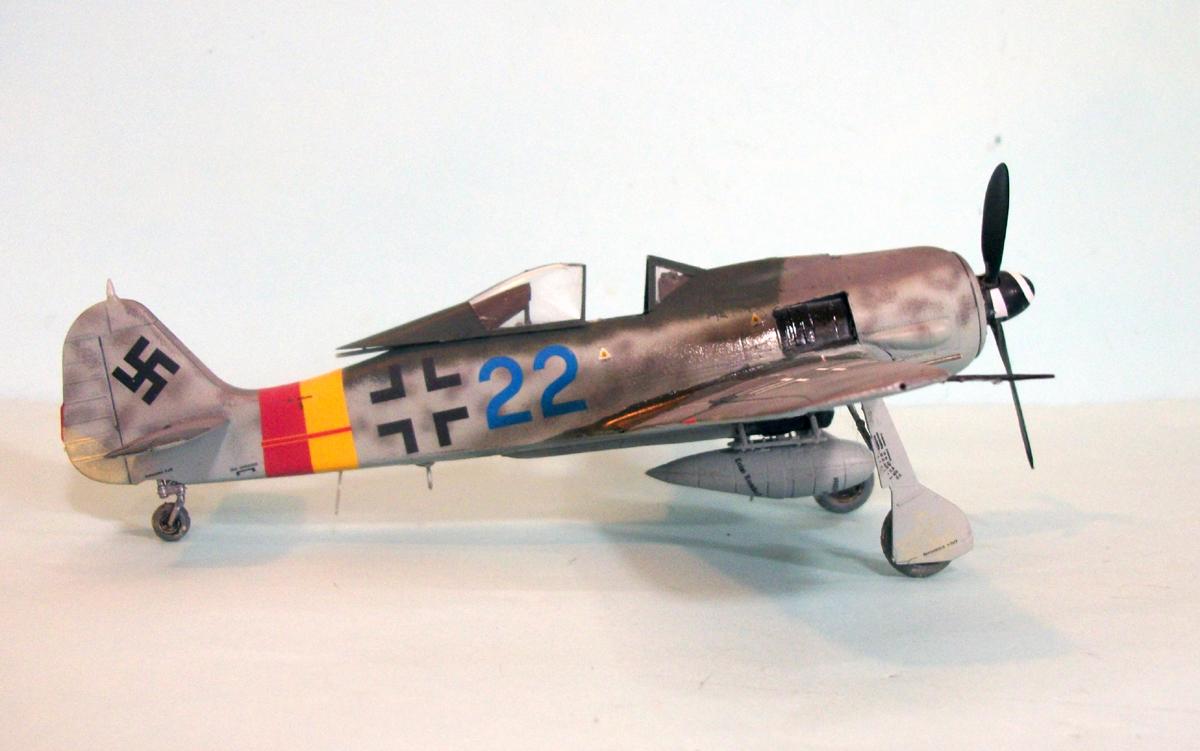
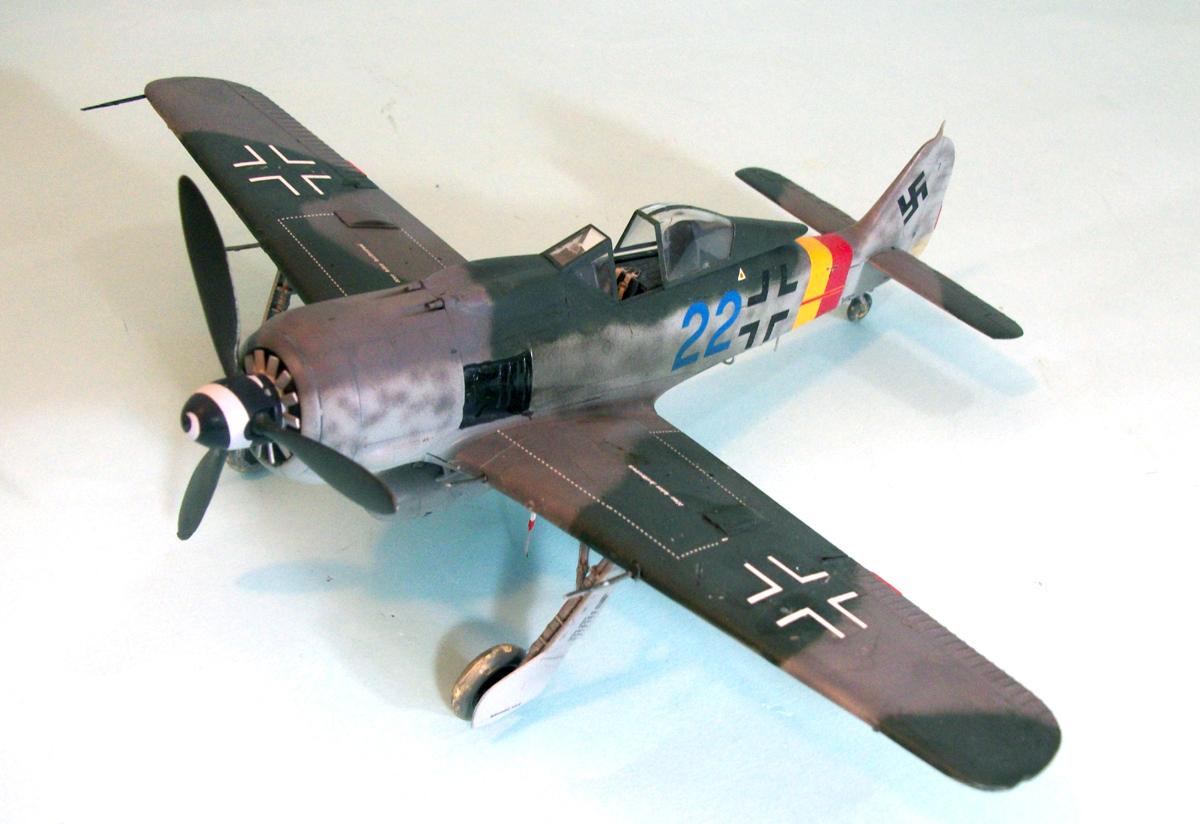
As noted over at M2, I used the blue "22" due to screwing up one of the red "22" decals, but no one can really tell what color it was (which is why Hasegawa gave us the two different decals). I used the white metal paddle prop and the14-blade fan just because they were in the kit; there aren't any photos to say if they were actually used on this late war airplane that could as easily have had the earlier prop and fan. I decided to go for one with an unpainted lower wing just because I wanted it to look different from all the other 190s here at Le Chateau du Chat.


another fabulous piece of work...i've been following your work at least 12 years now...you have all ways amazed and inspired...you must spend a fortune just in paint and supplies cause i know i do
Yeah, paint and supplies do cost. If I didn't get kits for reviews I couldn't afford the hobby nowadays.
Keep'em coming Tom! And if someone dislikes F-Ws (why should they?) there is no-one who forces them to have a look!
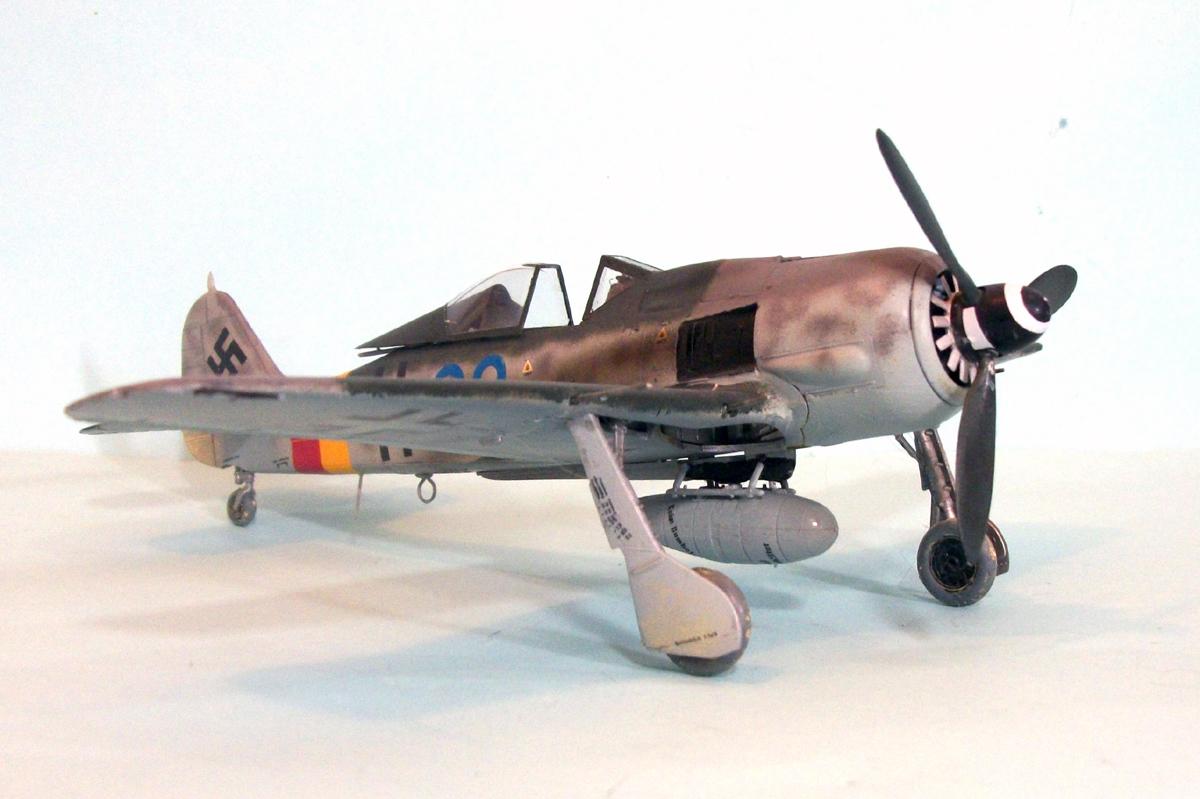
It does look rather glossy aft of the exhaust, was it intended or is it the photos?
Regards
Magnus
I used Tamiya "Smoke" and put on slightly too heavy a coat. It should not be flat (as I have seen when airplanes out at Chino come in from a flight - there is oil and gas in the exhaust) but not that glossy. When I get some more Satin varnish I will tone it down.
Tom you are the 190 experten :-)!
Great work! and like Magnus said "Keep'em coming Tom!"
Another beautiful 190, I must try and get one!
Oi Tom,
Was just looking at some of your reviews one mod after Googling Ed Bf109F reviews. I was surprised that your review of Ed's Friedrich did not mention the soft-to-blurry-to almost gone surface detail nearing the fuse seams. Credit due you to noting the care needed in trimming of the sprue nubs (gates, right?) which I have blown, but no matter the care with which this is done, the near-seam surface detail is a mess. Granted, that's a limitation of the injection moulding process, and re-scribing is a necessary evil.
However, I also noted your mention of my difficulty with the wing root joint in my Hase Fw190 post, and wanted to specify what that difficulty was (same that I noticed in your build/post, illustrating my complaint)- that the joint runs through the wing root MG 151 covers, which is a bit of a s*$%show if not filled.
Checked your review of the HB Dora and thank you for having saved me some pain... been in & out of a few Ed's, and the one I completed was painful. Thanks!
Cheers,
Stan
Yeah, that seam running through the gun covers is a right PITA. That's what makes the new Eduard 190s so nice (among many other small but great details), since the gun cover is molded to the wing in full.
I'm always glad when my reviews help.