D-Day Group Build – 1/48 Wildcat V
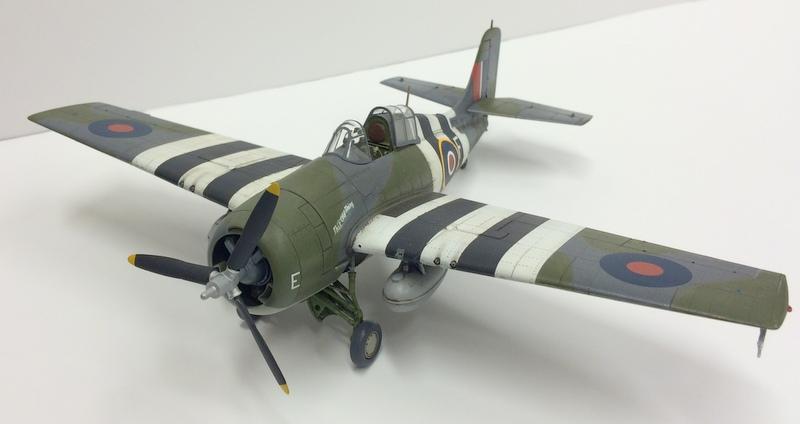
Here we are a month after D-Day and I've called this one done. I must admit I'm unsure if this aircraft was used at Normandy or only at the invasion of Southern France (Operation Dragoon 15 August '44), but be that as it may...Tah Dah..
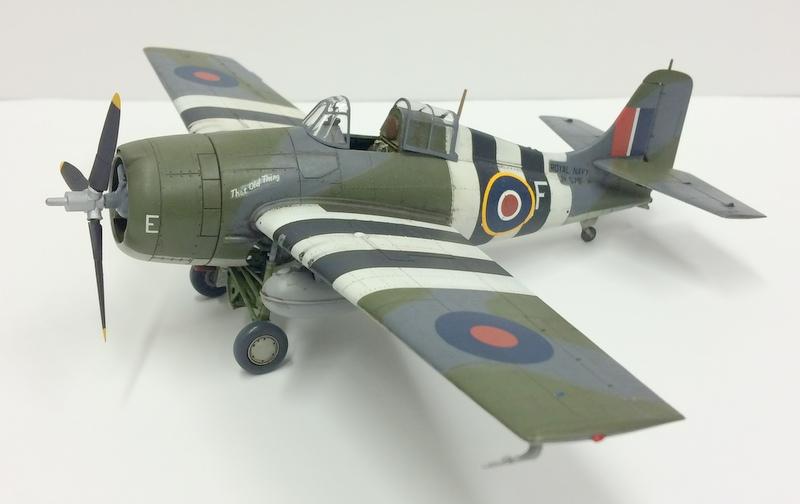
I used Polly Scale colors throughout, the camouflage colors being ANA 602 Light Gray = Sky, ANA603 Neutral Gray = Extra Dark Sea Grey, and ANA613 Olive Drab = Dark Slate Gray.

The invasion stripes were off white & off black, both mixed using Polly Scale paints. I left all the imperfections in the application of the stripes to, hopefully, make them more historically accurate.

Since I was already late I decided to experiment with a "Sludge Wash". One thing I learned quickly is that it's best to adhere to the recipe, especially on your first attempt...;-)
The base kit used was Tamiya's F4F-4 Wildcat. The only substitution I made from the kit parts was a resin seat with a Sutton harness. I also deleted the outboard guns and their associated doors, panels etc, and restored the rivets and panel lines.

In it's new home.
Thanks to everyone that followed my build for all the encouragement and comments, I appreciated them very much.


Tamiya builds always look good, Rick...like that one.
Worth the wait. Really nice.
Looks Great Rick, i especially like the way you restored the rivets id like to know how you did that they look pretty good to me and your weathering is nicely done, Great Build Mate
Mark
Thanks Mark, on the wings I restored the rivets using a ponce wheel that had the same pitch as the rivets. I used label making tape as a guide, crossed my fingers, and made one firm pass.:-). On the areas with raised rivets I used Archer's resin rivets decals. You can see that in detail in my build log over at the D-Day Group Build
Can't get enuf Wildcats, and yours is superb, Rick.
Like Al said above, it's worth the wait, very nice finish on this, I like how you've done the stripes.
Wow Rick, this one came out very sharp, as usual!
Thank you guys, I appreciate it.
Great result on this Wildcat, and I'm glad to see that you've persevered!
A smart,tight,direct and clean build. That's easy on the eyes.
Two thumbs up.
Steve T
One little niggle,more photo s please. Your holding out on us Rick.
Thanks Steven. If you mean photos of the D520 & Vampire on the shelf with the Wildcat, they're both posted here on iModeler,
Love it. Really nice choice of markings.
Perfect Wildcat ! Your masking is very neat as well the weathering, love it !
My congratulations! Good looking model, rivets are very nice addition.
Got there in the end Rick - very well done.
Wow Rick ,that's an outstanding piece of work , glad you got there in the end,thanks for taking part in the G/B.
N.
Hey Rick, that is fantastic build of a Wildcat .
Done yourself proud mate.
Well done Rick.
gorgeous
You guys are making me blush, I've never had a model get such praise. Maybe I should quit while I'm ahead...;-).
Seriously though, Thank you all very much.
Looks really nice Rick. And yes, only flown in those markings for Operation Anvil in Southern France, but that's still "D-Day Invasion of France".
If you want to fix the decal silvering, take a sharp #11 blade and crosshatch the decal, then flood it with solvent. Even at this stage it will work.
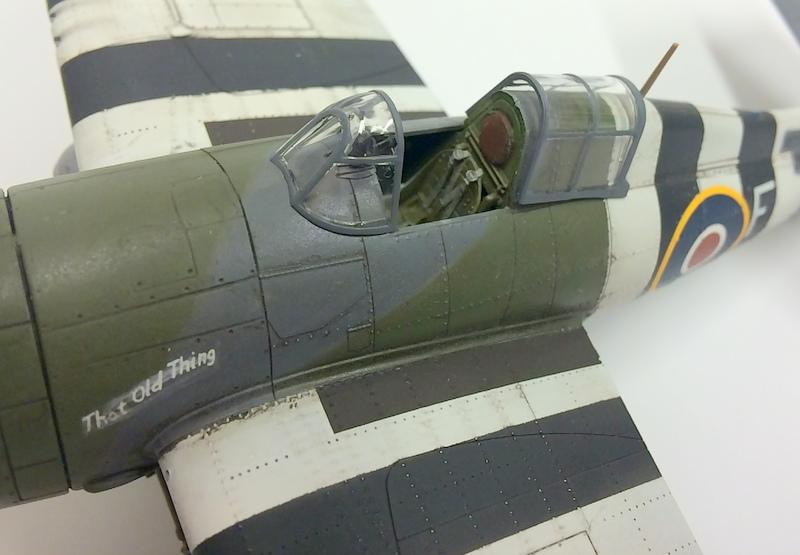
Thanks Tom. If you mean the appearance of the "That Old Thing" decal that's not silvering, it's slightly smeared. I tried out putting liquid cement on the decal to dissolve the carrier film. As you can see I did not follow the directions to leave it alone after putting the cement on. I gave it one light pass with a brush to even out the cement layer. Hence the "swoosh effect".
Always practice new techniques with decals you can't replace...not
Rick,
I followed your WIP and your final effort is stunning. Great job