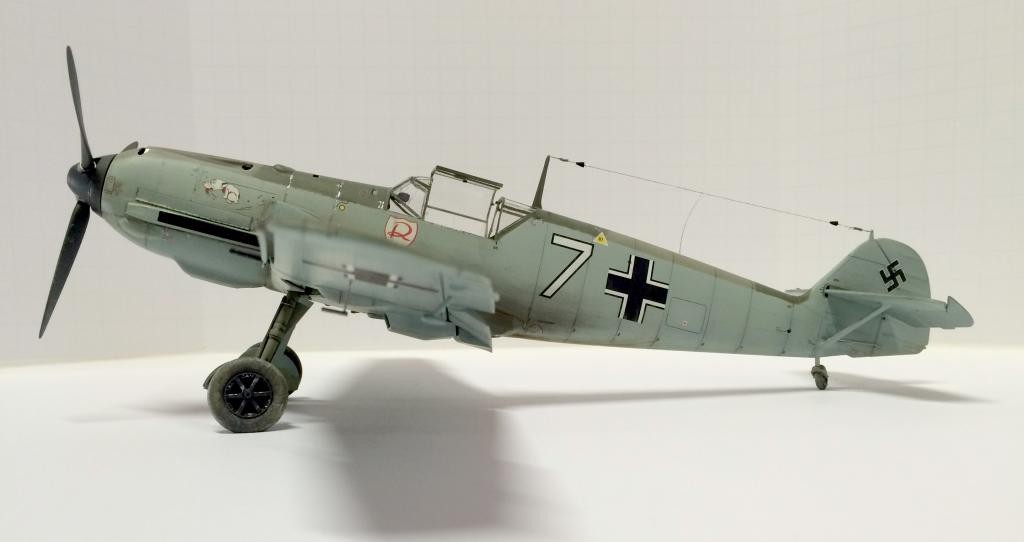
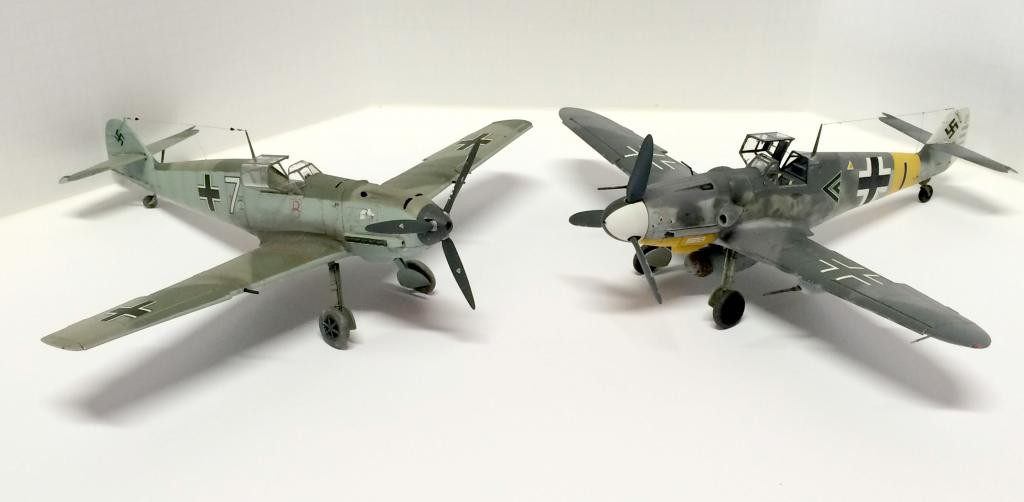
Eduard 1/32 Bf 109E-3, Weekend Edition
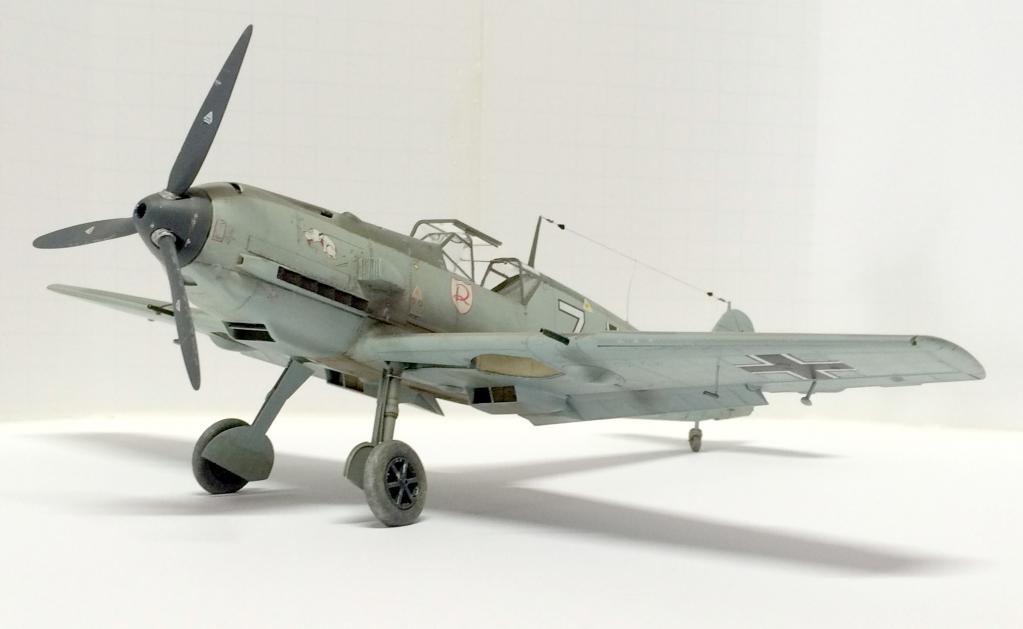
Even with whatever Trumpeter and HobbyBoss may have released, the Eduard series of Bf 109Es are just about the best available in 1/32 scale. They do require careful fitting during assembly, but your reward is a model with very little filler needed.
The Weekend Edition kits, as most of you know, don't include most of the photoetch or multiple decal options of Eduard's Profipak kits, but the plastic is top-notch and the markings option included is usually something pretty interesting.
The Weekend 109E-3 actually does include a photoetched instrument panel, but the standard plastic is a bit lacking in the cockpit area. I've got the 1/48 Profipak E-7, and the stock cockpit plastic in that kit is actually better detailed than in the 1/32 kit.
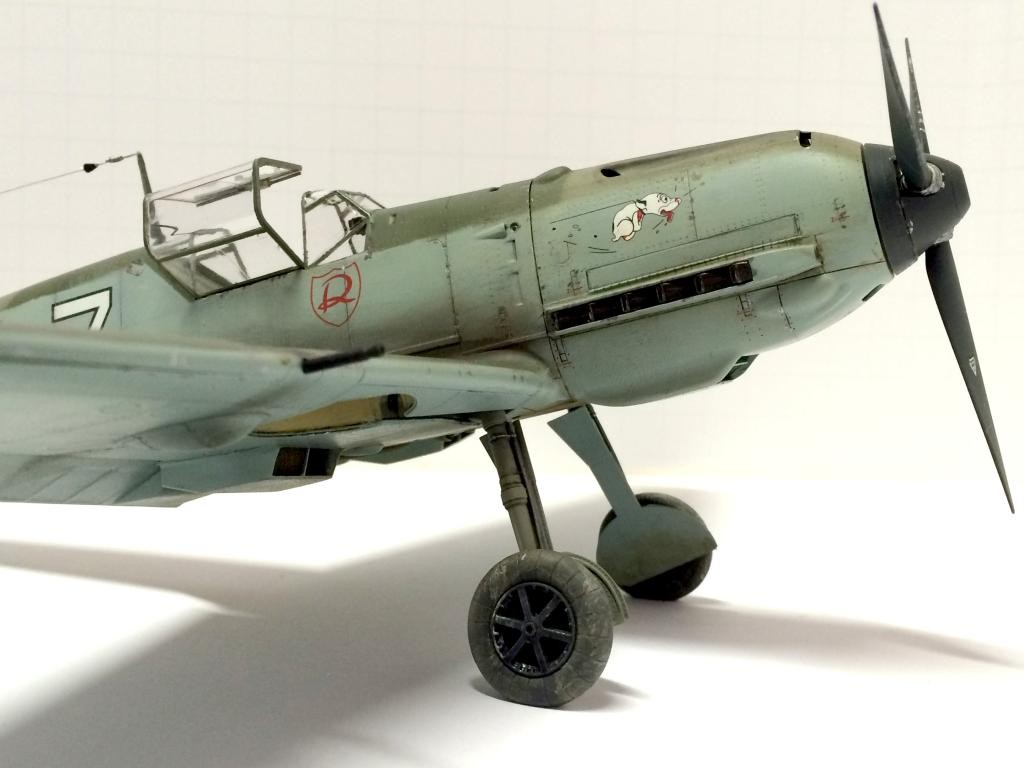
The kit seat was a bit weak in overall detail, so I did a little reshaping of the edges and added a harness from bits of an old photoetched Luftwaffe seat buckle set, some plastic bits and bond paper straps. I also added some wiring along the cockpit walls, styrene rod for the throttle and engine control linkages, solder 'chain' for the trim wheel, and a set of scratchbuild rudder pedals since the kit pedals were anemic.
The canopy got punched-disc clear plastic knobs for the sliding sections, attached with Pledge clear acrylic floor finish, along with a scratchbuilt latch handle and retaining cable.
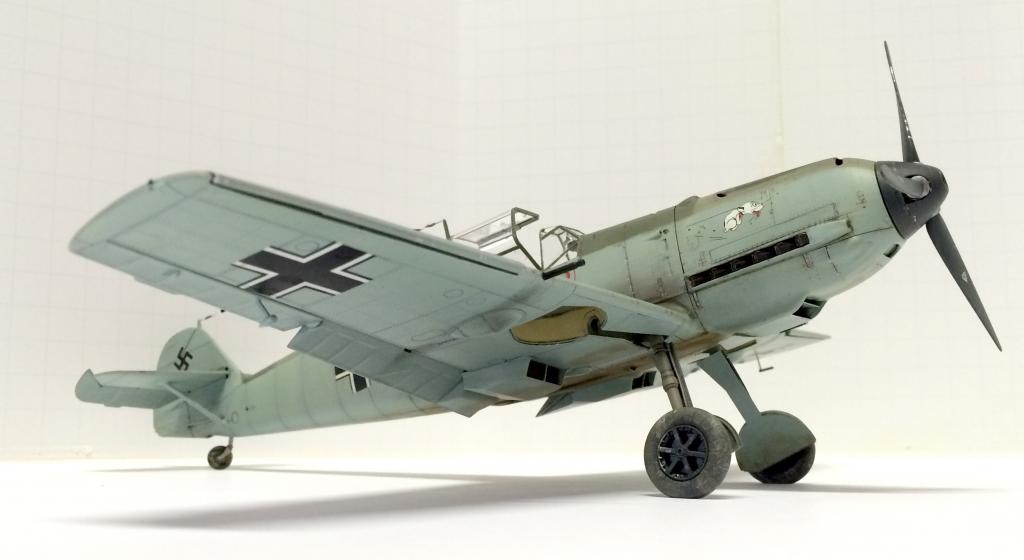
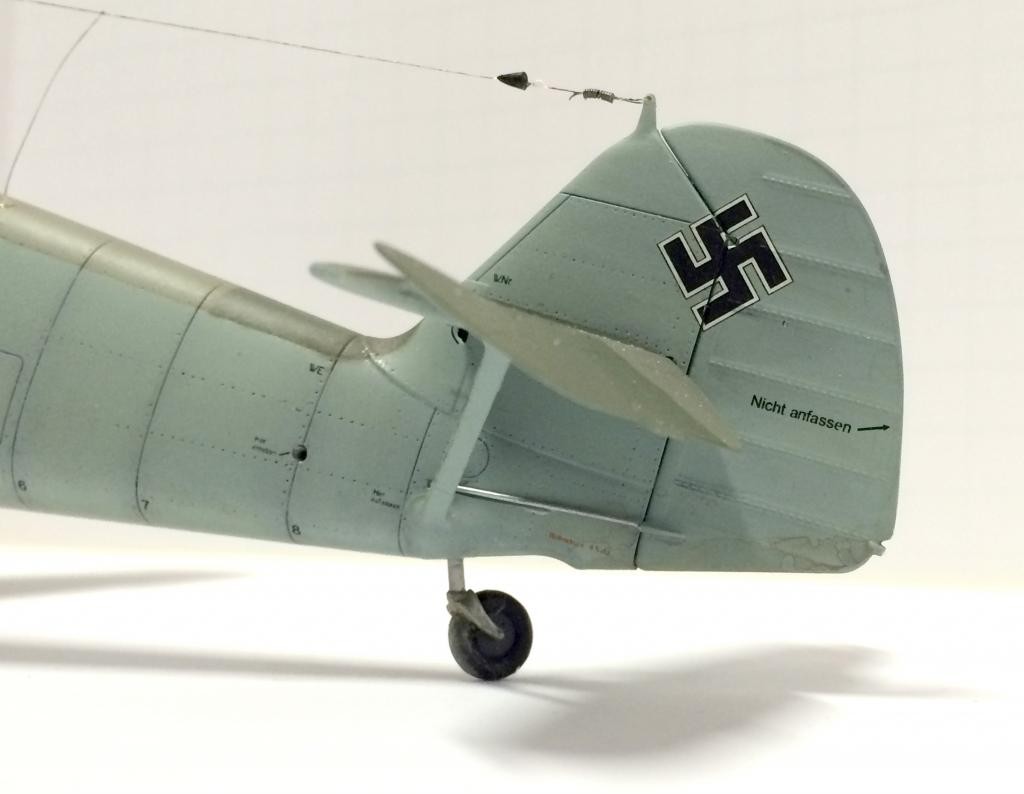
I rigged the aerial wire with 2-lb test fishing line, super glued isolators, blast cones from sprue and a tensioning spring wound from beading wire.
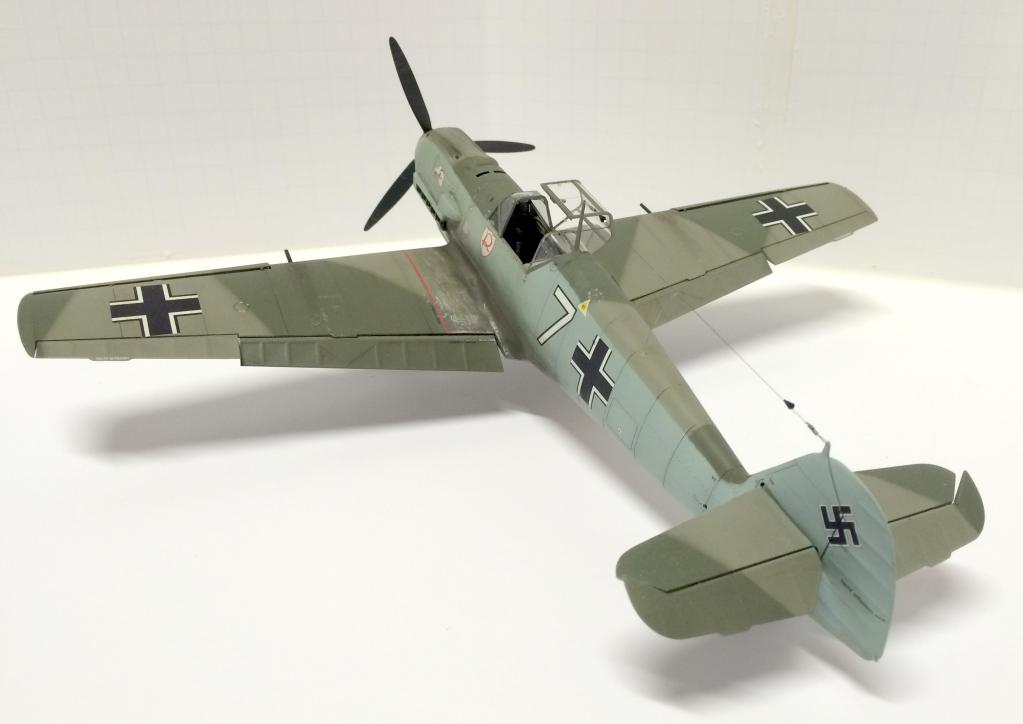
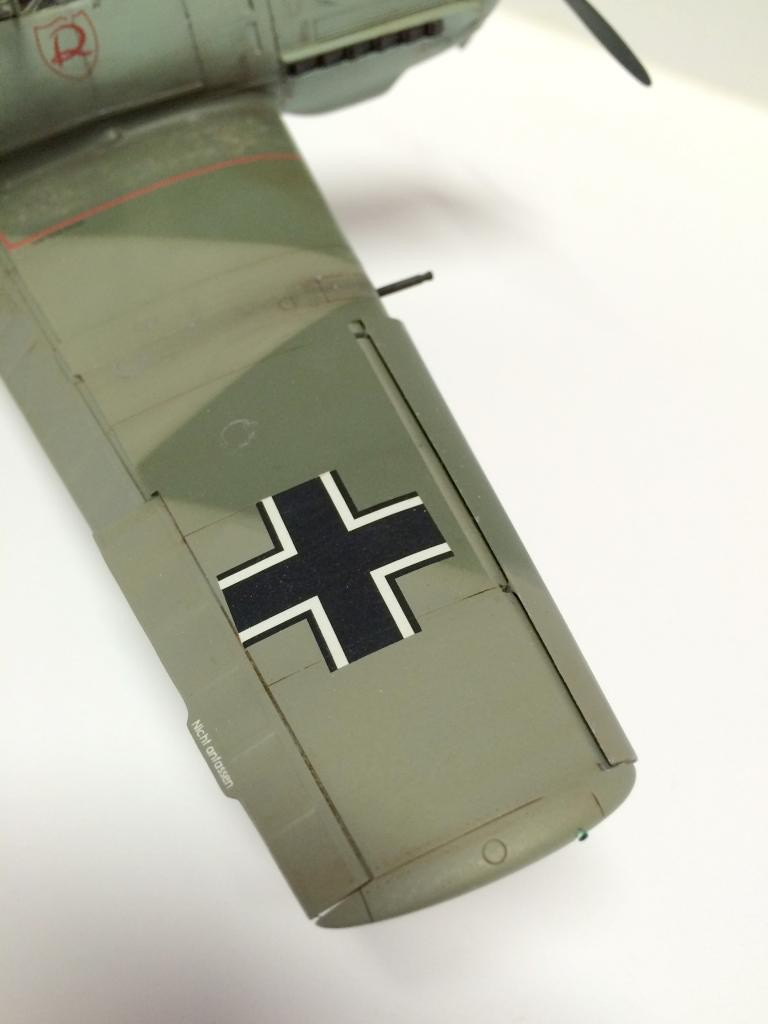
Tom Cleaver put me onto this bit of work: the wing slats are about 1/16" too long in chord, with the recesses being 1/16" too far back into the wing. Easy fix: cut a 1/16" strip off the back edge of the slats, glue that strip into the back edge of the recess, and fair the strip flush into the recess surface with putty.
There's a small rectangular panel above each set of exhausts. That panel on the real 109E is set with a piano hinge; I glued a section of thin styrene rod on the bottom edge of each panel. After painting and final finishing of the model, take a sharp pencil and make tick marks along the rod to simulate the piano hinge.
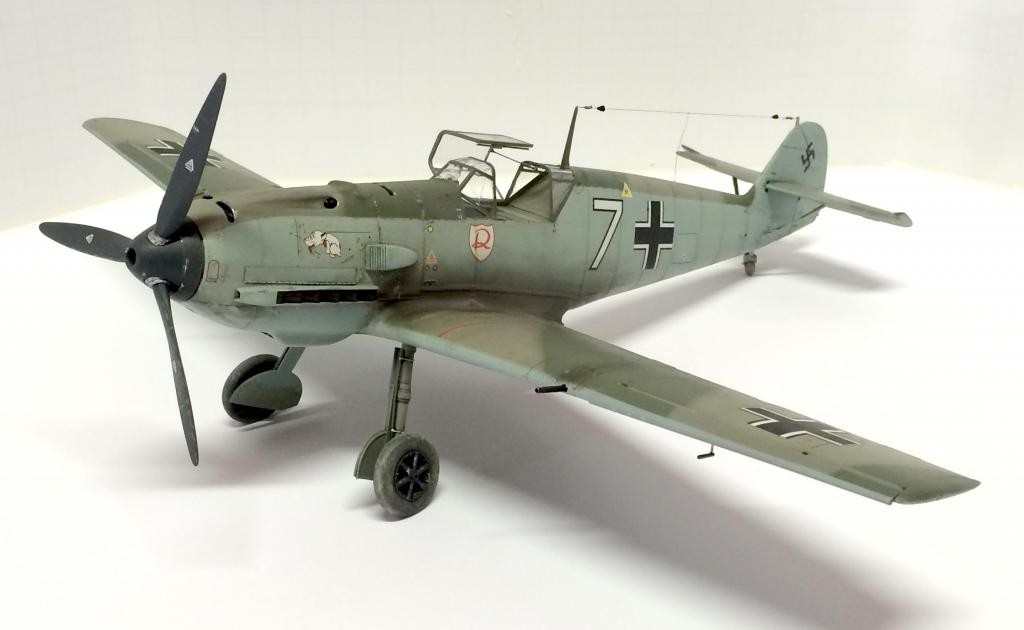
I finished the model with Testor Model Master Luftwaffe colors over Tamiya White Primer. The Cartograf decals came from the kit for JG 2 'Richthofen' in early May 1940, and show a interesting transition from prewar national markings and color demarcations to just before the Battle of Britain. They went down well with Micro Sol decal solvent.
Weathering was done with airbrushing faded patched of camouflage, artist's oil washes, blended watercolor pencils, Prismacolor silver pencil chipping, pencil lead wear along panel edges, and chalk pastels.


Nice work, Mike...she's a beauty!
Good work, Mike. I built the E1 when it first came out. I agree they're a nice quality series of kits.
You most definitely have the ability to build a model out of a kit, Mike, everything you post has a consistent quality.
Thanks! I figure if I'm spending what I do on some kits, I better get my money's worth out of the building part heh heh.
Gorgeous Mike! Love your finishing work - you get a wonderful scale realism on your projects.
Thanks. I've seen enough of the 'Spanish school' weathering within an inch of a model's life to where I try to do it just to the point where I think it needs a little more. I stop right there heh heh.
Just beautiful Mike. I like your comment on weathering.
I just finished the Profipack version and had to do a bit of butchery to get the dihedral right. OOB the wings were very flat.