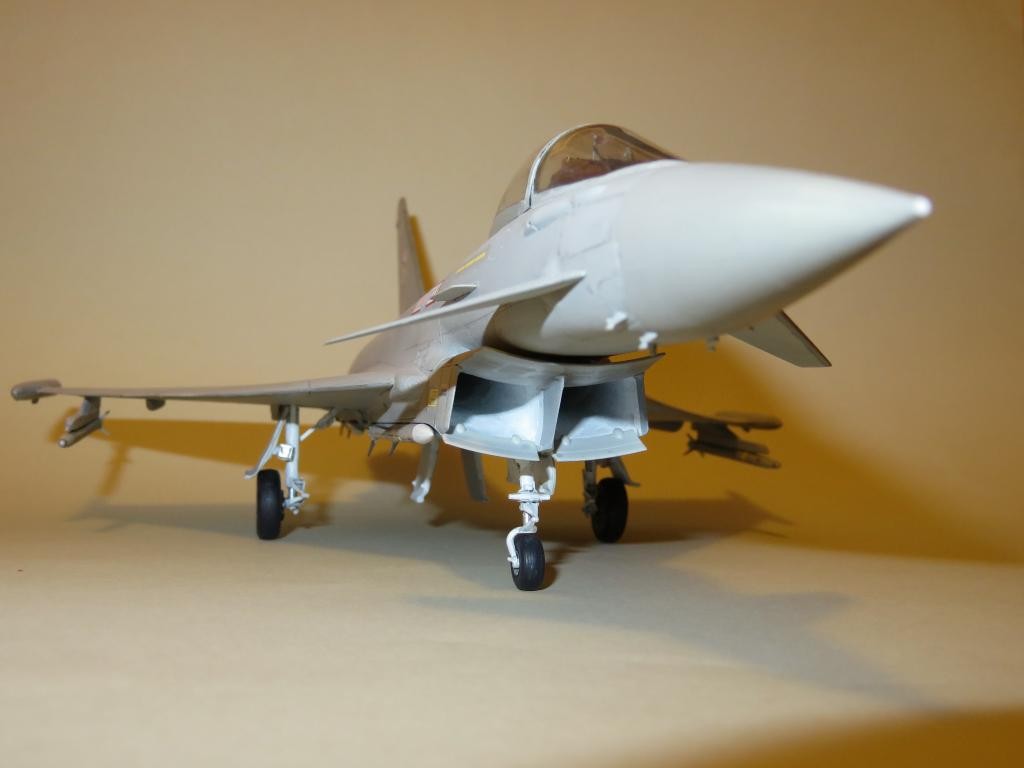
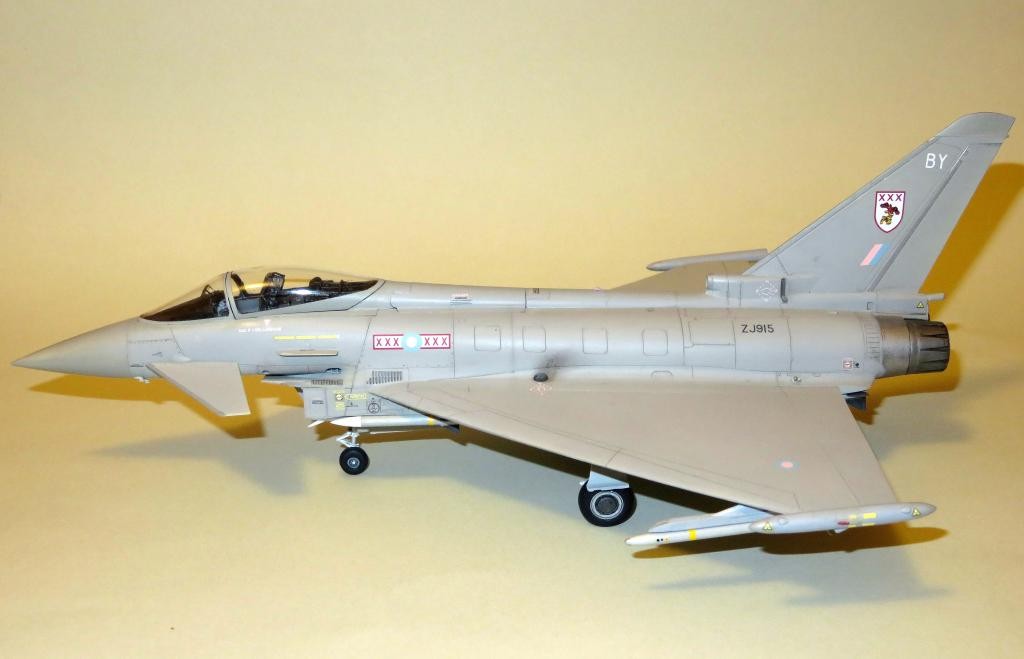
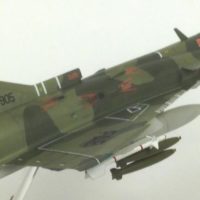
Revell's Eurofighter Typhoon in 1/48
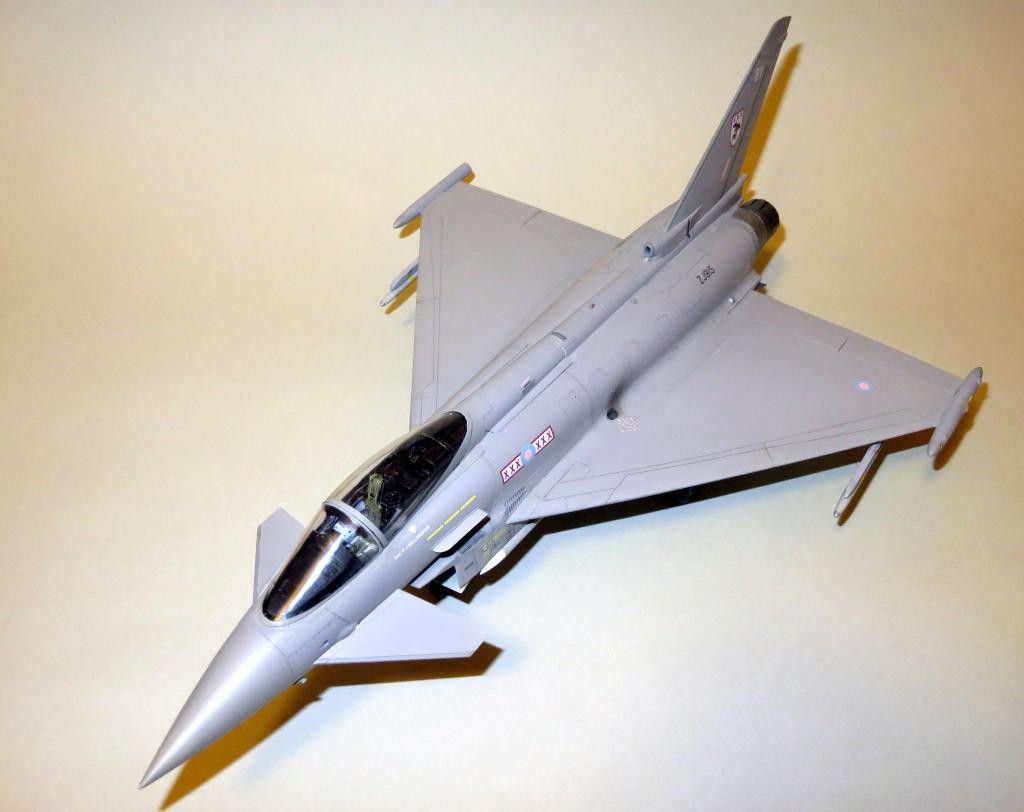
Finished at last! Not the easiest build I have ever done by a long shot & I can only recommend that any intending builder read the instructions very carefully & test fit everything as all is not what it seems & those instructions leave a lot to be desired,
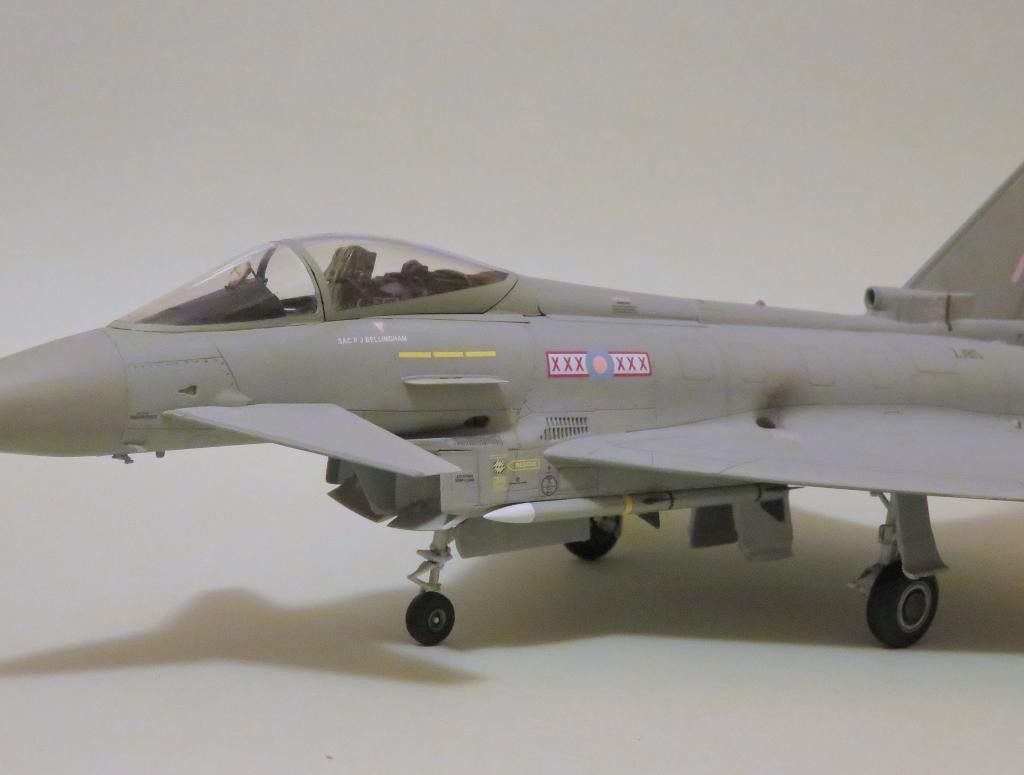
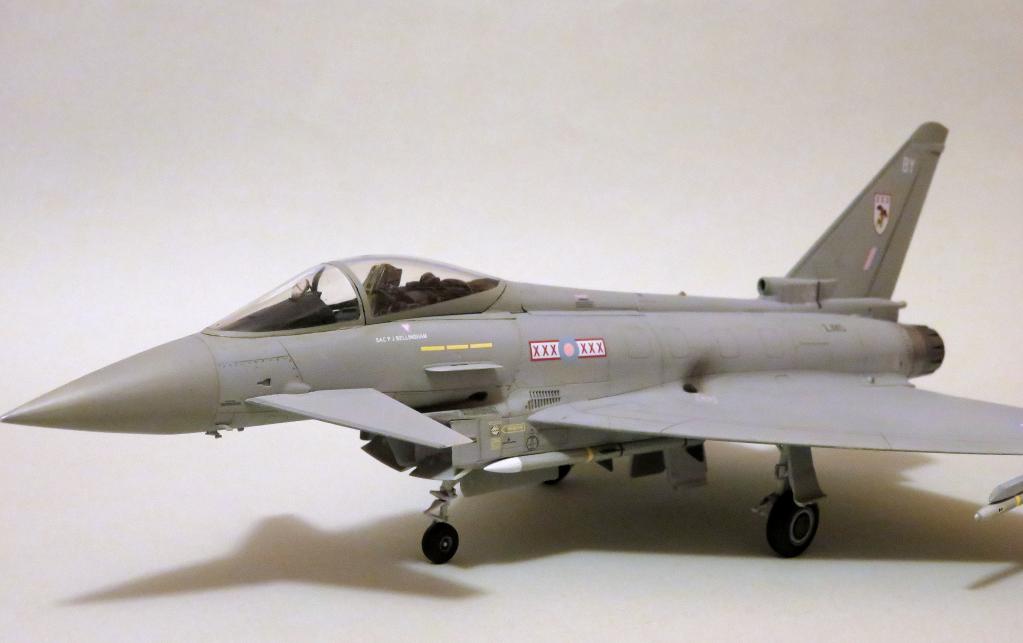
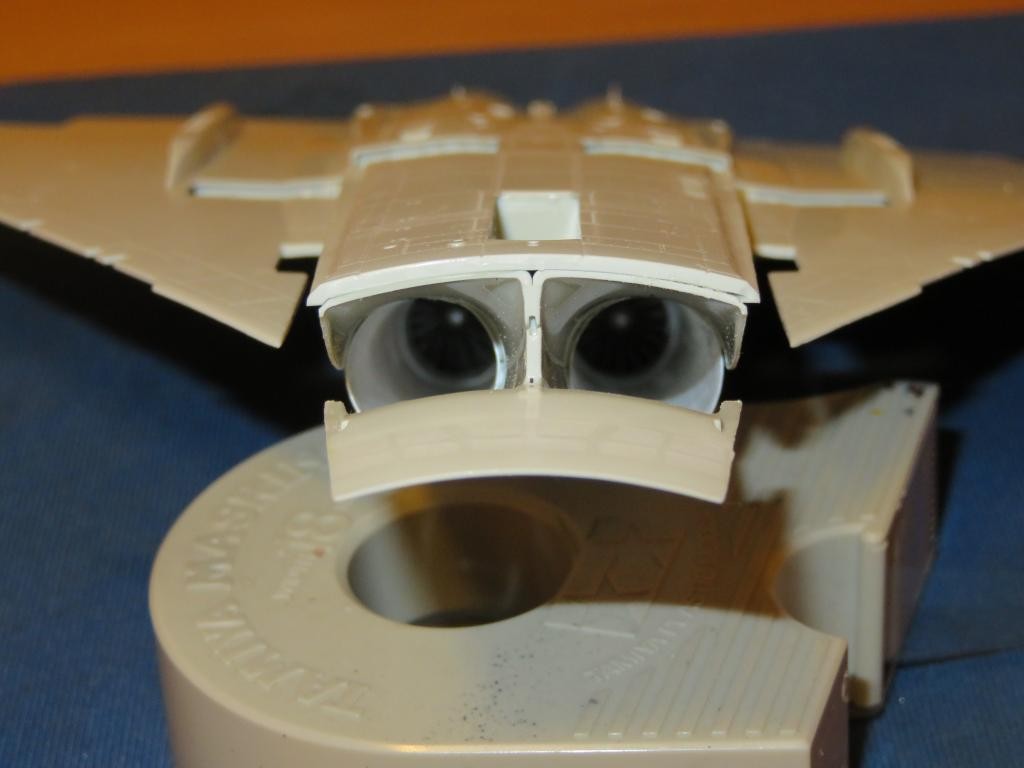
Anyway, that's all history now & I'm quite pleased with the result. The weathering is very light as all my research shows that the aircraft are kept very clean. Departures from the kit are an Eduard etched cockpit & seat belts & extending the air intake trunking well back into the fuselage & then using spare resin turbine faces to finish off. The canopy has been posed closed as I couldn't see any means of securing it in the open position, but it is large & clear so I hope I may be forgiven. Paints are Gunze barley grey, Lifecolor, Model Master & finally my 'patented' mix of Future & flat clear. Decals are from the kit: really excellent but I didn't use them all as I can't afford another trip to the optometrist. Hope you like it.

Beautiful job on a great kit! The convoluted instructions are the problem with that kit. You did a great job, the EF-2000 is one of my favorite planes...
Thank you James. The problem was not only the instructions but the engineering i.e. wing to fuselage alignment, fit of air intake, attachment & alignment of main wheels/axle stubs, attachment of u/c doors & attachment of (open) canopy (which is why it isn't).
I still enjoyed the build as it is such a great looking aircraft.
Excellent build..
Thanks Robert.
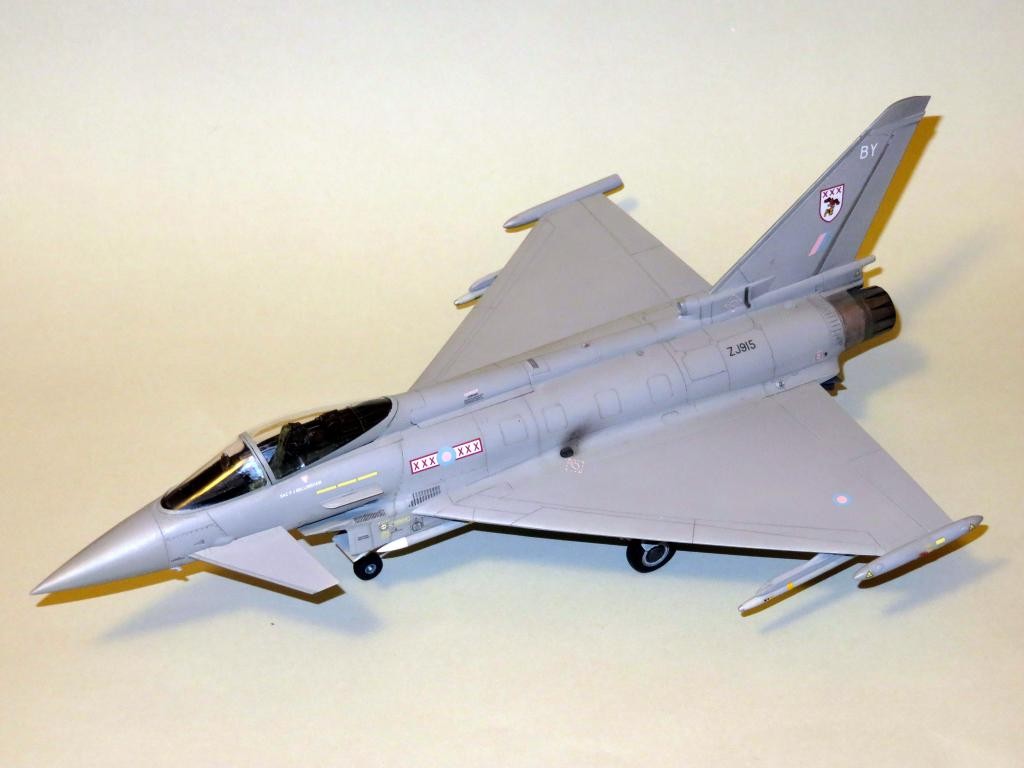
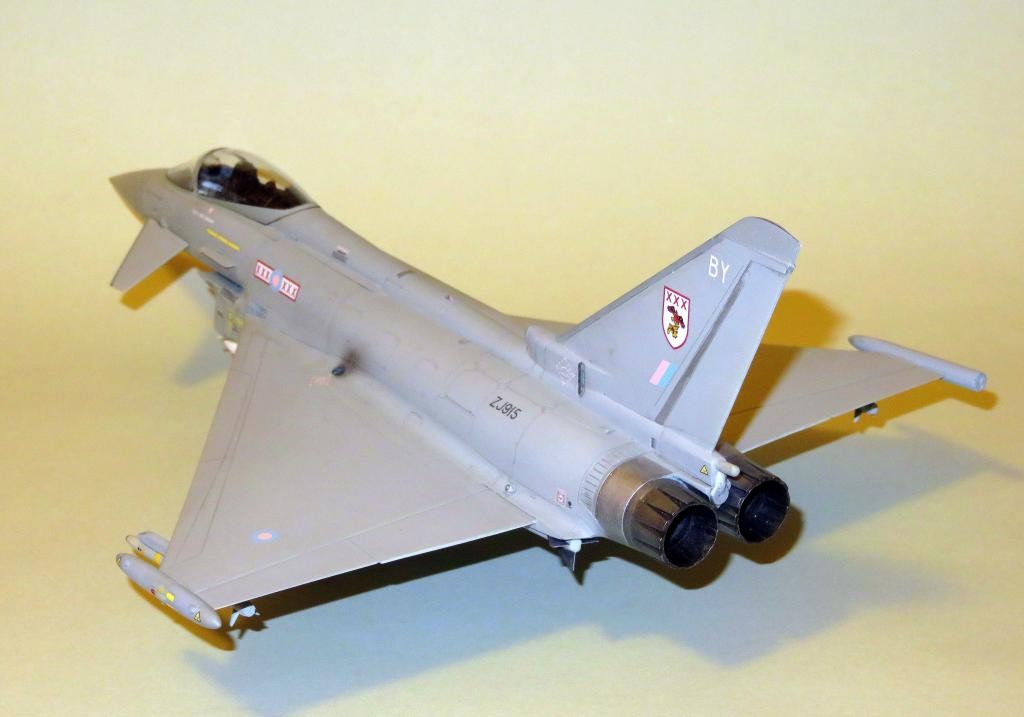
Looks great - seems like panel line detail etc. is just right.
Thanks Greg. I used Valleho washes for the first time; very happy with them.
BEAUTIFUL. I must admit that the Typhoon is a great looking plane and your build personifies that. However, I still think the French Rafale is a much better looking aircraft. Revell has done a much better job with this kit than the Italeri offering!
Thanks Morne. I'd categorize this one as 'difficult but satisfying'.
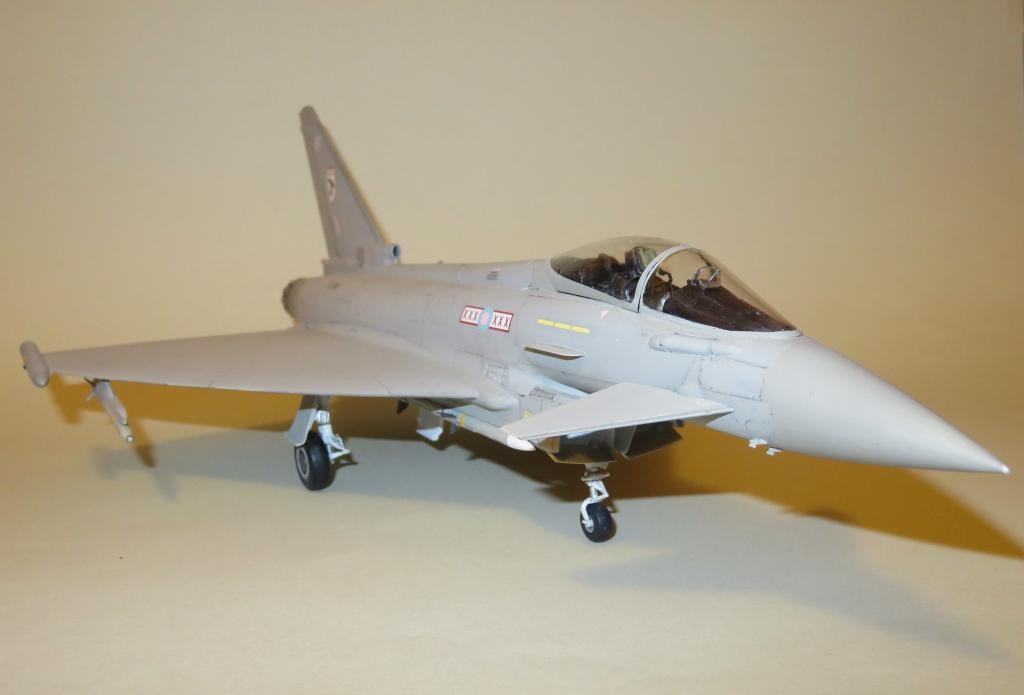
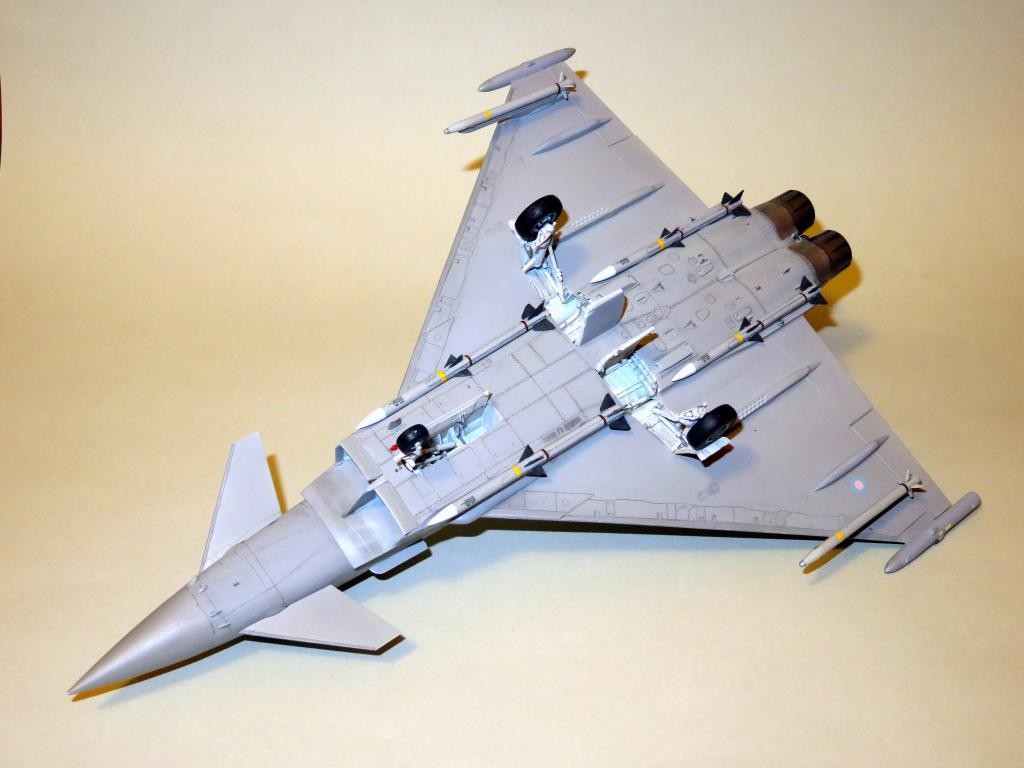
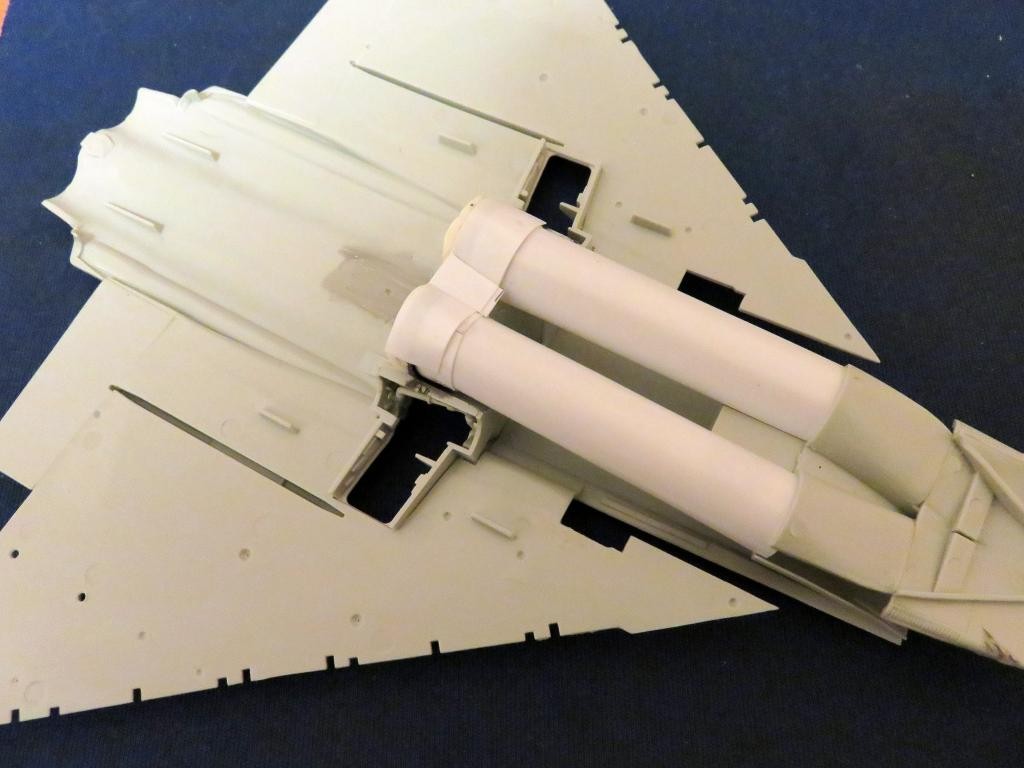
Nicely done, Tony...I like it. Appears as if your "dilemma" was in the intake/exhaust section by the look of those last two pics (?).
Thanks Craig. Actually the ducting was pretty straightforward. Just rolled up tubes of thin sheet stock & sat them on top of the u/c wells, but lots of smoothing inside.
Nice work, Tony. We rarely see that kit built.
Thank you John. I've noticed a few builds on the web but only seen one other (Italeri) 'in the flesh' so to speak.at IPMS meetings.
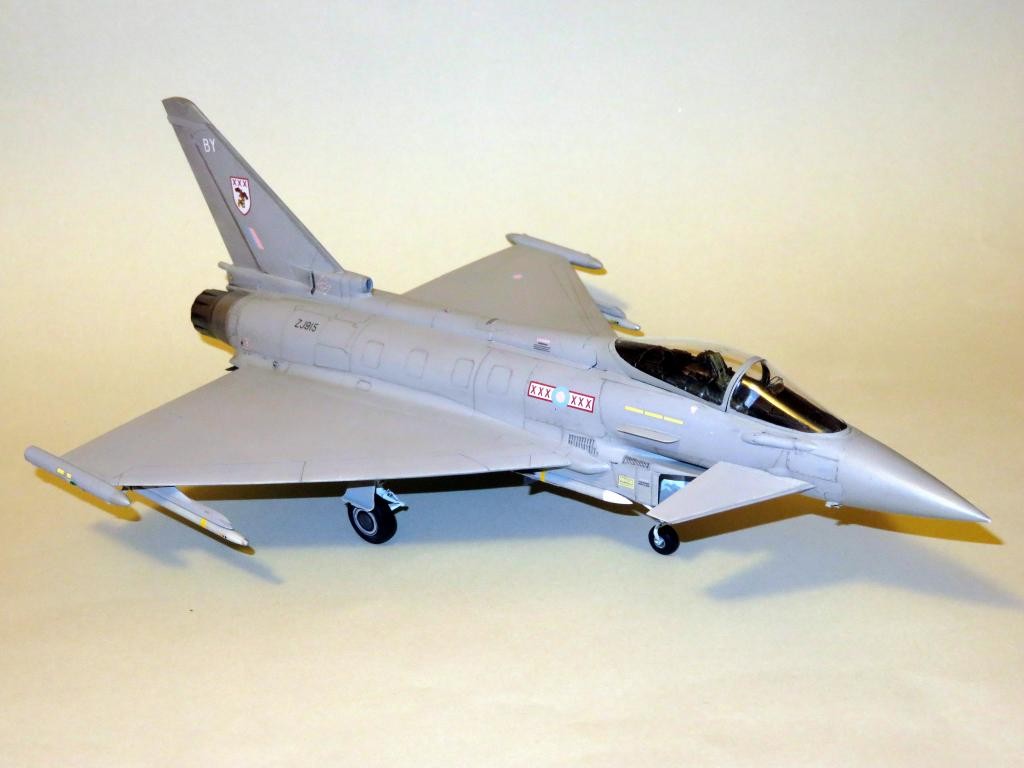
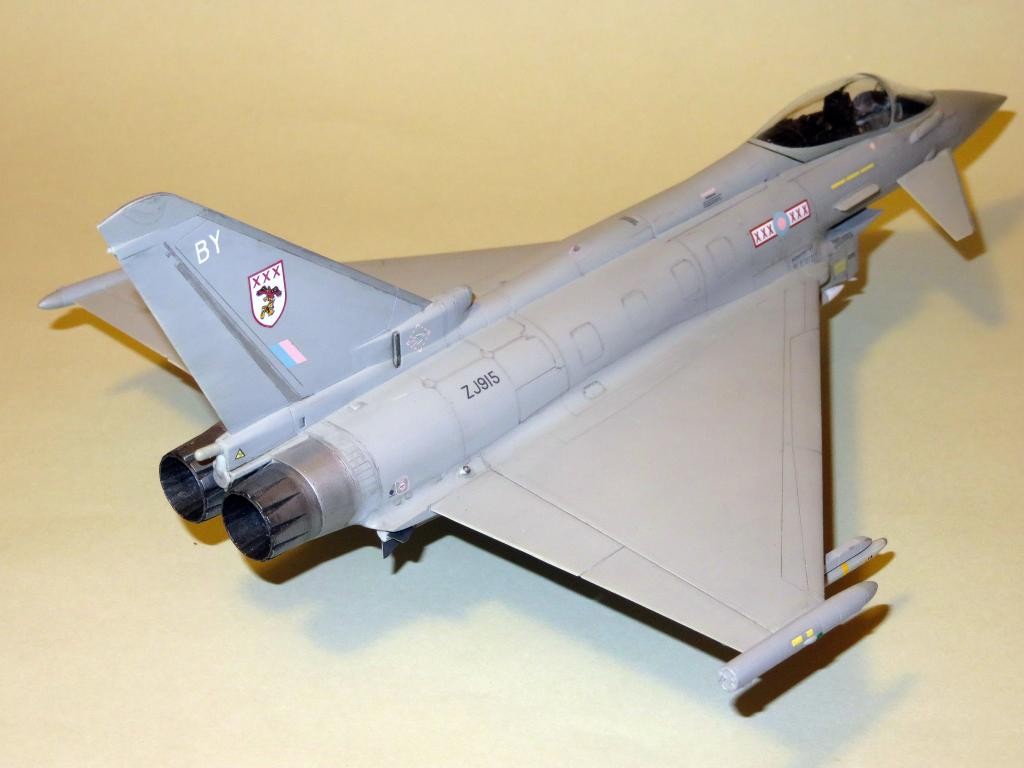
Great looking model, Tony, I don't see anything wrong with having a closed canopy, it helps to preserve the sleek lines of the prototype.
Thanks George. You make a good point.