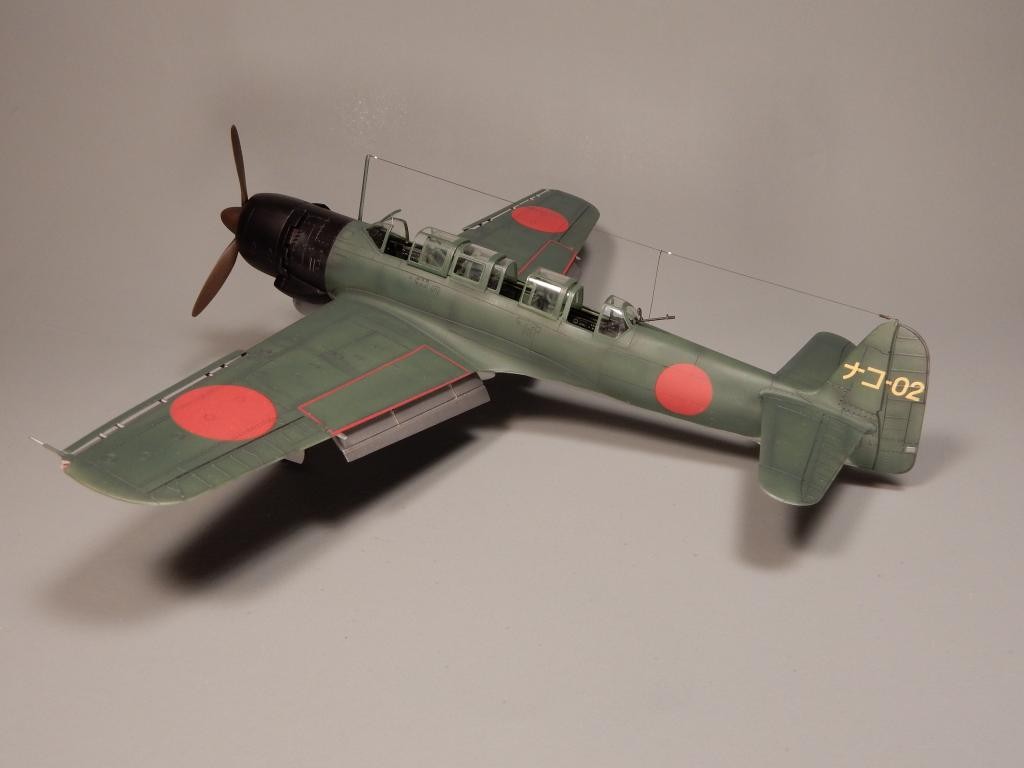
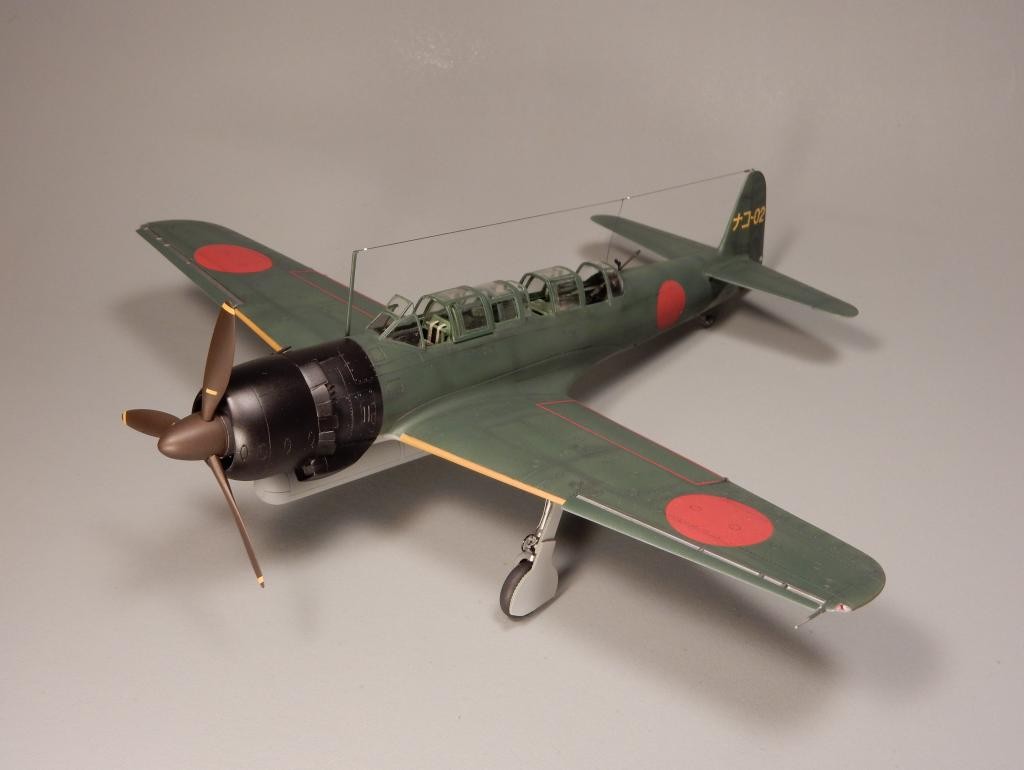
Hasegawa 1/48 scale Nakajima C6N1 Myrt
As I built this project I couldn't help but recall an incident that my father told me about while he was stationed at the seaplane base on Saipan, at Tanapag harbor during World War 2.
A fleet of U.S. war ships had entered the harbor and remained there as night fell. This also happened to be one of those nights that the base would be visited by a single Japanese airplane that would occasionally fly over.
As usual, at night the base and ships were on total black-out, until, as Dad would say "someone got a wild hair up their A@#. Suddenly, the search lights came on from the ships in the harbor and they all vectored onto the sole Japanese airplane, than all hell broke loose as it seemed every gun on every ship opened up on this one plane. Interestingly, all the anti-aircraft rounds appeared to be hitting behind the aircraft, probably due to the guy in the rear tossing out chaff (as Dad speculated) and throwing off the sighting of the guns.
Suddenly the airplane went into a dive, cleared the light beams and vanished. The lights went off and the guns silenced and everything went quite as if it never happened. No fire or debris was ever located and knowone ever knew if it had escaped or not.
Dad concluded that the airplane never flew over the island again and watching the fireworks on the 4th of July was never the same, after seeing that.
Was that a Myrt?, who knows, but its a fun story.
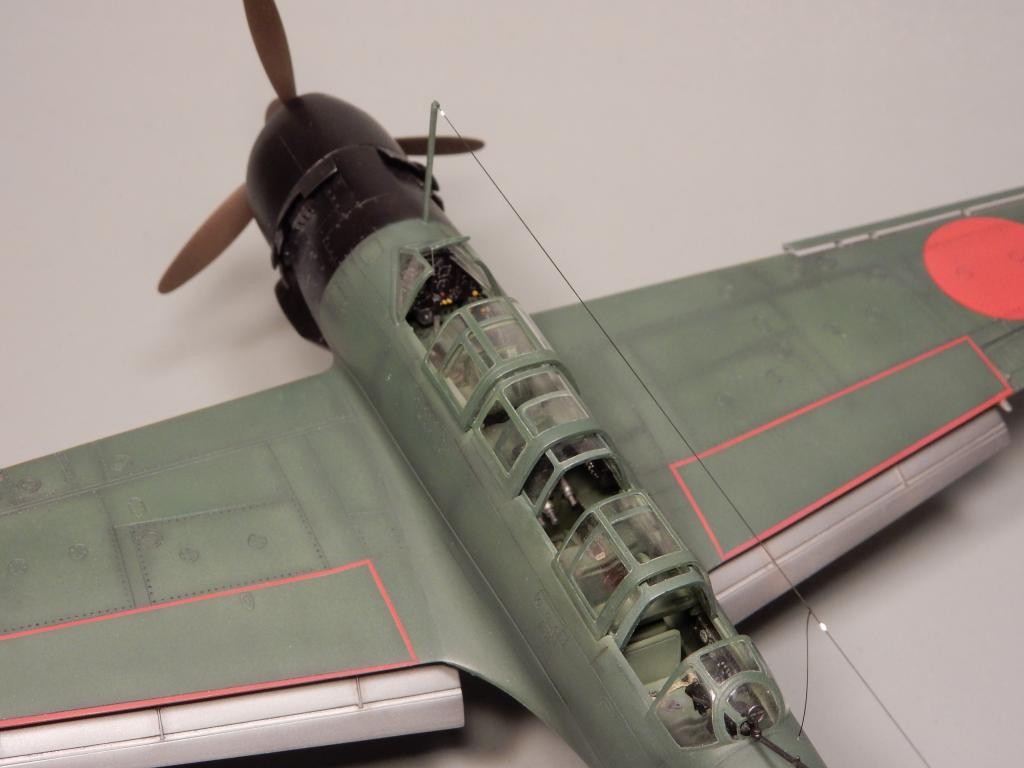
This model was one of those not so easy projects, but fun nevertheless. The main issue is, if you build this, make sure you pre-fit everything, or it will bite you. Especially when attaching the cockpit walls. Only glue them to the points indicated on the instructions, leaving the lower portion loose. Otherwise when you put in the floor, it will pull in the fuselage sides and cause a horrible gap in front of the lower wing attachment. Fortunately, I had a friend (who's an excellent model builder) warn me about this after he ruined two of these.
There is also a lot of raised injection marks that need to be sanded out. Most inside the cockpit. This is time consuming, but necessary. After all that, its pretty much a standard build.
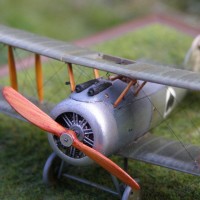
The engine was wired, however its almost non-visible because of the huge spinner.The rear gun barrel is bored out. Eduard photo-etch seat belts and antenna wire spring tensioner made from small coiled copper wire.
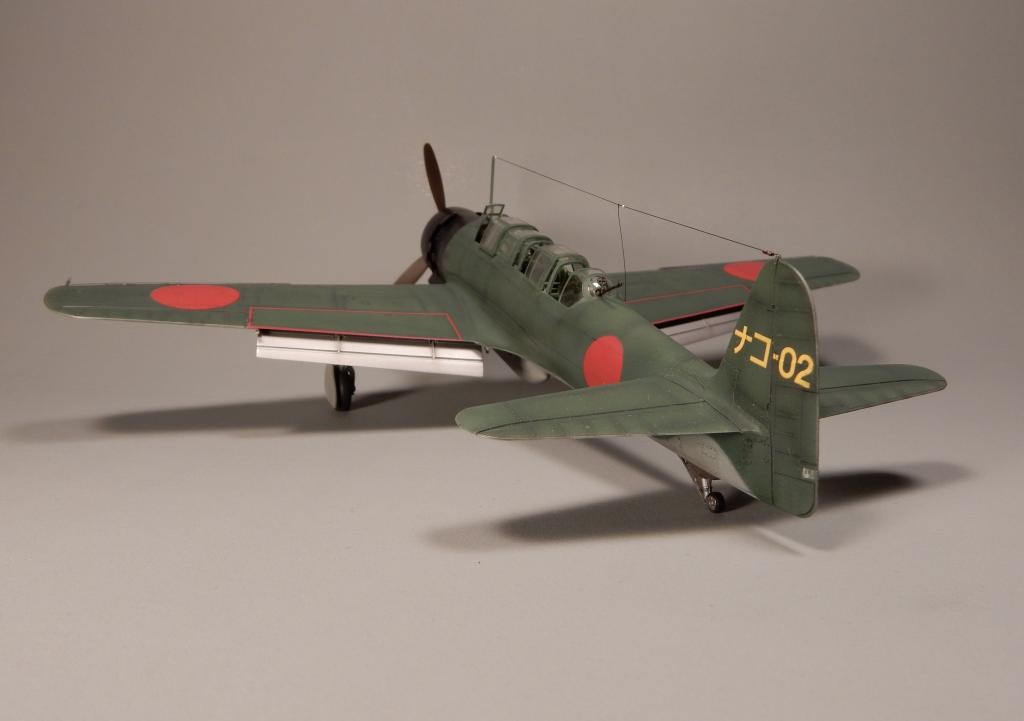
The model master IJN green enamel is a gloss and in my opinion is not suited for military aircraft. I mixed this paint with Italian olive green at about 40% IJN and 60% Italian green. I added a few drops of flat black and a little RAF green until I came up with what looked like the right shade. In all the pictures I located on the Myrt, none of them appear very worn or chipped. This may have been do to the thought that keeping them clean and slick helped performance, as these were considered to be almost uncatchable.
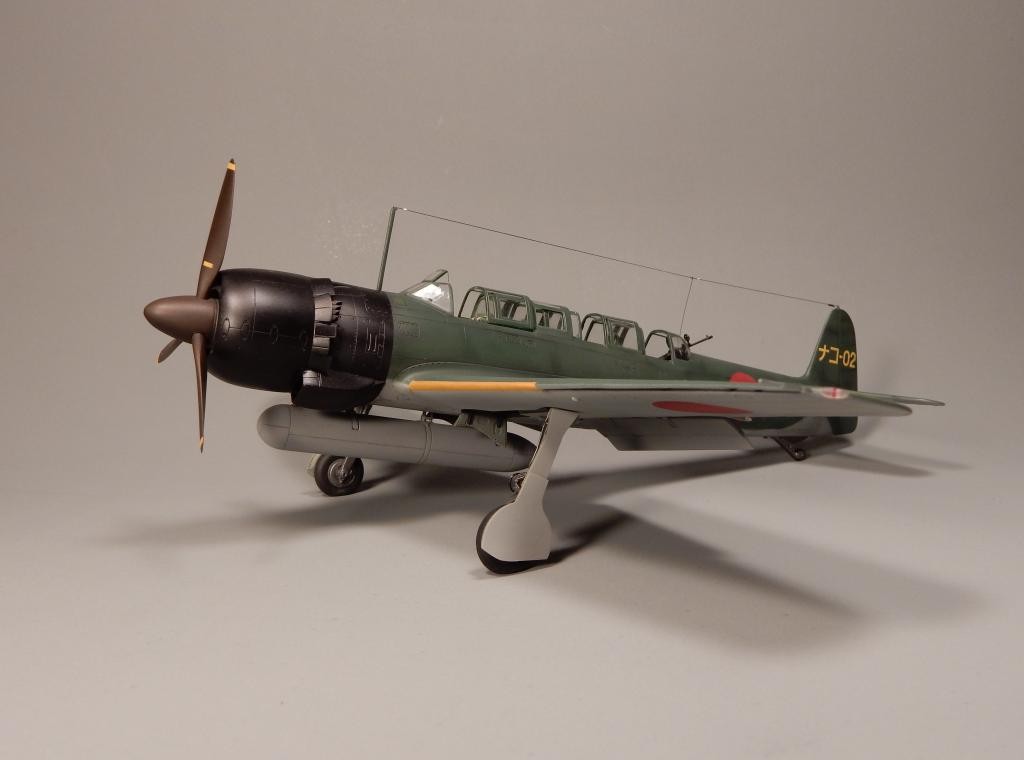
I am not a huge fan of Japanese aircraft, however the Myrt just has that look that I needed on my shelf.
Its got that long sleek look, big a@# engine with a large scoop hanging off the side, what's not to like?

This model looks just as good when viewed firsthand, as it does in the photos. For someone who doesn't particularly care for Japanese subject matter, you seen to do them better than most.
Never have heard of a "Mryt", but it's nicely finished and photographed...I like it.
Terry, beautiful job! Japanese greens are a minefield. Thanks for the suggestions about the interior fit, I have one and will note your corrections when I get the kit out. The airplane is just a beauty, love those lines!
Thanks Bernard. This project took me longer than most due to making sure everything fits. A mistake "here" can cause a problem "there", but don't be afraid of this kit, its really nice and fun to build. I hear you on the color issue.. Theirs a lot of experts and just as many saying they are wrong.
🙂 ... Greetings ... 🙂 :
This model is a true joy too see Terry, very good work. The weathering is just right and those antenna wires do give it a nice touch. Thank you for sharing the pictures.
Thanks for the kind and positive comments. It means a lot !, Thank you.
Hello Terry...What a fine build of that Japanese Myrt...Great attention to detail and well photographed too. Very nicely done.
Thanks Jim, Your photo tips are paying off, although I still think I have a lot to learn.
She looks great! I've used MM IJN green, and agree with you - won't do it again! Thanks for the "formula."
Nice build i LIKE!
Great build and great story.
Thanks Robert, I'm sure Dad would be pleased to know a war story of his lives on.
Thanks for the advice on this kit...I have one in the stash and am looking forward to building it.
I can't comment on the right shade of green, but I can say that this model looks really neat, very good work.
Terry,
Another compliment to your skill. This is beautifully done and I really like to see a Japanese aircraft without the extensive weathering. This is great like it is and shows the airplane in all its glory
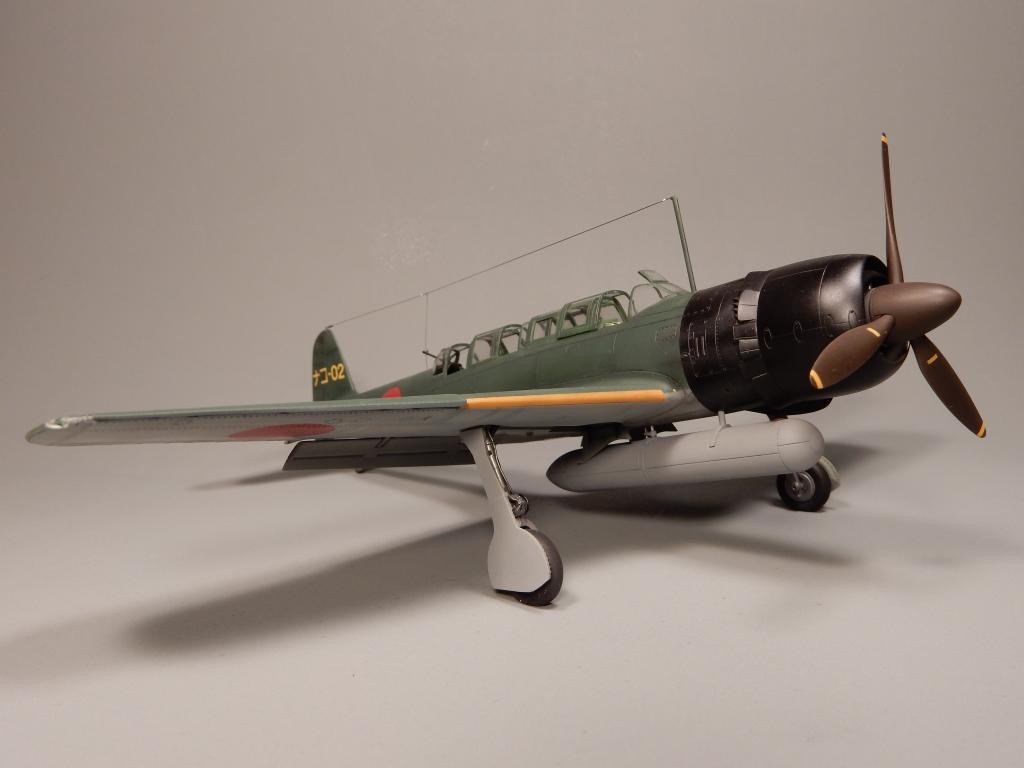
This is one of Hasegawa's better kits and from my own experience it goes together beautifully. You've done a really nice job on it and the photos look great. However, the green looks too light, the cowl should be a blue black not black and the propeller blades should be a Mahogany not Red Brown colour. This is only my opinion and it shouldn't detract from what you have done.
VERY nice build. A pleasure to see.