Engine, engine, number........

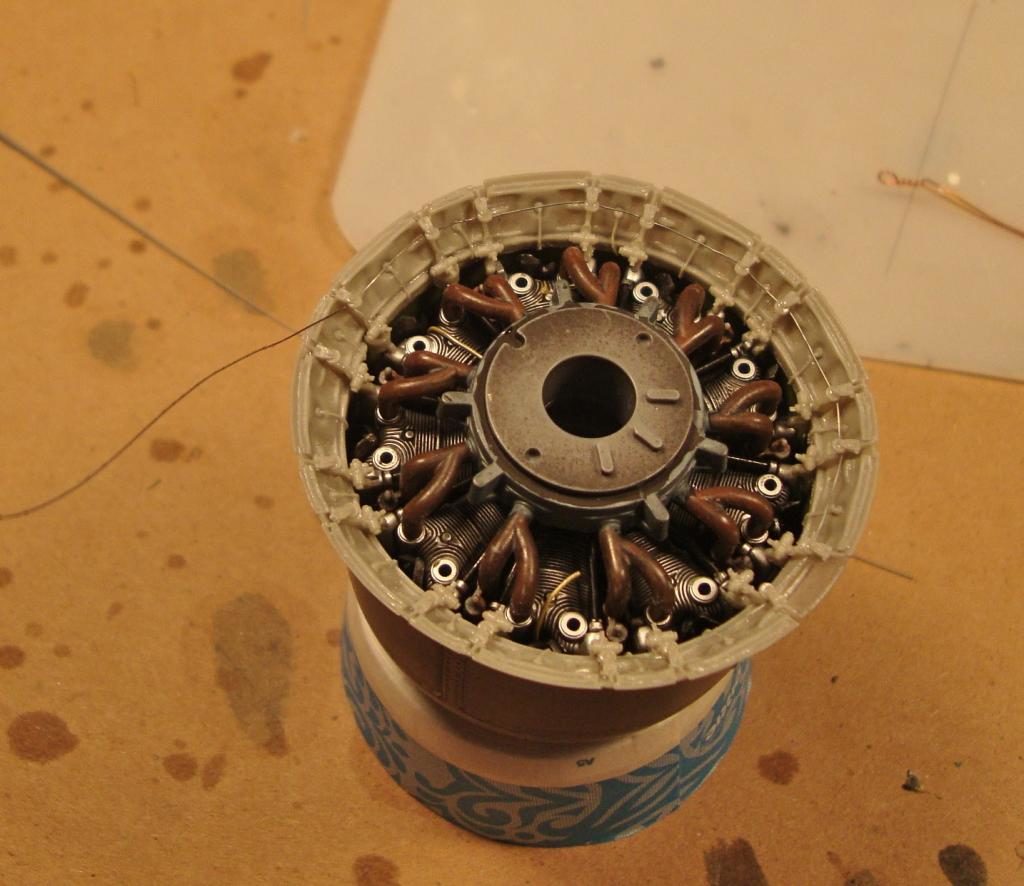
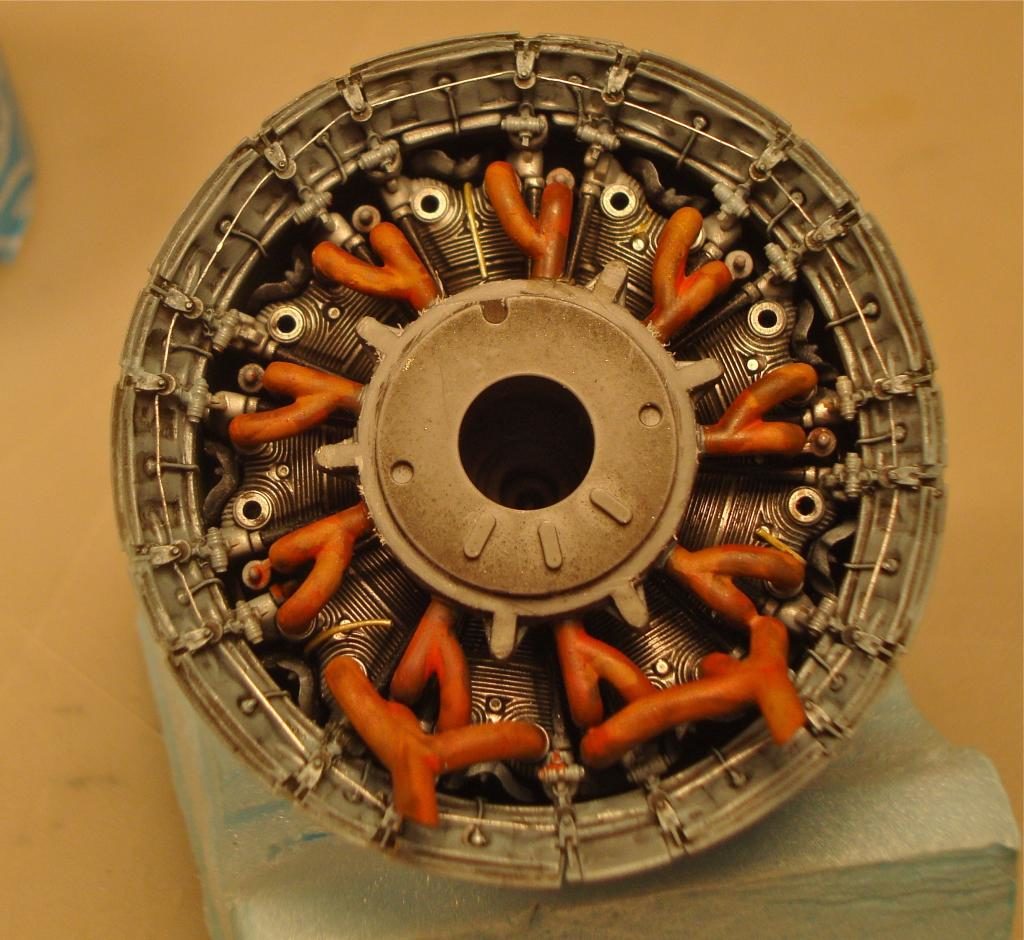
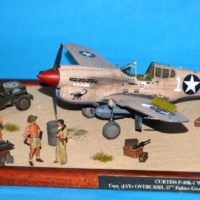
Small update on the Corsair, as has been noted elsewhere the engine is not quite the correct version for an F4U-1A, but it is close enough once enclosed in the cowling. I did add a prop control from the Vector engine upgrade set, since the Tamiya one was a bit too large, I added plug wires from fine solder. The biggest thing I did add was to use the Vector cowl flaps, the detail is incredible, though adding the control cables was a pain. I did them full open, and used the full circumference flaps since pictures of VF-17 on Bougainville show many of the aircraft in this configuration. Exhausts were done with brown paint over coated with ground pastels diluted in thinner and dullcote.


Looks good from here, Rob...where's the beer? lol
Very impressive an inspiring detail on that engine, Rob!
Very well done - shame most of the work on the exhausts will be barely visible!
This was an afternoon session no beer:)
Umm... In fairness to Tamiya, when they did the original F4U-1 Birdcage they did in fact go with the later style cast-filled ignition harness and later distributors, which was not representative of early and later Birdcage Corsairs. However, when they released the F4U-1A, they went back and fixed the mistake. They did include a scintilla tubular ignition harness along with the earlier style distributors. You now have the coice of both types, which really opens up the options available...
Great detail, looks like it's ready for a test runup.
I neglected to say that i took a close look at the engine photographs and the powerplant looks very very nice. The Scintilla ignition harness installation looks good, as do the Vector cowling flaps. Since you are building a -1A with the full 360-degree wrap around flaps, you won't have any problems with gaps between the back of the engine and the fuselage. Paint buildup on the engine parts, believe it or not, it enough to throw off the tolerances of the parts and make the engine "longer" resulting in gap problems with the sheet metal on the cowling and upper fuselage. Ask me how i know this, LOL
Looking real good, yes I agree, have you become a tea teetotaler? WHERE IS THAT BEER.
And the Airdale glass.
LOL, ok I shall be sure and share the next brew with you all! The ignition harness ring is from the kit and as noted is the early one I just added solder ignition leads, the main problem with the engine in the kit is the magneto covers are the wrong shape, and the prop control seems a bit too large. The vector set as the covers and prop control, but by the time I decided to use it for the cowl flaps and it arrived I had already installed the magneto covers, so I replaced the prop control and went on with life.
🙂 ... Greetings ... 🙂 :
Very nice eye candy on that engine Rob.
This is one build I will be looking forward to.