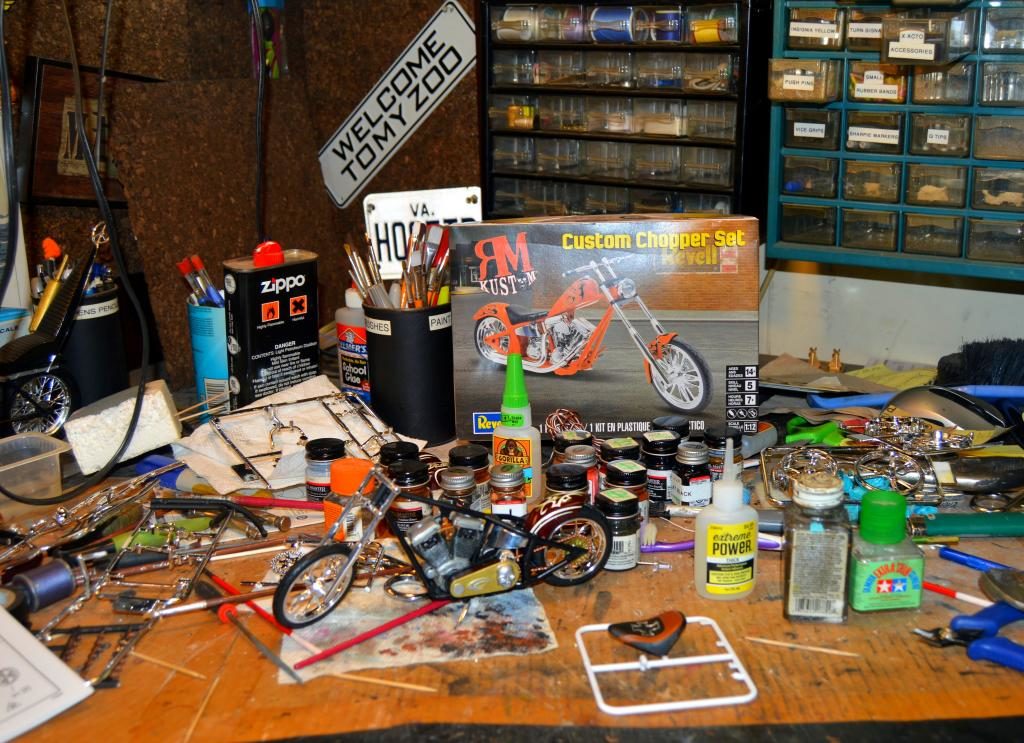
Revell 1/12 Custom Chopper
I'll be reviewing the Revell Custom Chopper here. This is kit number 85-7324
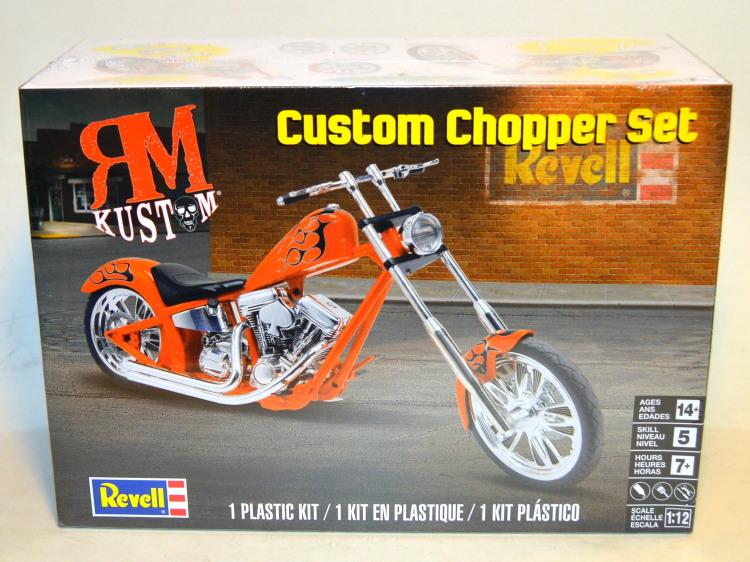
As you can see by the box art there doesn't seem to be a lot of detail on this kit. However, upon opening of the kit there are a number of options available. Extra wheels, different seats as well as a choice of two different fender and tank sets.
I won't be posting the parts trees as we all know what those look like. With that said there was very little flash on the parts. Save for the sanding or shaving when a part is snipped from the trees.
This model says that it's a "skill level 5". But, personally, I would rate it at a level 3 if you are building right out of the box.
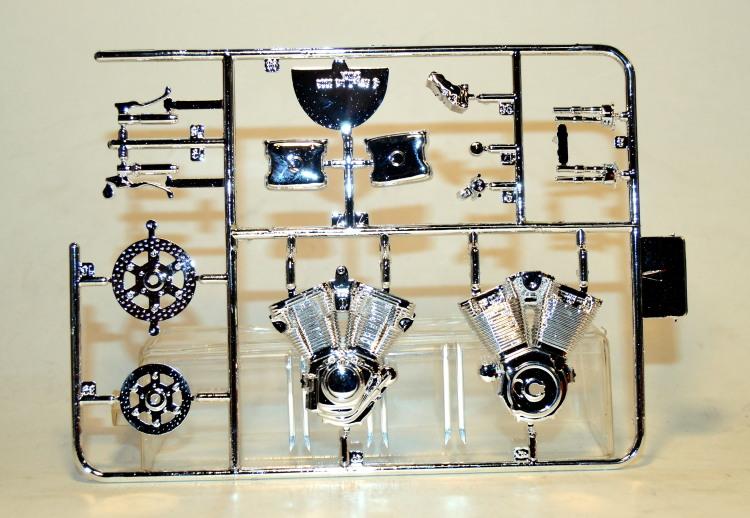
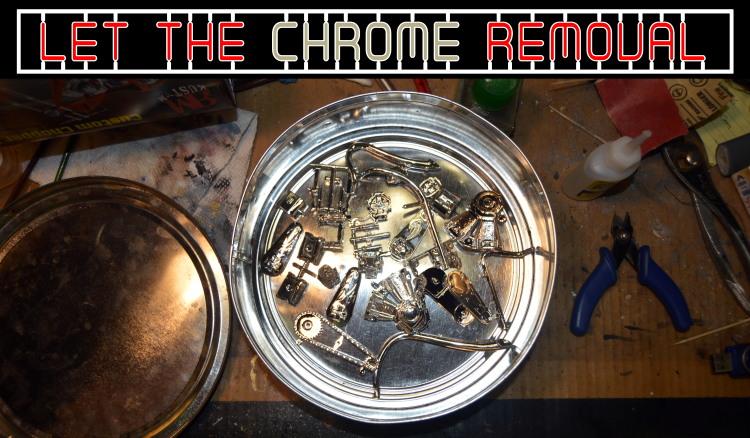
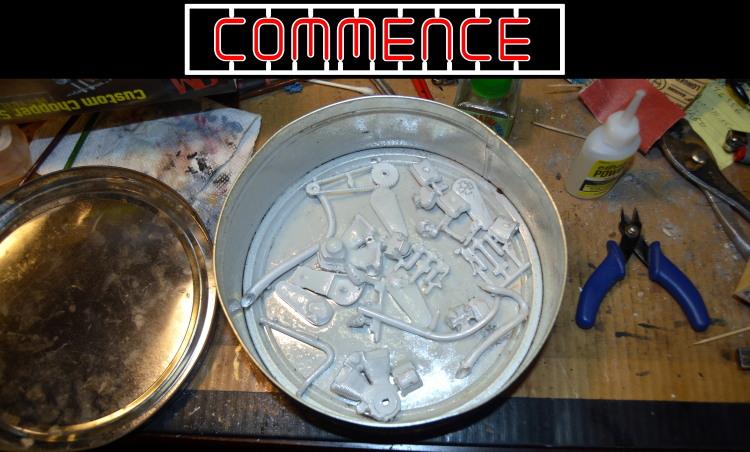
There is an overabundance of chrome for my personal tastes and I did do some stripping of that. I used the Wally World El-Cheapo version of oven cleaner to accomplish this. After allowing a soak in a bath of this I the washed it in hot-as-you-can-stand-it water using Dawn dishwashing soap to clean the parts. The leftover chrome sealing varnish was the scrubbed off with a stiff toothbrush. Anything that was leftover after this was re-sealed on when I used the flat black primer lacquer.
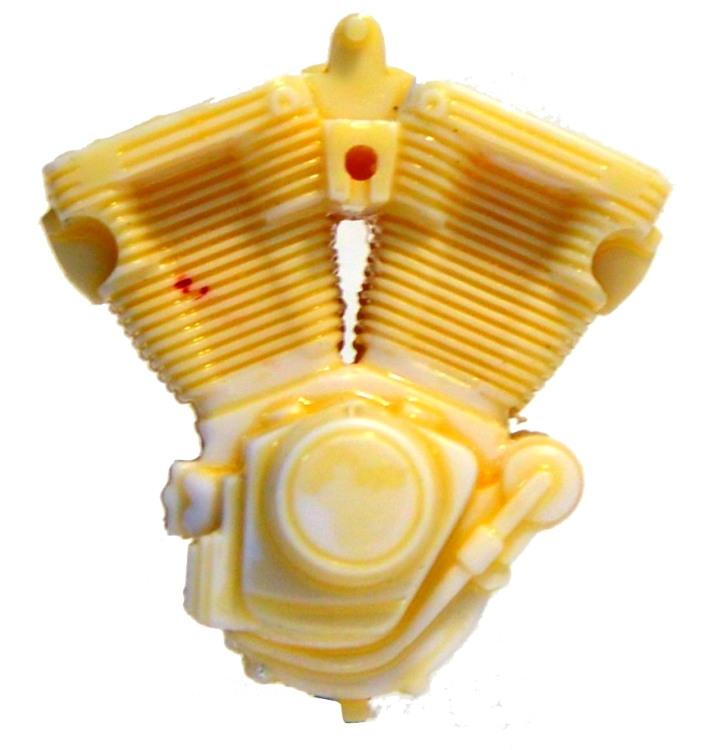
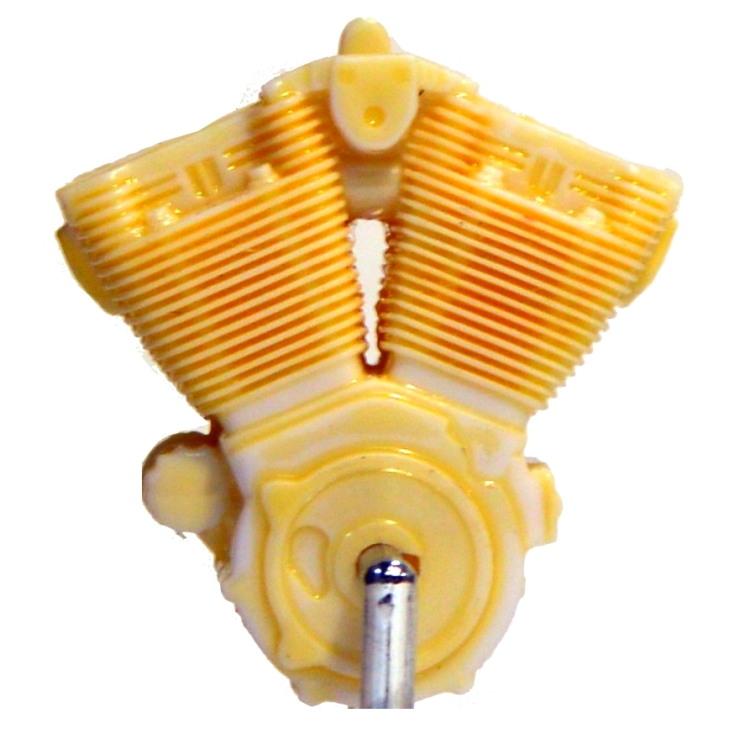
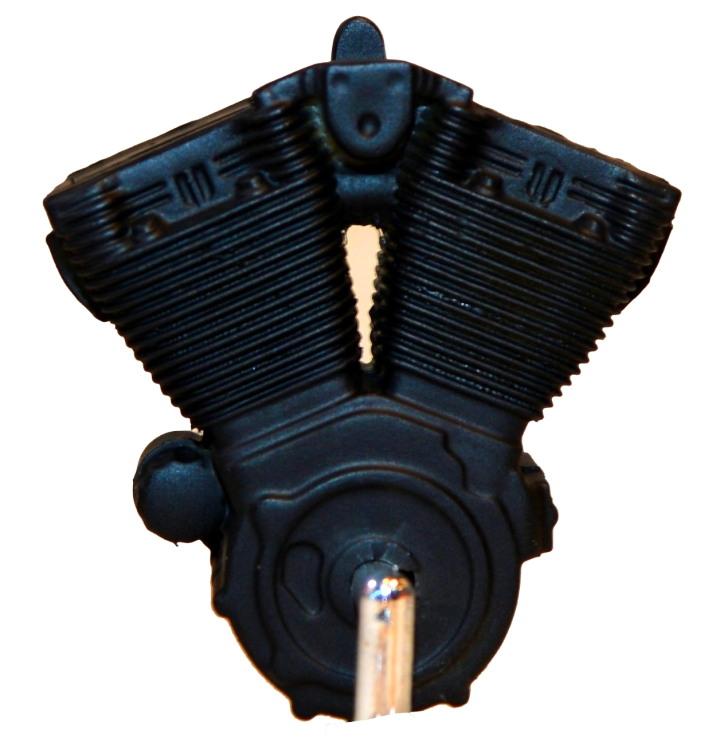
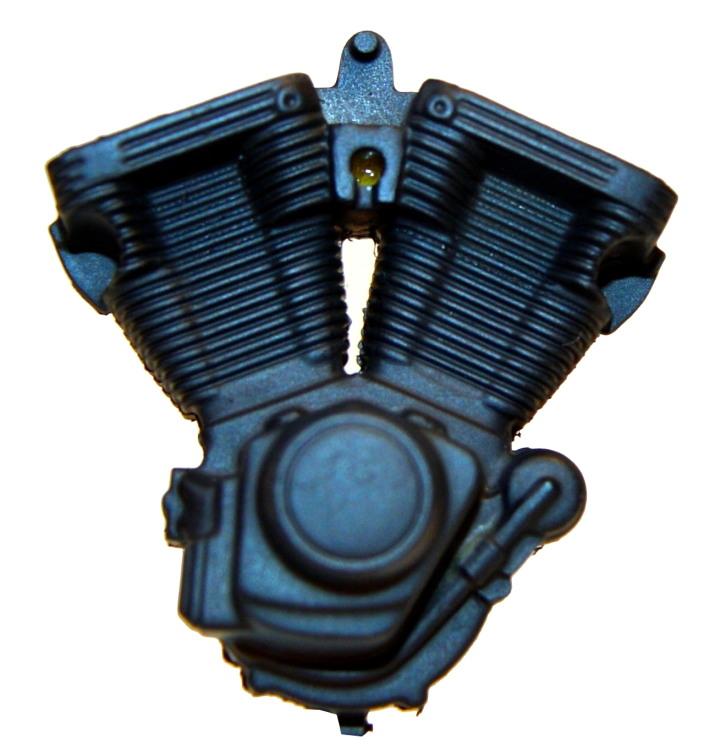
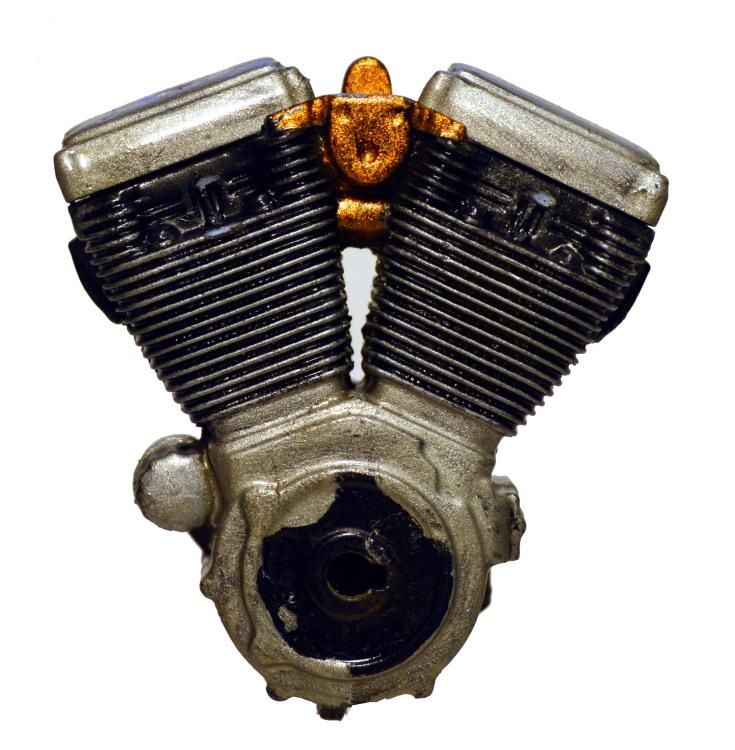
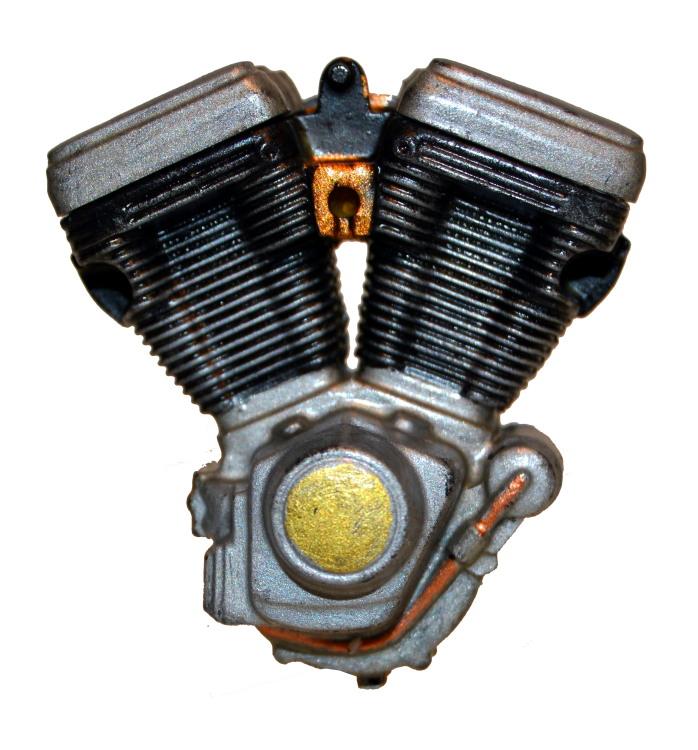
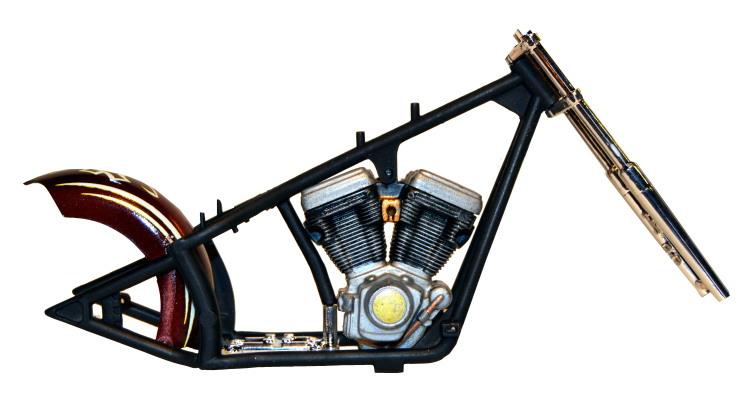
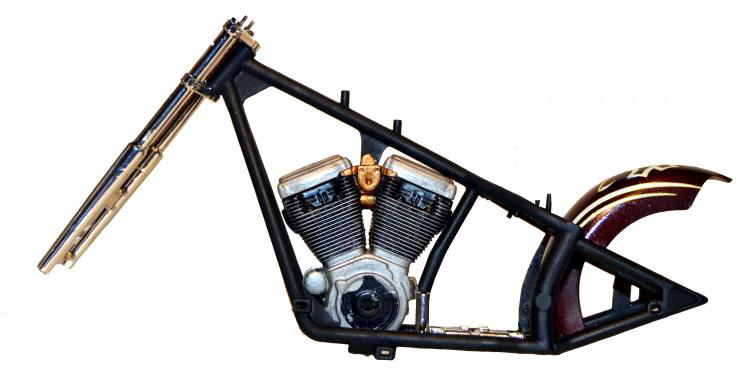
These are photos showing the engine before and after both assembly and priming. Parts fit was good and the seam that is left will be well hidden when the engine is installed into the frame.
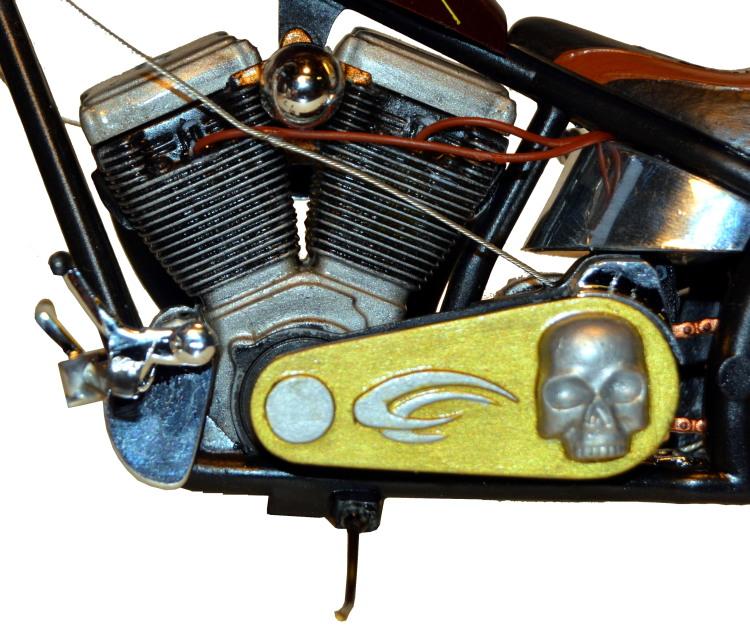
Next up is the chain and sprocket. This, too, was encased in chrome but was stripped and repainted. I went with a brass and copper look for this so that it would stand out after assembly but not enough to take anything away from the rest of the bike.


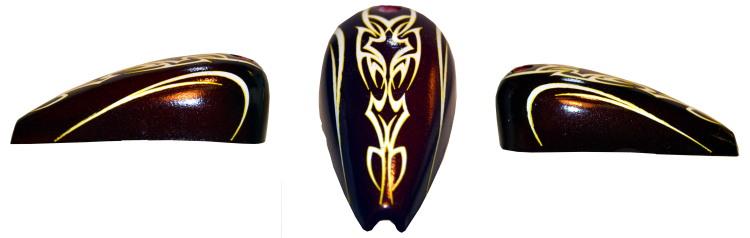
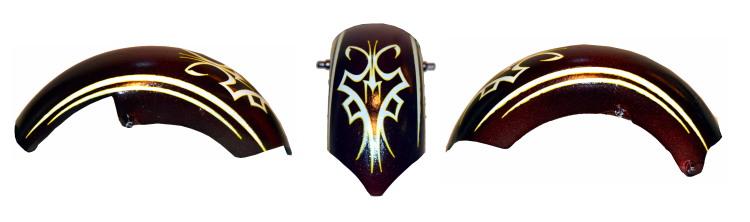
I chose Testors Root Beer number 1848 for the bike color. I first applied a primer coat of flat white before the Root Beer. After two coats of the Root Beer the decals were applied, allowed to dry completely and then sealed with five coats of clear gloss.

This is the engine after the initial paint job. This was completely chrome before stripping as shown in the above photos. There is a lot of room for details to be added and that has not been done as of yet in these photos.
These photo show the initial mounting of the engine into the frame. Again, there were NO issues with the fitting and the engine went into the frame with little effort and mounted exactly where it was supposed to.
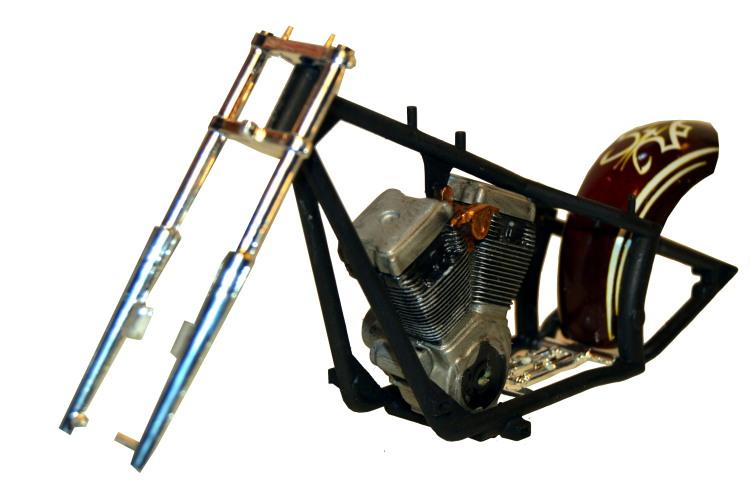

I am doing a test-fit of the tank, wheels, front fender and forks. This kit is coming along quite nicely. But there are still a lot of details that need to be added.

I have attached the fuel tank and the seat. You can also see one of the custom "braided" cables for the clutch in these photos. The wheels and tires still have NOT been mounted as yet so they look a little crooked here.
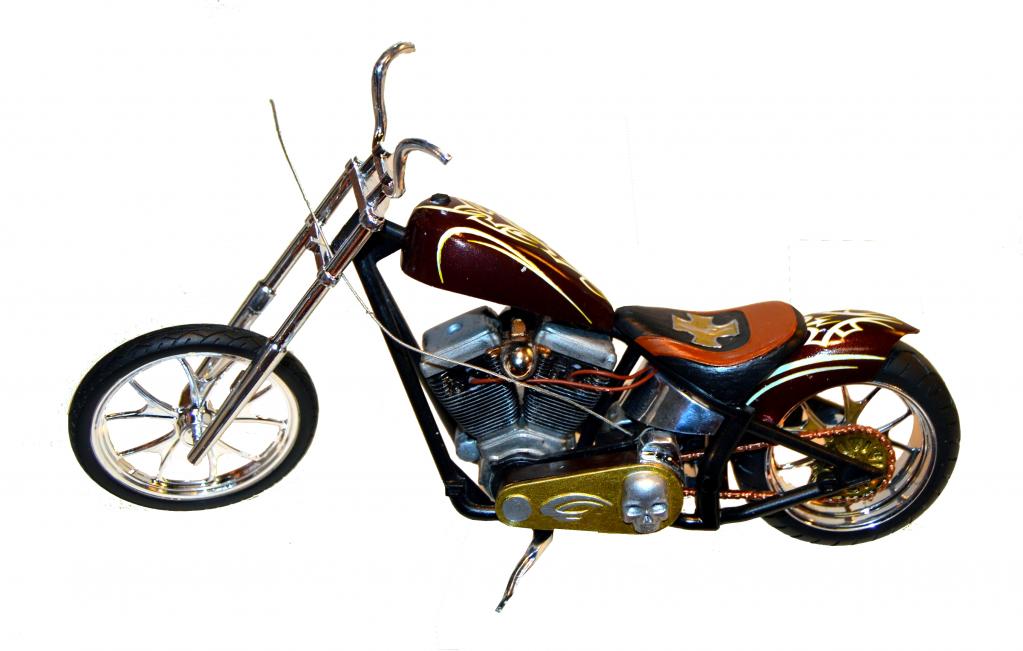
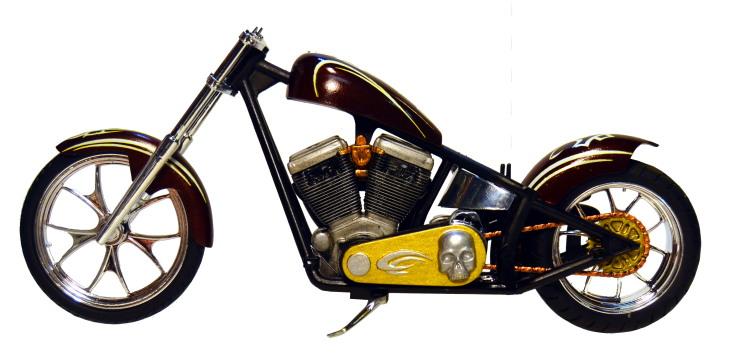
Well, it's been completed. These are relatively decent kits. If you're willing to put a little extra work into it you can end up with a great looking model to add to your collection.
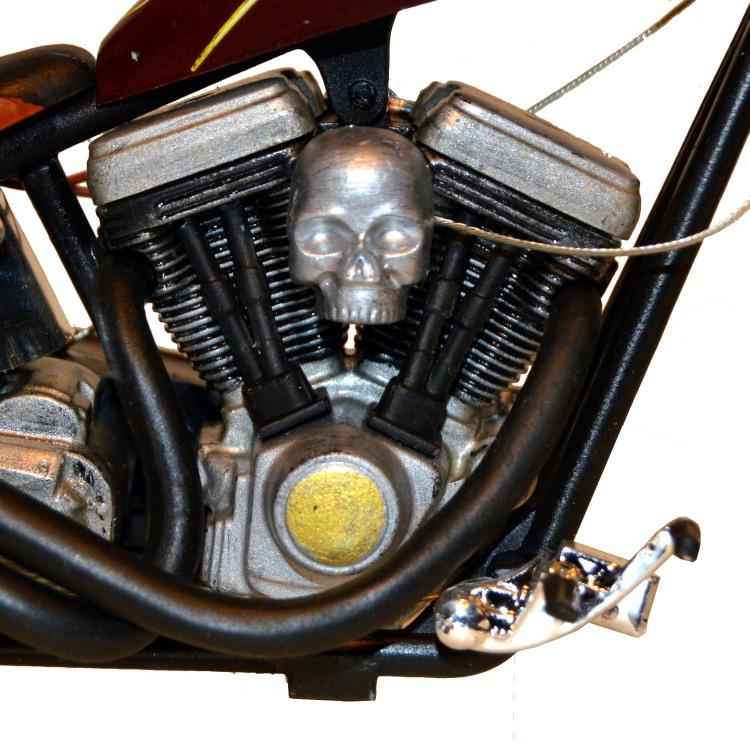
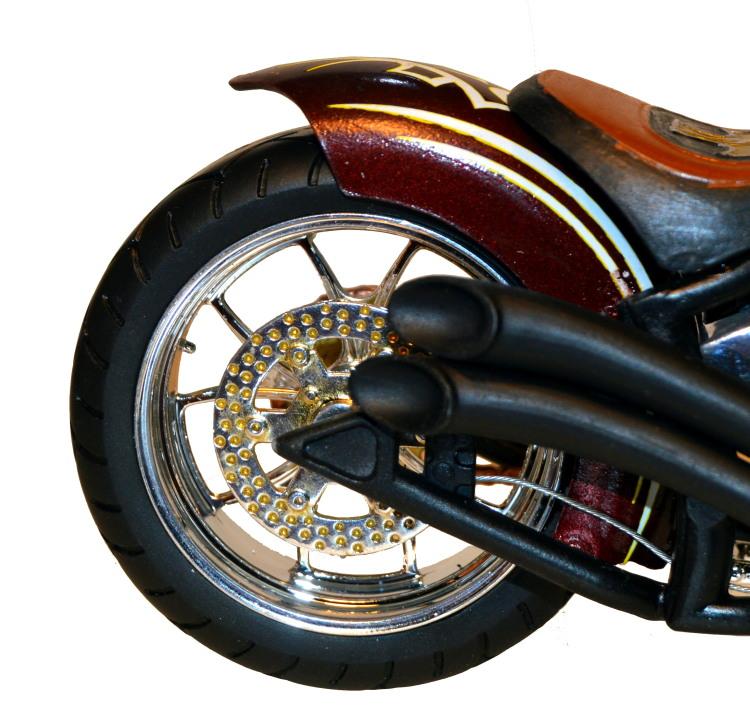
These are close-up shots of the engine. Added the extra color-matched plug wires as well as the necessary cabling for brakes, clutch and throttle. As well as a close-up of the rear wheel. Also, the cover on the left side for the horn is NOT included in the kit. So I remedied that by using something from the parts box.
Here are the completed photos...
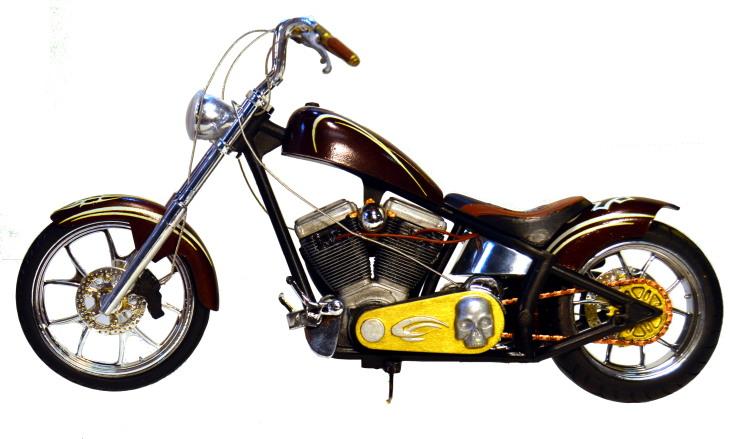
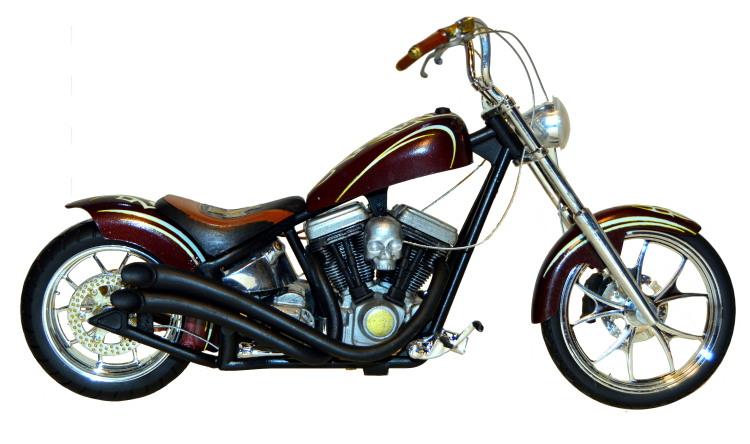
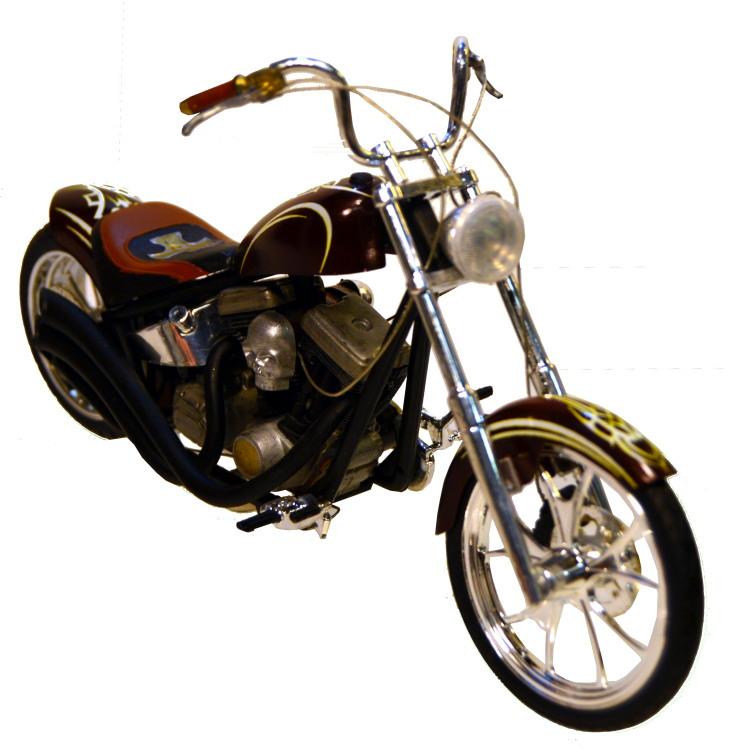
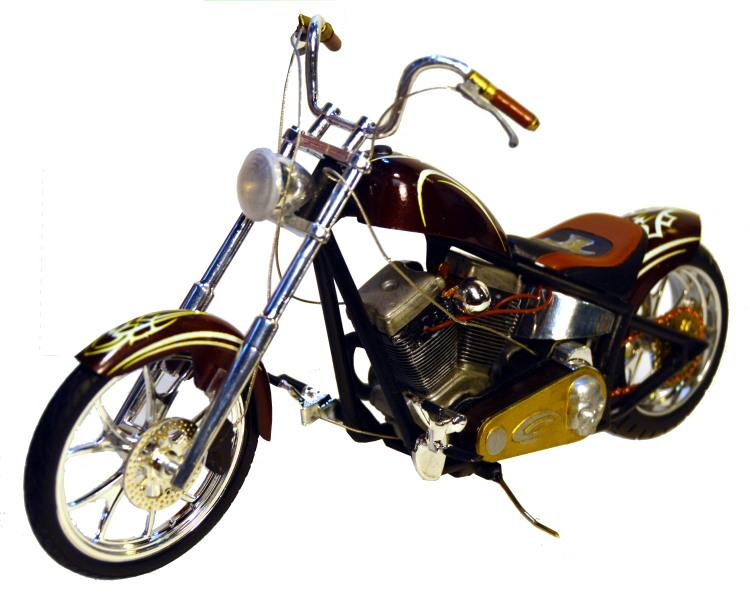
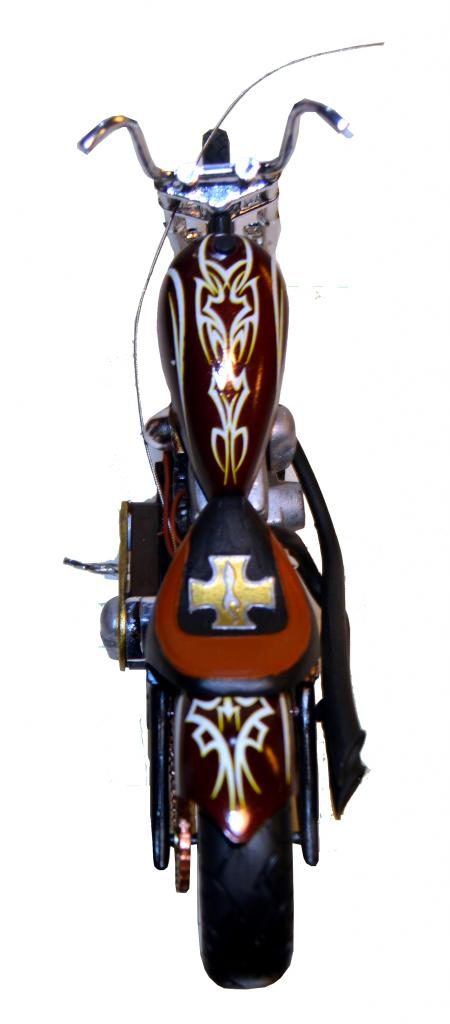
And here is the completed bike resting on it's kickstand.


Hey, where ya been, Harry...? Always look forward to your magic hands with those bikes. This one appears to be headed right along side all the other beauties you've posted.
Looking good! I'd say you're ready to build a real one (1:1) by now. 🙂
Nice work, Harry.
Thanks for the compliments! I have been around, and building as well. Just have been a little busy to post anything as I like to get a good explanation as to what I am doing posted. But now that things have slowed down a bit I'll be back to posting again. Guess I should get caught up!
As for the 1:1 build. I owned bikes in the past but am no longer able to ride...NUTZ...
You really know what you're doing with this, Harry, it's sure to look good when you've finished it.
These Revell kits can be a pain in the butt. For the most part they are pretty decent kits. For their cost. These would be good starter bikes for the younger set just starting into the modeling world. I like them from time to time to add a bit of detail and to try new things from time to time.