A Short Photo Tutorial
Occasionally, I am asked just how I go about shooting photos in the way that I do. So, what follows, is a very short tutorial as to how I go about it. Please feel free to ask any questions that you might have.
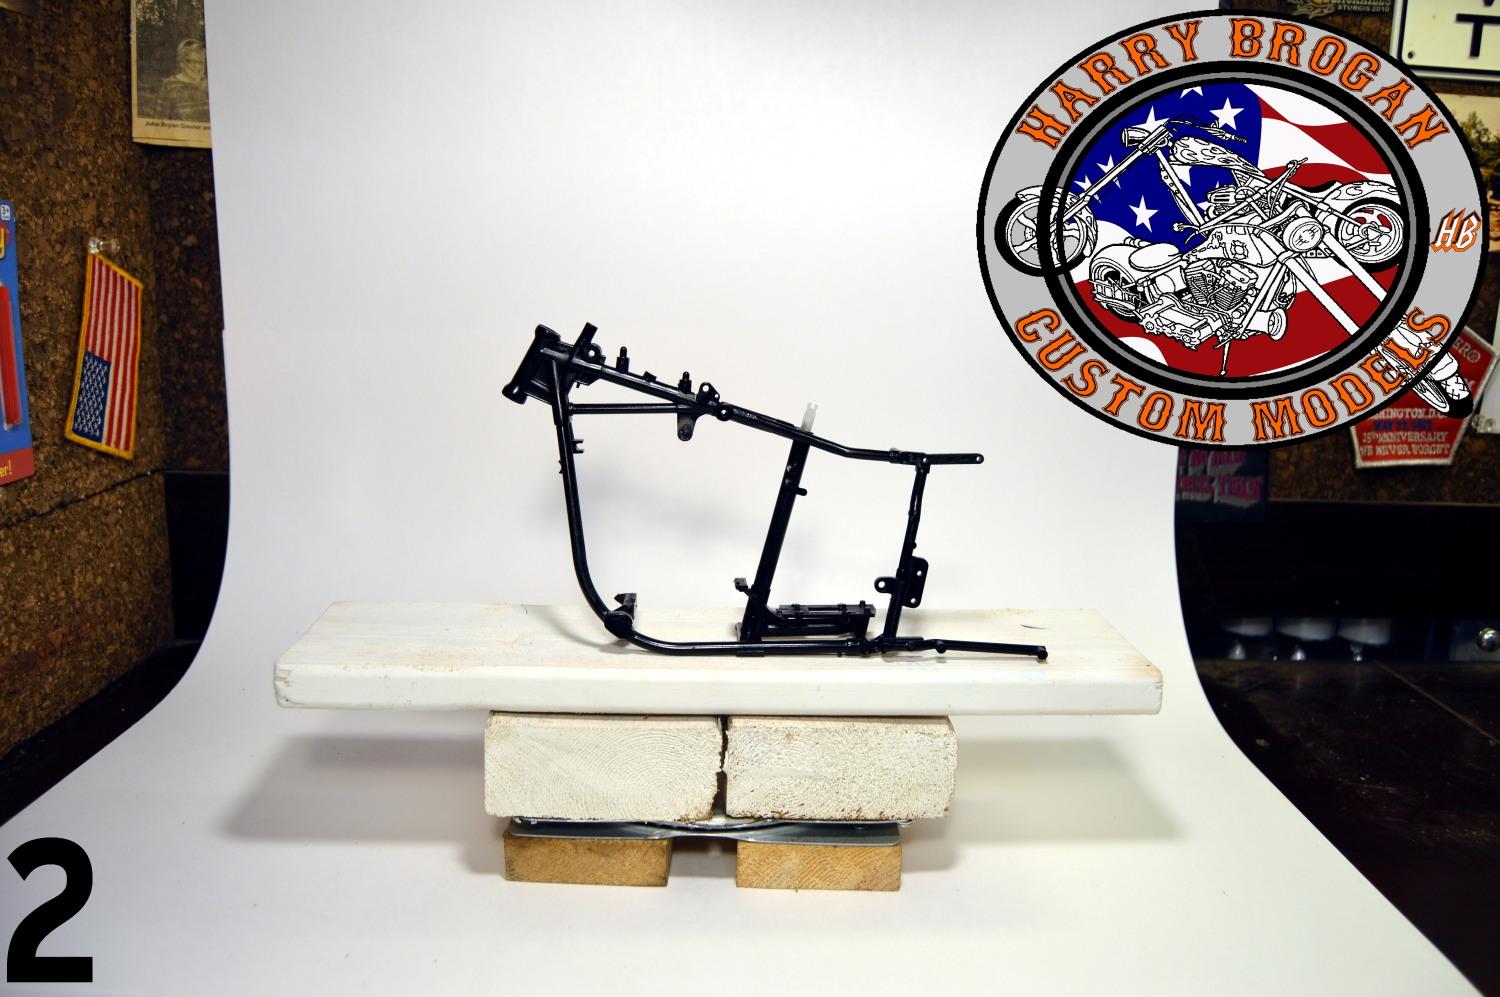
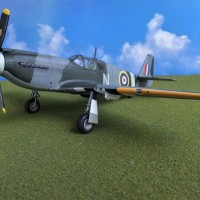
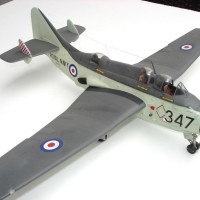
STEP ONE is to choose a background that is different from the colors that are in your model. I am using a white background for this. It's nothing more than construction paper from the local Hobby Lobby. Make sure you get the thicker paper as it will hold up over time.
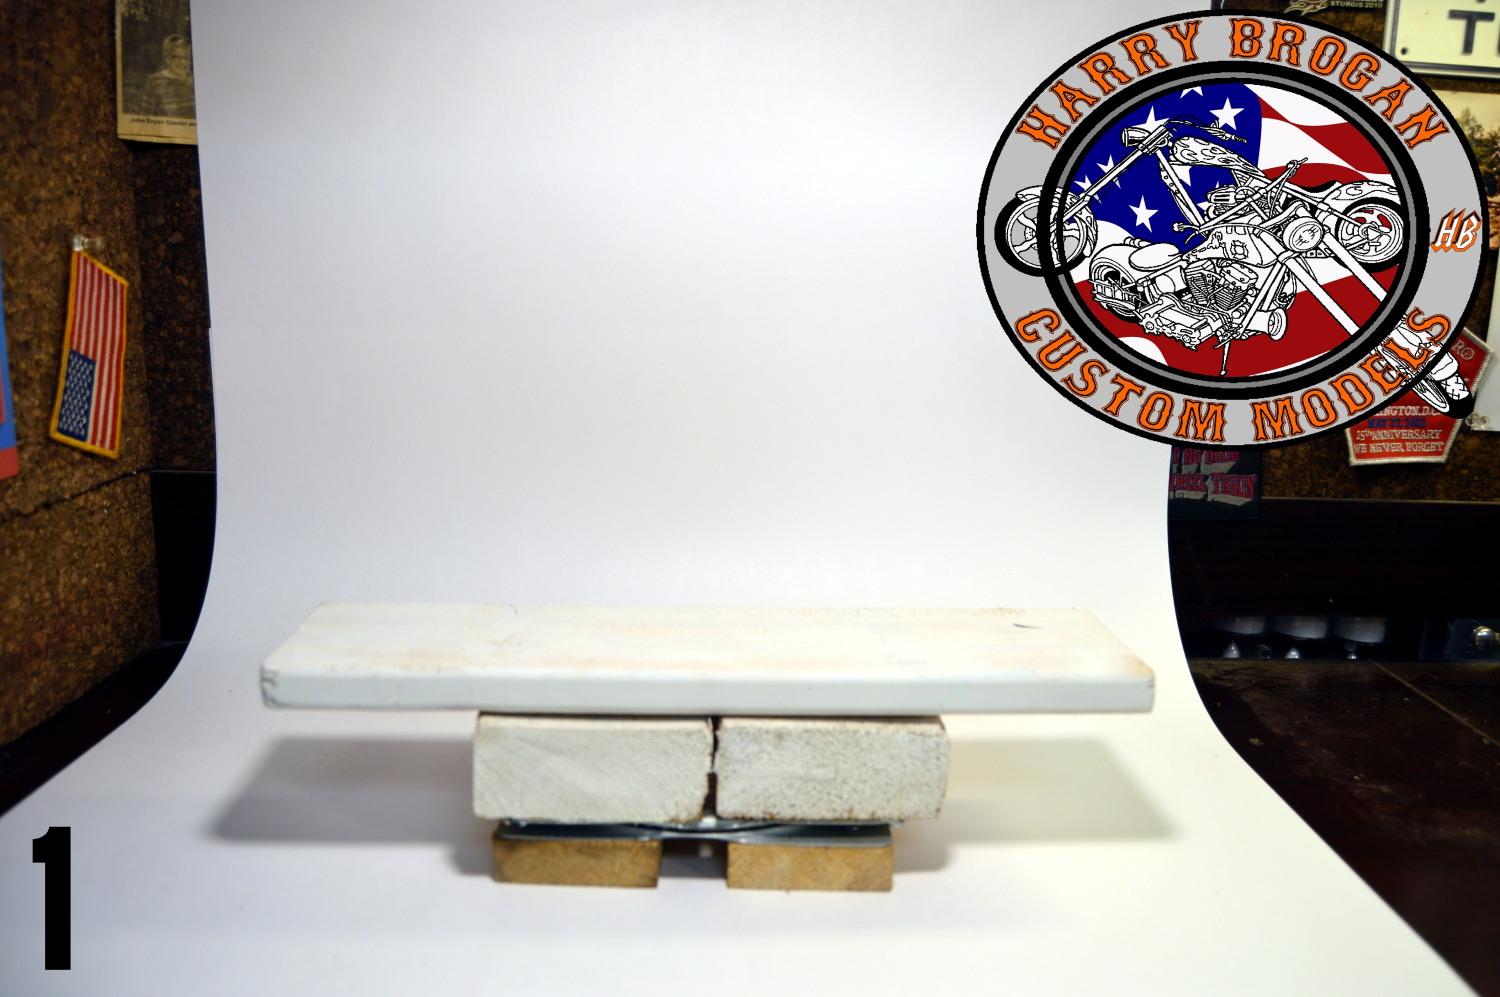
STEP TWO is to take multiple photos. I generally shoot two of each. One without flash and one with. Then I choose the best of those two to continue further. Deleting the other ones as they will not be used.
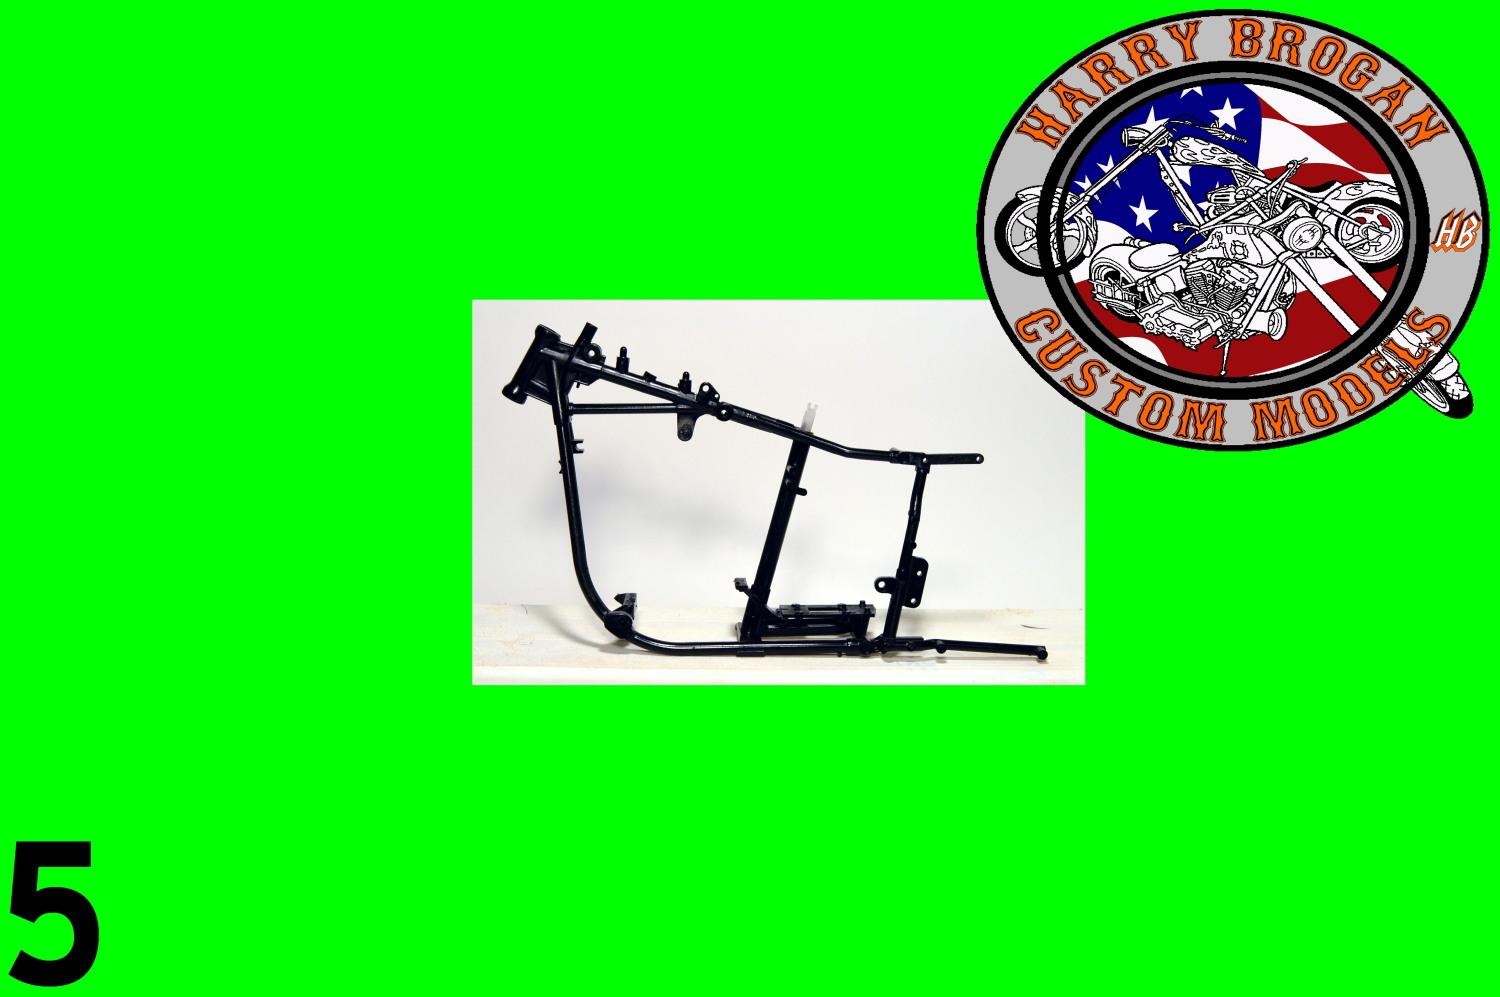
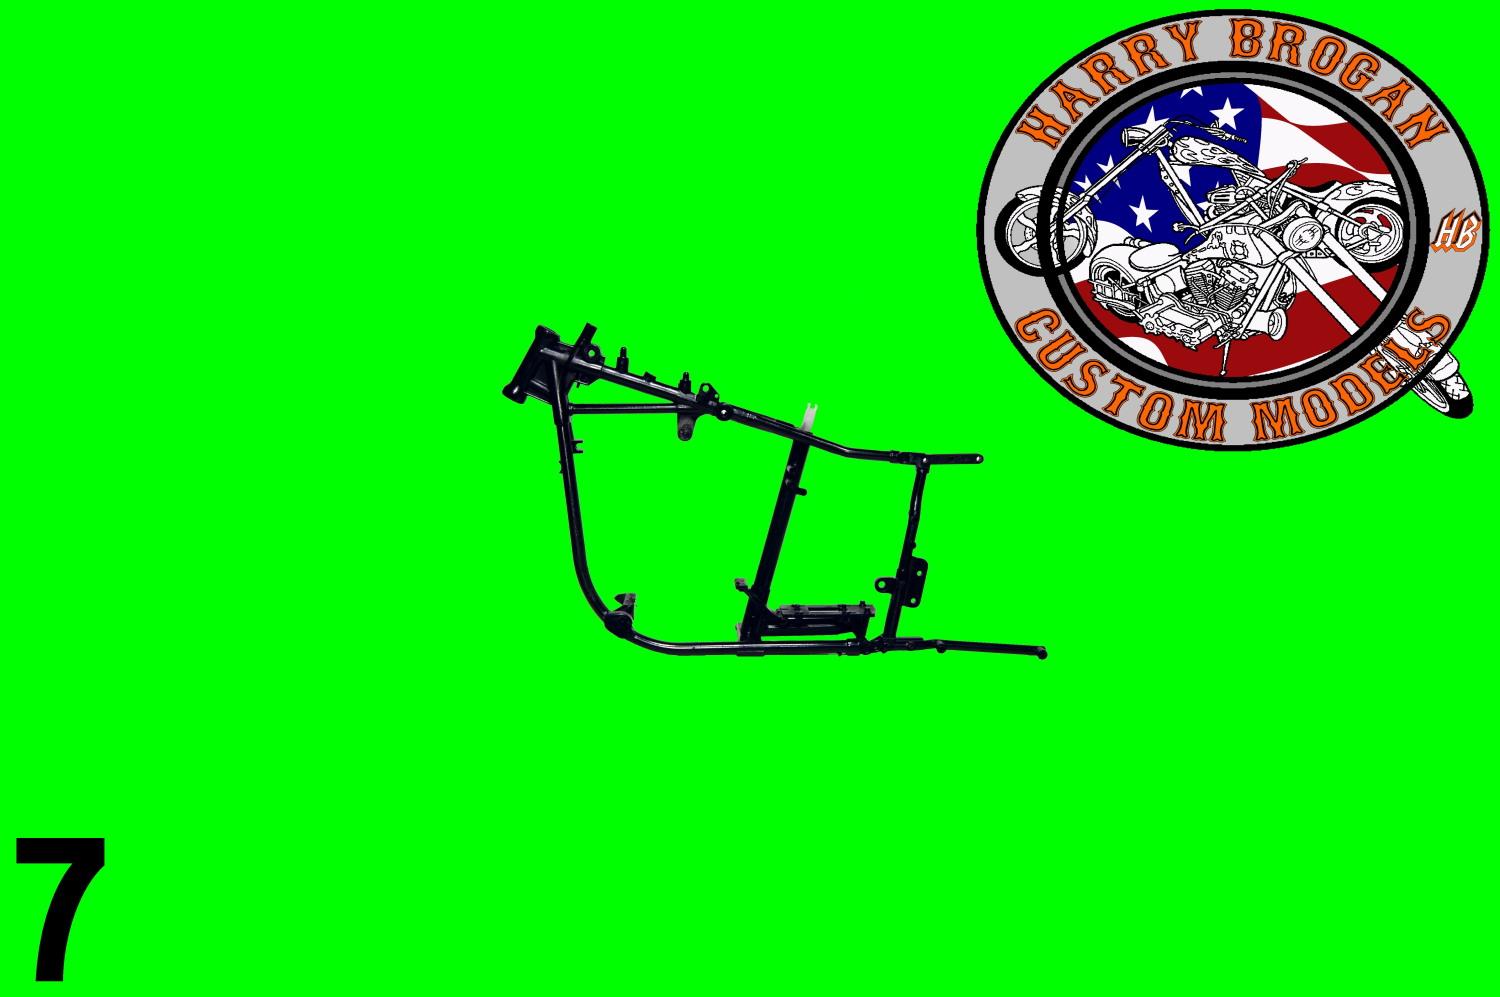
STEP THREE is to start by "cutting" out the parts that you won't be needing in the photo. I do this by using a select tool, going around a large area, and the deleting everything inside the box. Then using a fill tool to change it to a different color, in this case it's green.

Step four. Continue to do this process until you have changed all of the colors you want to change to the "neutral" green color.

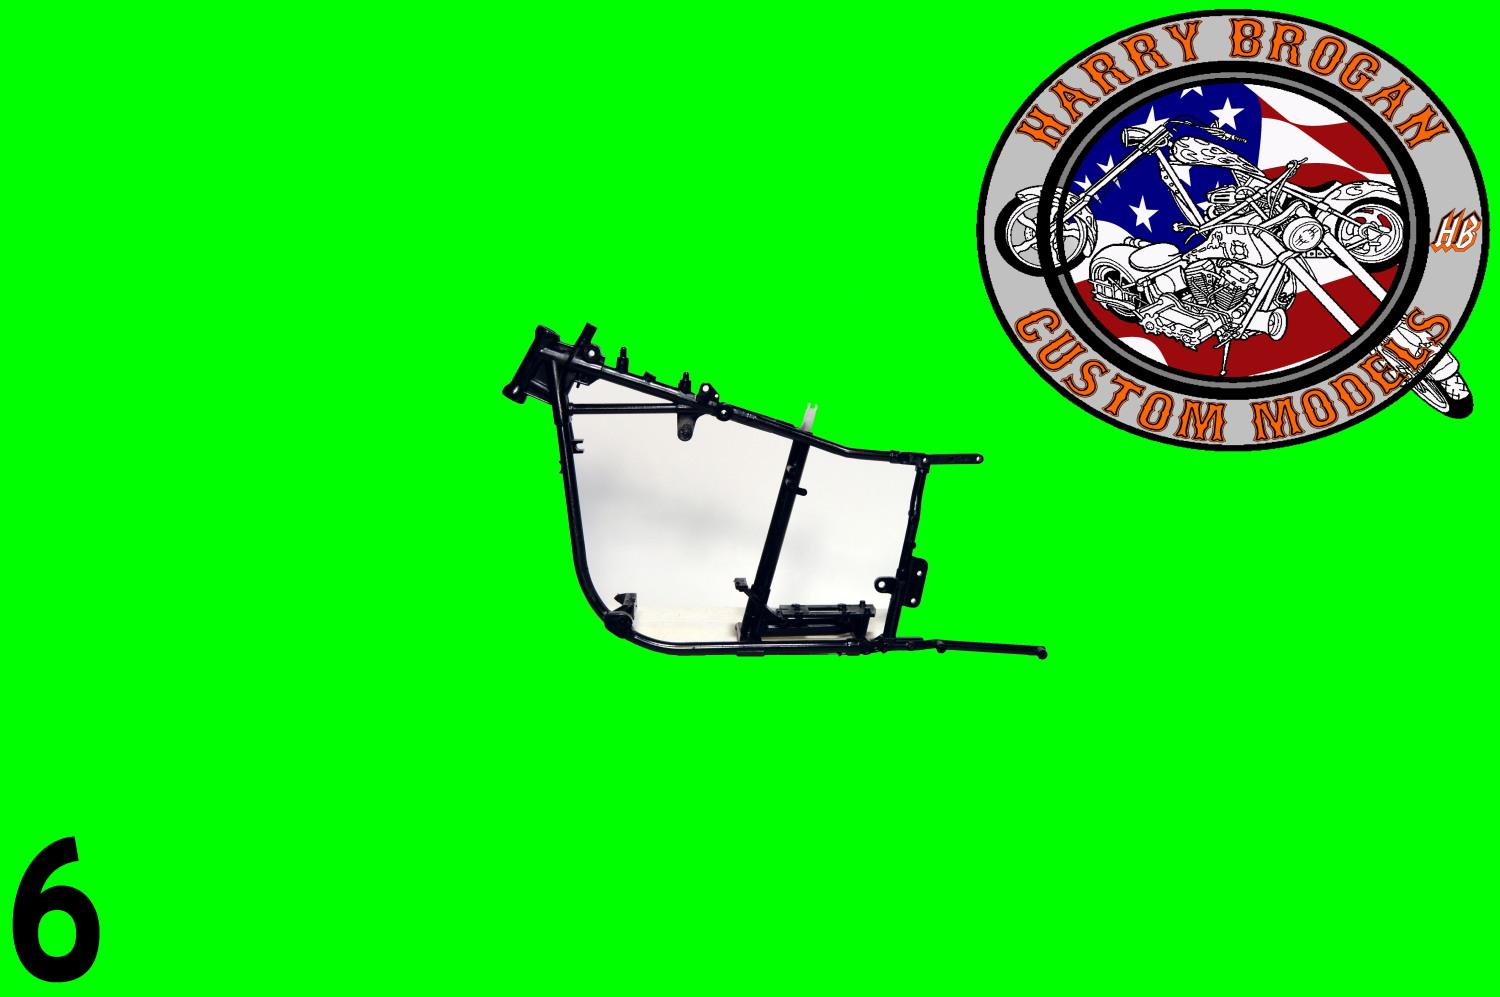
Step five is to change the green to, in this case, white. You can do this step in a number of ways. By "pouring" to fill in the color or by doing a "replace color" and that will change all of the green to white in one step. Personally, I like the "pour" option.
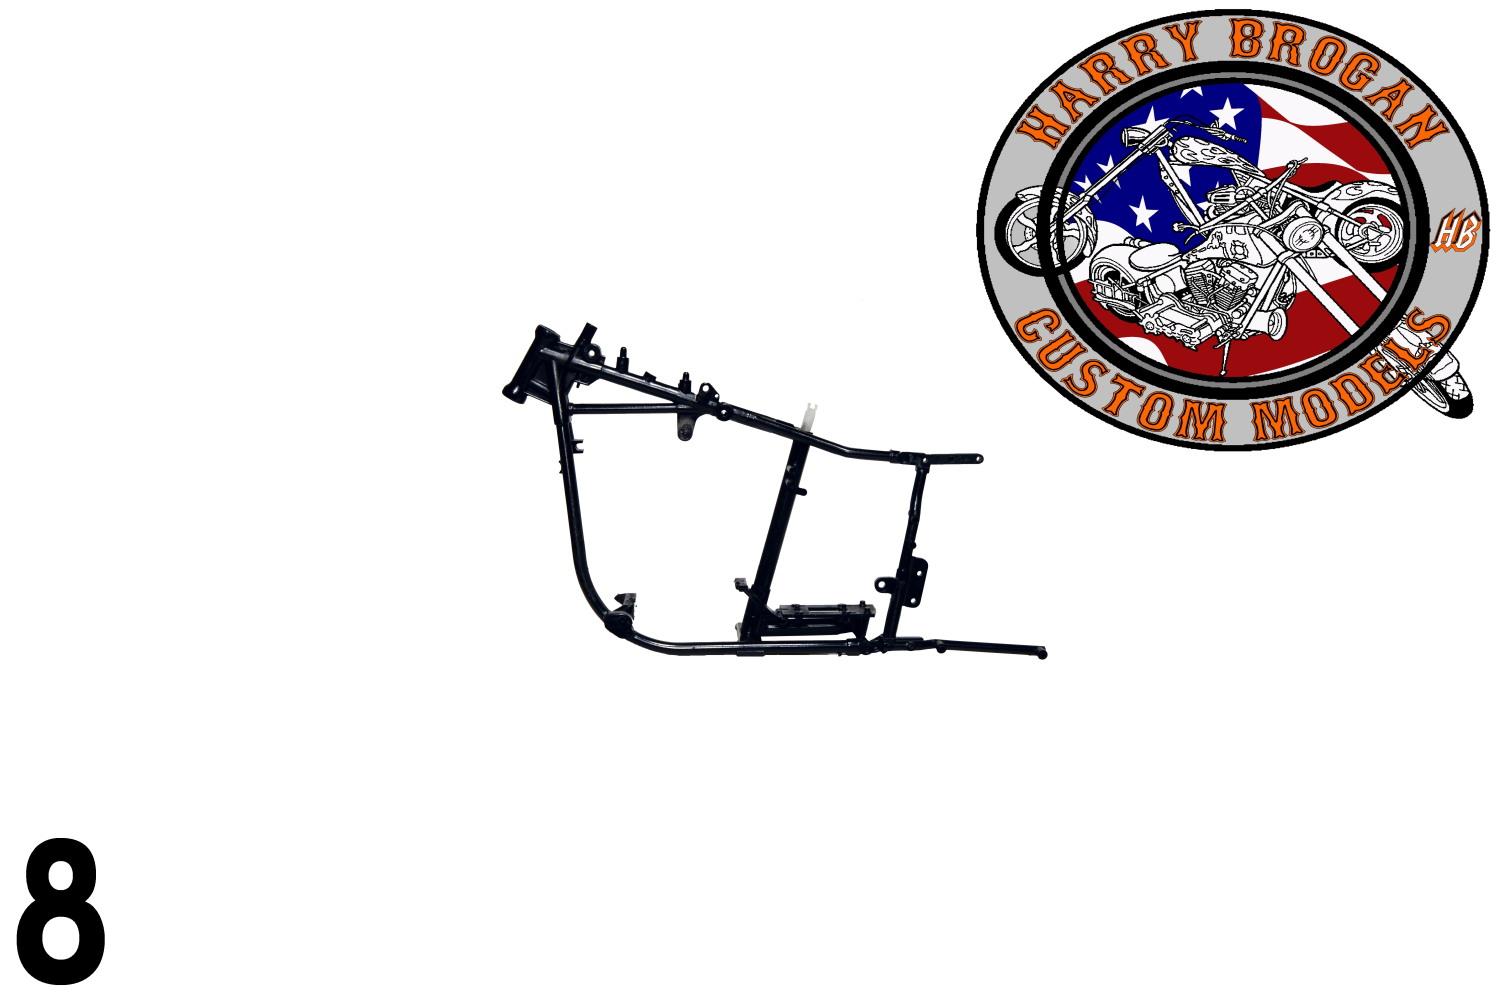
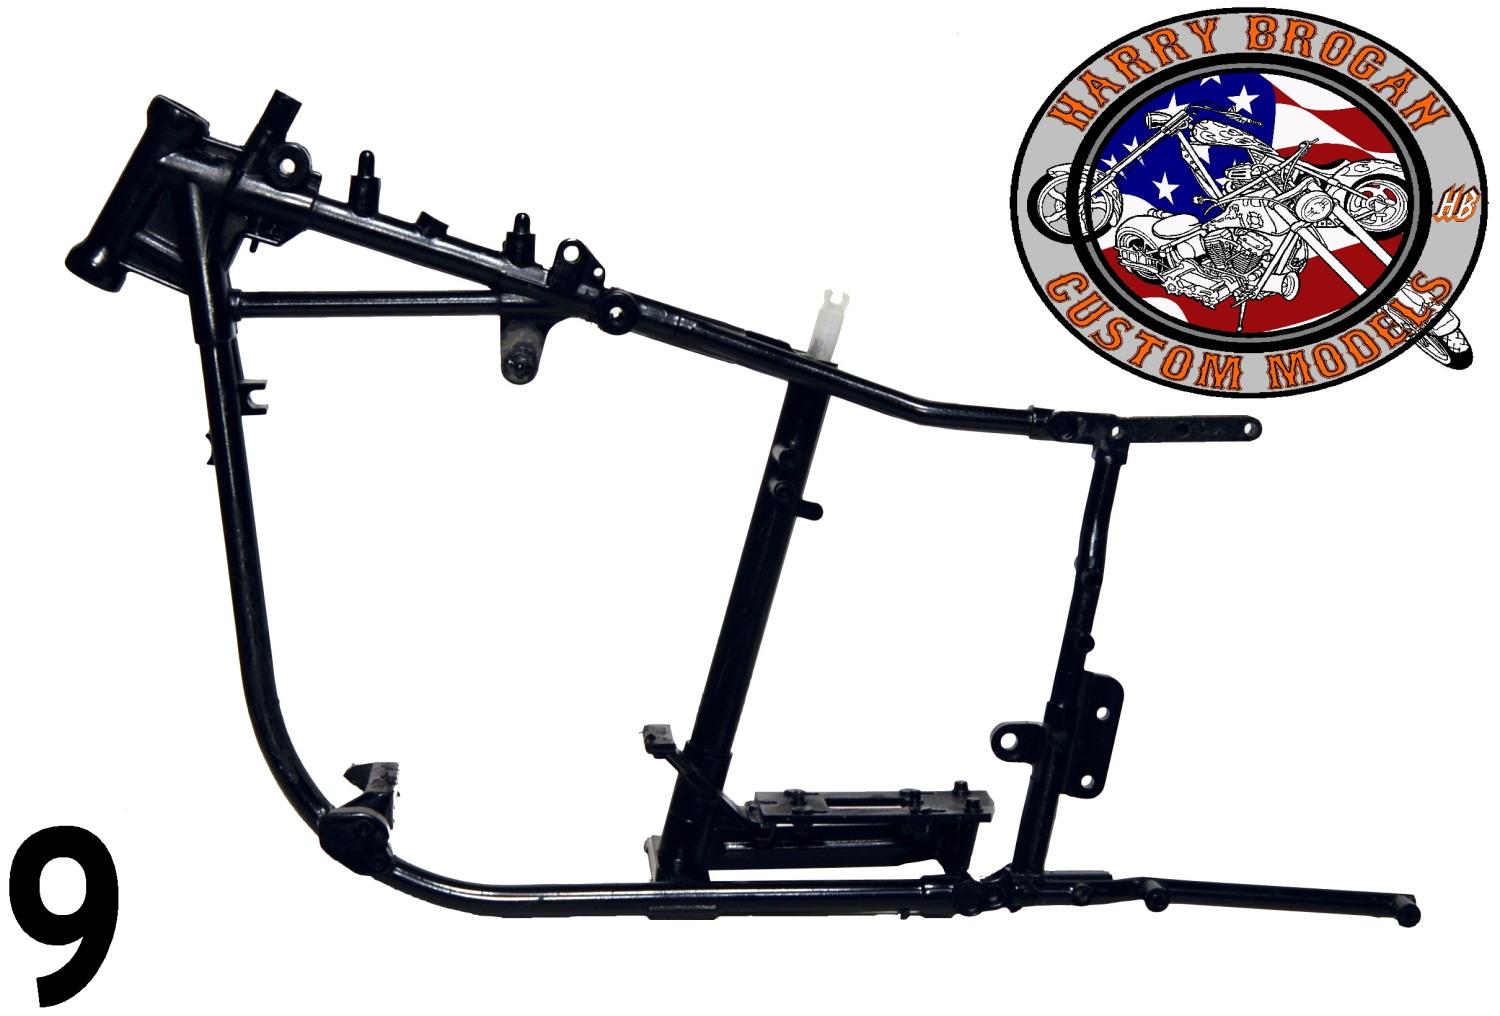
Step six is a pretty simple one. This is where you crop the photo to make it into something that's clear enough for people to see it.
I do not use Photoshop for this as there are far too many "free" options out there to use. So I actually use a minimum of two programs to do this. They are the Microsoft Digital Image and the PhotoFiltre programs. Both are free and relatively easy to use. Play around with it and see what works best for you. I have been using these programs and these steps for a long time. But there has been a LOT of trial and error as well. Shoot, there are still times that I get frustrated when doing this and, sometimes, spend just as much time on the photos as I do on the actual building of the model.
Again, if you have any questions please feel free to ask and I'll be happy to answer as best that I can.
ENJOY

Thanks for sharing your comprehensive tutorial with us, Harry. And the names of the programs you use. They'll certainly be helpful to those of us who wish to experiment with improving our presentations. The procedure certainly makes for a nice pic for sure!
I can remember just starting out doing this sort of thing. Spent a ton of time trying out different things. This is what works best for me. Perhaps someone else can share what they do. I have a lot of fun with it. ((being a bit OCD helps))...
Nice tutorial Harry. I use IrfanView to quickly choose which photos I want to keep (usually shoot 4-5 at different settings) and then Paint.net for editing. These are both free
I have used both of those as well. The programs used are simply a matter of personal preference. Nice choices! Glad to see that I am not the only cheap one out there! LOL
Hello, Harry! Thanks for sharing your techniques & for naming some freebie programs. The only thing I use is the very basic program that came with my computer which uses Win 10. I certainly can't do the detail work that you do, so I will look at some of the programs mentioned here by you & George. I'm pretty much a beginner, so I appreciate tutorials like this & any comments or recommendations you might feel like sharing. I'll probably look at the MS Digital Image program since everything else on my confuser ... er, computer is MicroStuff related.
Thanks again!
I use the Microsoft Digital Image Starter Edition 2006. Look for that version. It's older and works well under Windows 10. Just make sure you click on "OPEN STARTER EDITION" when using the program. Otherwise you'll go to a Microsoft page letting you know that the program is not available for upgrades.
I use a combination of that one and photofiltre. Since some of the options are not available in the starter edition of the Microsoft one. And, yes, that's the correct spelling for photofiltre is you are doing a search for it.
I've downloaded the MS Digital Image, now I'll get the PhotoFiltre. THEN I'll have to TRY to learn to use them. I'll muddle through somehow.