Review: Kitty Hawk 1/48 UH-1D “Huey” – Build Review, Part 2
The first part of this review can be found here: http://imodeler.com/2017/09/build-review-part-1-kitty-hawk-uh-1d-huey/
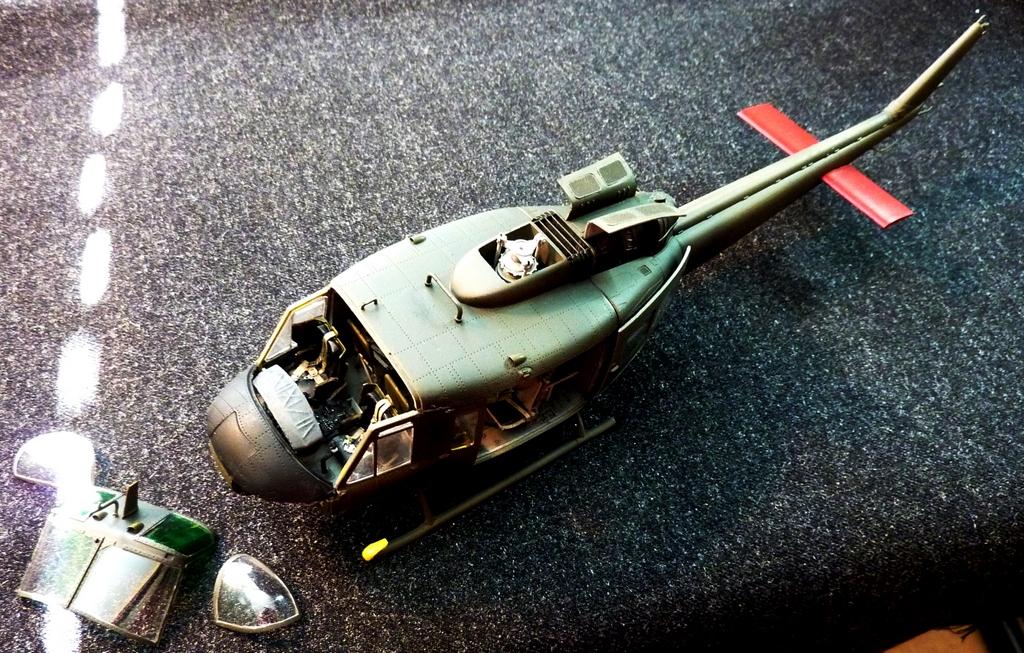
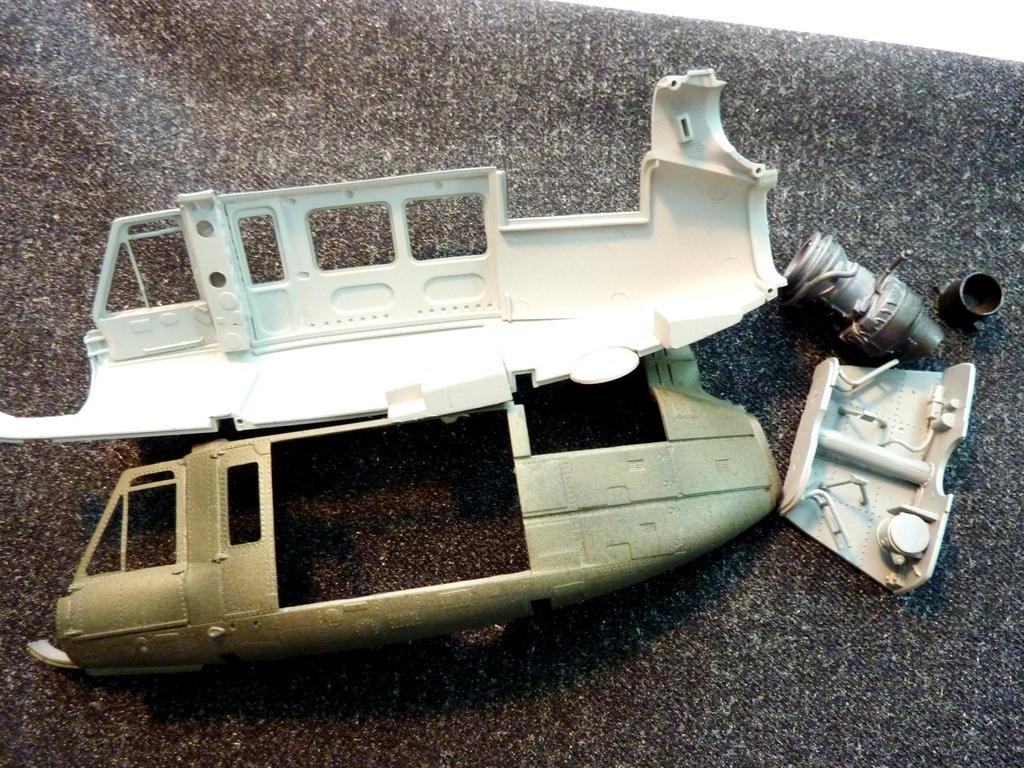
Main Construction
Moving on with the main body of the machine, I'm now finding a few discrepancies - nothing major, but you need your wits about you.
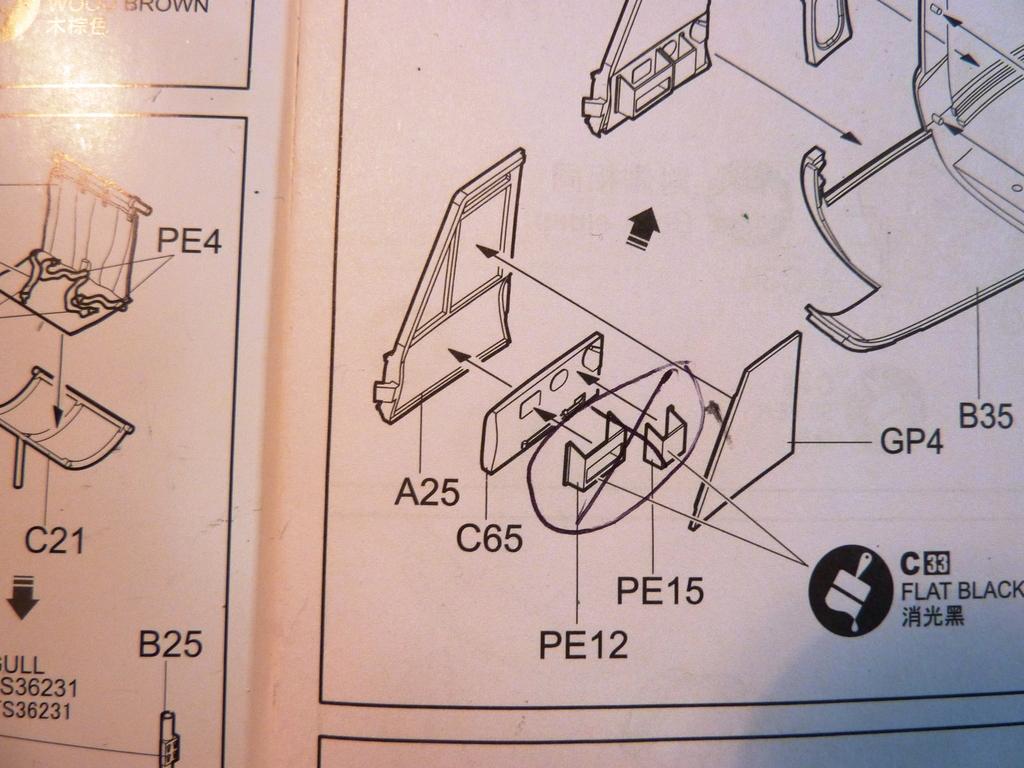
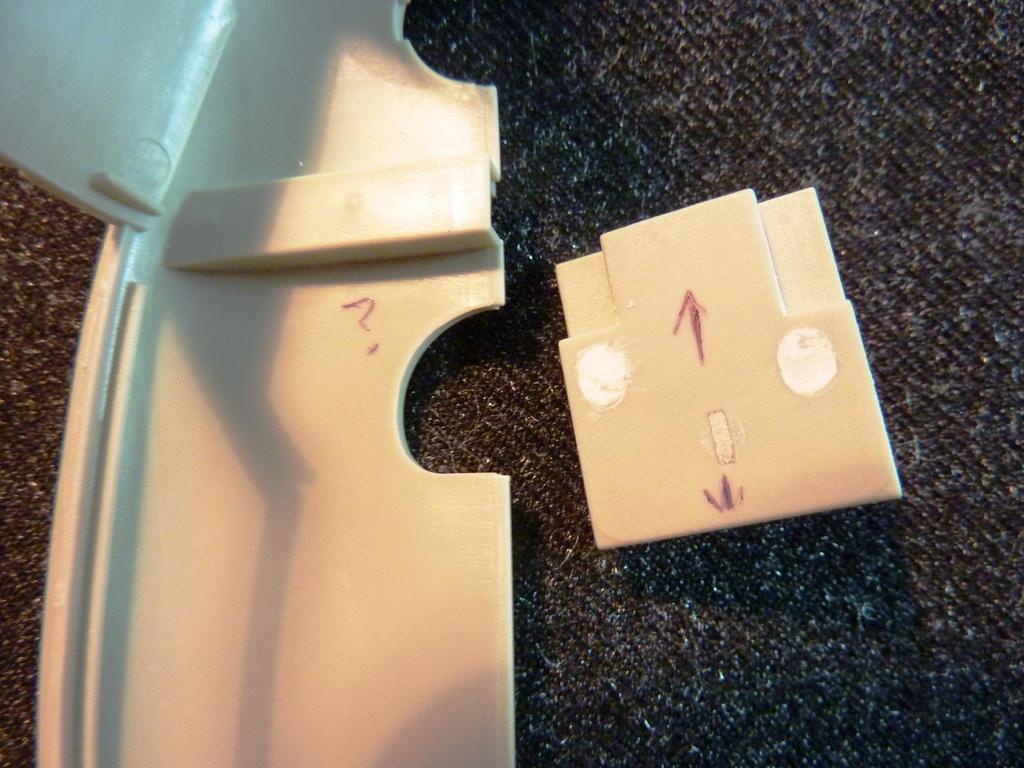
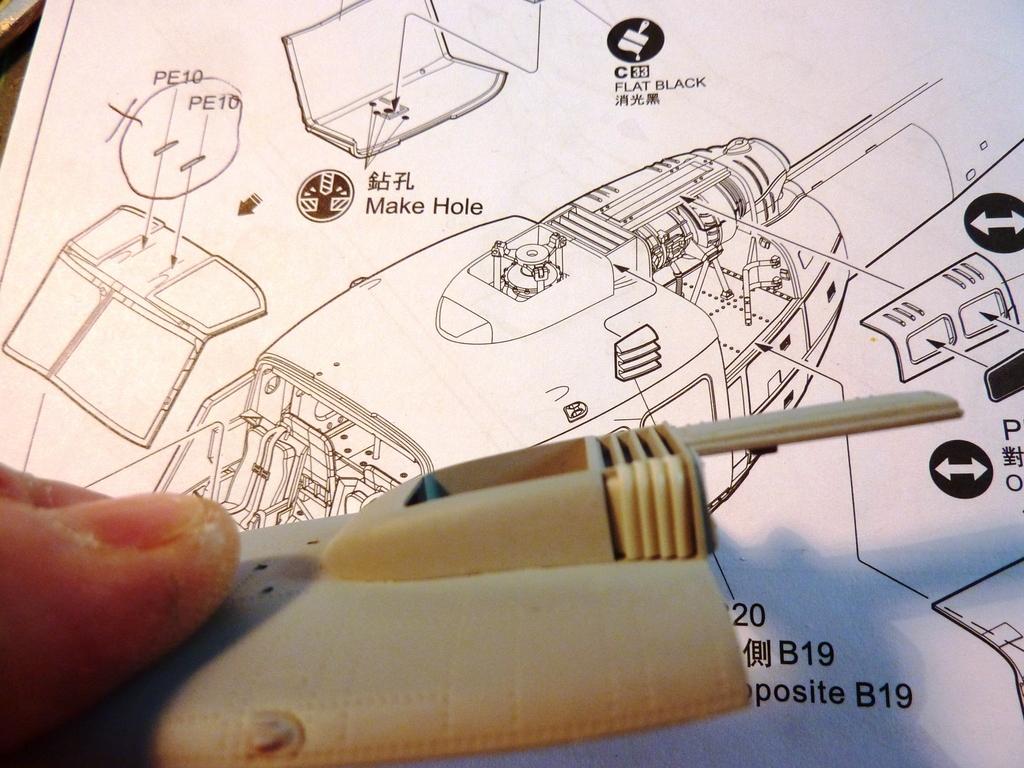
In these photos, you can see that there are a few instructions that don't apply to a "D" but are not flagged up as such; the crossed out PE items here belong to a Luftwaffe type. The back side of the winch is also shown but not its preferred position. I took the centred locating tab for a piece placed from the other side and lined it up on that. Here too the exhaust tabs are far too thick for the slots. A little filing and its fine, but check and doublecheck.
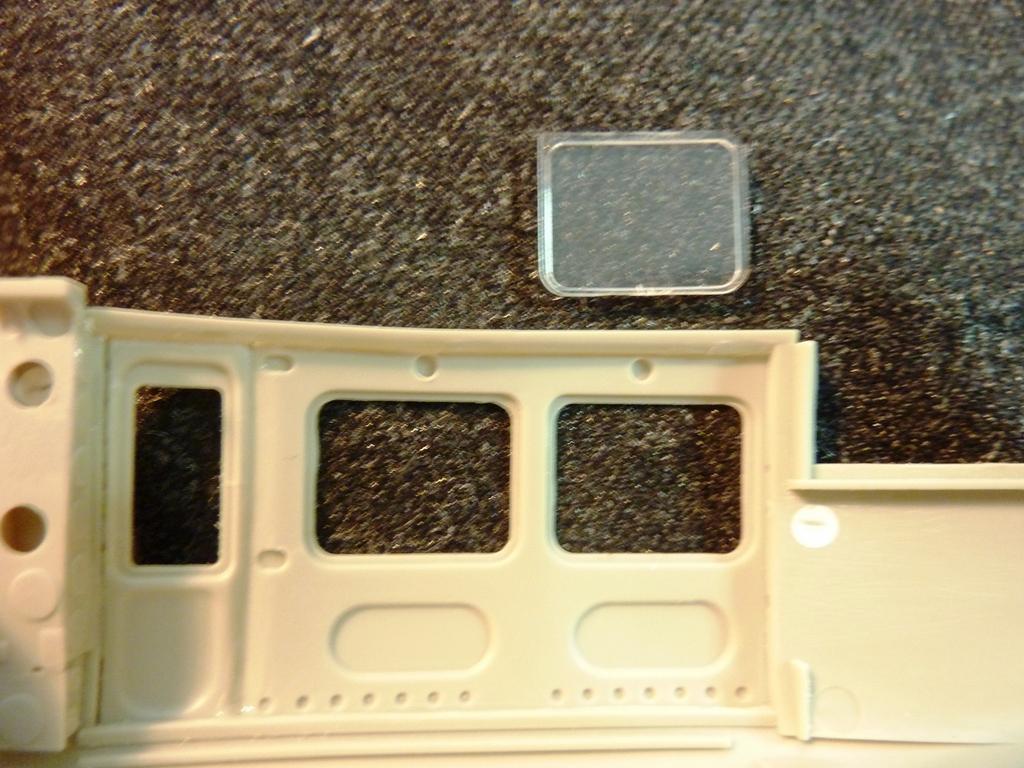
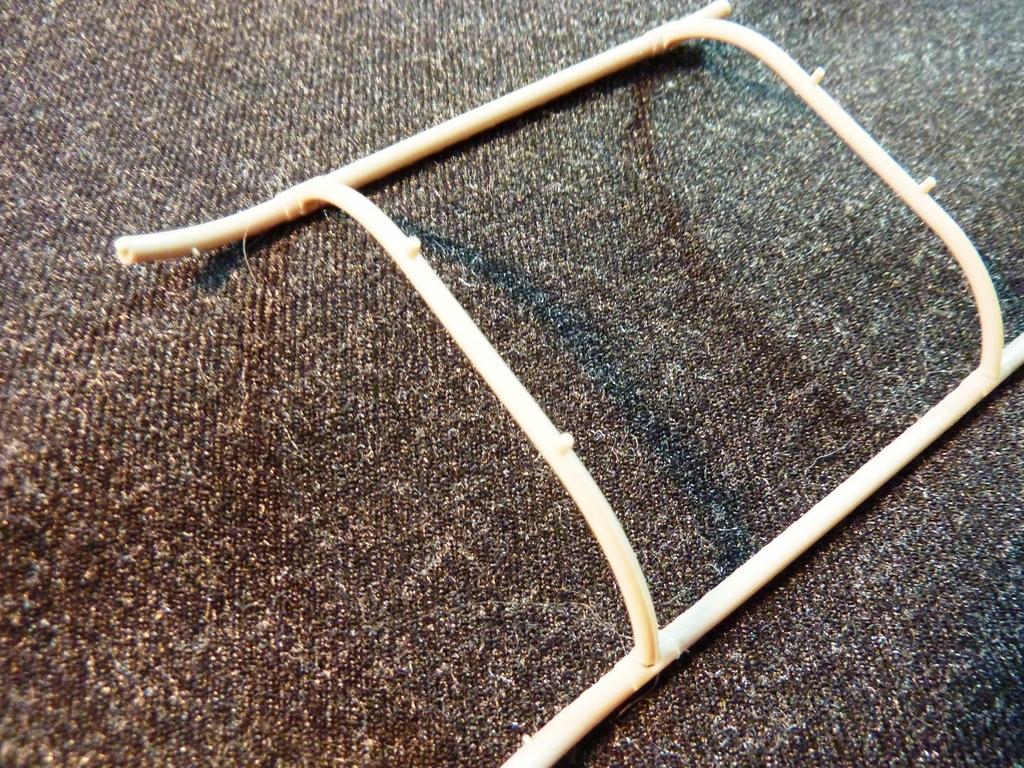
The door parts are delicate, and removal of material from the injection process requires a delicate hand.
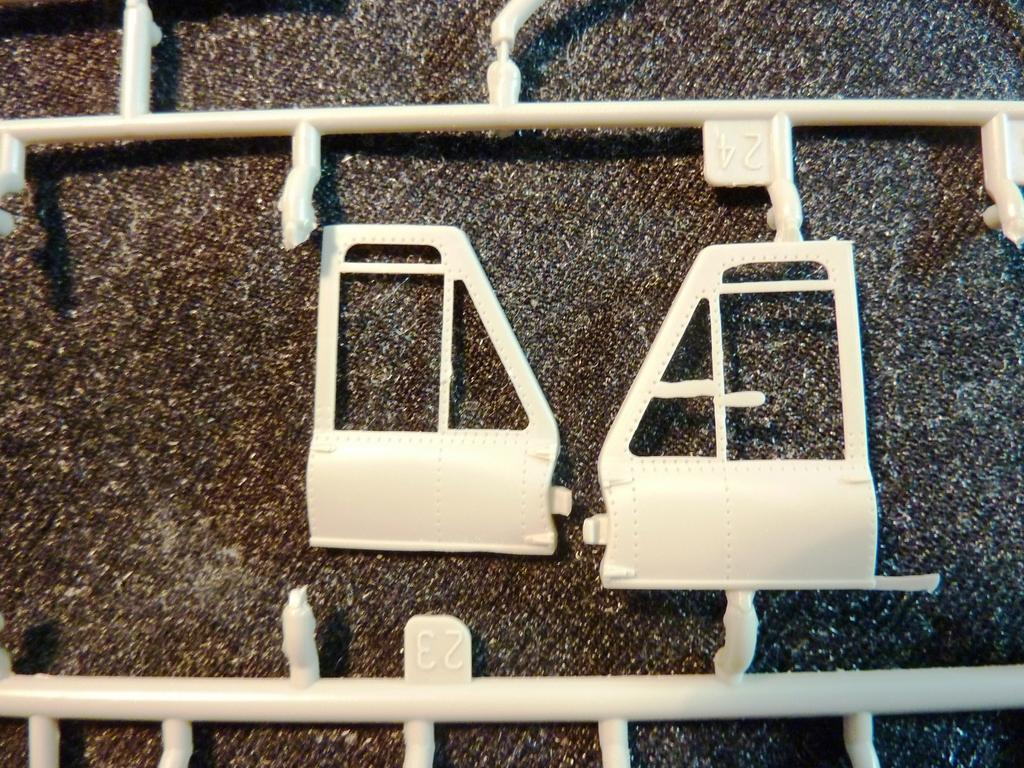
The clear parts are sparkling. I'm not treating them with anything except a polish. You may notice though that the corners are pointed in some places whereas the reveals are rounded - a swipe with a sanding stick does the trick.

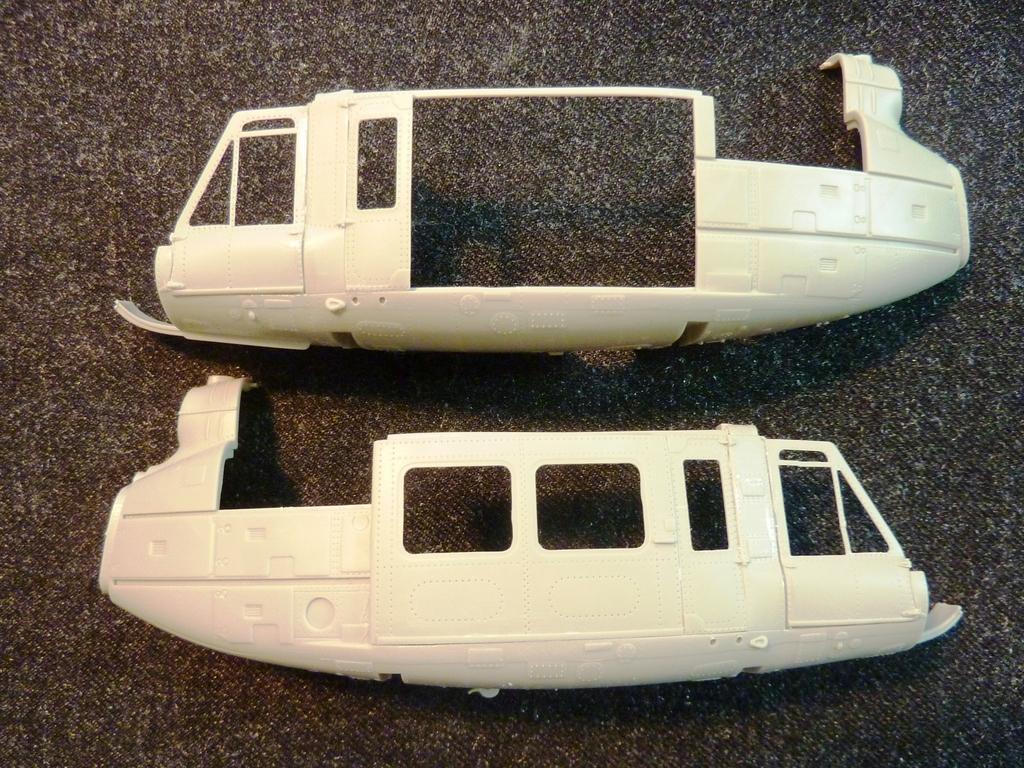
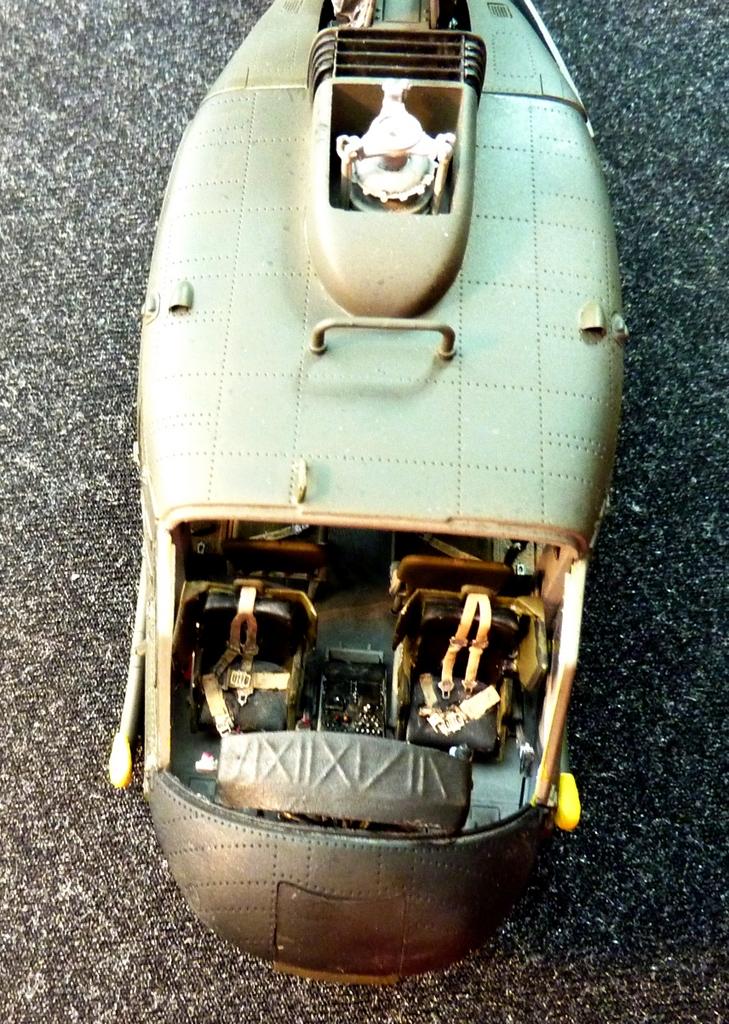
I decided to close up the starboard side doors but leave the main doors open on the port side.
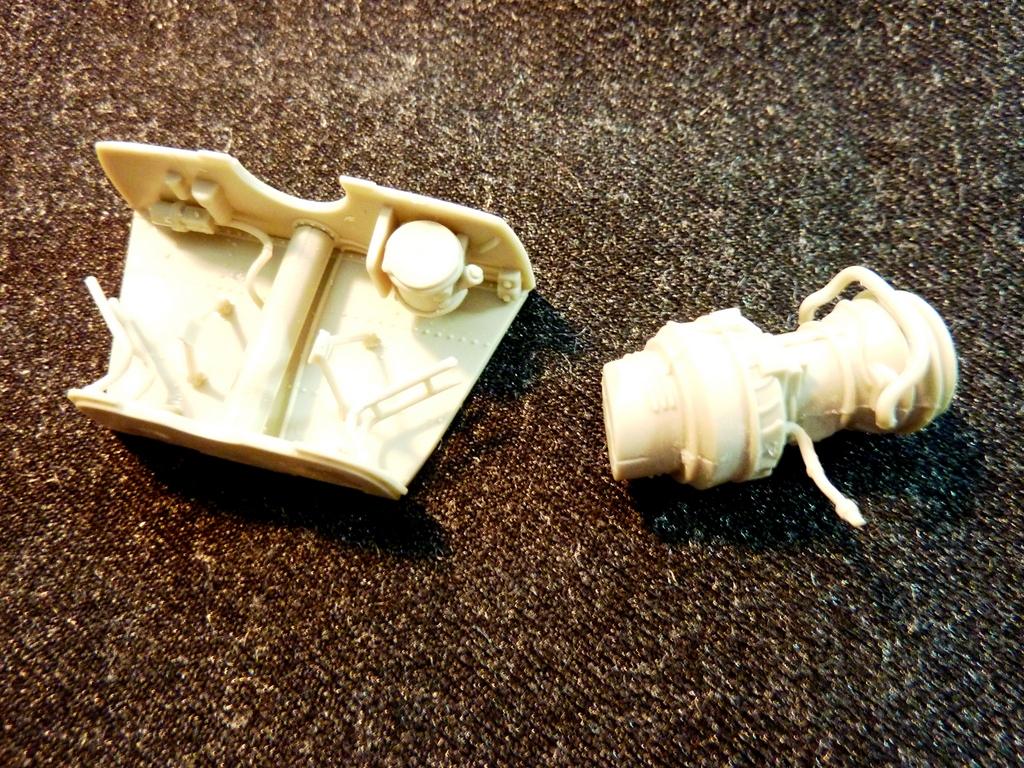
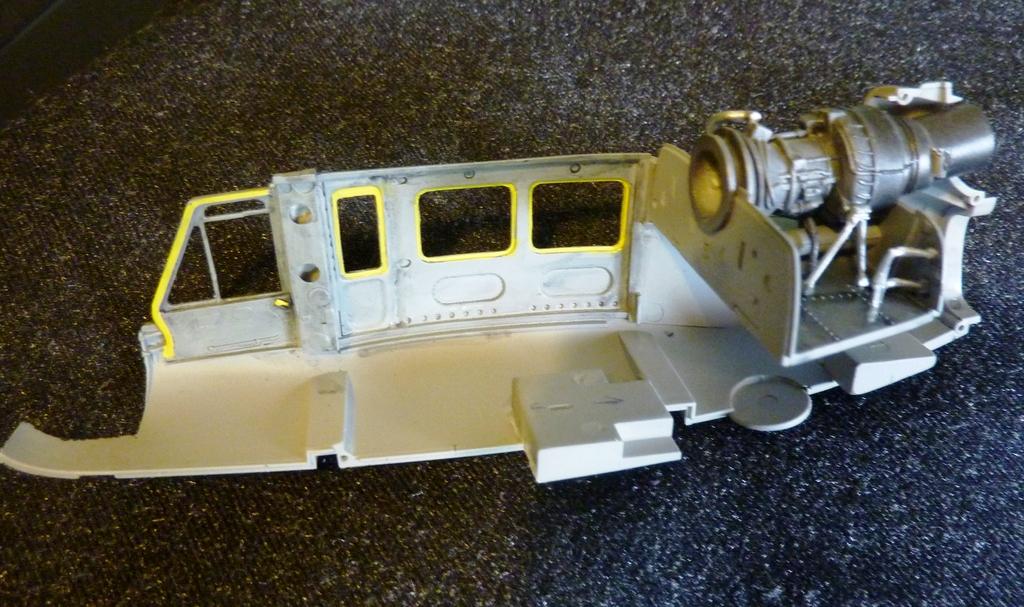
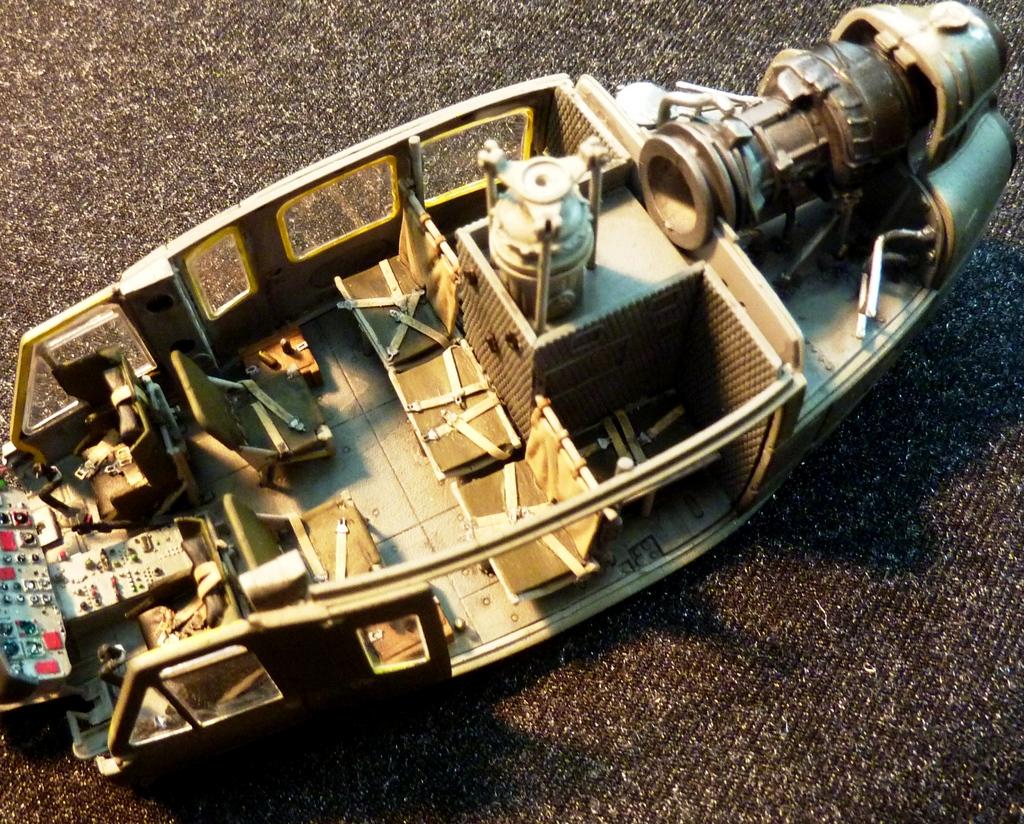
The engine is very nice, but there's a wealth of detail-up work that can be done to improve it. Also here a few more interiors items added.
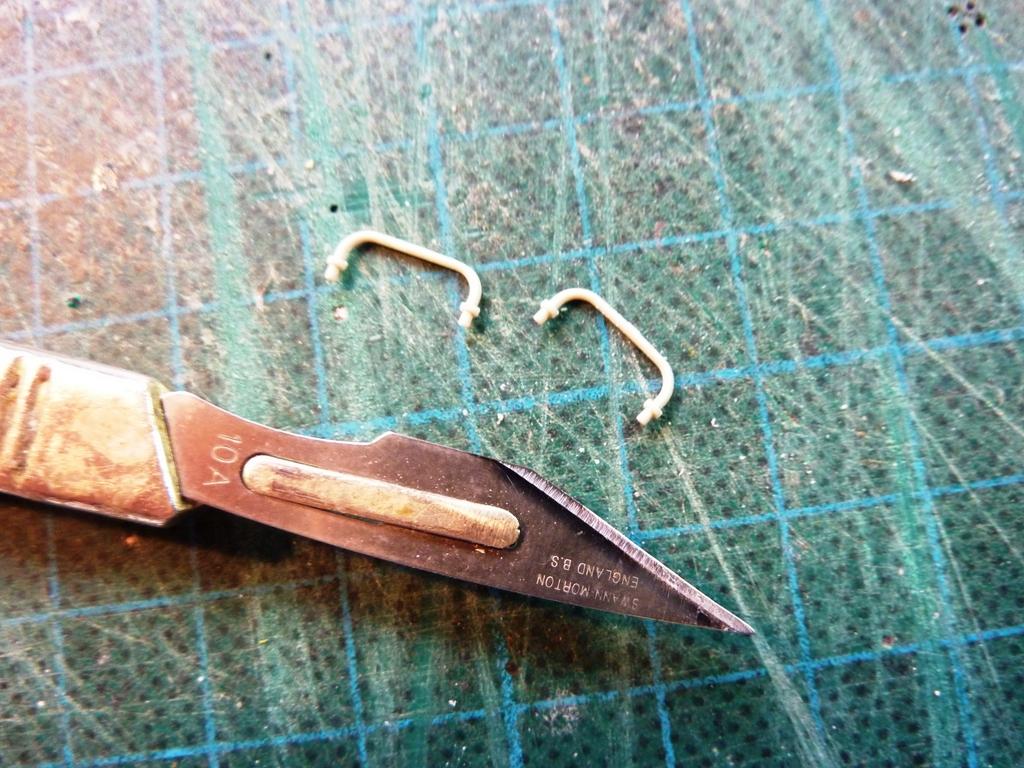
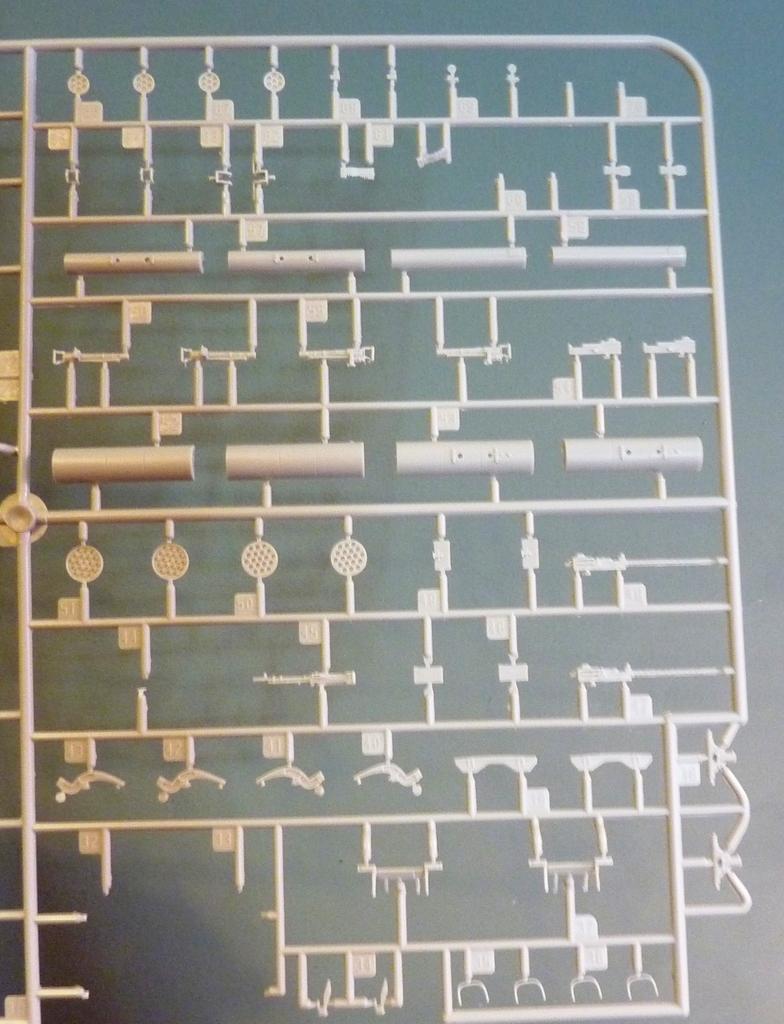
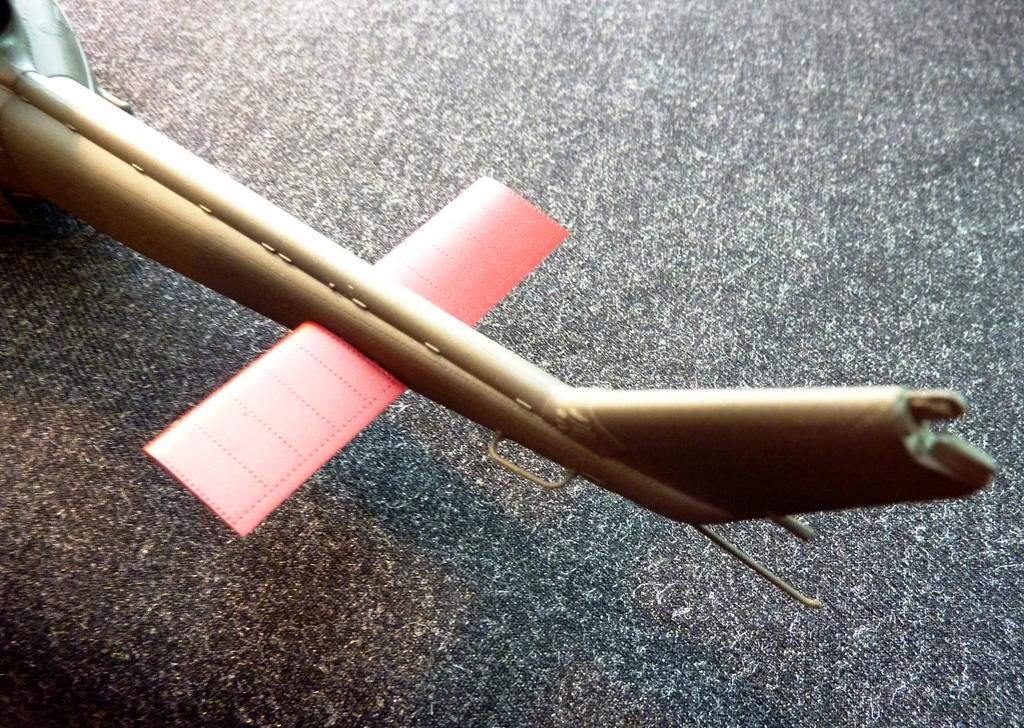
I added this photo to show the way the sprue gates tail off just before the part - an excellent feature where small parts are concerned, or any part for that matter.

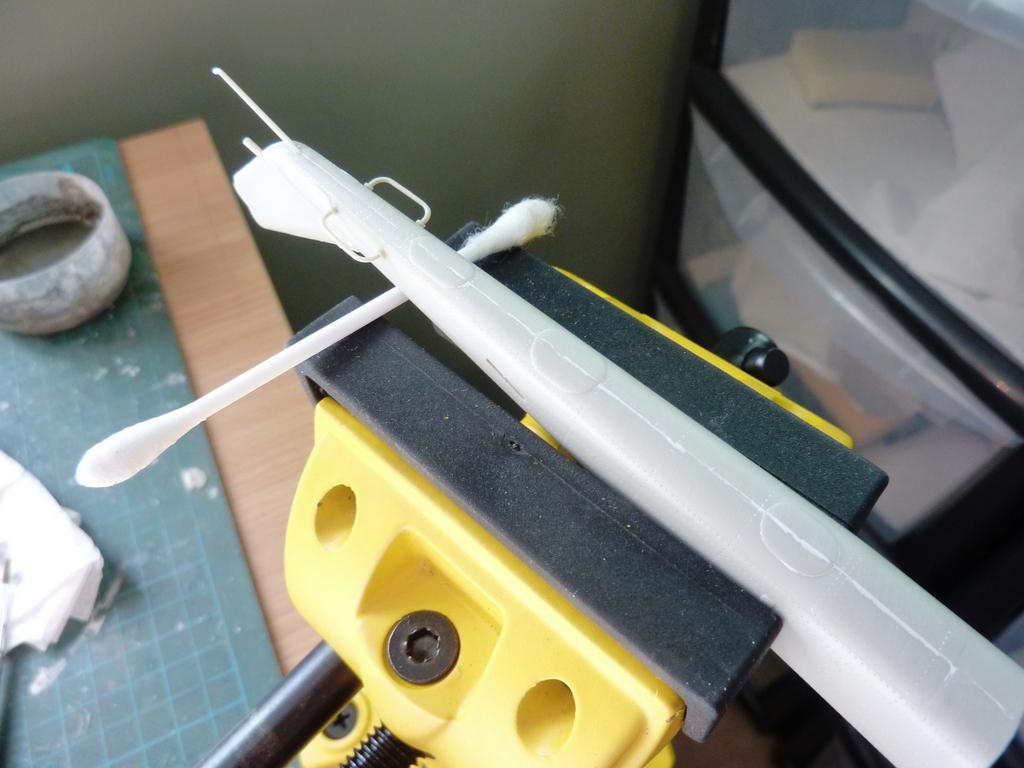
The tail boom is principally just two pieces, plus the handholds and stabilisers. You may notice on the instruction illustration that there appears to be a long grab rail along the starboard side boom. Nothing in the kit for it, and nothing in photos of "Ds" that I've seen, unless someone knows better.
A few bits coming together. There's space below the floor if you want to add weight, but I didn't. It doesn't appear to be a tail-sitter.

The overhead panel - absolutely blank, although the instructions show detail something like what's on the main console. Shame, but it can be remedied with bits of plastic rod, etc.

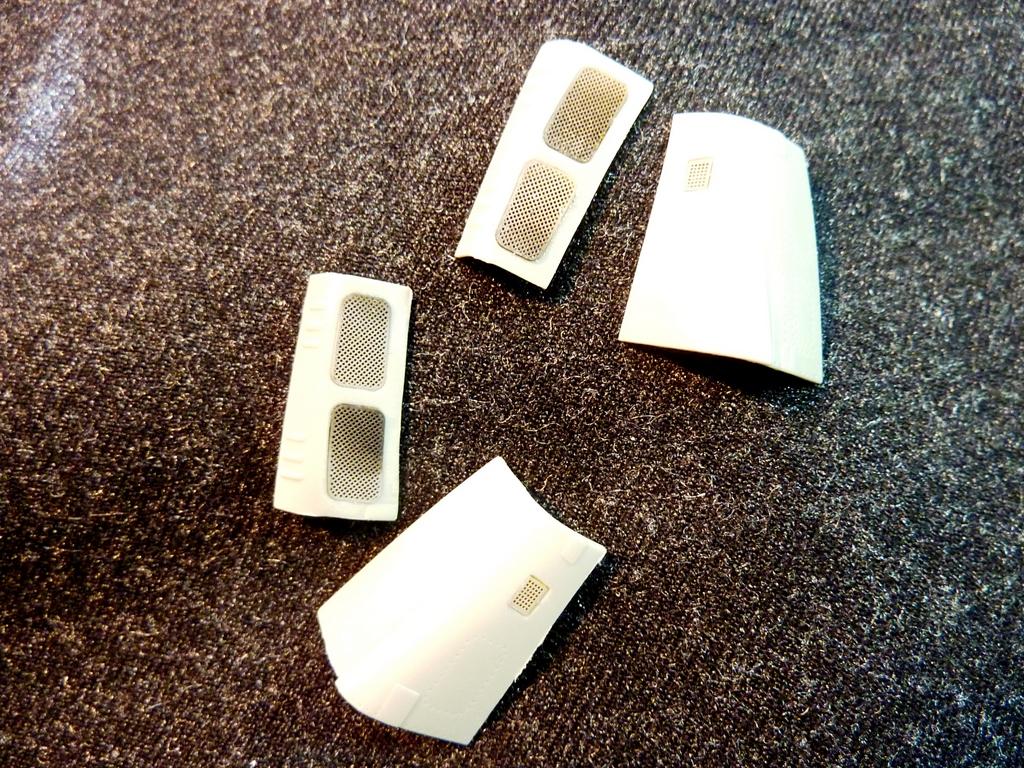
The engine hatch covers - nice little PE grilles here.
Another example of bits not wanted here, but you have to know that.

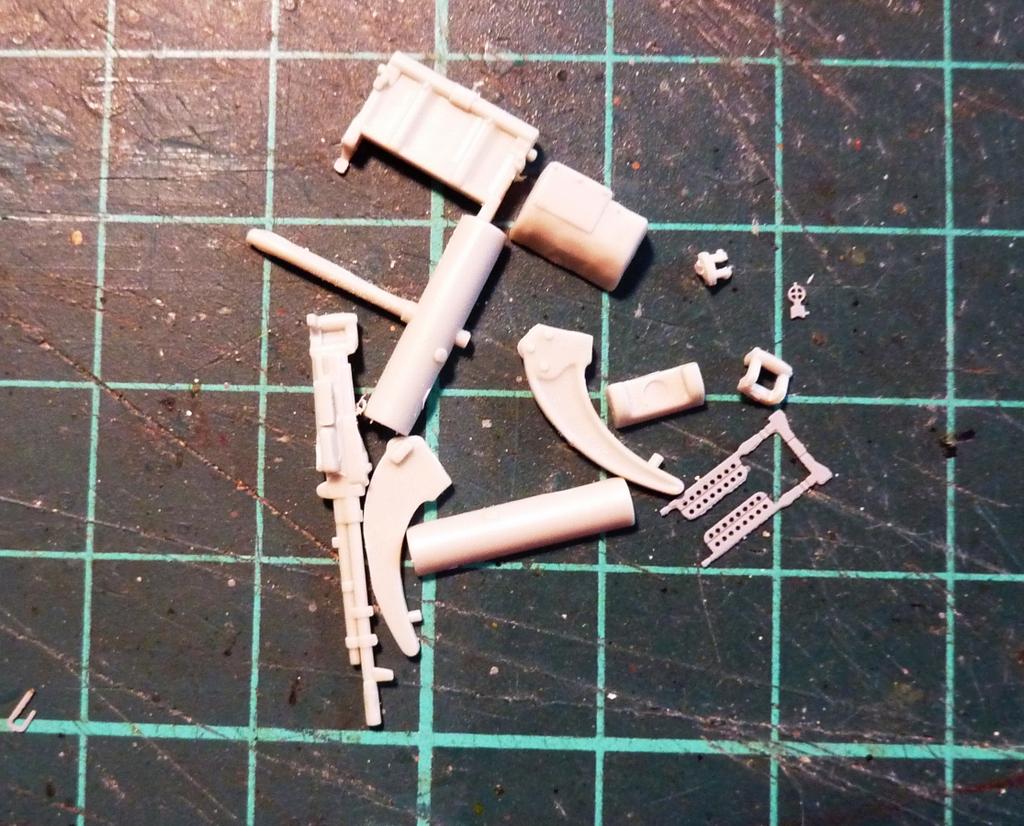
The M30s are very nice, with a combination of plastic and PE. The third photo shows all the other armament that isn't catered for in the instructions - perhaps for release of a different type? Even if included for an "H" there's no way to get to the end result, at least not without difficulty.

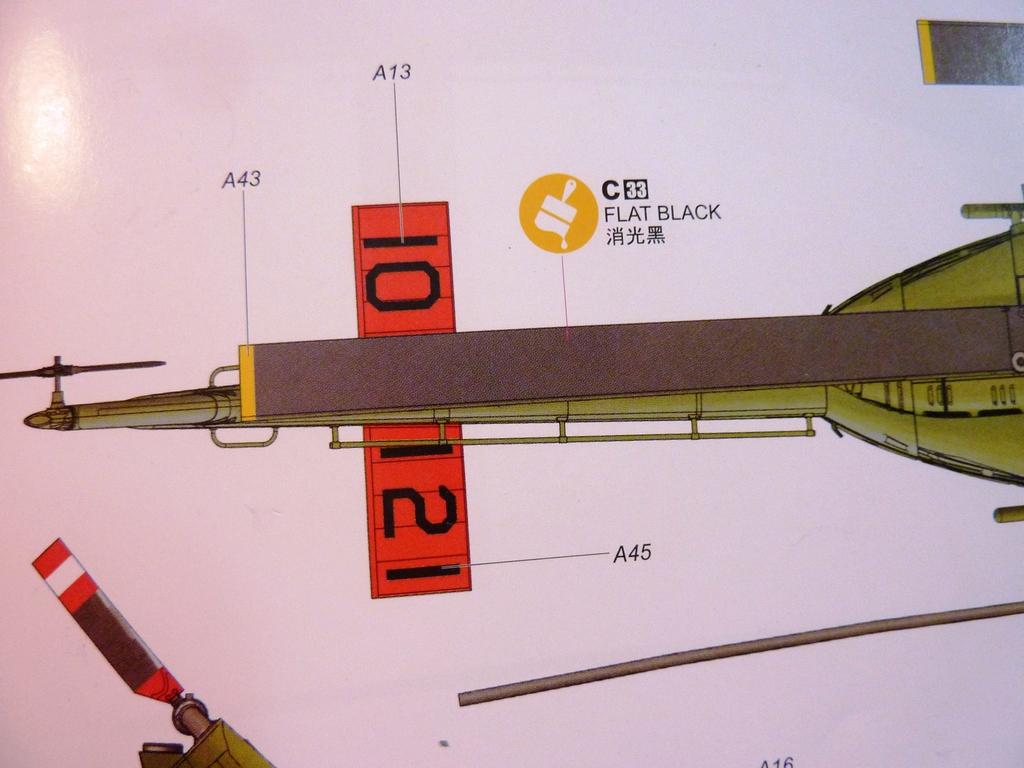
Vents in rotor gear cover: wrong way round in the instructions.
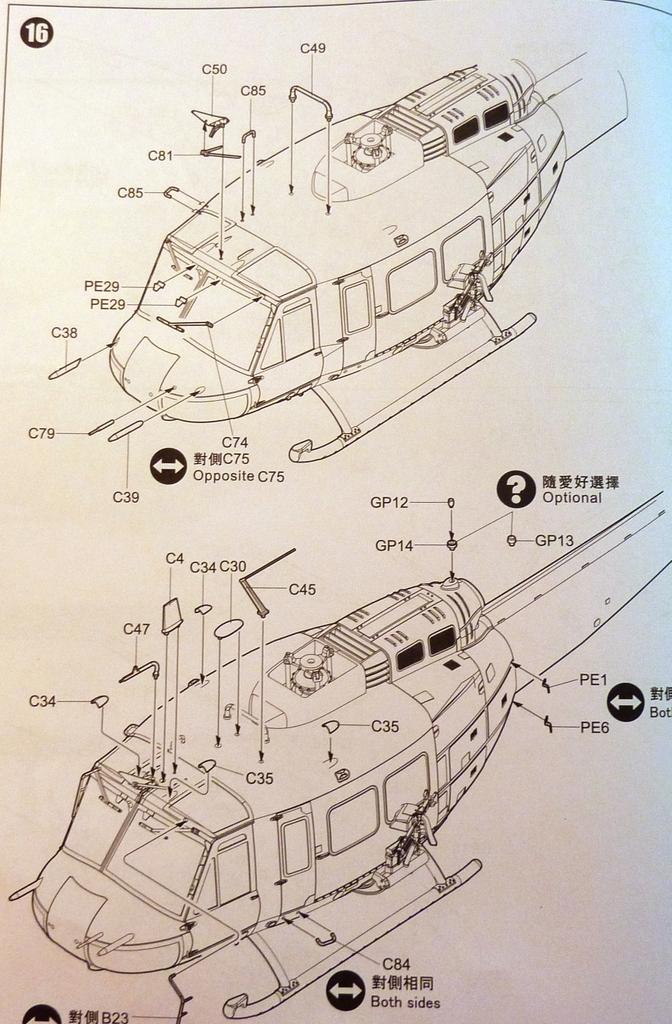
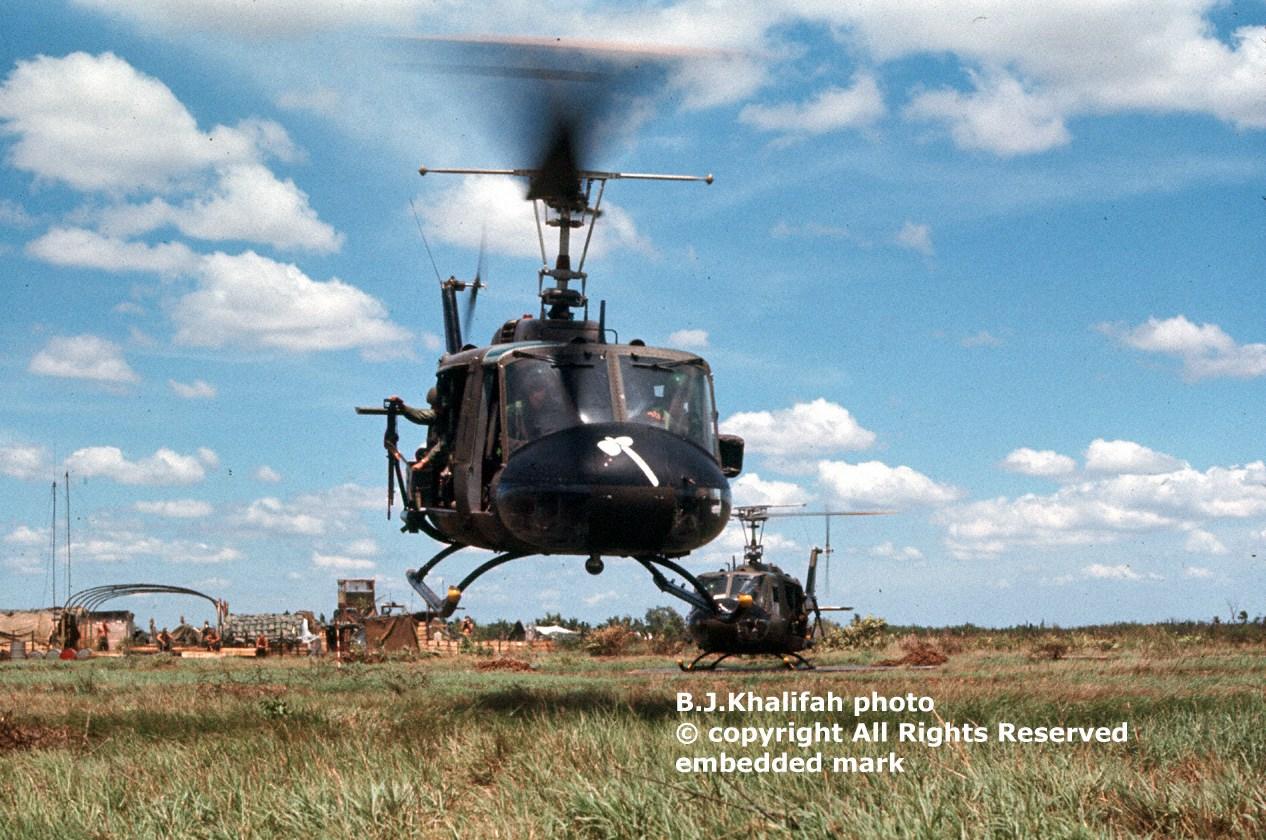
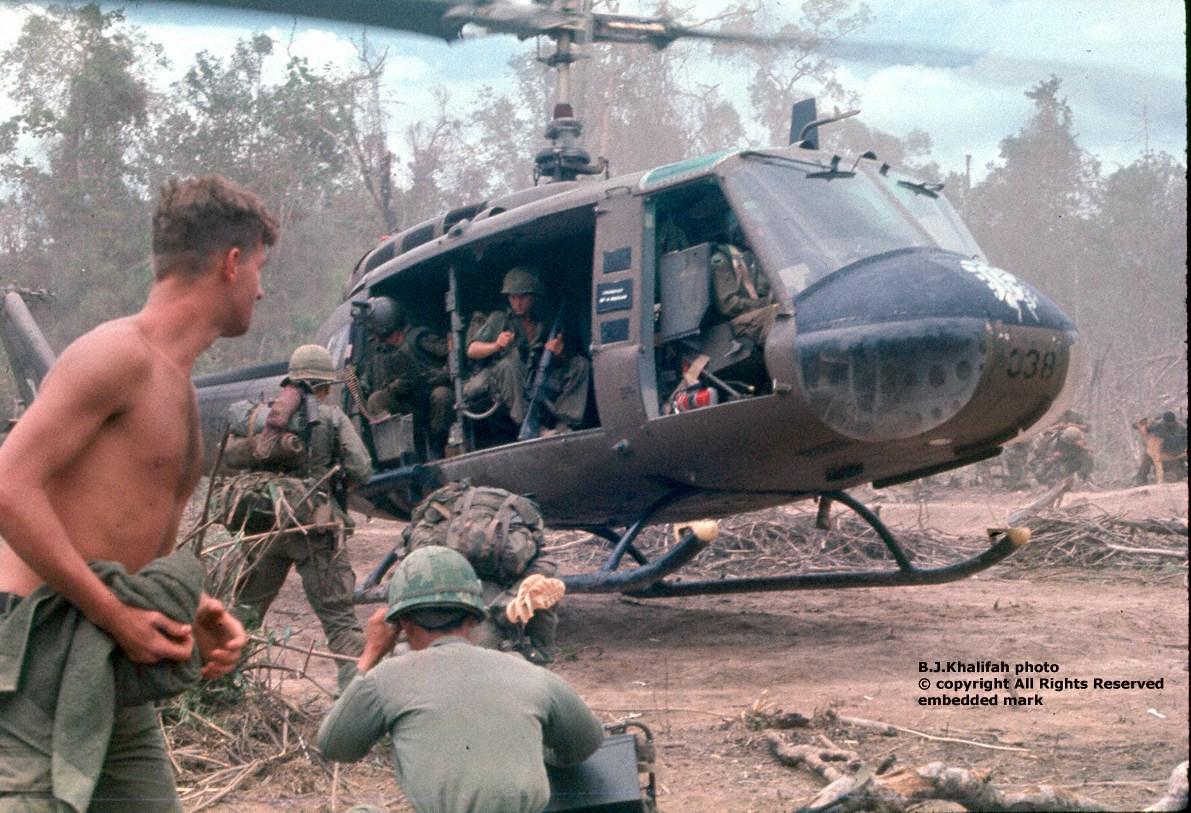
The instruction page for placement of various antennae, etc. Something of a mixed bag. Some of it is even correct! This is one of the persistent criticisms of the kit, that the differences between "D" and "H" types are poor defined, and in some cases suspect. I've used some photos from a Vietnam vet's personal album for reference. The "Ds" were pretty clean, actually.

The tail boom itself slips on to the fuselage hand-in-glove.

The skid. Both transverse sections have the same part number, but if you look carefully you'll see there is a difference in the attachment nubs (front set is wider).
A few photos of where we are now. I want to thank fellow iModeler Bo Roberts for clearing up a query about the console colours. You may recall I mentioned previously that KW has issued black decals for centre console and main panel (and none for the overhead panel). The main panel should definitely be grey for Vietnam machines, and the overhead is black, Black, too, is the centre console. I've now changed the colour of the latter from grey to black.
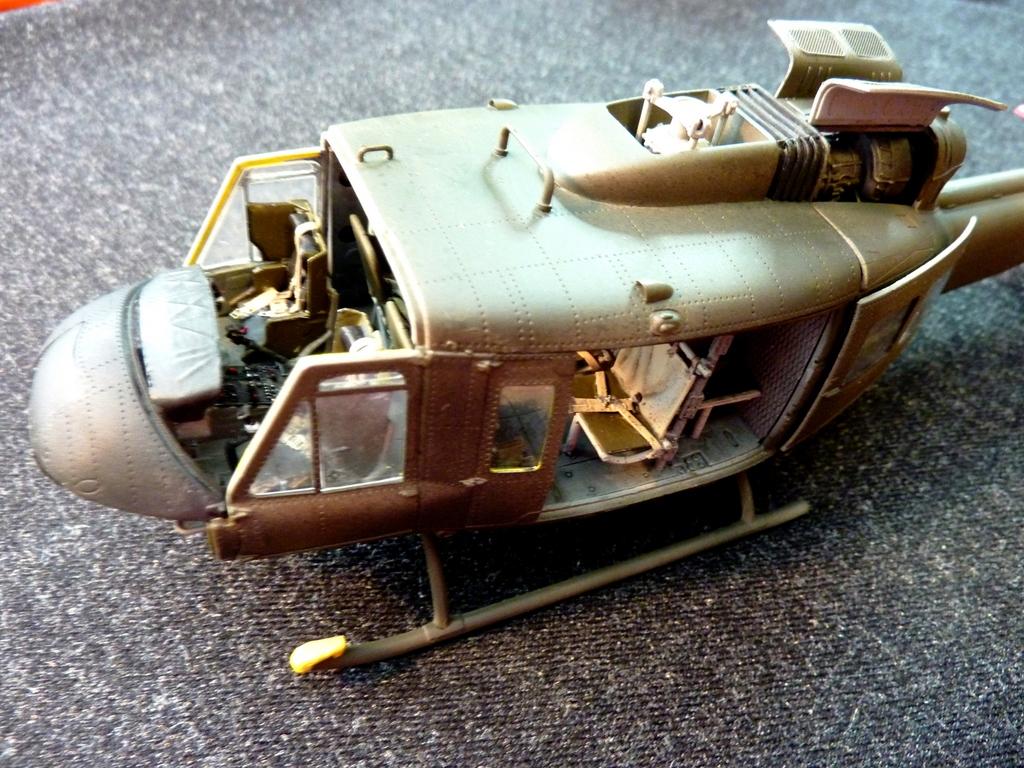
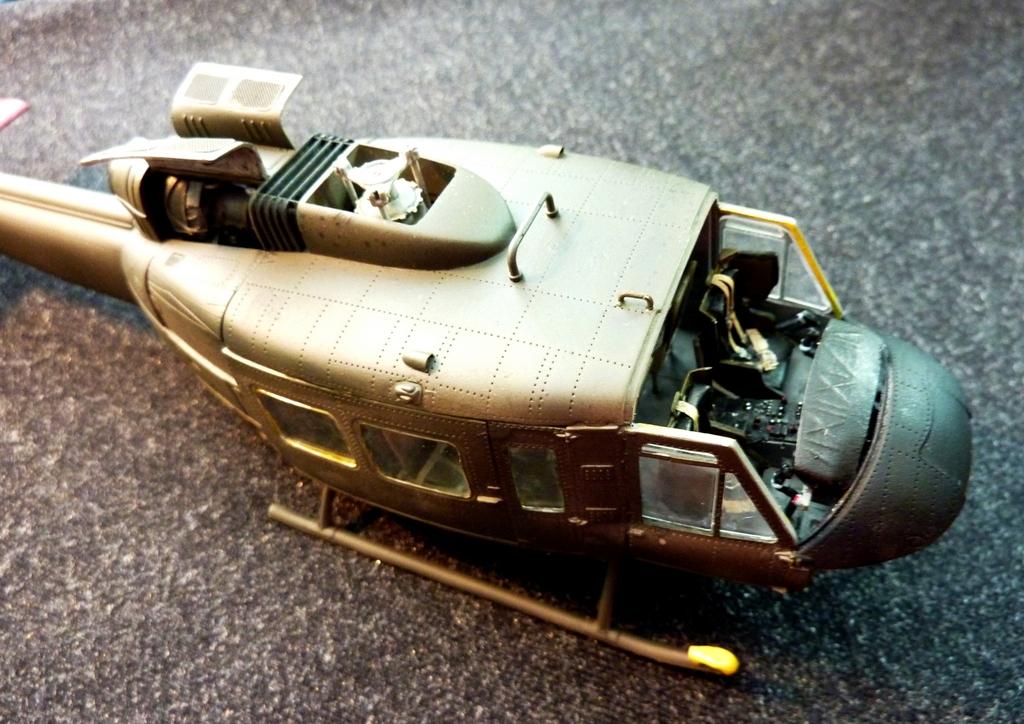
One last point - most paints used here are basic colours from stock. I should mention however that rather than a standard Olive Drab for the main machine I'm using MM Army Helo Drab.
Part 3 in due course.

Lookin' pretty nice there, Rob...gonna be a "stand-out" I'll bet. 🙂
Excellent work as usual - your standards are high!
I'm really enjoying this WIP, Rob. Brilliant mixture of instructional work and craftsmanship; the in country photos are amazing and a great reference.
Sounds like you need eyes in the back of your head for this one!
The Hog is coming together nicely, but I'd like to ask this. Has anyone else noticed a change in the photo viewer or is it just my machine needing a whuppin'? When selecting a photo in the album I no longer have the arrows to switch to the next picture and instead get a black border and can't view pics without exiting to the article and selecting the next one.
Excellent WIP Rod. Very well detailed.
Josh, I'm viewing the photos without a problem on my iPad.
I'm viewing normal now as well.
Hello Rob,
Interesting WIP. Keep it up!.
Regards, Dirk / The Netherlands.
You're getting a good looking Huey there Rob. Pity about the vague instructions. I'm curious about how well that large windscreen is going to fit
Alright! You're coming along just fine with this kit!
Clear Right? Clear Left? CLEAR!
Left skid low...
Hmm, unless you actually have a photo of those vent gills being vertical I´d say you got them wrong way. Check the Vietnam era photos you have in the review... There are a few having the vents vertically but most to my knowledge have them horizontally.
The "handles" on the aft boom section are VHF antennas.
Weapons sprue may wisper an Aussie heavy armed UH-1D is coming up or even a UH-1C or UH-1N? Could this be a generic sprue for the whole Huey family?
You're referring to the Engine Inlet screens? The US Army, Vietnam era birds did have the horizonal screens. Somebody, Germany? had those vertical ones as Rob does.
Per this kit, the Engine Cowl has two small grills on the upper side of cowl, one each side. Ours, US Army, those were hand holds to open cowl or climb on top of cabin. Kit plastic is fine as it is W/O Photo Etch grill.
2 cents worth? LOL!
The "D" colour profiles in the booklet show vertical vents, and the callout in the instructions are also for the vertical ones. However, I notice there is another set but not called to be used. I'll have a look to see if they fit horizontally as the Vietnam photos I'd say indicate horizintal vents. The ones I've used definitely only fit vertically.
Re VHF antennae - penny dropped- I can see that now, or I could, if they were in the kit!
Good stuff, Rob!
Real nice!
awesome work!