Review: Tamiya 1/12 Yamaha RZ250 Build Review
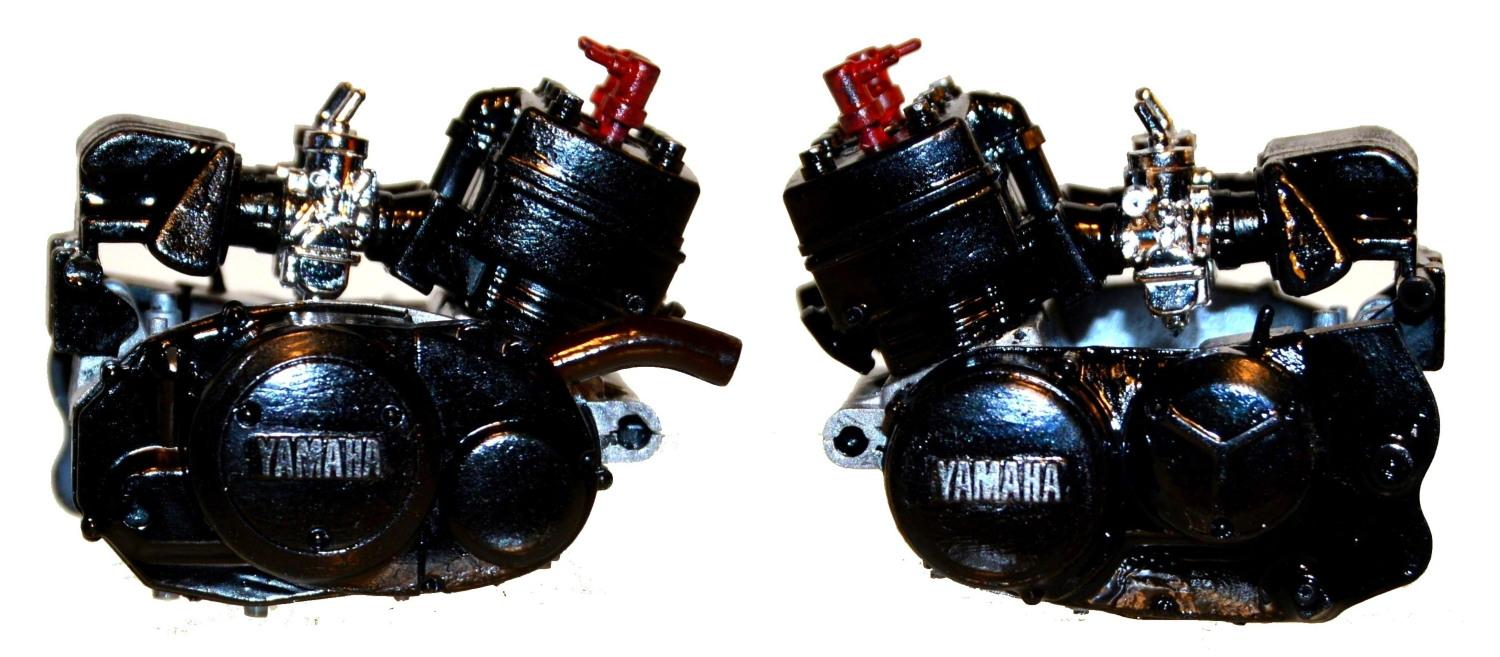
This model start with the assembly of the engine. This is relative simple and is accomplished in two steps using only 12 pieces. However, just because there aren't many parts does not mean that it's not open to some detailing.

The engine is then placed into the frame as well as the rear fender. This was not bad but one needs to make sure that the rear fender is lined up correctly. Wat I did was glue the engine and front part of the frame in place first, allowing that to dry completely. Then you can slightly open the rear part of the frame to place the fender in place. This is a lot easier than trying to get all four parts to line up correctly at the same time. It does not damage to the frame or the fender.

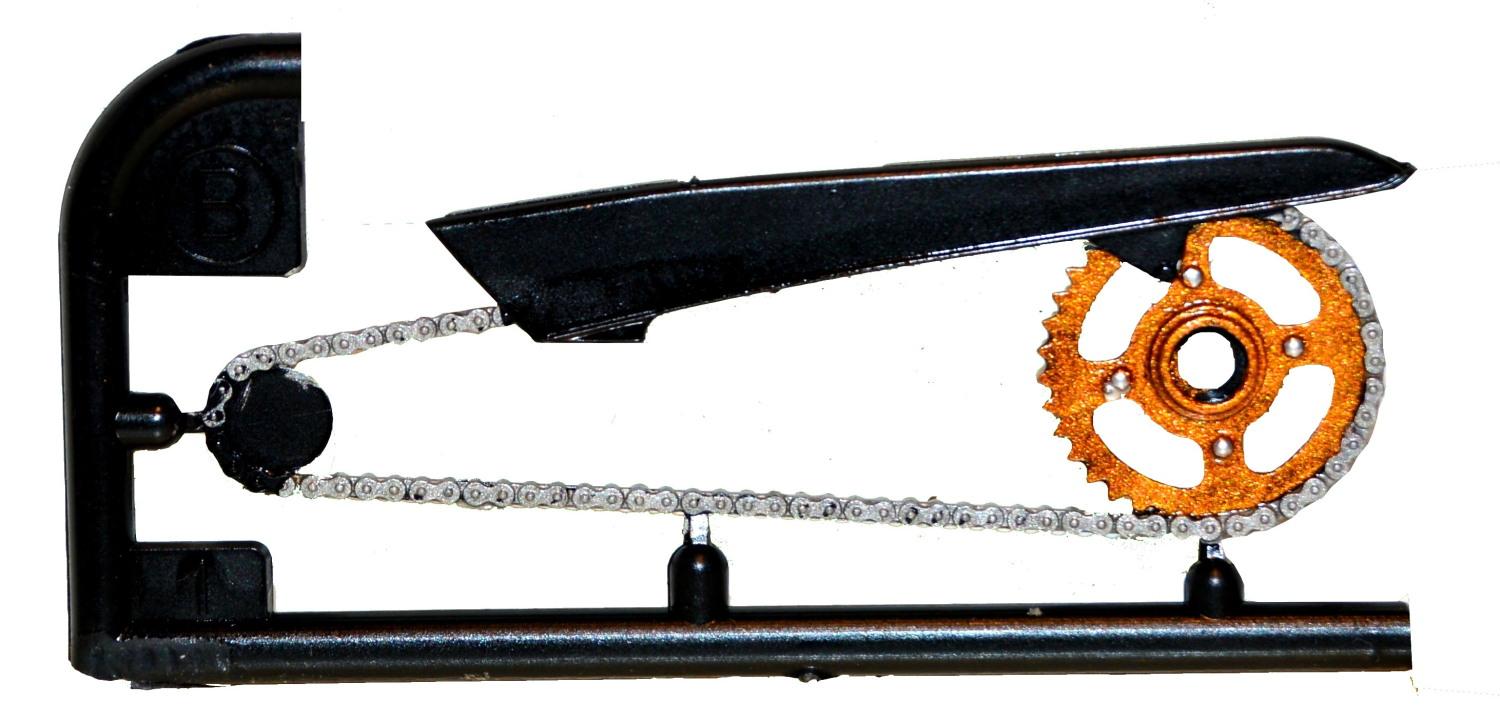
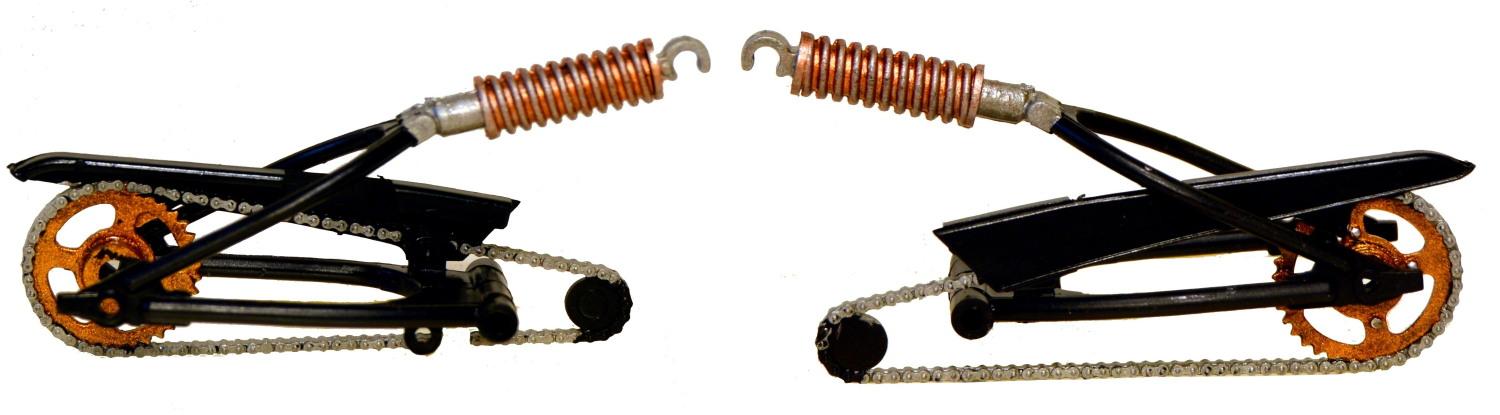
These are some photos of the rear swingarm assembly. Following the instructions step by step is warranted. However, painting should be done before the final assembly. Parts fit together nicely during this step.
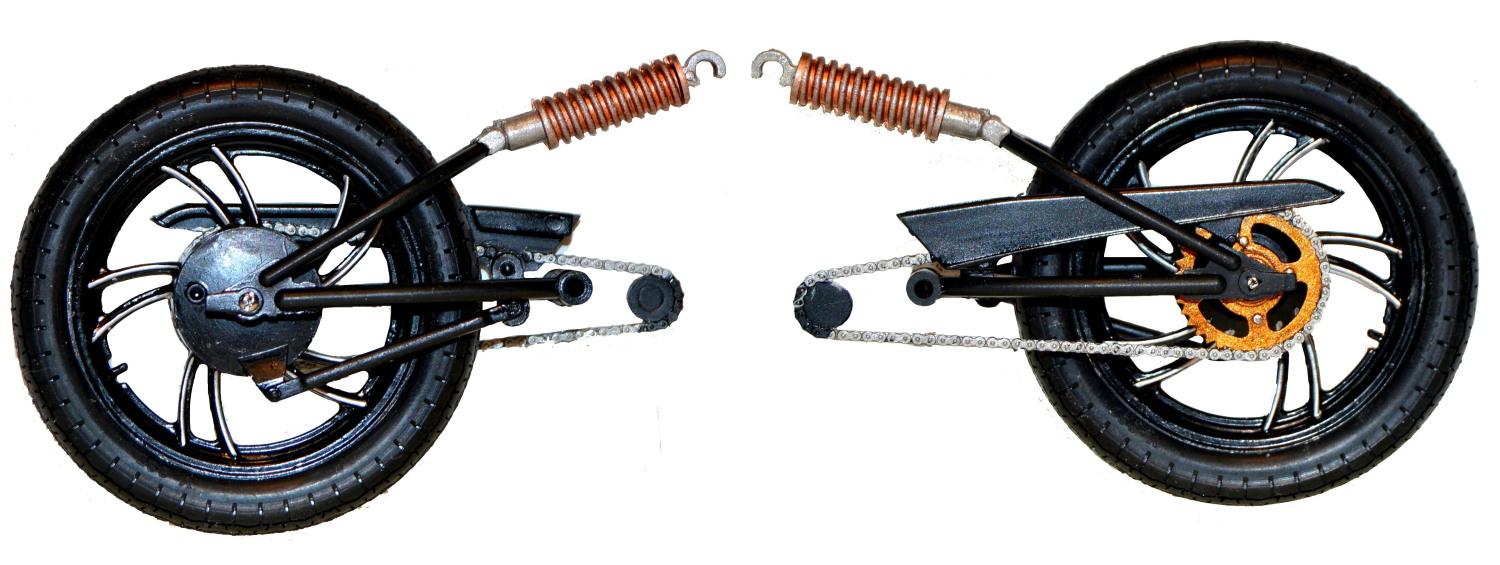
Here we see the swingarm installed into the frame. Once again, make sure that you follow the instructions during this step.

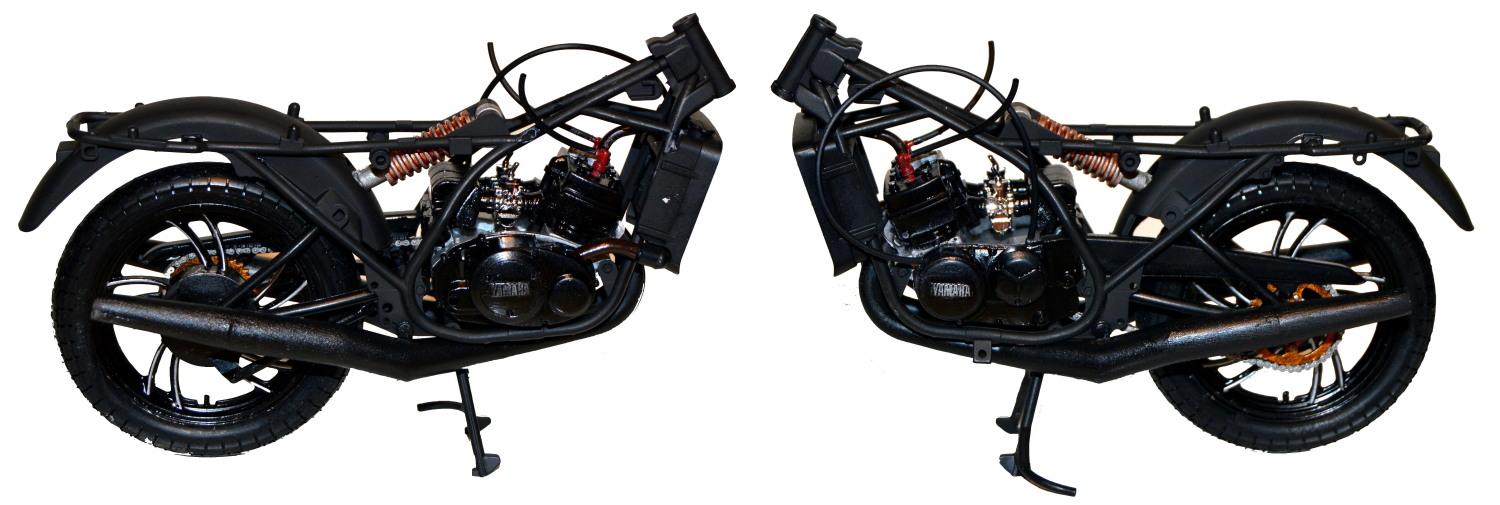
These photos show the radiator installed. This is one of the few liquid cooled two stroke motorcycles ever produced. Makes the motor stand out a bit and does help to show why there were so few parts at the initial engine assembly.

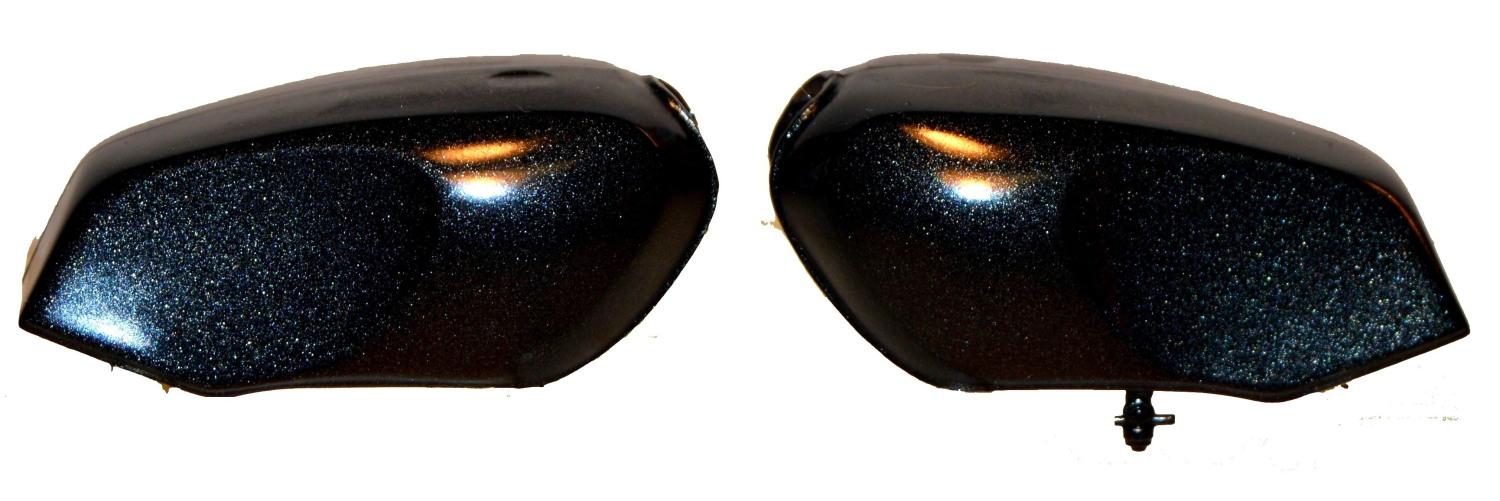
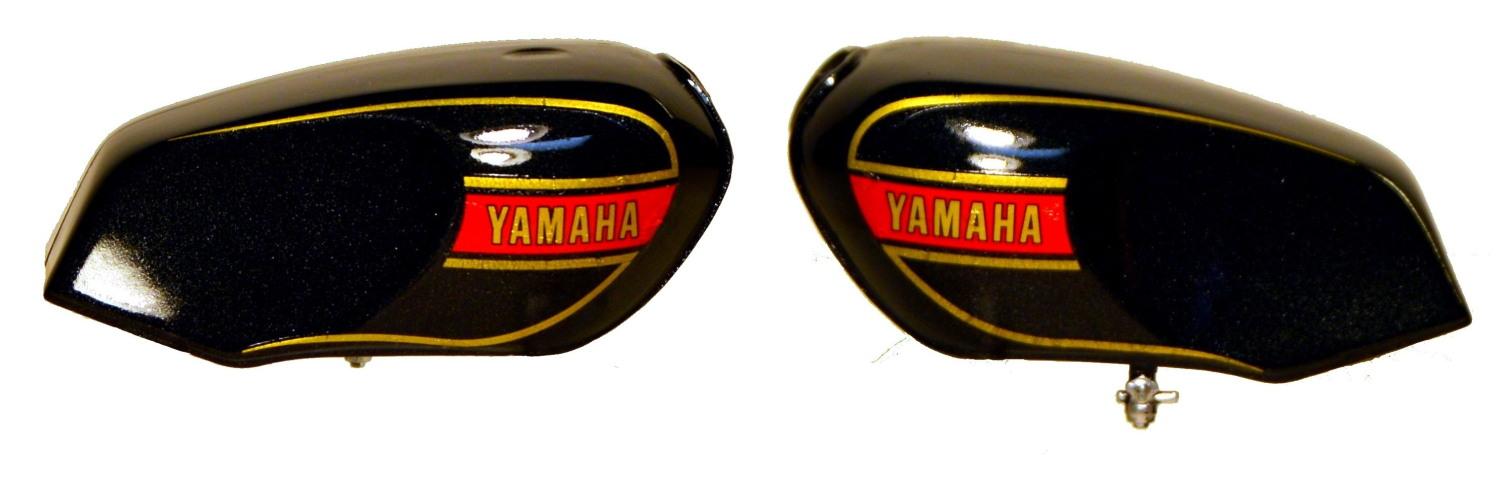
This is the painting and decaling of the body parts. I used Testors Blazing Black 1832 for this as it is a light metallic color and does stand out. Decals went on extremely easy as they are the new Cartograph decals. Quality was excellent.
This is the final photo before the addition of the body parts. I do not add the handlebars of the mirrors until just before completion. I have lost far too many mirrors due to adding the per the instructions.

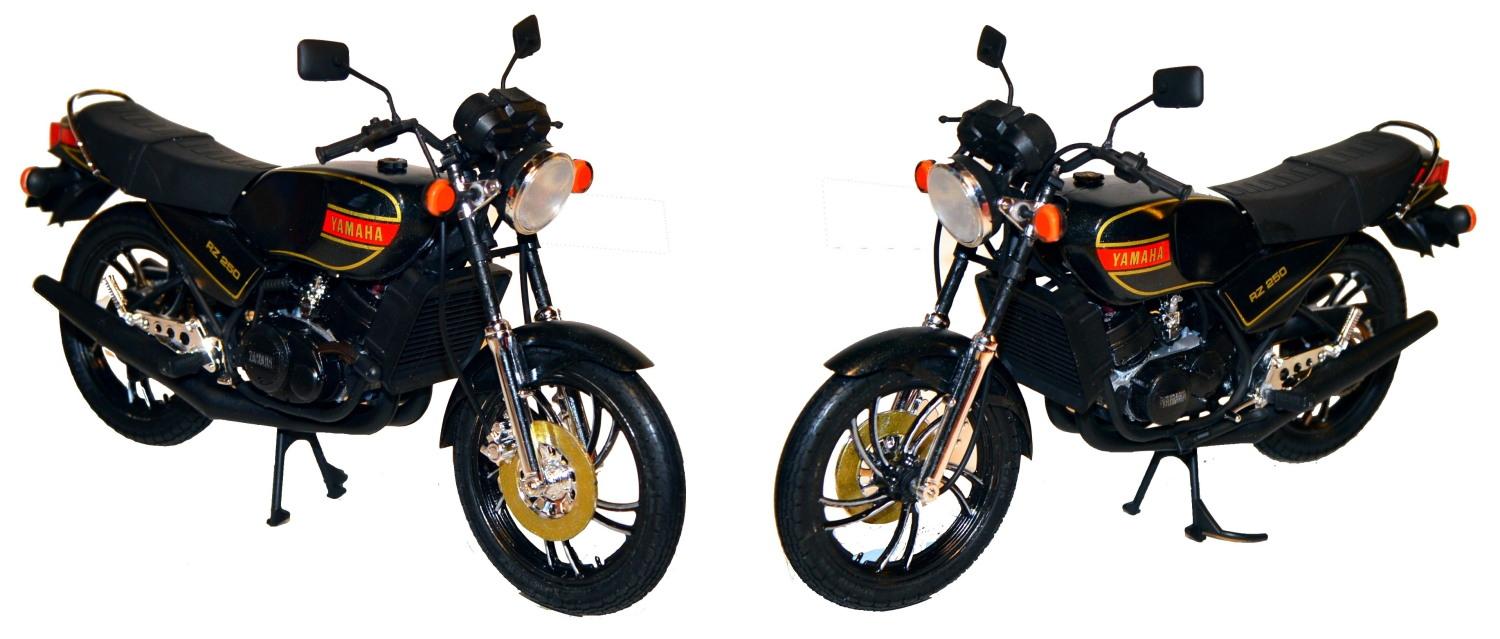
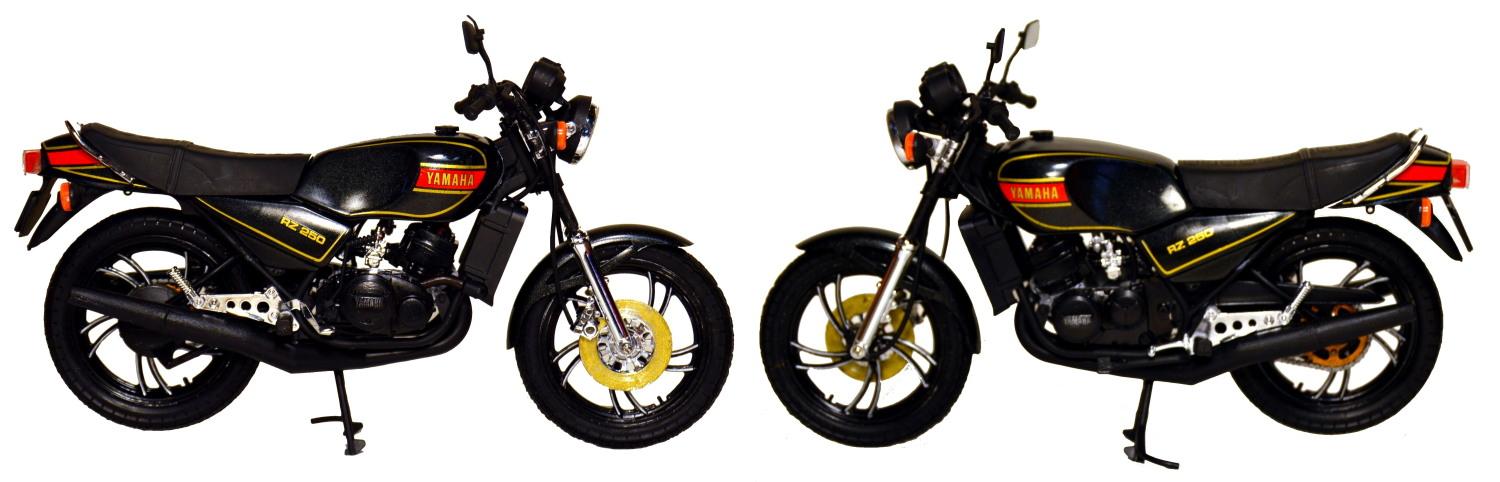
Here are the photos of the completed model.
As always, feel free to leave a comment and ask a question. I'll be happy to answer.
And the hits jus' keep on comin'...beautiful presentation as always.
Wow! Are you sure this IS a model?
Great work Harry!
Well Harry, you did great! Your build and painting are "top shelf." Also, your photo layout and narrative are VERY well done.
Bravo!
Another great build, and though I don't build cycles, I'm sure those that do appreciate the detailed narrative and tips for getting it done with as much finesse as you achieved. It looks great!
Nice job,my mate had a black one back in the 80's,well done.
N.
It doesn't take you long to build these things! Nice bike mate.
It does seem that way doesn't it? Actually, there is a LOT of time put into these. I am just awake at some rather odd hours.