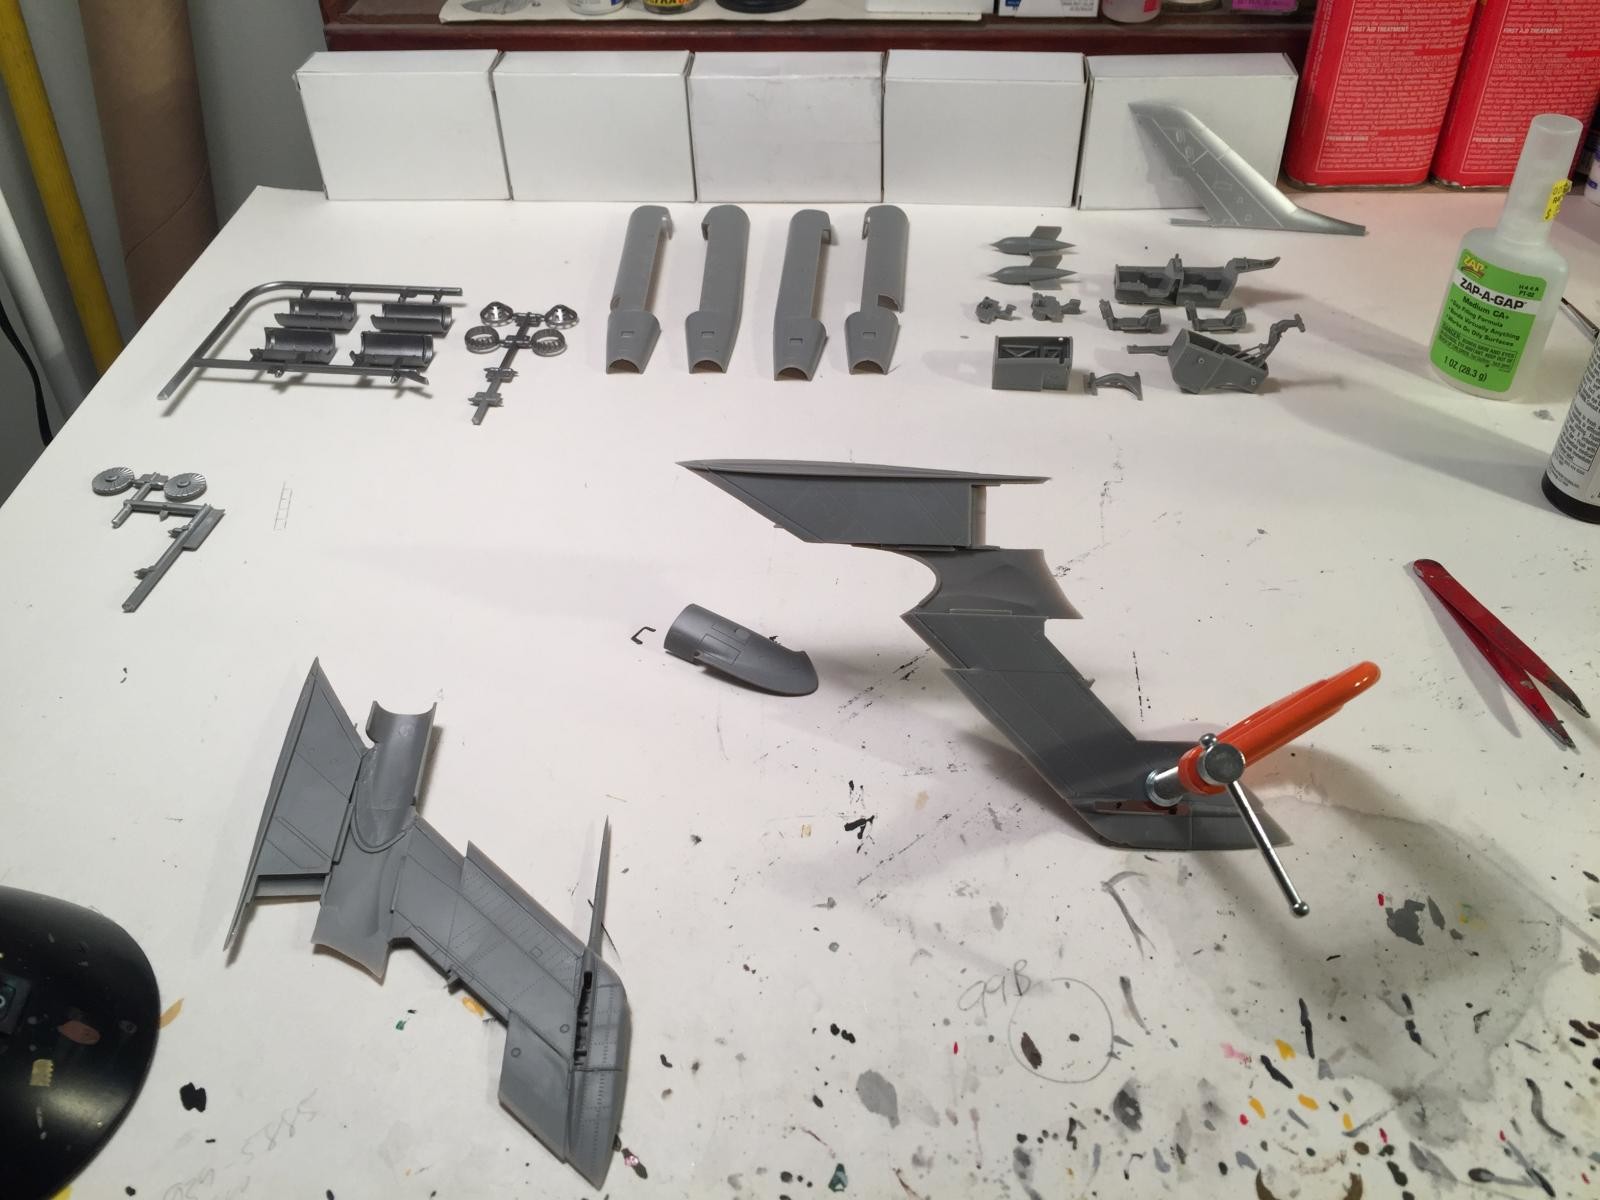
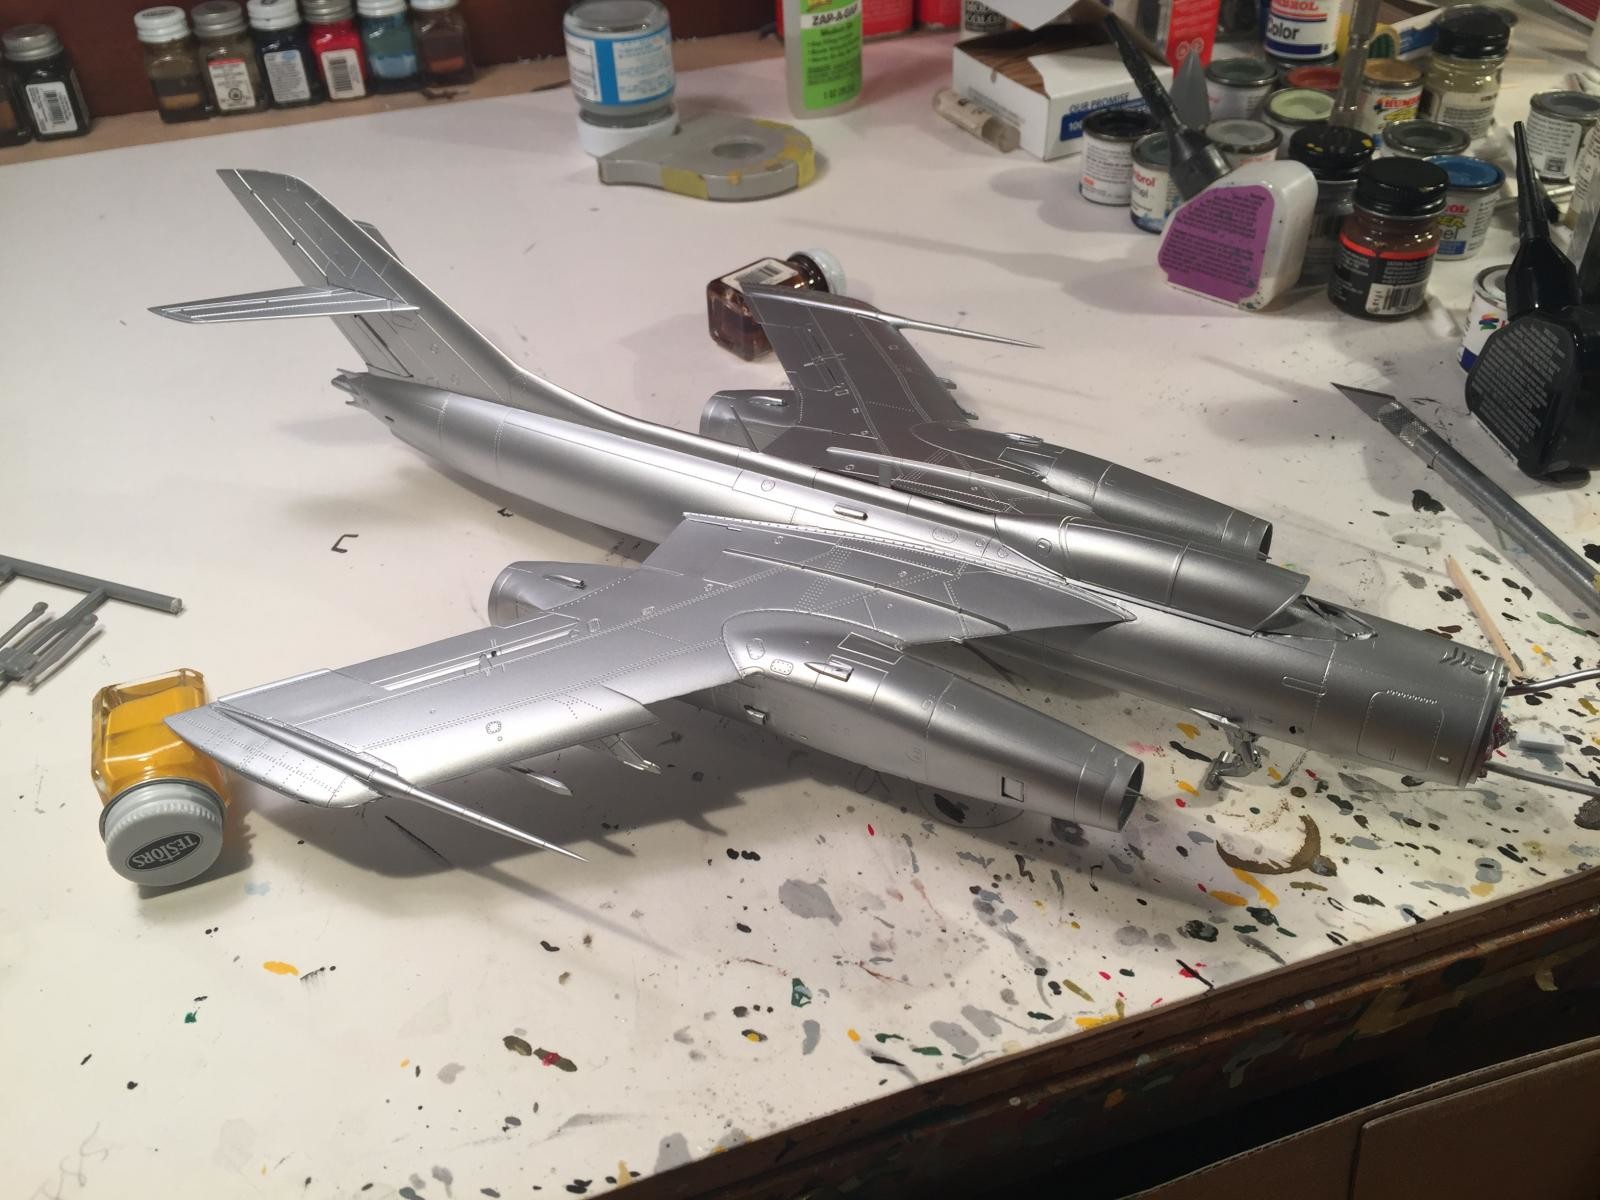
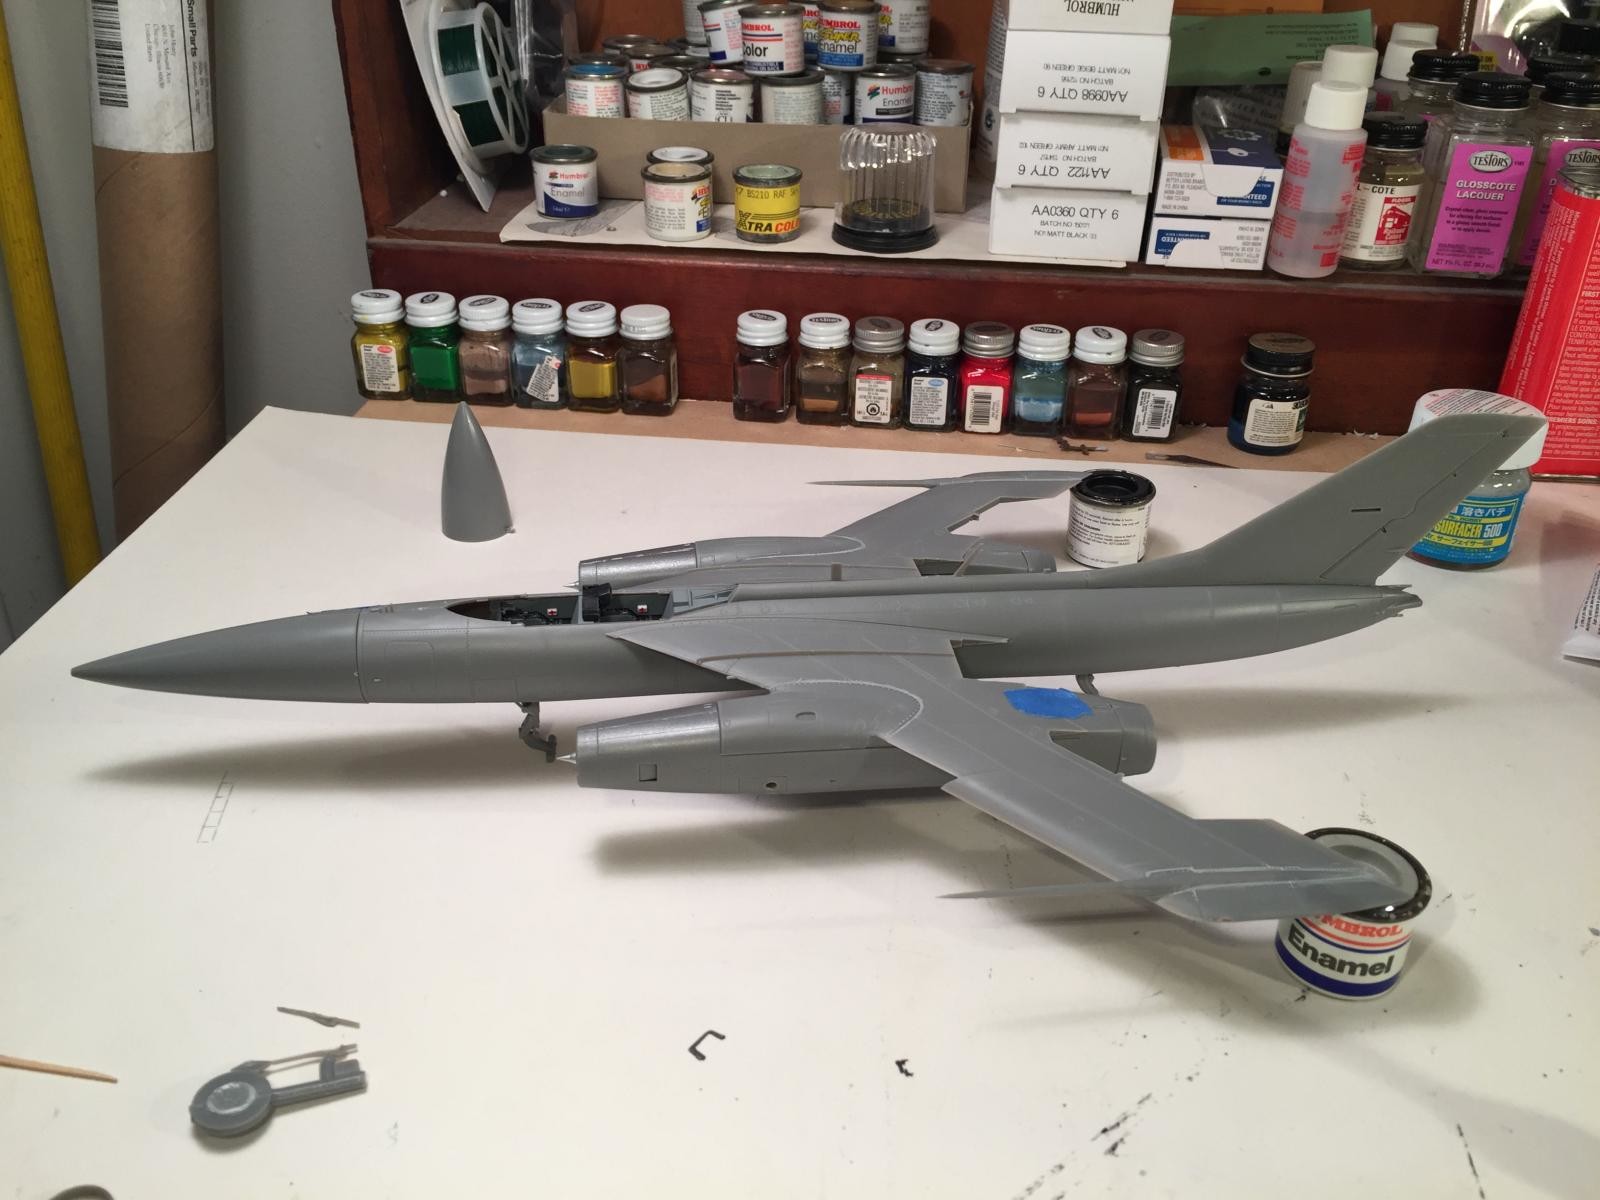
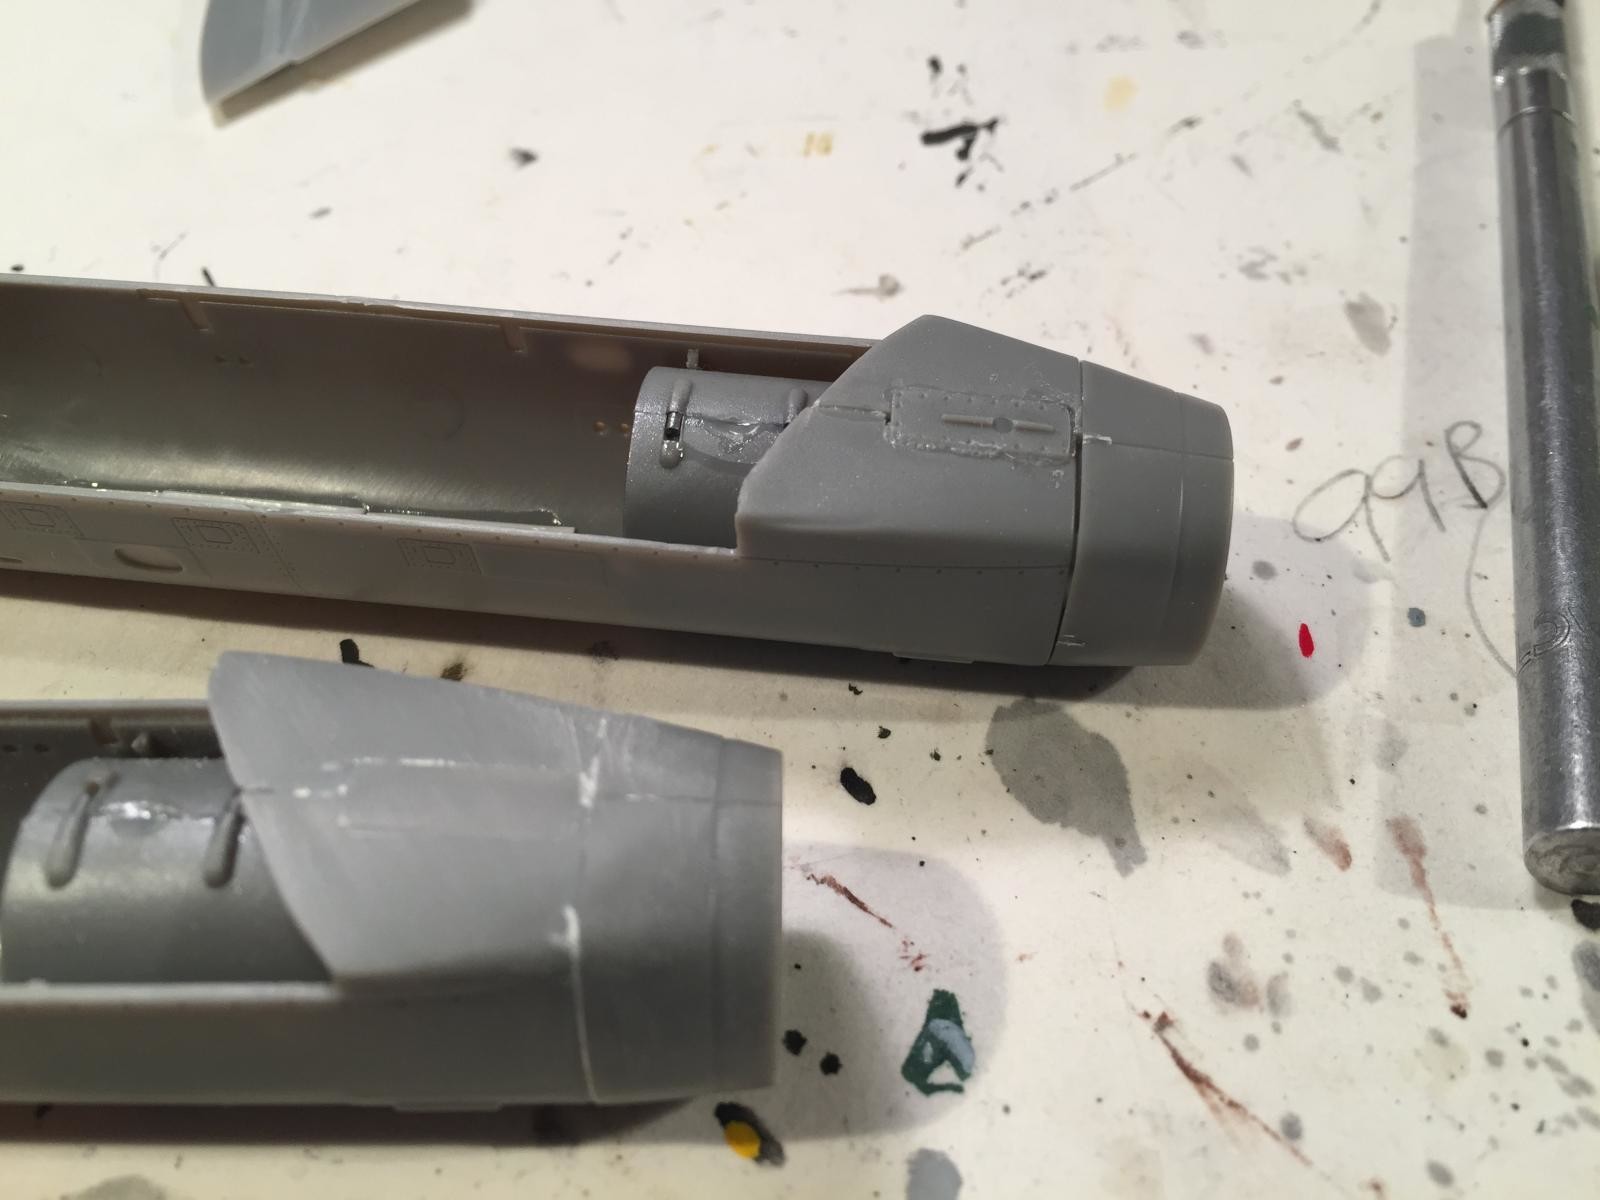
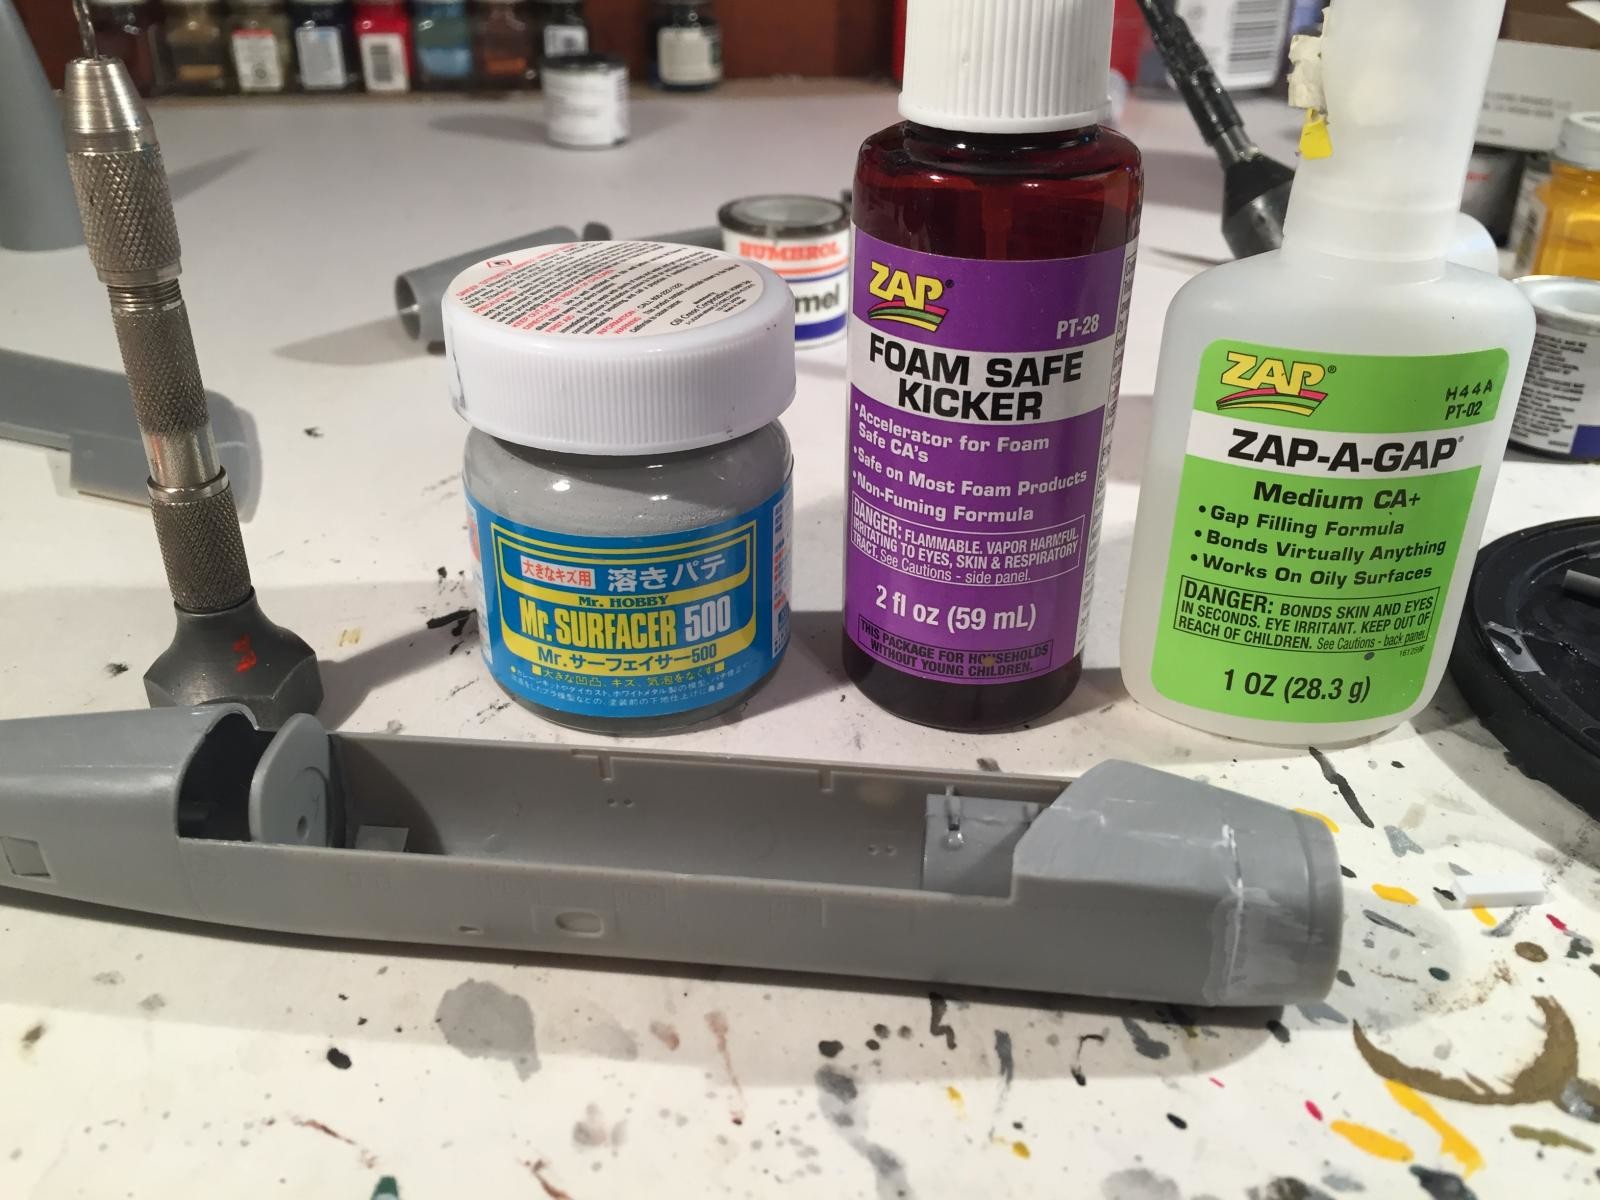
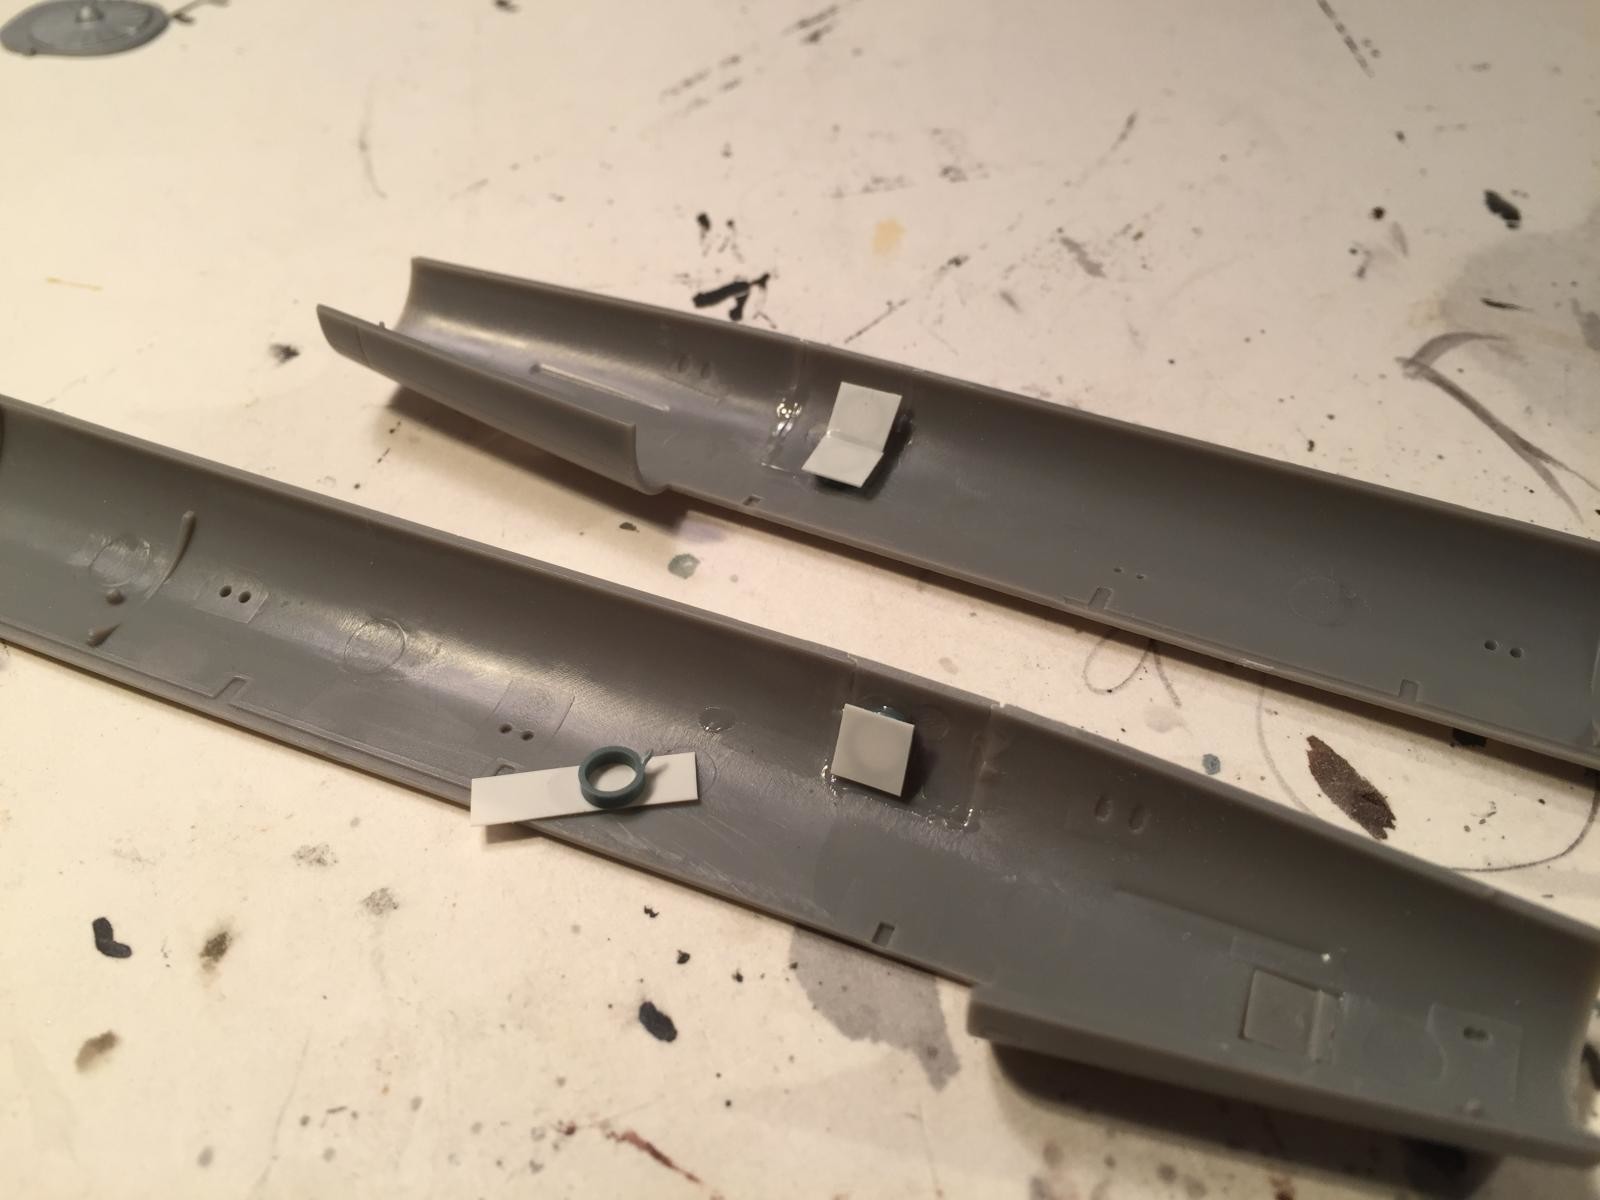
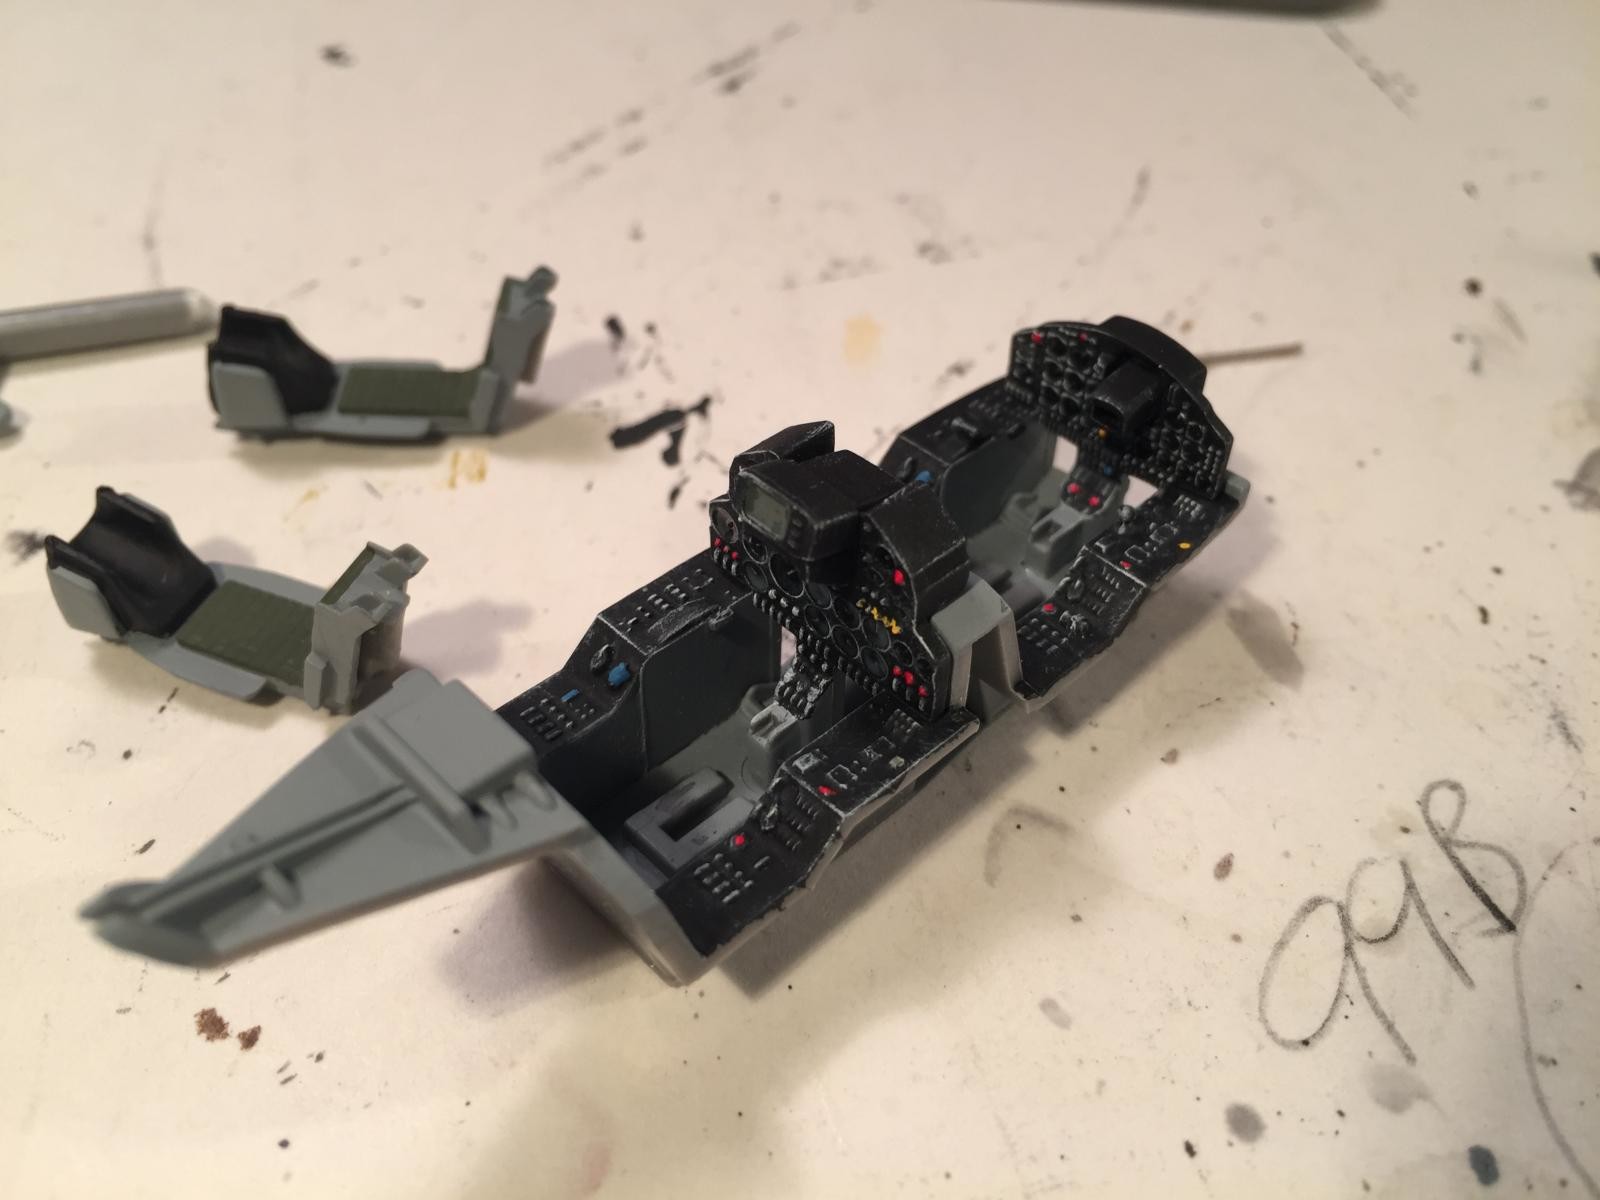
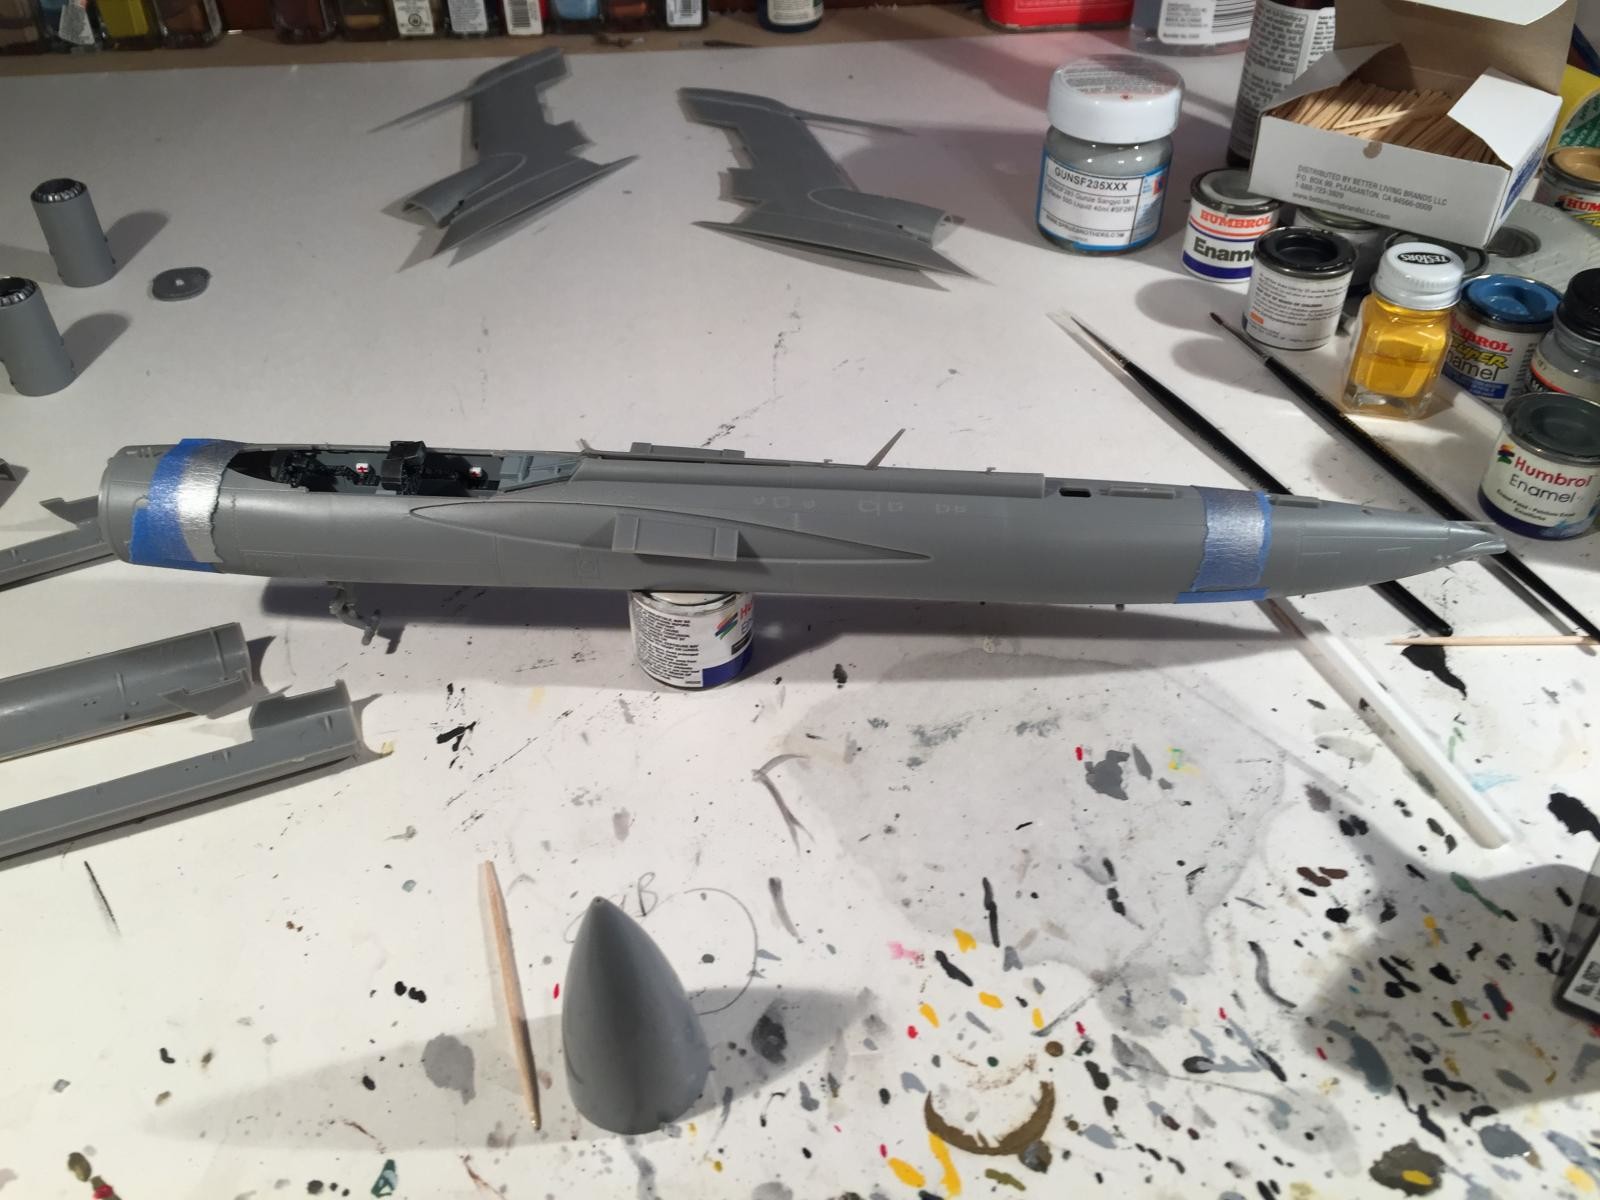
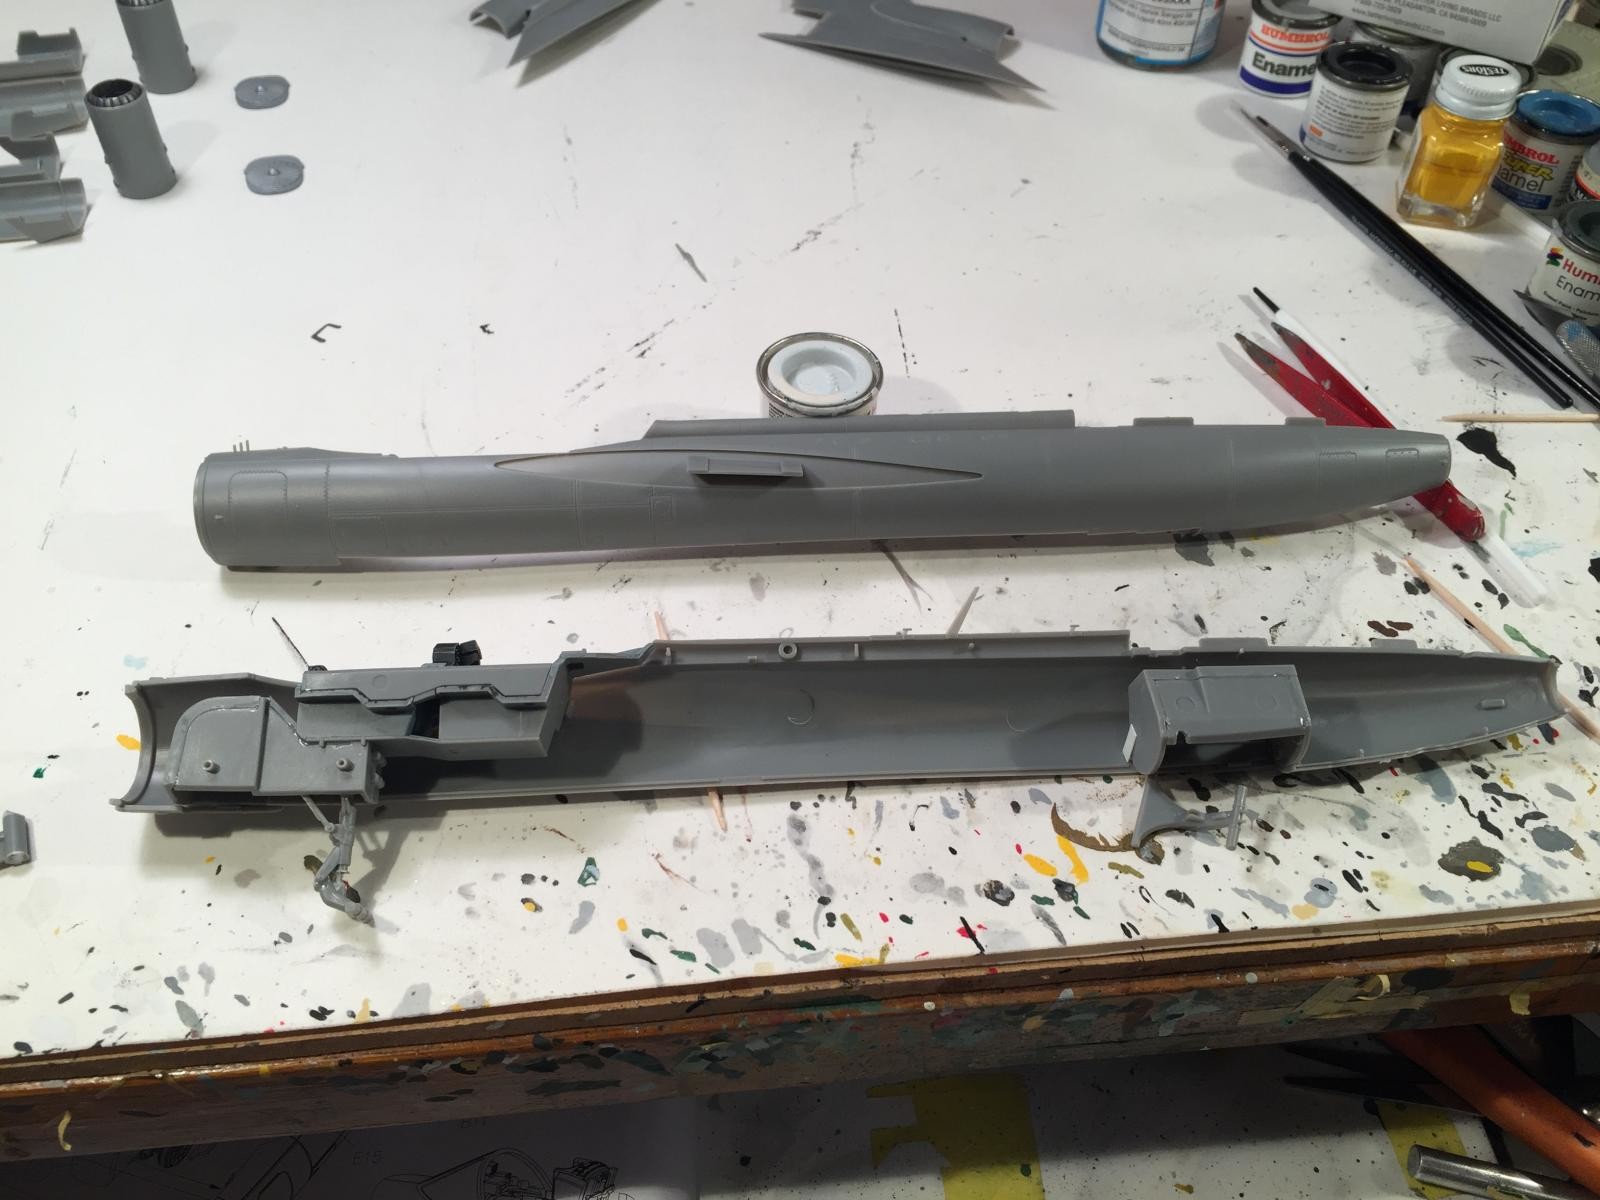
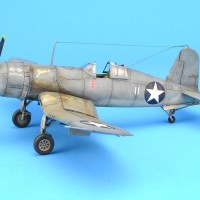
1/48 Yak-28P construction photos.

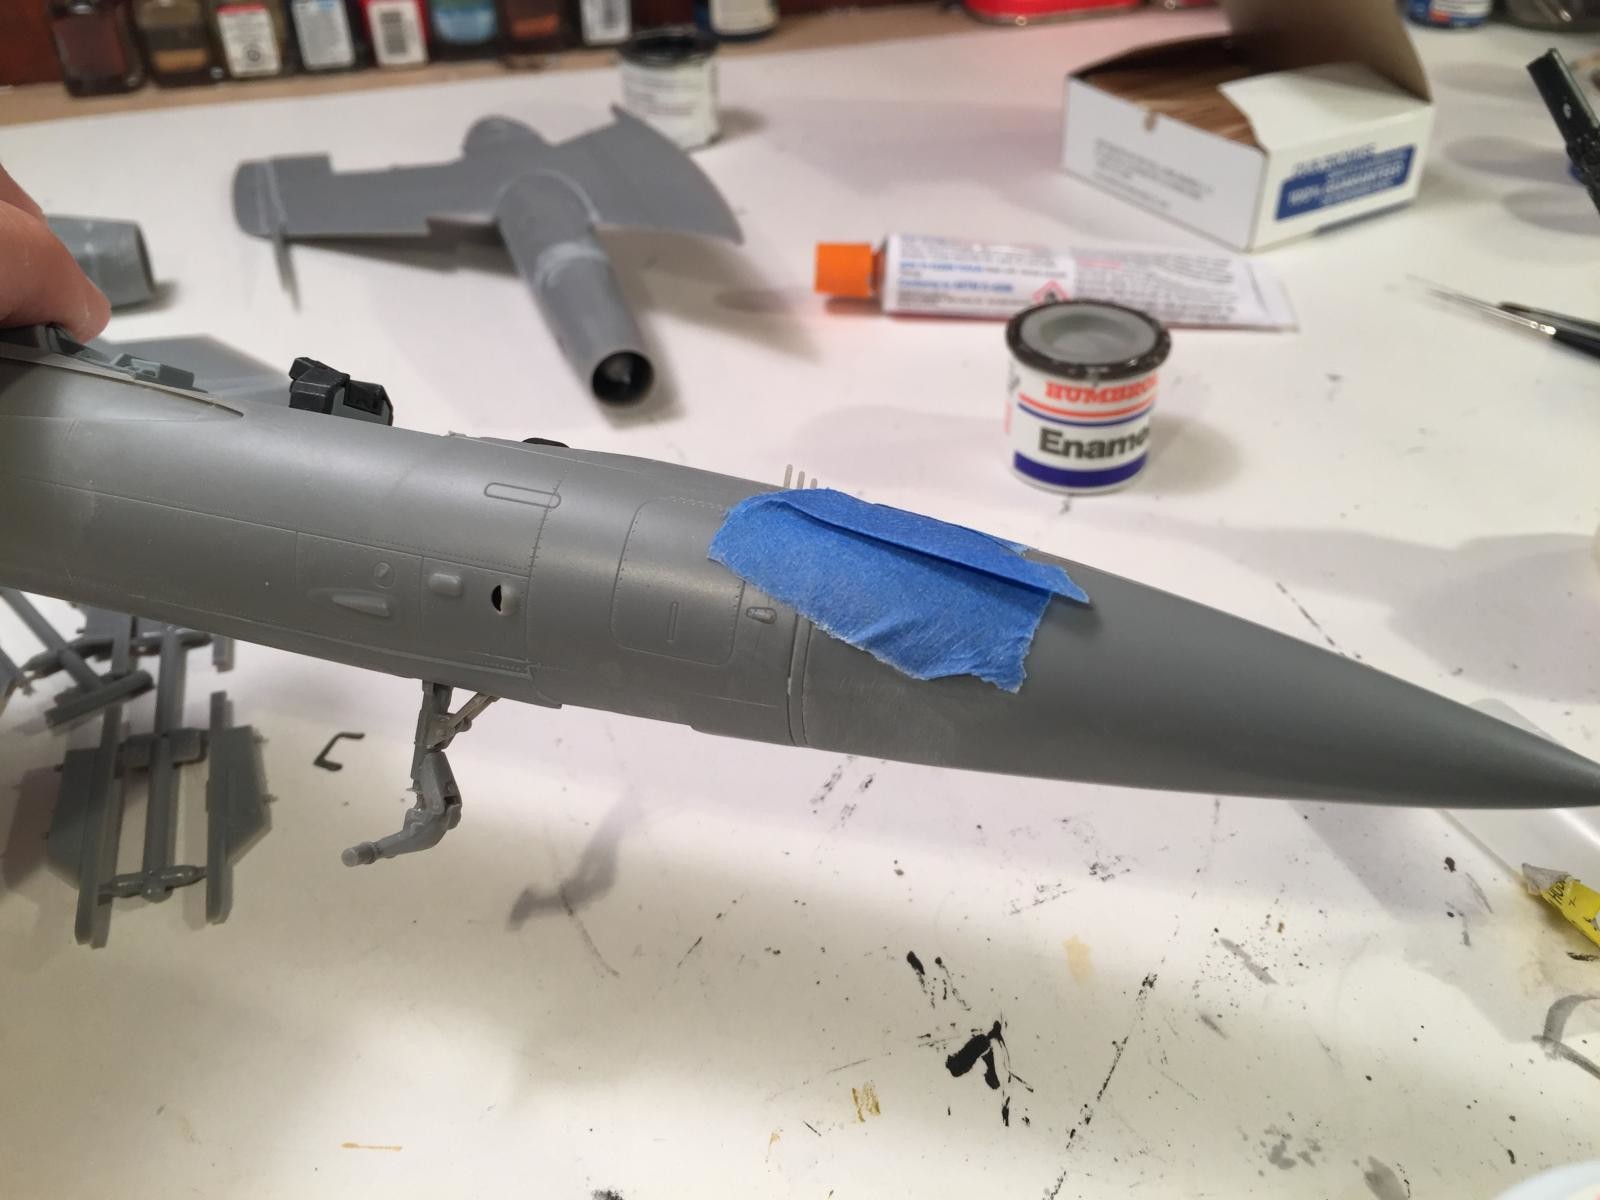
I hope you guys find these pics useful should you choose to build this kit. One thing that I forgot to mention in the main posting is that the long radome is a tad wider then the fuselage where it joins. Some careful sanding fixes it quickly, but if you don’t do it, it will be very noticeable. Also, the clear lenses for the lights in the nacelles don’t fit well. I scratchbuilt compartments for each light and did the lenses with white glue at the end of the project. Happy modeling!

Looks like the dreaded "60 minutes of masking followed by 60 seconds of painting" syndrome...doncha just hate that part of it? 🙂
You are correct, Craig! This s****r ate Tamiya tape?
kind of makes you wish you could invest in the company that makes the stuff...
Great photos. Thanks it will surely help when I get around building mine!
Great pictorial, Mr. H.!
Looks great so far.
As a pilot, i wonder how well it flies on one engine...
I would imagine about as well as an Me-262 or Canberra did. Probably fine till you got in the pattern. Once you got your speed down you were probably committed to land. (There's a good USAF training video that includes a B-57 crash when the pilot tried to go around on one engine.)
I am also working on this one. I built one wing first to see if there were any pitfalls as I too was worried about the nacelle parts lining up. The only major fit issue I ran into was installing the boom and this was simply due to the tight tolerances in the parts. It is easier in my kit to install it before putting the lower half on so you can file any plastic out of the way and I got a perfect drop in fit on the second wing. You are right though, the rear nacelle to wing joint is a little fiddley as it's hard to tell where the wing ends and the slight flash starts. They molded the trailing edges of the flying surfaces commendably thin! This kit is a case study in dry fitting before committing to glue, but taking you time pays off in some pretty tidy seams and I'm having fun with it. Can't wait till the Brewer comes out!
Very nice John! What kit is this if you don't mind?
D'oh! I just scrolled down and found out for myself. Sorry!
Looks like a nice kit, nice job so far.