Work in Progress: 1/48 Airfix English Electric Lightning F1
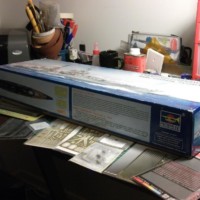
Recently Airfix has released several new mold model kits which I was told demonstrated significant improvements in every aspect over the older Airfix kits. It had been a while since I had built any Airfix kit due to my dissatisfaction with many of the older models I did make. I wanted to try out the new Airfix line of kits, especially some releases of model aircraft I have never built. I was torn between their new 1/48 Meteor, and their new 1/48 EE Lighning F1. I had never built neither of these aircraft and always wanted to. The incredibly large red trimmed box of the Airfix Lightning really caught my eye especially with the fantastic box art of a red-trimmed Lightning printed across the cover. I had to have this kit so with some money given to me for my Birthday I laid down the cash and went home as happy as a little beaver.
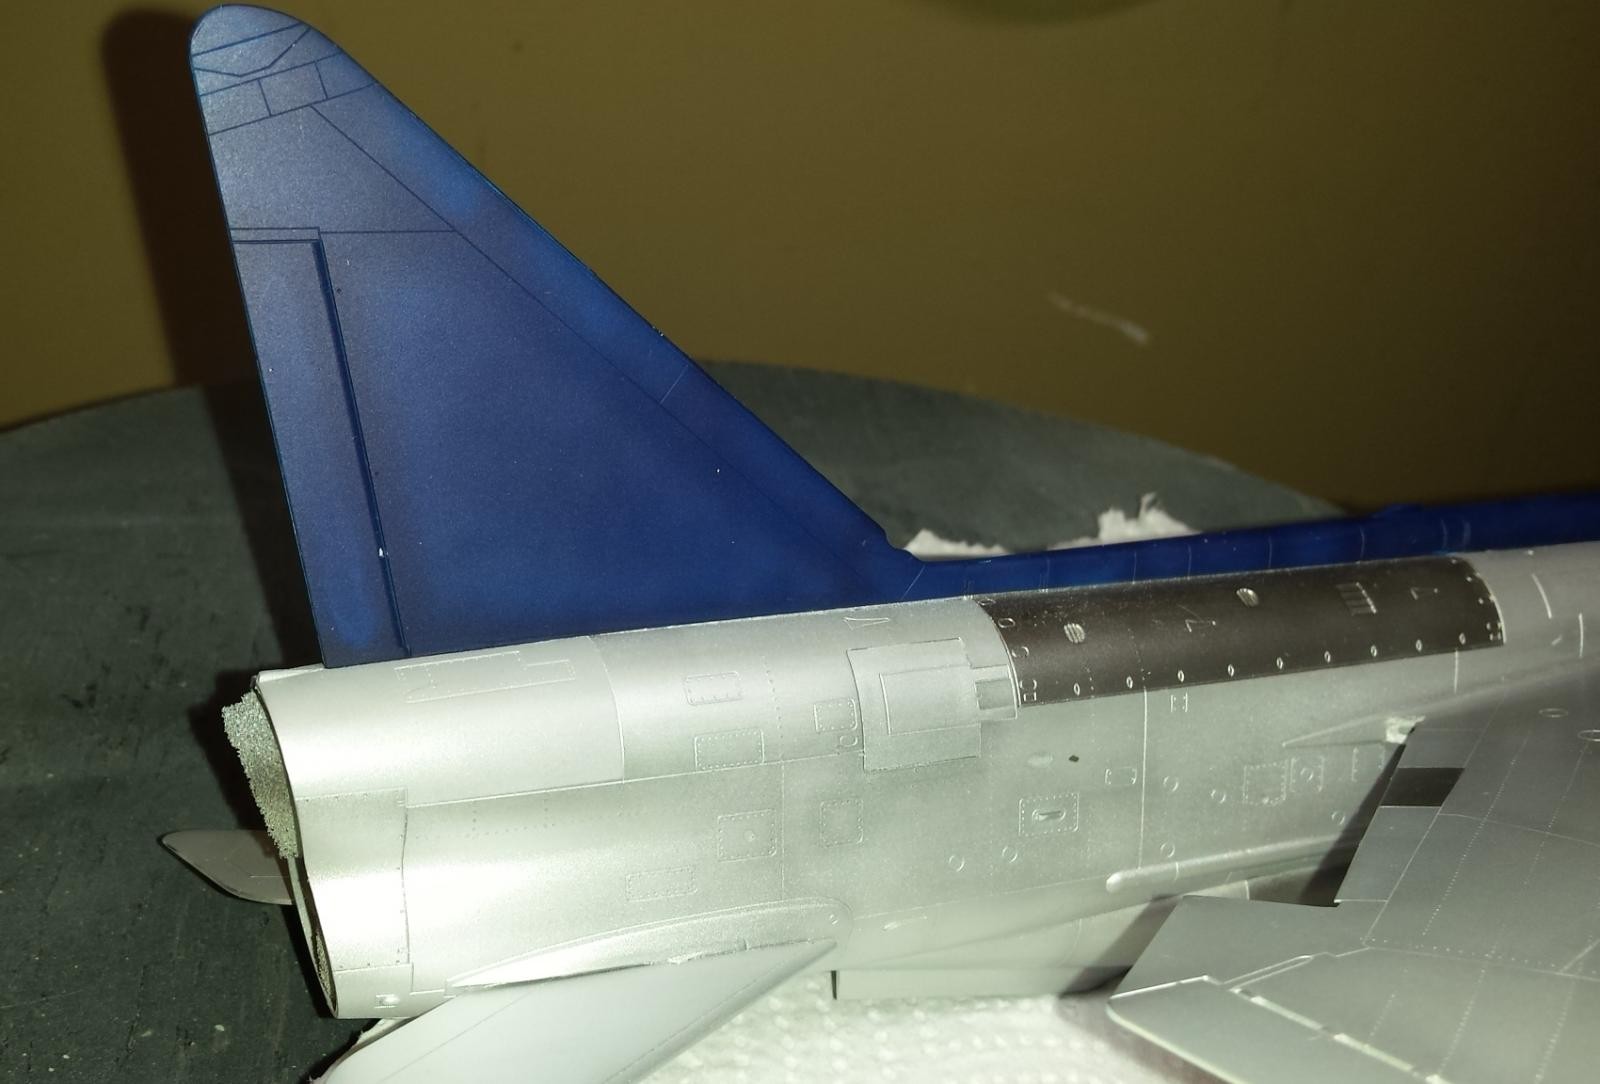
Upon opening the box I was impressed with the size of the model, especially the fuselage halves. This model in 1/48 is huge. The overall quality of the plastic molds looked great with some nice, sharp recessed panel detail and lines. I had noticed that the real 1:1 Lightning had its surfaces covered with flushed rivets, and the picture on the cover definitely displayed all the surface areas crowded with rivets. Knowing this and liking the look of the cover aircraft painting it was disappointing that the large surface areas of the new model's fuselage and wings contained no signs of rows of rivets. I think the new modern molds of some of the aircraft I recently built have spoiled me, all of them having great surface details including the molding of rivets across the aircraft's skins. It sort of looked plain especially b/c the aircraft is so large with lots of open space. This may be a personal preference, and not really matter to many modelers.
The next thing I looked at is the overall details provided in the kit, especially the cockpit area, ejection seat, and landing gears. I would give the overall detail level a 3 out of 5. The cockpit tub has some basic raised detail, as well as, the IP. The kit also provided decals to use in place of the detail. It was somewhat disappointing because I love a busy looking jet fighter cockpit especially common with the era of the Lightnings. I had explored many cockpit pictures of this fabulous jet and one thing I noticed is that the cockpit is excessively busy in every respect. The kit did not even include the foot-pedals. I would just need to busy it up myself, or purchase some after-market accessories. I ended up purchasing the Eduard detail set. The kit's ejection seat is not bad regarding level of detail and captures the basic look and feel of the actual seat. The kit does not include any seat belts, and the seat does lack some crucial detail, but IMHO was better then the cockpit tub. The included IP has nice raised detail which would of responded well to dry-brushing and detail painting, but I chose the Eduard PE panel to save me some time. The rear deck behind the seat of the actual lightning is very busy with a ton of lines, plumbing, and mechanical linkages. This again was moderately represented by the kit molding. I would later do a ton of scratch building to this area to busy it up. It would be very visible on my model b/c I always raise the canopies. Sorry it is not included in any of my model pictures but I will make sure I capture this detail in later pictures included in a final build article. The landing gear and wheels had a good amount of detail molded in the kit and will be more then satisfactory for my taste. It does not include brake lines or any plumbing of any kind so I will give it a 4 out of 5. The wheel wells are a bit disappointing lacking any structural and surface detail. In this scale this is a must, especially on a model as large as this one with big open wheel wells. The Eduard detail set takes care of this issue, but I could not use much of it b/c I completed the wings and wheel wells before the Eduard accessories arrived. To be honest the Vendor showed a picture of the Eduard Detail set which supported by decision to build prior to its arrival. Based on this picture I thought I was only getting internal cockpit details. The vendor failed to show a complete other tree of additional excellent PE parts which in this case is very needed and useful. Oh well...LOL! I would give the wheel well detail a 2 out of 5. The flaps are passable which is a nice feature and the air-brakes can be displayed open. No details inside of these areas.
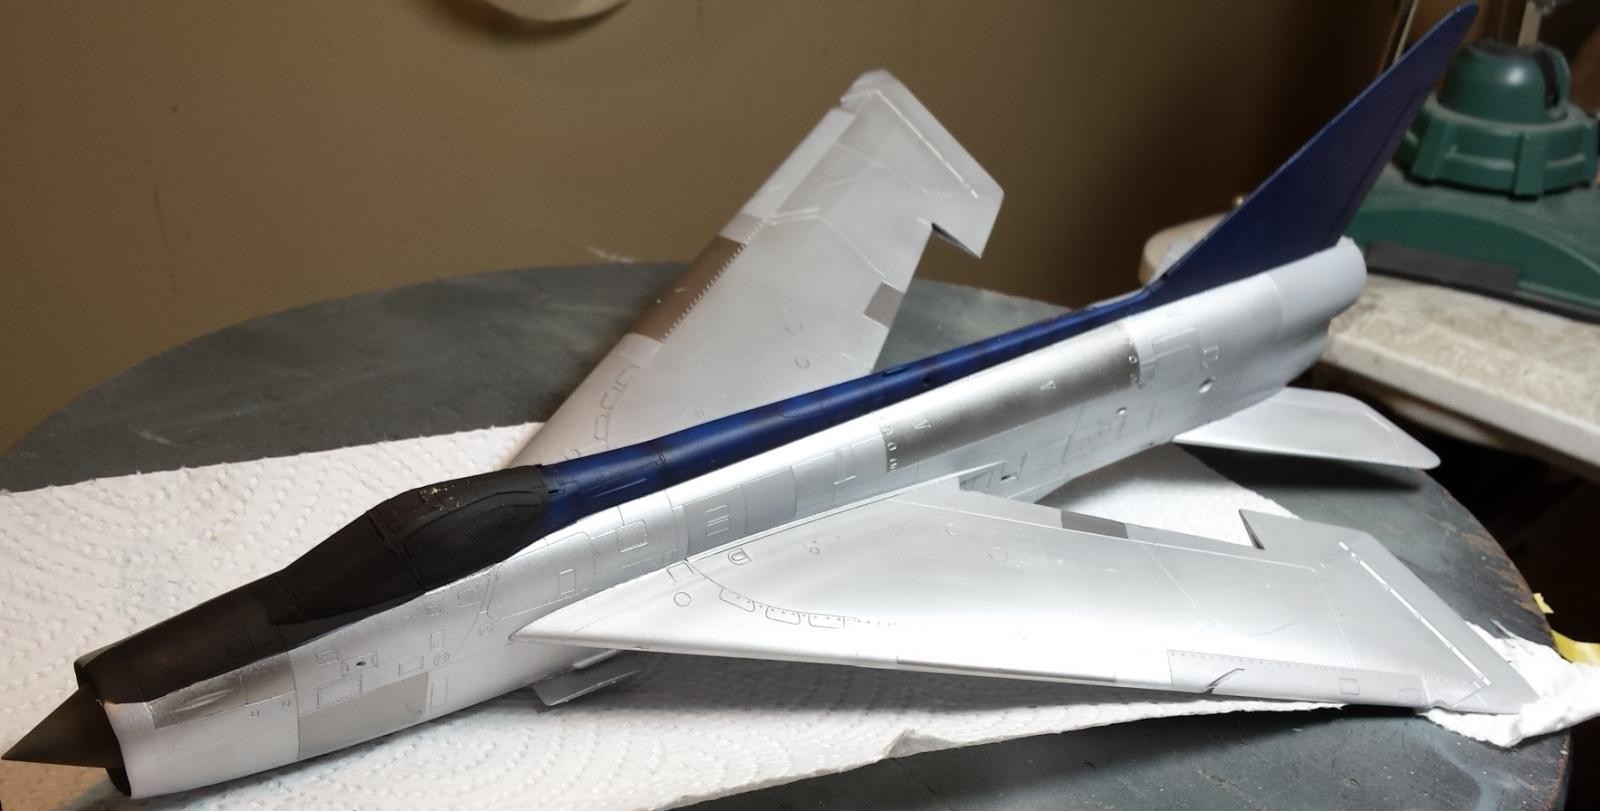
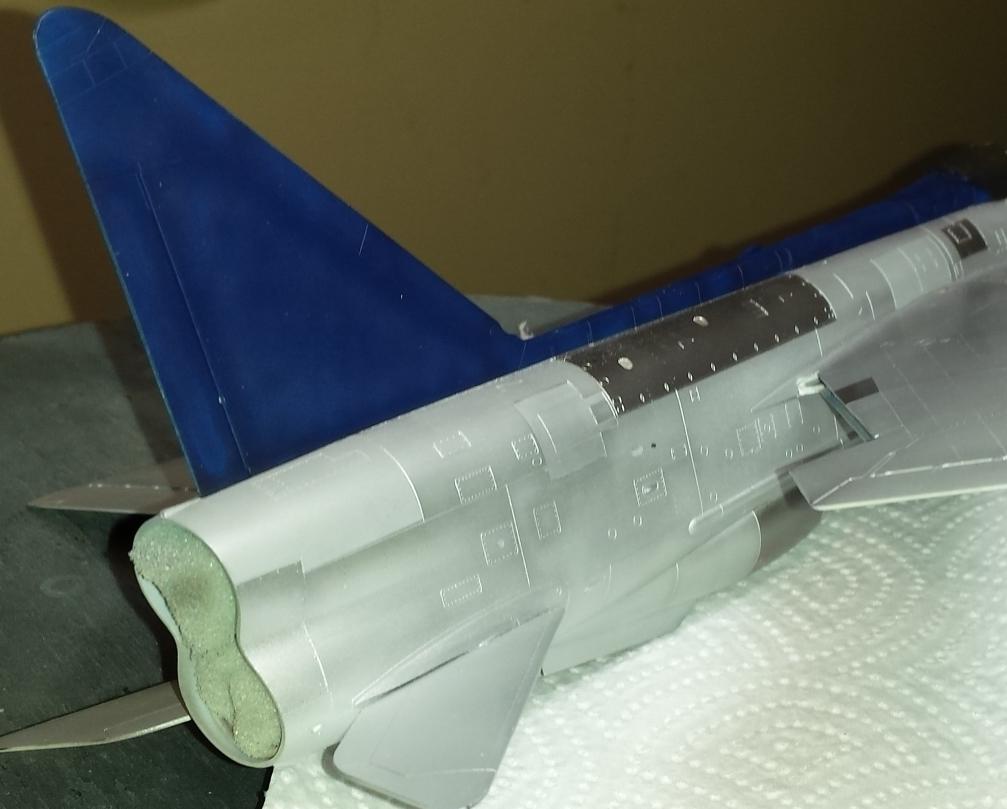
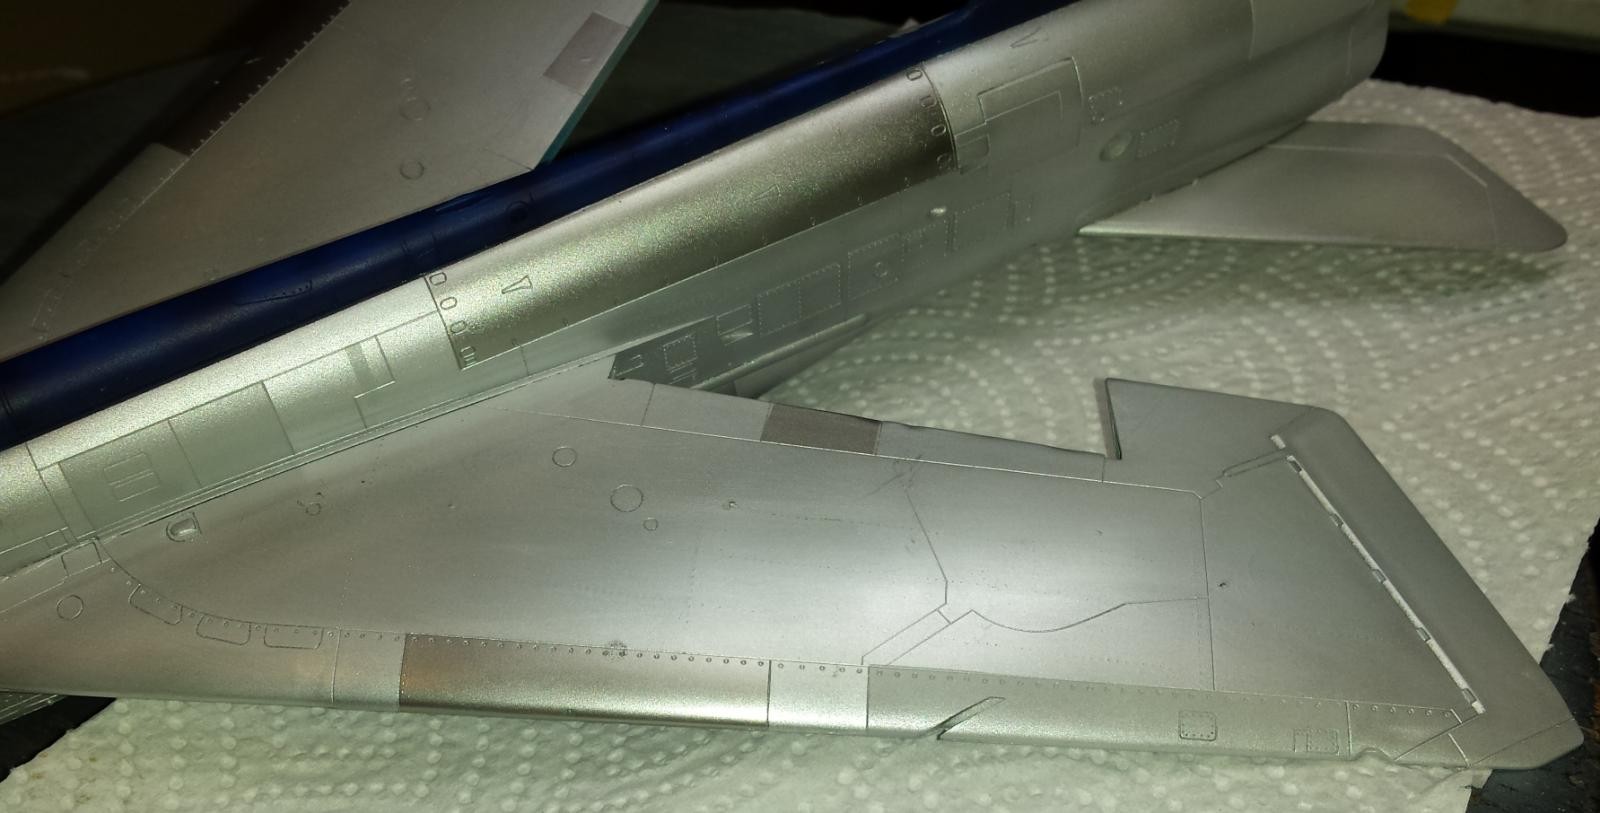
Building Experience: There are plenty of good reviews of this model available on the internet. Therefore I am only going to provide some brief detail and a general summary of the build experience to date. Overall the build experience to this point has been a 3.5 out of 5. Again I think I have been spoiled by some of the exceptional engineered kits available on the market these days especially with some of my recent modern Tamiya builds. When it comes to overall fit and engineering it is definitely not a Tamiya. The fuselage assembly is fairly conventional along with the other major sub-assemblies except front wheel well and intake assembly. The instructions appeared somewhat vague when it came to some of the unique assemblies such as the front wheel well assembly and how exactly it is to fit in the front fuselage. It is sort of a weird assembly and even after I completed it and closed the fuselage it still does not look right or sit right. You can actually see some gaps showing light through the bay when looking into the front intake. I thought the cockpit assembly/tub could have better locating guides insuring more positive locating but in the end it all came together after some dry-fitting and fiddling. The fuselage is not perfect regarding fit; I believe the plastic was a little warped. But careful gluing and lots of clamping fixed that issue. The weird intake and front wheel well assembly and the vagueness of its location in the fuselage results in some fit problems when it came to placing the intake lip ring onto the fuselage front section. Because of this aspect I was required to sand the front of the fuselage flat so the intake ring would fit flat against the fuselage without any gaps. I was finally able to get this attached with minimal gaps and it did require a good amount of seam filling. If I was to build another one I would have a better result in this area b/c I see how it all should go. But this is also dependent on the amount of warping which effects the flatness of this frontal area needed to accept the intake lip perfectly. The wings assembled fairly well but again there was some slight warping which resulted in gaps at the trailing edge of the wing were the flaps would fit. Even with lots of strong clamping I still have some gaps at the flap area. This should not be seen once the flaps are in place. Finally the attachment of the rear horizontal stabilizers was a bit flimsy. The instructions provide no detail regarding the alignment of these surfaces to the fuselage. No indication of stabilizer angle (dihedral). If you dont use an external reference to properly angle them you will end up with them looking like the stabilizer on an F4 Phantom pointing down. Keep in mind this is not correct and they should be perfectly parallel to the ground. The main wings had fairly good fit to the fuselage with only a small gap on the underside of the wing to fuselage joint.
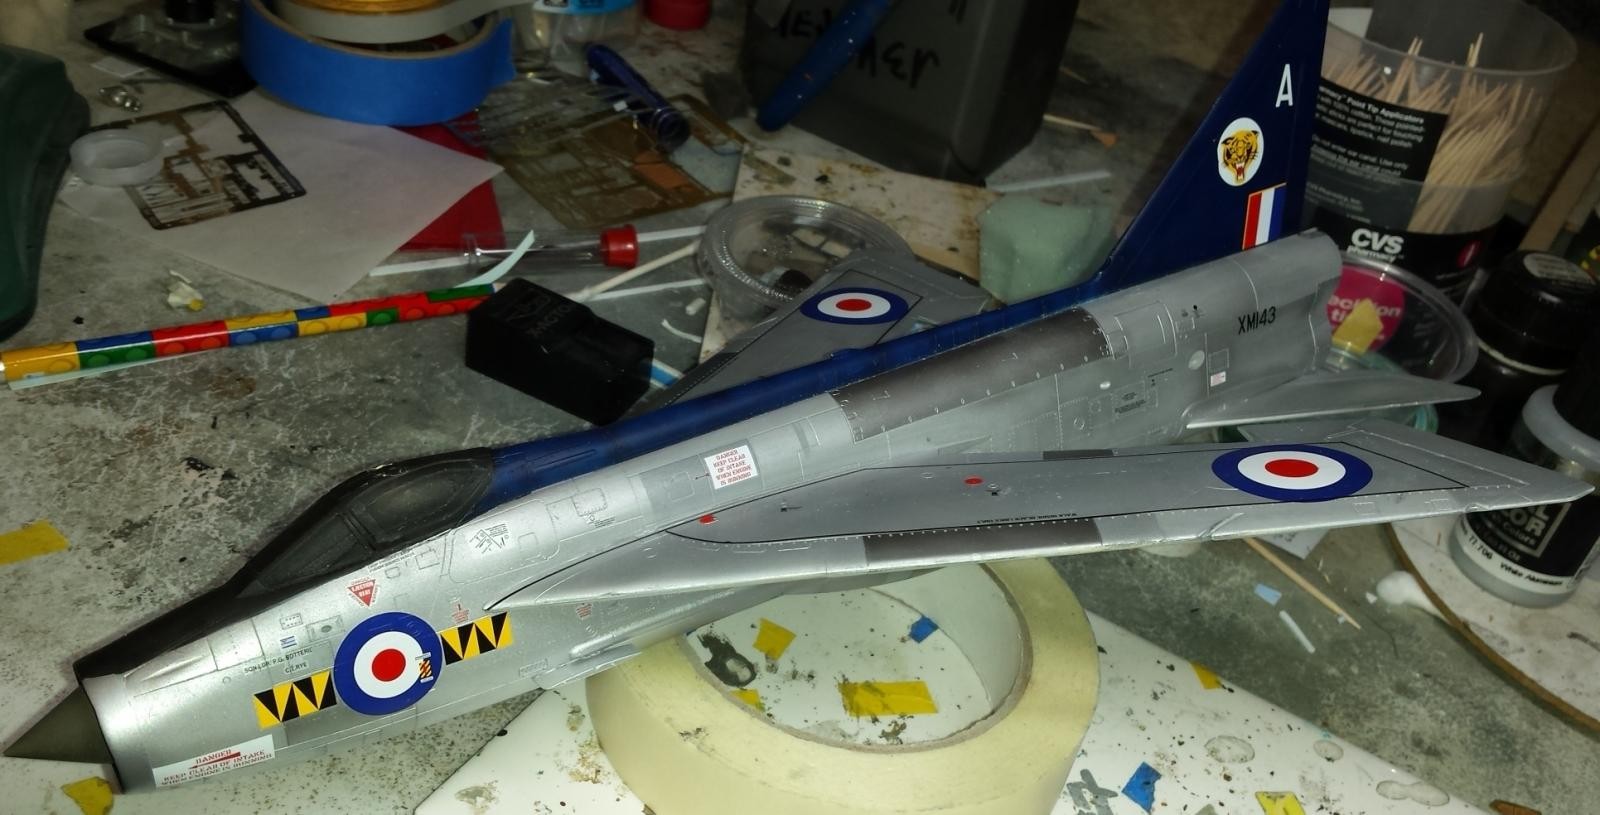
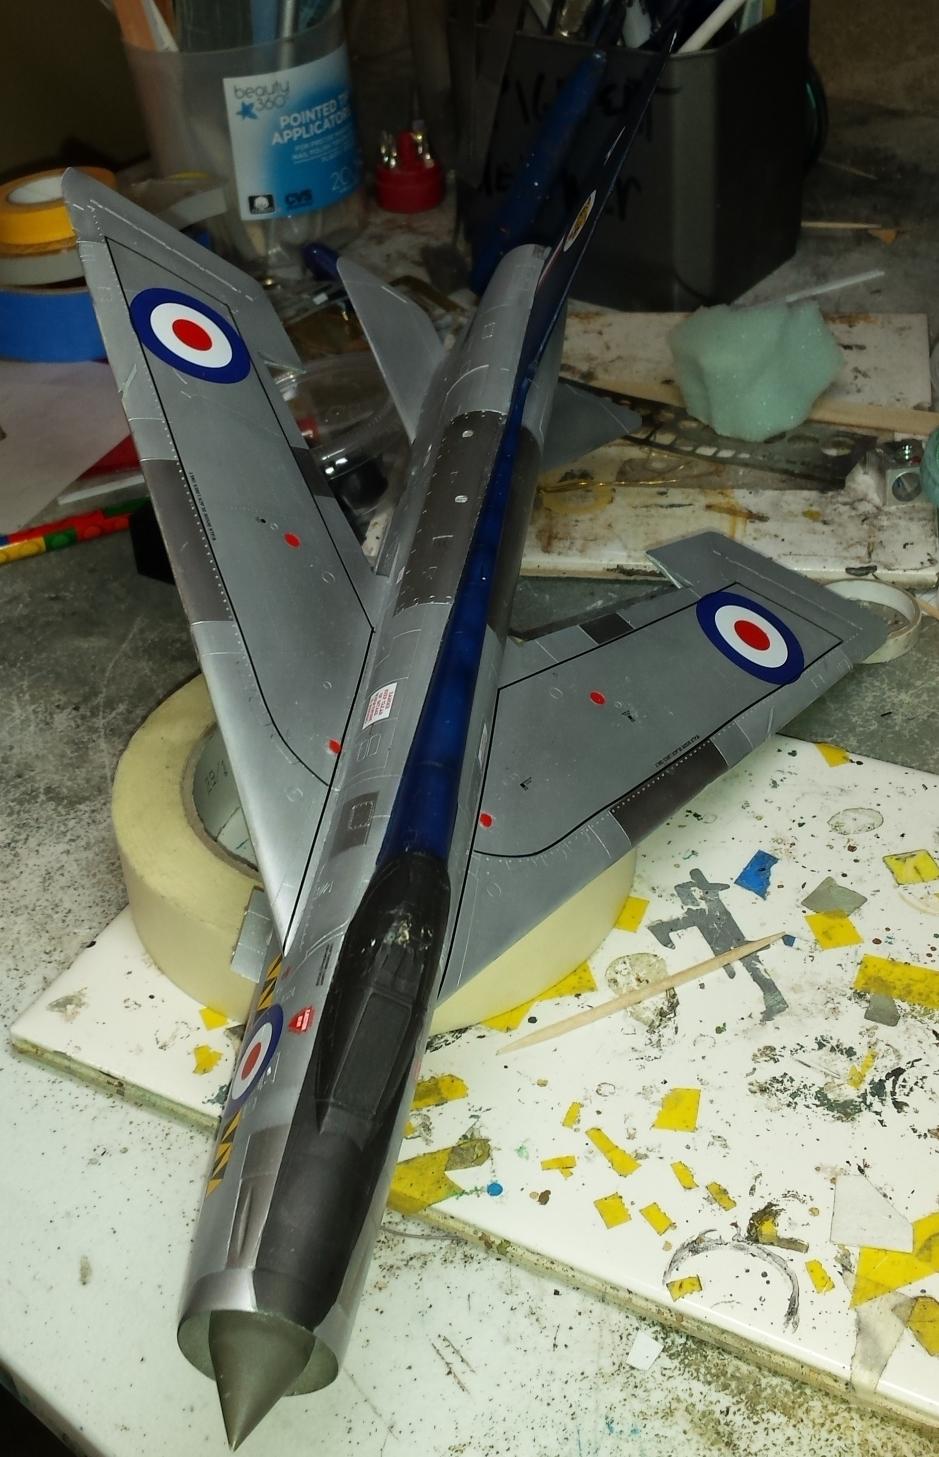
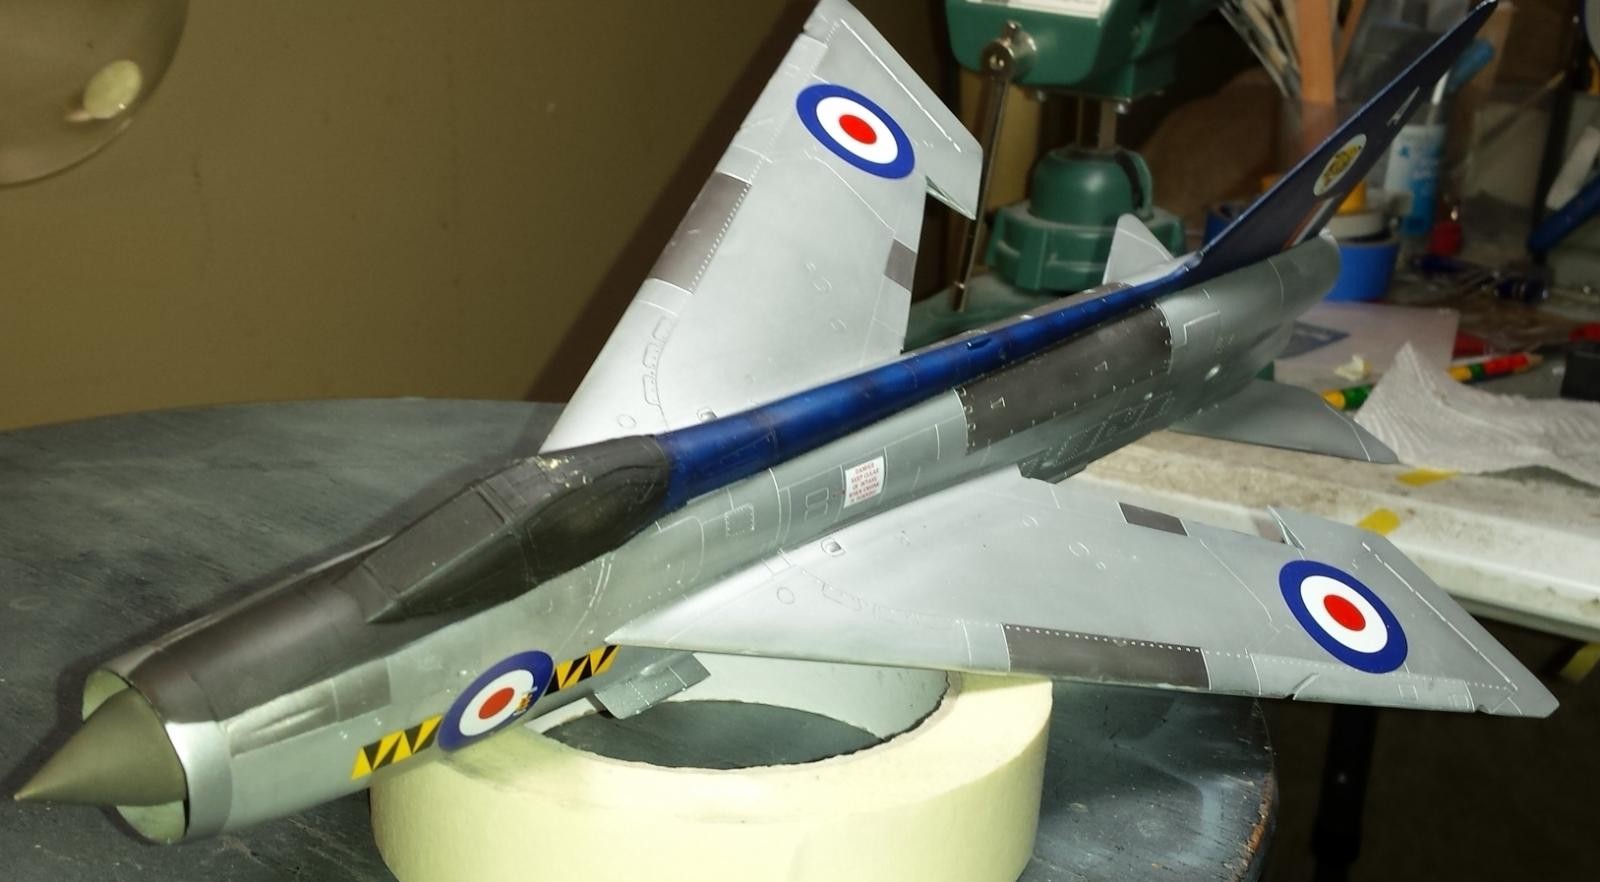
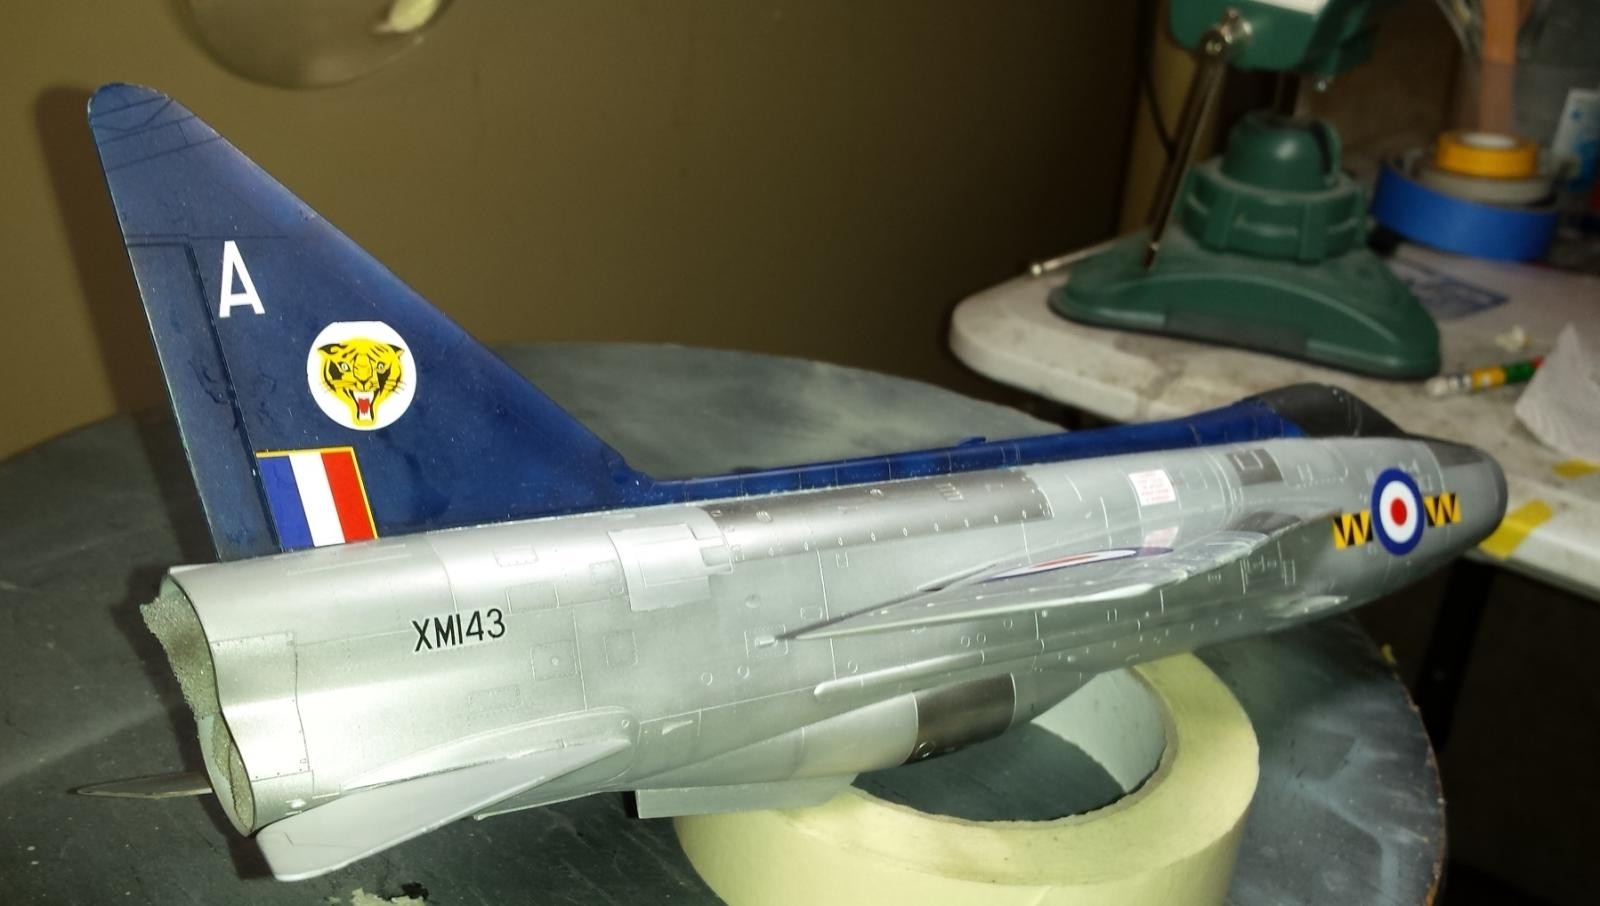
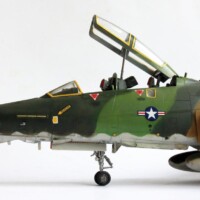
Progress Report: As you can see from the pictures I am about 85% to 90% finished. I got the basic painting completed and applied all the decals. The decals are a little thick but look good and perform well with solutions. There are tons of stencils to be applied. I used all Vallejo acrylic metallic paints to recreate the Natural Metal Finish (NMF). I am not looking for a glossy polished look but more of a well worn, weathered NMF with a more semi-gloss painted appearance. I did do some pre-shading for the blue painted areas to recreate a mild patchy look after exposure to sun and elements. I will still need to do some dark post-shading to the panel lines to get the look I want. I will also use several washes to highlight surface details, and stain the surface as needed. The ejection seat needs to be completed and seat harnesses installed which on this model is a big task. Landing gear is painted but must be assembled and installed. I will post more pictures as soon as I complete the project.


Looks gorgeous already, Paul. Lovely work and great finishes.
But really, happy as a little beaver?
Nice write-up, Paul...I've always liked this air frame - just LOOKS fast!
Great to see one in the initial markings, before the fade to gray. Not a small aircraft, either. Shame I never got to see one do a zoom climb. I'll bet that was a sight! Still Fighter Command, back then?
This is starting to look like a REAL WINNER. Beautiful NMF and colourful RAF markings sure makes this Lighting stand out! Well done!
Coming along nicely! (FYI - there is a WIP Group thread you can also use. The advantage is it keeps all WIP write-ups and images in a single place for future reference)
Lookin good Paul. These Lightning moulds are actually twenty years old now.
Great job, so far Paul! In spite of the problems you mentioned, it looks great.
Nice!
Very nice. I got stalled out on this years ago, though I can't quite remember why: something to do with the front end I believe