Review: iModeler Review – Meng 1/35 Jagdpanther Ausf. G1
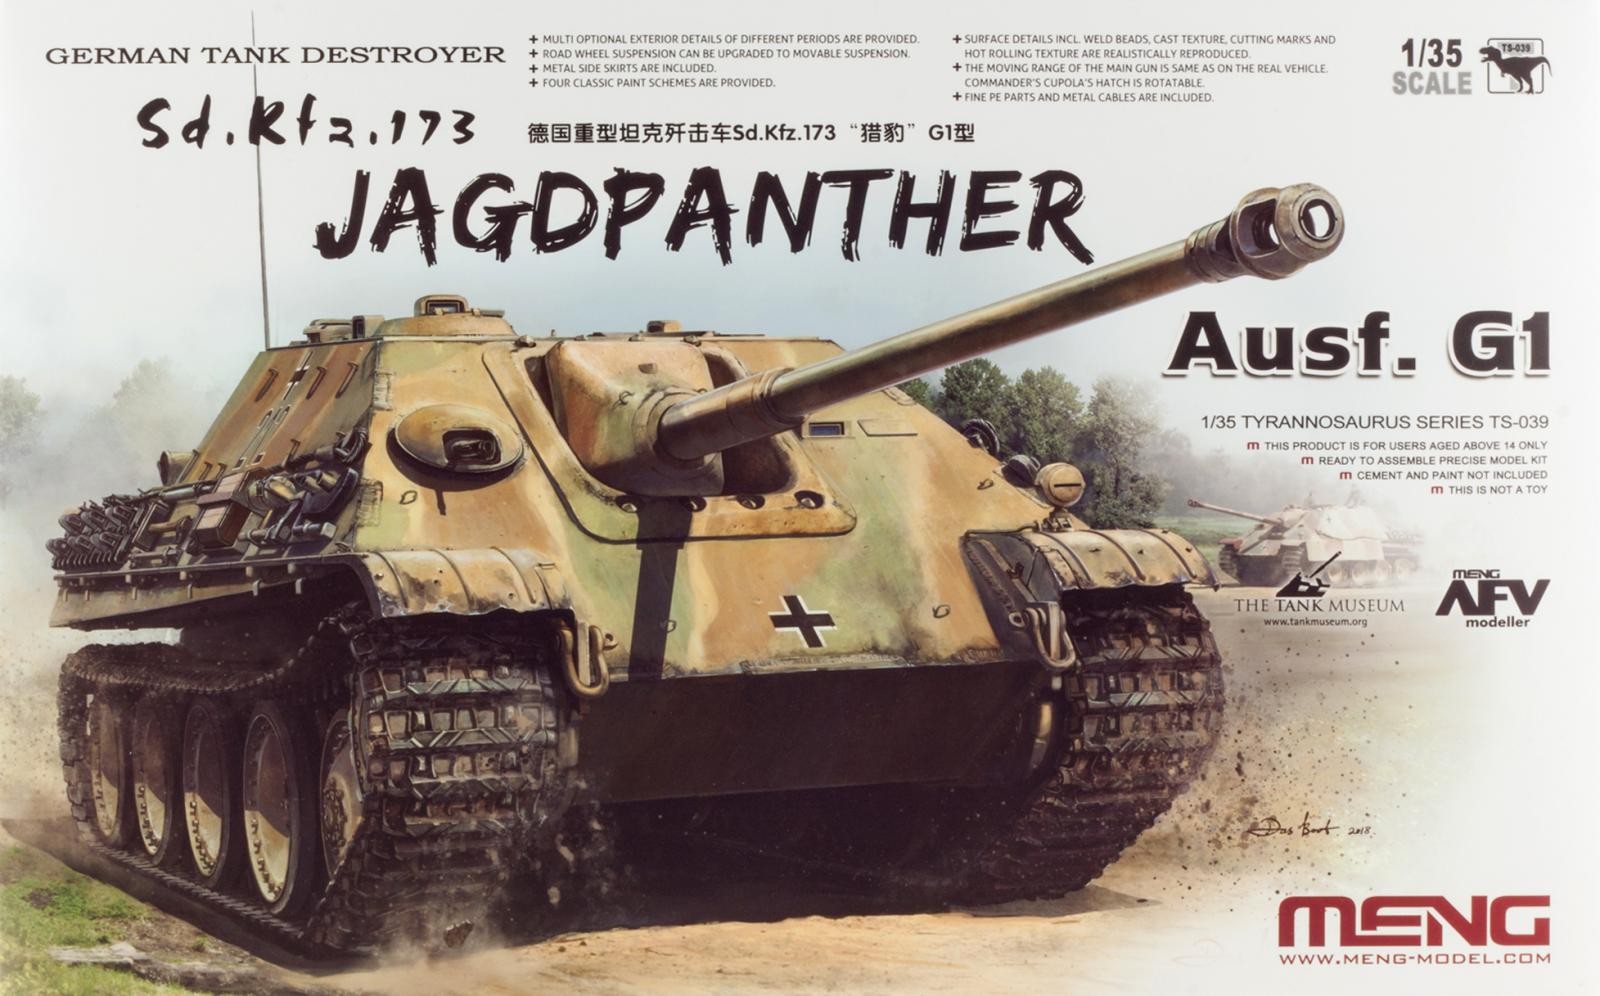
After its announcement last year, Meng finally released their new Jagdpanther in 35th scale. The subject choice does not come as a huge surprise, seeing as the last new tooling of this vehicle is Dragon's 2007 kit – and Meng has already released the Panther together with update sets for the running gear, tracks, and Zimmerit. In a broader sense we really seem to live in the Year of the Cat, with an abundance of Panthers and Tigers appearing in stores lately and all the major (and not so major) players attending the cat-fest.
The Real Thing
The Jagdpanther traces its roots back to 1940 and a request for the design of a Sturmgeschütz (assault gun) with a long-barrelled 8,8cm gun. After some drawing and building wooden mock-ups it was decided in August of 1942 to use components of the Panther tank which was just entering production. Basically the running gear, engine and large parts of the drive train were to be used, topped of with a casemate holding the impressive 8,8cm/L71 gun.
The first production vehicles were delivered in January of 1944, but production remained slow during that year – not least because of constant delays due to Allied bombing raids on the production facilities. The first unit to receive Jagdpanthers was the s.H.Pz.Jg.Abt. 654 (schwere Heeres-Panzerjägerabteilung, heavy Tank Destroyer Battalion) in France, albeit in small numbers and somewhat piecemeal.
During production a lot of small changes were introduced, making building a “totally correct” model a bit tricky – without proper reference shots it is really not that easy to spot all the subtle variations. In addition some changes to existing vehicles were made at unit level, most prominently by the aforementioned 654th. Oh, and of course each of the three production plants had their own small quirks. Yeah, this is not how you mass produce.
In the end, not more than around 400 Jagdpanthers were built (the actual number is hard to get, with a maximum of 415), serving in France, the Eastern Front, and Germany. The later G2 variant differed mainly in that it used the Panther G's engine layout. The highest number of vehicles in the field was achieved in March '45, with 59 operational and 86(!) in repair.
What Do You Get?
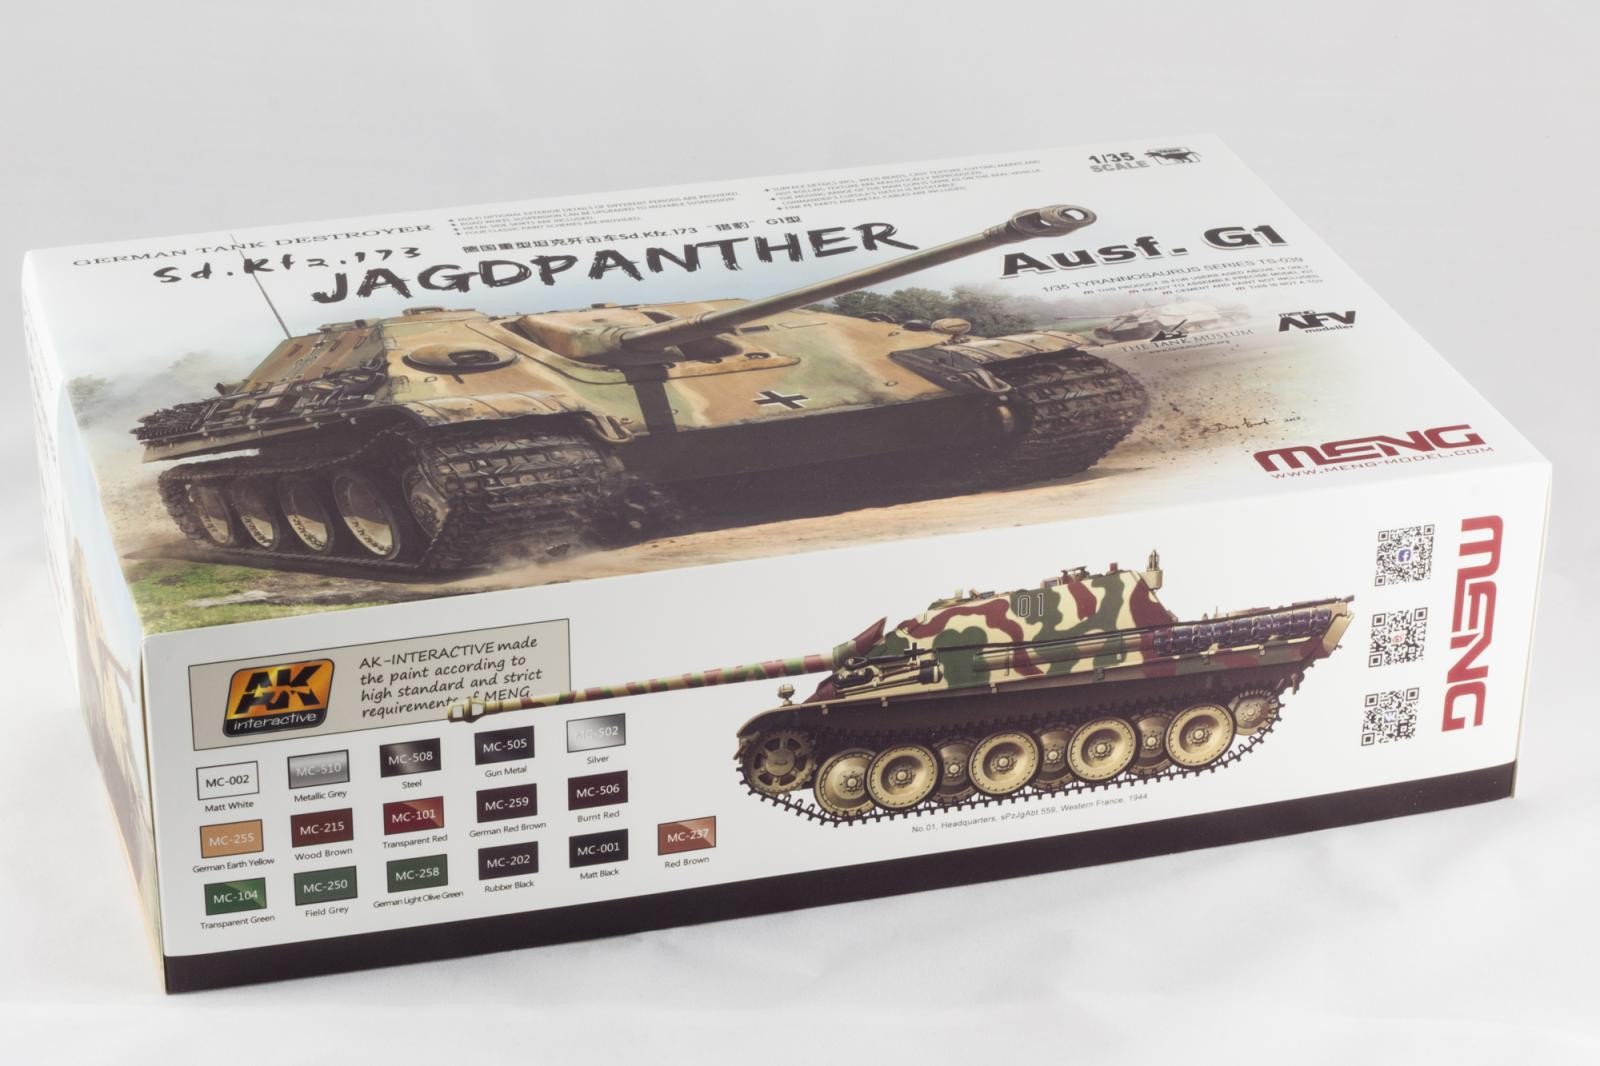
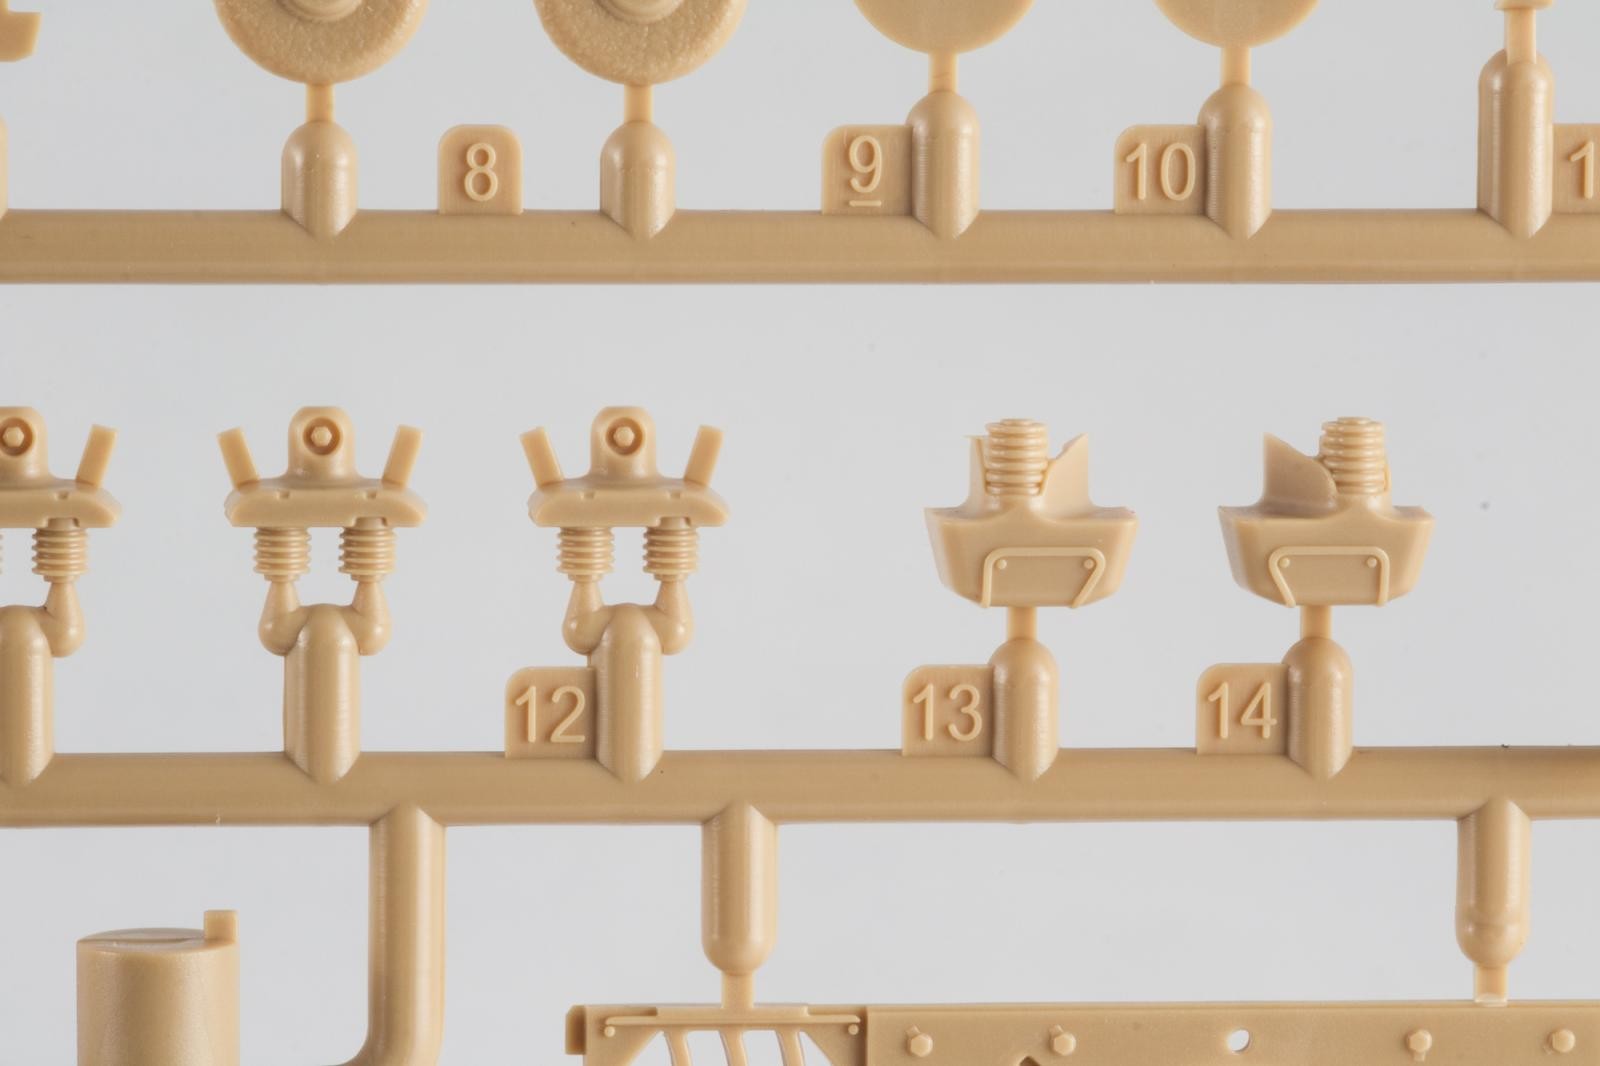
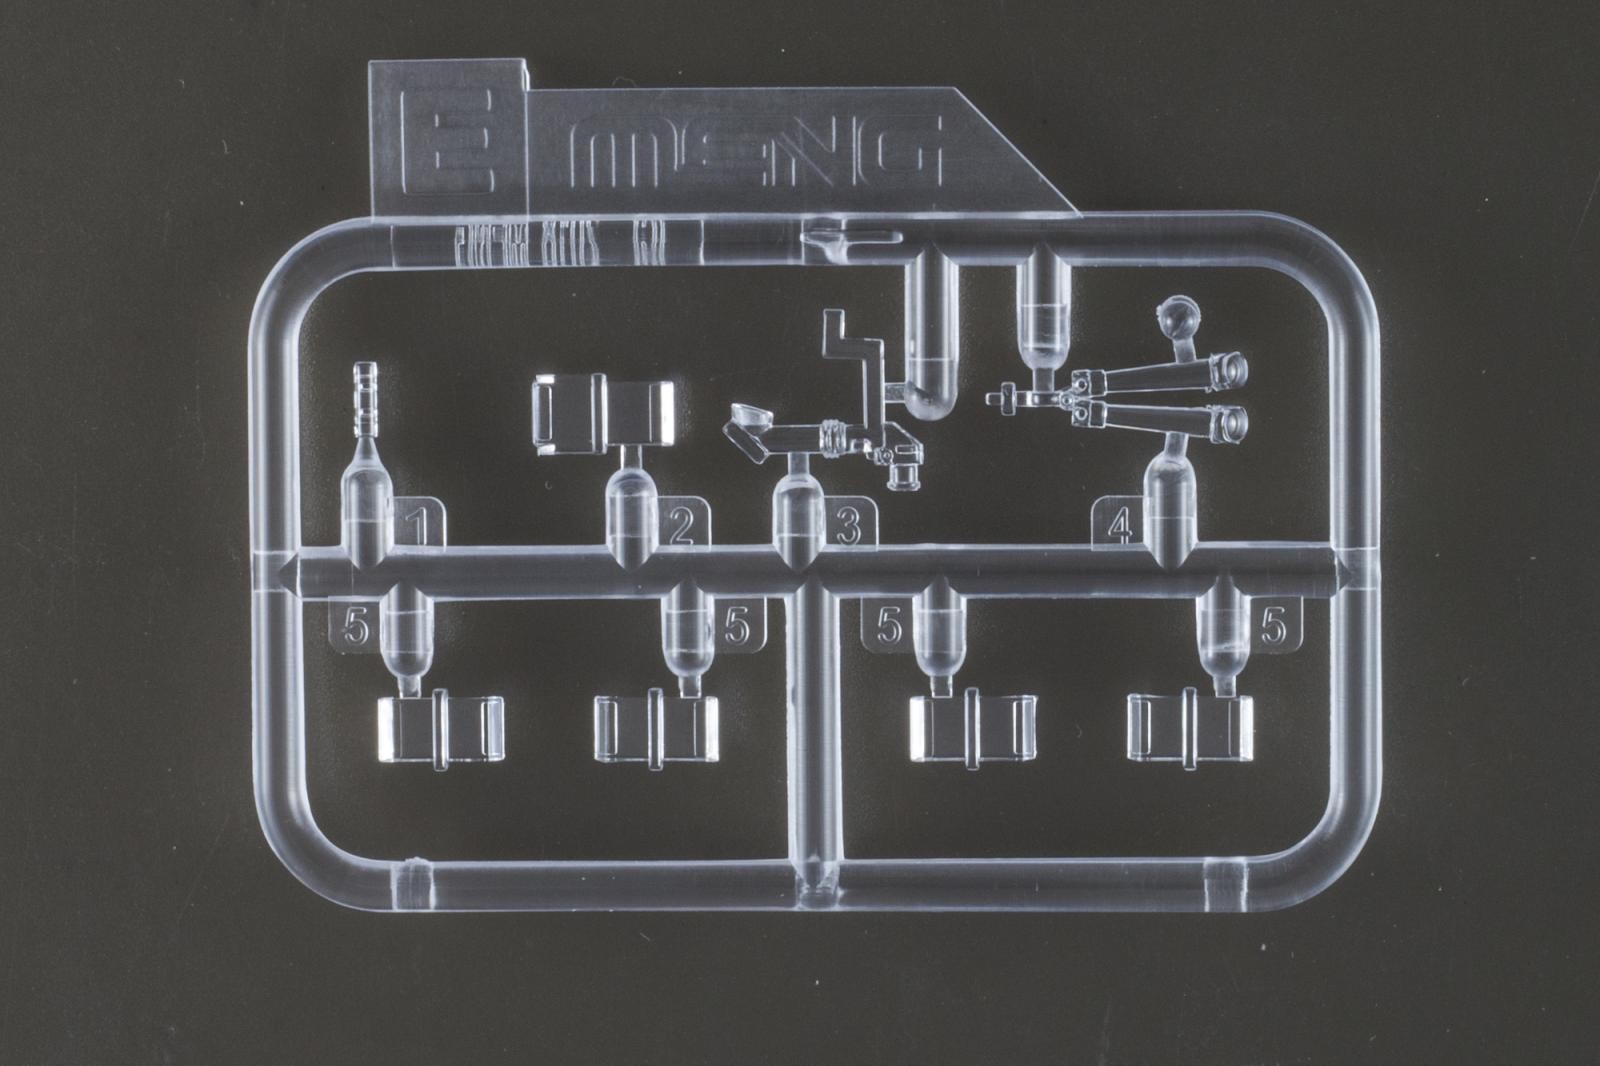
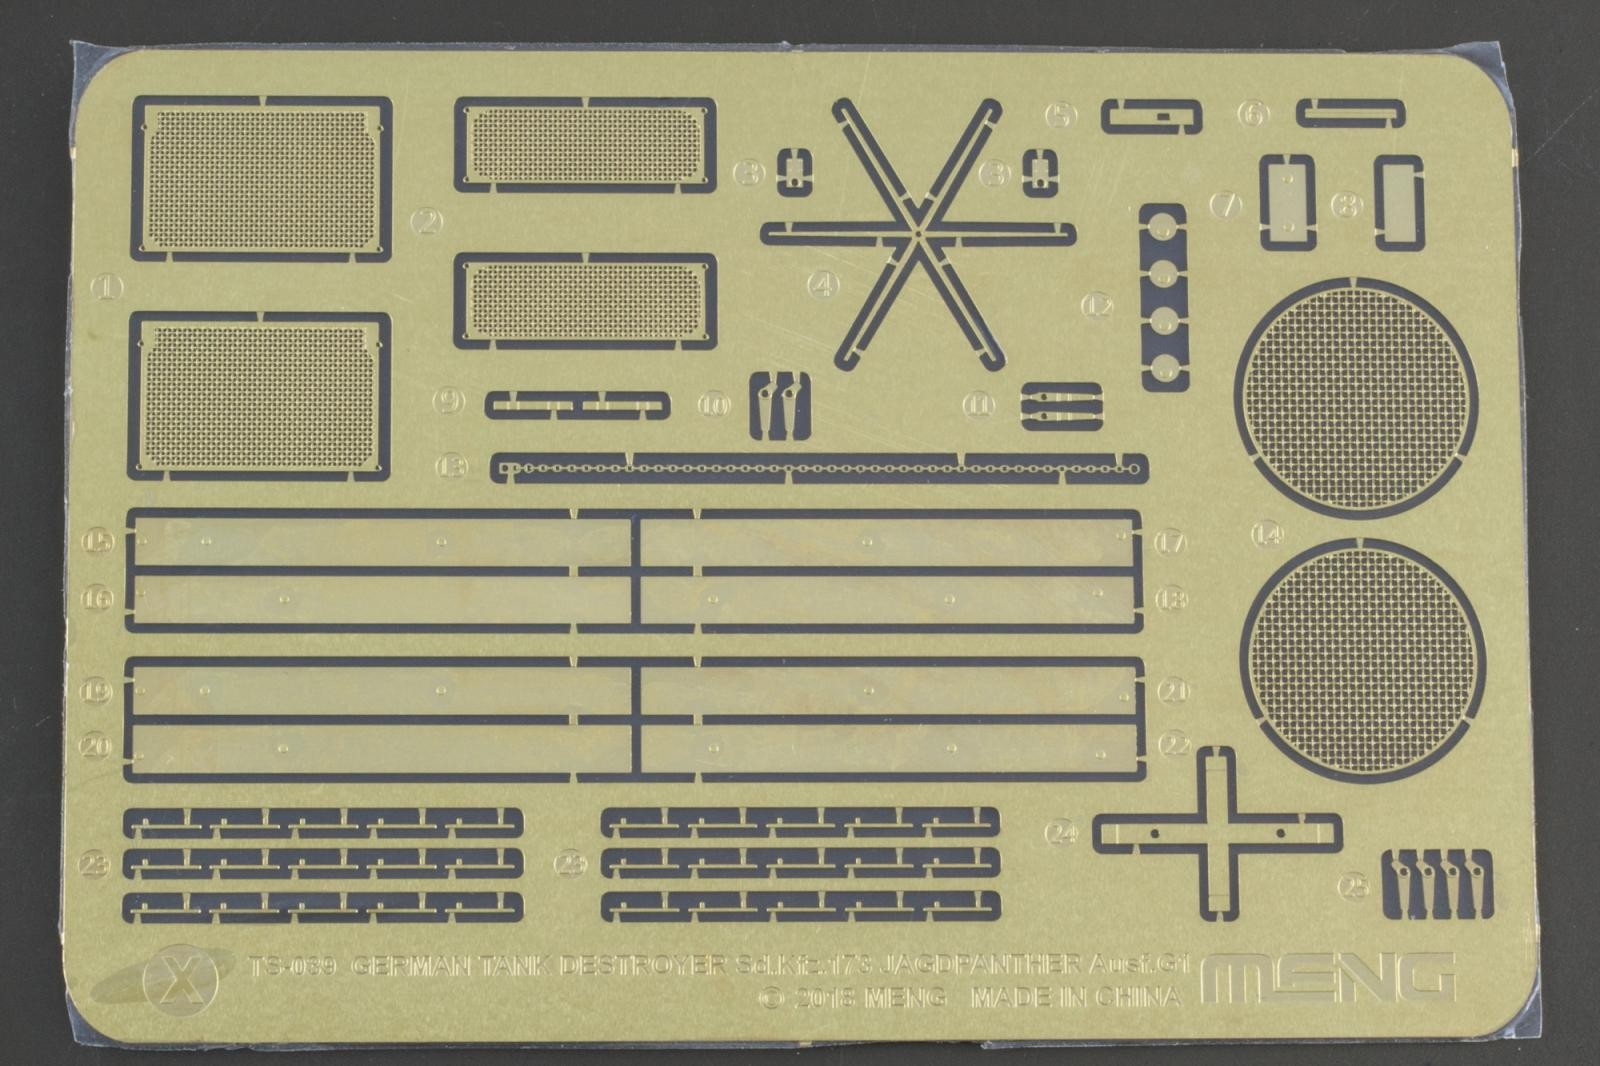
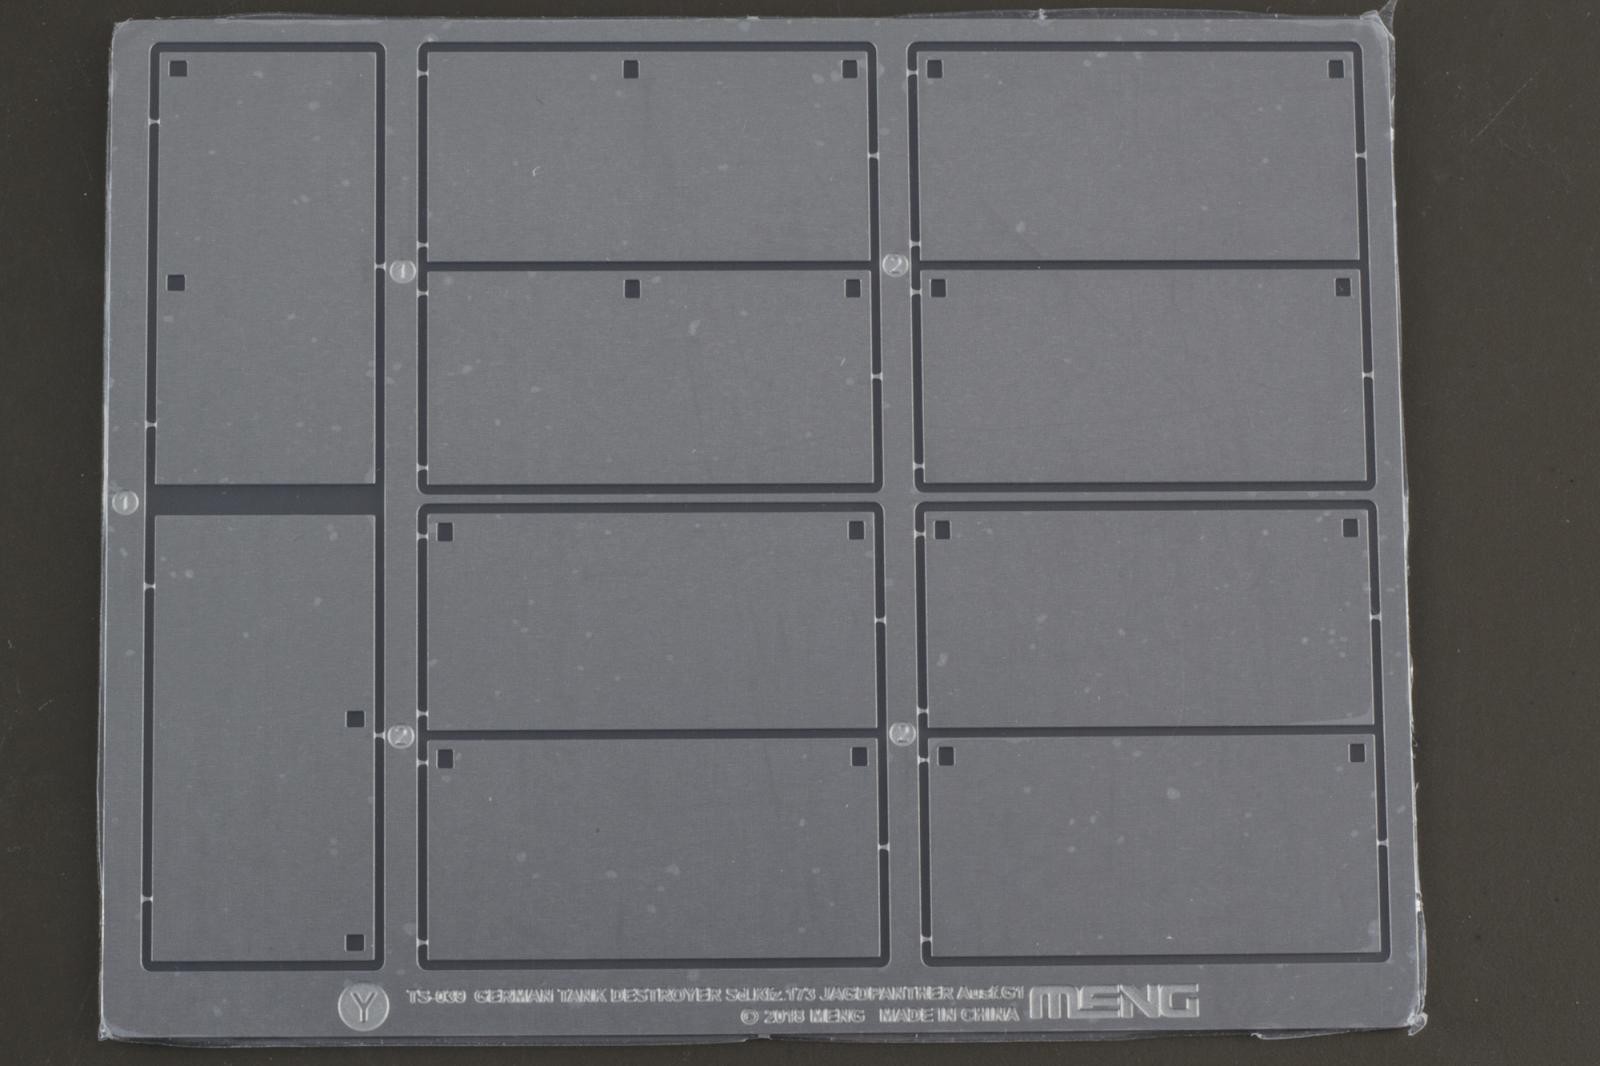
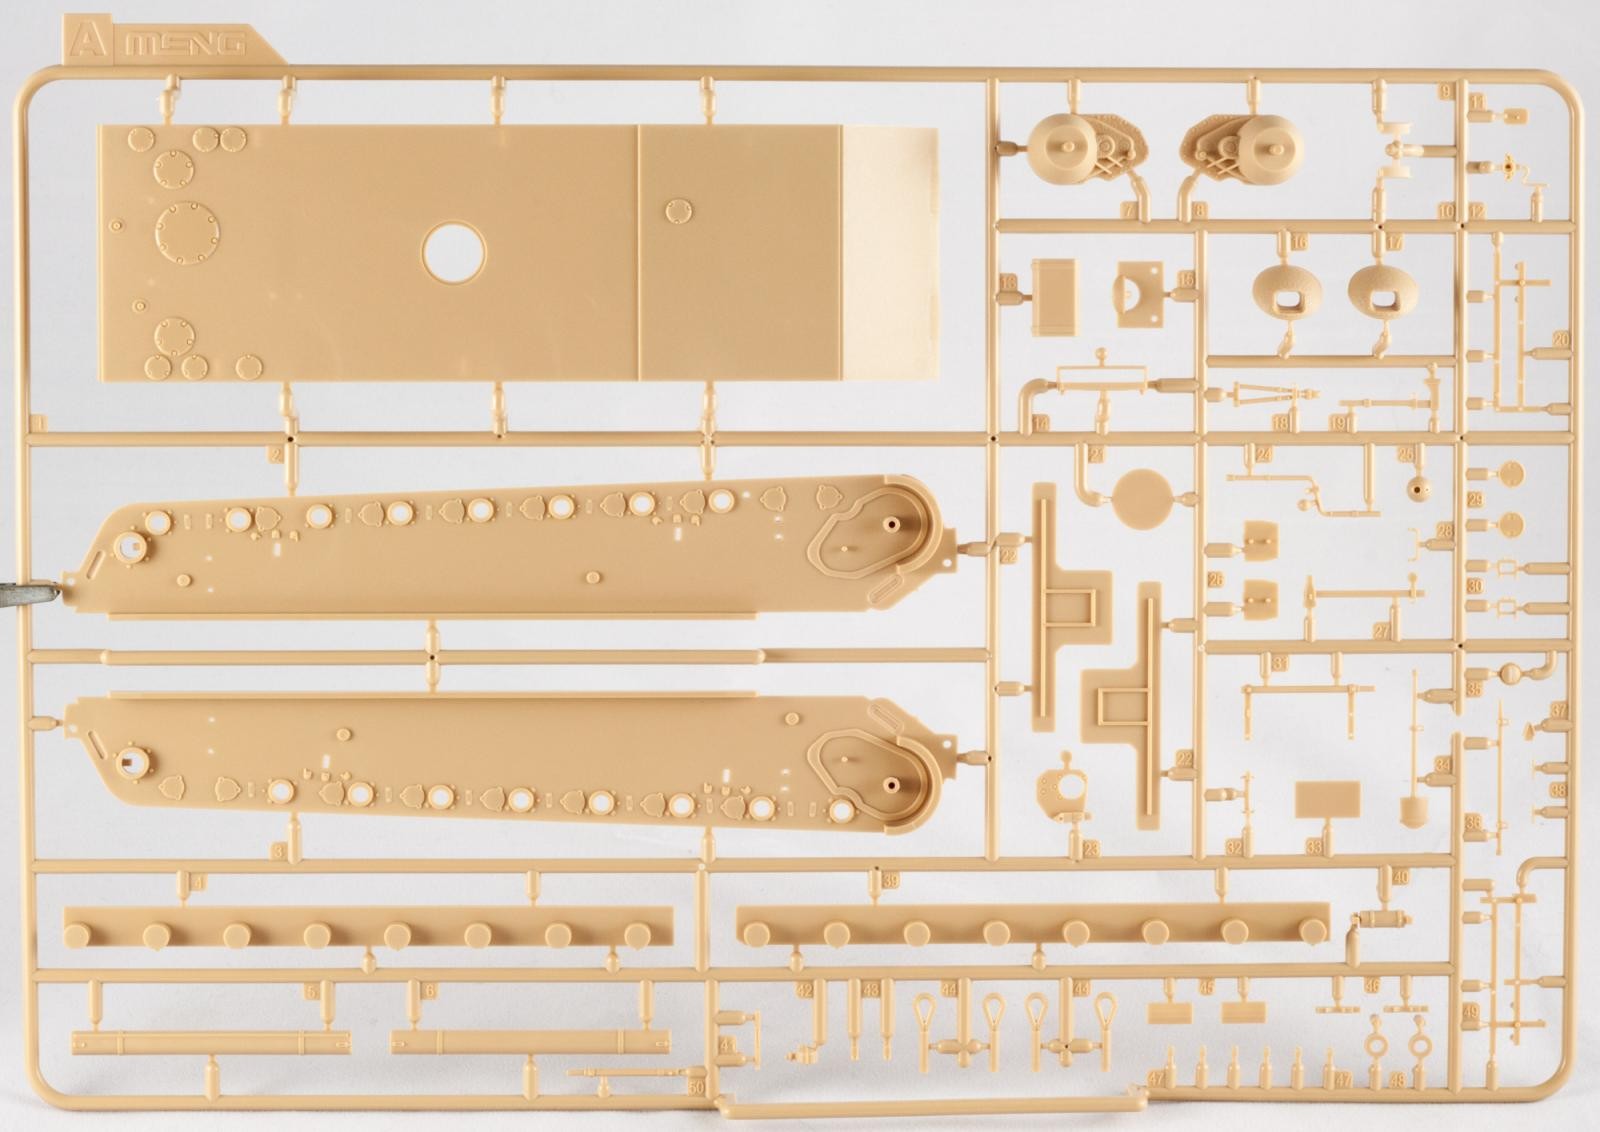
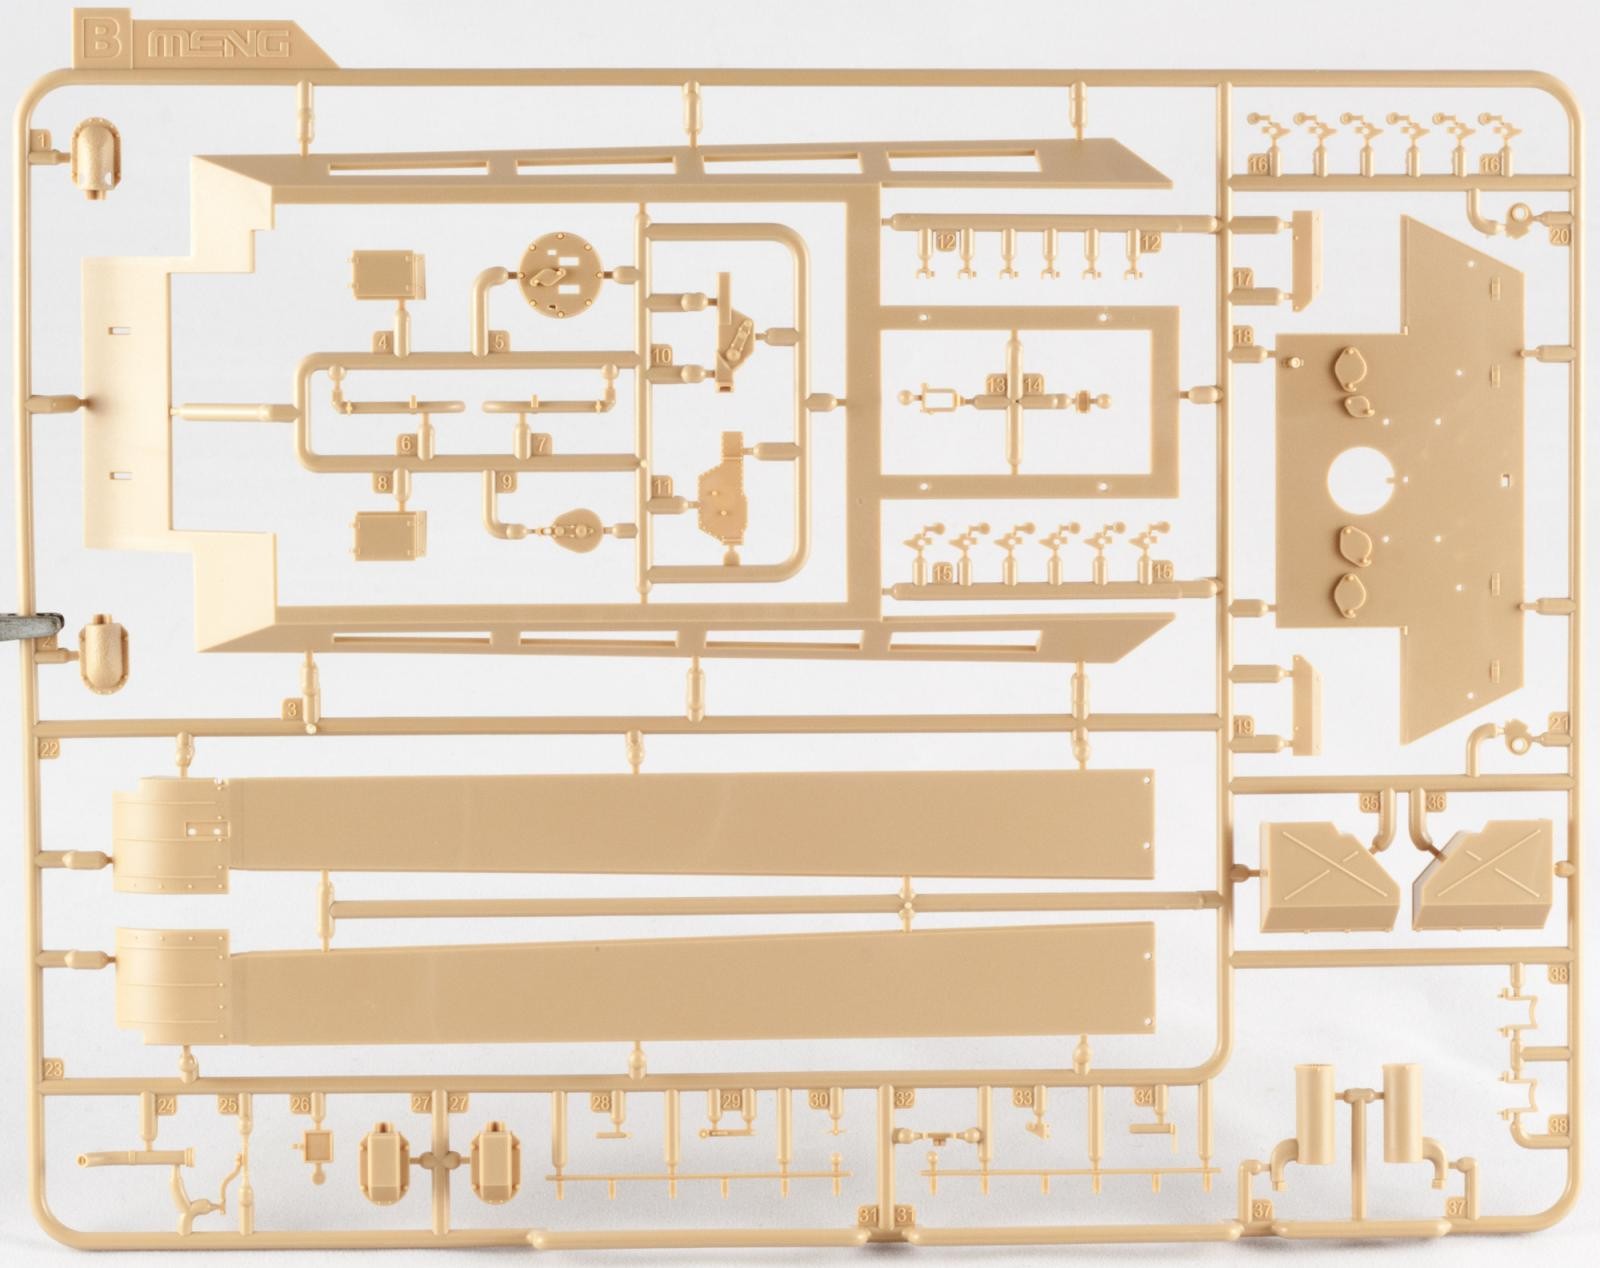
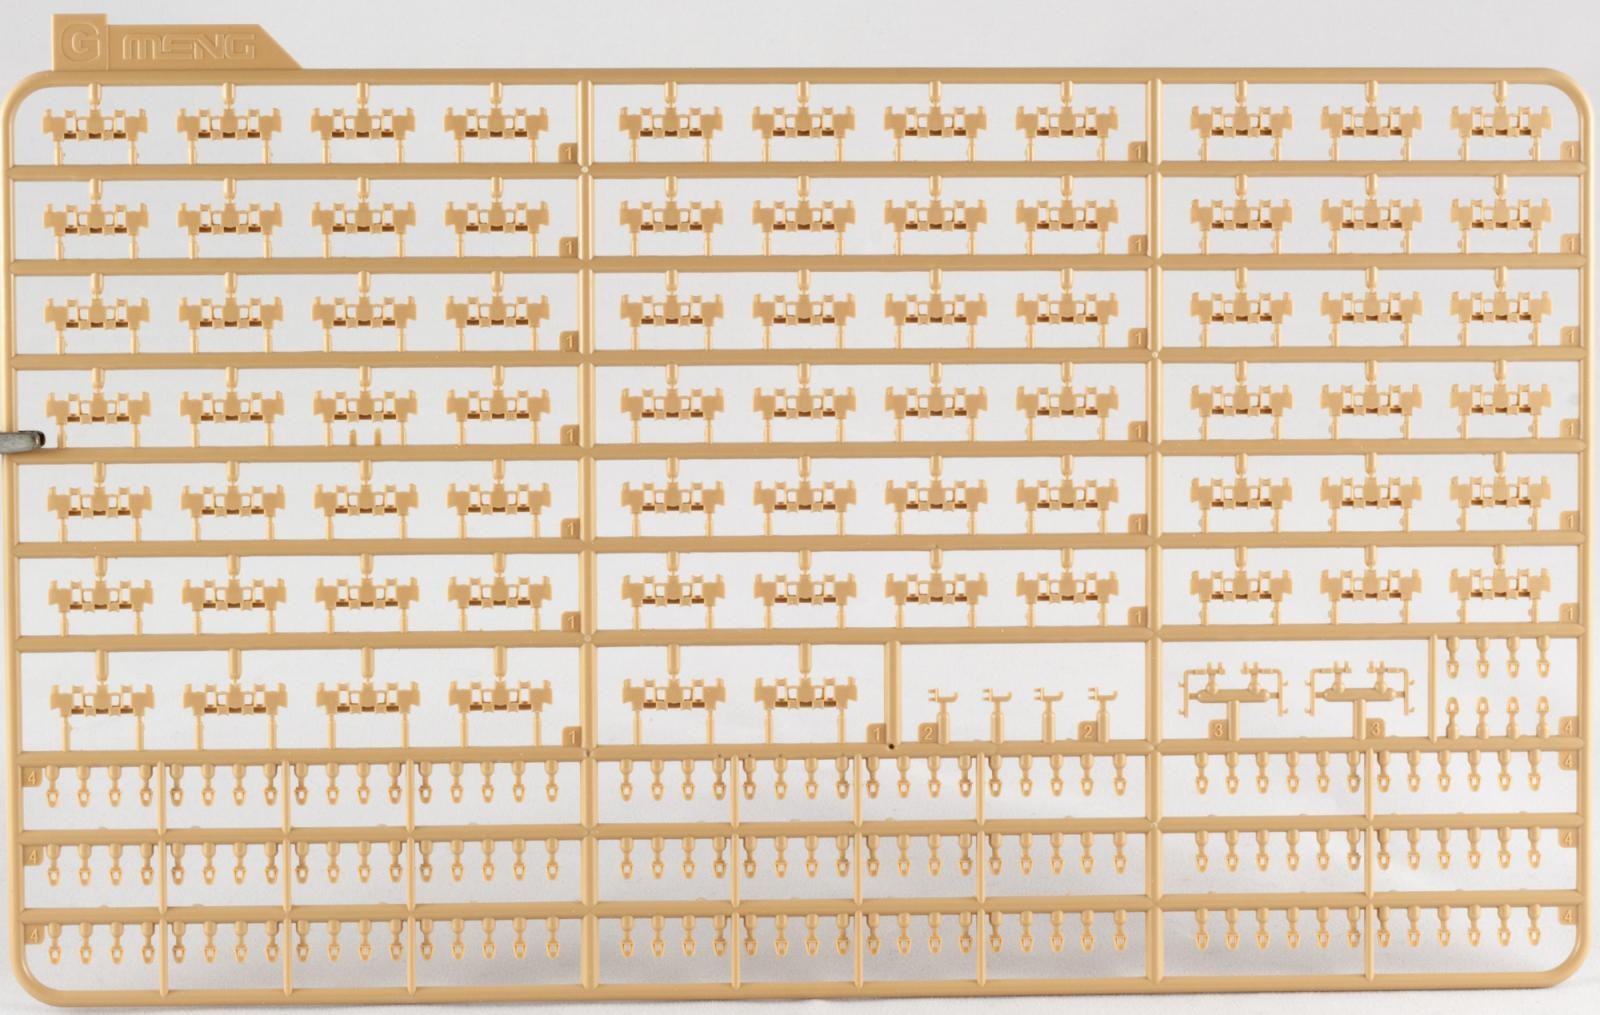
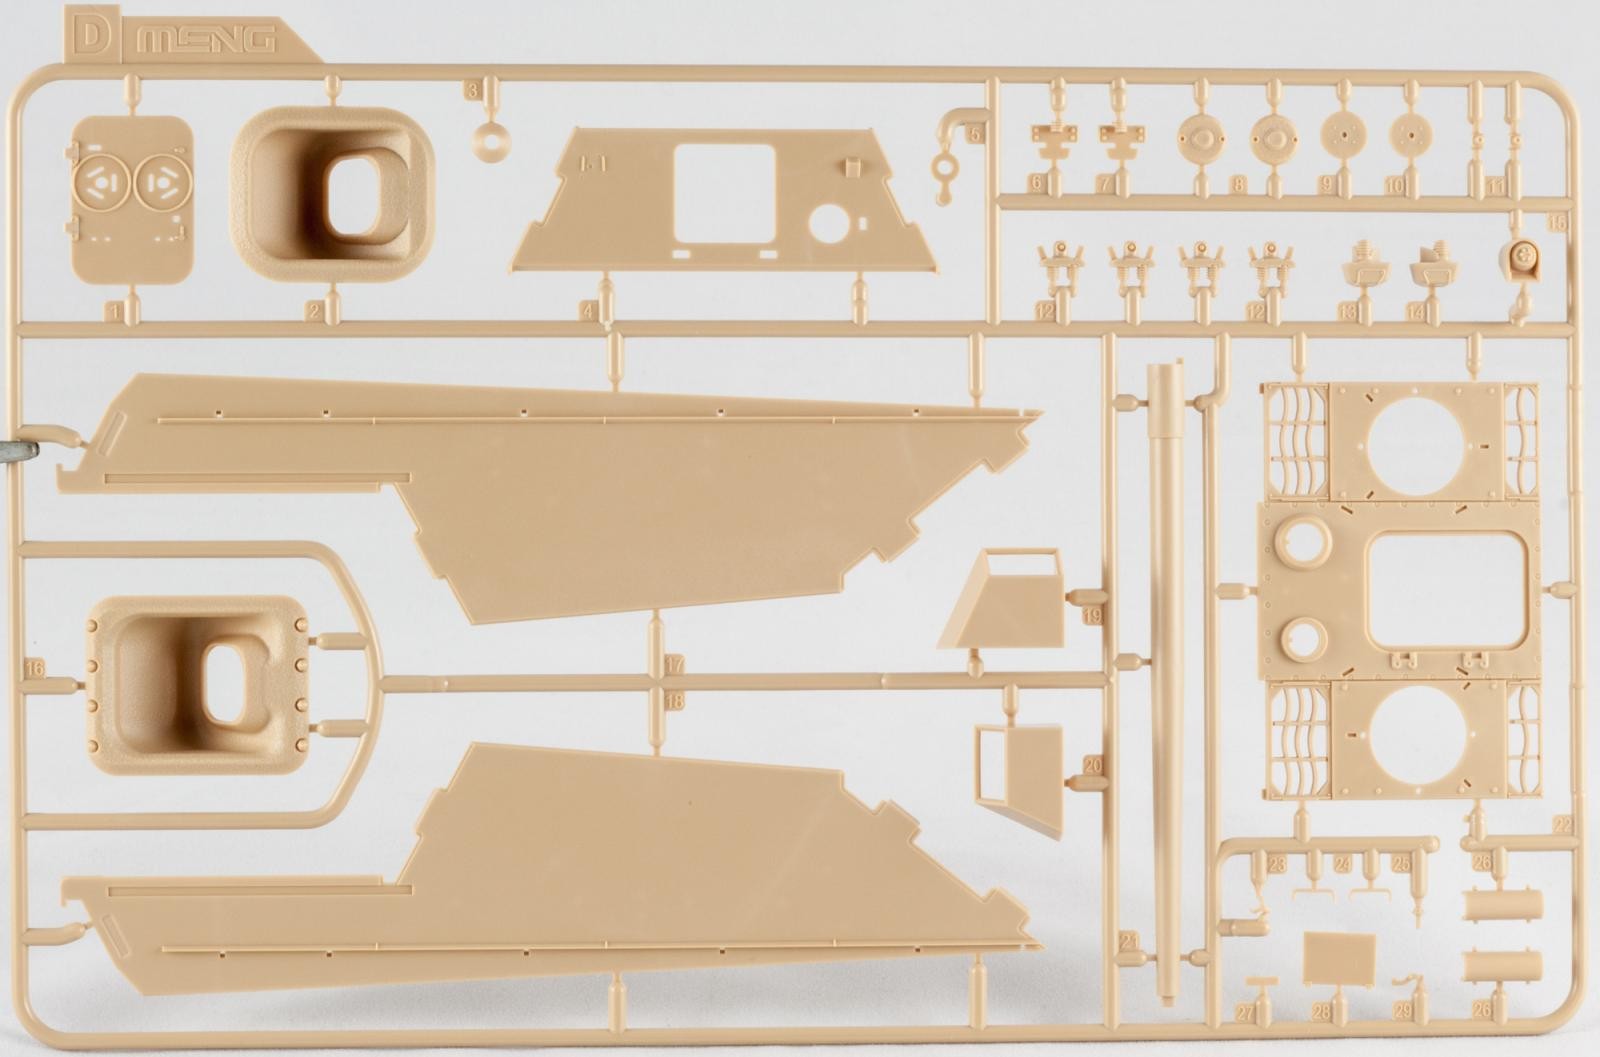
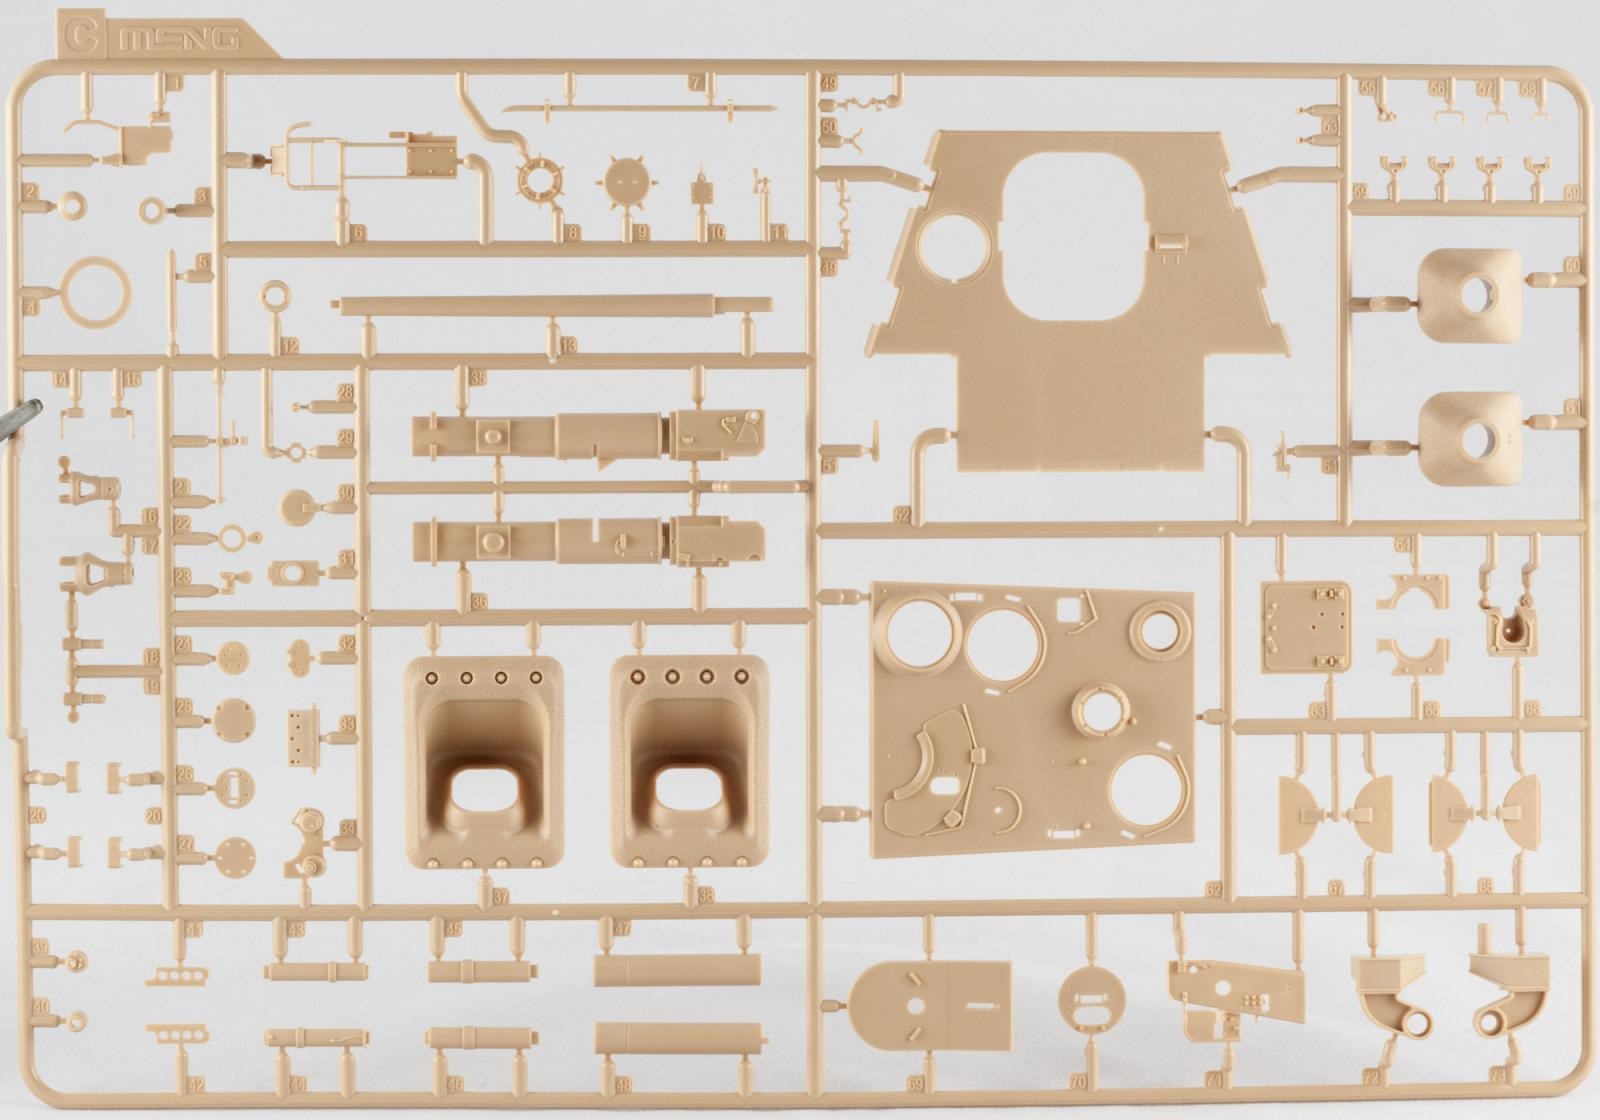
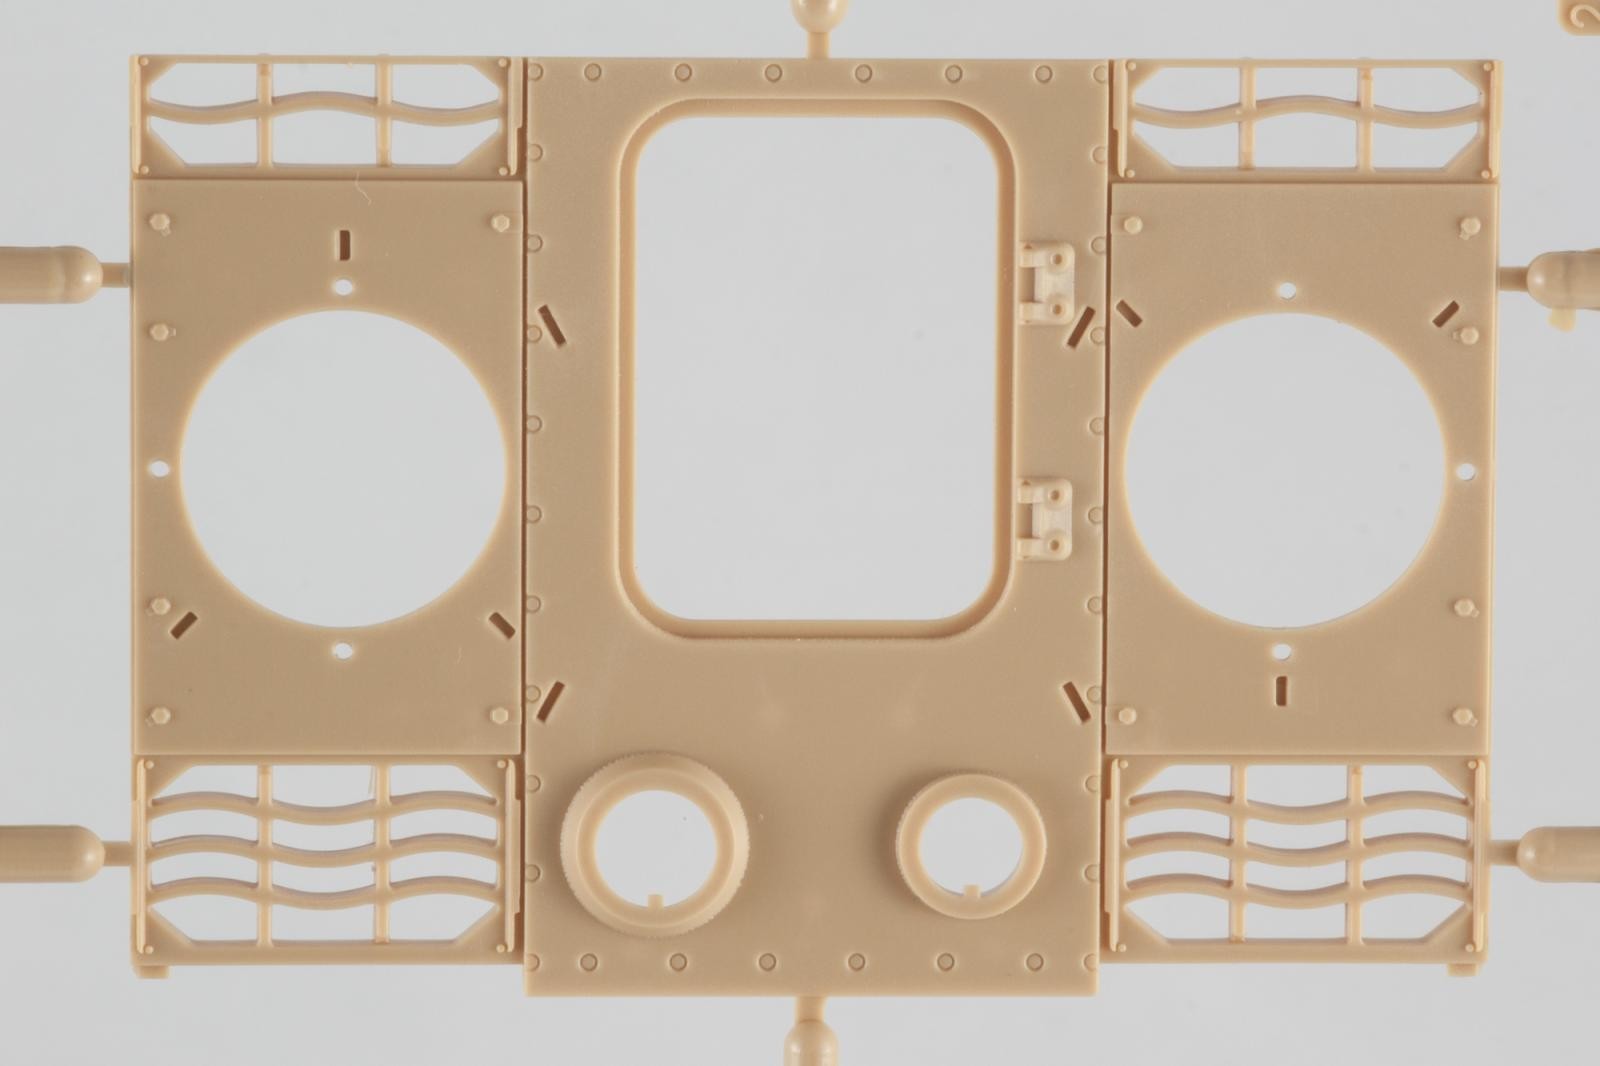
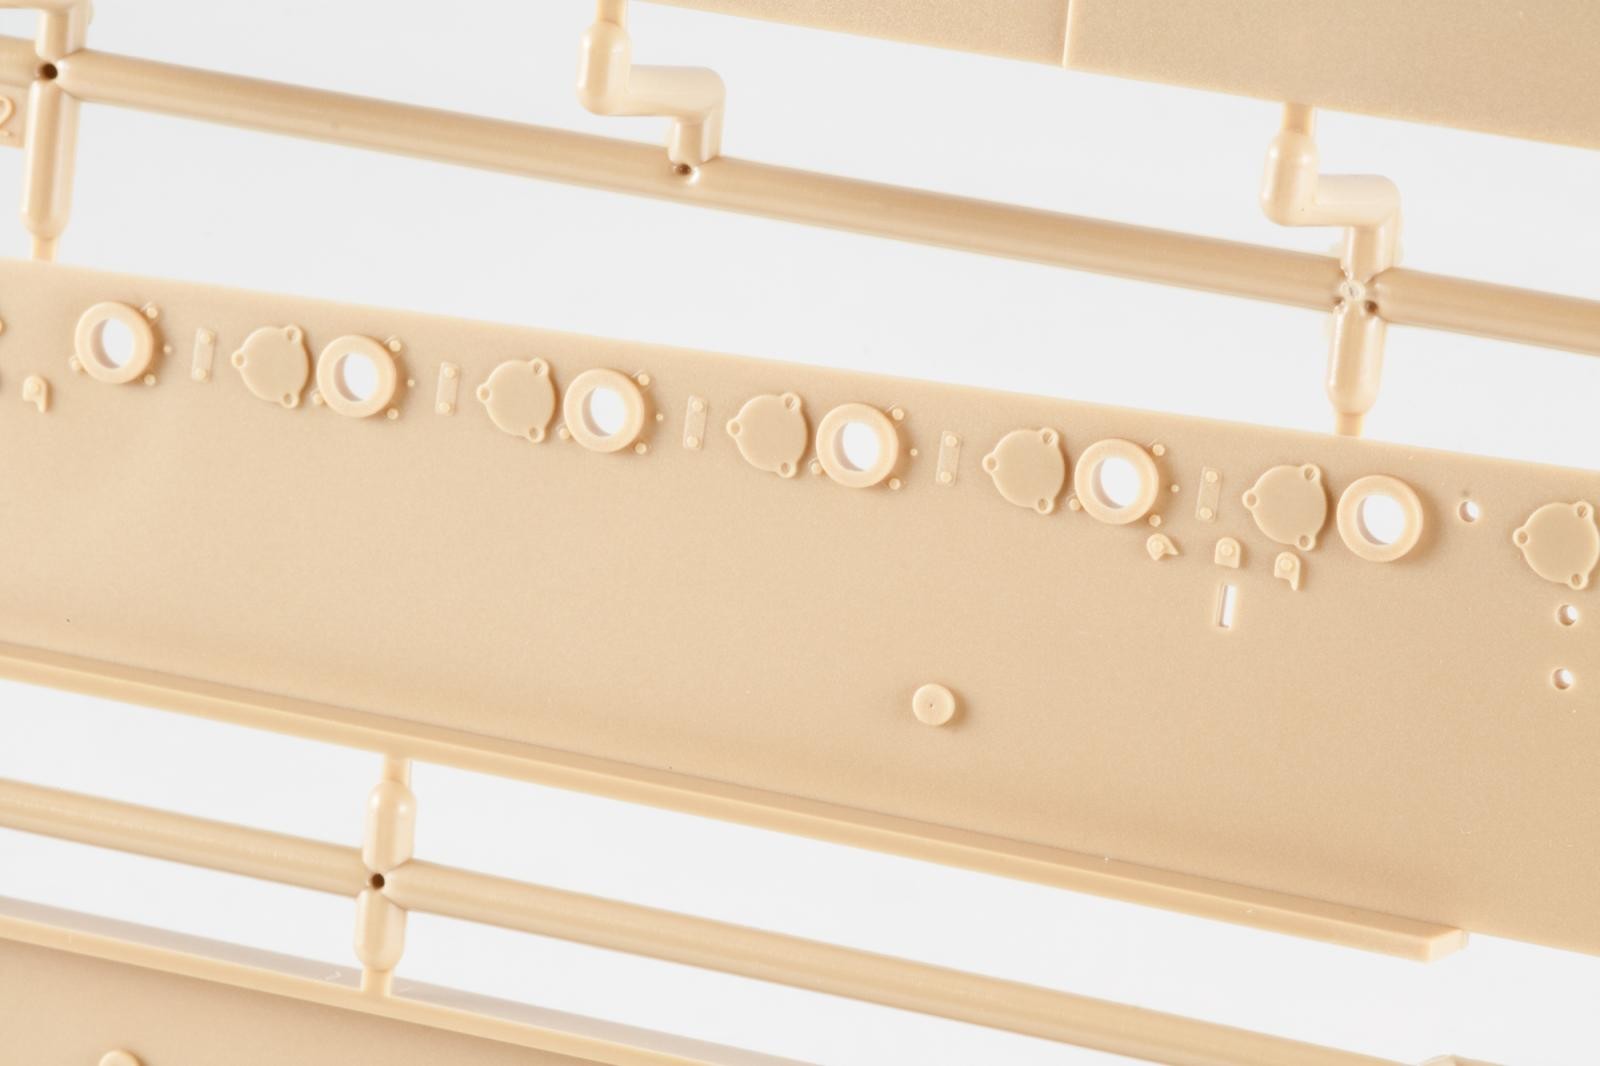
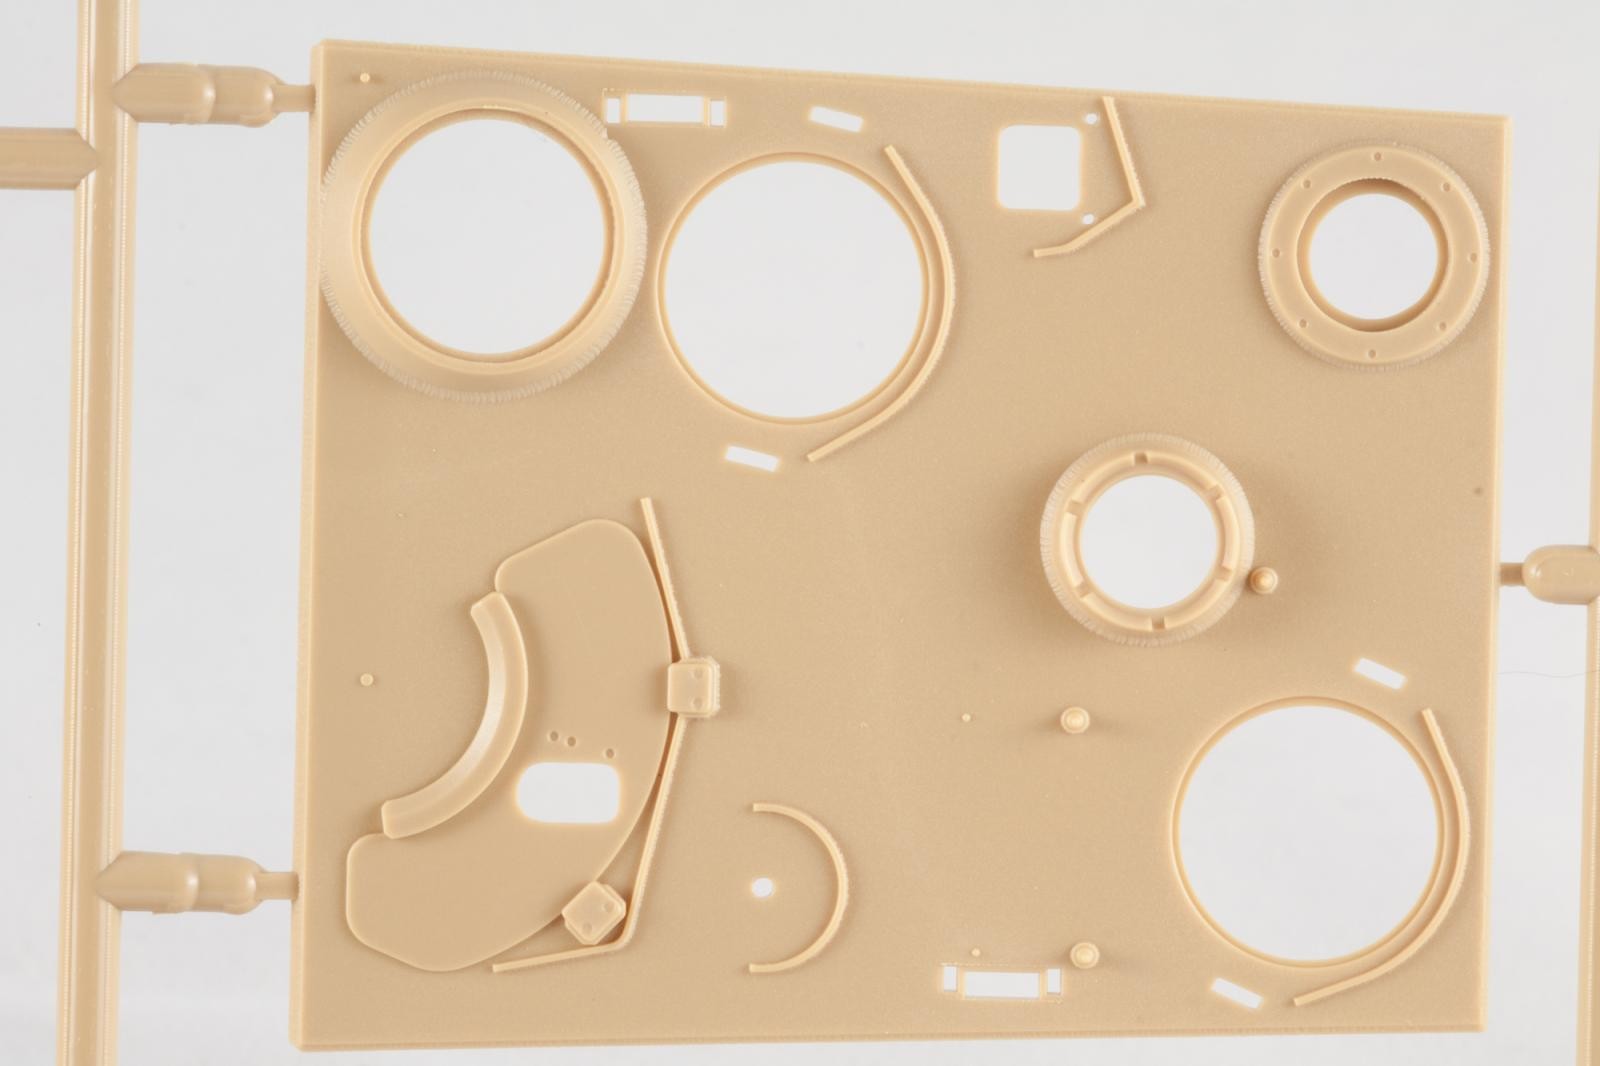
The kit (No. TS-039) comes in a rather tall box, nicely laid out and attractive. Inside you will find nine sprues packed in six separate bags, one clear sprue, two PE sheets (one brass and one steel), poly caps, a turned aluminium barrel, steel cables, decals, instructions, and a full-color paint guide. Straight away it becomes clear that this kit provides you with options – there are two different barrels, four different gun recesses and a bunch of other alternative parts. It also becomes clear this is not going to be a build for the weekend, with three sprues full of track links and separate guide horns. So if you want to self-test your patience, here you go.
It should be mentioned that the turned aluminium barrel is not shown on the parts map, so it might be a bonus only found in the initial boxing.
Real Men Better Read The Instructions
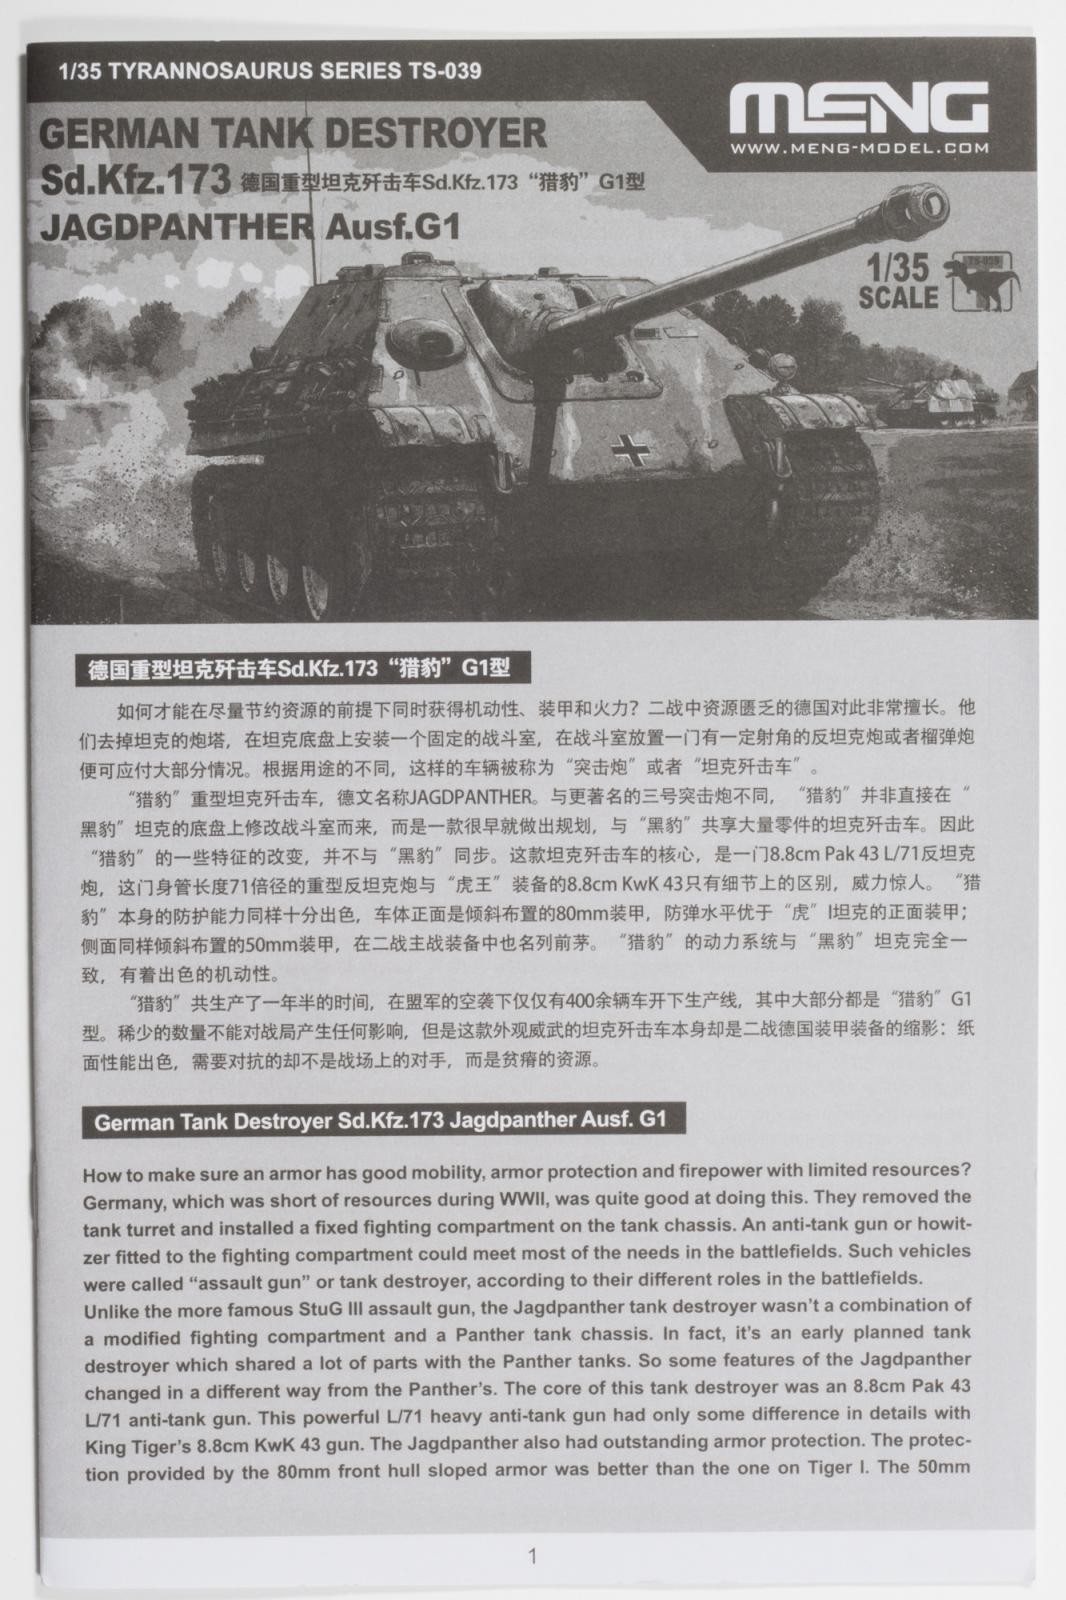
The construction booklet consists of 24 pages and contains 33 steps to the finished model, a sprue map, a paint reference chart and the usual “don't eat glue” blurb. You will have to decide which version you want to build early on, as there are lots of small holes to be drilled and alternative parts to be used. I suggest color highlighting the variant you want to go for in the instructions to keep track.
I have to confess I am not a huge fan of Meng's instructions. Although they look clear and well laid out initially, the devil is in the details. To me, their iconography (symbols like “repeat on the other side”, “only for version X” etc.) do more to confuse the process than to clarify it. Maybe I am just thick, but take a look at this one:
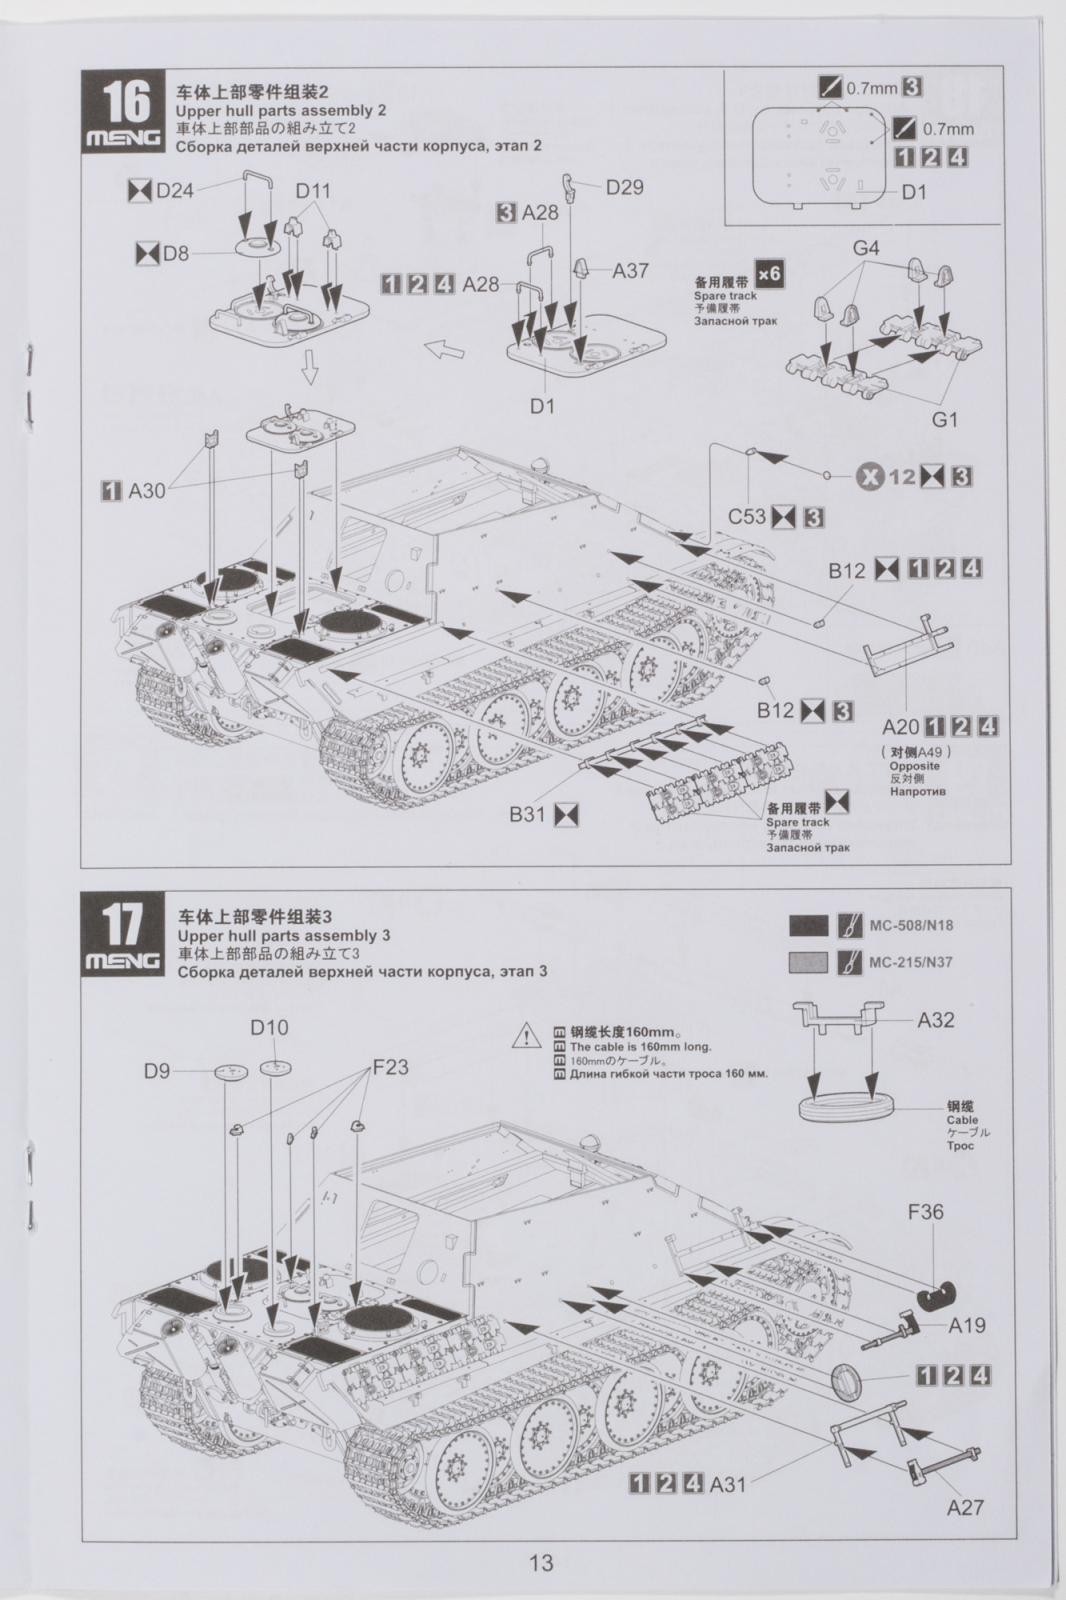
You see all the parts being designated with a letter and a number (e.g. A30), quite standard. And then there is that white X in a grey circle. Looks like “repeat this part twelve times” to me – but no, it indicates part 12 from PE fret “X”. Sure, why wouldn't it…
The kit itself does not come with a moveable suspension, but the instructions point out that Meng's own aftermarket set SPS-049 can be used if you so wish.
The painting and marking guide gives you four variants, and this is were it usually gets complicated. To make I quick, out of the box you will only be able to build two of them. Because Zimmerit. But let's look at it in more detail:

This one should be ok, depicting a vehicle from s.Pz.Jg.Abt 654 in March ‘45
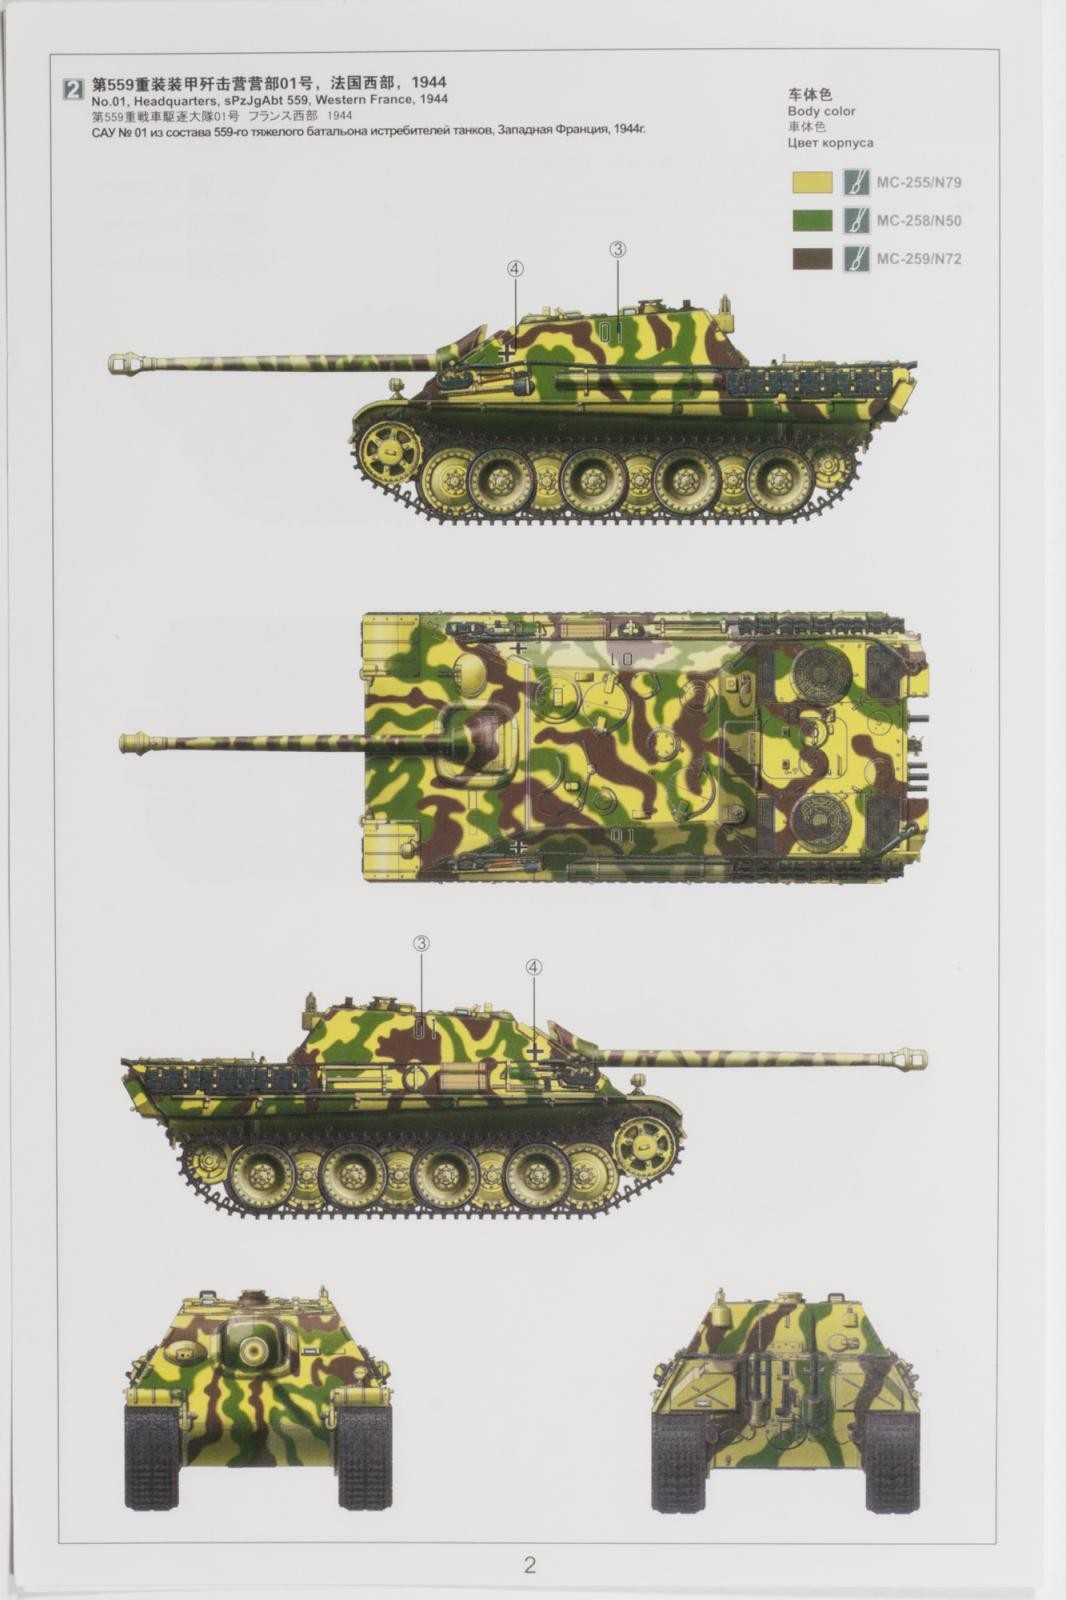
This vehicle was the command tank of the 559th and was knocked out in Belgium. The original quite clearly shows a Zimmerit pattern.

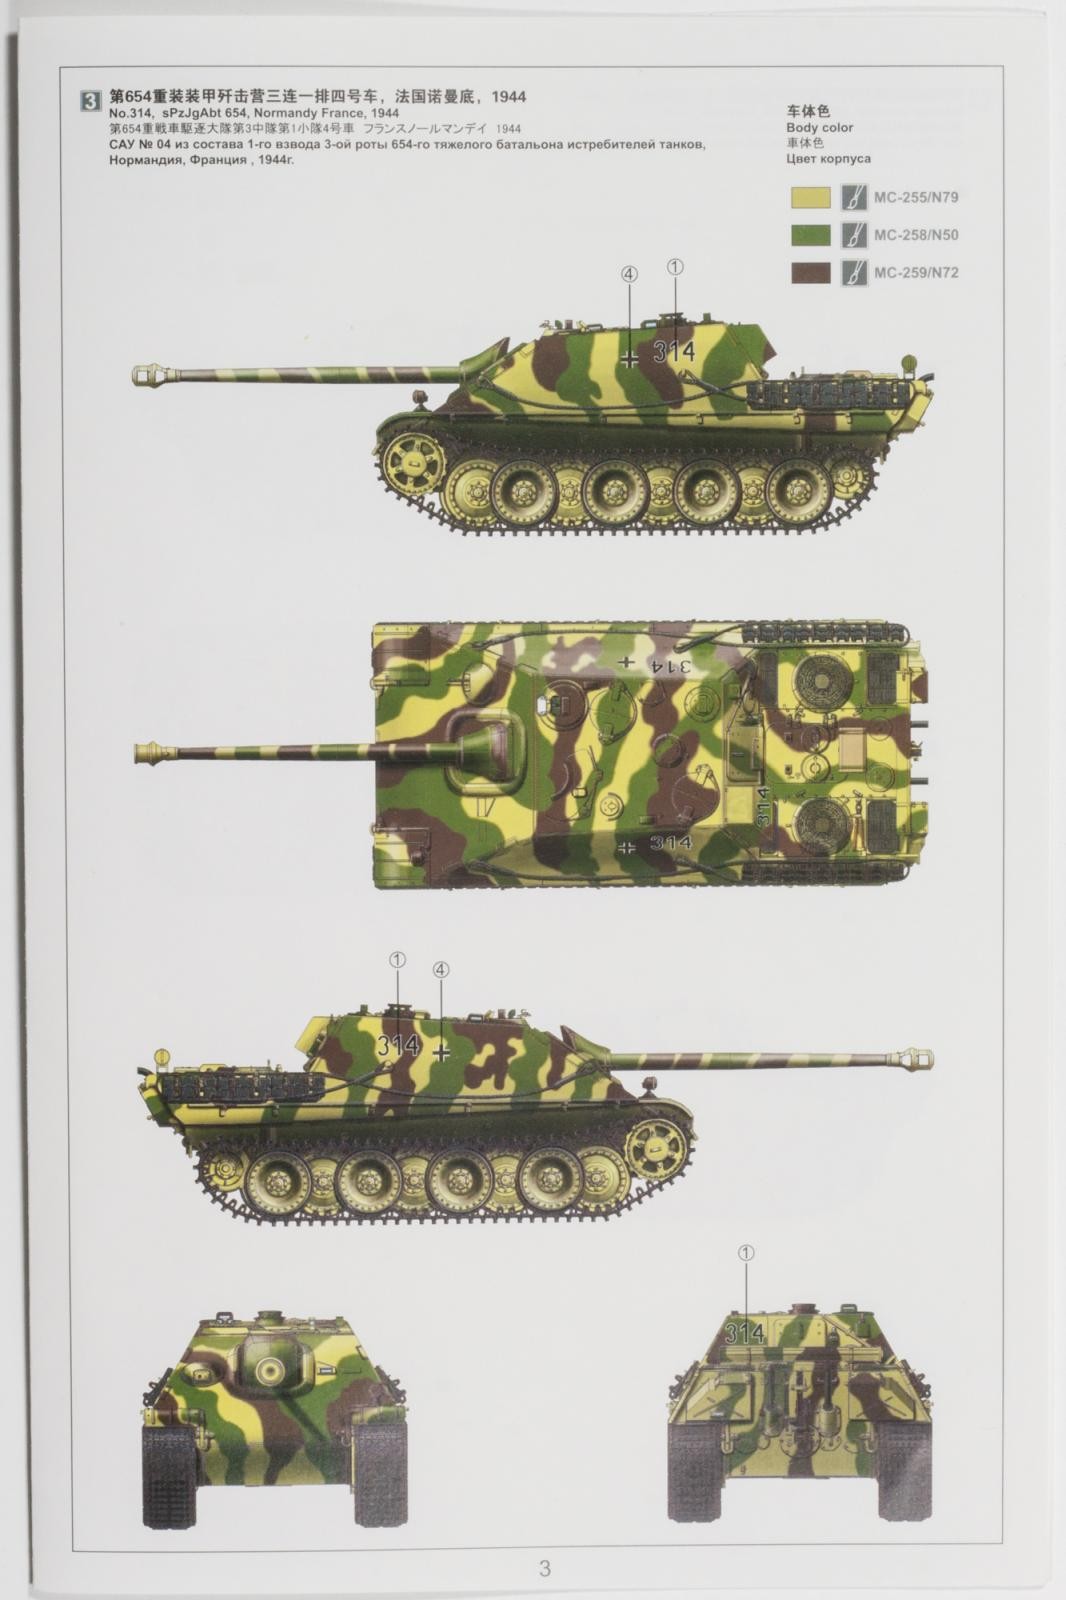
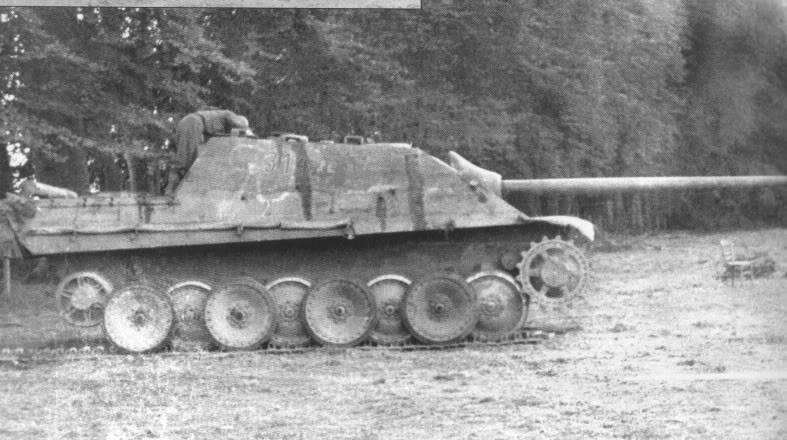
Destroyed in Normandy, this one as well will need Zimmerit applied. Another interesting detail is the slanted rain guard above the driver's periscope. In the front view you can clearly see the angled line above the periscope, but there is no mention of it in the instructions and as far as I can see there is no part provided. If you want to build that version you will have to fabricate this piece from thin plastic sheet or metal.
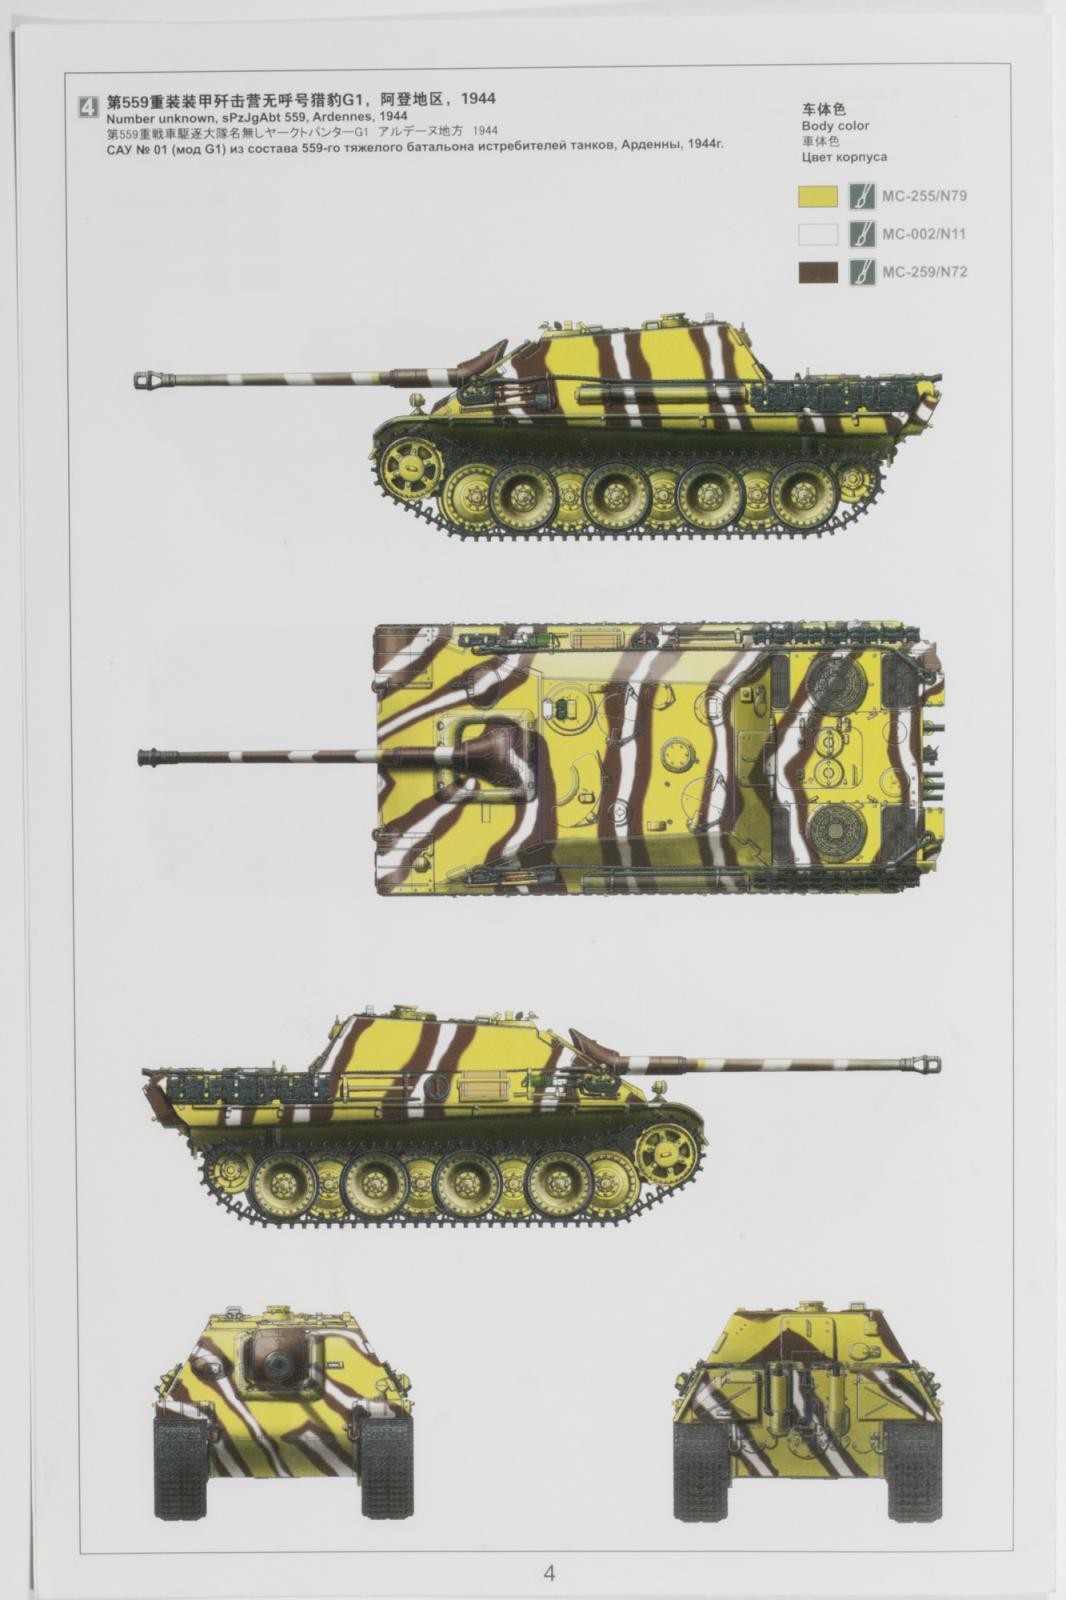
Without any vehicle number it is hard to find a reference picture, but with the Ardennes timeframe the non-Zimmerit appearance makes sense. On the other hand, this option might be based on the Aberdeen Jagdpanther, which has a different roof configuration than is provided in the kit, with the ventilator sitting farther forward.
In general I see no issue with including options for these vehicles. What I do not quite understand is that nowhere in the instructions is it mentioned you will need to add stuff for a proper representation. Meng displays the logo of The Tank Museum on the box cover, and I am pretty sure they did their homework on the details of each variant. And I am also pretty sure they will release a Zimmerit set for this kit, as they did for their Panthers. Why they fail to mention the need for Zimmerit is beyond me.
Sprues. And Options.
To make it easy, here's a list of options the plastic parts provide:
- Monobloc or sectional gun, with an turned aluminium barrel for the later,
- Three different gun recesses (the fourth is not used in this kit, maybe for a follow-up G2?)
- Two different gun mantles,
- Three different hull MG armor covers (with the third one not mentioned, again hinting at a G2 to come)
- Cast or welded bump stops for the first road wheels,
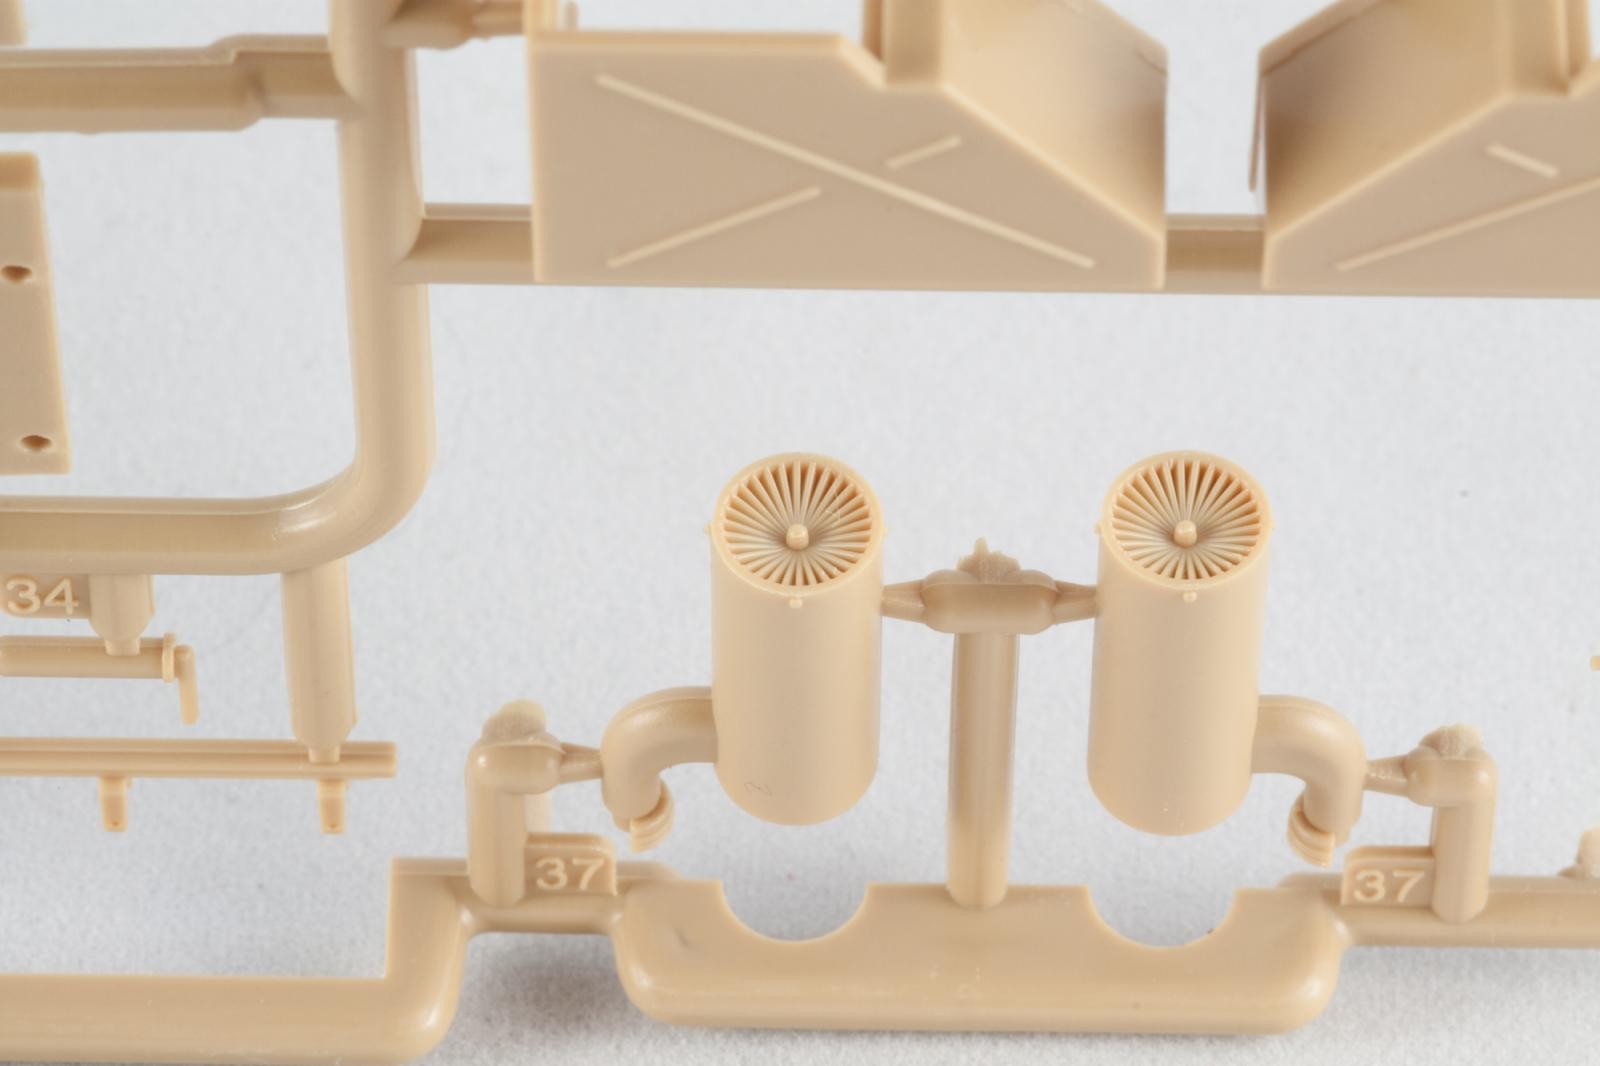
- Four different exhaust configurations, including the late one with flame dampener mufflers,
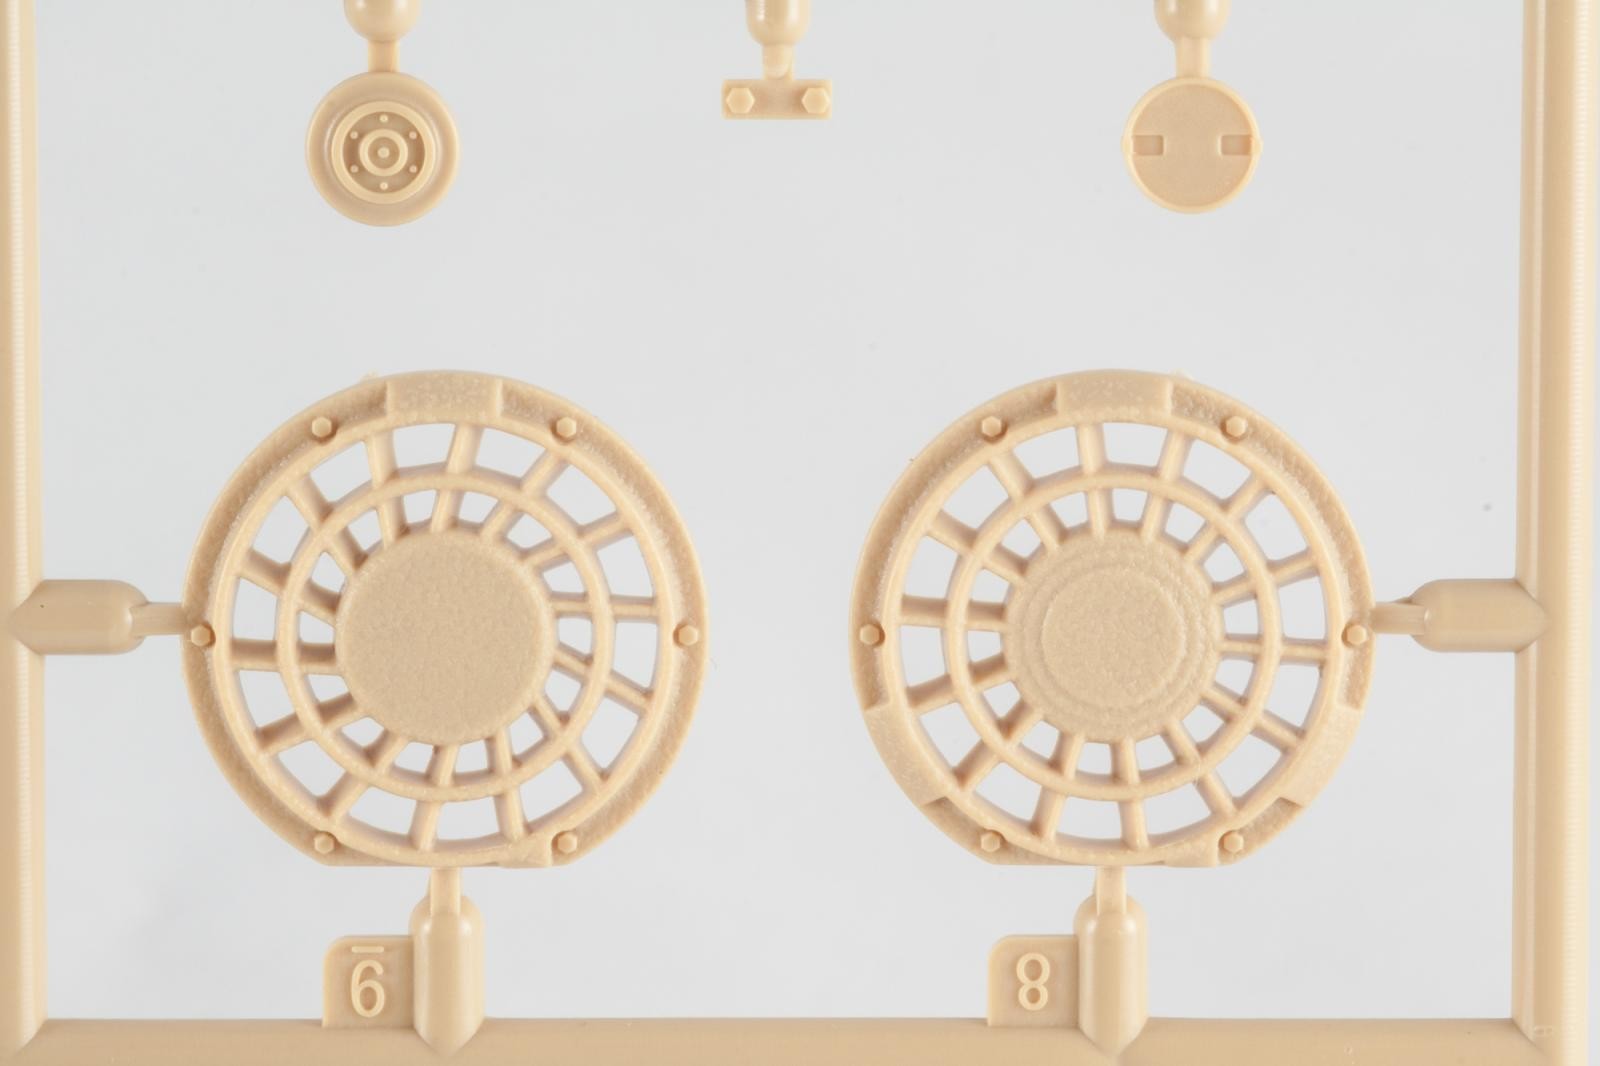
- Armored cover for roof ventilator,
- Alternative tool layouts,
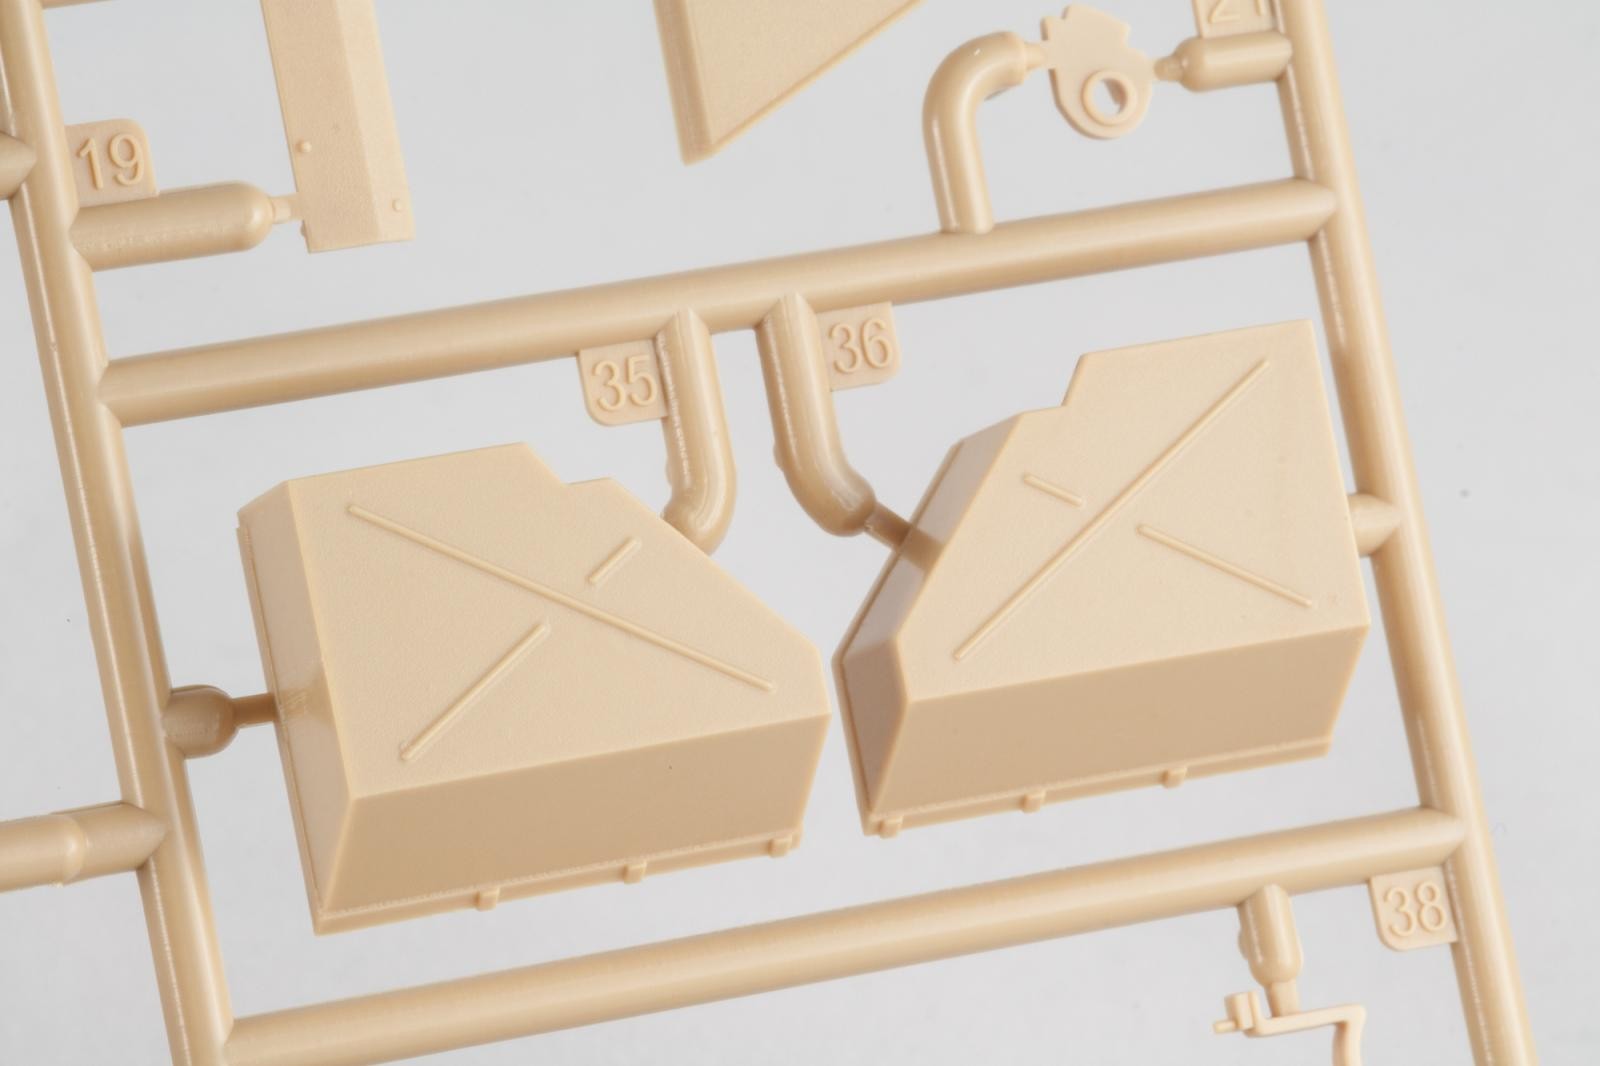
- Additional stowage box (field modification)
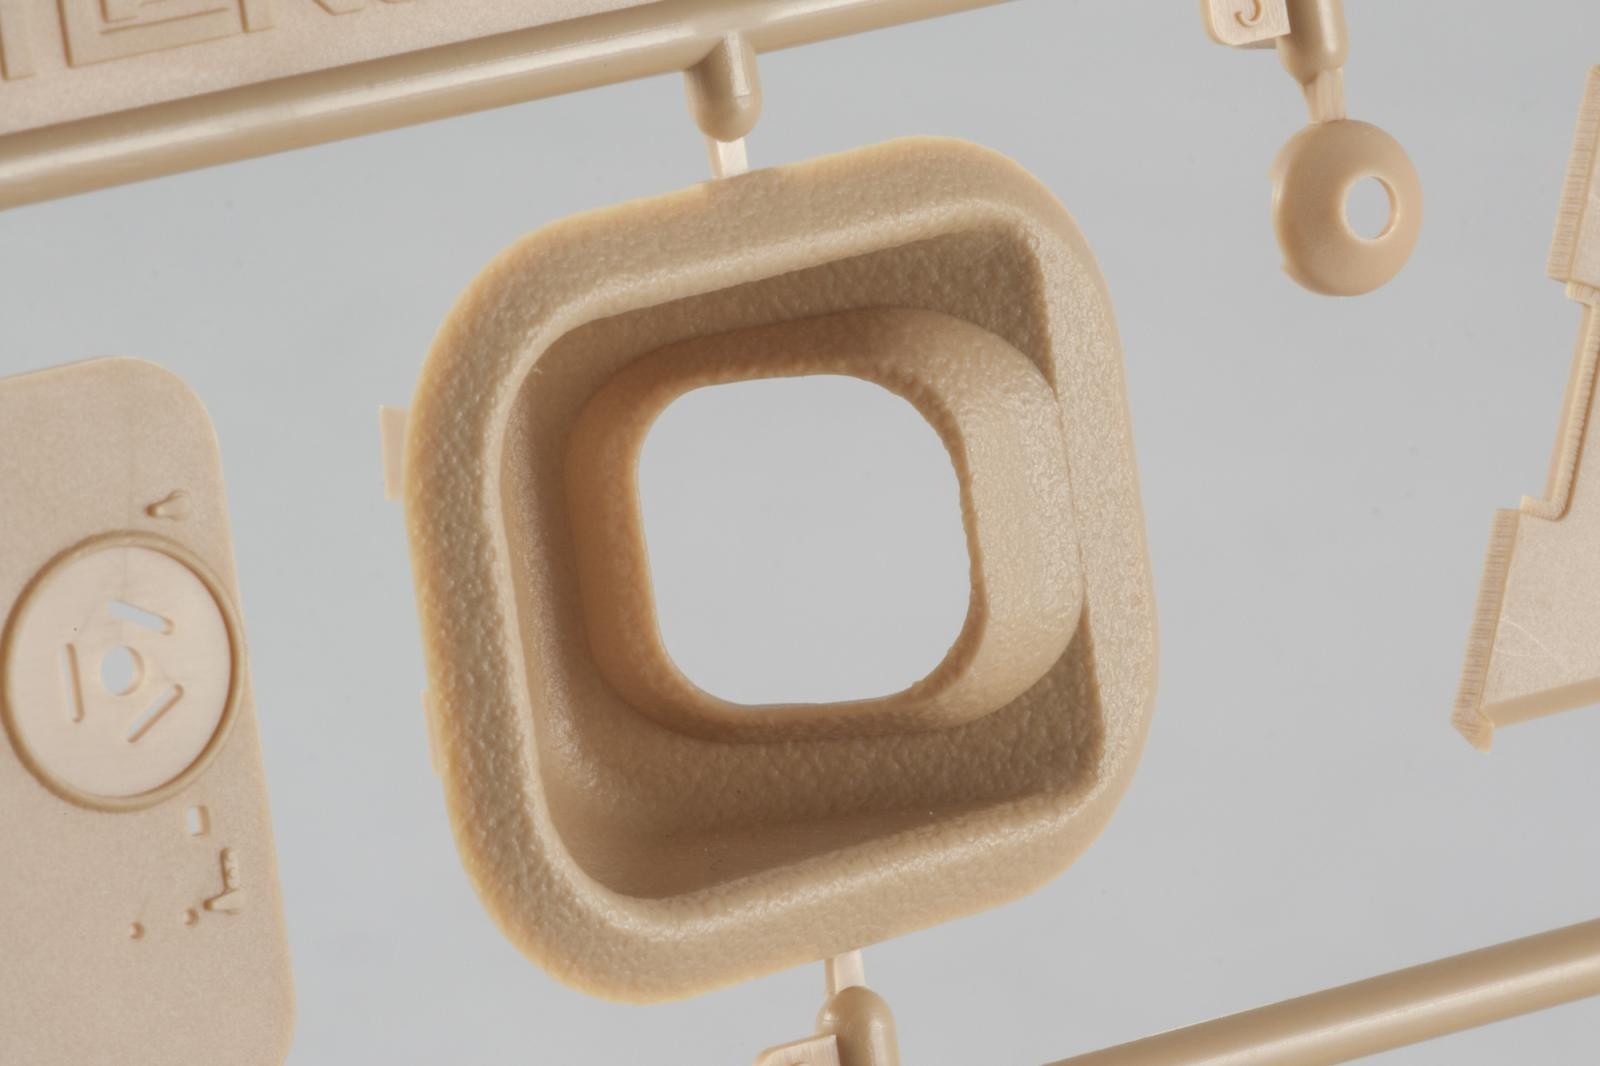

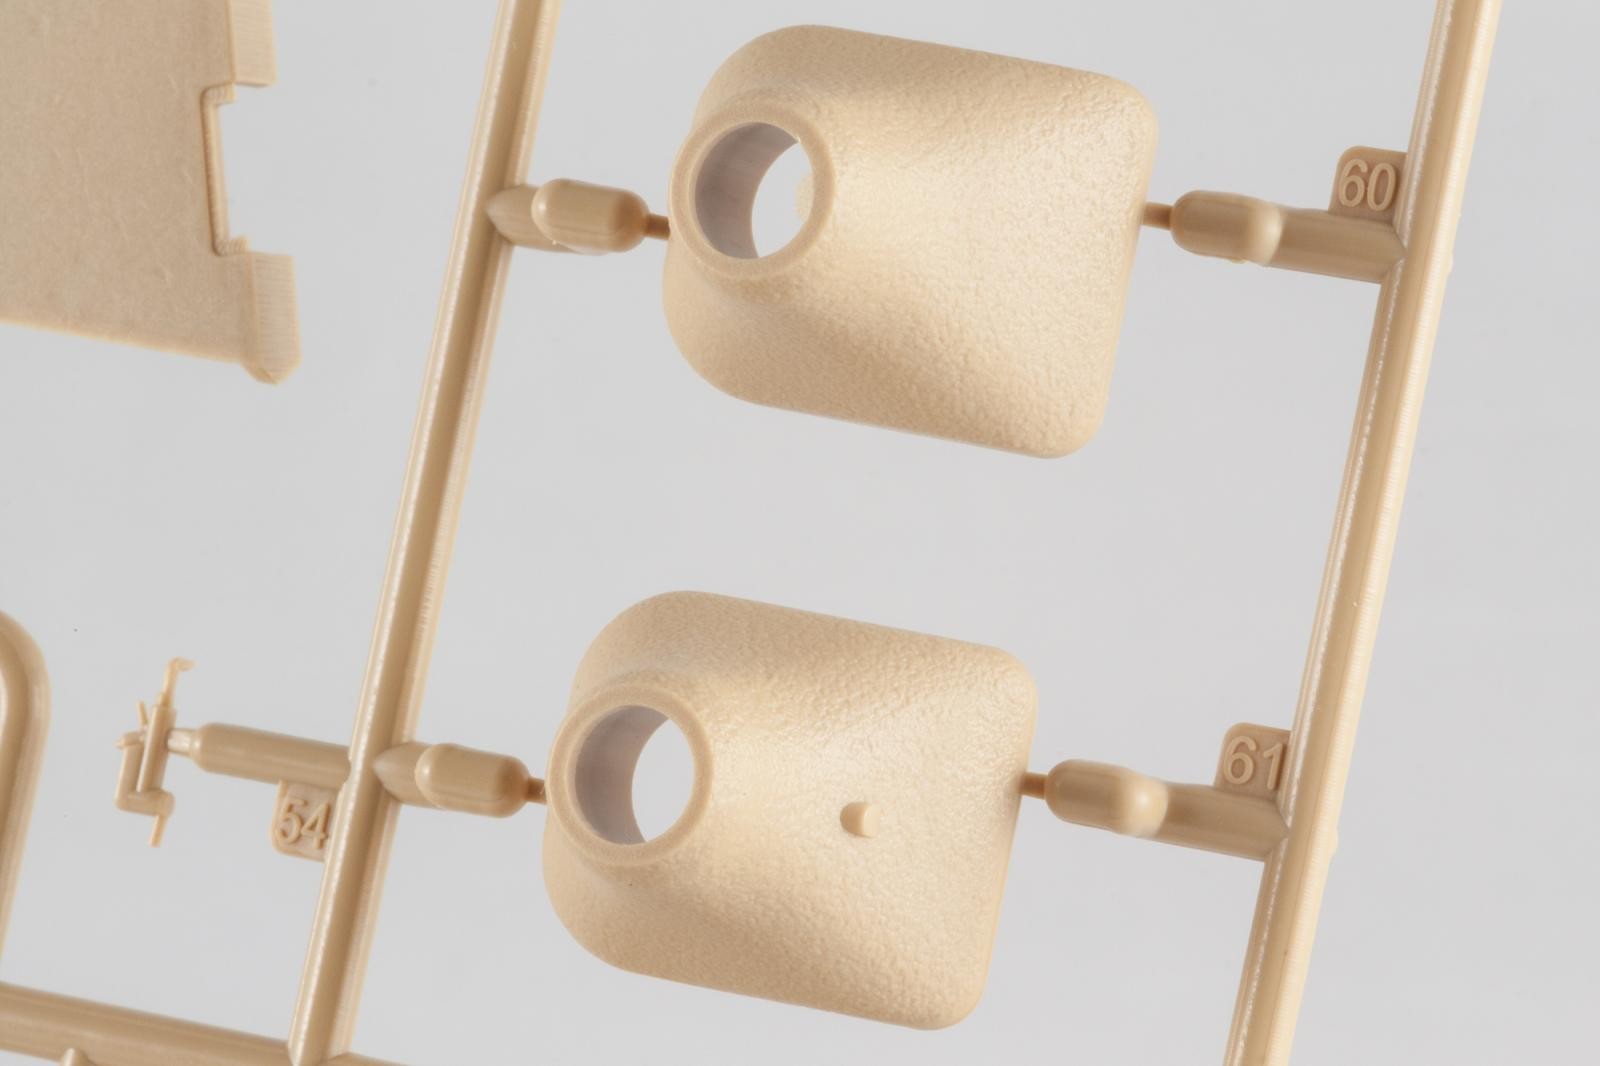
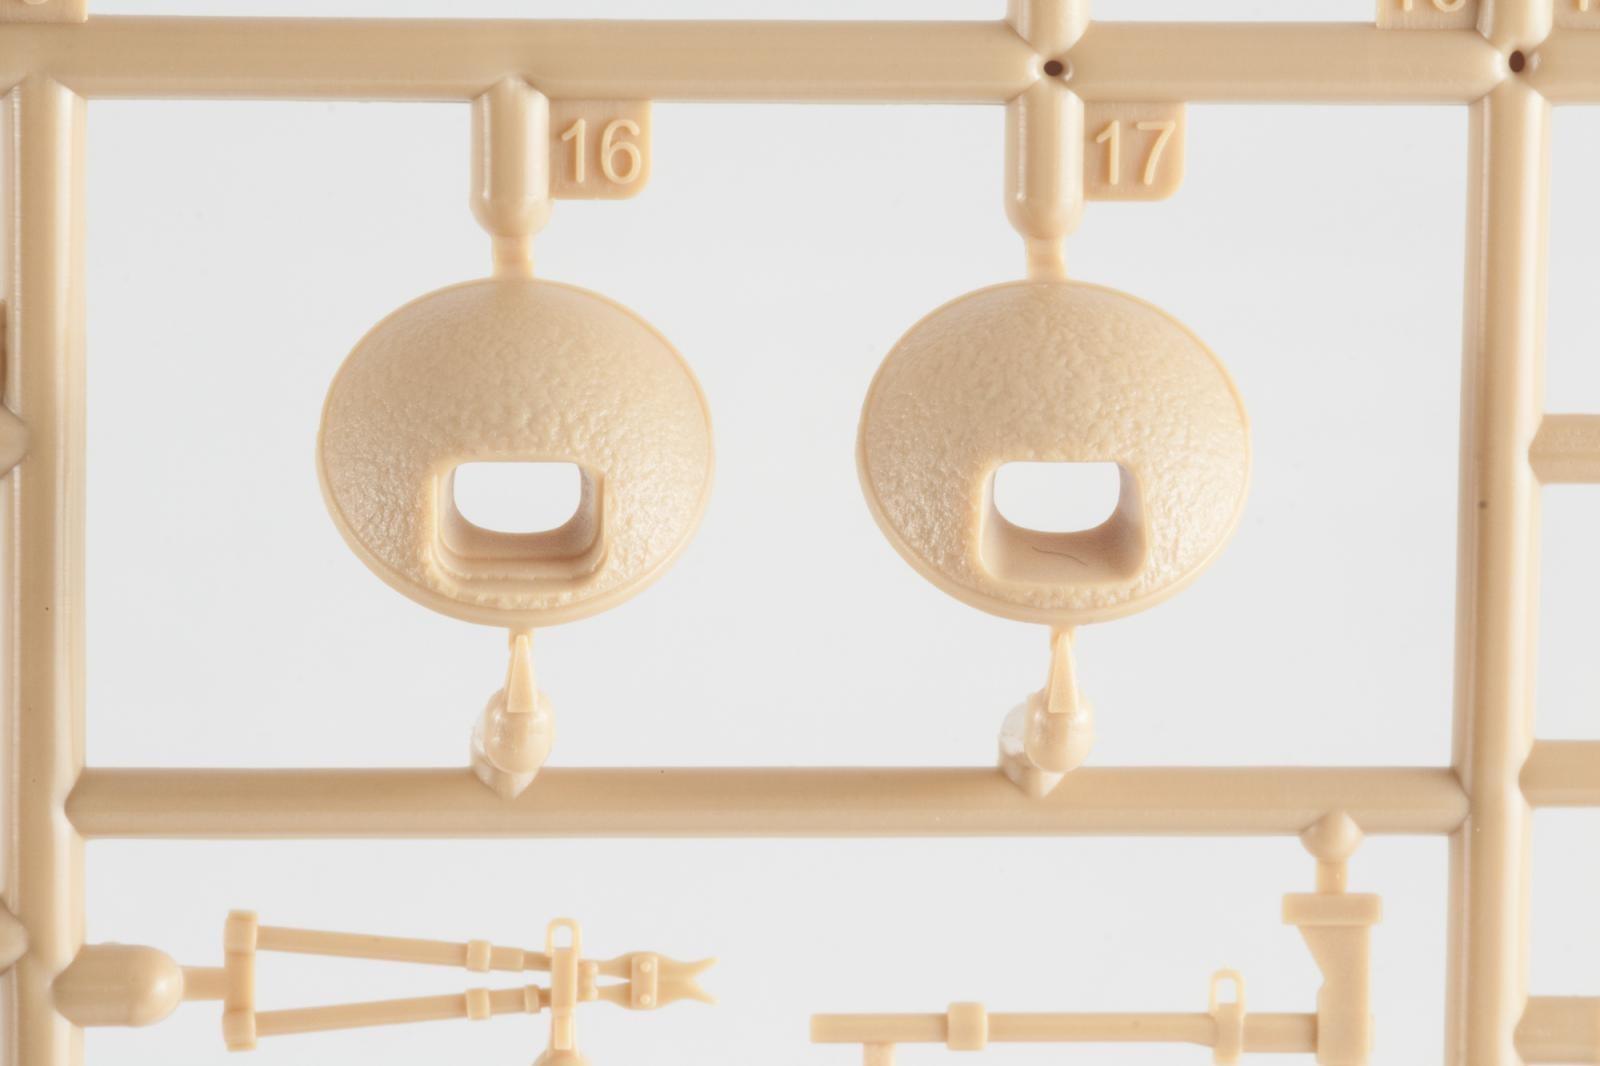
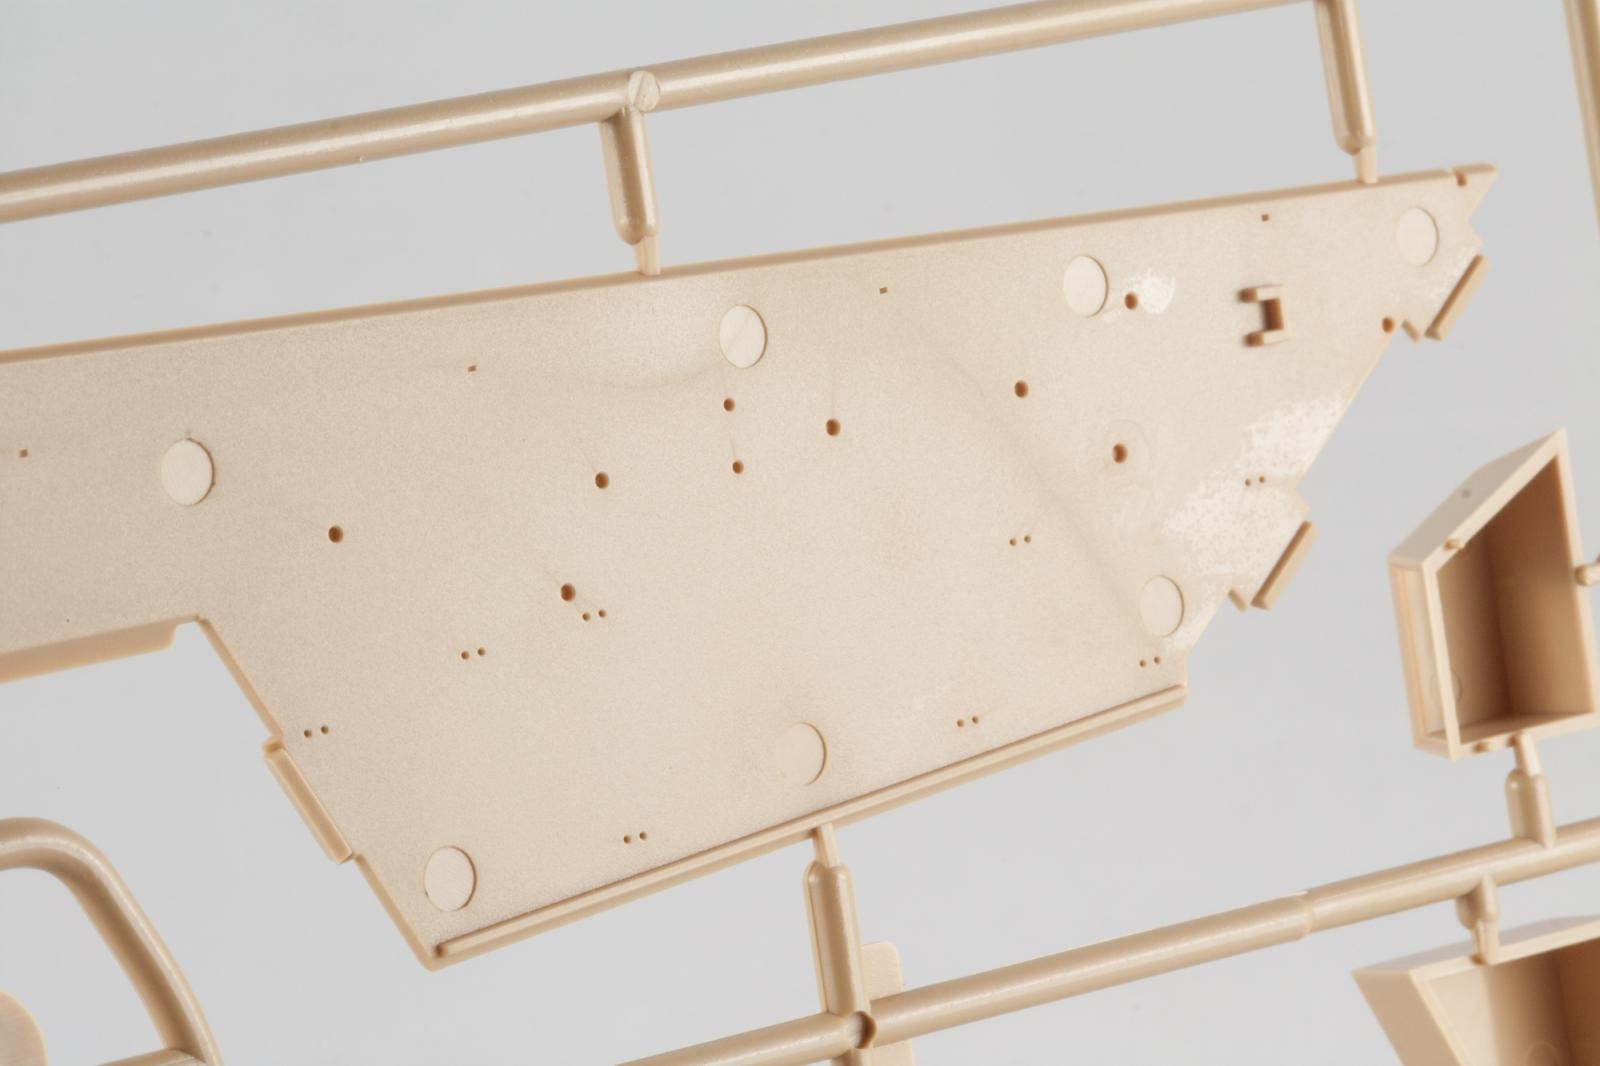
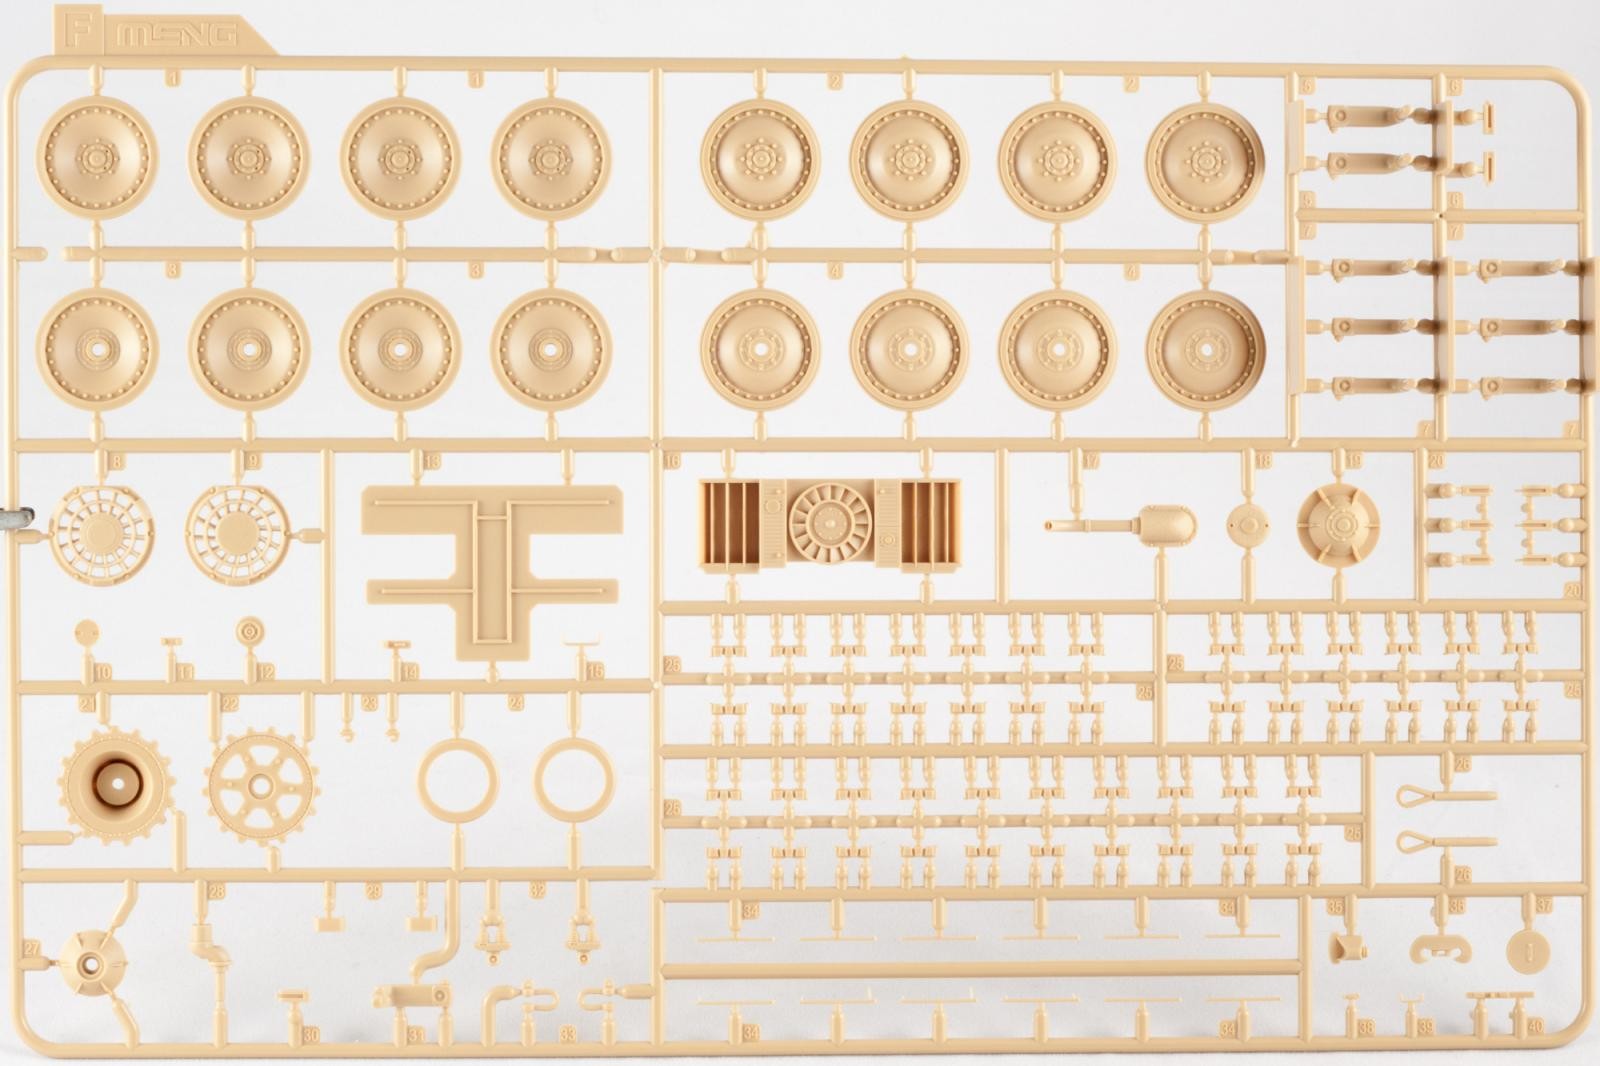
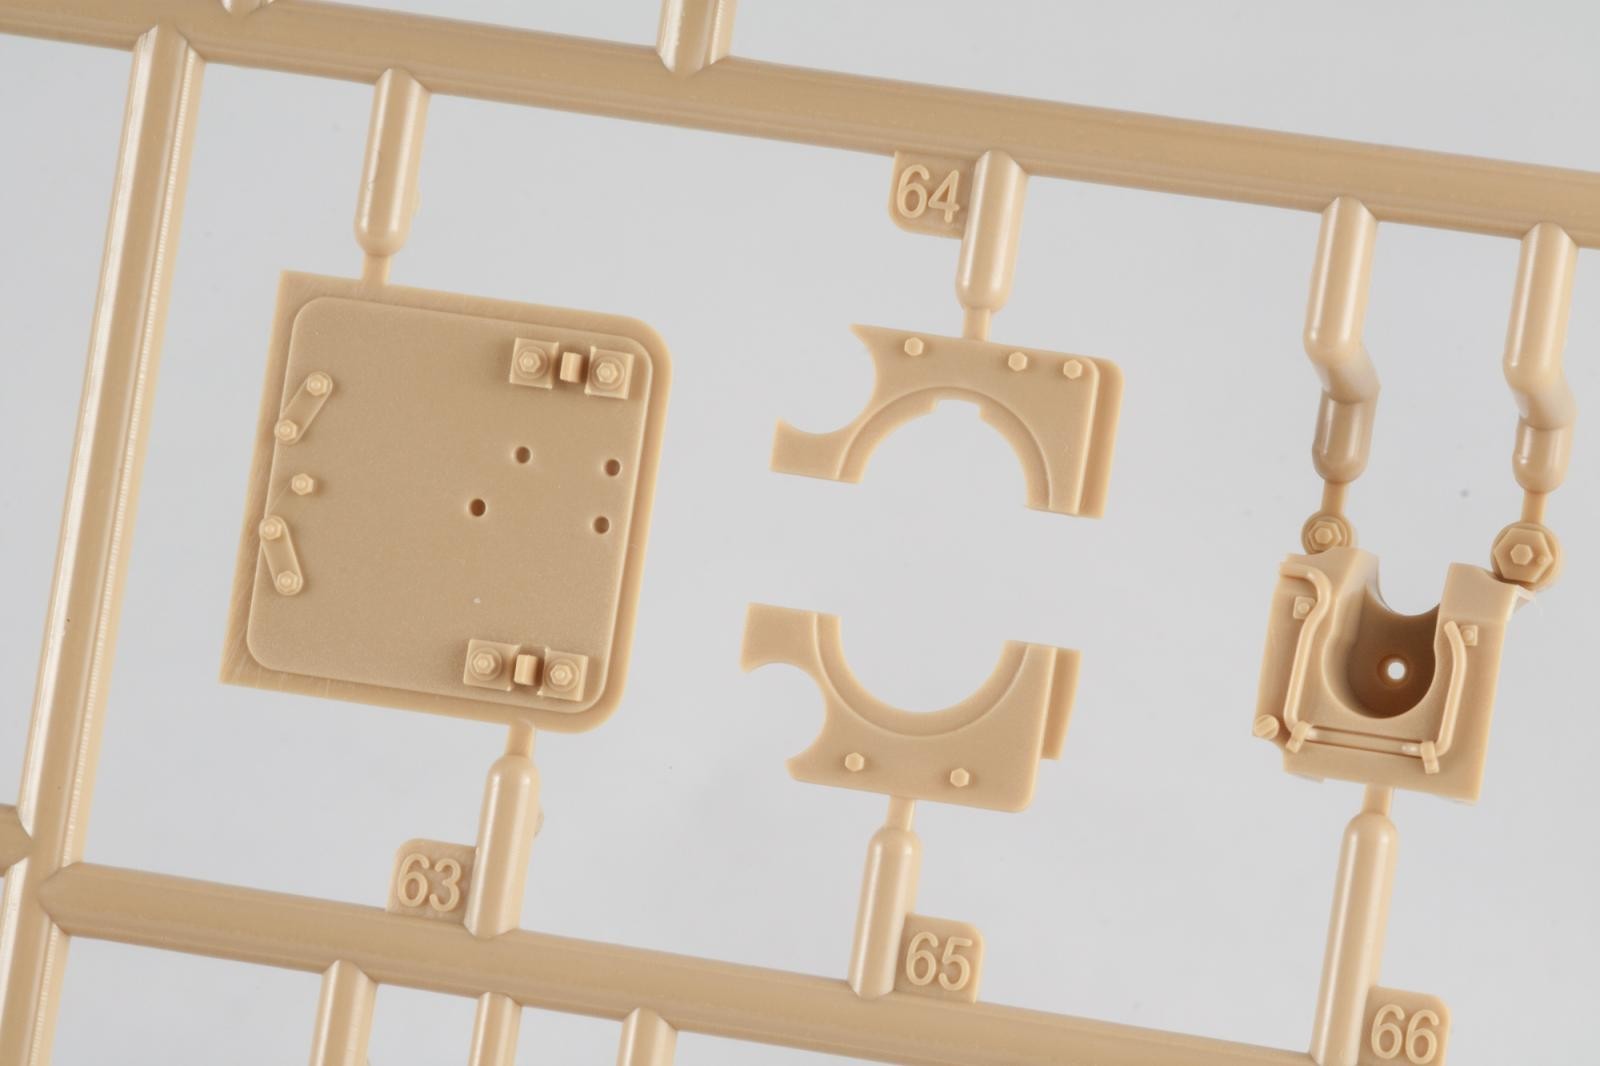
The molding is as good as it gets, with flash-free parts and pin marks only where they will not be visible. That is, if you do not intend to add an interior. The kit comes without interior detail apart from a breech block, so you will be on your own here.
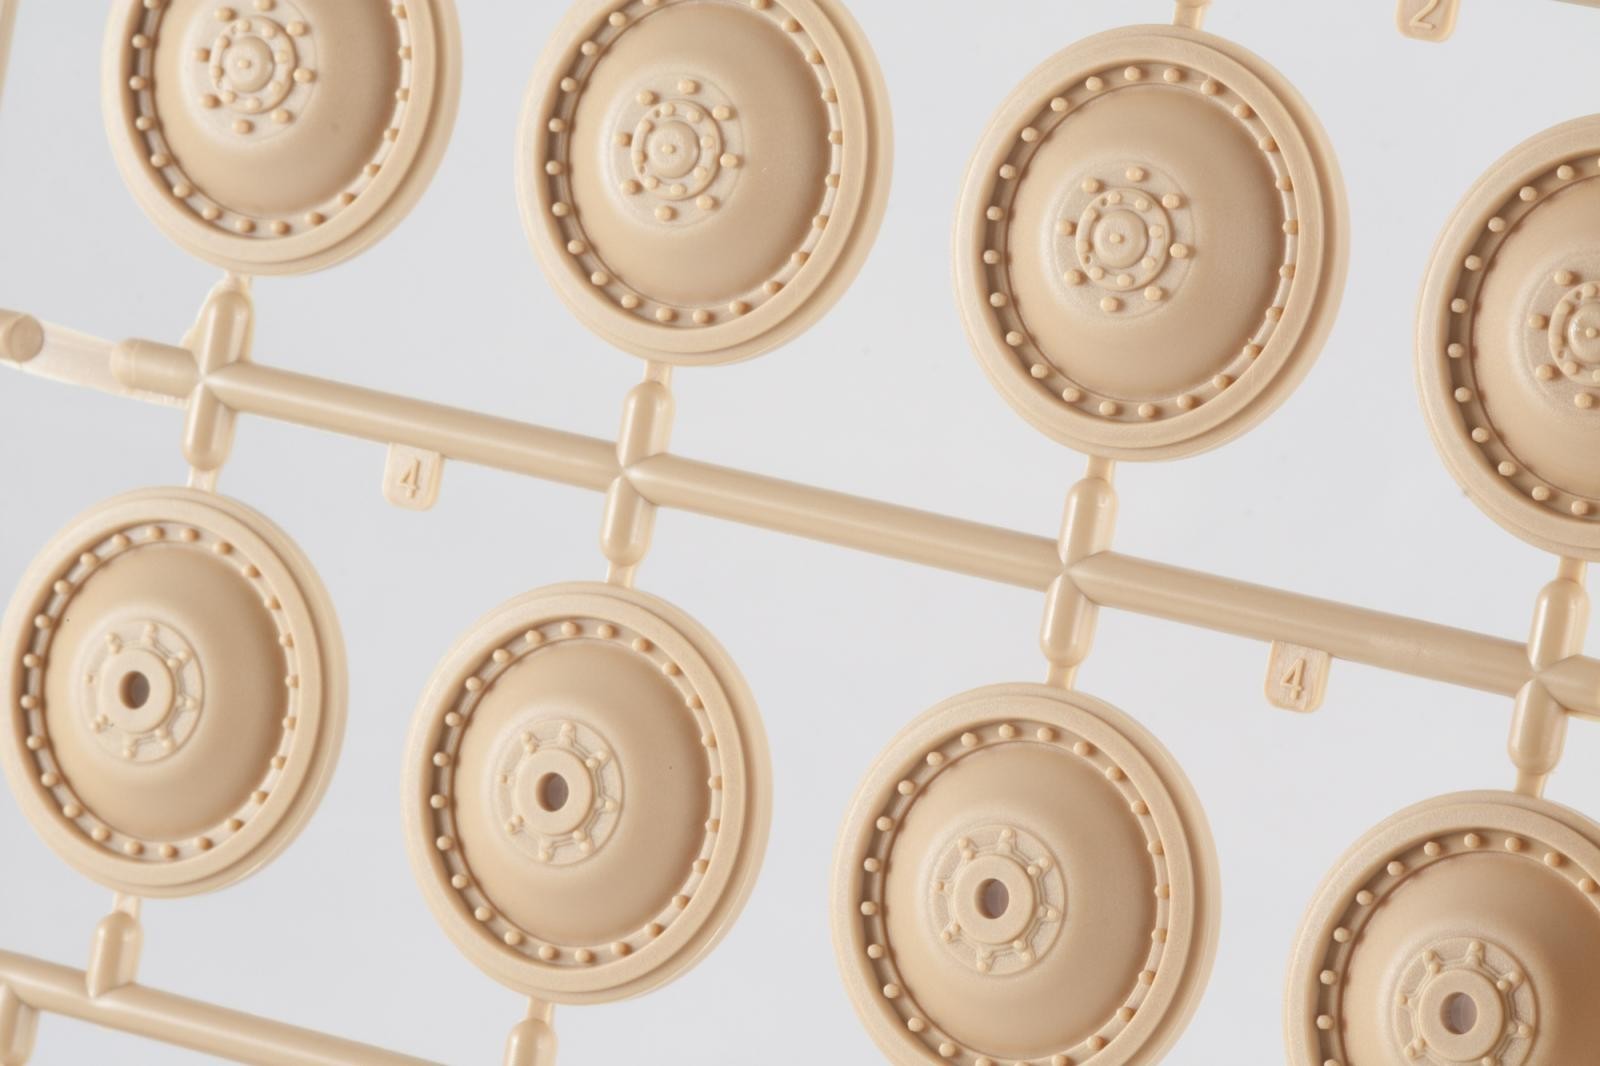
The road wheels show excellent bolt detail, and the pronounced step between wheel and rubber will make painting it easier on your eyes.
Slide molding is used for some of the parts, notably the flame dampeners and the muzzle brakes.
Casting textures look ok, if not a tad too pronounced. Let's see how they turn out after painting and weathering.

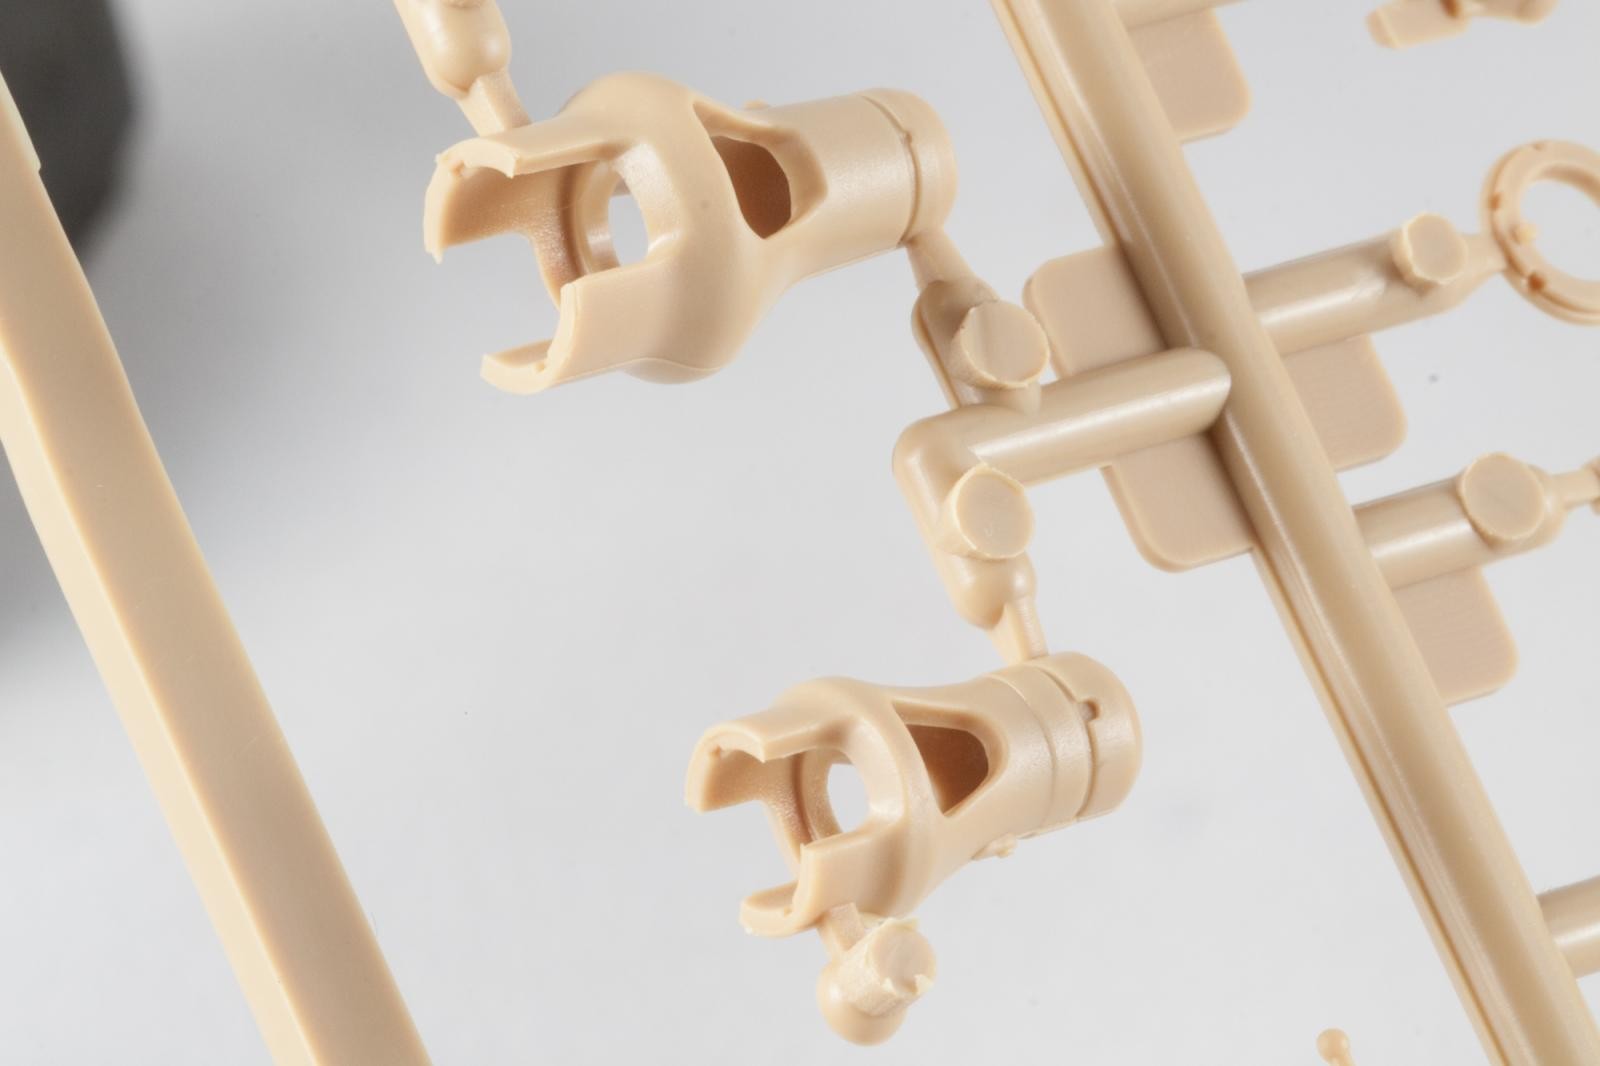
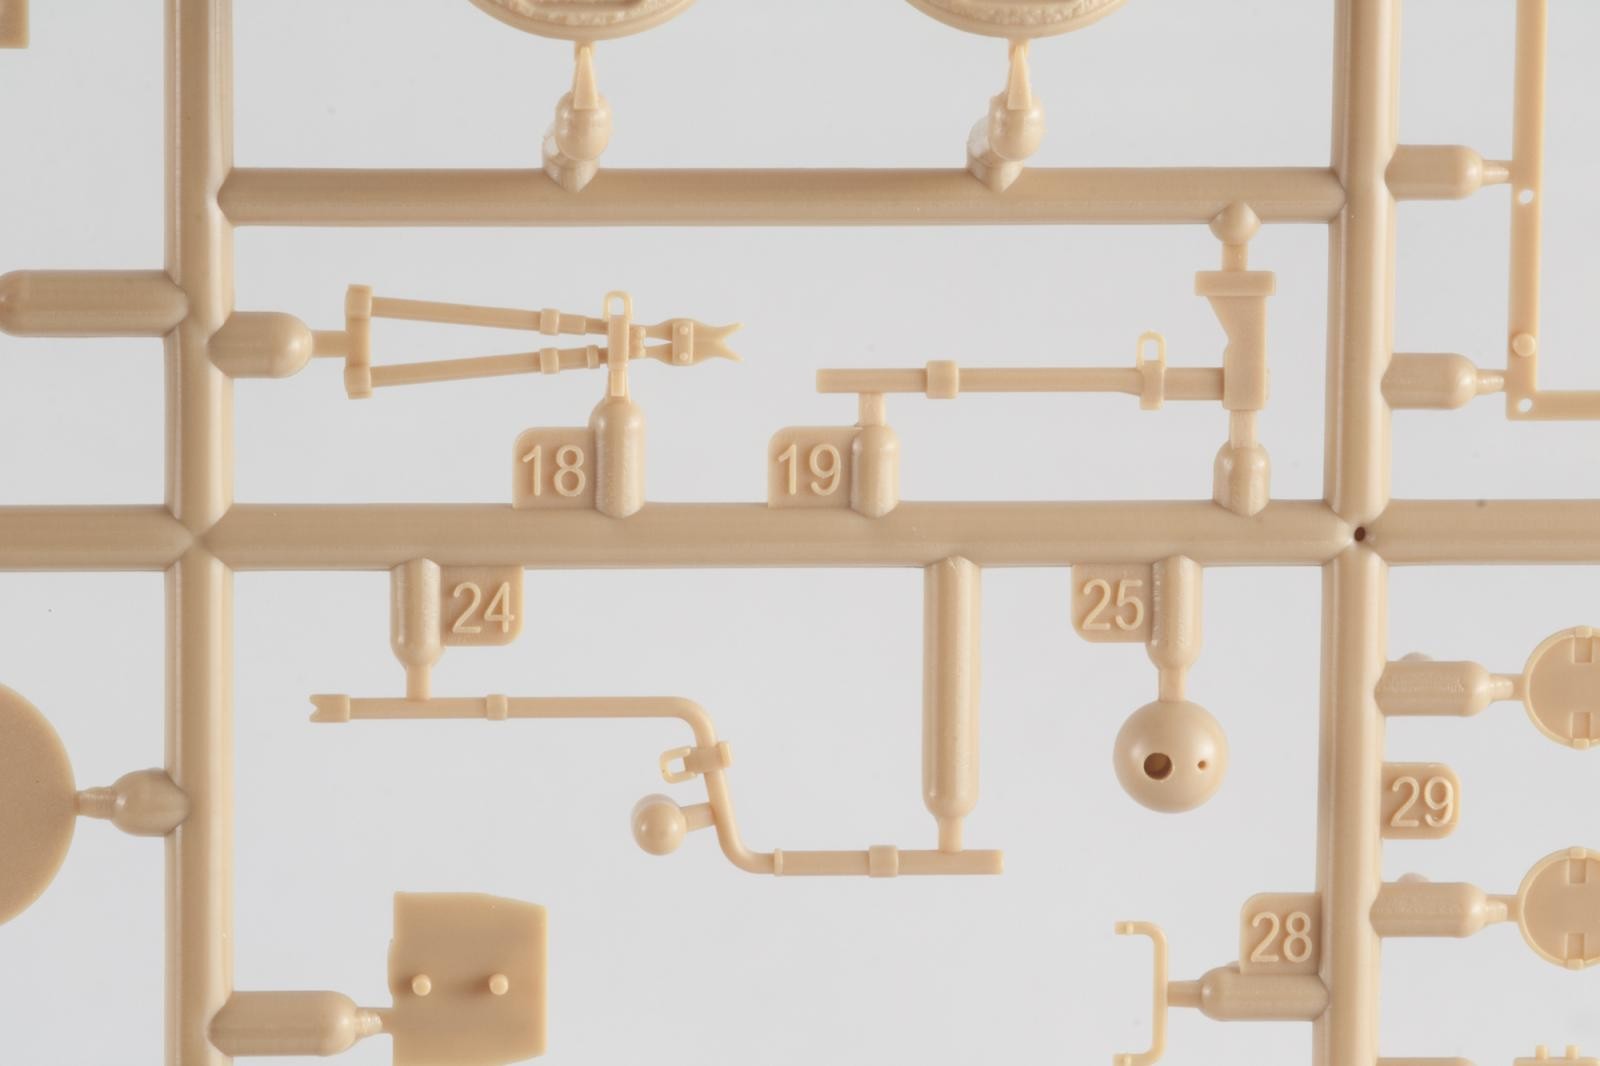
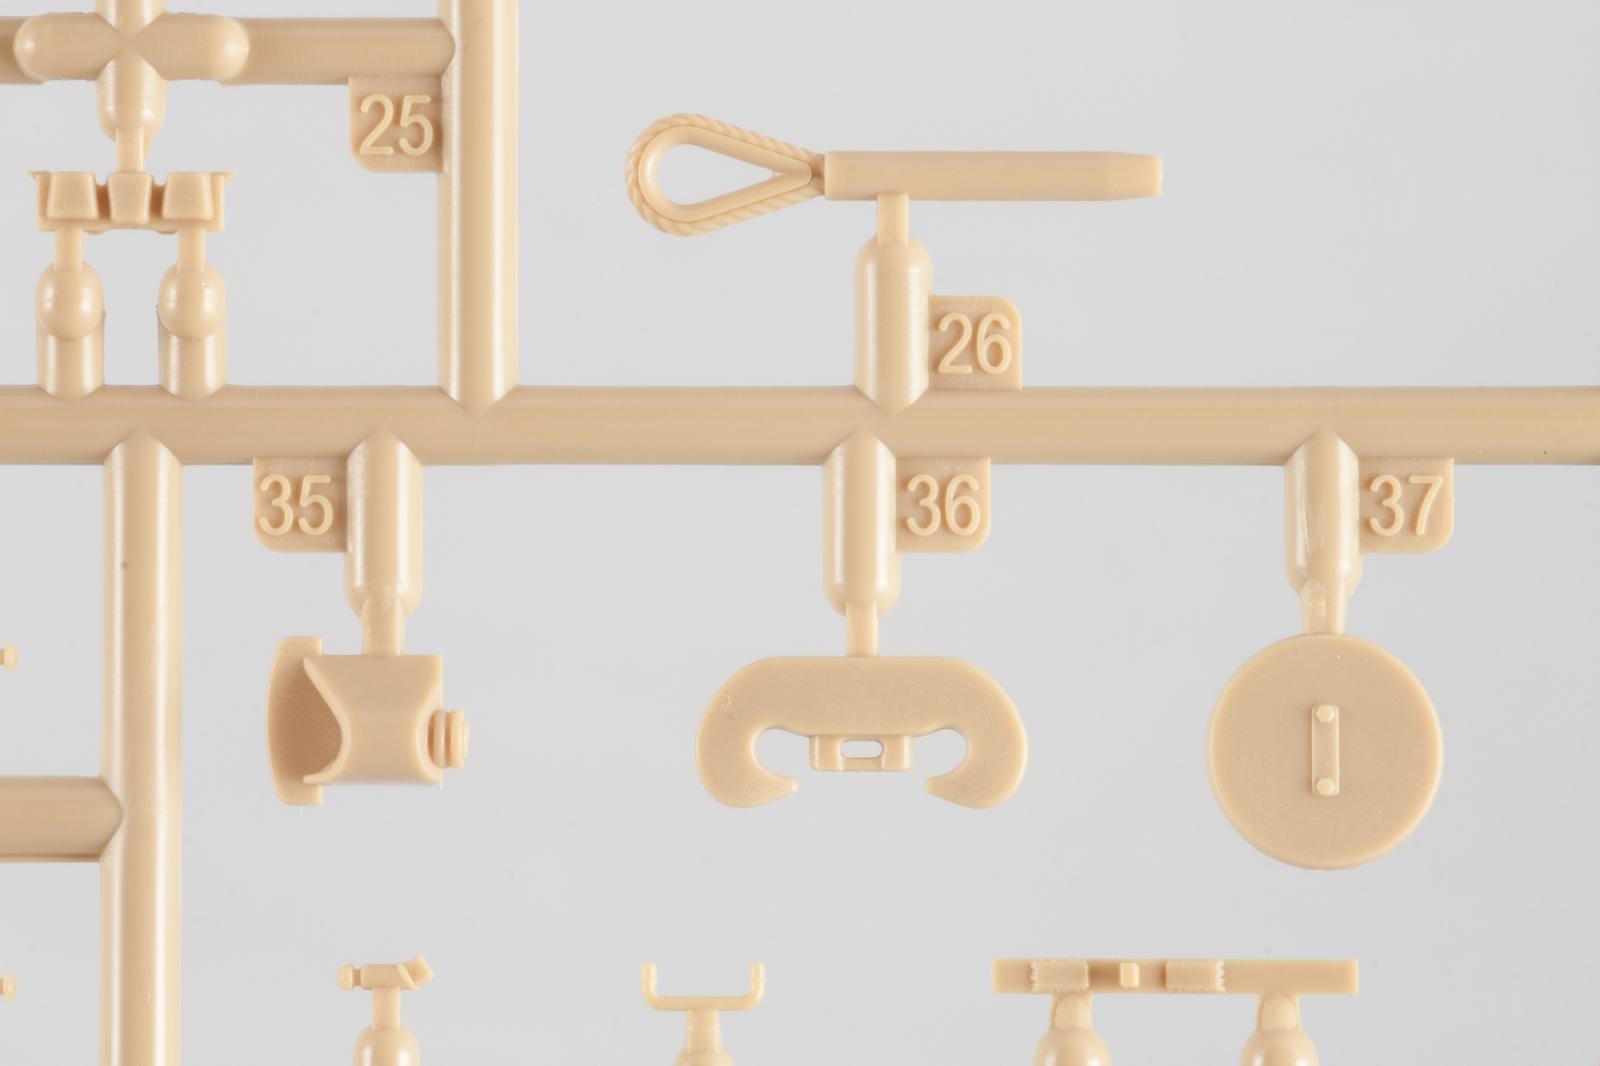
Tools and details look the part, the tool clamps are fine for out of the box – but there's no one stopping you from replacing them with PE.
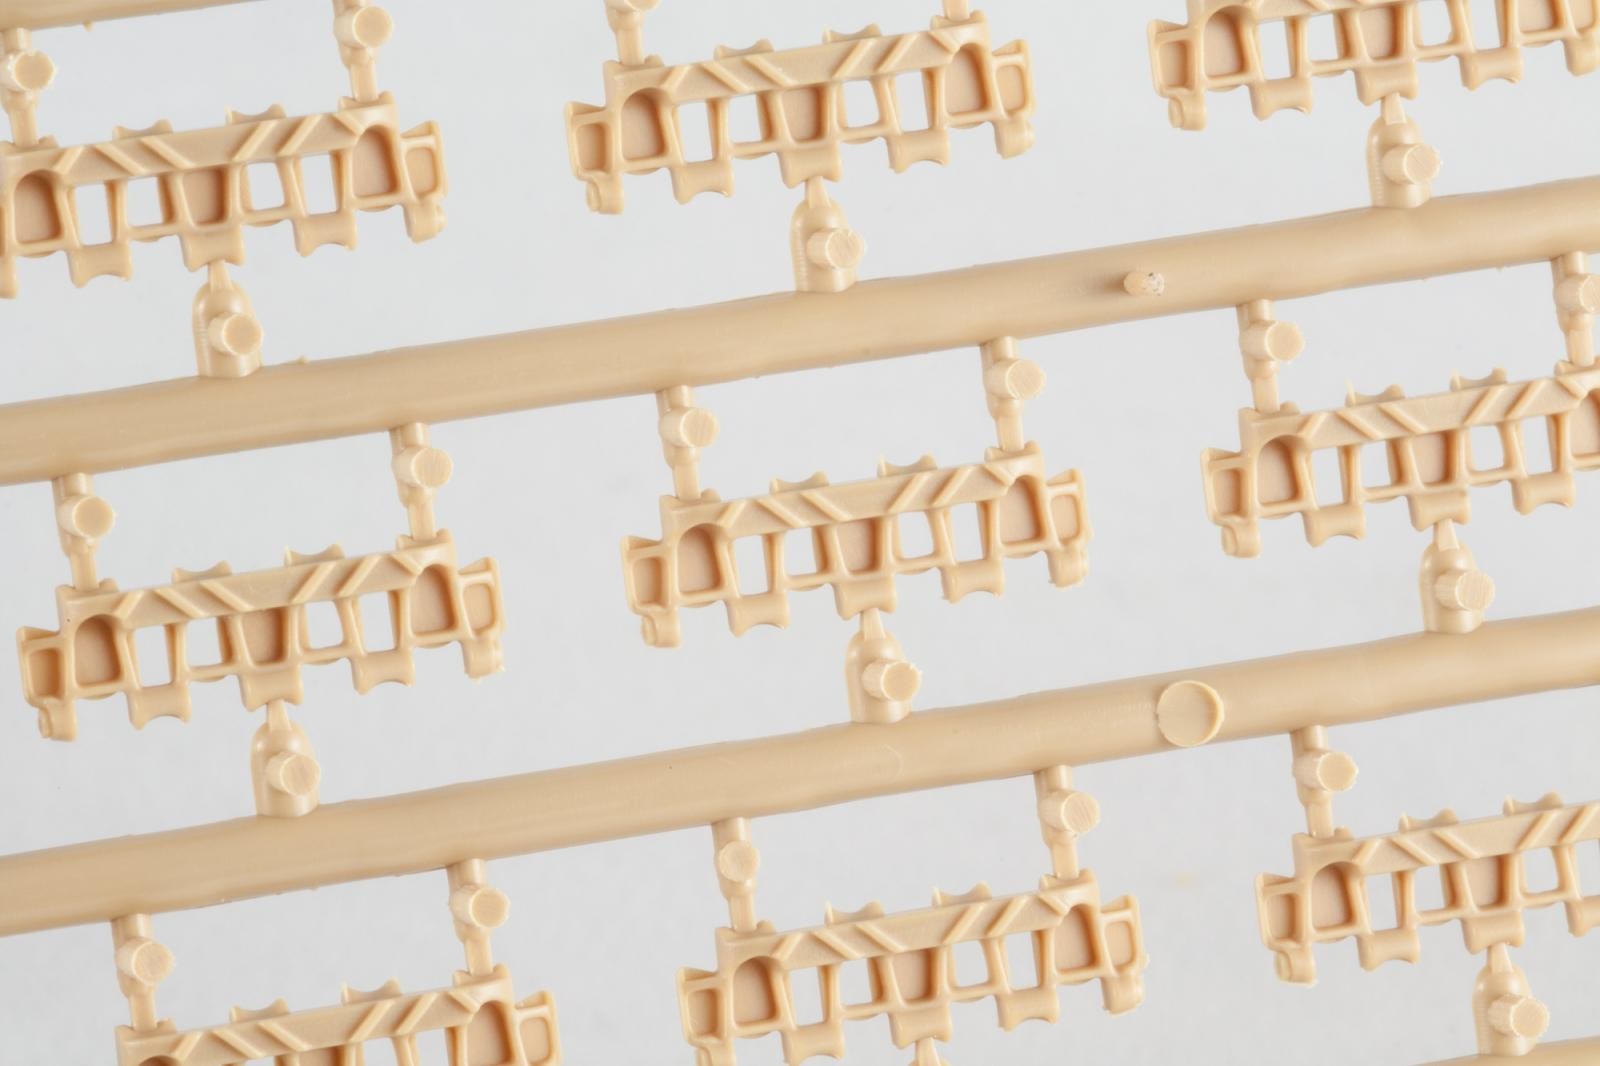
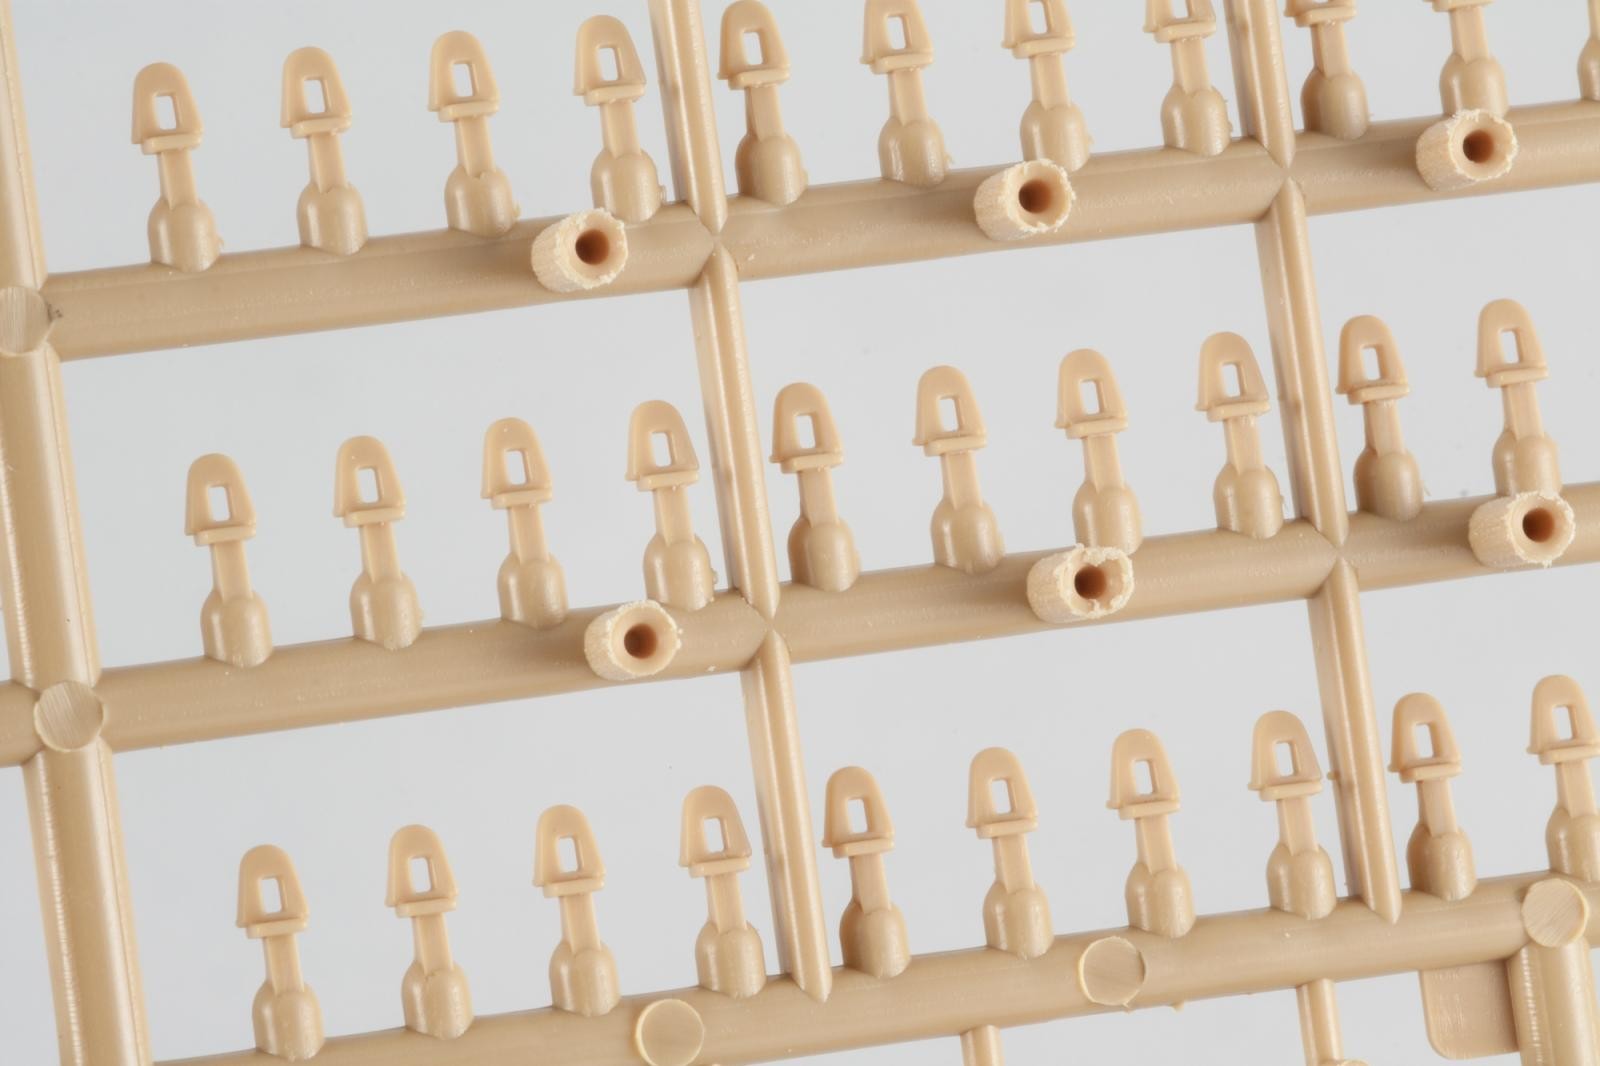
Finally, the tracks are nicely molded, but removing the sprue attachments will be tedious, with 174 links and three attachment points on a concave surface. Adding the guide horns will be the next tedium, but you will be rewarded with properly hollowed-out horns.
The clear sprue contains the usual assortment of periscopes, including a nicely done scissors periscope, and the black-out rear light.
The Other Stuff.
PE fret X contains all the mesh you need for the engine deck as well as camouflage attachments and other details. What you get as well is a part for the star antenna usually found on command tanks, without it being mentioned in the instructions.
The other PE fret holds the side skirts, a nice touch making it easy to give them a bent-and-battered appearance.
If the decal sheet were a picture post card, it would say “the weather is fine, the food is good.” That's how exciting it is. But hey, what do you expect from armor?

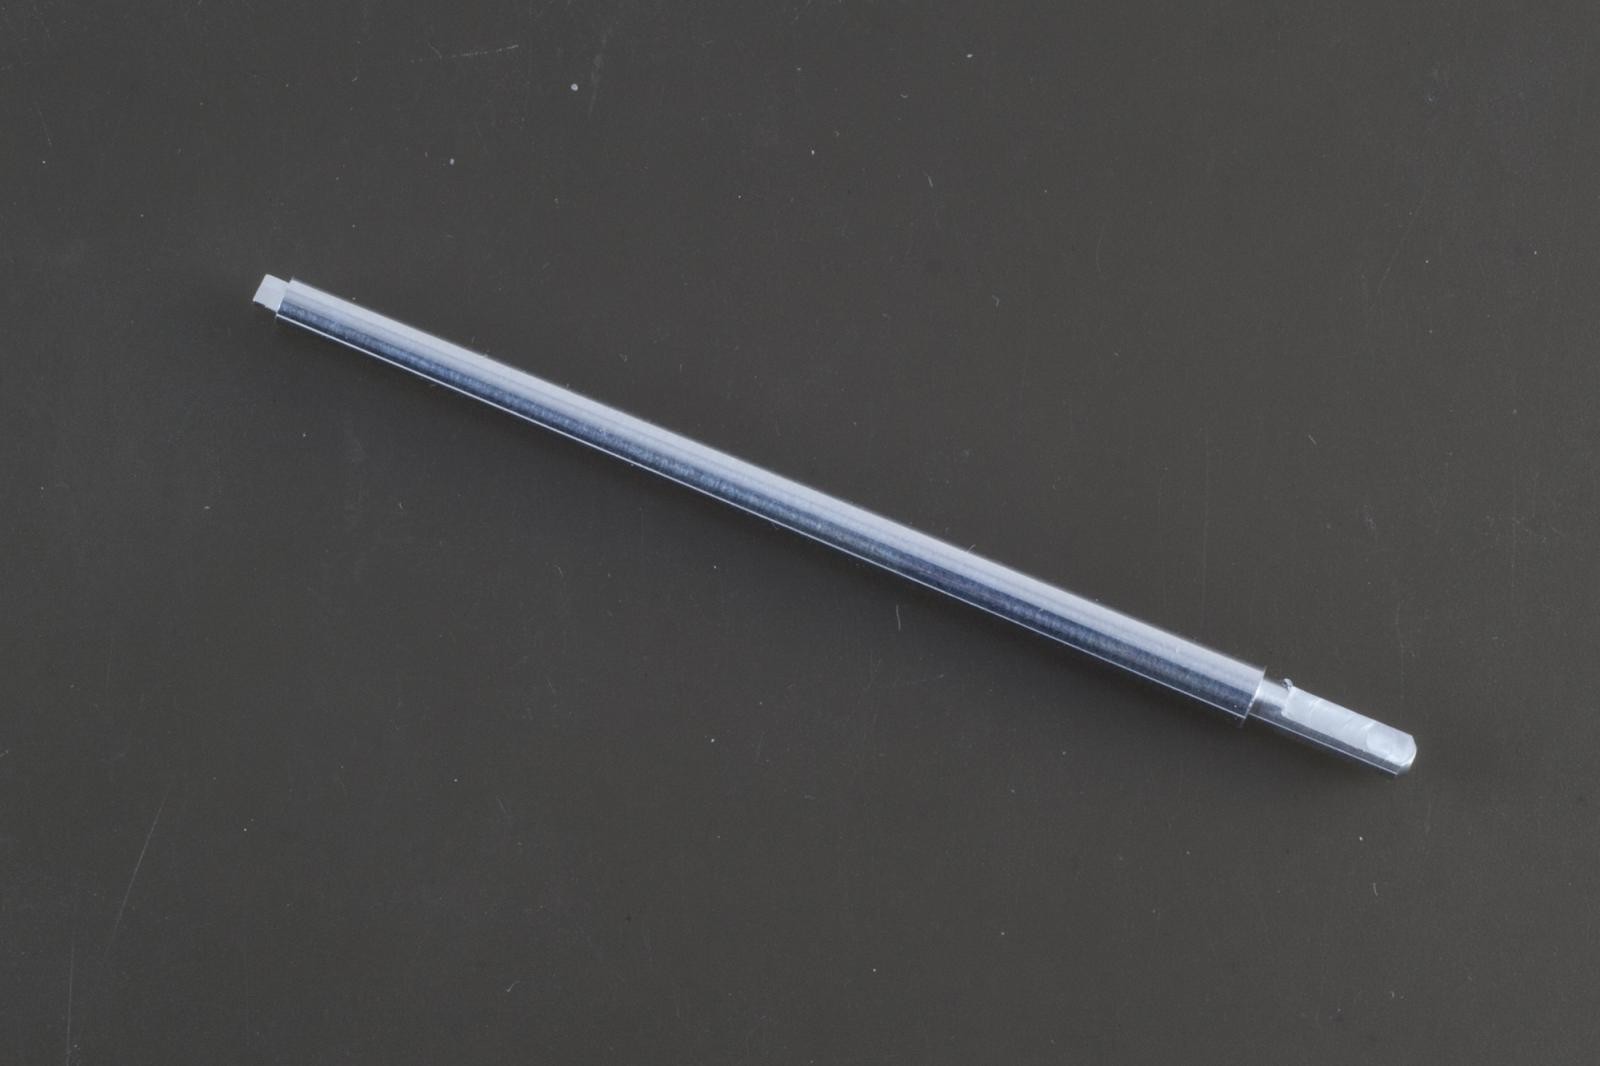
Finally, we get two thicknesses of wire for the tow cable and the track repair cable.

First Impression.
These days it is hard to find a new kit that does not “look good on the sprues” – the real test is actually building it. From what I can judge, this will not be a quick build, with lots of small parts and the need for close attention to the instructions.
On the other hand, I see nothing that would keep this kit from becoming an absolute beauty once finished. The detail is all there, the way the parts are split up makes perfect sense, and most of the research into the different variants has already been done for you.
As mentioned before, I would have liked to see information on the Zimmerit in the instructions, but apart from that (and pending the actual build experience) I would say you cannot go wrong with this kit.


Thanx for this review. I really wanted to build this kit so it was a timely review for me. Info very very helpful. This looks like a kick-butt kit and will build up so nicely. Its the tracks that make me hesitate. Just dont have the patience at times for these type of assemblies. Wish they gave options of rubber-bands for those builders like myself. Cant tell u how many times I go to purchase a tank then dont b/c discover that they are individual link. I have built a few but always the worst part of a build for me.
Never did build a Meng kit, but from everything I've seen/heard/read, they're pretty nice - this one included.
Boris, thanks for the review. I'm an airplane guy, but am getting more and more interested in building some armor, especially after seeing this, Thanks !
Great review, Boris - Thanks! I like aircraft best, but being an ex-tanker like my Buddy Louis, I sure appreciate good tank models - and this looks like a great kit! However, I hated track work on my real tank and I hate the tedious track work on the few tracked vehicle models I have. Here's another vote for including a set of rubber-band tracks like (I think) Tamiya has done a few times. Best of both worlds, in my opinion. And I doubt it'd add much cost - a few pennies at most. They could charge an extra buck, so we'd all be happy! LoL!
This is an excellent review. I think you did an excellent job with it and I thank you for taking the time to do it.
I still plan on writing an article here on the two 1/35 scale Tamiya Sherman "Easy Eights". One is the WW2 version and the other is the Korean War release, with a little different set of parts inside. I hope to get this done soon...
I hated changing tracks (and sprockets) on the real tanks that I served in too, just like my fellow tanker buddy Jeff Bailey... 🙂
However I am just the opposite as far as a model kit is concerned. I like the individual track links on the German and Russian WW2 kits, as you can more accurately depict the "sag" most often seen in pictures of these types. American tanks were rarely found in that condition, so they actually benefit from having the "rubber band" type tracks...
They could offer both types of tracks in a kit and let the modeler decide... 🙂
Charge just a little more for the kit to cover the cost for both sets of tracks, and everyone is happy... 🙂
I just got this kit. It didn't have the metal barrel. It was only 29.00 and free shipping. It is a very nice kit...except for the tedious multi part tracks. I have ATAK zimmerit to add some realism. I like MENG kits and am looking forward to building this kit.