The Three Soldiers pt.3
This article is part of a series:
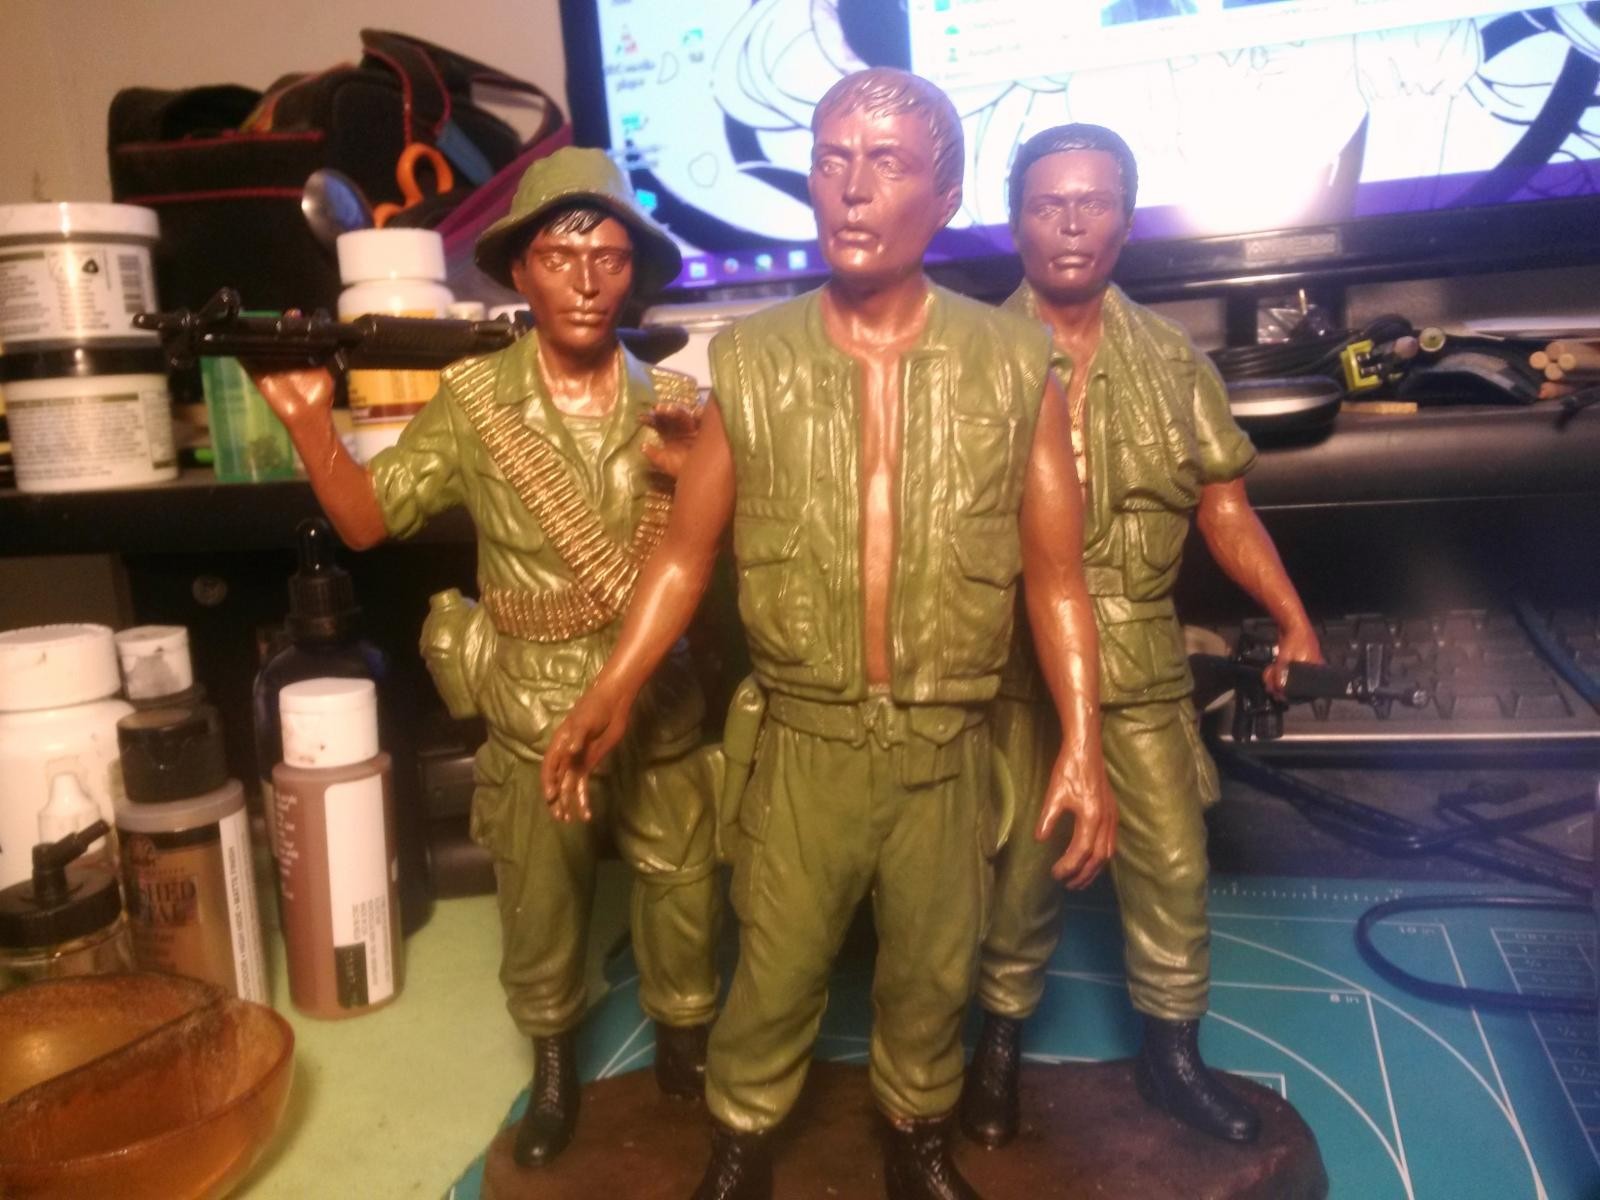
I wanted to render the last kit as the statue on display in D.C.
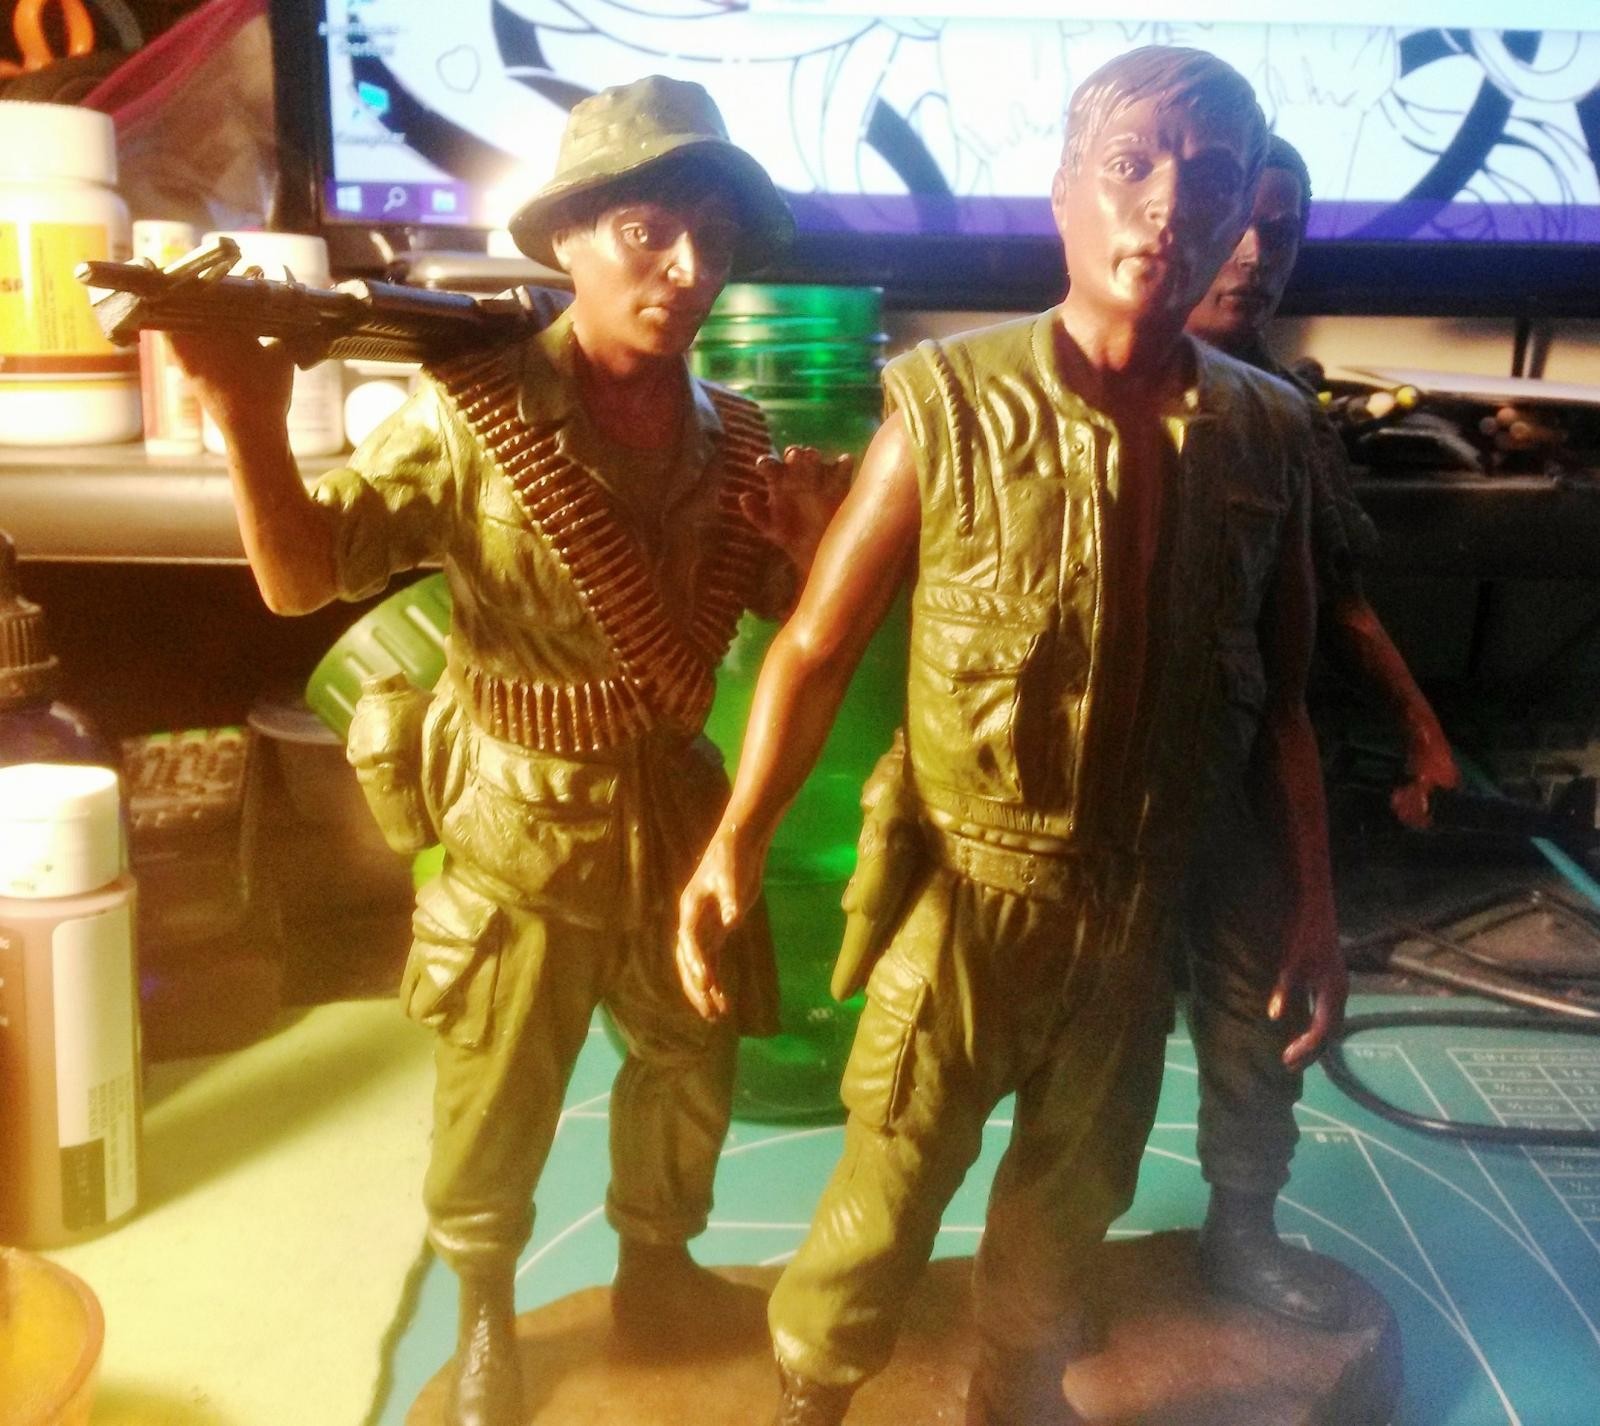
The actual statue is not a monotone bronze color, but instead has the uniforms, equipment and weapons colored with epoxy paint. Bare skin areas are left ‘in the rough’ though the rifleman is obviously Black and a case can be made for the machine-gunner appearing to be a Latino.
This scheme when finished would look more like plastic if sealed with a gloss. If I render them in actual skin tones and uniform colors would make look like action figures. That wouldn’t be a bad thing, but doesn’t represent a statue. So I wanted something unique. I decided upon a metallic sheen of the same color scheme. I recently obtained $30 Chinese, no-name, single action airbrush. If properly prepared, maintained; and paint properly mixed - a cheap airbrush will perform incredibly well. Not as well as my $300 Aztec airbrush, but damn near. I chose to break it in with project and use acrylics, as I didn’t have adequate ventilation.
Priming presented a problem as I didn’t have any acrylic primer on hand. Instead of ordering a bottle from the internet, it was time to improvise. I decide to use black Gesso. Obviously this stuff needed to be thinned. I use my favorite recipe for thinner; I usually make up 20oz of reducer at a time, works beautifully in the airbrush:
12oz Distilled Water (NOT tap. NOT bottled drinking water)
4oz Denatured Alcohol (91 – 97% Isopropyl Alcohol will do)
4oz Window Cleaner (clear type, not blue, ammonia free)
10 drops of Glycerin (a 6oz. bottle should last a long time)
I omit the window cleaner because of the smell and at the moment I don’t have any. I screened and thinned the Gesso to the consistency of milk. Loaded it into the airbrush and sprayed away, drying matte in about five minutes. Two light coats covered everything.
I basecoat with Hand Made Modern (Target store brand I think) Copper, spayed the base as well with this also. A dark metallic will help tone down the colors.
I always start with skin; work your way up, like in reality:
Skin
Clothes
Weapons
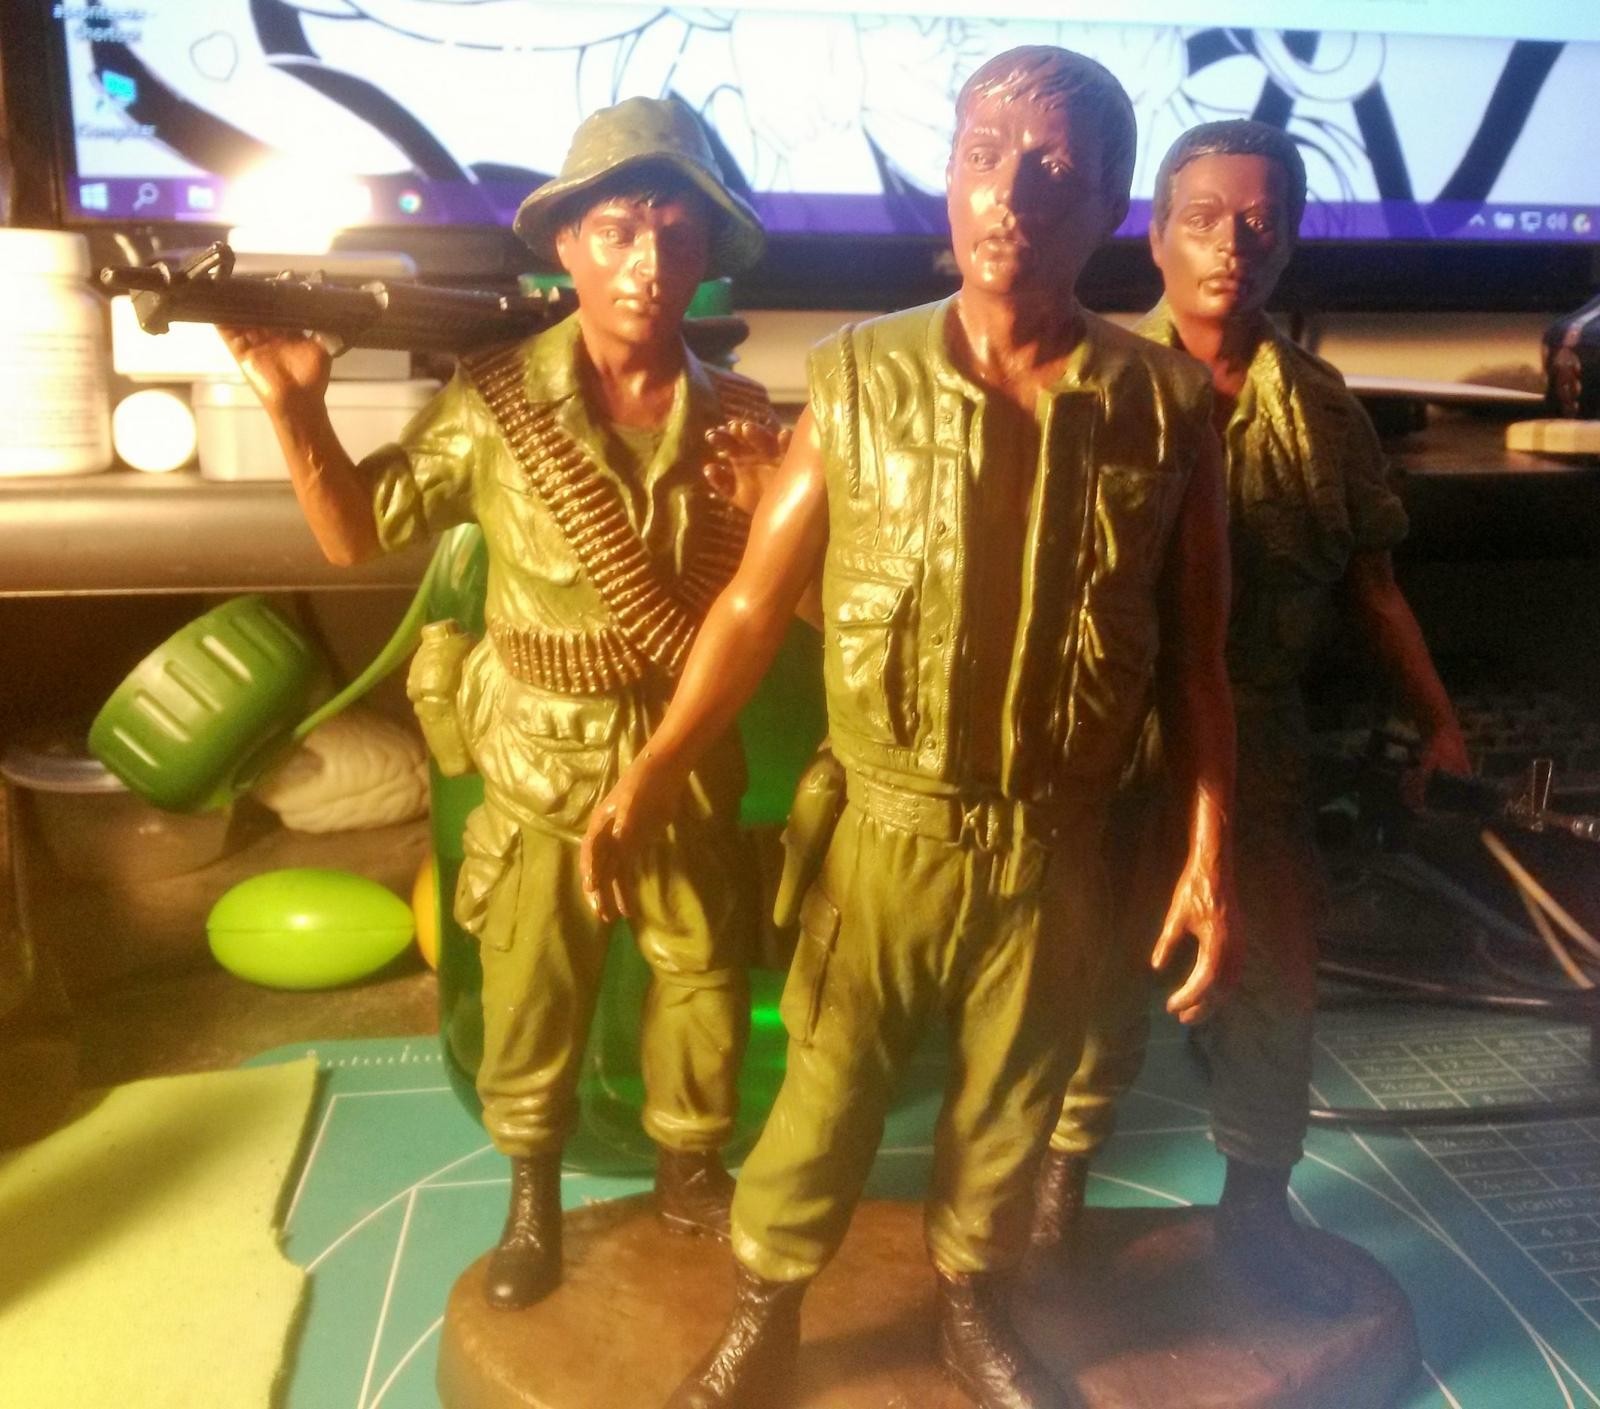
I mixed up the skin color: cheap craft paint – Earth Brown and red (3:1) with 20K Gold from Hand Made Modern, 50/50 mix, thinned properly. I mixed up more than enough for any future touch ups.
The clothing was rendered with a homemade olive drab (dark green + a few drops of brown) and gold mix. Again 50/50 and thinned. A lot of masking involved, which is enough material for a separate magazine article, so just let’s know it was meticulously masked with tape and Silly Putty.
I gave the colors a day each to dry and cure as I elected to seal it all at the end of the build.
The hair, weapons and boots were sprayed with Apple Barrel Black, this dried matte. Thinning paints is another factor that can require a lot detail and experimentation. The most important thing to remember is regardless of type and/or brand of paint, each color may not thin with the same amount of reducer. The hair of the lead character is rendered solid with Apple Barrel Nutmeg Brown, no gold mix; this was added in a thin layer with a detail brush. The next was layer I added the smallest amount of black, now it looks more like milk chocolate. This was good, when dried it resulted to be a bit darker. Another thin layer was added with more emphasis on the grooves of the hair.
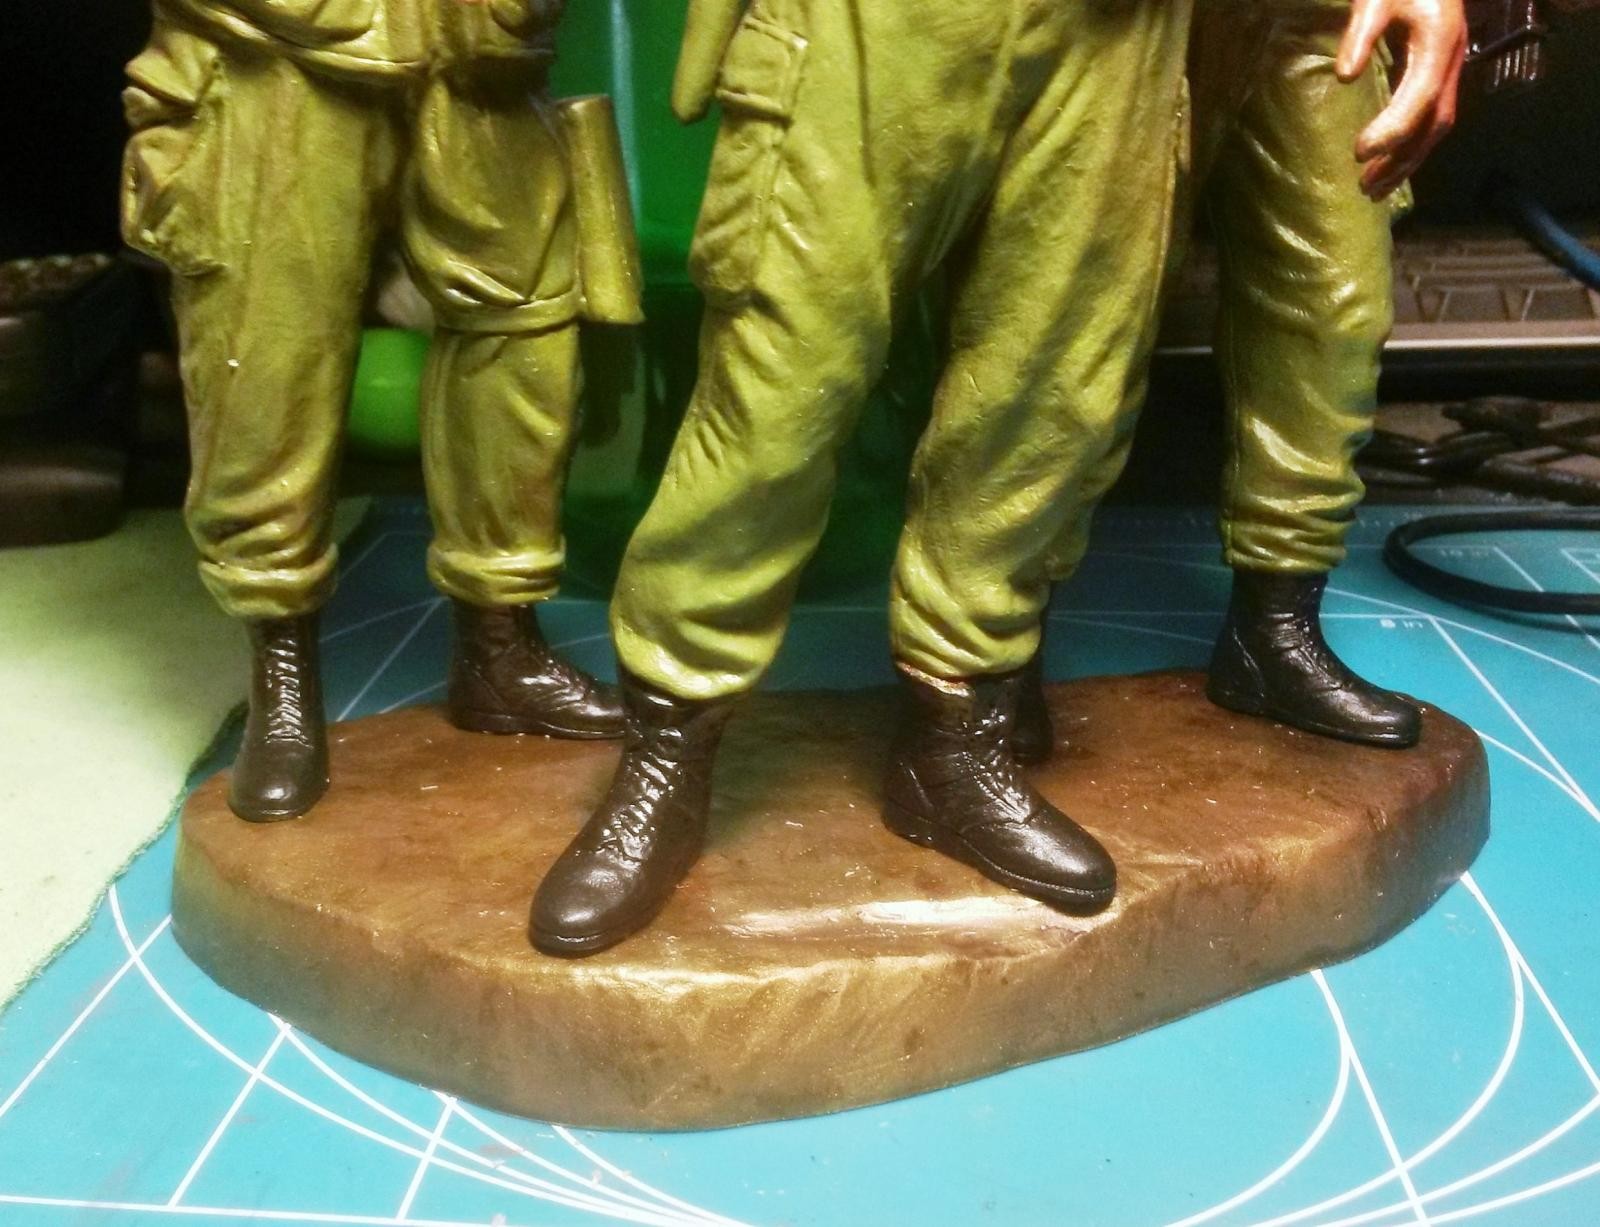
After a few days of drying and curing under a plastic cover (to prevent dust), I burnished onto the metallic areas of the weapons with powdered graphite (obtained from a pencil sharpener) to simulate the parkerized finish.
When cleaning the airbrush between colors, I would spray light mists in random patterns onto the base, building up to rock like appearance. I sprayed a thin layer of brushed bronze (in a dirty bottle) between the holes, where the feet will be placed. Kinda pre-shading. I then sprayed transparent brown into the grooves. The overall look works well, as it contrasts the figures without drawing attention from them. When the paint had dried, I sealed with Rustoleum Matte Clear. It dried not so matte, but more of a satin. Like any modeler, my preference for any sealing is Testor’s Dulcote, but, again - I have to work with what is available.
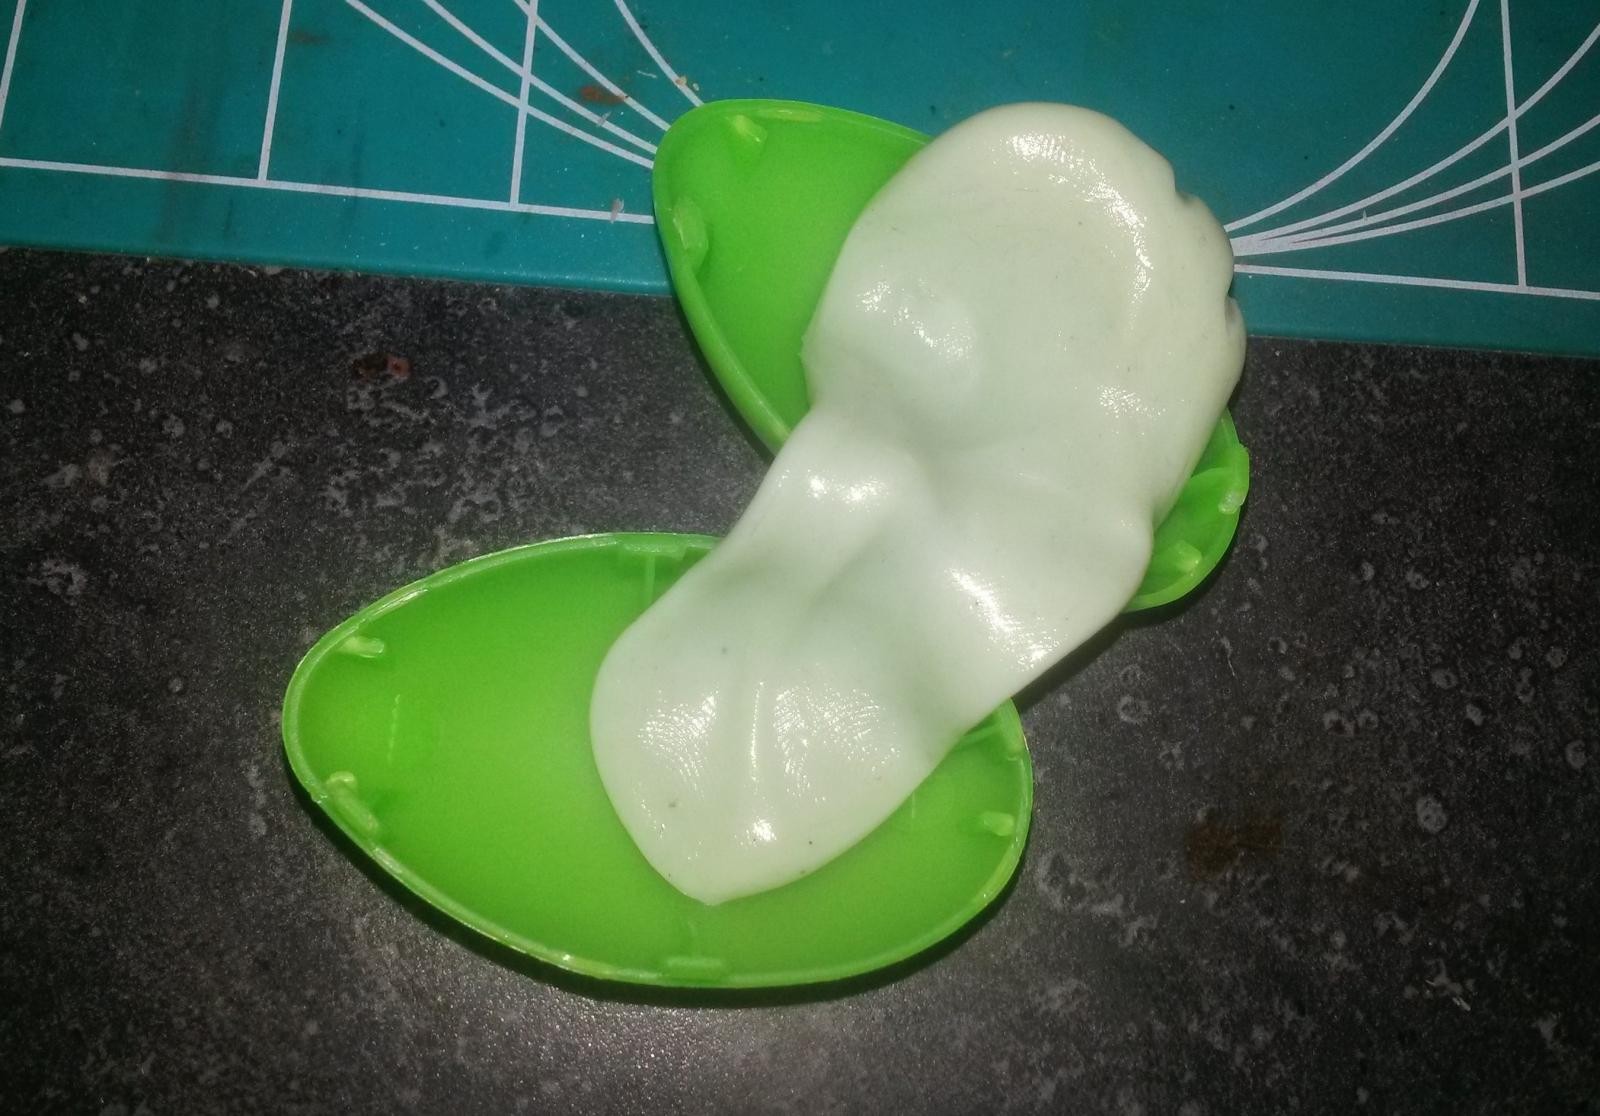
To add shadow and blend colors, I intended to use pastels. As I am out of this too, I substituted with an eye shadow palette I found. This was great because it had mica in it – a bit of sheen to compliment the semi metallic finish. After meticulously applying it, I sealed it with two more light coats of matte spray.


Leave a Reply
You must be logged in to post a comment.