Grumman F6F-3 Otaki/Arii 1/48
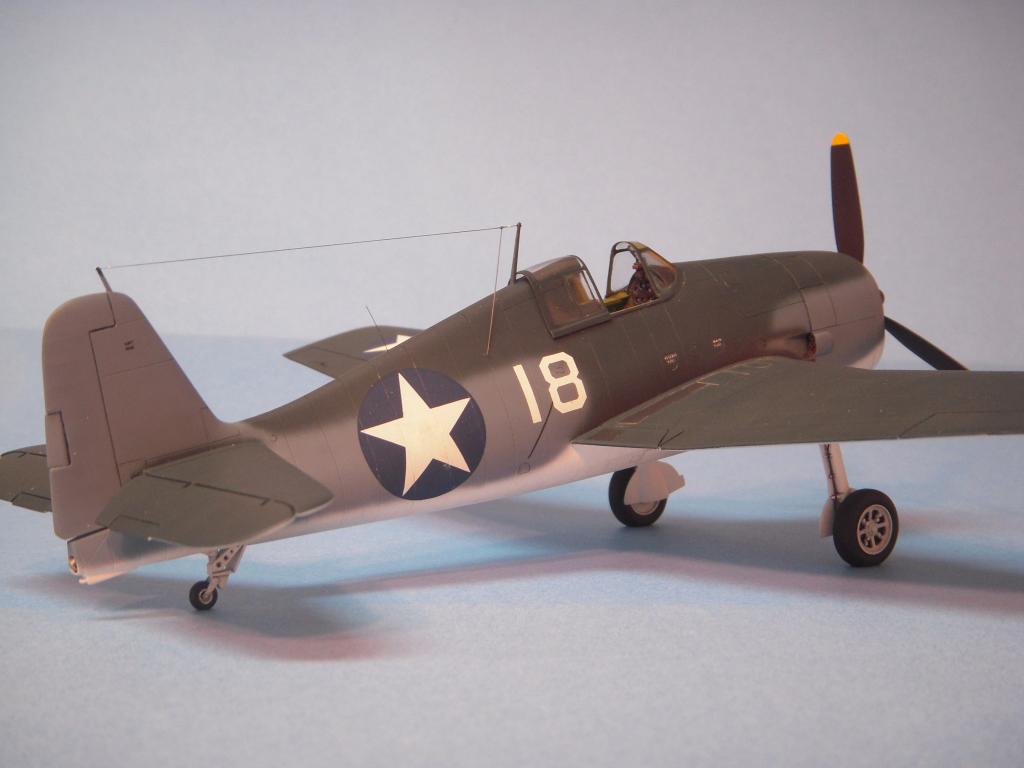
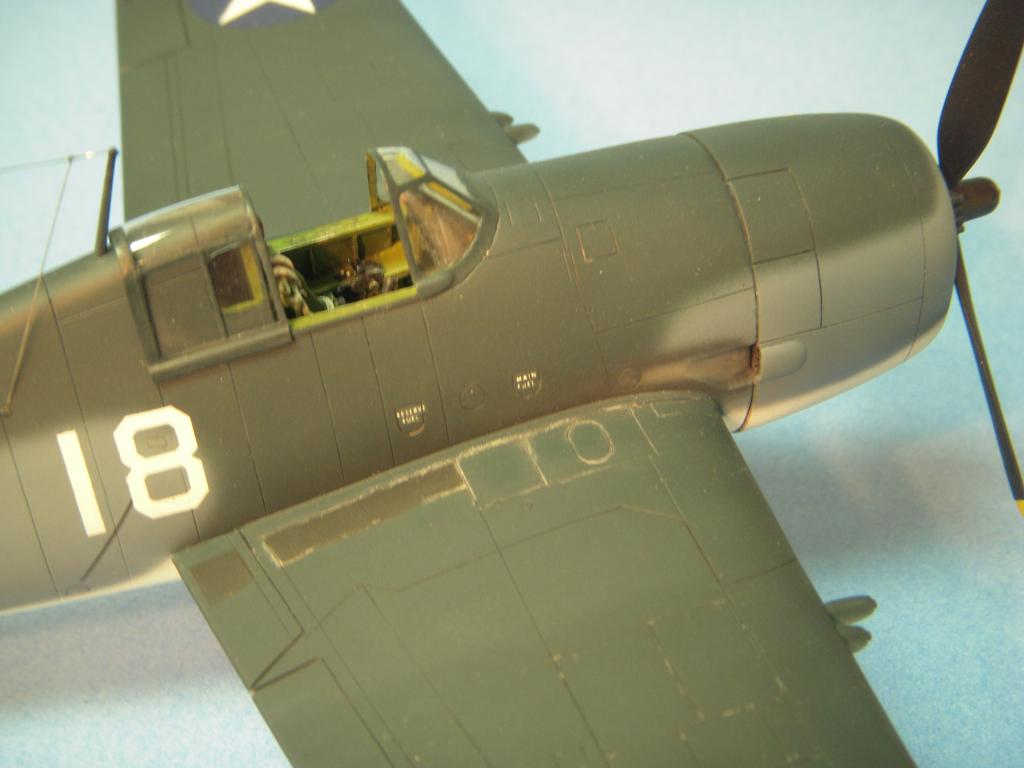
Started with the best of intentions to be a straight forward OOB build, the urge to add a few extra details began as I realized how well the rather basic kit captured the shape of the Hellcat. The discovery of an aftermarket resin cockpit and a vacuformed canopy in my stash :yahoo: began the construction. The kit has the lower cowl flaps of an early F6F-3 and with the addition of the fairings on the guns a model representing one of the very early F6F-3s could be built. The gun fairings were fabricated from styrene. Only the first 273 Hellcats produced had these fairings and they were eventually removed in service.

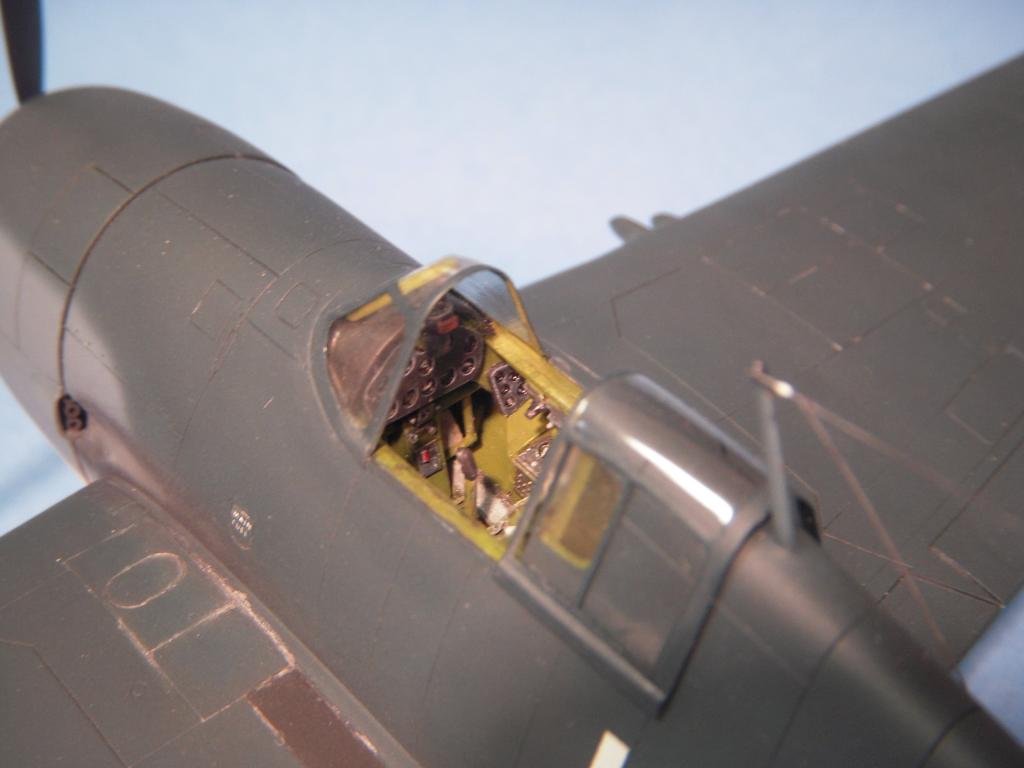
The resin cockpit was modified to fit the Otaki kit. I had to fabricate the instrument panel not only because I broke the resin panel, but this allowed me to better replicate the early cockpit layout. :doh: A scratch built gun sight and trim tab control console were fabricated and installed. The vacuformed windshield needed a lot of trimming and filling to fit properly but is a great improvement to the very thick kit pieces. Armored glass was made from thicker clear plastic and set inside the windshield.


The wheel wells were too shallow caused by the well being a "box" attached to the bottom part of the wing. The wells were deepened by removing the top of the kit's wheel well “box” from the lower wing pieces and a simple internal structure was added to underside of top wing surface.

The landing gear was detailed with various small linkages, the braces on the sides of the struts added with styrene strips. Brake lines were made from wire and the kit doors thinned by filing and sanding. Catapult bridle hooks were made from wire and added just inboard of the main gear. Exhaust pipes were fabricated from styrene rod and glued inside the outlets in the bottom and sides of the cowling.

The rudder was too thick and was thinned by sanding. The fabric detail restored (though hard to see in the pics) by sanding with a rolled up piece of 400 grit to simulate the sag between the ribs and the rib tapes by a stripe of paint under the finish coats. The elevators and trim tabs were repositioned for a more natural look . (Yes, the control stick is in the nose down position!) A retracted tail hook and holdback bar were added.


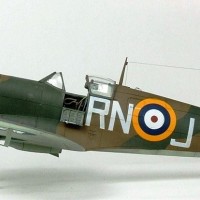
The model is finished as the aircraft would have appeared while undergoing carrier qualifications aboard one of the early Essex class carriers working up off the west coast of the United States in the early summer of 1943, The paint is in good condition, the semigloss gone from the uppersurfaces but not much fading is evident yet, while the undersides retain a bit of sheen. There is just a little exhaust staining and slight wear on the wing roots. With just a little bit of work, the Otaki/Arii kit can be made into a good representation of the Hellcat.


That's one beautiful Hellcat, Bryan. Nice work on the barrel fairings and getting that cockpit stuffed in there. Lovely matte finish as well. Leroy Grumman would love it!
Very nice rendition of the early three-tone "Norfolk" scheme!
Such good work!
Really nice build, Eric, and good photography to show off that work. Thanks for sharing the changes and additions needed to bring this now old kit to a higher level. I like this entire series for the effort the mold makers put into each kit without over-complicating things, though as here, that sometimes led to some omissions. Congratulations! Hope you still look back on this with pride and satisfaction.