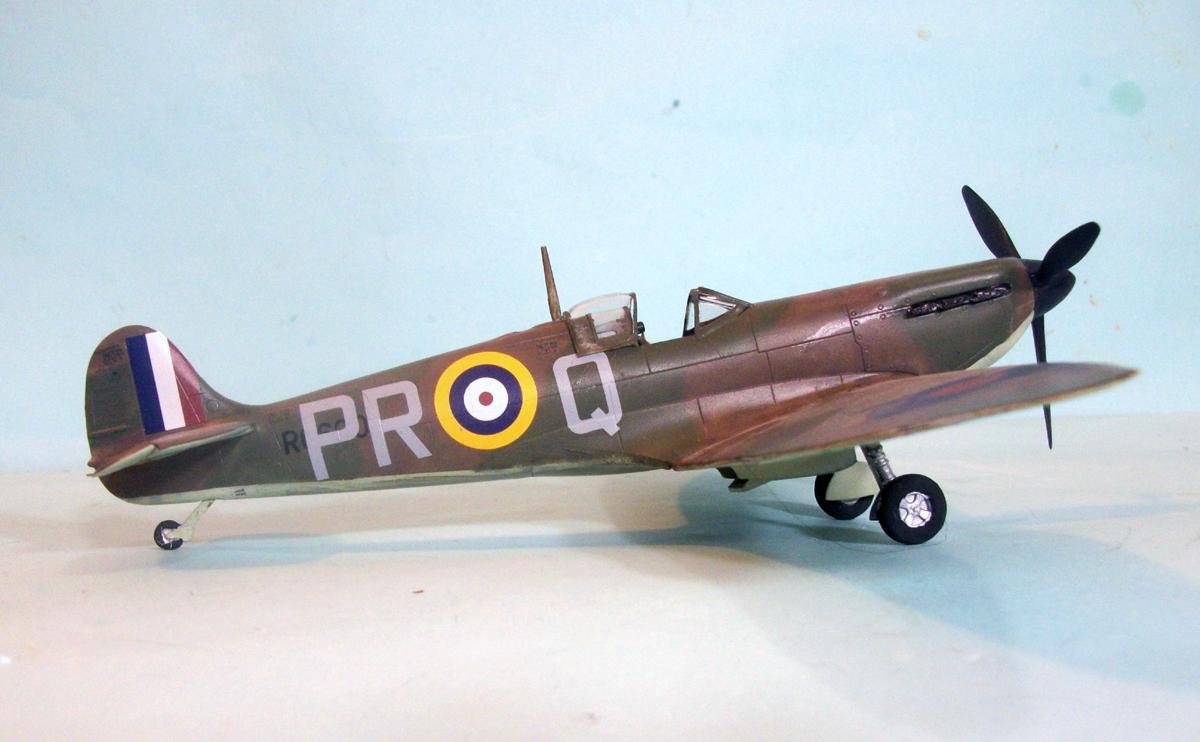
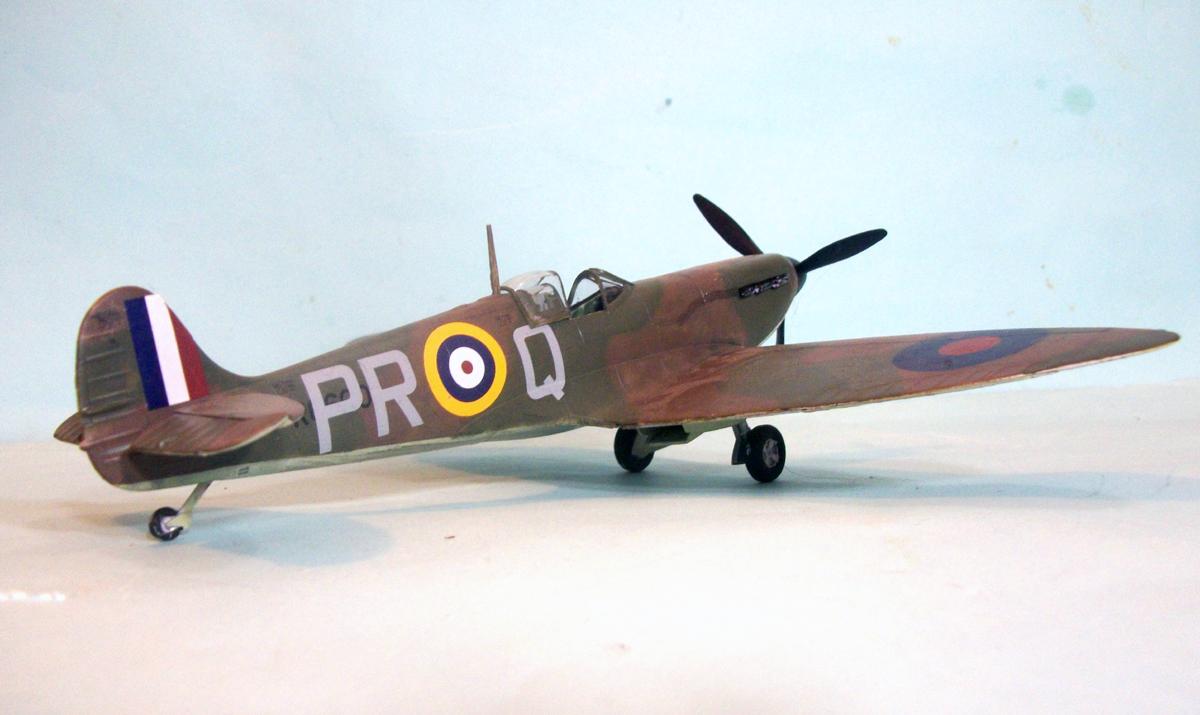
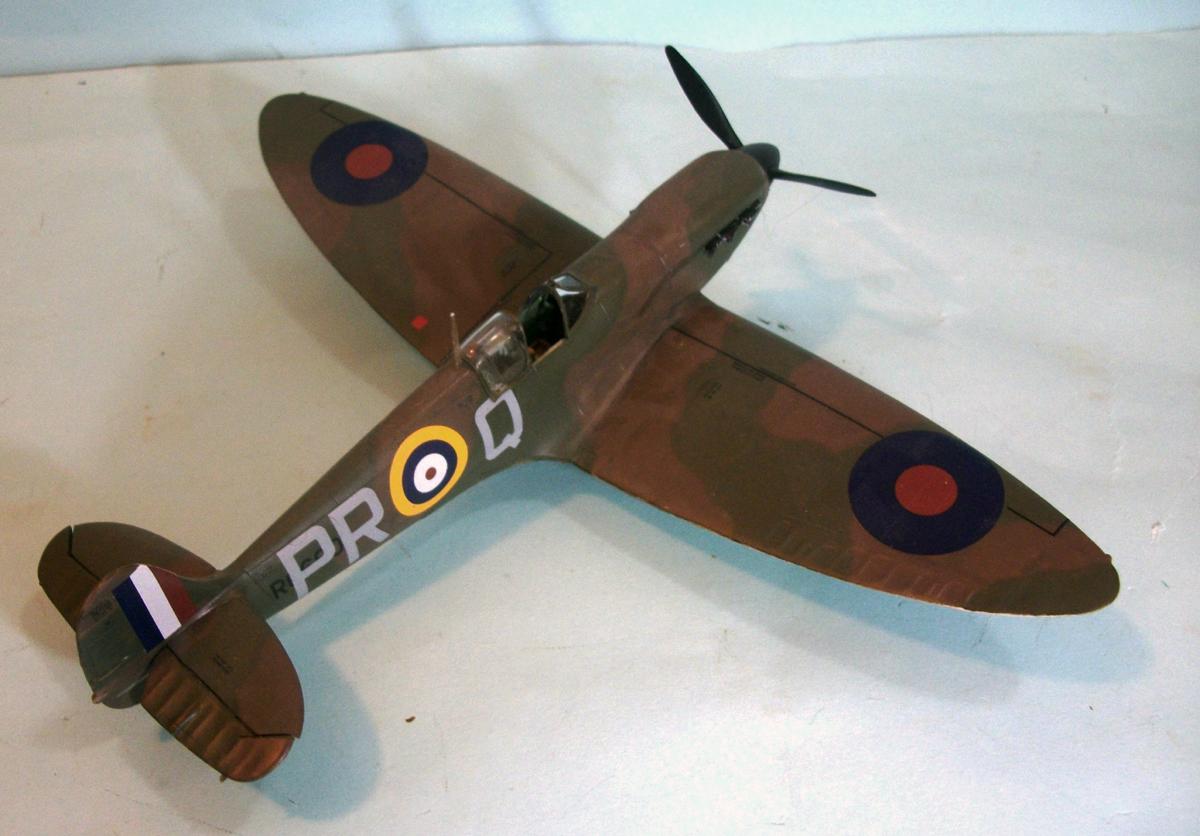
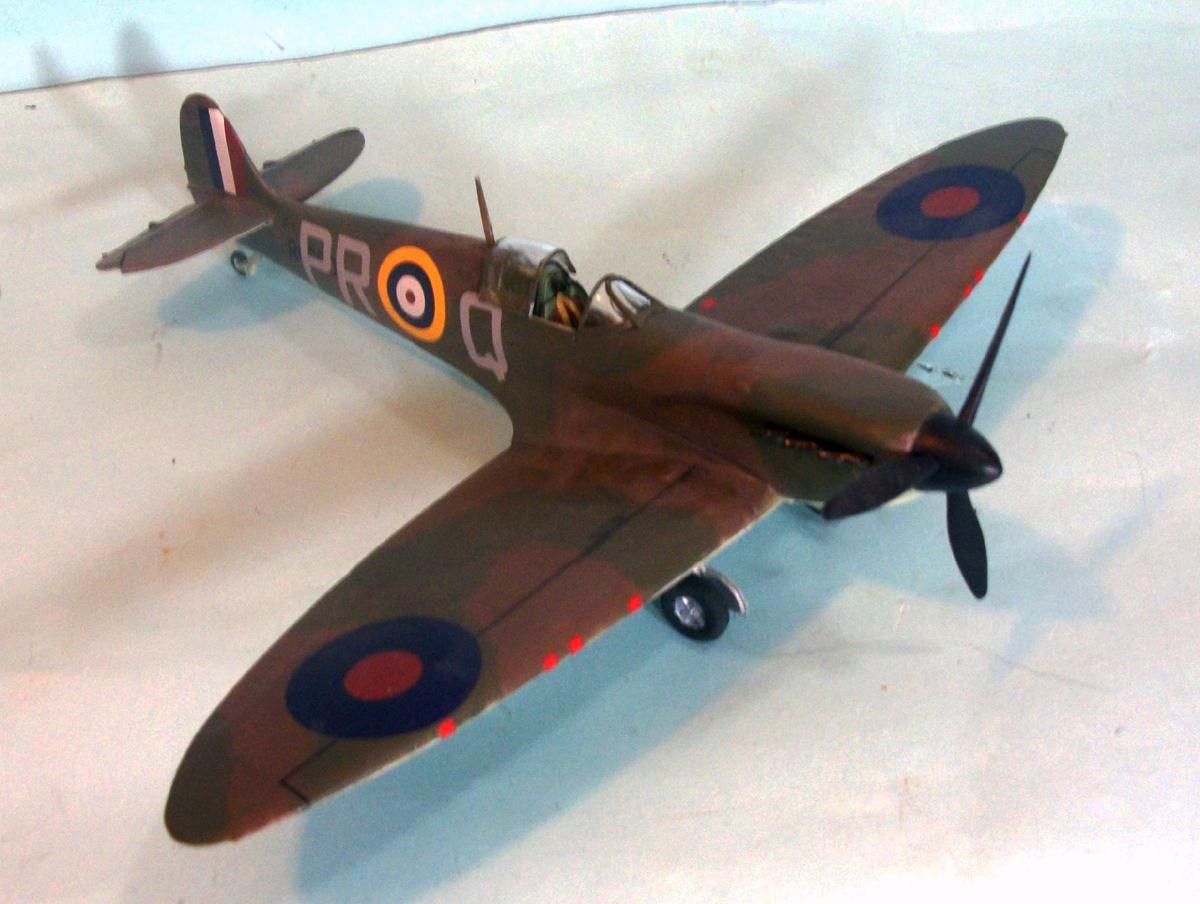
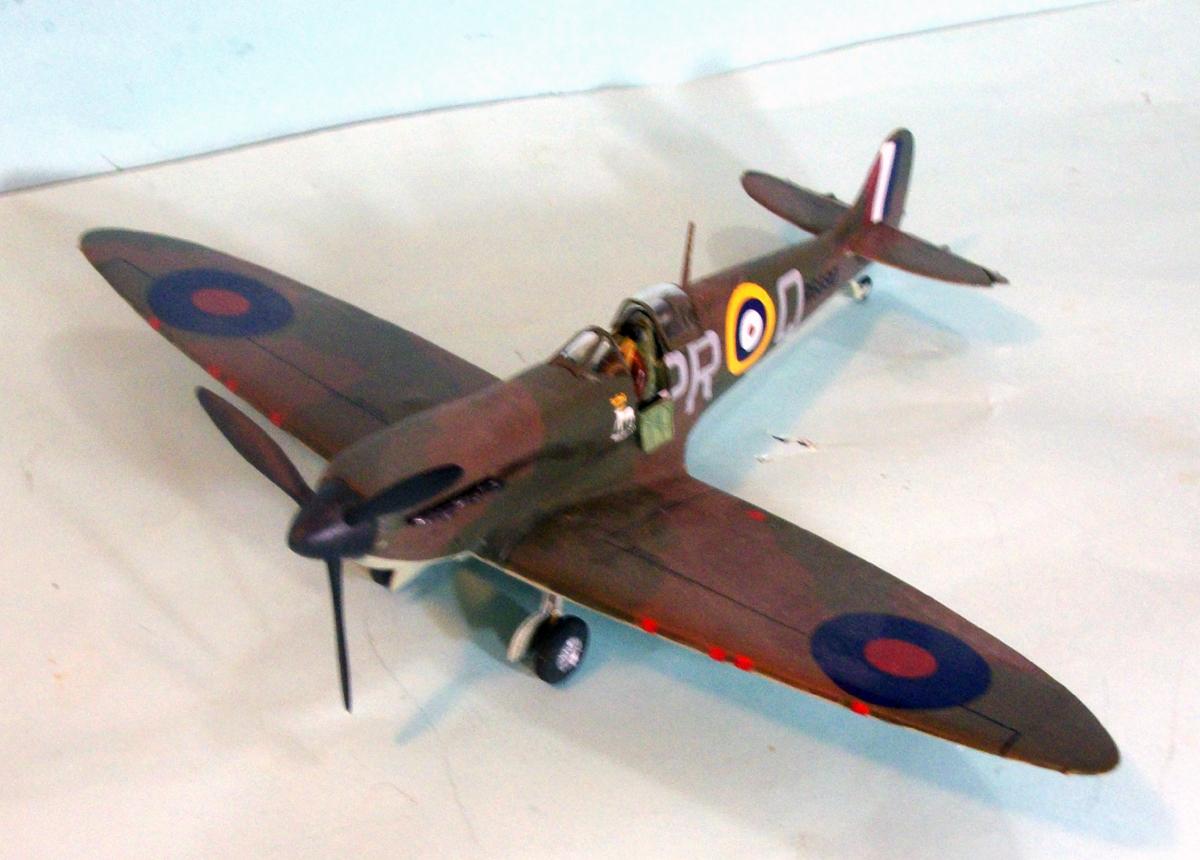
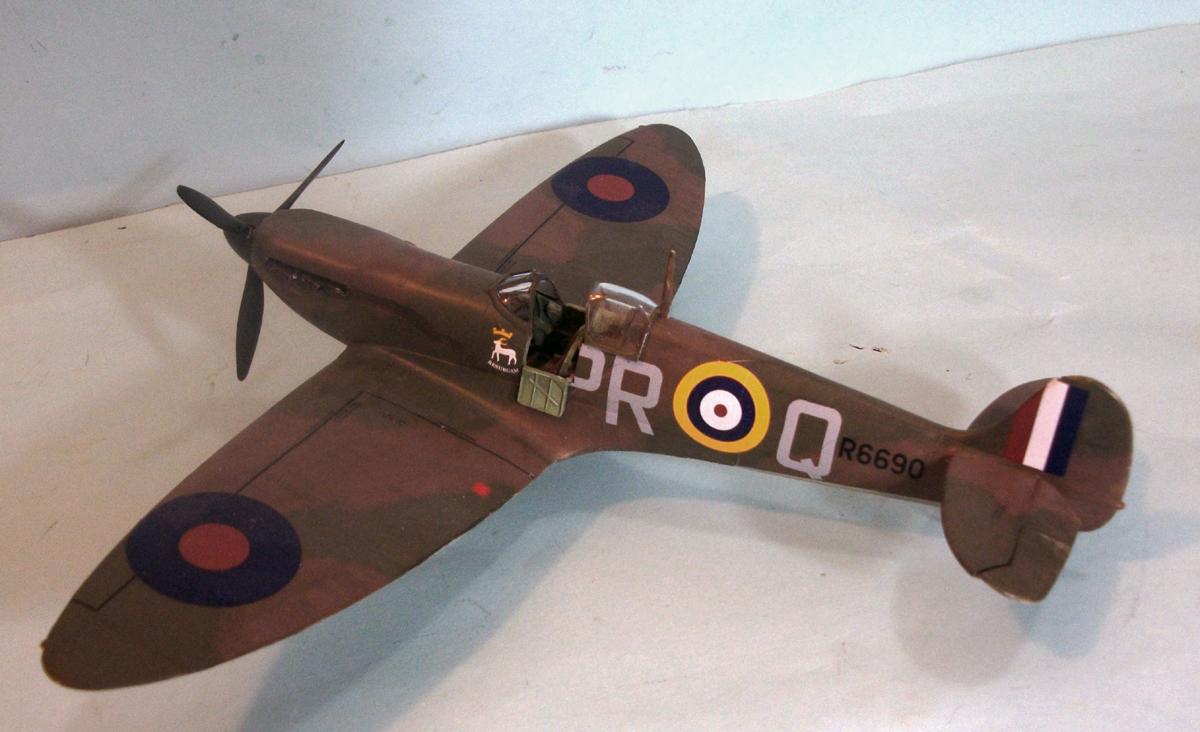
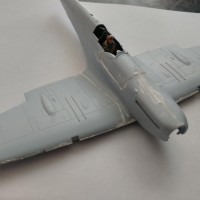
BoB Spitfire I – Airfix 1/48
Not actually built for the BoB Group Build, I guess this still kinda/sorta qualifies as an entry.
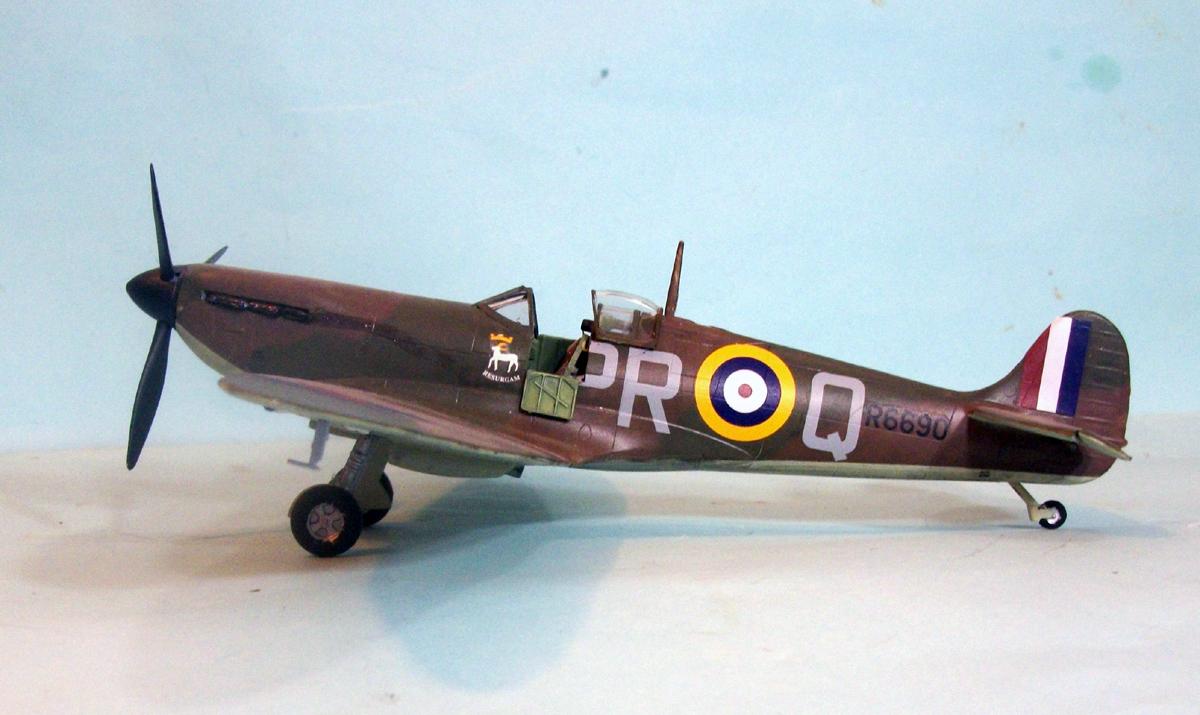
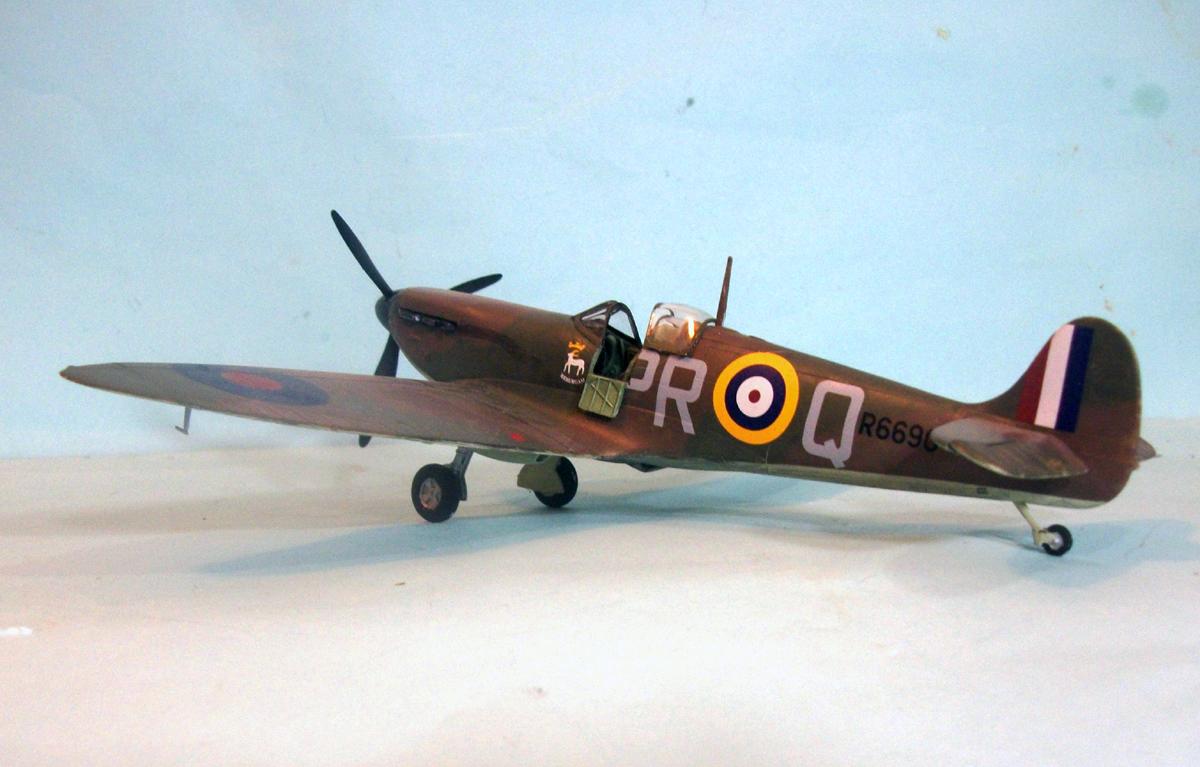
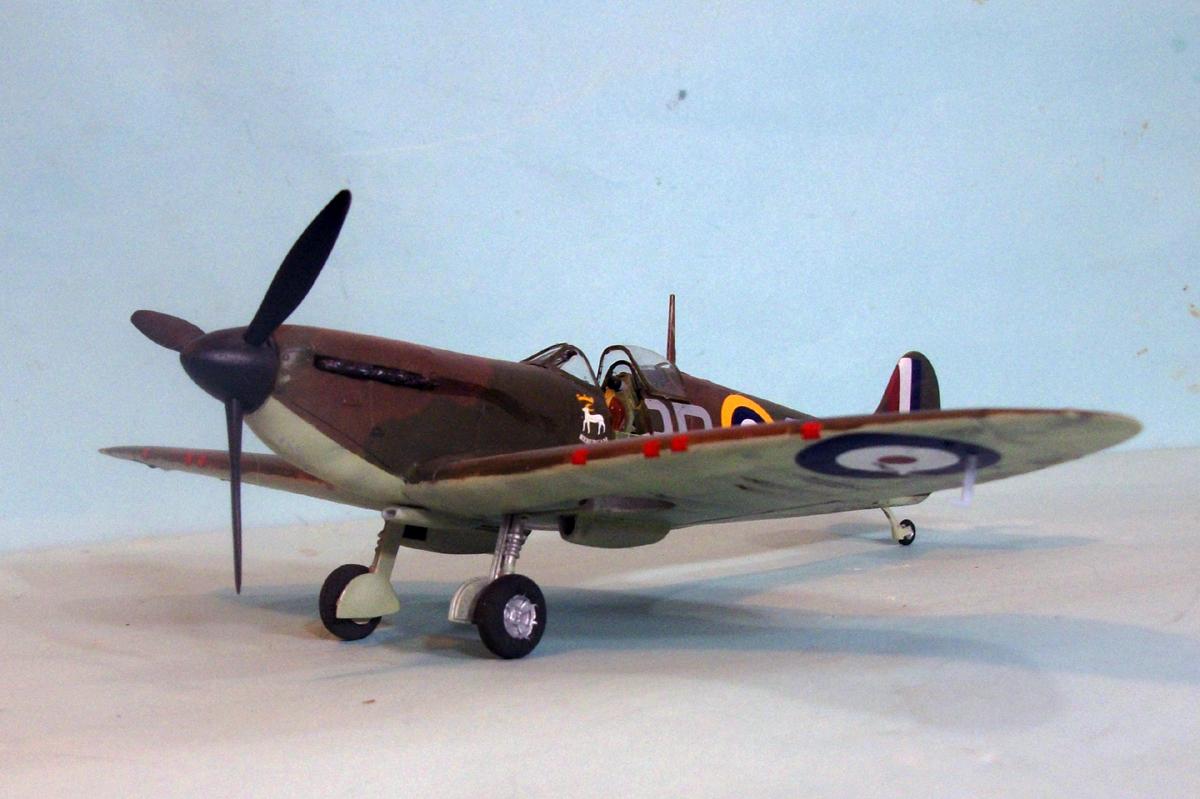
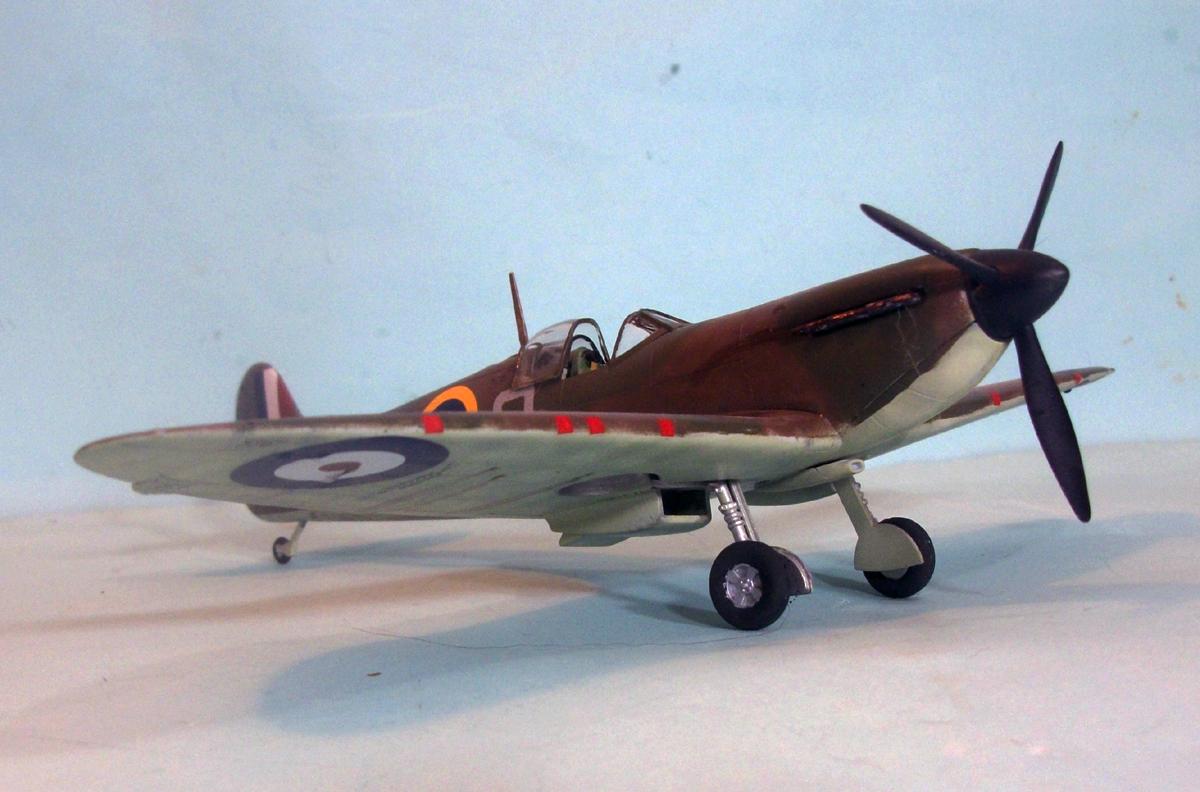
Spitfire Ia of 609 Squadron R.Aux.A.F., August 1940, done from an Aeromaster sheet.
This kit by Airfix can be considered the last product of “Old Airfix,” and the first release of “New Airfix.” As such, it suffers from all the problems imposed by the beancounters on the designers during the fall of Airfix. Overall, it is based very obviously on the old Spitfire V kit released some 36 years ago, with the “modernization” of engraved surface detail. Enough work was done to the wing to change it accurately to an 8-gun wing, though the detail is still heavy. The trailing edges benefit greatly from sanding-down from inside before assembly to get a more accurate trailing edge. As with a lot of Airfix kits, the canopy suffers in production and is barely acceptable for overall shape and thinness. The kit provides a good Watts two-blade prop, as well as acceptable versions of the deHavilland two-position prop and the Rotol constant-speed unit utilized by each mark of early Spitfire.
While the Tamiya kit first released 20 years ago makes up into a better-looking model, in fact this Airfix kit wins hands-down for overall shape accuracy: the fuselage is properly petite without Tamiya's “fatness”, and the wing is the proper outline.
Three Spitfires can be done with the kit decals, which are quite nice: an original Spiitfire I in 19 Squadron in 1938, a Spitfire Ia of 610 Squadron during the Battle of Britain, and a Spitfire IIa of 118 Squadron in the spring of 1941.
On opening the box, it was immediately obvious what the heritage of the kit was, being a modification of the old Spitfire V first released in around 1978. I started by sanding down the rear of the fuselage halves, to result in a sharp trailing edge for the rudder. I then did the same for the wing and then glued it together.
The cockpit is the same as the original 1978 kit. Once assembled, there really isn't all that much of the detail later kits provide that one can really see, so it is possible to get away with leaving this as is, which I did. I don't personally think this is the Spitfire I kit one wants to spend the money on to provide one of the many better-detailed resin cockpits. Once assembled, I glued the fuselage together and then attached the fuselage and wing. Fit was such I didn't need a lot of filler other than along the centerline and the wing/fuselage upper surface joint. I made the mistake of drooping the elevators, cutting them off and then shaping to fit. In retrospect, those horizontal surfaces are best left as the kit provides them.
The model was painted with Xtracrylix RAF Dark Earth, RAF Dark Green and Sky. The nice thing about Xtracrylix is that one can mix brush painting with airbrushing without any obvious differences, so after applying the Dark Earth, I brush-painted the outlines for the Dark Green in an A-scheme pattern, and then airbrushed them. That way I didn't have to mask to get a hard edge and risk the fragile coat of Xtracrylix pulling up when masked.

Fantastic work Tom, keep on crankin' them out!
Nice! Interesting comment about the better shape compared to the Tamiya MkI, Airfix seem to have improved this over their earlier MkI offering, which had an oddly shaped tailfin? Although an old moulding, I always thought Airfix did a great job with their MkV, shape wise, so this seems to have benefitted this release, although as you say Tom, they've always been a bit heavy on surface engraving. Yes, and I agree they do like making their canopies look totally bulletproof, instead of just the windshield!
Great job Tom. Thanks for the heads up as well, I've got one of these creeping up the "to do" pile.