Merkava I 1/35 Tamiya 35127
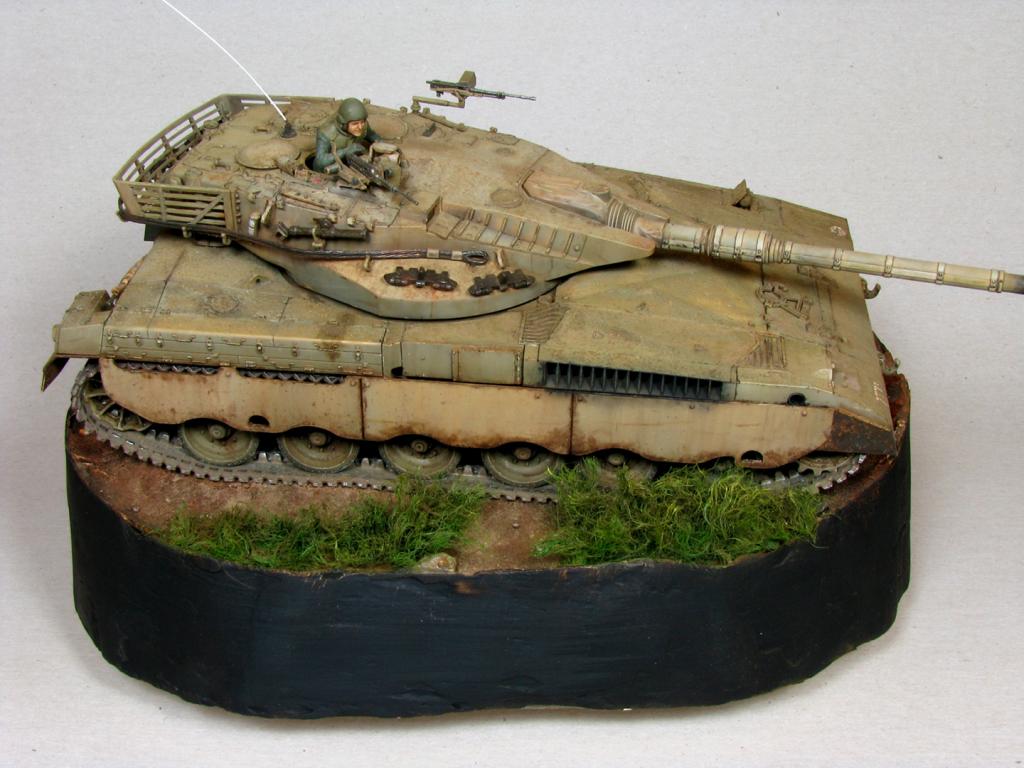
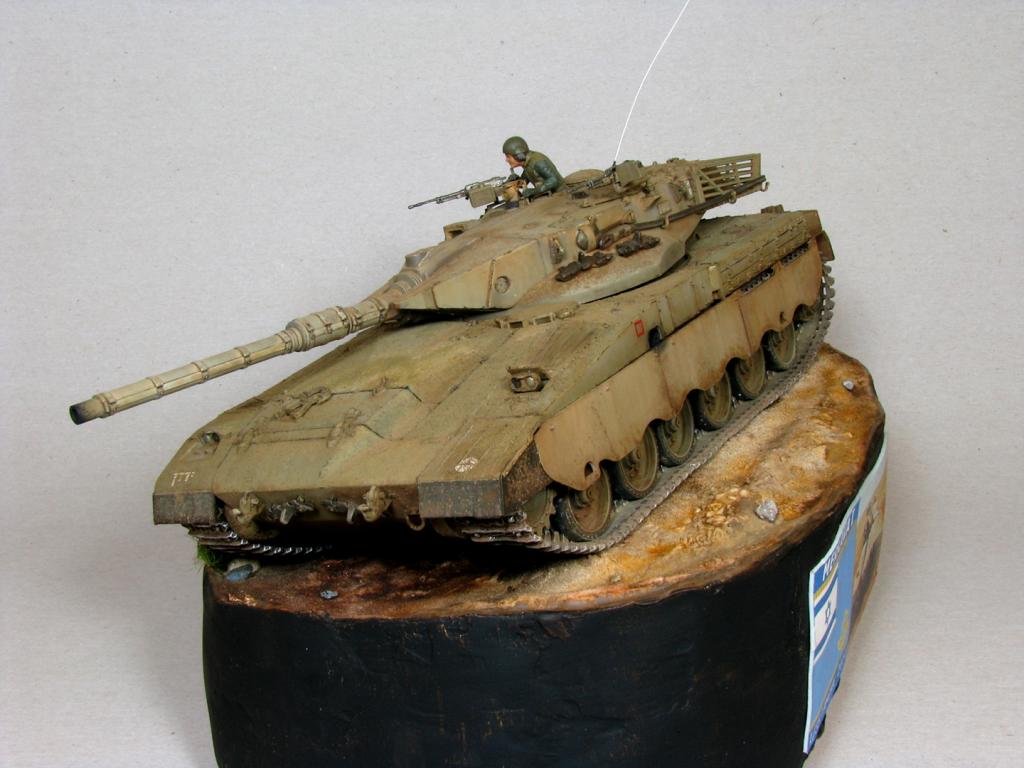
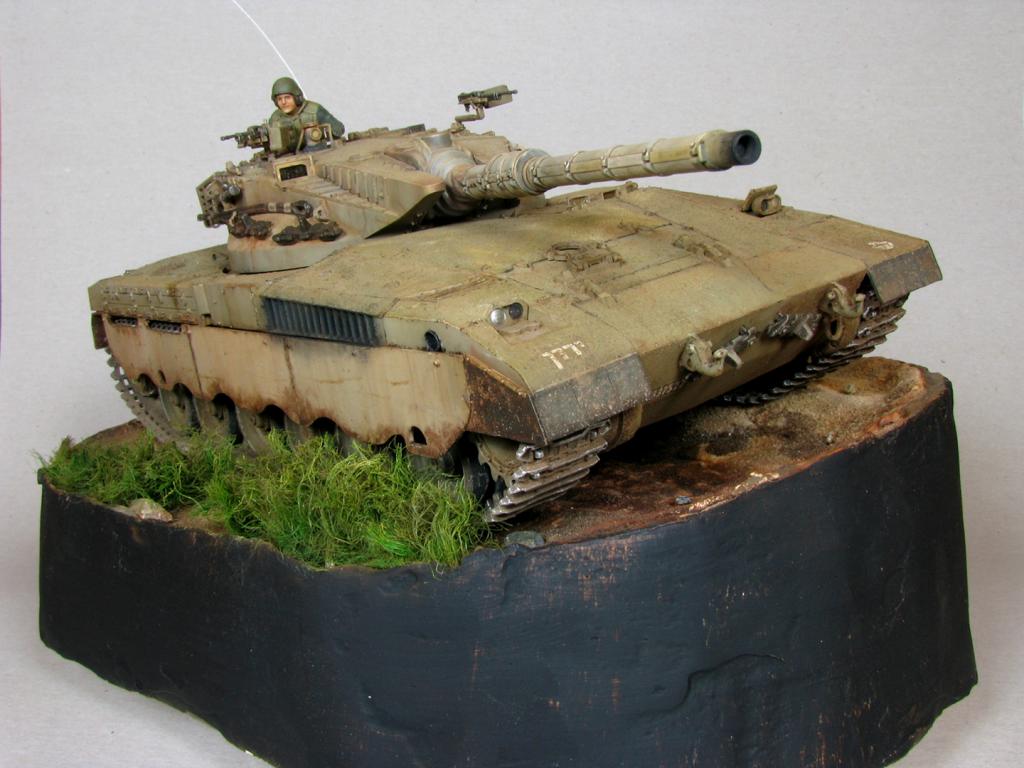
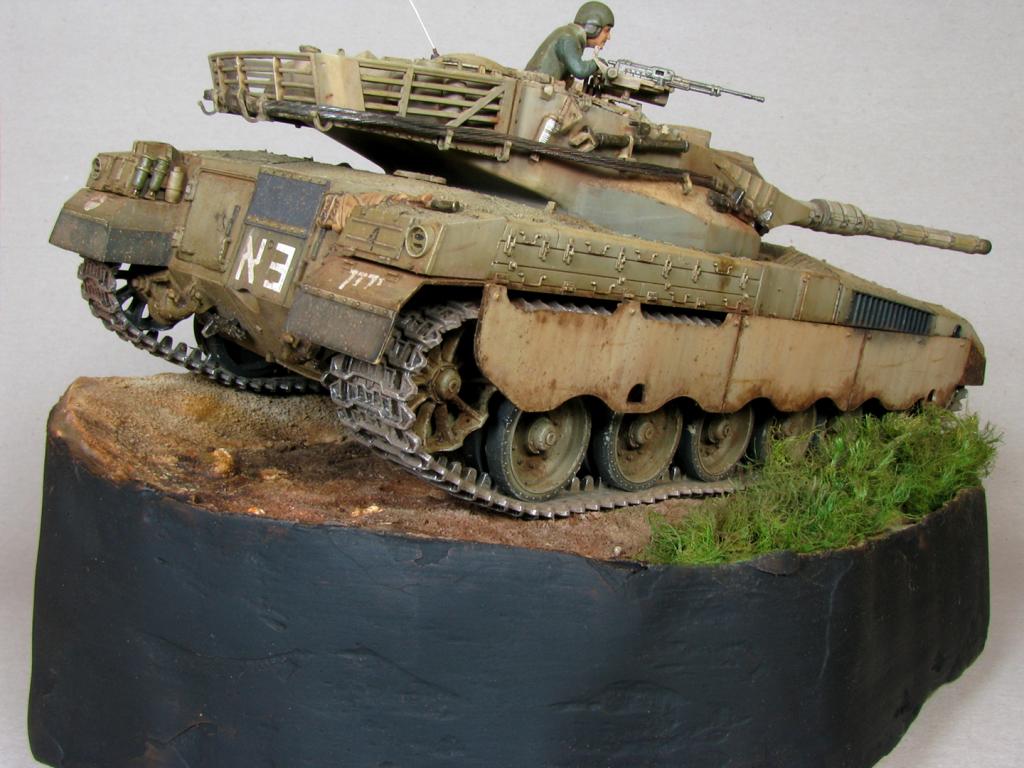
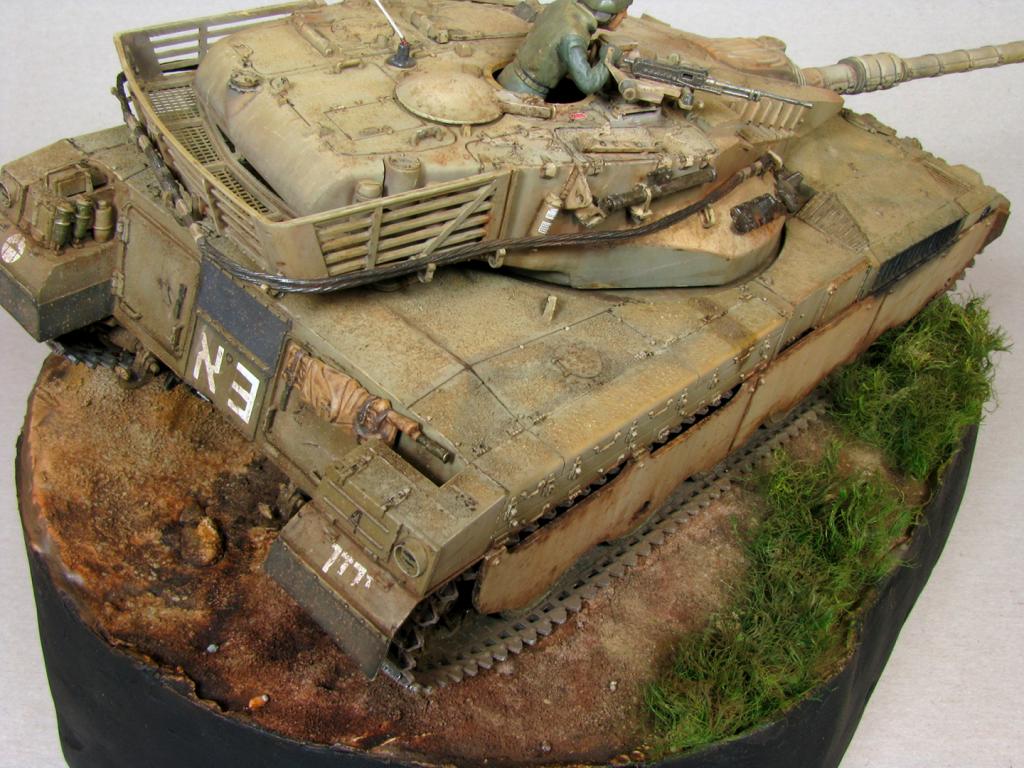
Hello folks, this is my very first post here and here's my 1/35 Tamiya Merkava I over vignette finished fresh. I joined the site about a week ago but this one was almost finished so i skipped the in-progress updates and here's the result. Enjoy.


Welcome to iModeler Murad. Your first post is a good one.
Nice work.
And a very nice first post, Murad ! Great tank and well presented 🙂
A very good rendition of an Israeli classic. Well done! Welcome to an awesome modeling forum!
Nicely done and photographed, Murad...I like it. Welcome to a site I'm sure you'll enjoy.
Thank you very much for the nice comments and welcome guys. 🙂
Nice finishes, Murad. Just curious - did Tamiya not provide the anti-RPG ball and chain sections that hang from the rear of the turret?
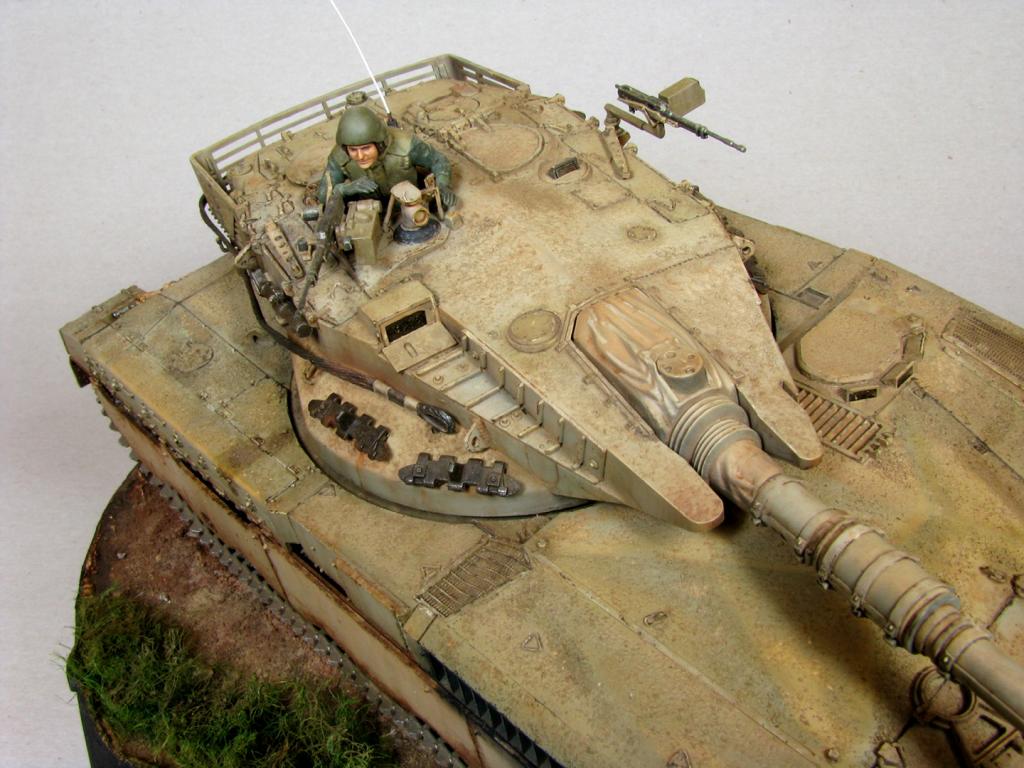
Otherwise, a nice vignette, and your commander figure is excellent.
Rob you are correct, there were NO anti rpg ball and chains for the bustle in the kit. However it's probably not an inaccuracy here, initial / early variant of the 1's didn't have these installed out of the factory - they were more of a field mod as the Lebanon operation progressed then became de facto, at least this is what the sources on the net insist on.
OK, thanks. I thought Tamiya had short-changed you!
A lovely tank for your first posting Marud.
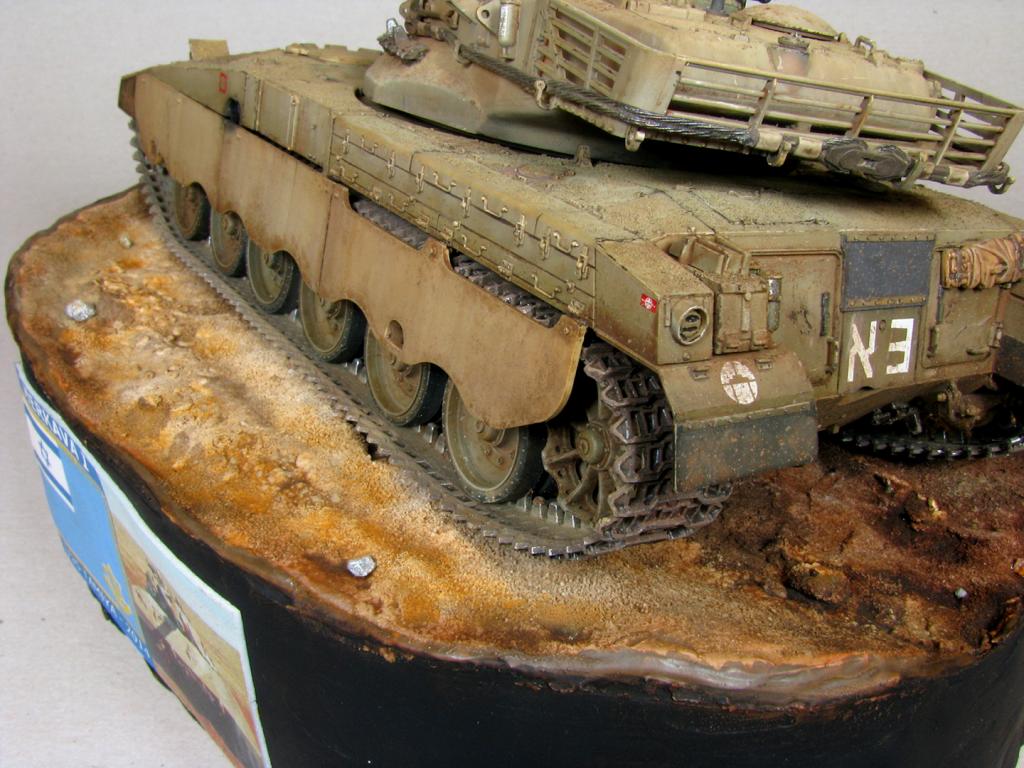
Nice base too.
Welcome to iModeler.
Excellent Merkava Marud. Welcome to iModeler.
Good first posting, Murad, more armour is always welcome, especially when it's as good as this.
Simon, Rick and George thank you all.
Great modeling Murad! I am looking forward to your future projects.
Really nice job.
California Steve
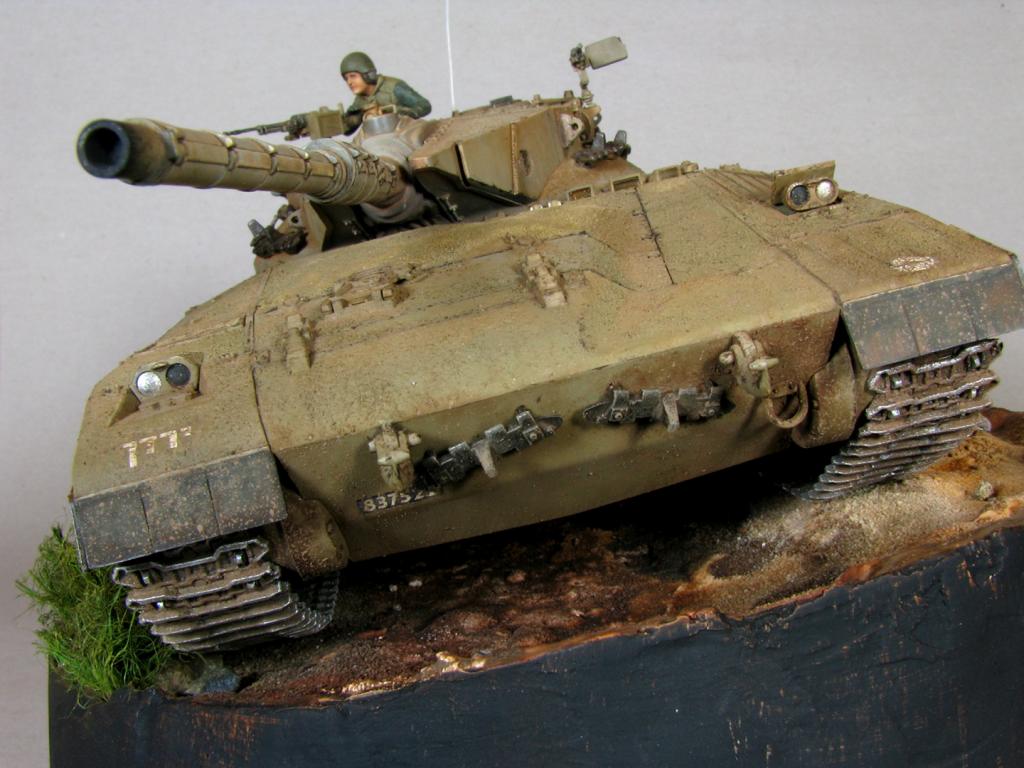
superb weathering
Very nice model of the nicest (imho) Merkava version. I love the display base too. Simple but effective.
Murad:
It looks real, which is the best result, in my opinion.
What did you use for the base? It sets the model off nicely, with the unusual shape.
Bernie
Bernie thanks! Base is built entirely from household materials, breakdown is as follows:
Blocks of packing foam (ikea furniture ones) added on top each other until the desired height then shaped into the oval shape with a long enough knife.
Top side is sanded with a very coarse sandpaper to give the angle.
Eventho the base was shaped it was still more or less angular so i wrapped it around loosely with cheap drawing paper fixed with pva glue then filled in the blanks in between paper and foam with pva again.
Surrounding paper is smeared with gypsum, which of course dried a bit harsh, which i sanded with 1200 and 2000 under running water and painted with oil paints.
With this way building and painting the trim, it's possible to achieve a faux wood look with grains and all like this one here: http://wp.me/p1kfV0-13z
Murad that s very impressive, especially the weathering. Wellcome to the board.
Steve Bob and Tolga, thank you very much folks.
That is an impressive debut! Fantastic weathered look there!
David and Richard, thank you guys!