Tiger Moth WIP – how I do my biplane rigging
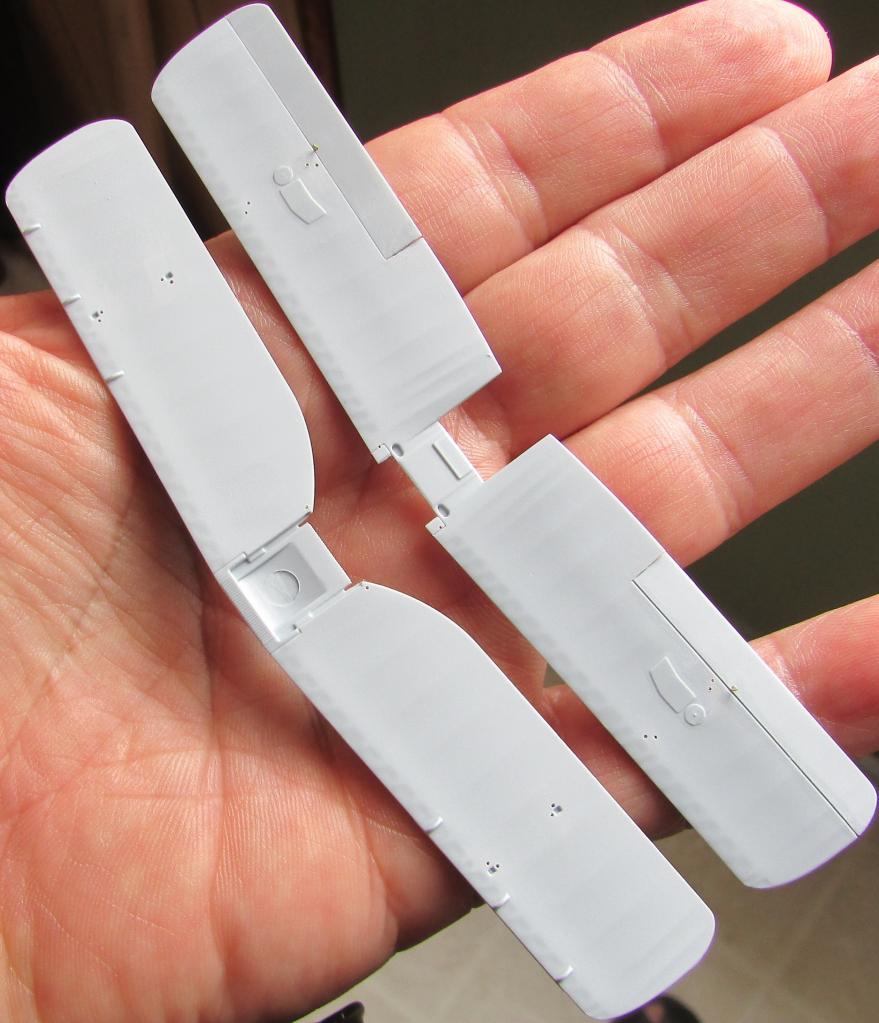
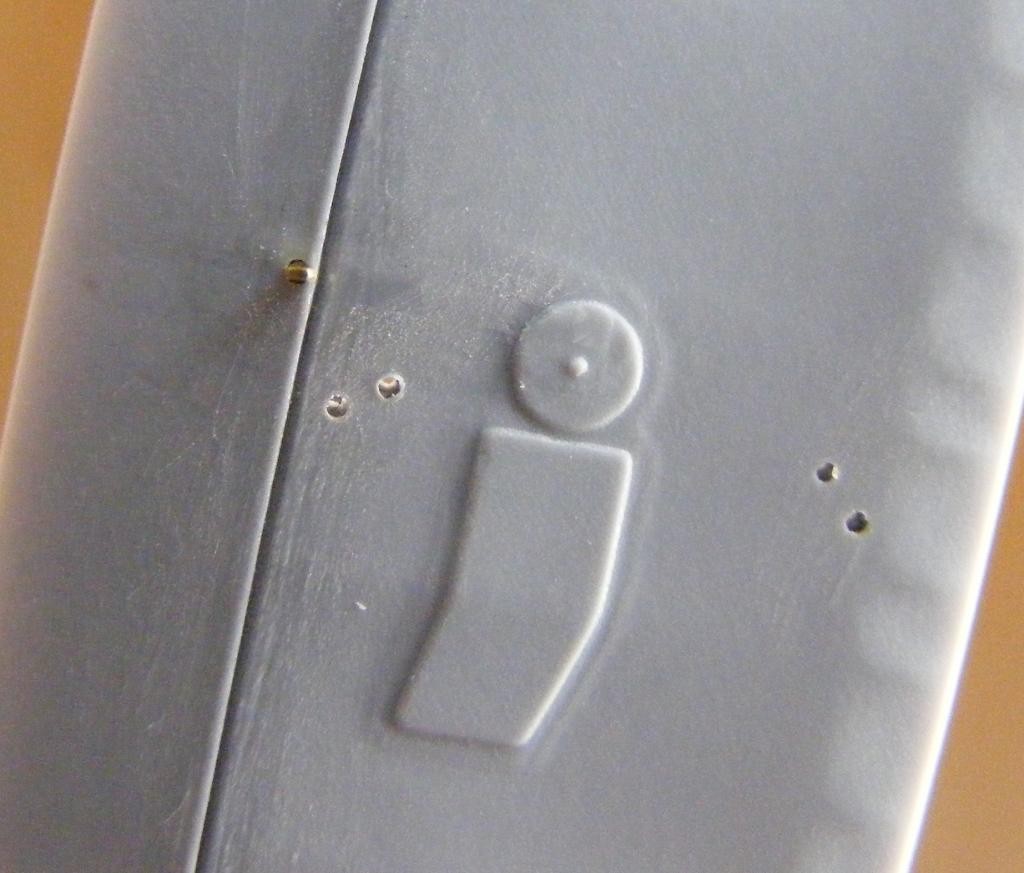
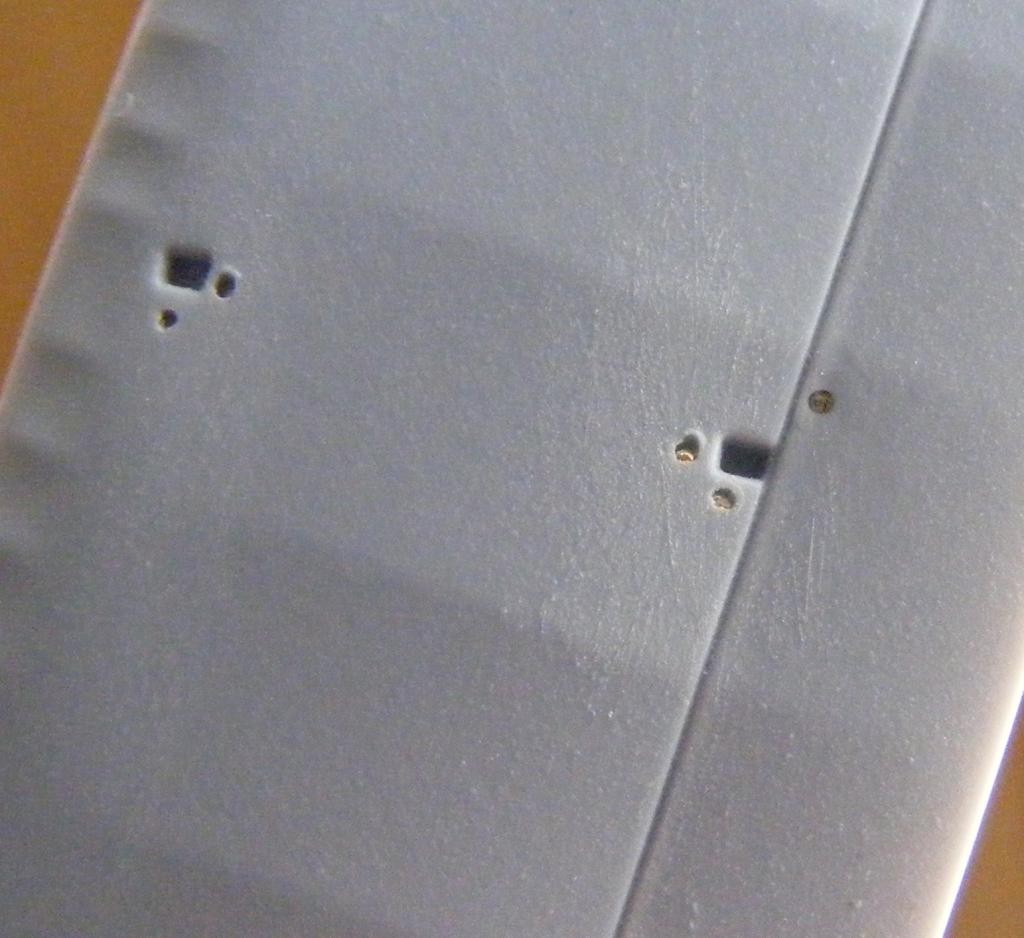
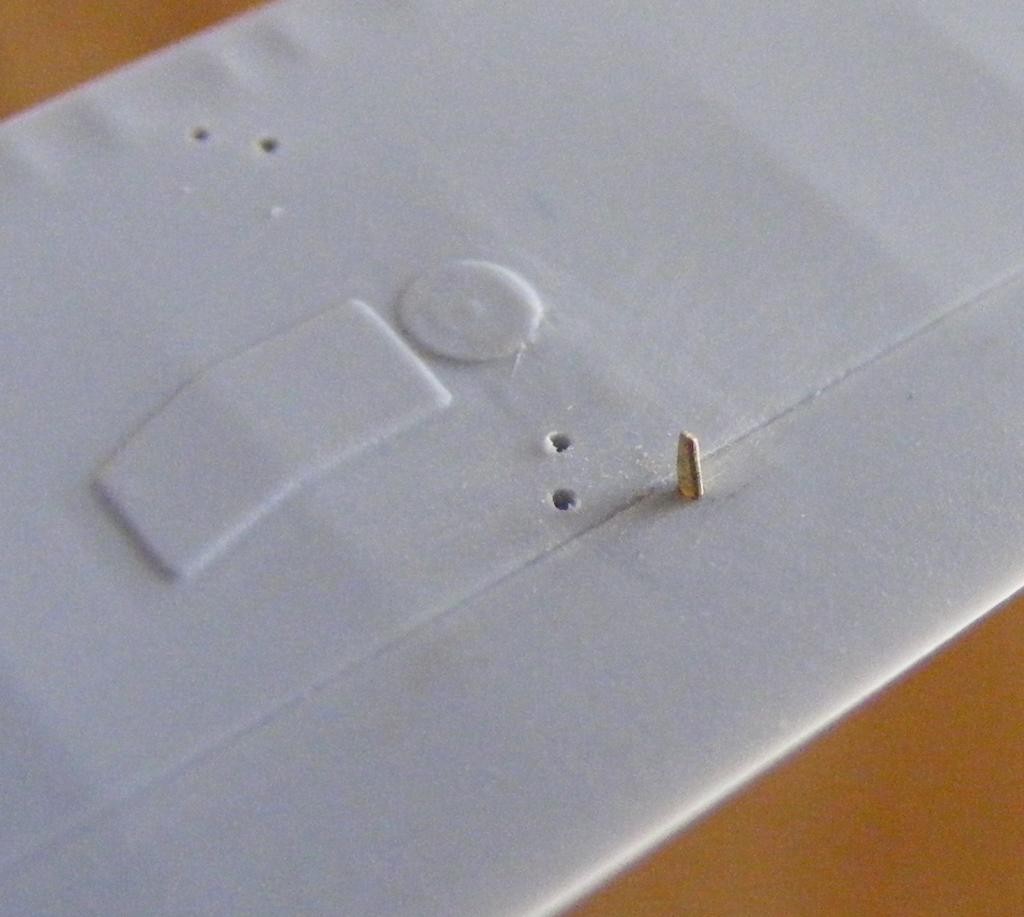
I hardly ever make work in progress photos, but someone asked how I do my by-plane rigging. This should clear things up a bit. It's a self developed method which I originally came up with to do antenna wires. I always use 2 or 3 lb mono filament fishing line. (.005 & .007") It's strong, stable, easily colored, and attaches well with CA glue. If I pre-color it, I usually use a black or silver Sharpie marker. The photos display the #80 (.0135') holes drilled through the upper and lower wings of my 1/72 scale AIRFIX Tiger Moth. The drill points are laid out using dividers, set up to pre-determined dimensions, similar to laying out points on a blue print. The drill points are then enlarged with a sewing needle. The holes are then carefully made with the drill held in a pin vise. The holes are then cleaned up and de-burred. I paint the wings on the inside surfaces that will be facing each other, after assembly, leaving the opposite sides clean. A dab of liquid mask on each hole on this clean side will keep the paint from filling the holes, or the drill can be passed through each hole after painting. I then pass the fishing line through the holes, leaving lots to work with. I then glue all lines in place on the clean side of one wing, usually the bottom one. It takes only a small drop of CA glue to secure each line, applied with a tooth pic. The 13 thou holes leave plenty of clearance to pass the fishing line through, even doubled, and to allow the CA glue to seep in. It will usually fill the holes completely. The free ends of the line and most of the excess CA glue can be trimmed off with a sharp curved edge blade. This is best done within about 10 min. The CA glue will be cured but still a bit soft, and can easily be cut nearly flush with the plastic surface. Sanding with 600 grit paper will clan up what is left. Once painted, the attachment points are undetectable. Allow an additional 10 min. for the CA glue to set up completely.To set and tension the lines is more involved and is more time consuming. I support the model and attach small spring clamps to the lines to act as weights. Several can be attached to each line, to get correct tension. Note that this part of the process has to be done in sets, such as the cross lines between the struts, or the laterals, etc. This will prevent distortion of the wings in relation to each other. The gluing and trimming process it the same. It just takes longer, since they can't be done all at once. When finished, the wings can be edge masked and finished as necessary. Support lines on landing gear struts, etc can be done as well using this method.
A true "labor of love", Phil (albeit labor "intensive"). Keep those WIP coming. 🙂
Thanks Graig ! I've retired, so I've got plenty of time.
Thank you for this interesting method, Phil.
Do you know EZ line (elastic polymer) ? It's an easy way for rigging planes and other models. There is no tension problems after built.
I don't really paint it, but it seems possible.
Look here : http://www.berkshirejunction.com/ezline.html
This product is too big for 1/72 scale.
Phil I use fishing line myself 3lb b.s.
No kiddin' ?! Rum drinker ?
NO mate J.D.
This product becomes very thin when it is stretched. But i confess it's not as thin as .005" fish line and fits surely better with 1/48 and bigger scales.
I'm sure it's great stuff !
As a side note: I was Gooleing the subject, and found a site called Rigging WW 1 Model Aircraft which is interesting.
Thank you for information, Phil.
You guys are crazy!
The Wife said the same thing !