Republic P-47D "I Wanted Wings/ Stalag Luft III/ Button Nose" in 1/32nd Scale

It's been over a year since my first few posts so I have some catching up to do! We moved to a new larger home so I have a much more roomy hobby room, and as a result I can build a bit faster.
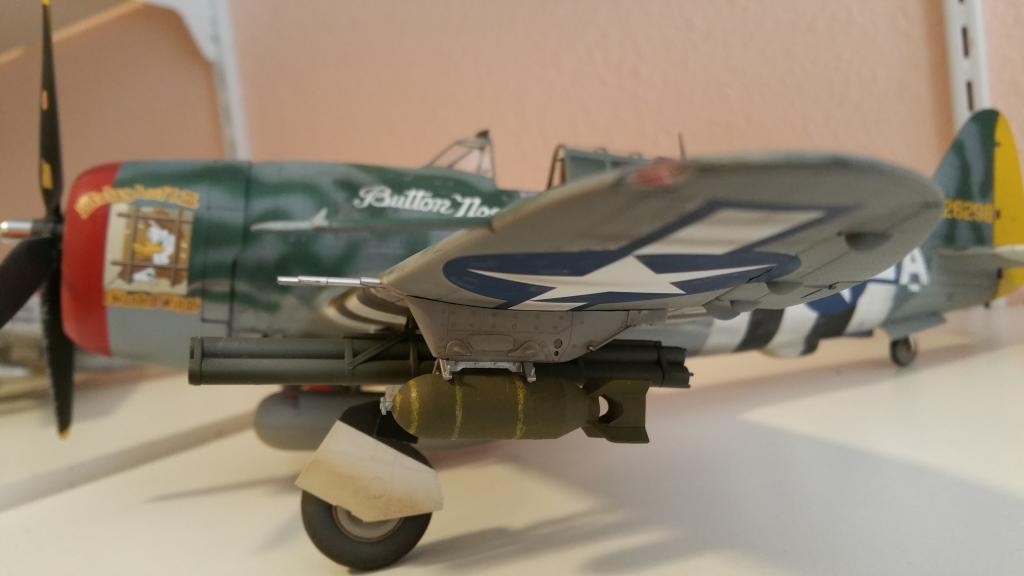
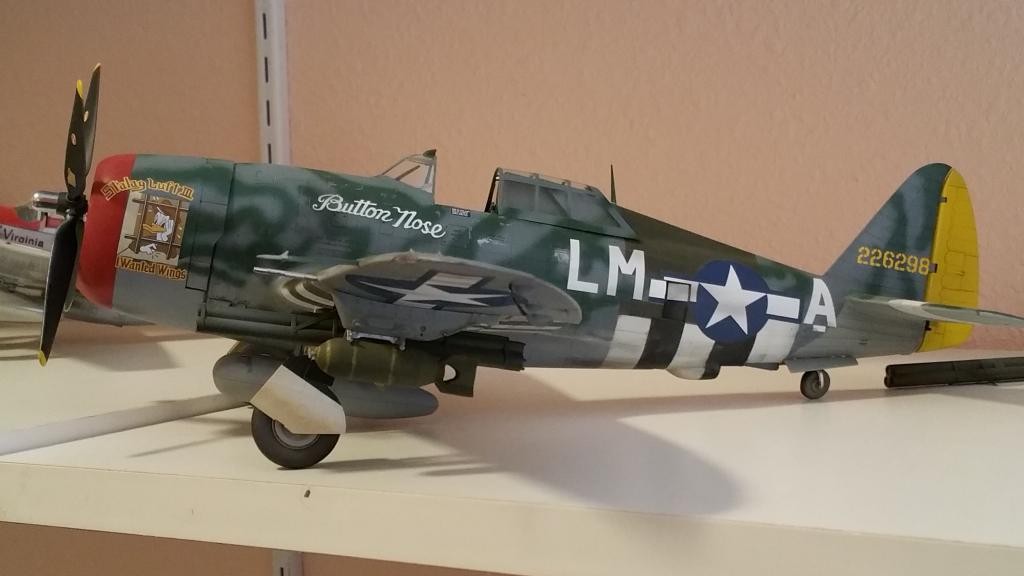
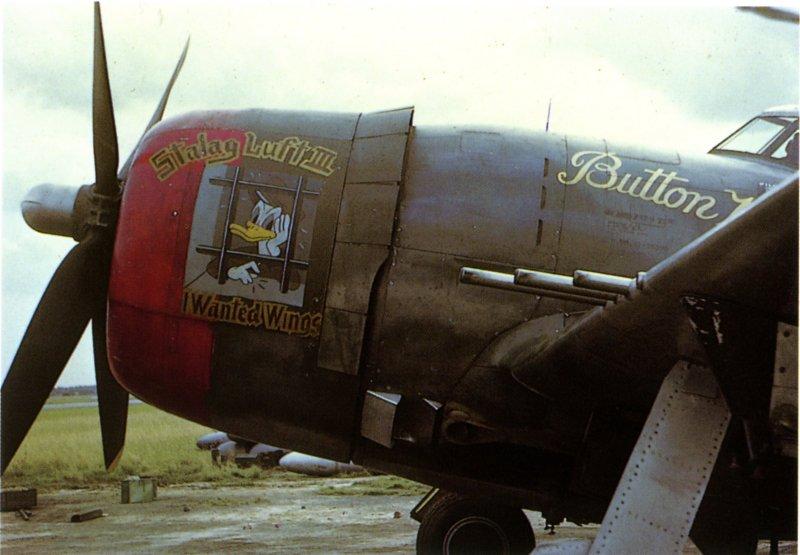
This is Trumpeter's 1/32nd P-47 Razorback in the markings of 1st Lt, Albert Knafelz, a member of the crack 56th FG, 62nd FS out of Boxted England during July of 1944. Lt. Knafelz had one ariel victory during the war, a Bf-109 over France. Although the 56th was primarily a fighter escort group, during the invasion of France the group was very active in blowing up just about everything with a black cross on it, a task well-suited for the big, beefy robust P-47. Many a german ground formation would scatter in terror at the call of "Achtung JaBo!"
The Trumpeter kit is actually one of their better kits, very well detailed, dimensionally accurate and includes the entire quiver of armament this beast could carry. The only bugger in my opinion is the inclusion of the entire air induction/compression/exhaust system, none of which can be seen and which interferes with the fuse fit, the grossly oversized Ham/Stan prop hub and the wholly inaccurate wheels, which I don't understand how the heck they could get wrong given the vast amount of documentation and available examples of the real bird to get correct...and is relatively easy to solve.
On with the build!
This kit built pretty fast and is relatively straitforward. While building the induction system and test fitting I found that parts Q32 and 33 and the entire turbo assembly could be omitted as none of it can be seen at all and the parts interfered with the fit of the fuse halves. The same holds true for the accessory equipment that mounts to the firewall, unless of course you want to open up that section of the forward fuse to view. The engine is an excellent representation of the Heart of the Beast, the Mighty Pratt & Whitney R-2800-59, and will reward careful detailing. I added some spark plug wiring. Pay close attention to the engine assembly instuctions and fit twice before glueing, especially the exhaust pipe routing, as these parts fit into the firewall to support the motor assembly in place.
With the motor done I started on the cockpit, painted with MM medium green darkened with a little black to represent Republic's dark green cockpit shade, and picked out the details with Tamiya paints. The instrument panel is Trumpy's usual sandwich that builds up well and looks the part. With the cockpit done, the two halves are joined and now we are looking like a Jug! I had decided early in the build to close up the wings so I built the gun receivers and cemented them in place but left off the gun barrels and left out the gunbelts. The hatches were very carefully fitted and glued in, but the ledges that the covers would sit on are molded lower than they should be so a shim was inserted to bring the covers level with the wing upper surfaces. The wheel wells and wing spar were painted with Testor's Chromate yellow in the little bottle, its old as the hills but still in my opinion the best representation of that color short of mixing it yourself.
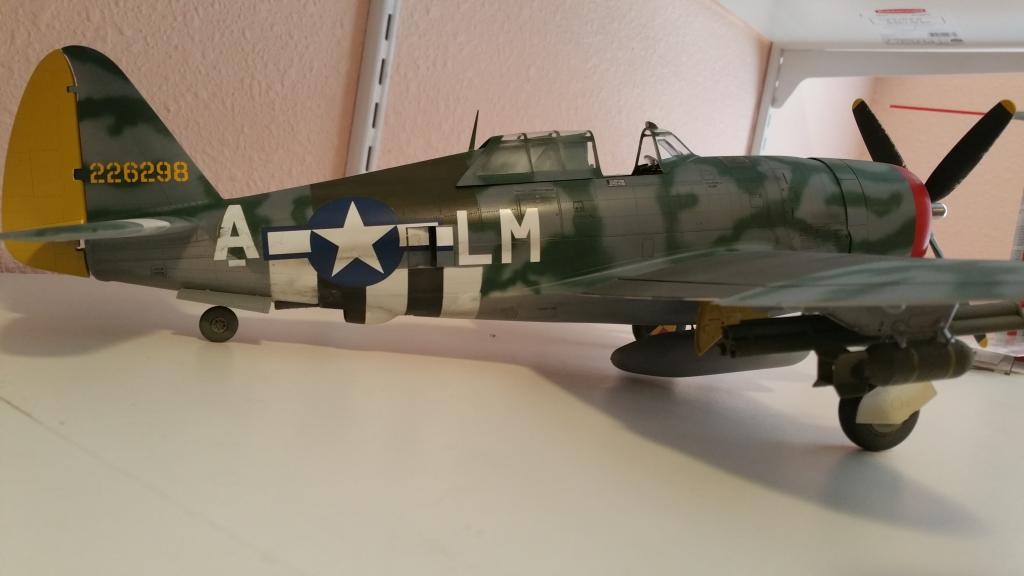
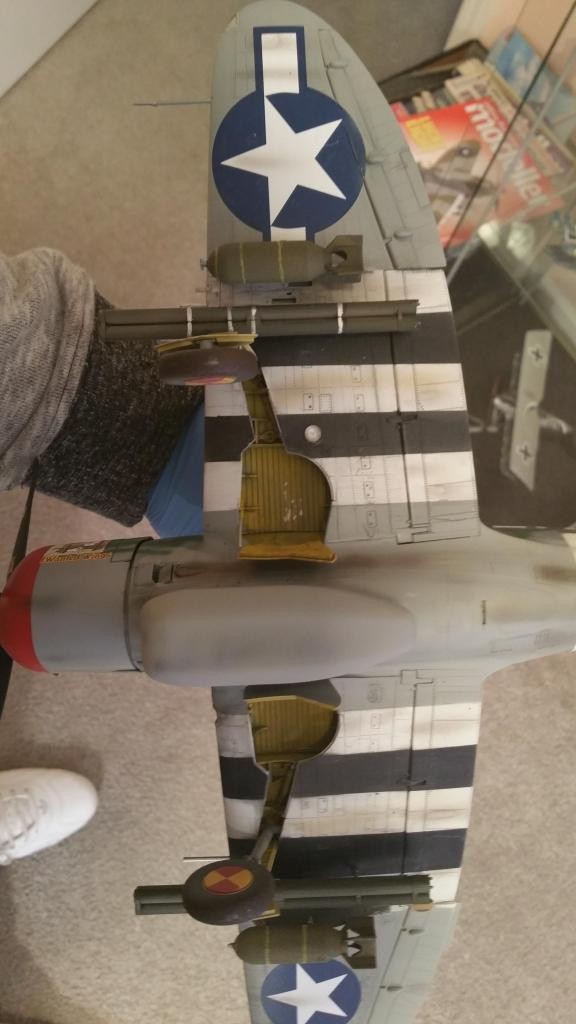
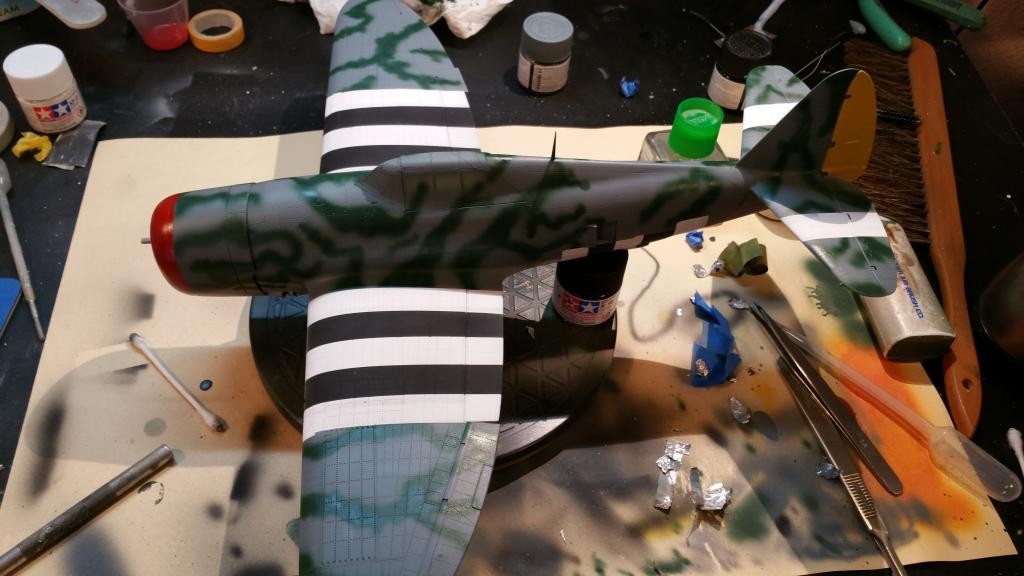
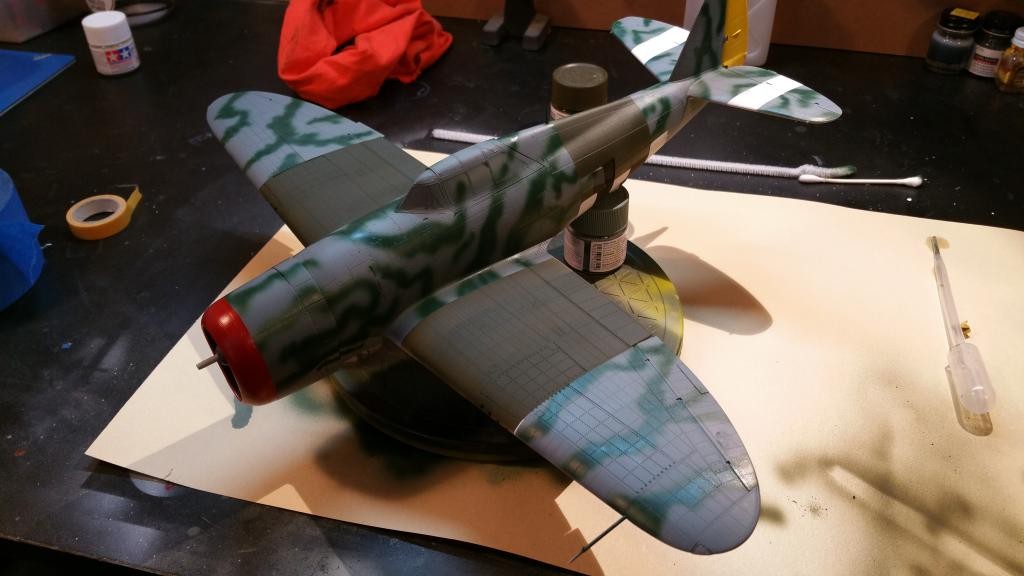
With the base assembly about done comes the fun part...painting and decals! The 56th made extensive use of RAF paints to camoflage their Jugs and the 62nd in particular. I prefer to use Tamiya's acrylic paints as I can spray them in the house and the fumes are minimal at best, and I can clean and change colors faster. For this bird I used Tamiya's british colors, RAF Ocean Grey and Dark Green for the upper surfaces and medium sea grey for the lower surfaces. First the red nose was sprayed and masked, then the black and white invasion stripes were applied on both the upper and lower surfaces of the wing and the lower fuse then masked off. Next the medium grey below and the ocean gray above, then the disruptive Dark green camoflage, sprayed freehand at low pressure to better simulate the soft-edge almost wispy edges. After the masking was removed the upper wing and fuse stripes were masked and sprayed with Olive drab, just enough to allow a hint of the stripes to show through. Finally a couple of coats of Pledge Floor Care (Future) was sprayed on and we are now ready for the decals!
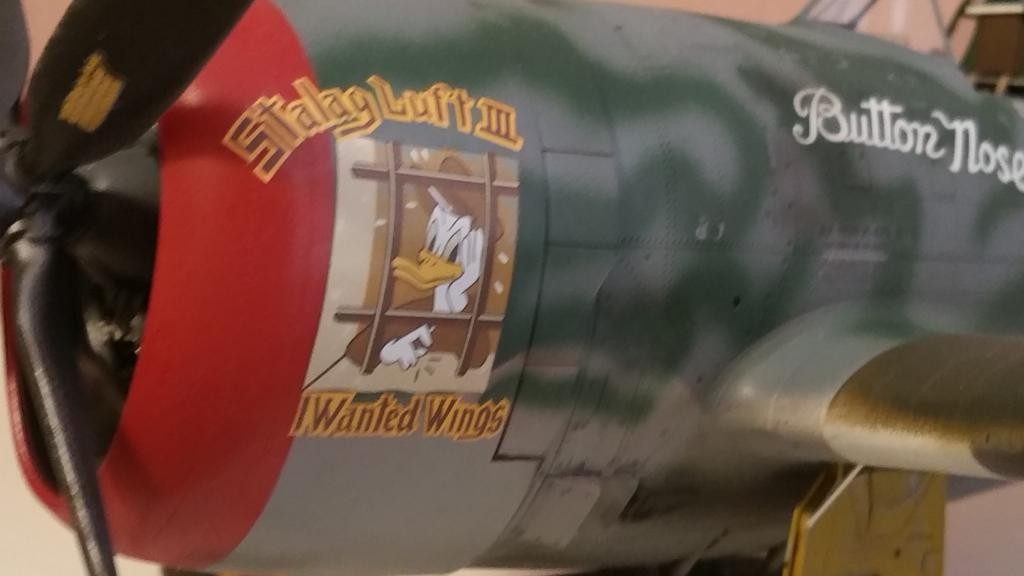
The decals I used are from Kits World KW132065 with 2 Razorbacks from the 56th, Stalag Luft III and Triss, an OD/NG camoflaged bird. These decals are beautifully printed and have great color density. I did have to source the wing and fuse stars and bars from a Microscale sheet, however. After the decals came the flat coat, I used a mix of Future mixed with about 40% Tamiya flat base, experiment with this mix as your mileage may vary...
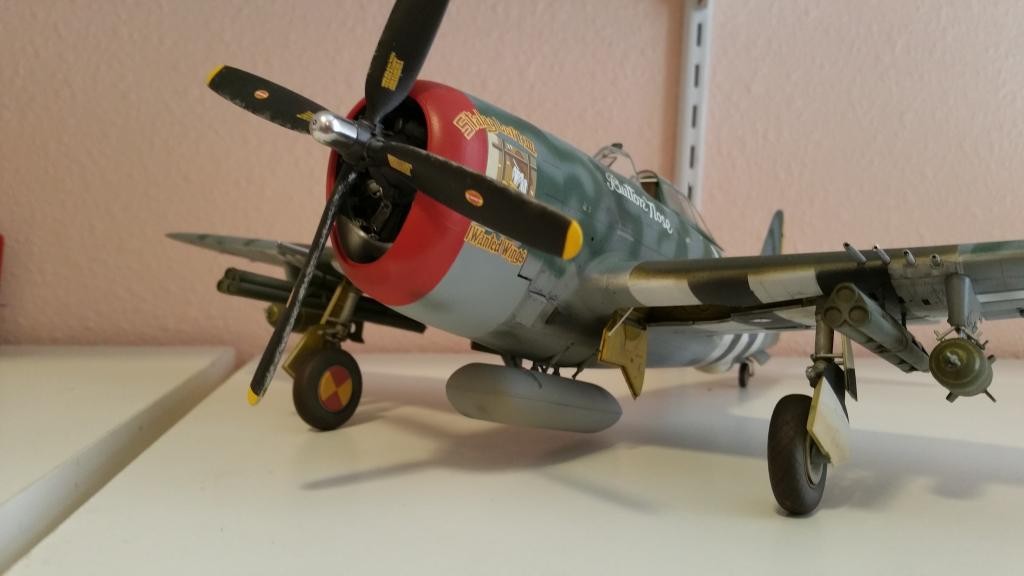
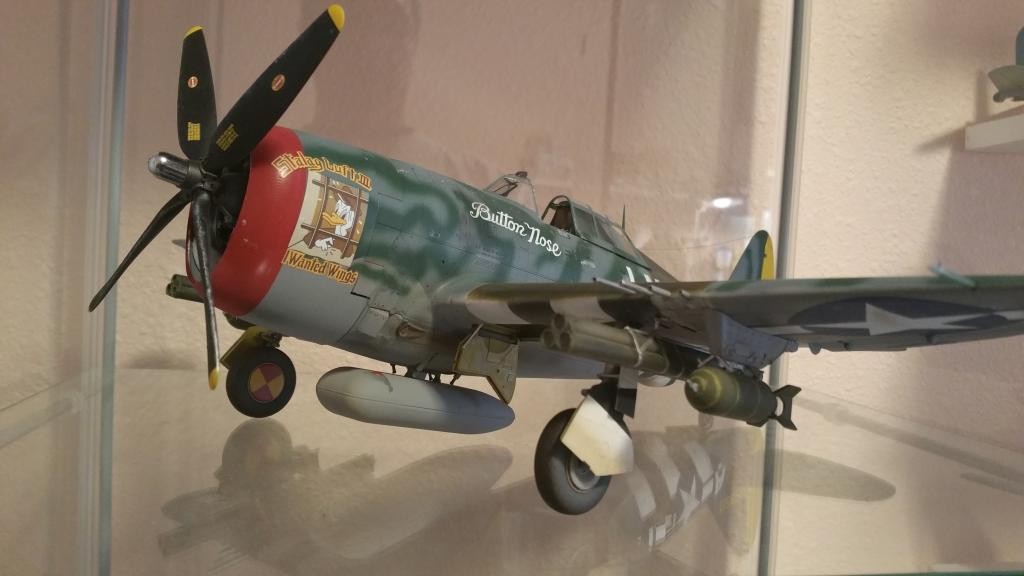
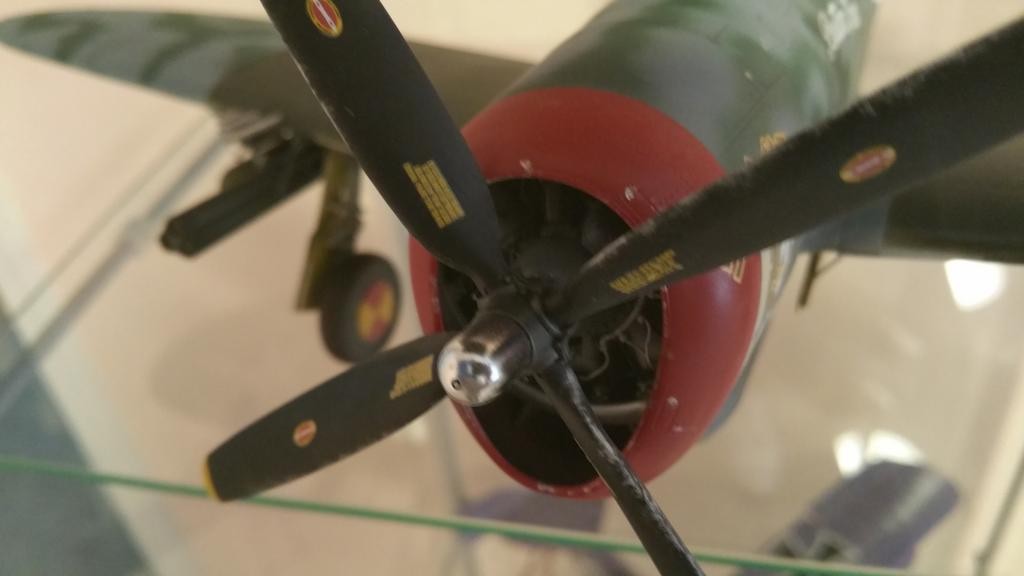
Almost there! After seeing the sheer size of this kit built up I decided to use SAC's metal landing gear for strength and Baracudacals resin wheels to replace the grossly wrong kit wheels. After I got the new resin wheels I found that they couldn't easily be used without carefully redrilling the mounting holes to fit the SAC gear...Ah but I do have Hasegawa's P-47 in my stash...maybe? Sure enough after a trail fit the Hase wheels are a press-fit to the SAC gear so after painting and finishing the wheels ( the hubs most likely were Not painted as depicted on my model...but I found a few photos of this bird with and without hubcaps, and it looks cool! 🙂 I was back in business! I can use the resin wheels on the kit they were designed for, the Hase P-47. Finally what to do about the prop? The Trumpy prop hub is 3 times the size it should be, so I stole the hase prop, drilled out the back to accept the Trumpy spline, painted and decaled and added to the bird and I am oh so close! I painted the hub with Aclad"s polished aluminum over a base coat of gloss black and I can see myself!
I used a sludge wash overall and highlighted some of the panel lines with AK aircraft washes. I weather as I go along by lightening and darkening the base camo colors and mottling them in random patterns on the base coat. Combined with Tamya Smoke and a very thin mix of black and red brown I gave the underside a pretty heavy going-over.
Finally, the quiver; I used the 250 pound bombs and stippled a coat of Mr Surfacer 500 on each, painted a weathered OD green and marked with a yellow prismacolor pencil. The bazooka tubes are from the kit, although they were not used extensively due to accuracy issues, and the "pamcake" drop tank. I added some chipping here and there and a brass wire aerial and Button Nose is complete.
I really enjoyed this kit, and I am very pleased with the result as well. It has more detail than it really needs in my opinion but the those seriously afflicted with AMS can really go to town on this one! I have the P-47N as well and as soon as Somebody gets around to releasing a decent set of P-47N wheels I will ad that one to my collection too!


An excellent build review and an even better assortment of photos. Nice to see you back on the forum and look forward to more posts.
AND...for what it's worth, I've always been partial to the razorback version over the bubbletop. Dunno why, it just LOOKS more the 'part'.
Thanx for the comments! I wrote this article in the hope it would help others contemplating building this kit, and I wanted to present a colorful P-47 in colors other than nm or od ...
very cool scheme...great model
Juan is an old friend and a superb modeler. I've seen this build up close and it is very bit as nice as the pictures show. You're in for a treat when he posts more of his work, I believe you'll find it just as outstanding.
Aw shucks Rick...you should show more of your stuff!
Very nice build and well written article. The Jug is big in 1/48 can't image 1/32, is this your preferred scale?
Yes as far as most single engine aircraft is concerned. I like to build big though, like a Gato class sub or a Type IX uboot. Thanx for the comment!
Great looking Jug!
Great work, Juan, let's see some more!