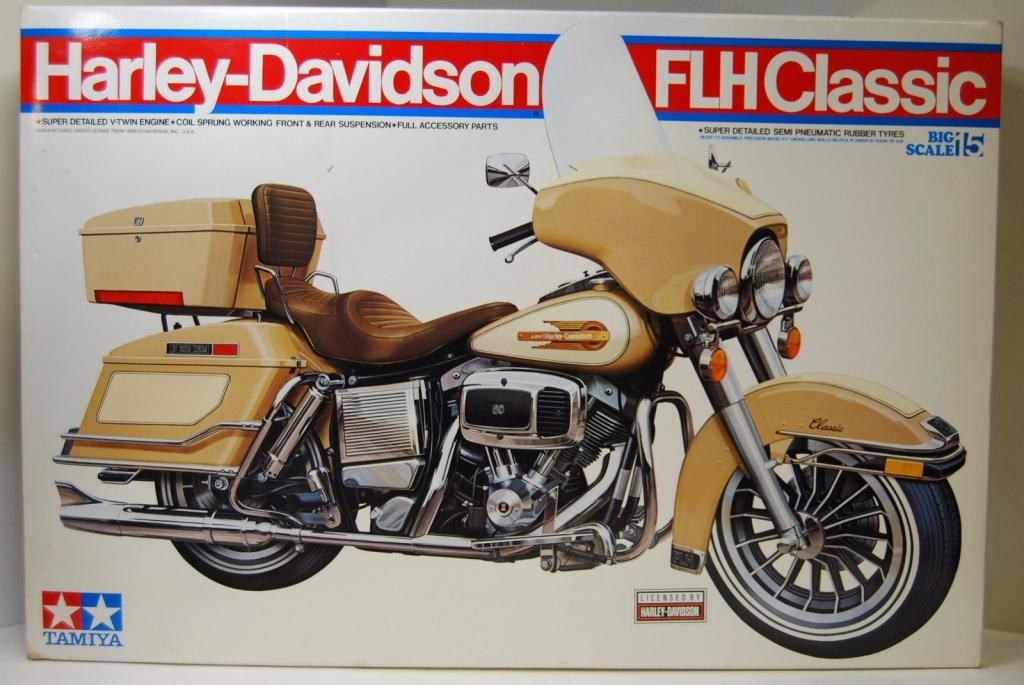
Tamiya 1/6 Harley-Davidson FLH Classic ((SKULL BIKE))
This is next up for the workbench. REALLY looking forward to doing this large-scale build. If anyone has any tips or suggestions please feel free to leave them in the comments or send me a message,
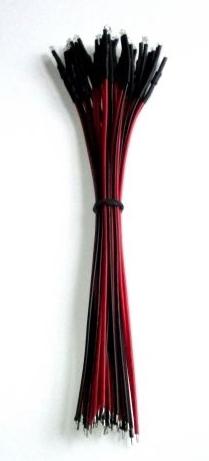
I have also ordered these 1.8mm LED's to light this 1/6 scale bike. I am hoping to do the head, tail and turn signals on this one.
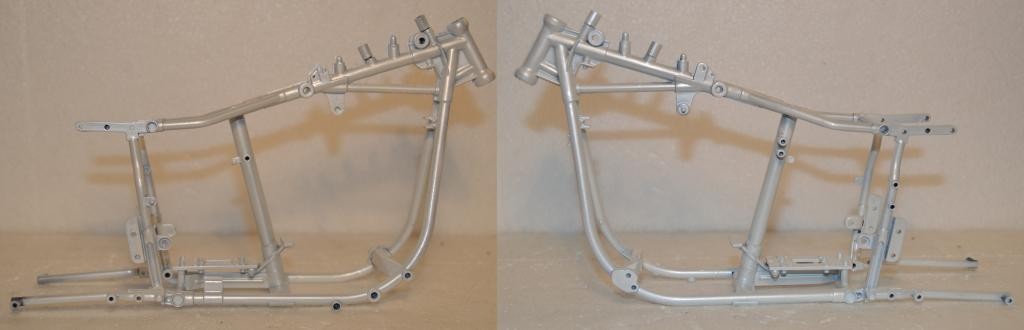
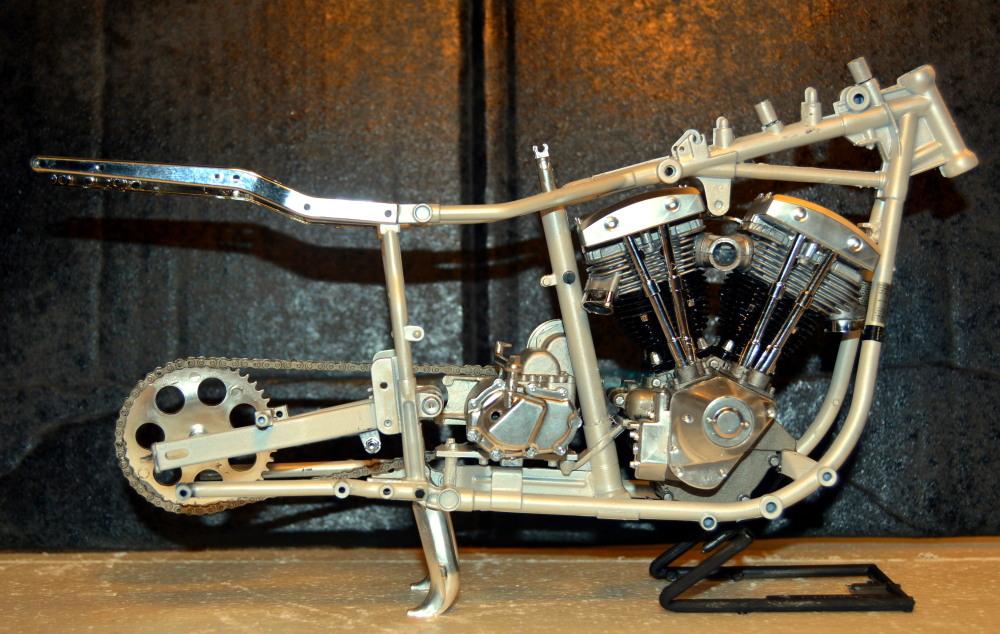
Well, this one has finally arrived. Managed to get started on it and I must say that I am impressed with what appears to be a massive amount of detail. Inventoried all the parts just to make sure. Then I got started on the initial building. So far just the frame is being worked on and it is FAR from complete. I am going with a Pearl White so I am having to do things a bit different. This was first shot with a primer of Flat White and then four coats of the Pearl White.
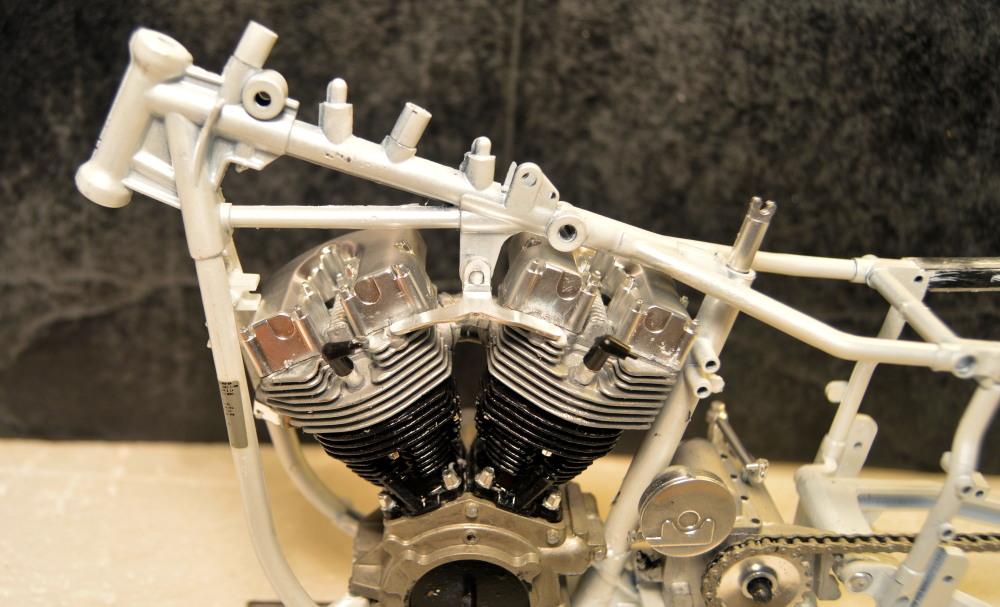
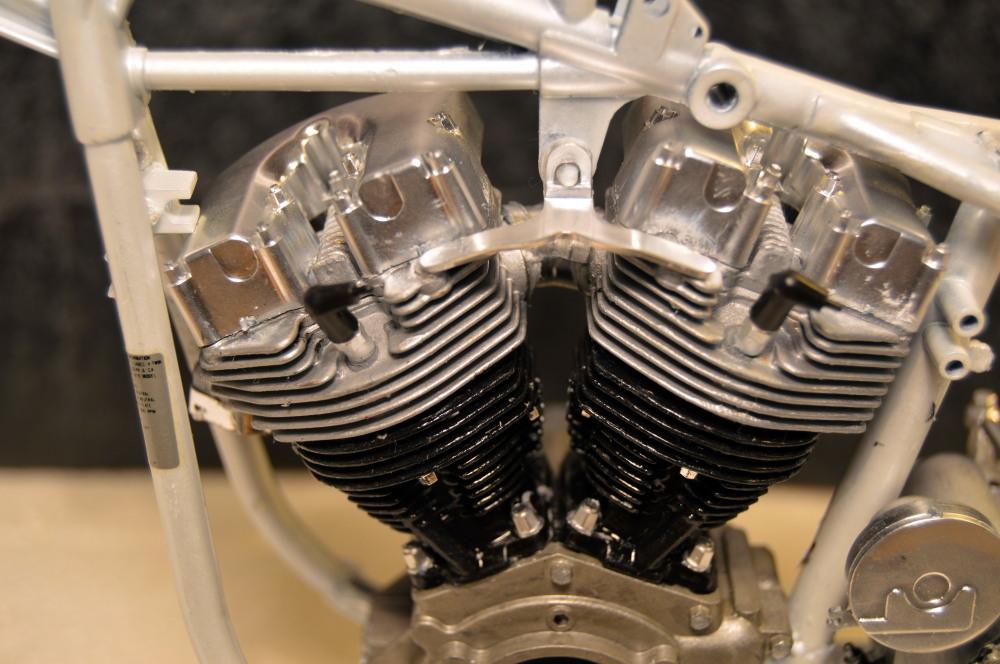
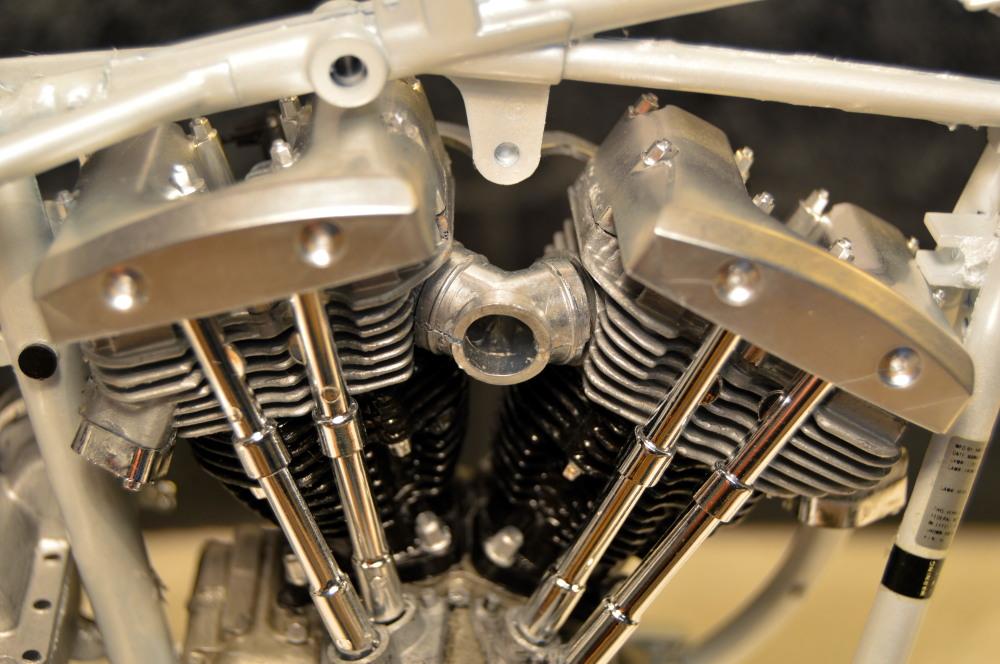
Some in-progress engine work...
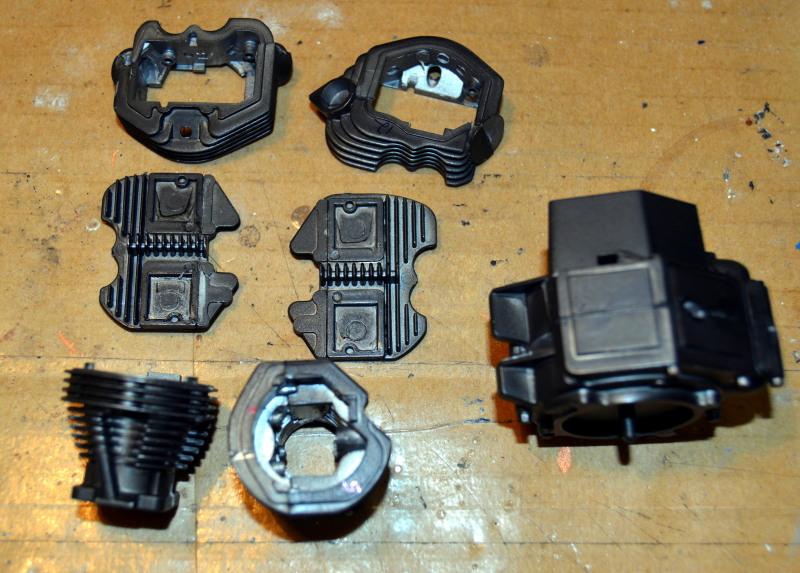

My first thought was to try and go with a bit of a custom paint job. So I went with an aluminum base color with some gold accents. Unfortunately, this didn't work out quite the way I had planned...

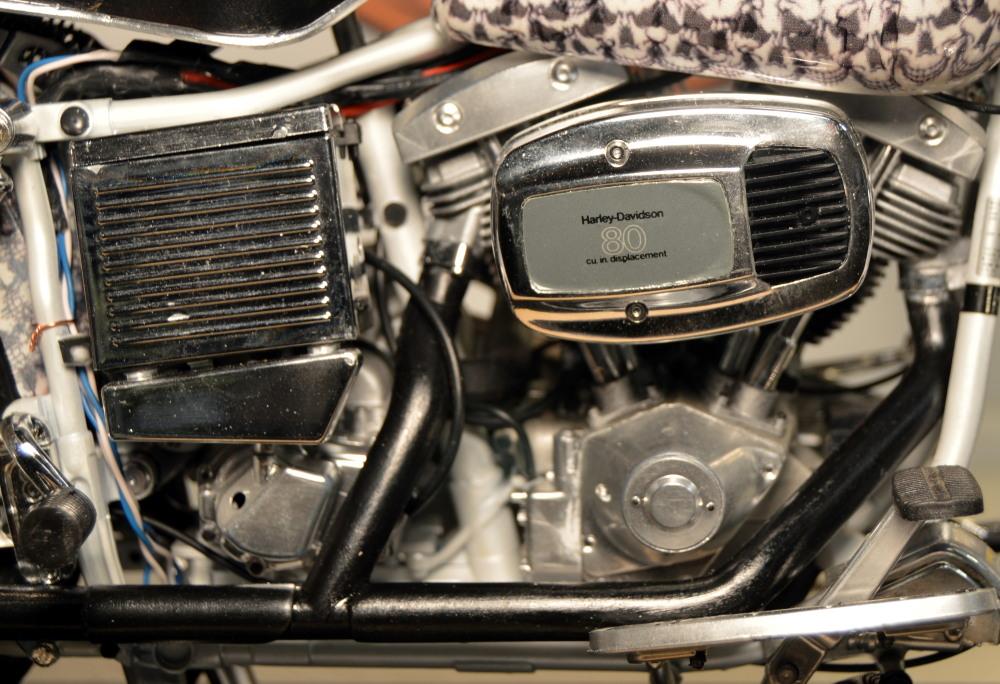
So I changed it back to a bit more realistic color for the Shovelhead engine. I believe that it looks much, MUCH better this way.

And here is what I call a "show shot" of the engine.

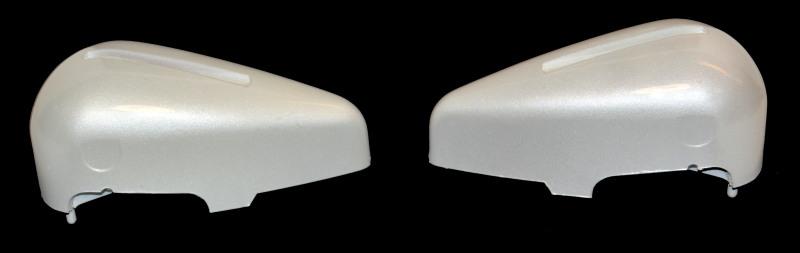
This is the first coat of color for the body parts. This is the reason that the frame pictured above is done in Pearl White. Once again, this is a primer coat of Flat White with a top coat of the Pearl White.
Engine has been mounted into the frame. Only a few VERY minor fitting issues. Nothing that was all the much of a big deal.


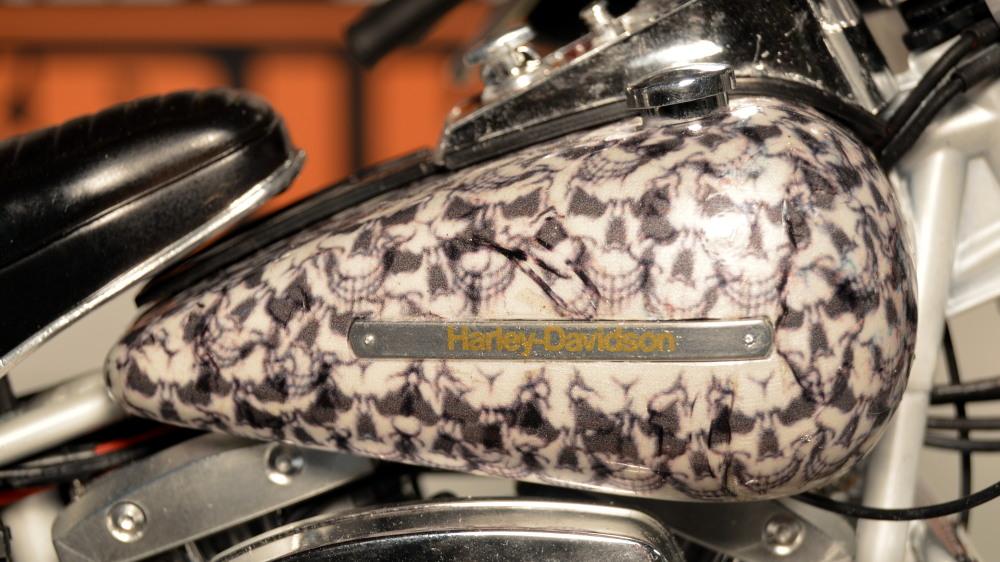
I decided to go quite a bit different with the color and decal scheme on this one. I did away with that baby-poop brown color, sprayed a base coat of a flat white and followed that with a pearl white. The skull decals are home-made temporary tattoos that work extremely well...
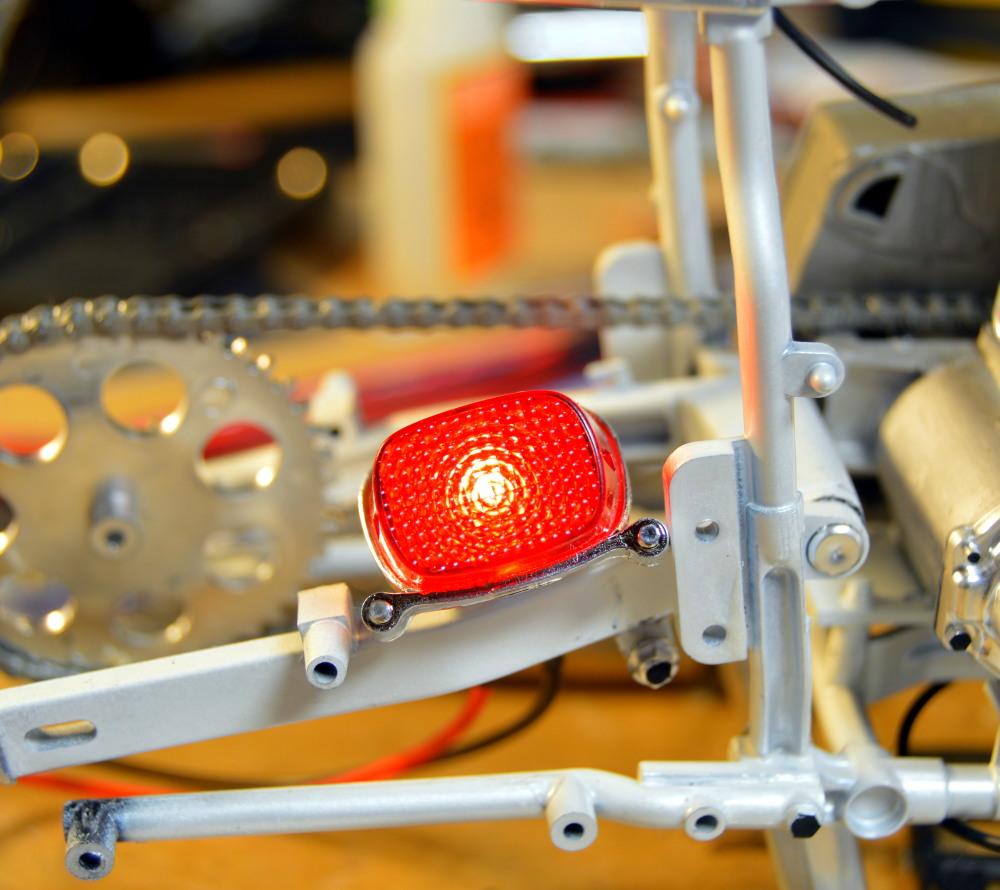
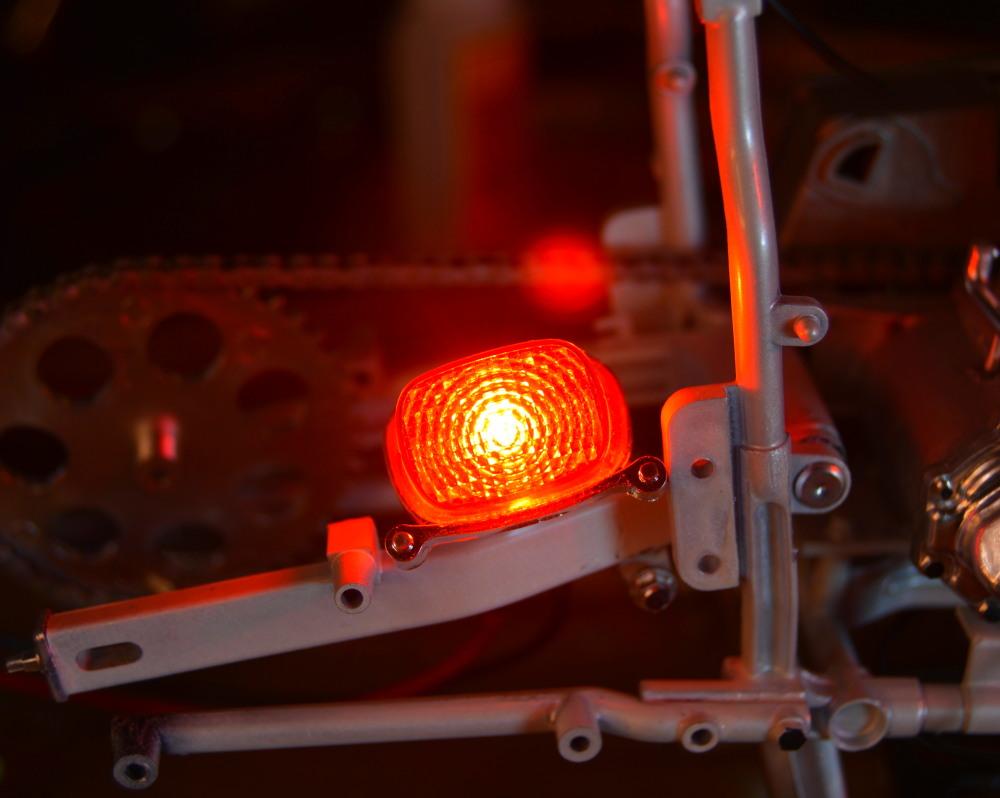
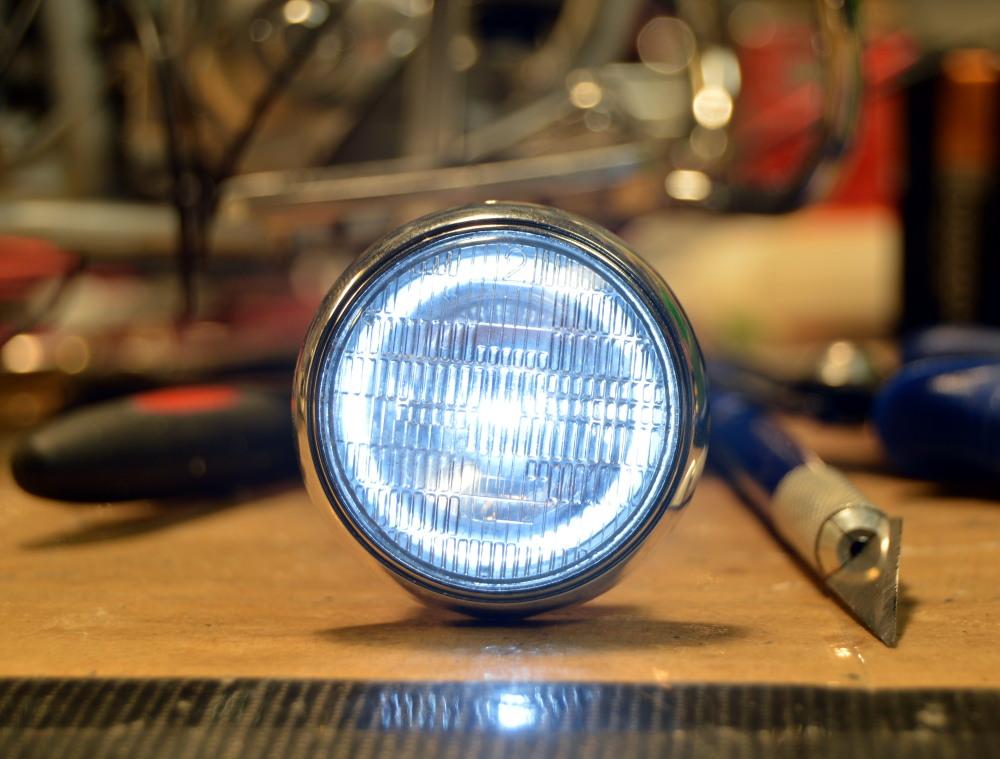
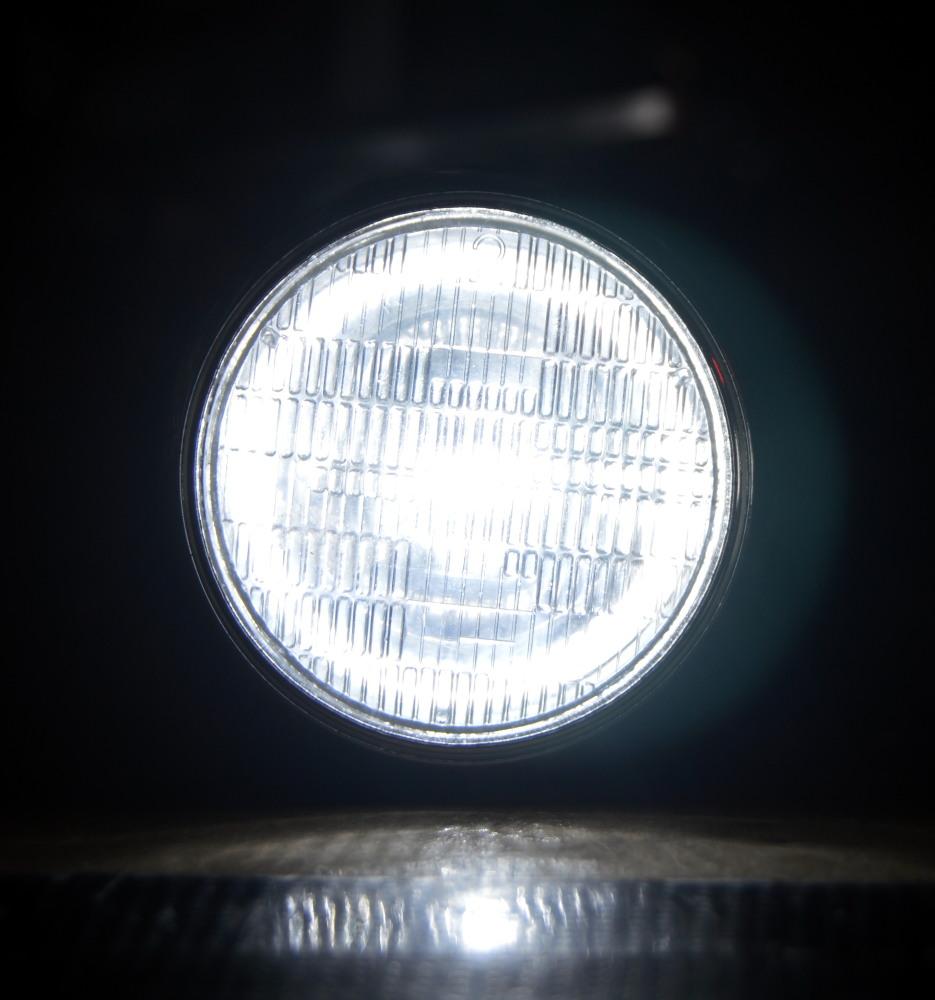
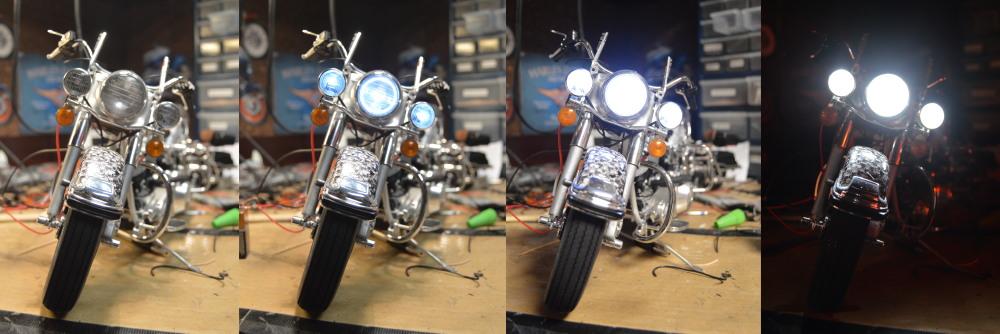
Since I am lighting this one these are the test runs of the head and tail lights. These are 1.8mm LED's that seem to fit well and provide enough light without being overpowering.
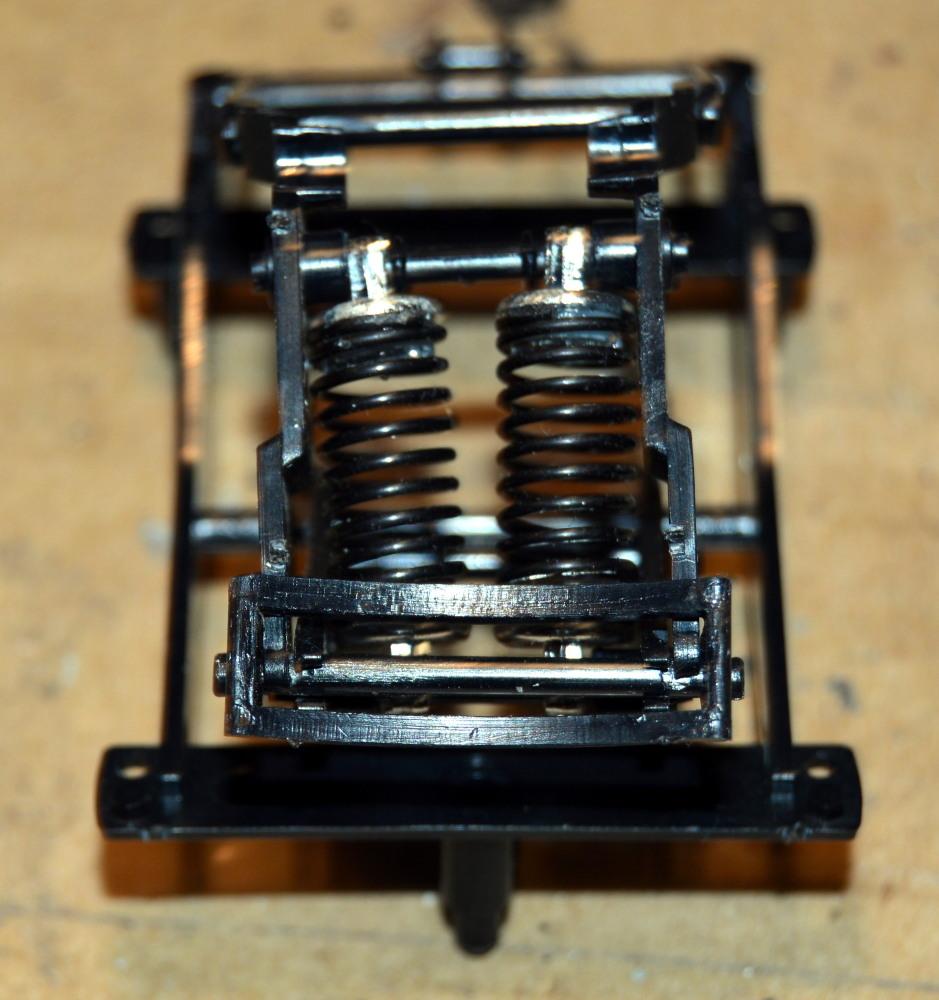
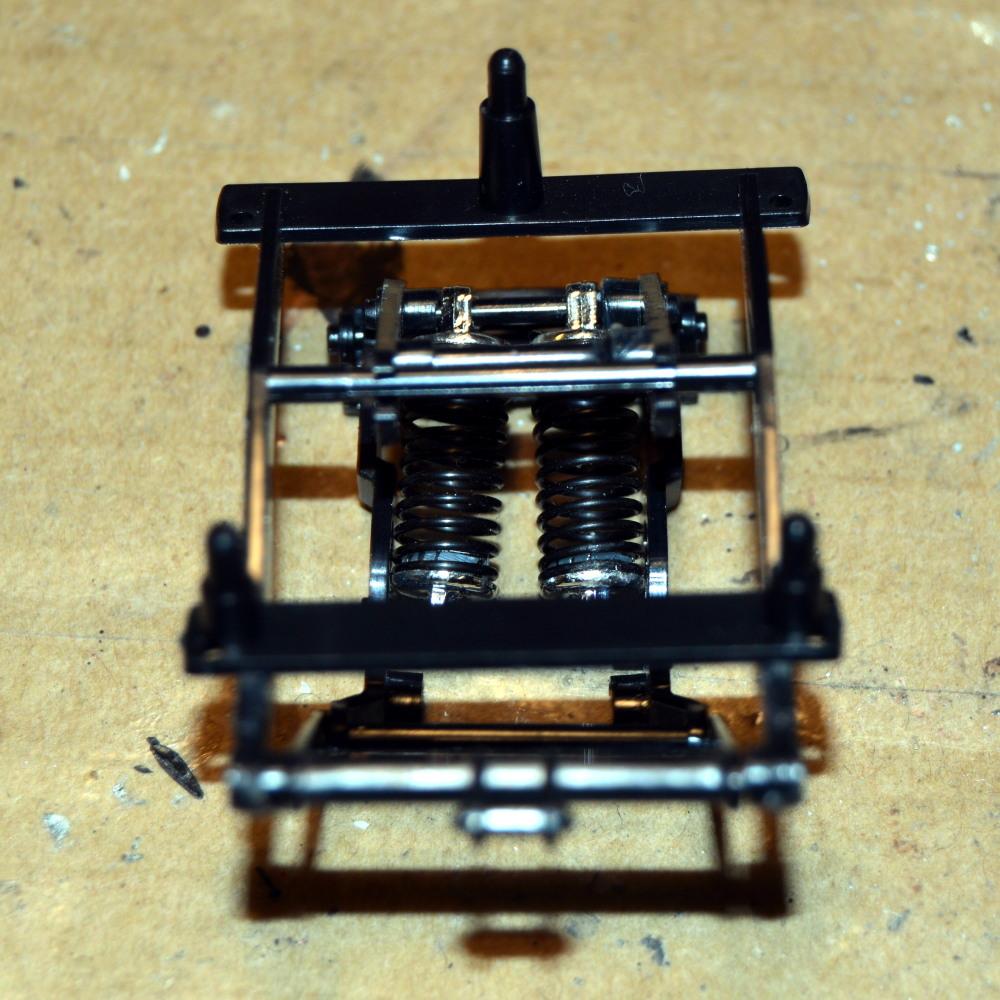
This is the seat suspension assembly. A bit tricky to put together without really messing up those small springs. Took a lot longer than I anticipated.

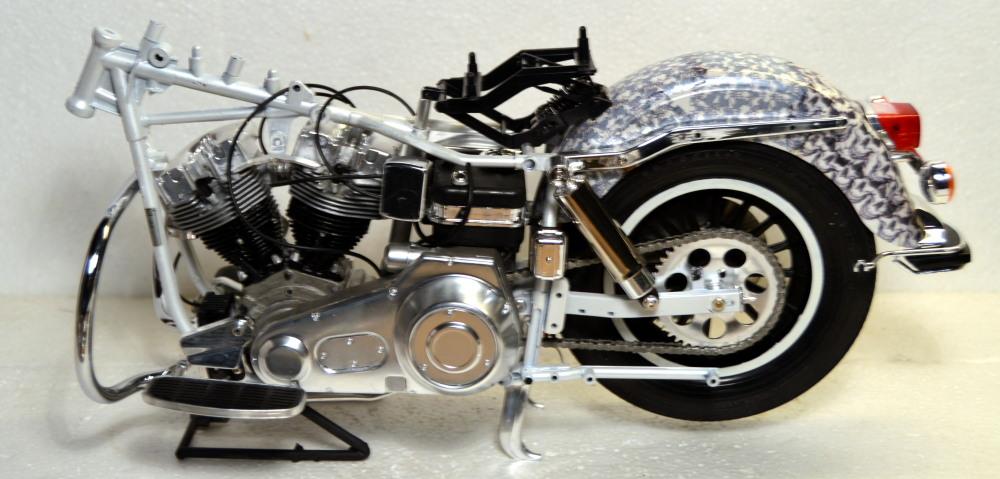
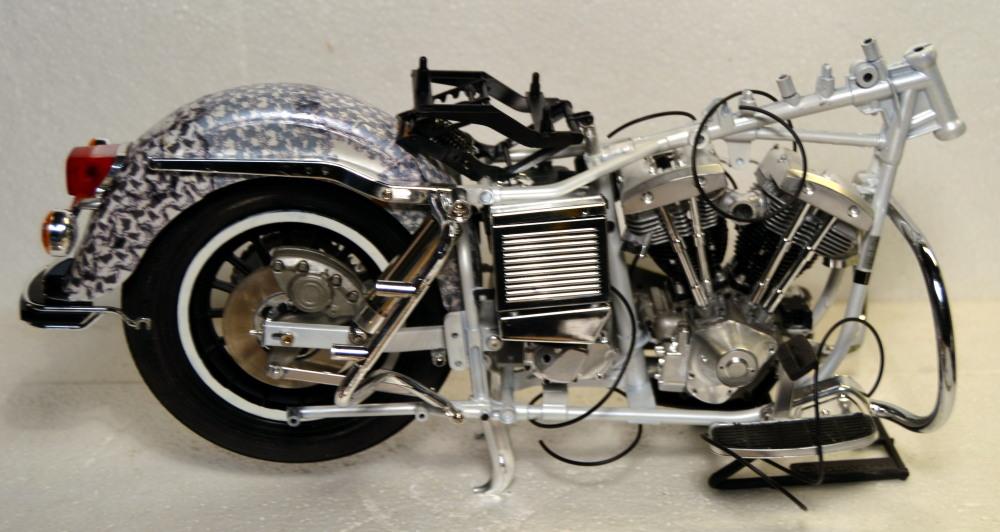
Here are two shots of the rear assembly with the rear tire and the seat suspension in place. So far this one is going together rather nicely.
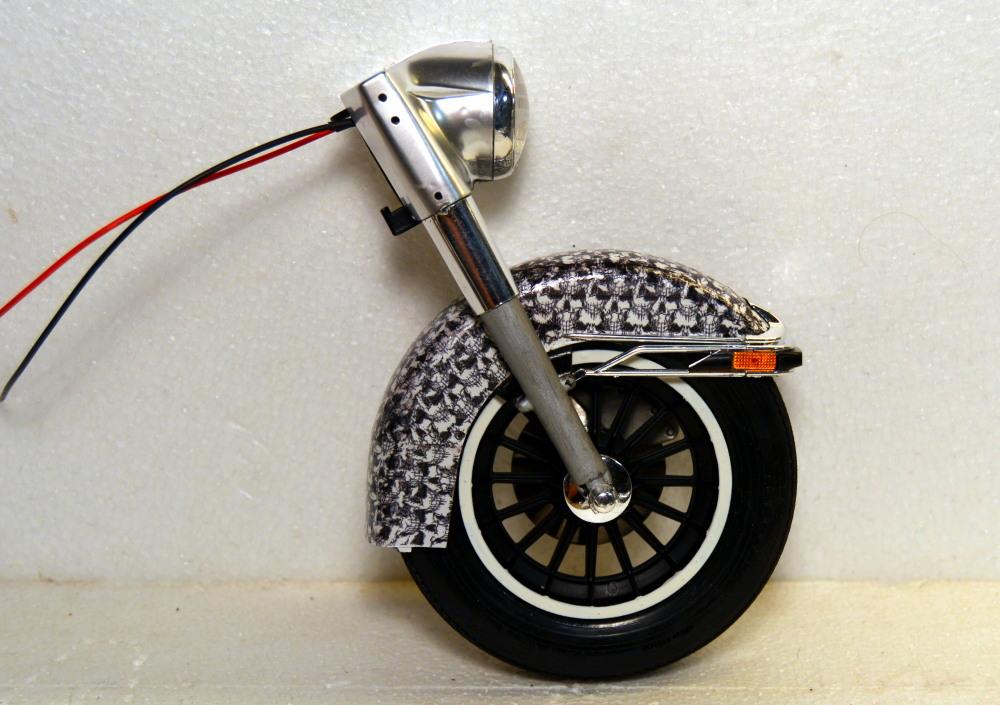
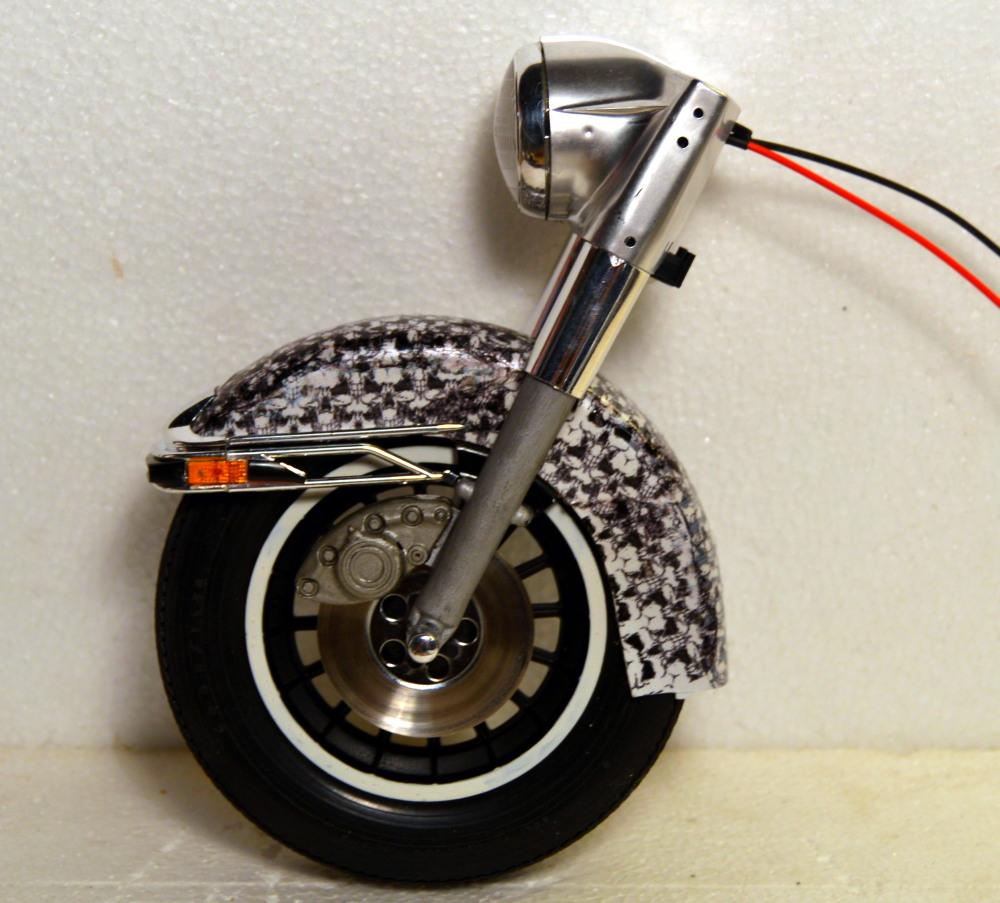
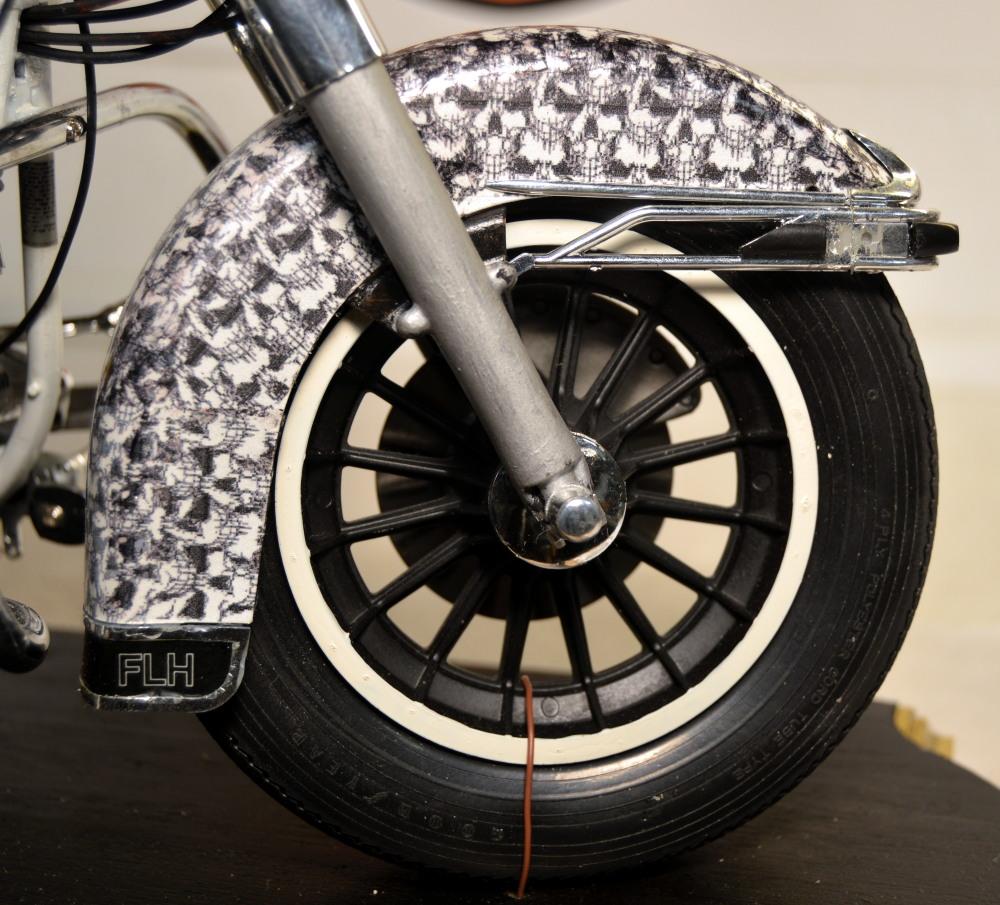
Here's the front assembly. Take note that it is wired for lighting. Hence the reason for the red and black wires you see protruding from the assembly.

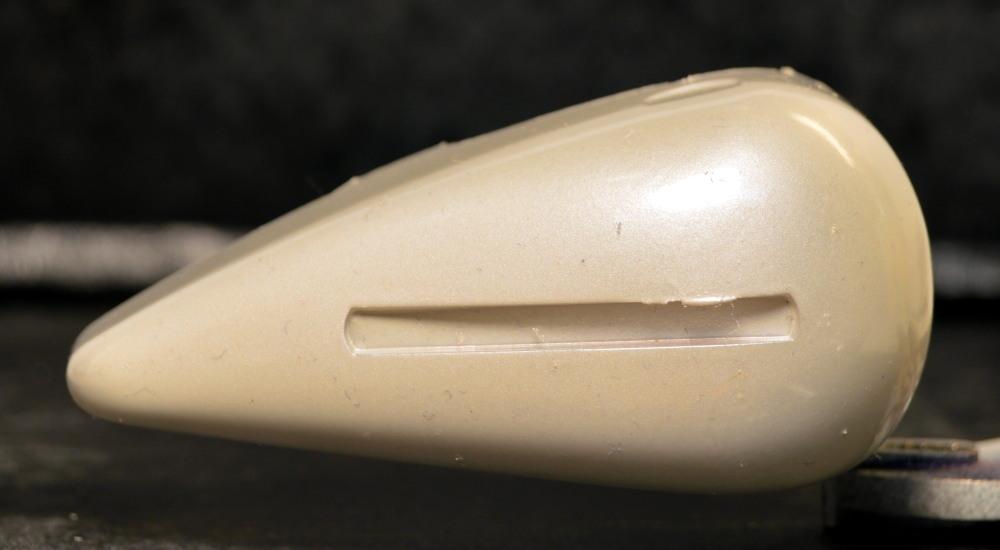
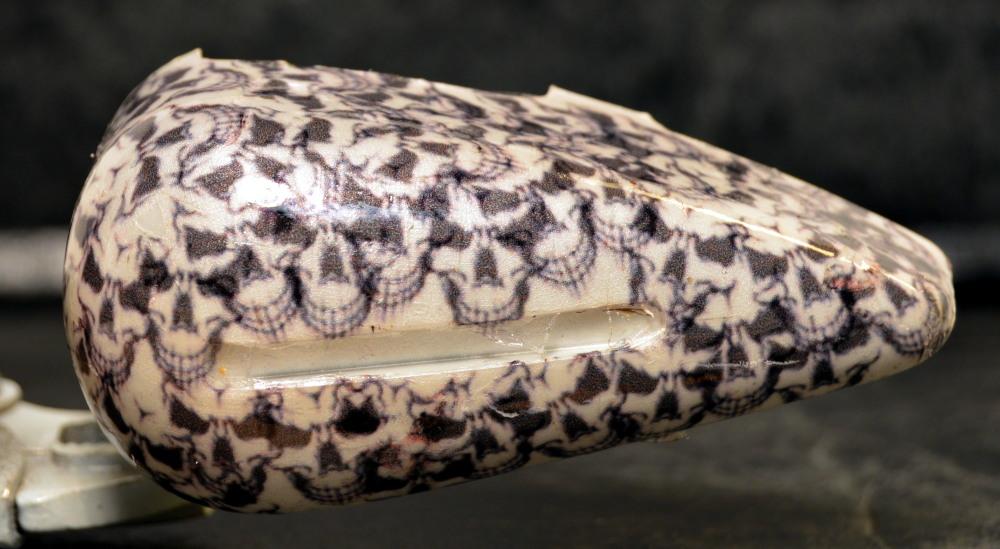
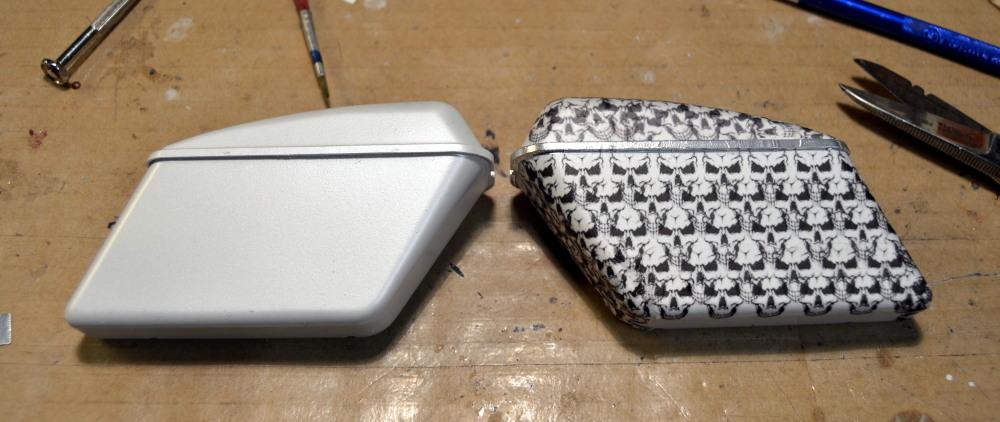
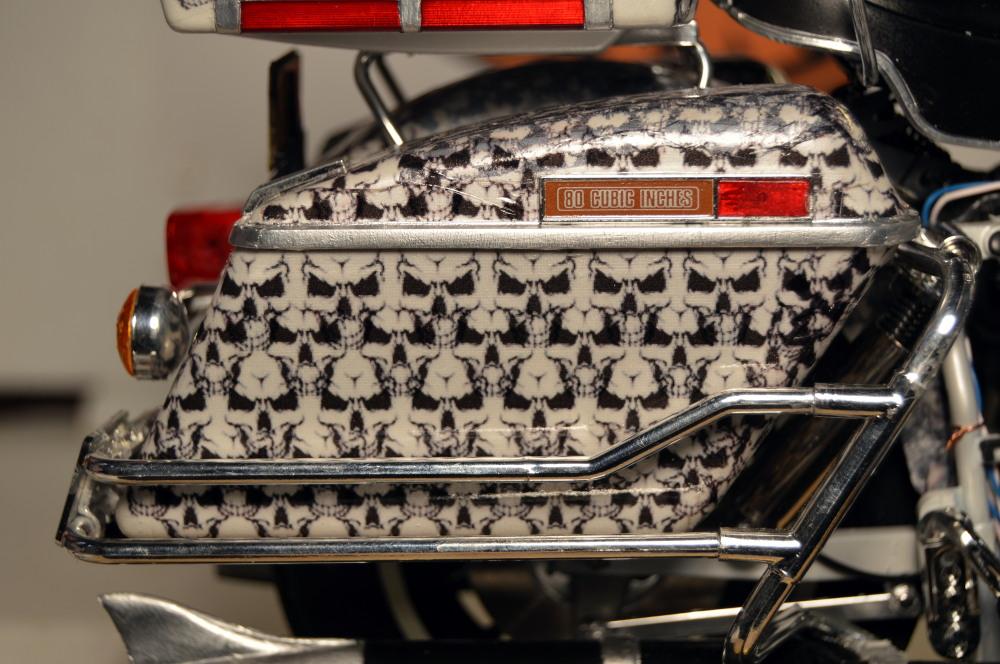
A before and after decal photo of the saddlebags. I am using some home'made temporary tattoos for the skull decals and am going for a similar look of a bike I happened to see at Rolling Thunder a few years ago.
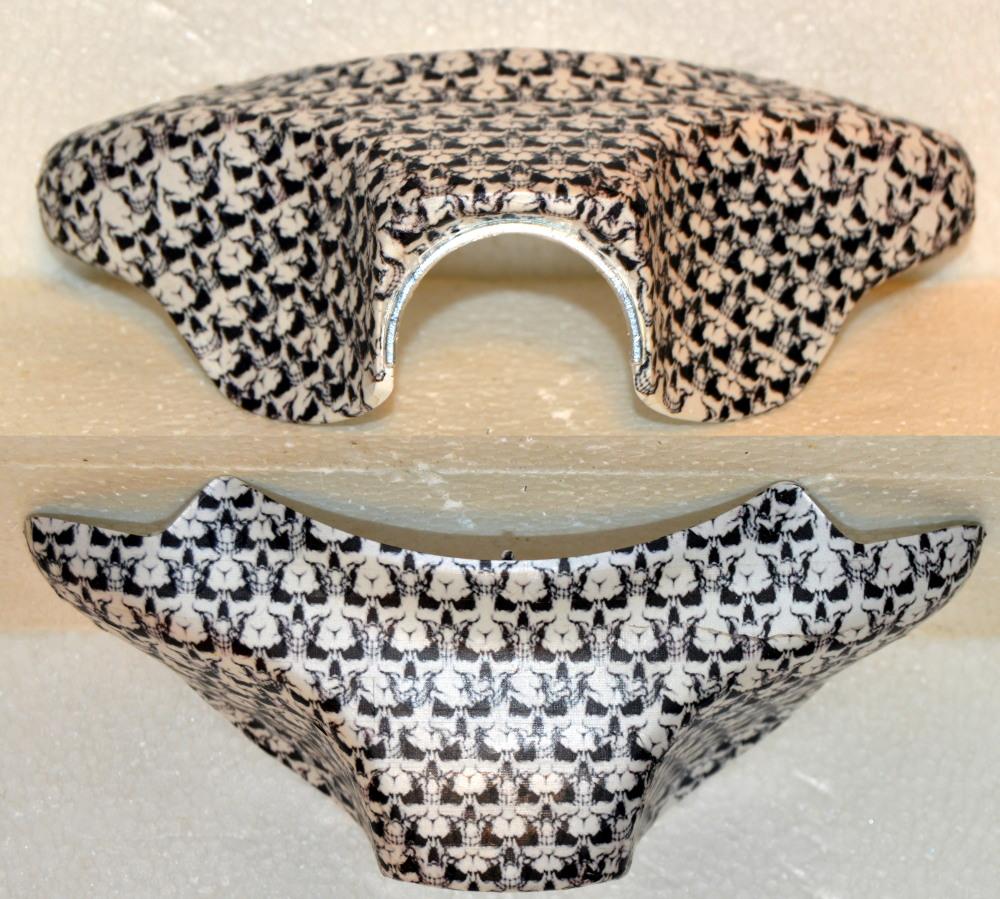
And here is the fairing after the application of the same skull "tattoos"
Test fitting of the body parts. Fairing, saddlebags and the trunk Seemed to be right on track with the fit. There were one or two VERY minor issues.

LED's being installed into the lights...This was quite a task to get don so they looked good.

LED light test. From left to right. Bright light, low light, lower light, and no light. They look a lot better that I expected!
Close-up of the engine, tank, rear saddlebag and from wheel.

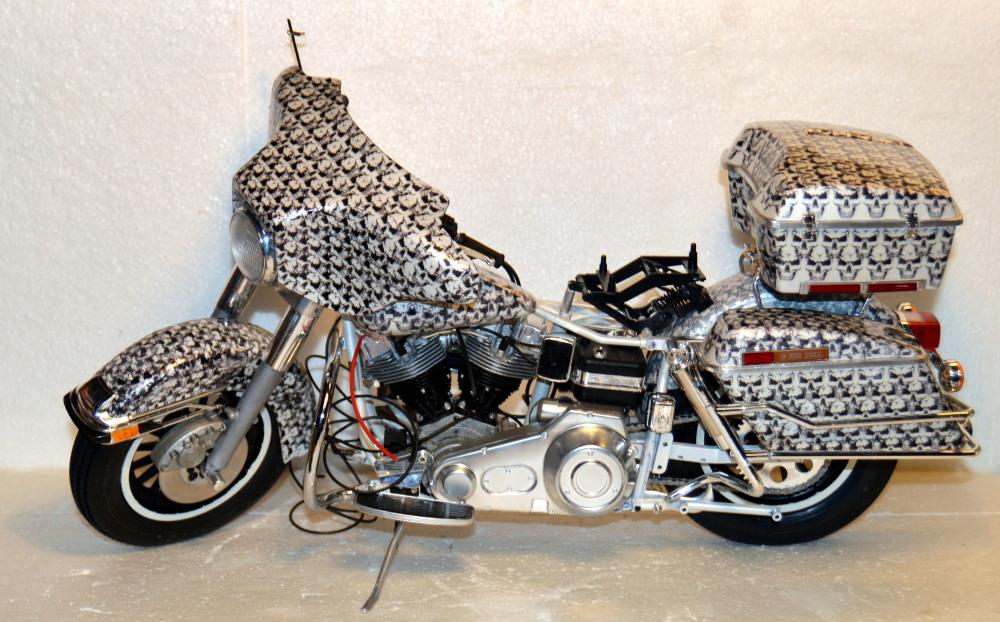
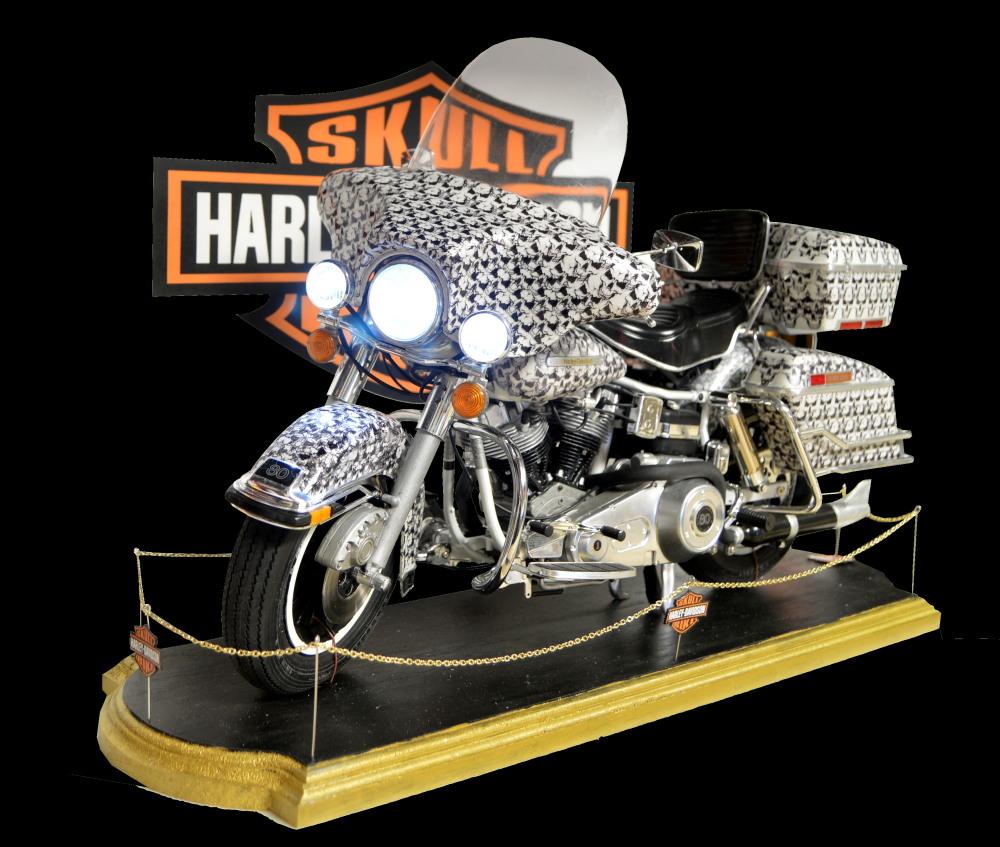
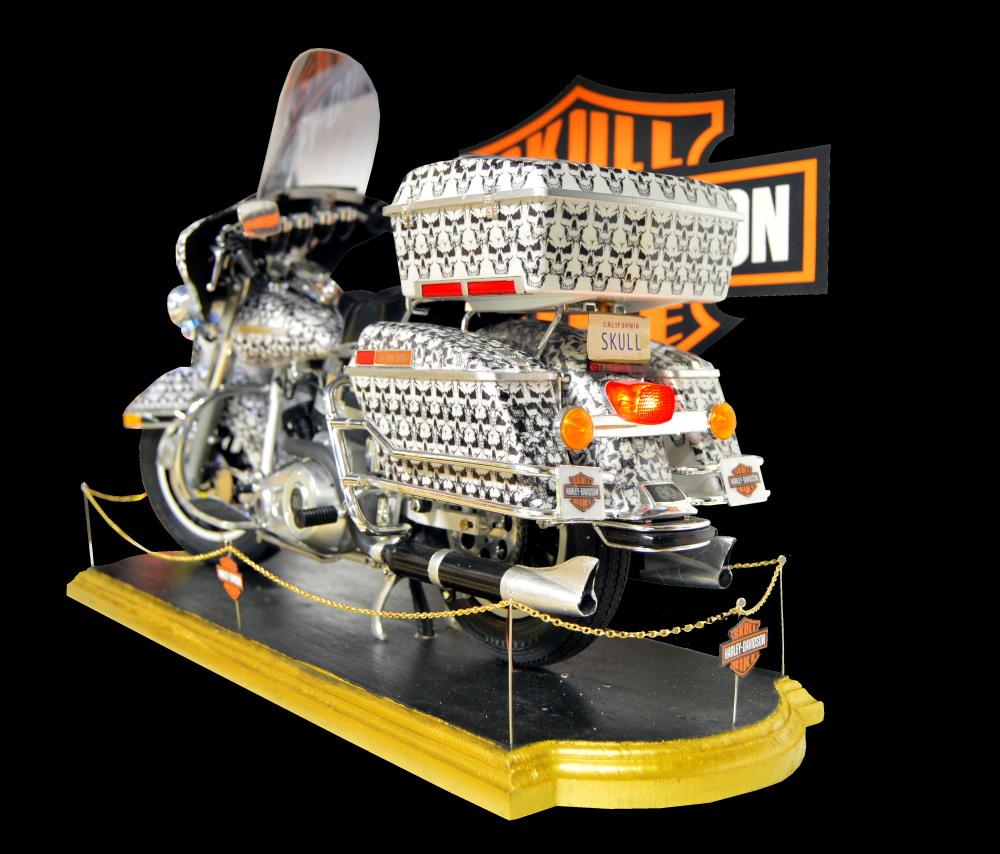
And here is the completed "SKULL BIKE". I tried to replicate one I had seen at Rolling Thunder a number of years ago. Since I didn't have any photos available to go by I had to do the best that I could. These photos have the lighting on. The backdrop is one that I made as well.

No tips or suggestions (especially after seeing what YOU can do modeling motorcycles) - but I'm sure lookin' forward to seein' it done. Thanks for the heads-up!
Thanks for that!