Review: Miniart 1/35 T-54B Early Production – Build Review, Part 1
This article is part of a series:
Things Change.
If you have been an armor modeler for some time, you might have gotten used to certain givens – an abundance of German subjects, a certain lack of soft-skin vehicles, or an ever increasing amount of parts in the box. At least that's how it used to be.
Enter recent years, we find ourselves in a situation where new kit producers and new kits appear with such speed that we are hardly able to follow. Suddenly we have access to mainstream kits of WWI vehicles, obscure South African APC's – and a bunch of Cold War-era vehicles. Almost the only trend still remaining is the increasing parts count.
In 2016, the Ukrainian company Miniart started releasing their series of T-54 tanks. Up until then, the early years of the Cold War were not covered too well, with just a couple of kits from Trumpeter and Skif being available. Miniart seems to have the goal of covering the whole development of this iconic tank, releasing various versions from the earliest Soviet types to the later Israeli modifications. With the Soviet variants, you have the choice between either a standard boxing or an “Interior Kit” version which gives you full engine, hull and turret interior details – but oddly missing the transmission.
What's it all about?
The T-54 was the result of efforts to design a replacement for the T-34 tank of WWII fame. Equipped with a 100mm main gun and better armor protection, this vehicle managed to be only slightly wider than the T-34, while actually being shorter and presenting a lower profile. Further improvements, together with the installation of an NBC protection system, would lead to the T-55, to this day the most produced tank in the world and still in service with smaller armies across the globe.
Filled to the Brim
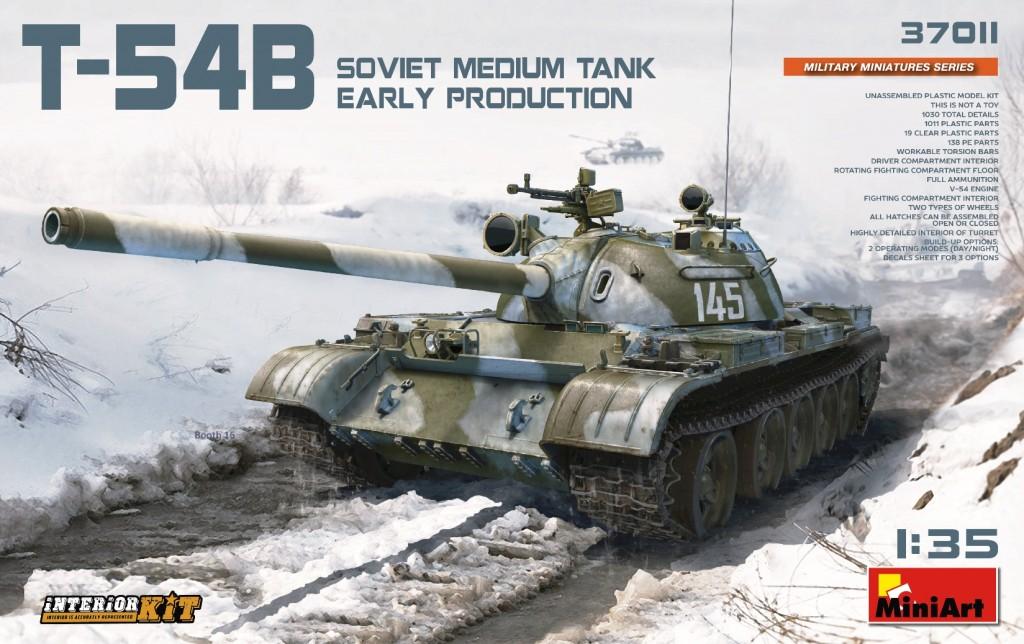
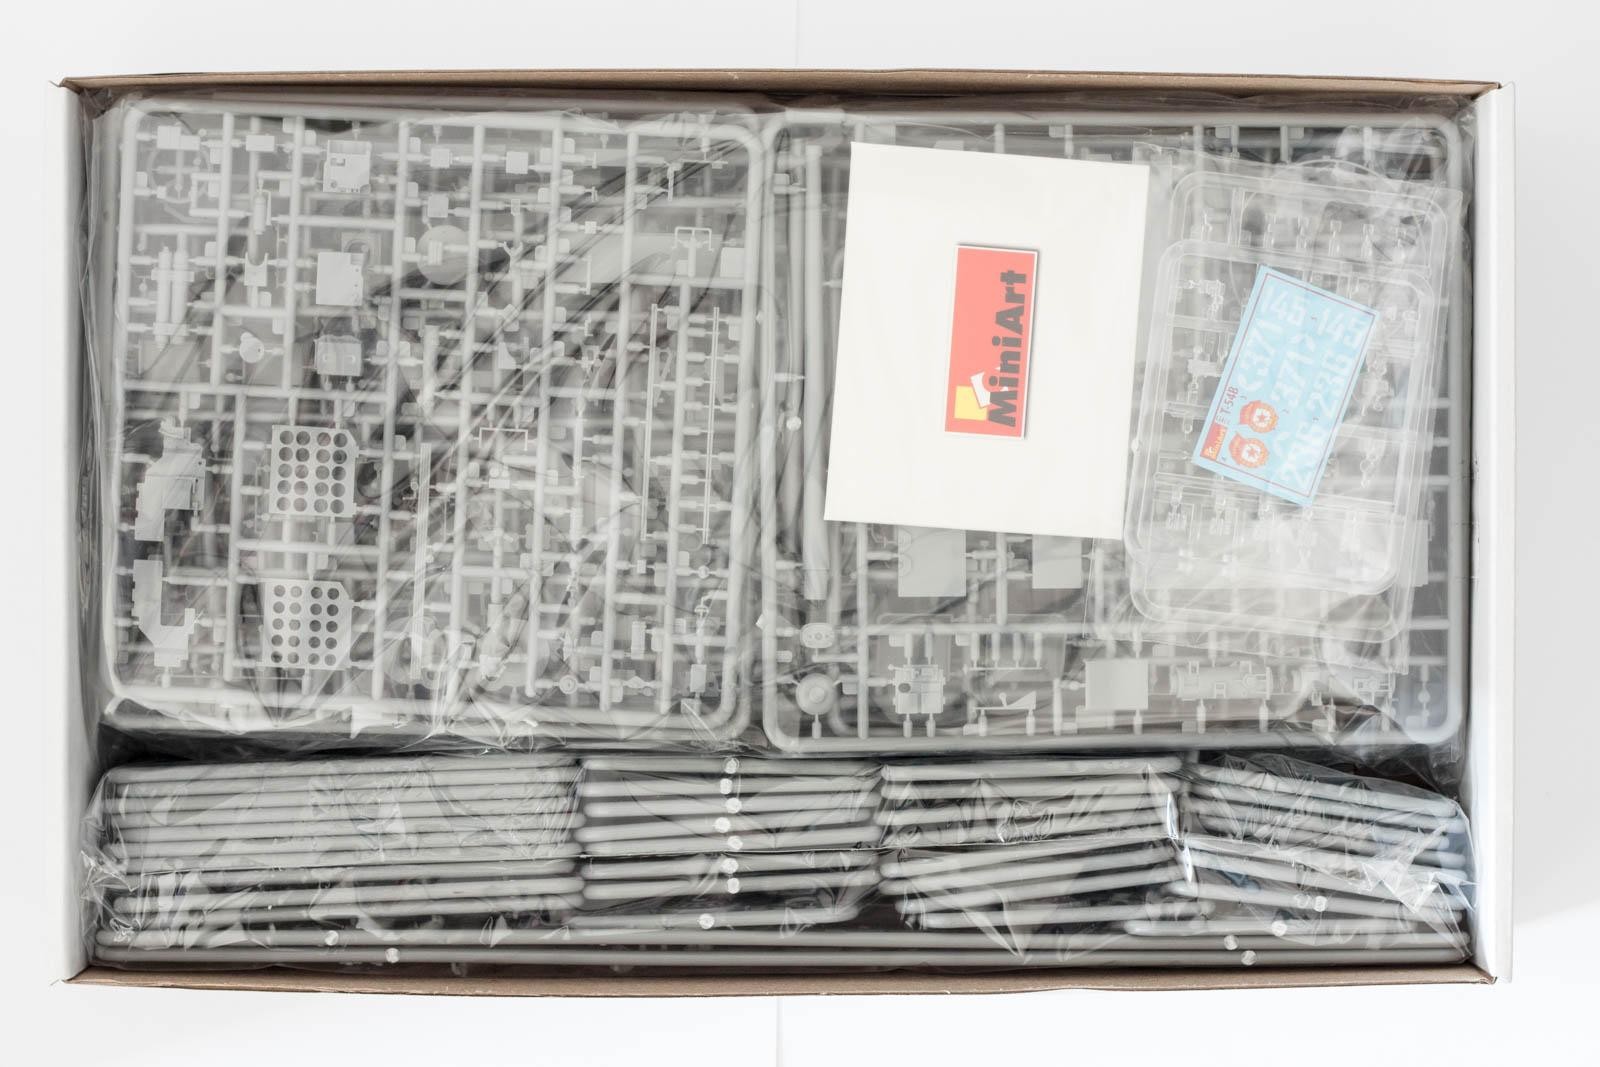
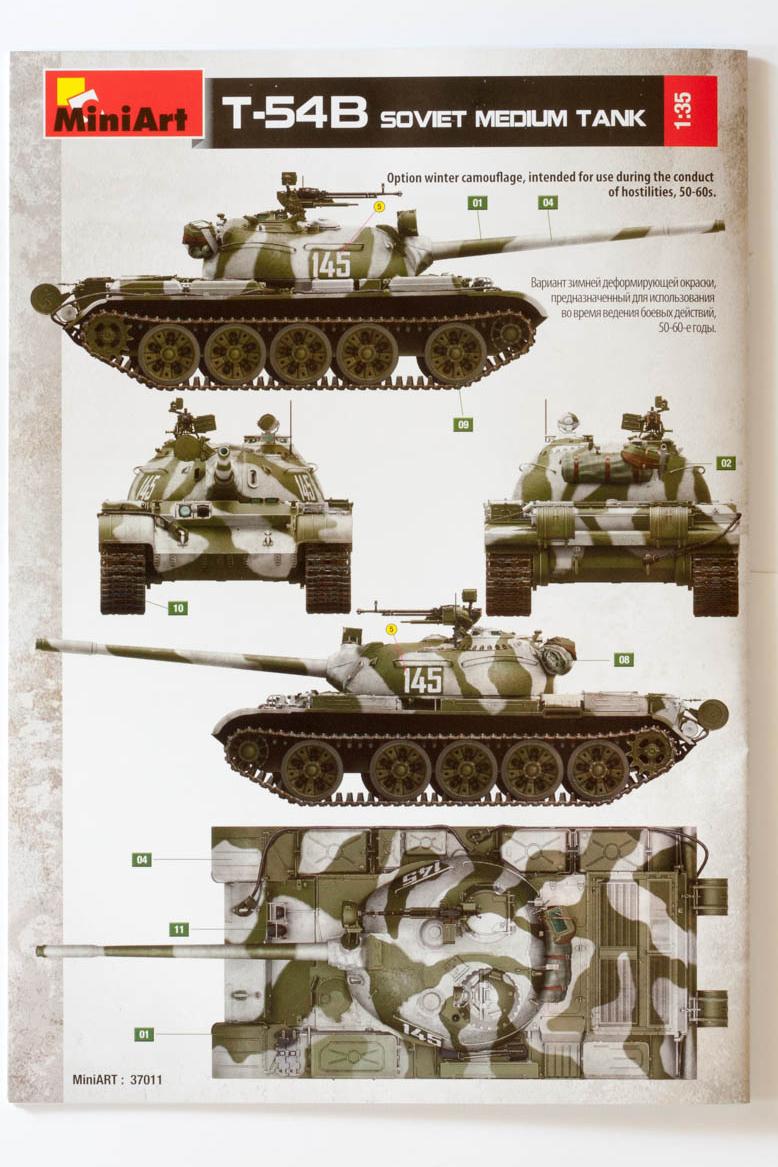
Miniart's T-54B “Interior Kit” (Art.No. 37011) depicts one of the later production batches, with the characteristic “turtle-style” turret and the upgraded main gun. The first thing I noticed was the height of the top-opening box – and its weight. Quite hefty for a 1/35th scale vehicle that is hardly bigger than a T-34! On opening the box, I stopped wondering, as it is literally filled to the top with sprues. Two large plastic bags in turn contain more bags with a couple of sprues each. Given the delicacy of some of the smaller parts, I was a bit worried about breakage. Additionally, you find a small bag with the clear parts and decals, and an envelope containing two PE frets, and the instruction manual.
Glue A to B, repeat 1,167 times.
The instruction manual comes in form of a booklet with 28 pages, some of them glossy. I know, a kit's instructions are not the most important thing in the world, but it is still nice to see a proper manual.
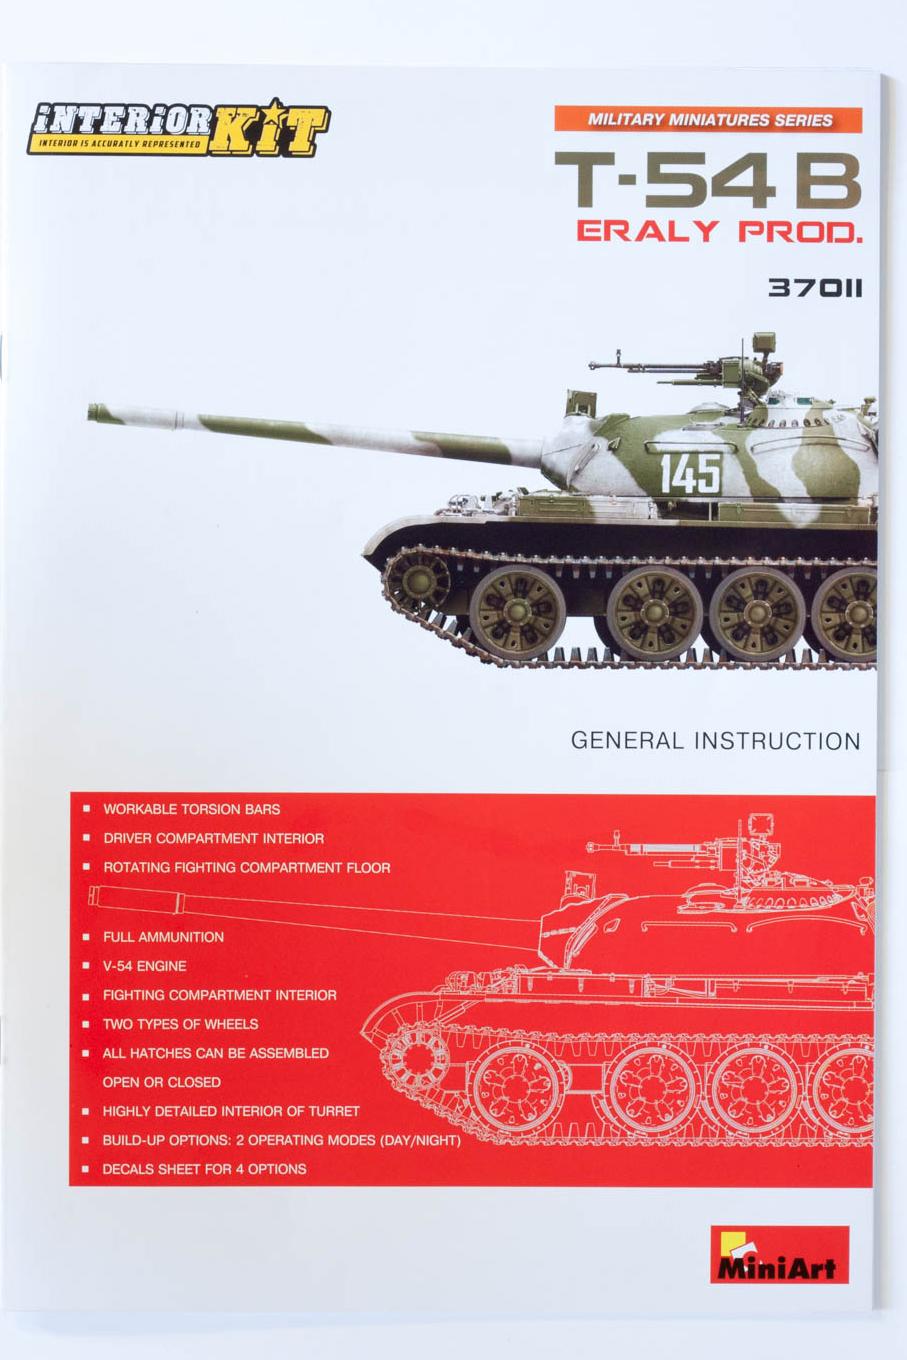
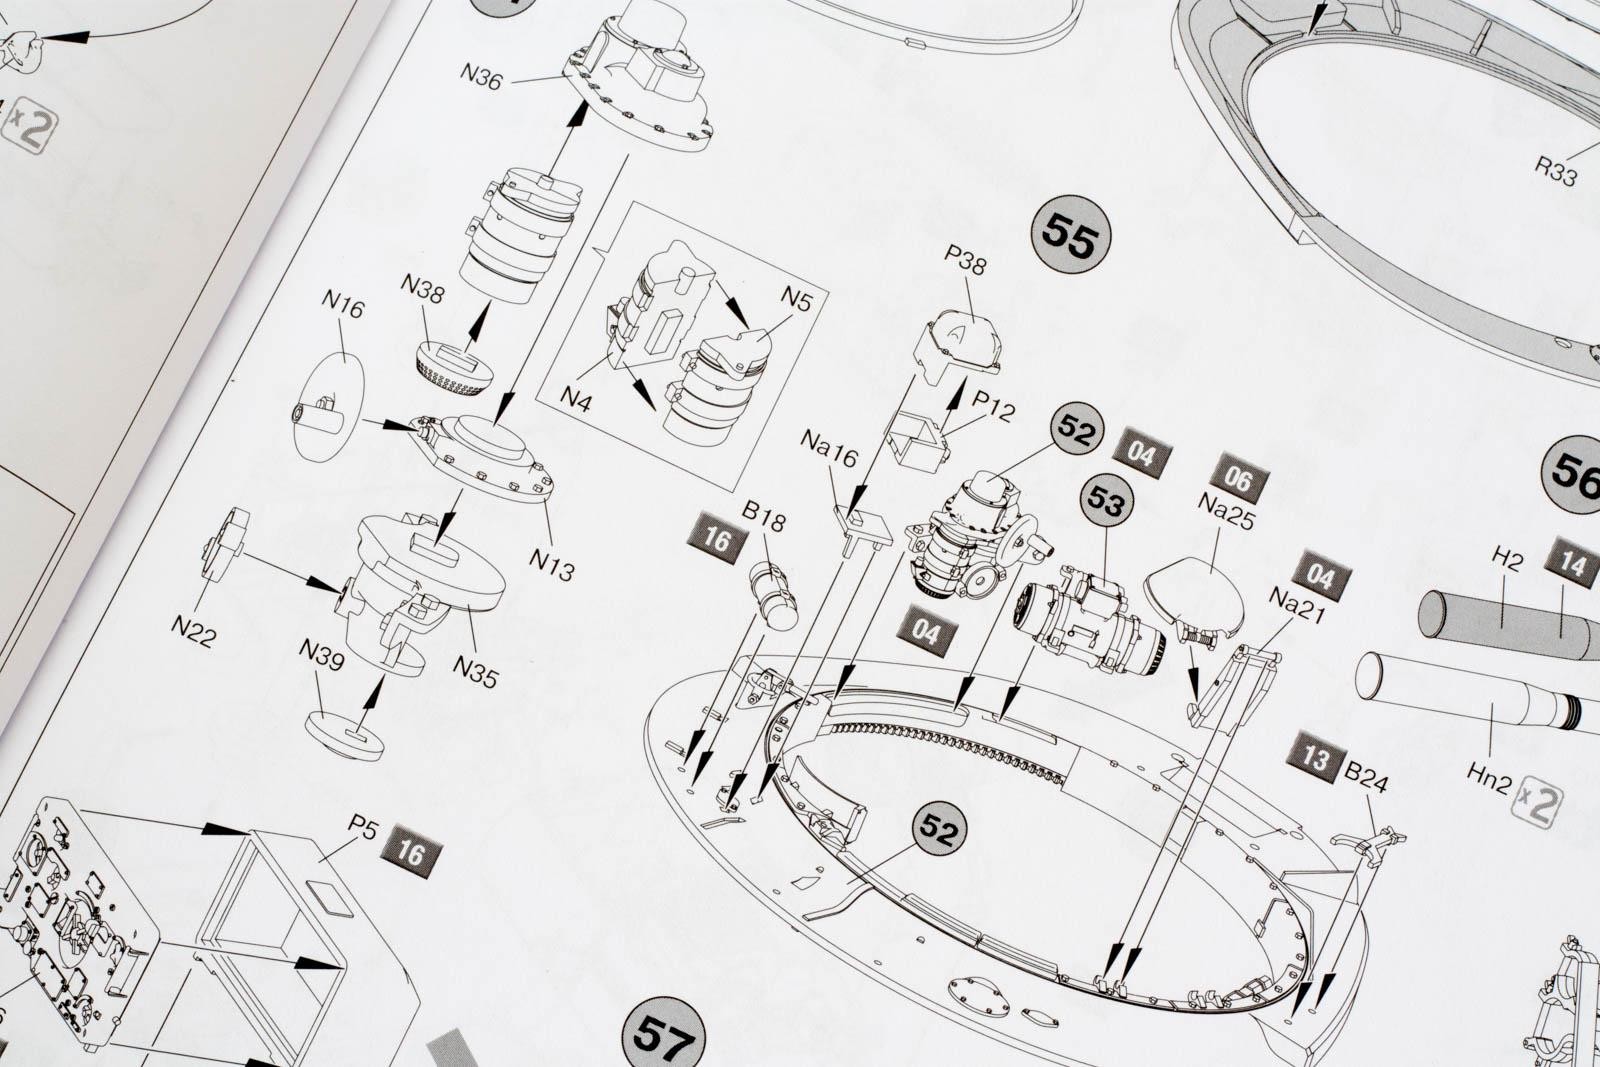
Thumbing through the pages, you get an idea of what you are up for. Exactly 100 steps guide you through the process of building the tank's engine, suspension, hull and turret interior, breech assembly, individual link tracks, and various exterior fittings. The b/w drawings are clear for the most part - however, with so many parts in the kit it is hard to keep the drawings simple. So far I have only found one error with a part missing its part number.

The booklet features color call-outs for ever single part or sub-assembly, and a color conversion table for Vallejo, Humbrol, Mr. Color, Testors, and Ammo by Mig paints. Marking options include two vehicles in plain Russian Green, a parade tank with white embellishments, and a tank in winter whitewash camouflage. As is to be expected, the decals are limited to a couple of turret numbers and a Guards unit emblem.

Parts. And then some.
The kit features close to 1,200 parts, spread over 101 sprues. Yes, you read that correctly. Most of the sprues, however, are quite small, like the ones for the road wheels and the ammunition.

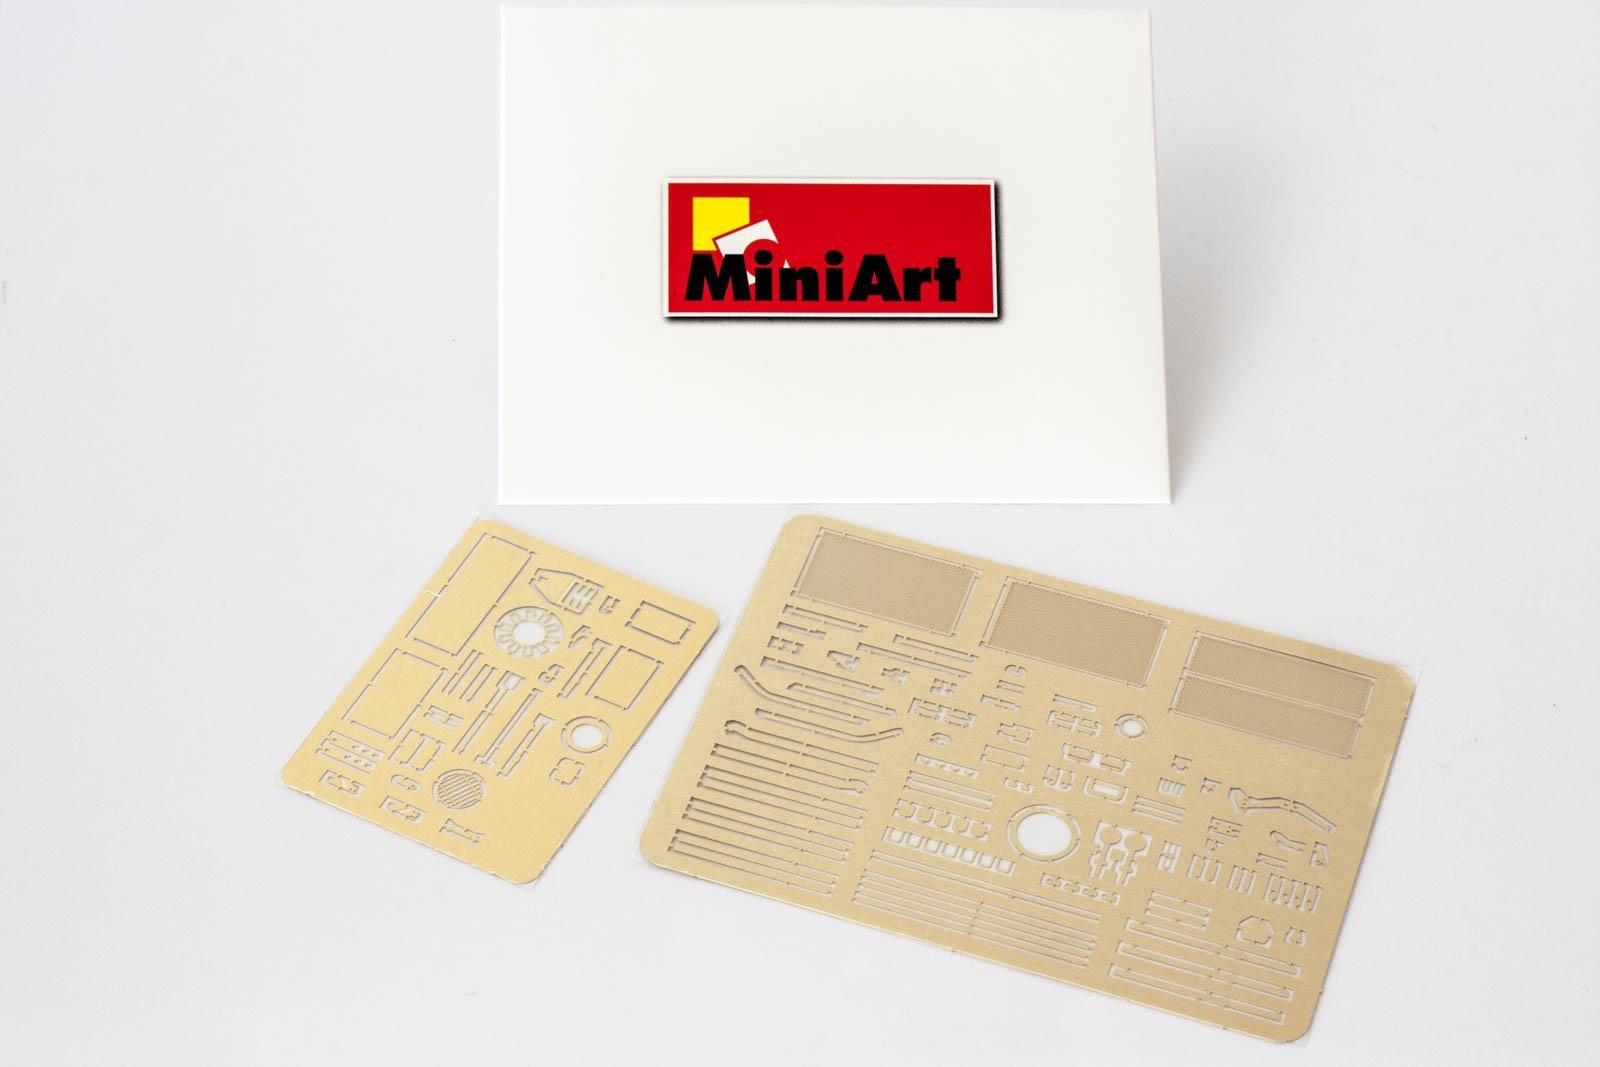
The PE frets contain tie-down straps, levers and an assortment of other parts to further enhance detail. Finally, the clear sprue holds the lenses for the headlights as well as periscopes and the driver's windscreen for the foul-weather hood.
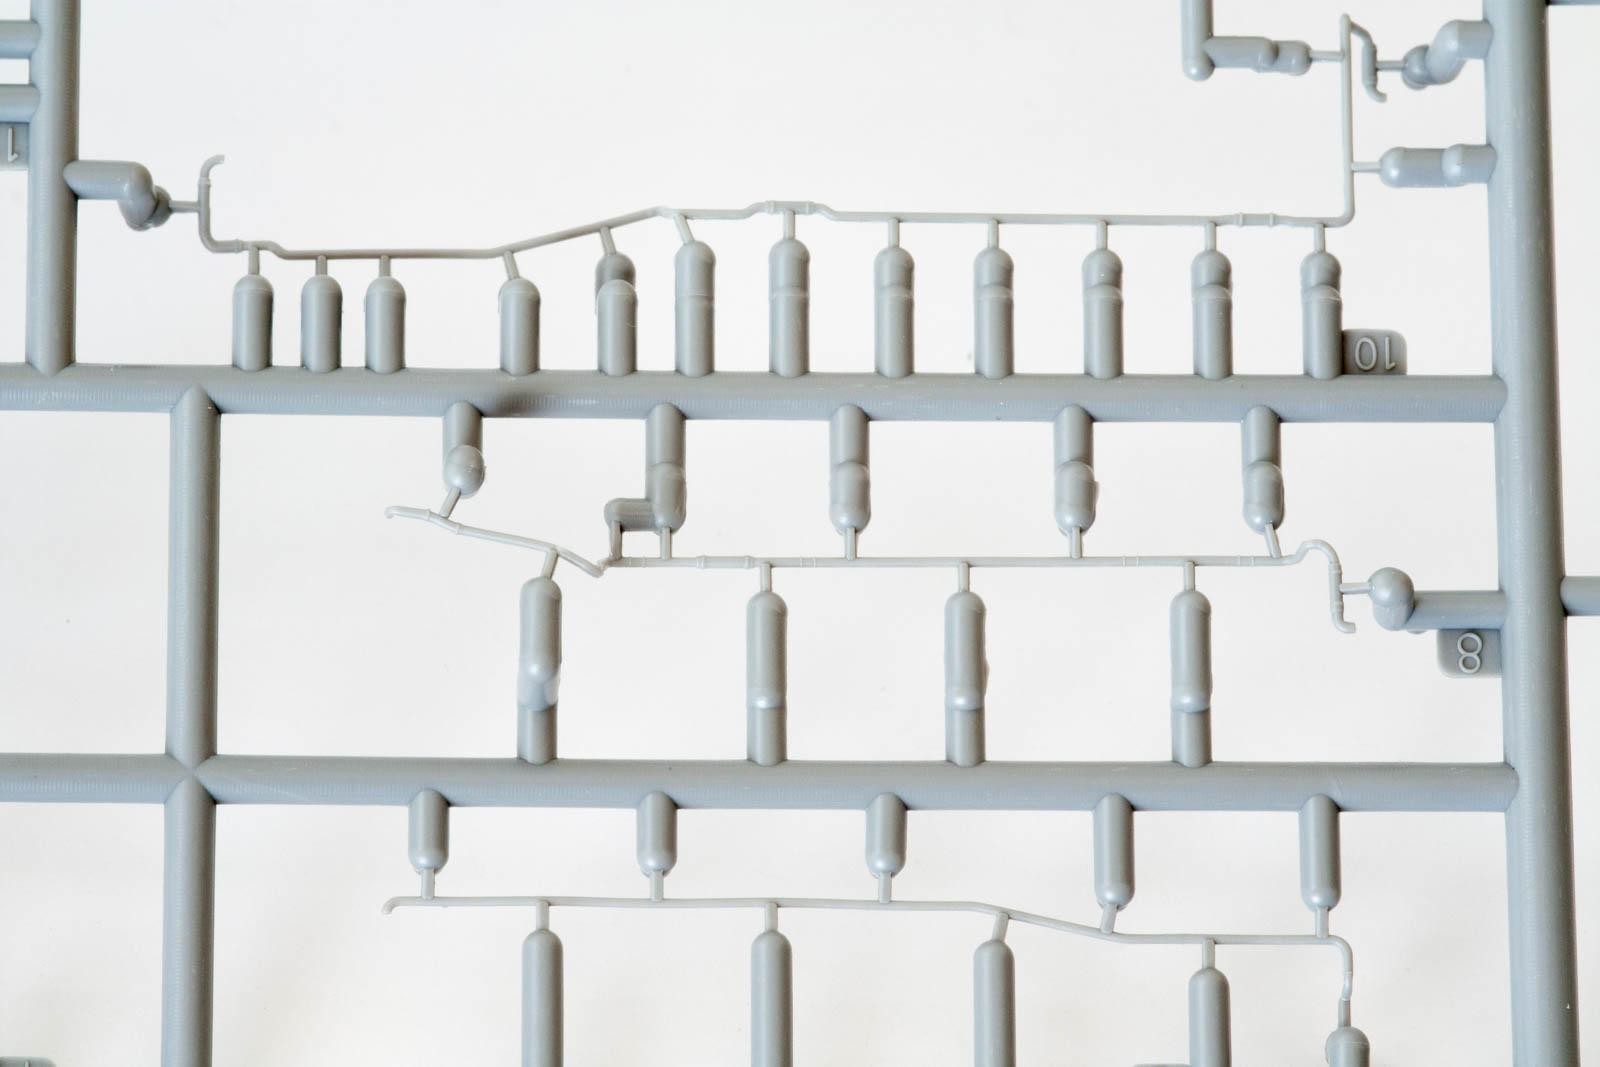
The parts are molded in a type of styrene that is easy to work with. Miniart kits used to have issues with parts breakage due to styrene of a lower quality. After changing their manufacturing process, however, this situation improved considerably – but it is still not perfect, as I was soon to find out. The plastic cuts and sands easily, and reacts very well to Tamiya Extra Thin cement. Flash in general is kept to a minimum, but you will find some inside the road whells and in places were it can affect fit, so better check twice. Ejection pin marks are placed either on the sprues themselves or in positions were they will not be seen after construction.

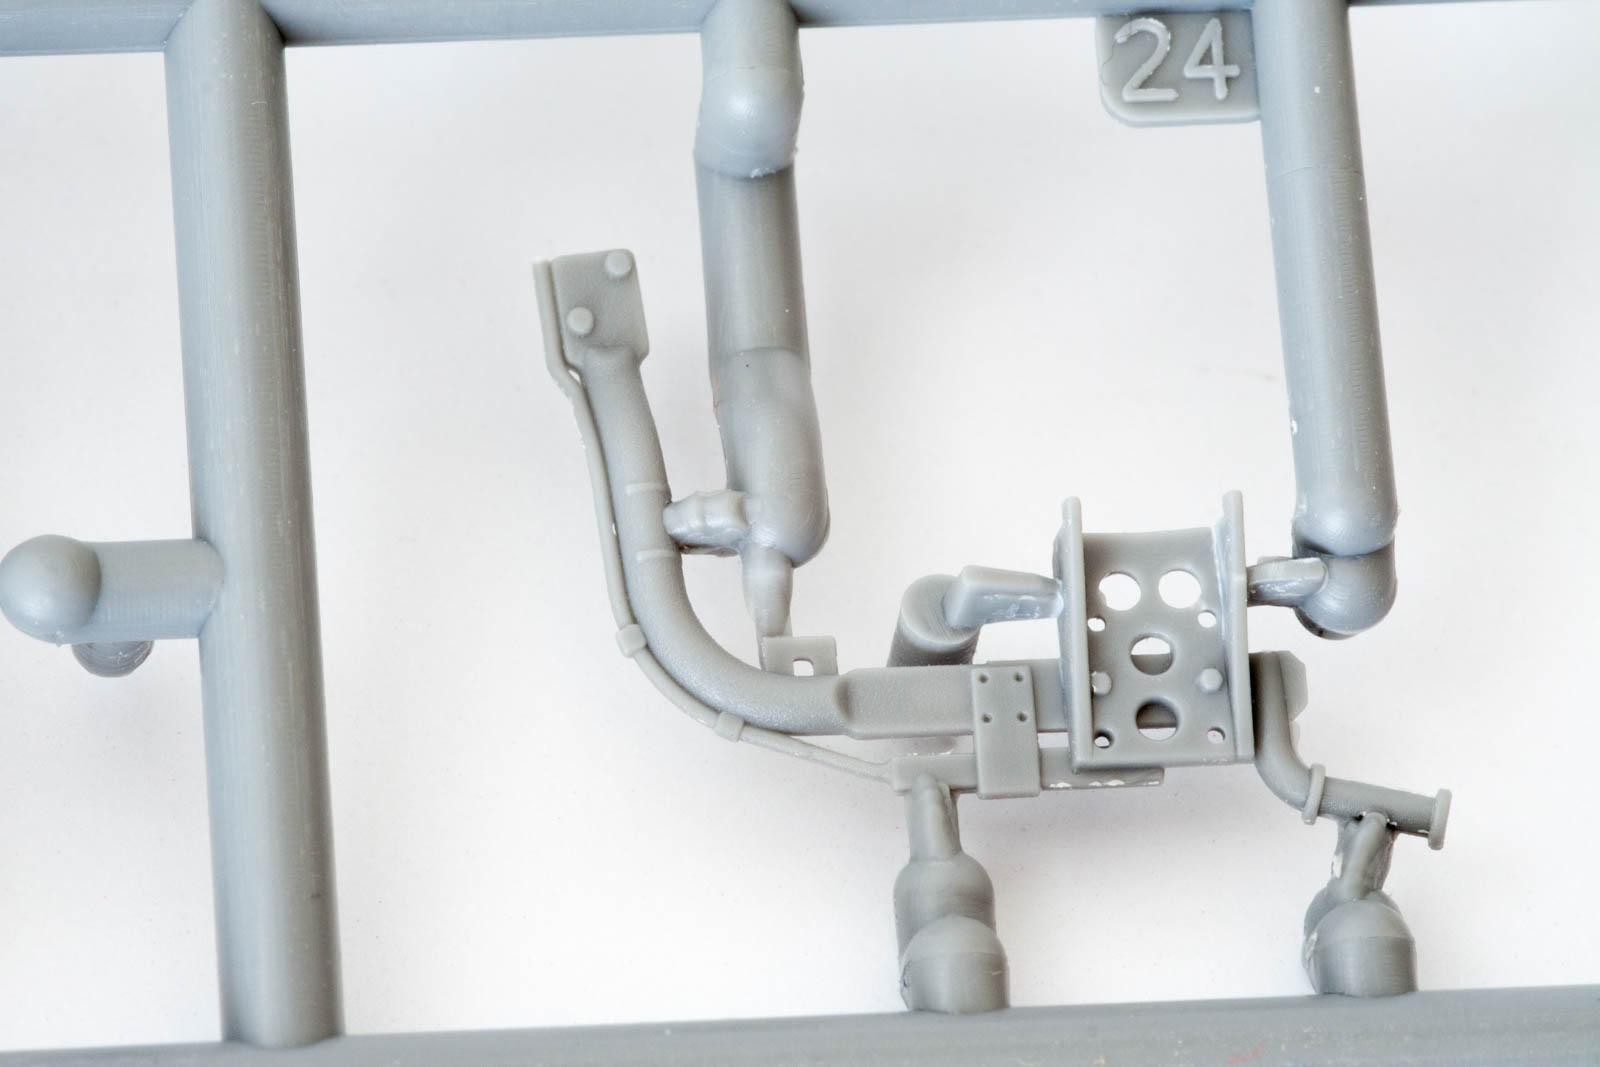
Lots of detail means lots of tiny parts. Some of them are very fragile and will need extra care when removing them from the sprue. One issue I found is that some sprue connectors are placed on the locating tabs, so you have to be careful not to remove material that actually belongs to the part.

Furthermore, some parts are connected to their sprue in a gazillion places. I guess this has something to do with getting the delicate parts out of the mold, but it makes for some quality time when cleaning up the parts.
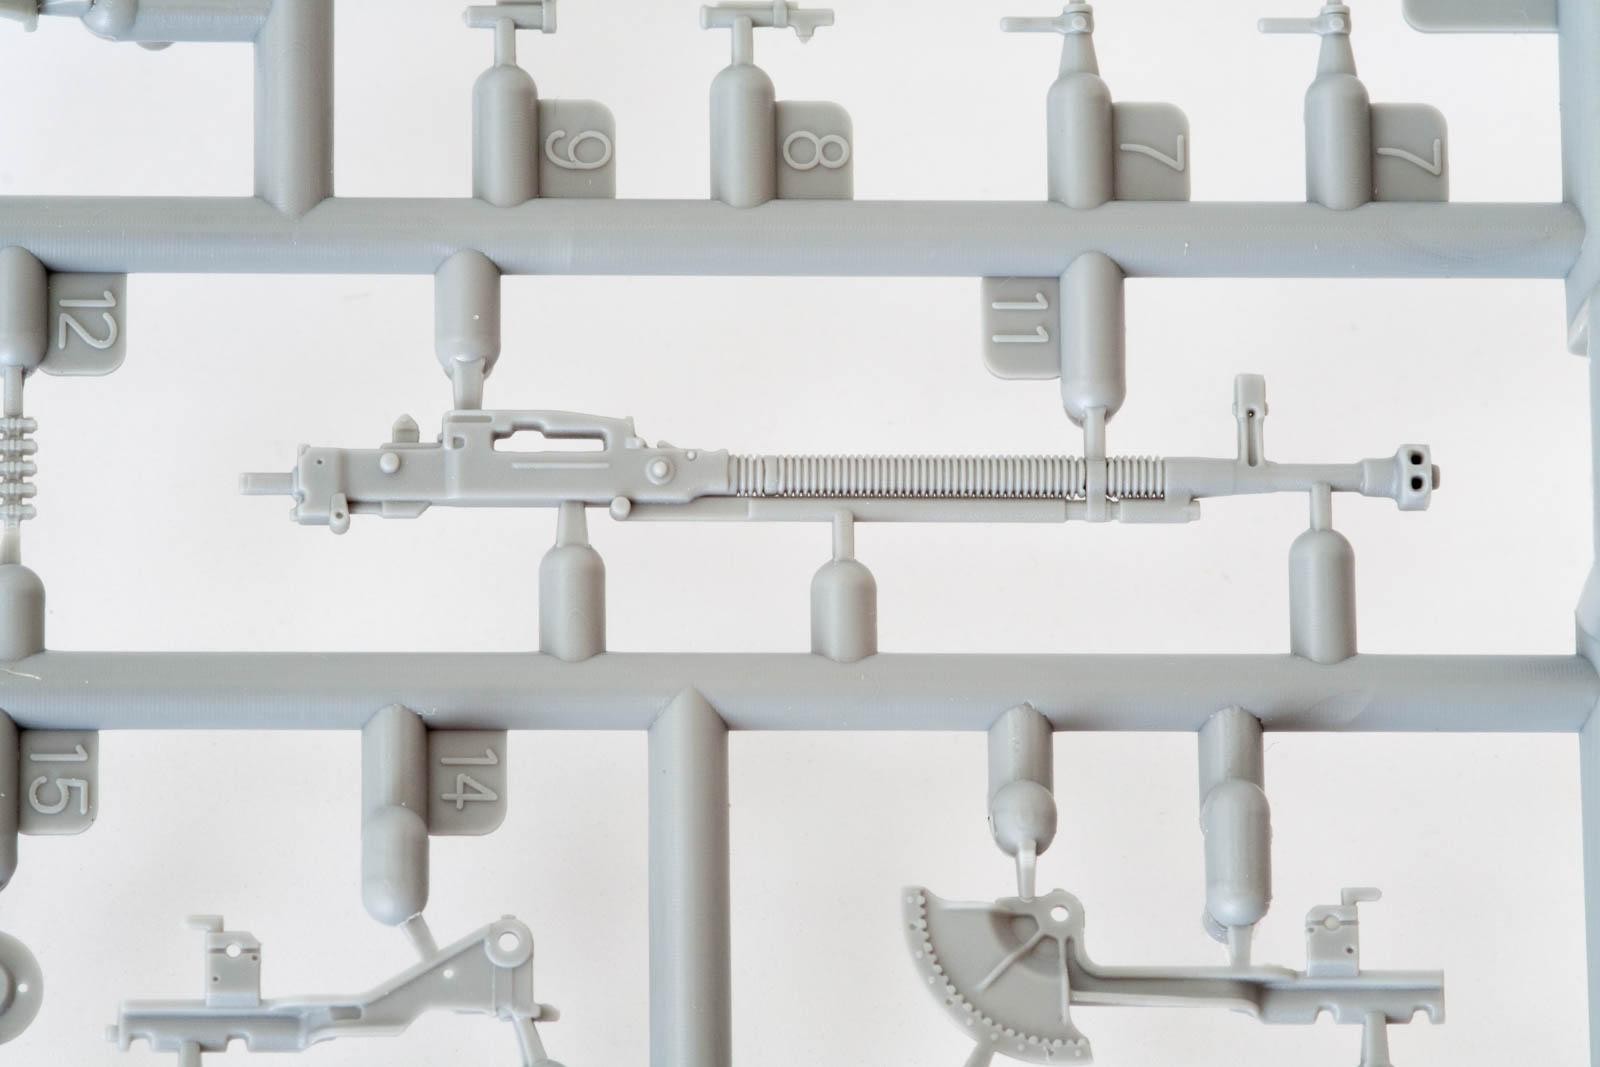
Detail is exceptional throughout. It is impossible to show every bit of detail you will find in the box, but these examples should give you an idea: Let‘s take a look at the „Dishka” for example. The DShK is the standard 12.7mm turret machine gun mounted on Soviet tanks. This assembly consists of 21 plastic and seven PE parts and features a slide-molded muzzle, as well as parts for empty and full ammo belts.

The turret features a nicely rendered cast texture and well defined detail on the inside of the roof…
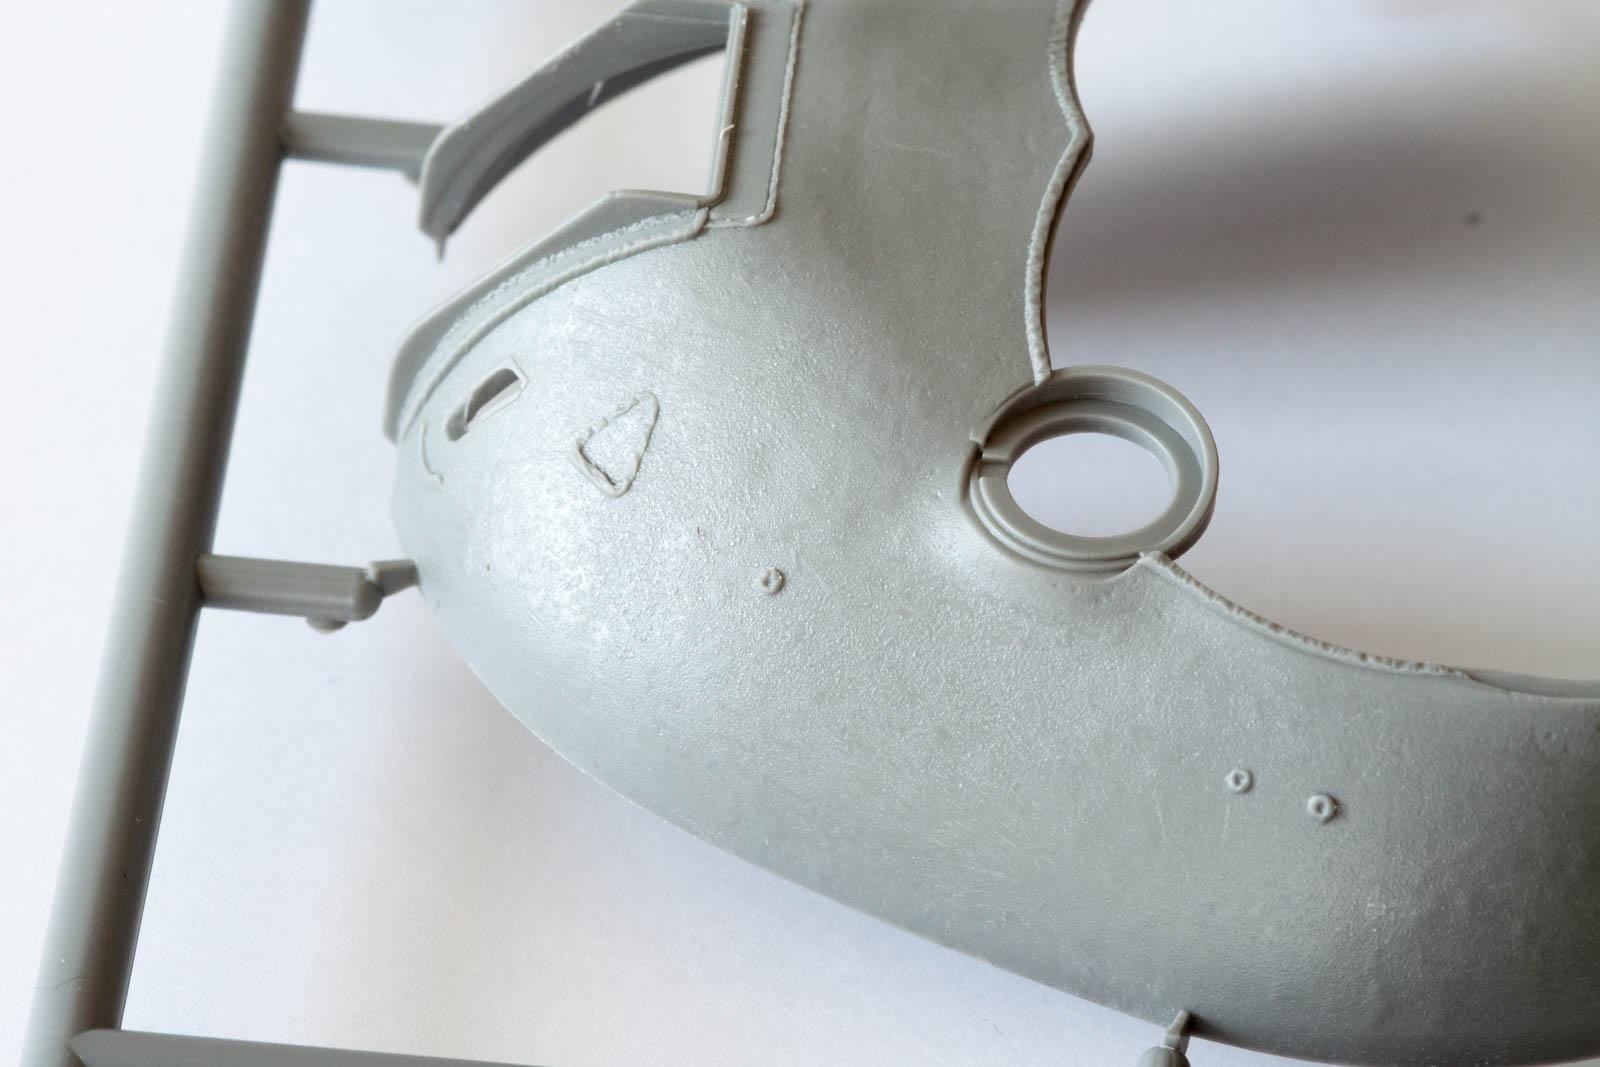
...and the gun mantlet shows pretty realistic creases and fasteners, however, it will need some tidying-up.

The engine grills are delicate parts with a nice see-through effect.

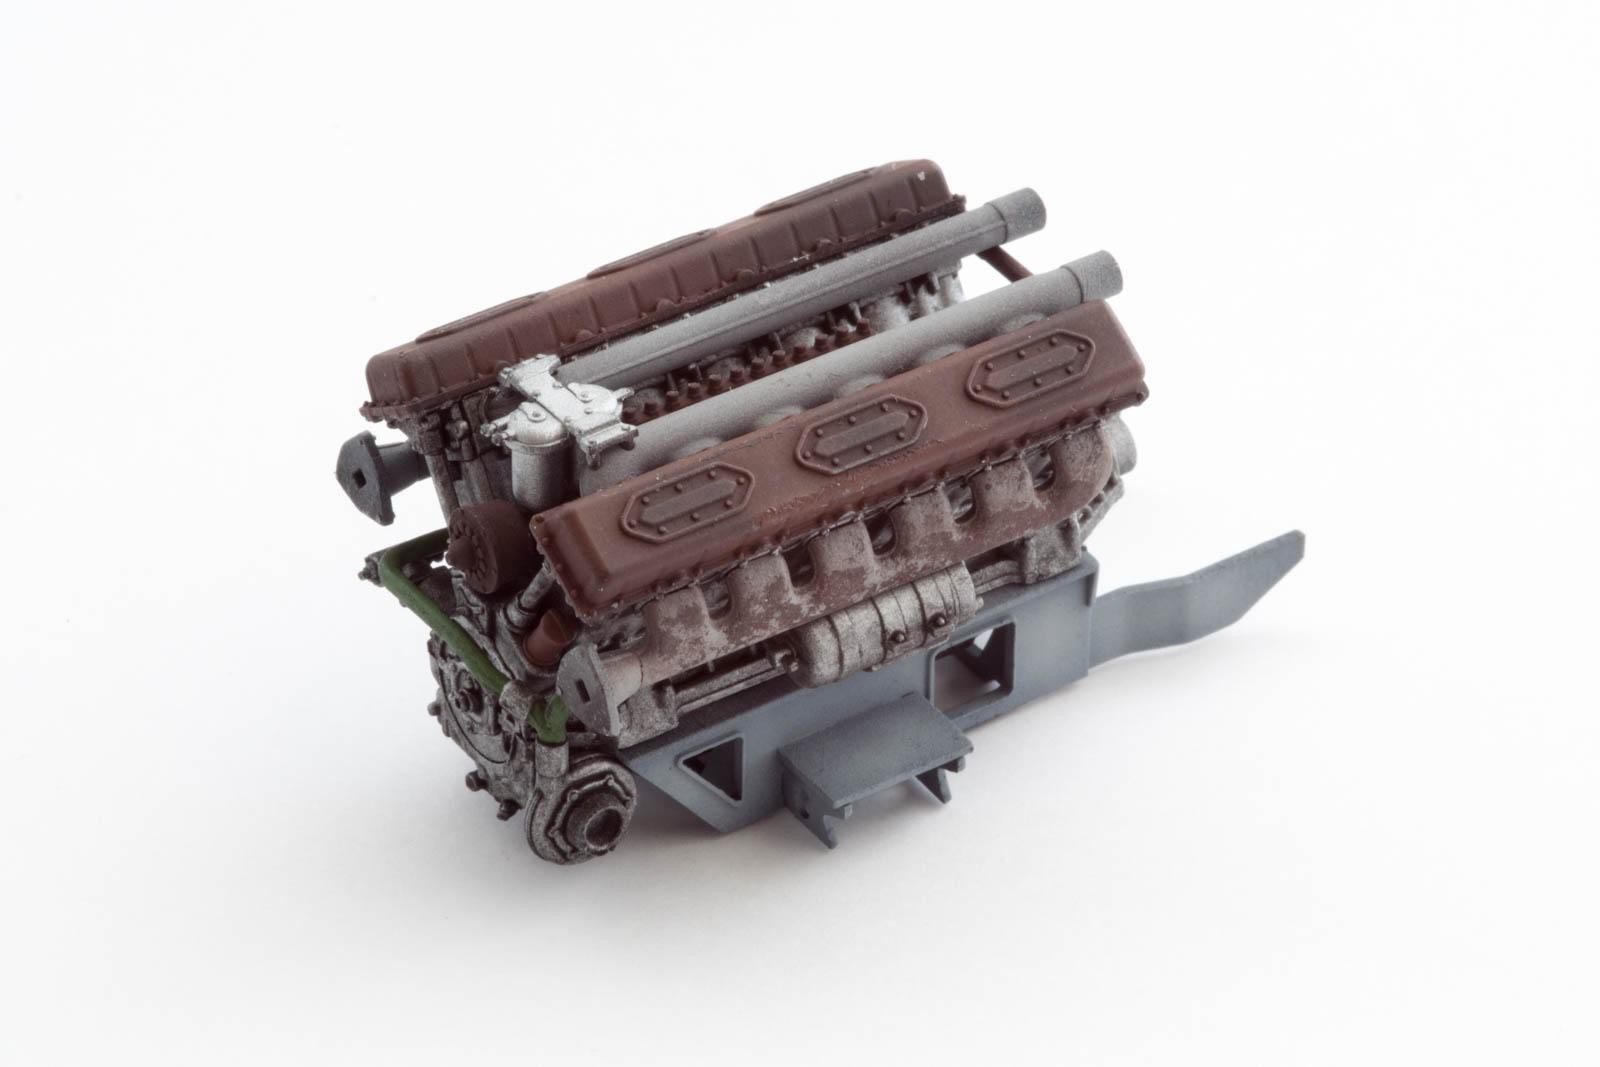
As you can imagine, most of the parts will find their way inside the tank. A complete engine with all auxiliary fittings, driver's station, full turret interior etc. are included. Weirdly, however, there is no transmission provided.


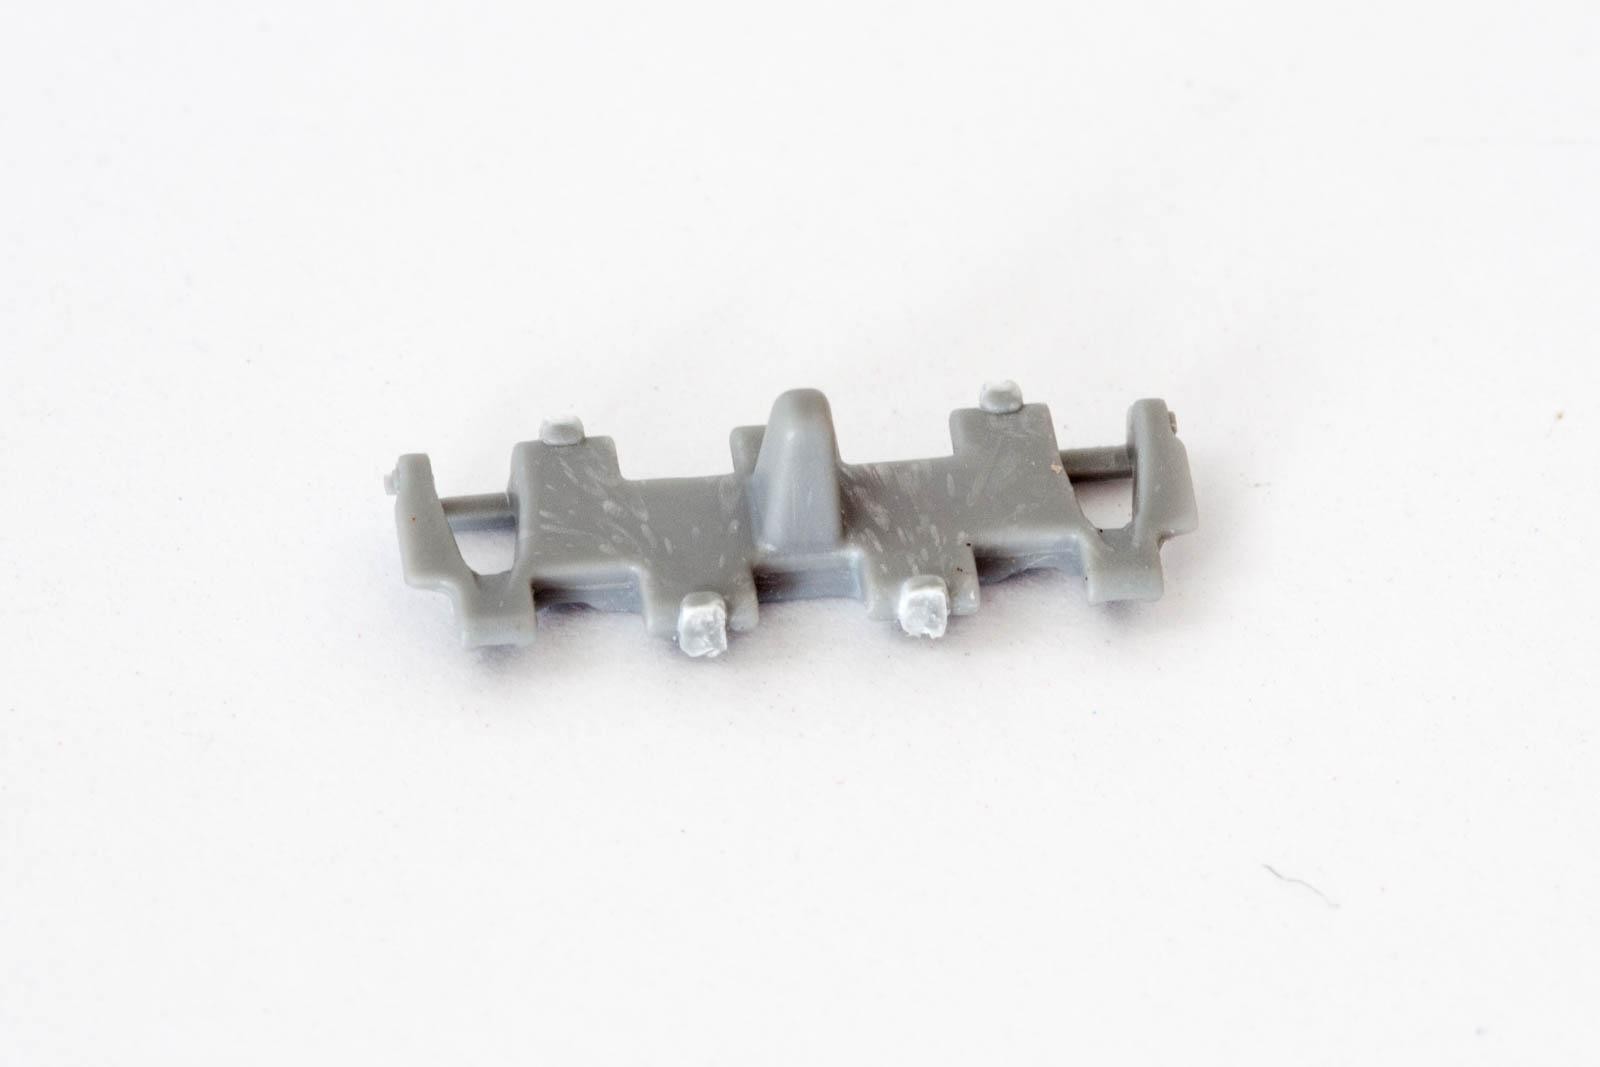
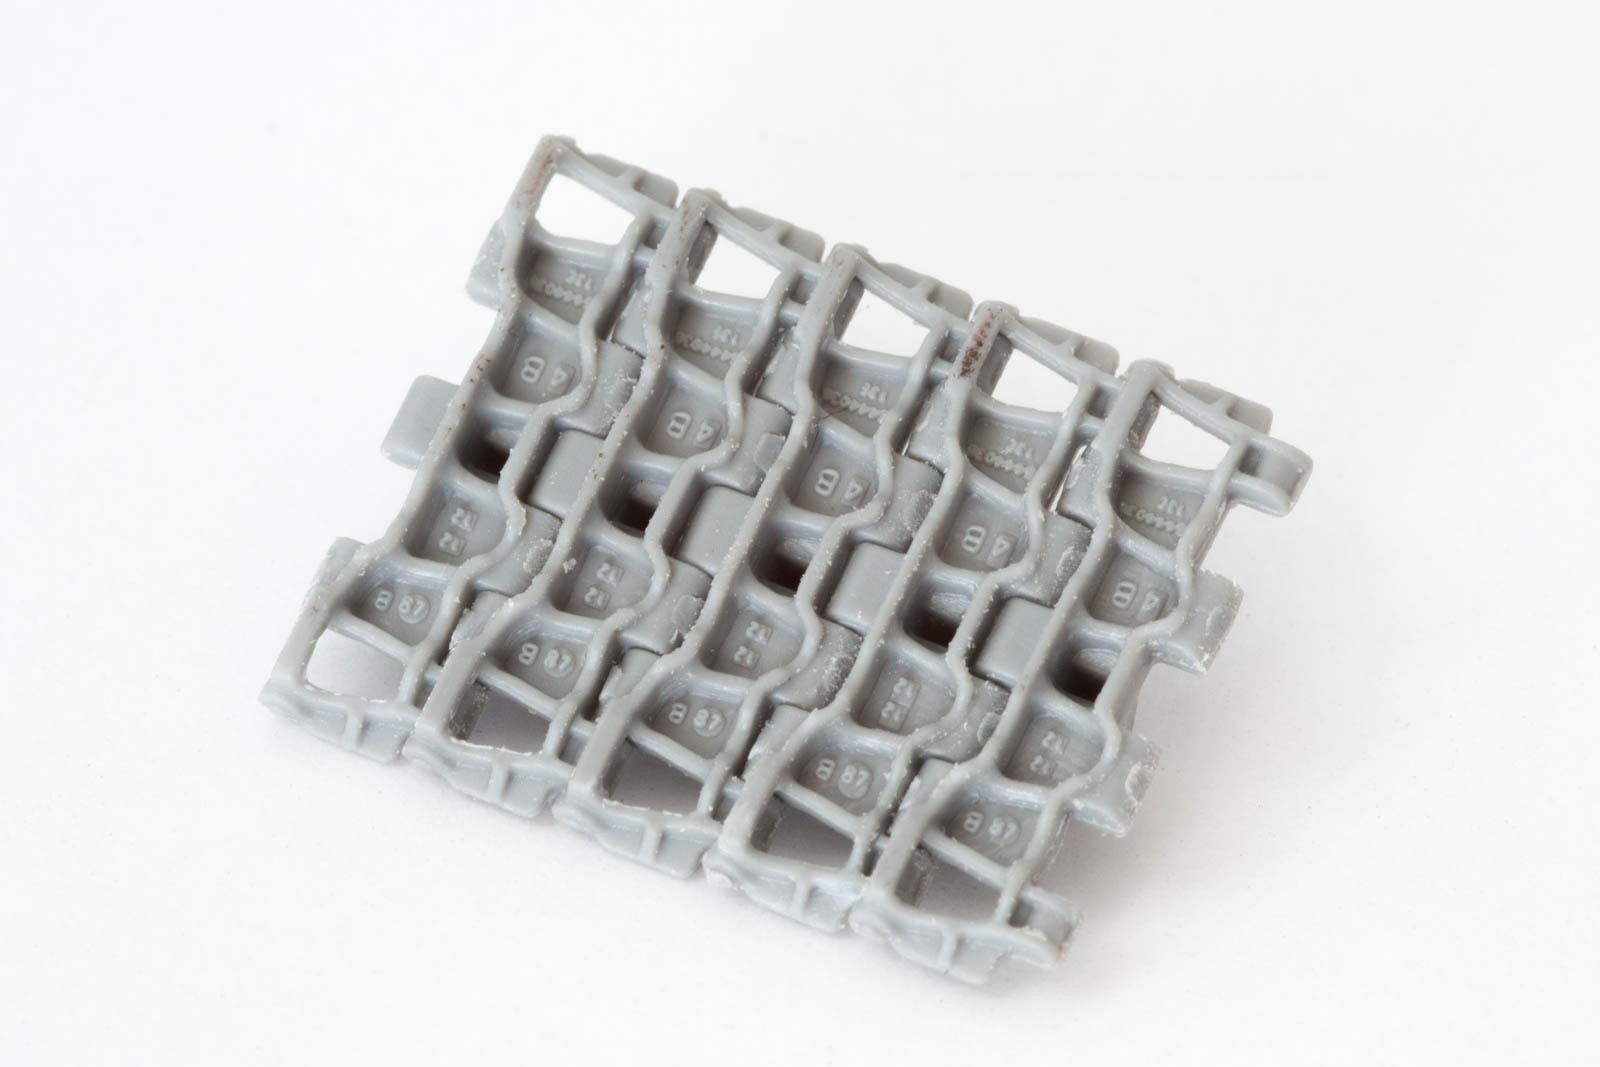
The one thing I am on the fence about is the tracks. They are provided as separate links with exquisite detail, including casting numbers on every link. Sadly they are not workable, but need to be glued instead. Of course, with the characteristic sagging tracks of Soviet tanks individual track links make perfect sense, but it would have been nice to have workable tracks to take advantage of the workable suspension, especially in a diorama setting. And then there is the issue of having to clean up 180 links, each attached to the sprues in four locations.
First Impressions?
So far I can tell you that this kit amazes me with its wealth of detail and the research which must have gone into it. And I dare say that it will probably not be very useful for a weekend build. How it goes together, where care needs to be taken, and what can be done to bring all this amazing detail to life - this will be the topic of part two.
And here's a teaser...
Wow...quite an extensive set of sprues. Seems rather daunting, even for the experienced armor builder. But you're certainly right about the amount of detail. And individual links...ugh. I'll be curious to see what you have to say in part two, my friend. It most assuredly will be an outstanding example once completed. Thanks for the review. Everything we wanted to see. 🙂
By the way - love that box art!
Looks like it'll be a real workout. The molding of the parts looks first rate.
Uff. Keep the updates coming.
Attention, this is an ignorant's question: how on earth do you attach the chains to the vehicle? Do the pieces snap one to another and then you fix them with glue?
IF they were workable, you would simply click one track link into the next - each track link would have indentations on one side and small protusions on its other side, so it would be a bit like Lego. When you've assembled a complete length of 90 links, you would wrap it around the wheels and snap the two ends together. The advantage here is not so much the "workable" track, as not even I would drive the thing across the workbench making "vrroom vrroom" noises. Seriously, I wouldn't... But the movable track allows for track sag, meaning the upper portion of the track would naturally hang and touch the road wheels, like you see it on the box art.
As they are not workable - yes, I will need to glue them together before attaching them to the tank. And this will be tricky, but there are ways to make it a bit easier.
btw, please remind me to give you a tour of the military museum's tank garden next time you are in Vienna! Pretty sure you will appreciate the mechanical aspect of these things 🙂
Great Part 1 report, Boris. The detail is outstanding, as is your completed & painted engine. I bought the (somewhat) new M1A1/M1A1 model by Rye Field Models & it's the same way as this ... super detailed. It has over 1500 parts, many of which are needed to assemble the tracks. As I recall from my years as an M1 crewman, there are 8 pieces that make up the track sections, & the RFM tank has 6 parts to each track block, which - like this one of yours ends up as a fixed track. I have only a section of track finished about 2 inches long.
😉
Your report of this model is also excellent, with plenty of details. Plus, the photography is first rate! I look forward to Part 2! Bravo!
Thanks Jeffry! Yeah, detail on this thing is incredible - and the RFM Abrams is high on my wish list as well. 6 parts per track link sounds a bit over the top, especially given the fact you won't be able to see tooo much track once everything is finished.
During my time in the military, I always felt sorry for those tankers having to fix a broken track on their M60's. I very much did enjoy their company though, especially during winter maneuvers - being Infantry myself, their cozy vehicles where a nice change to a hole in the ground 😀
Great first impressions Boris of a stunning looking kit. Some of those sprue attachments look like a daunting cleaning up job. Great work on the engine and on your clear photographs.