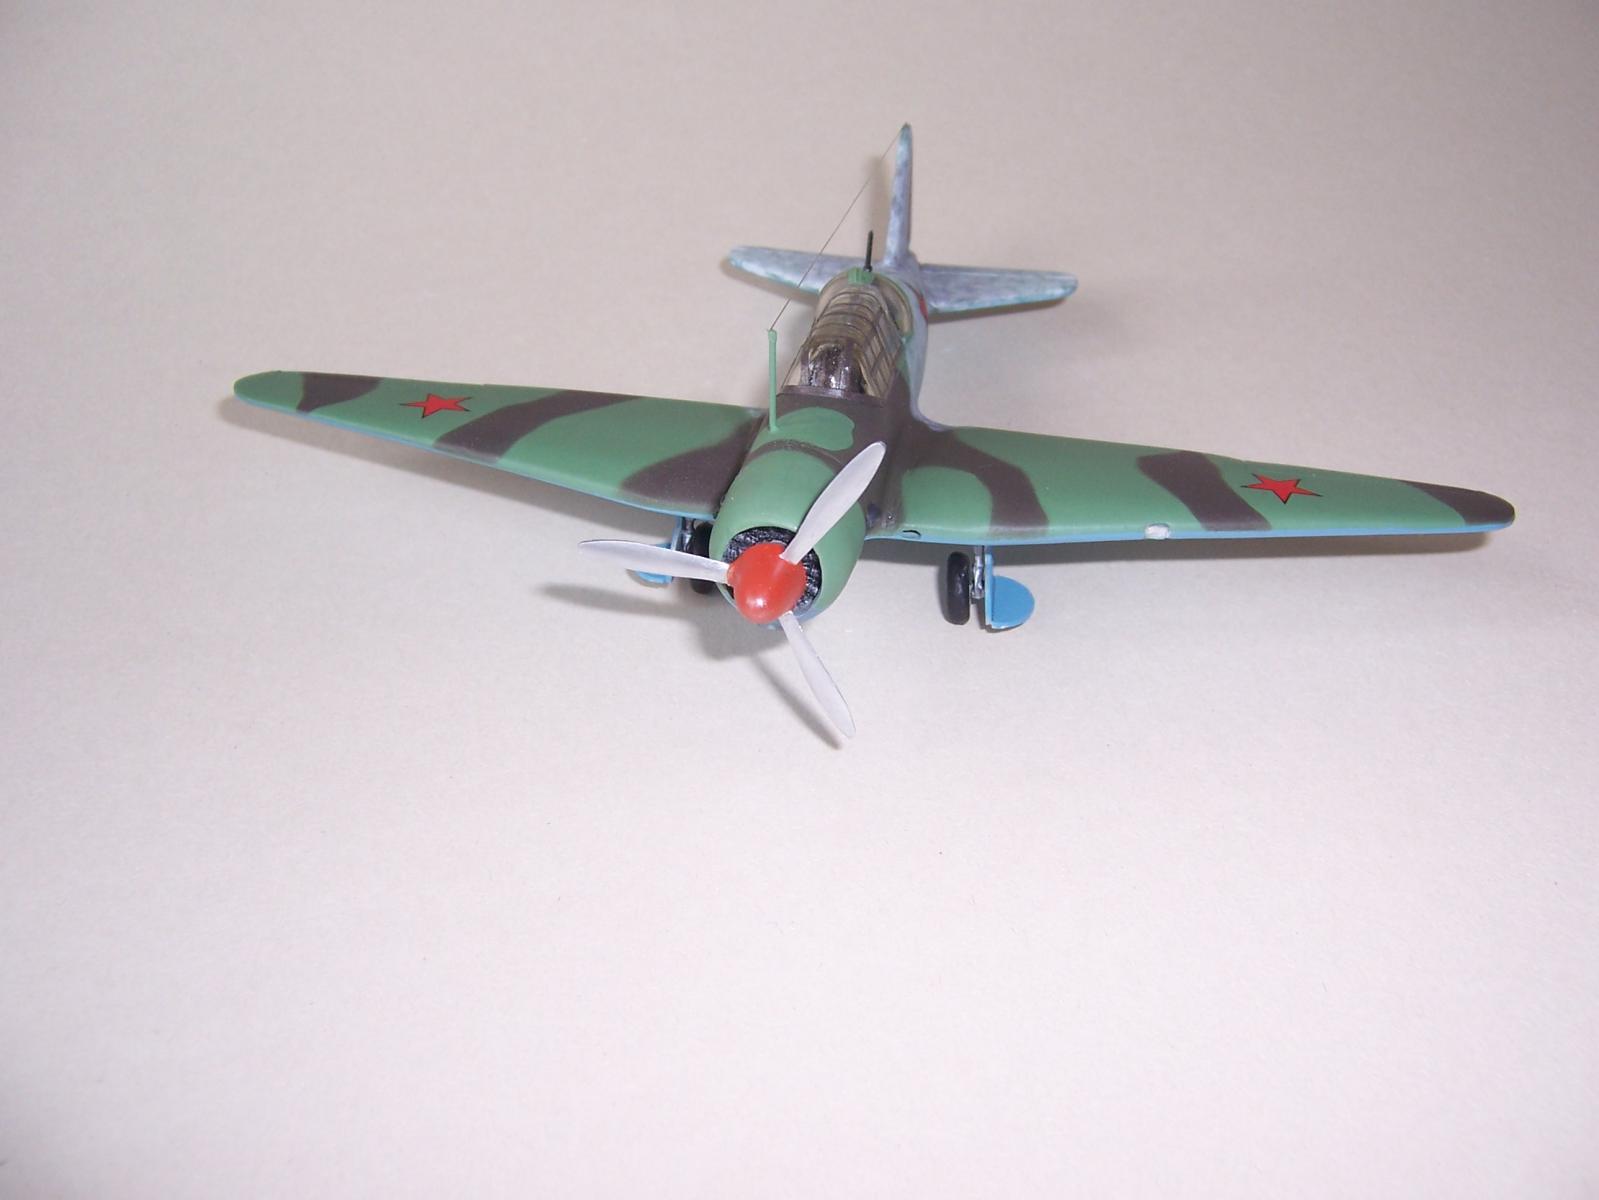
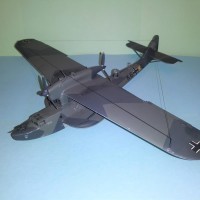
Silk purse from a sows ear!! SU-2 1/72
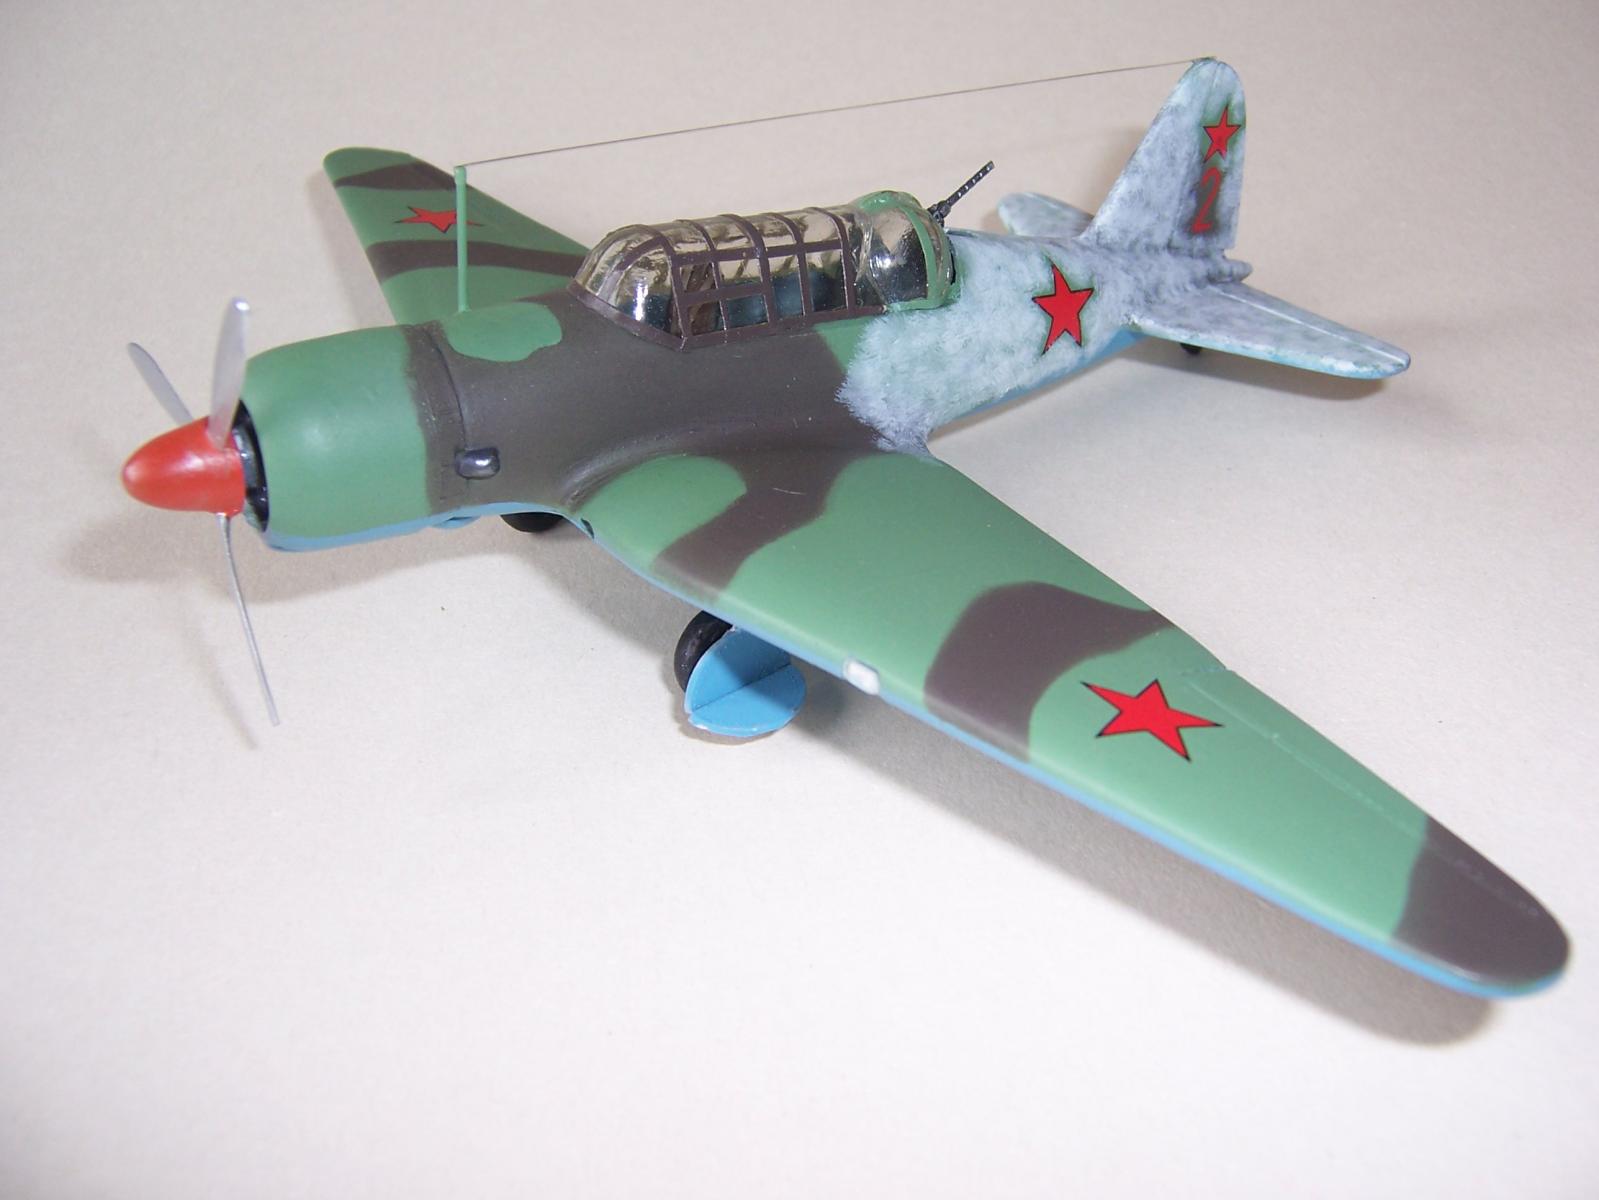
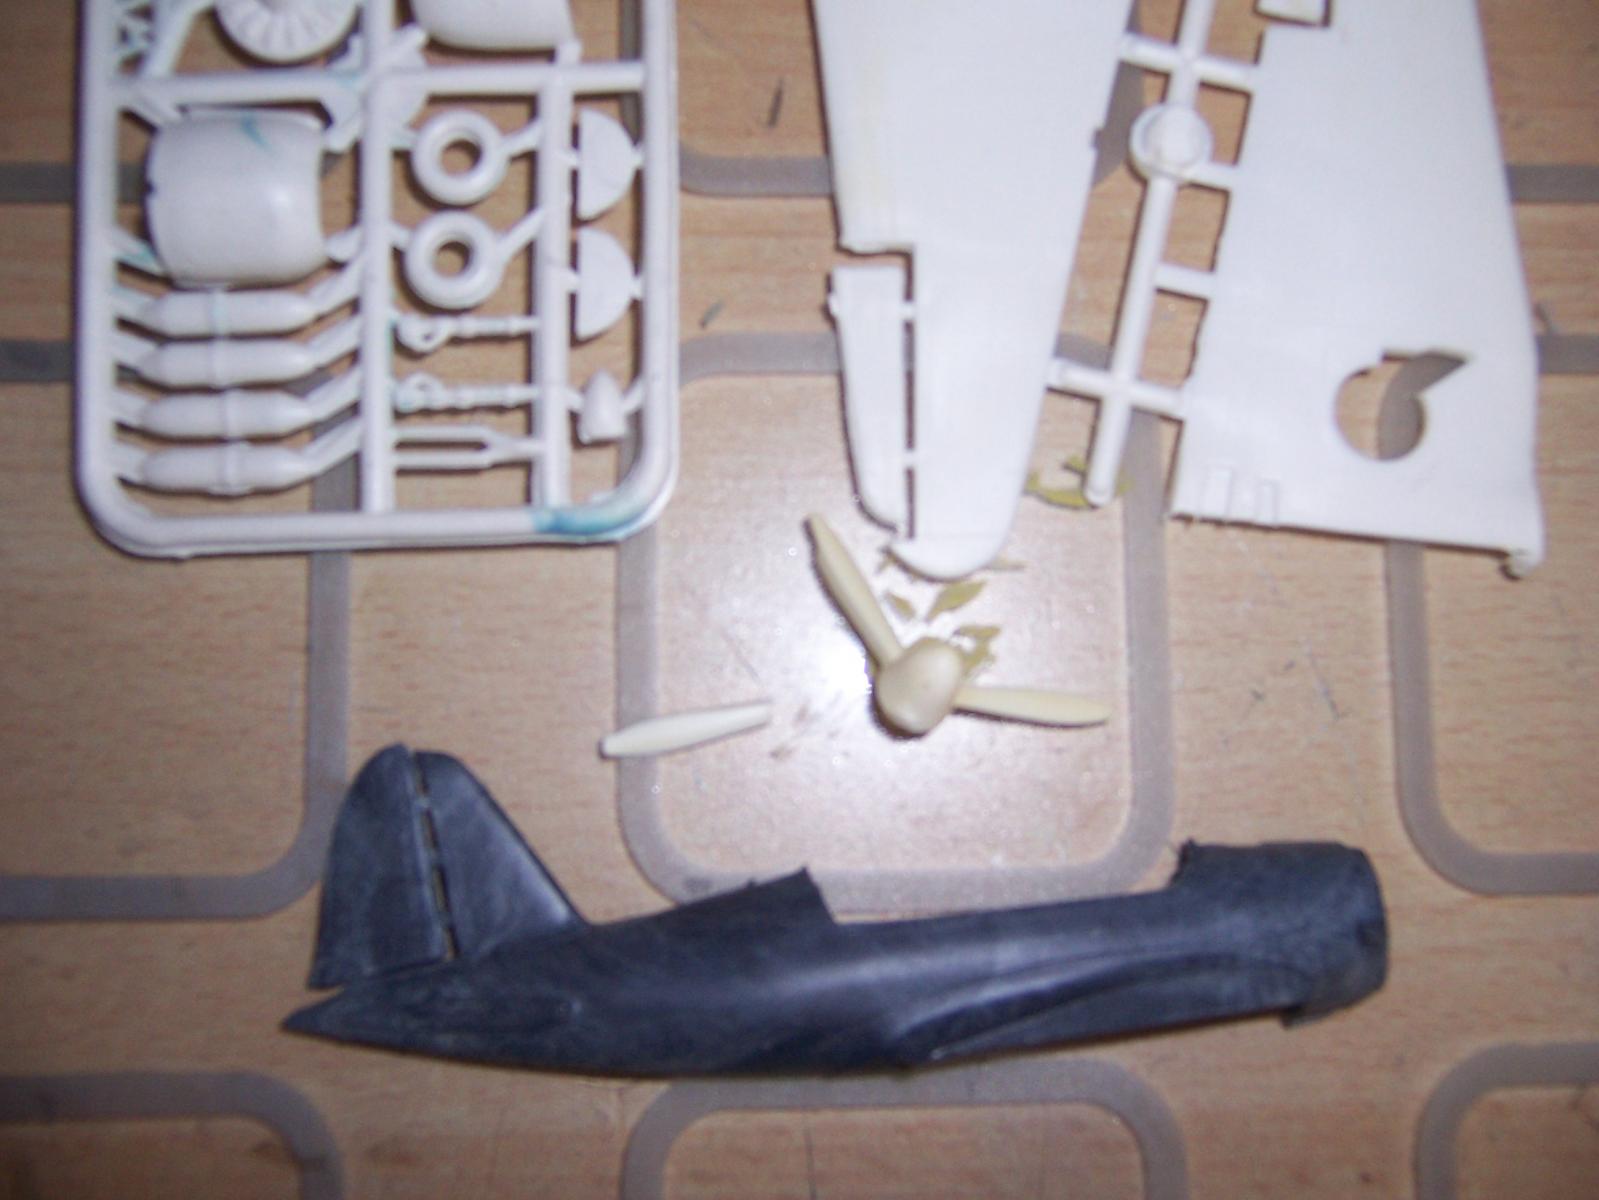
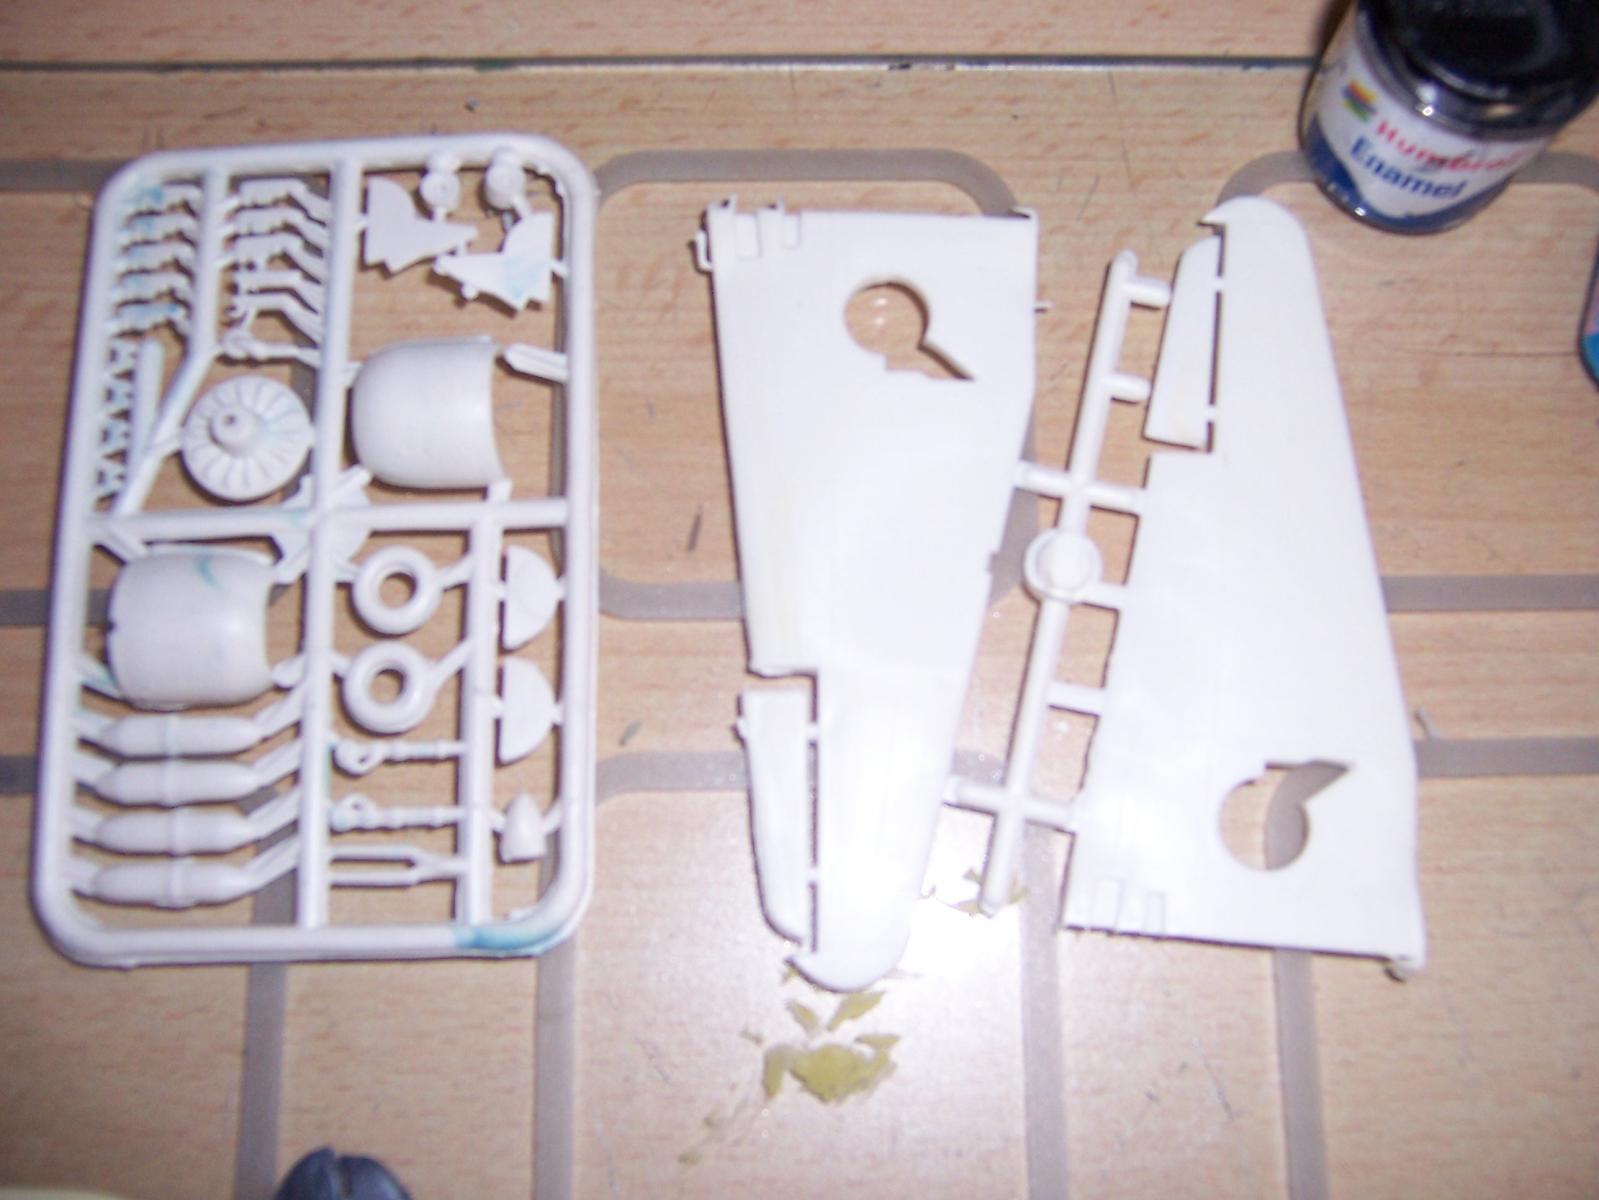
Well some of you may remember my request for help with this kit some weeks ago,but to give a quick re-cap I bought a kit second hand at a club day a couple of years ago and found in the box was also another kit ,the kit was obviously very old ,I mean ancient, the plastic bag it was in was beginning to degrade suggesting decades rather than just years, there were no instructions ,no decals and no indication what the kit subject was it appeared to have been moulded from recycled scrap plastic , at first I was just going to bin it and think no more of it but for some reason I thought it might be fun just to construct it and see how it looked.Thanks to the guys here on iModeller it was deduced that the subject was in fact a Sukhoi 2, I found a decal set from Hannants here in the U.K. which gave four full sets for four different aircraft at £6 ,a bargain !.A bit of research found a quite interesting subject and so I pressed on.
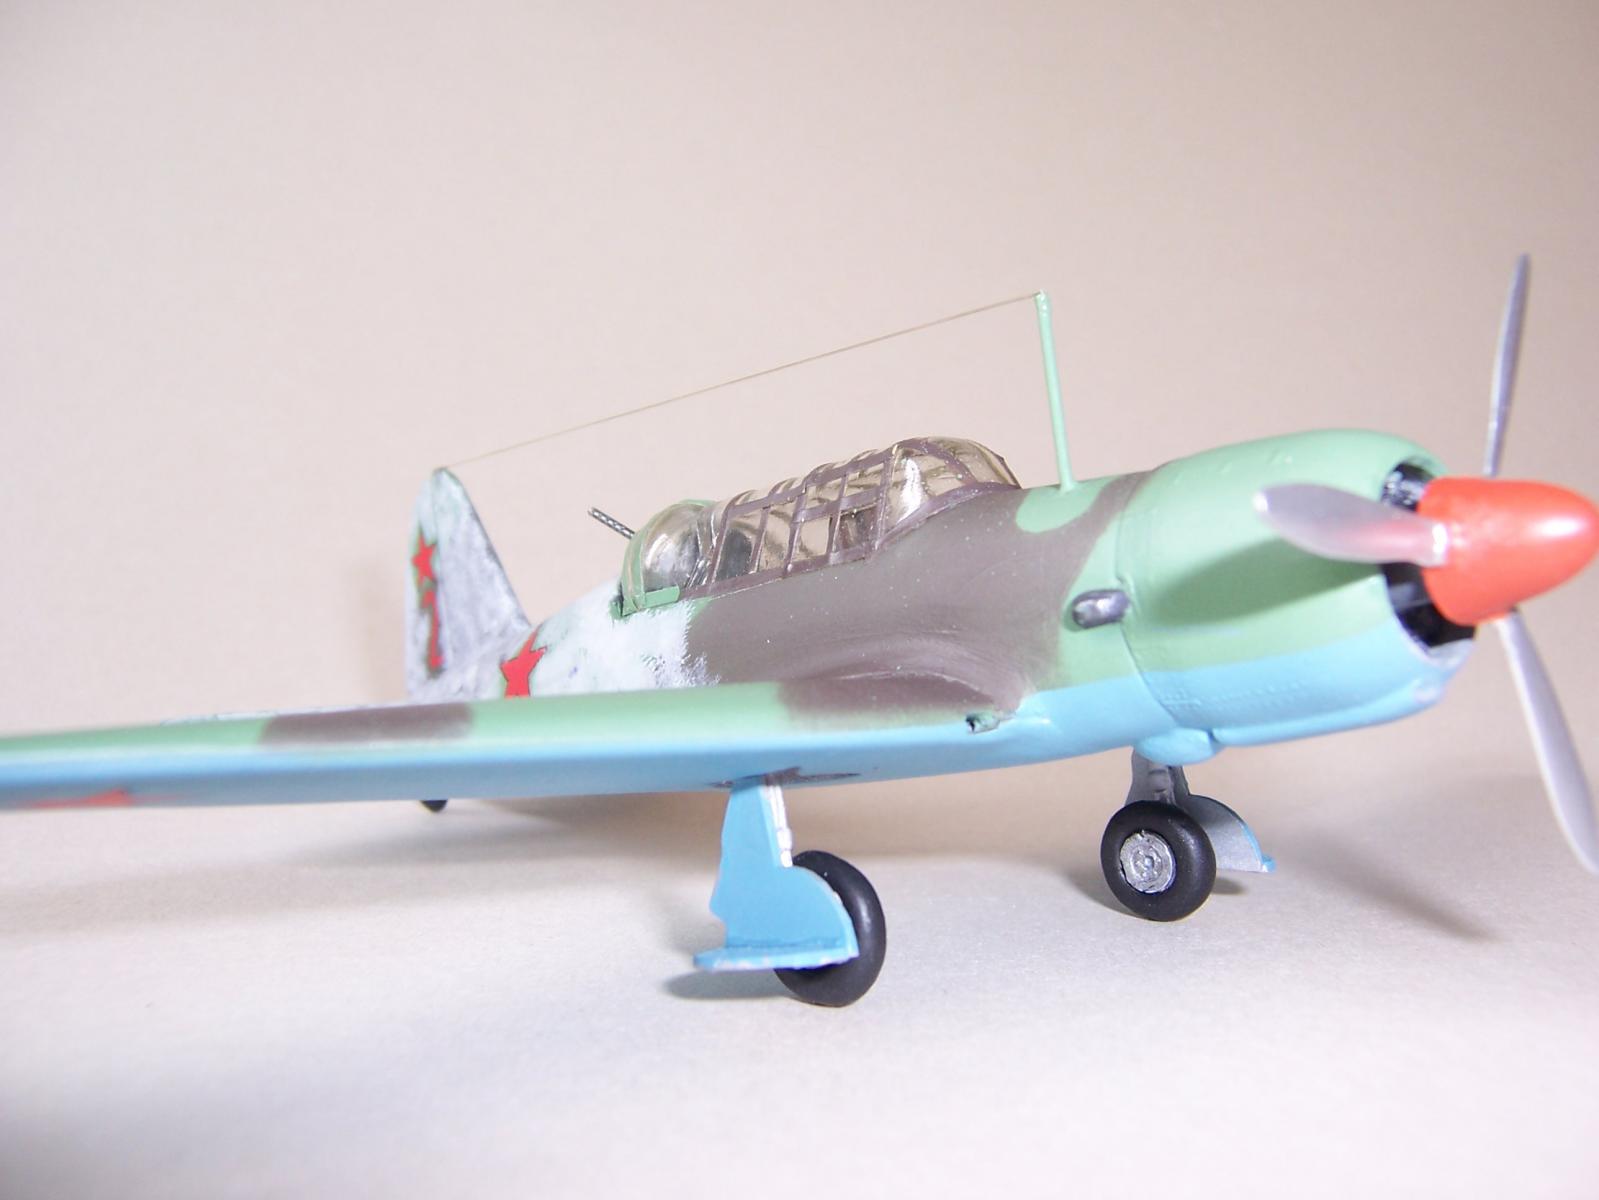
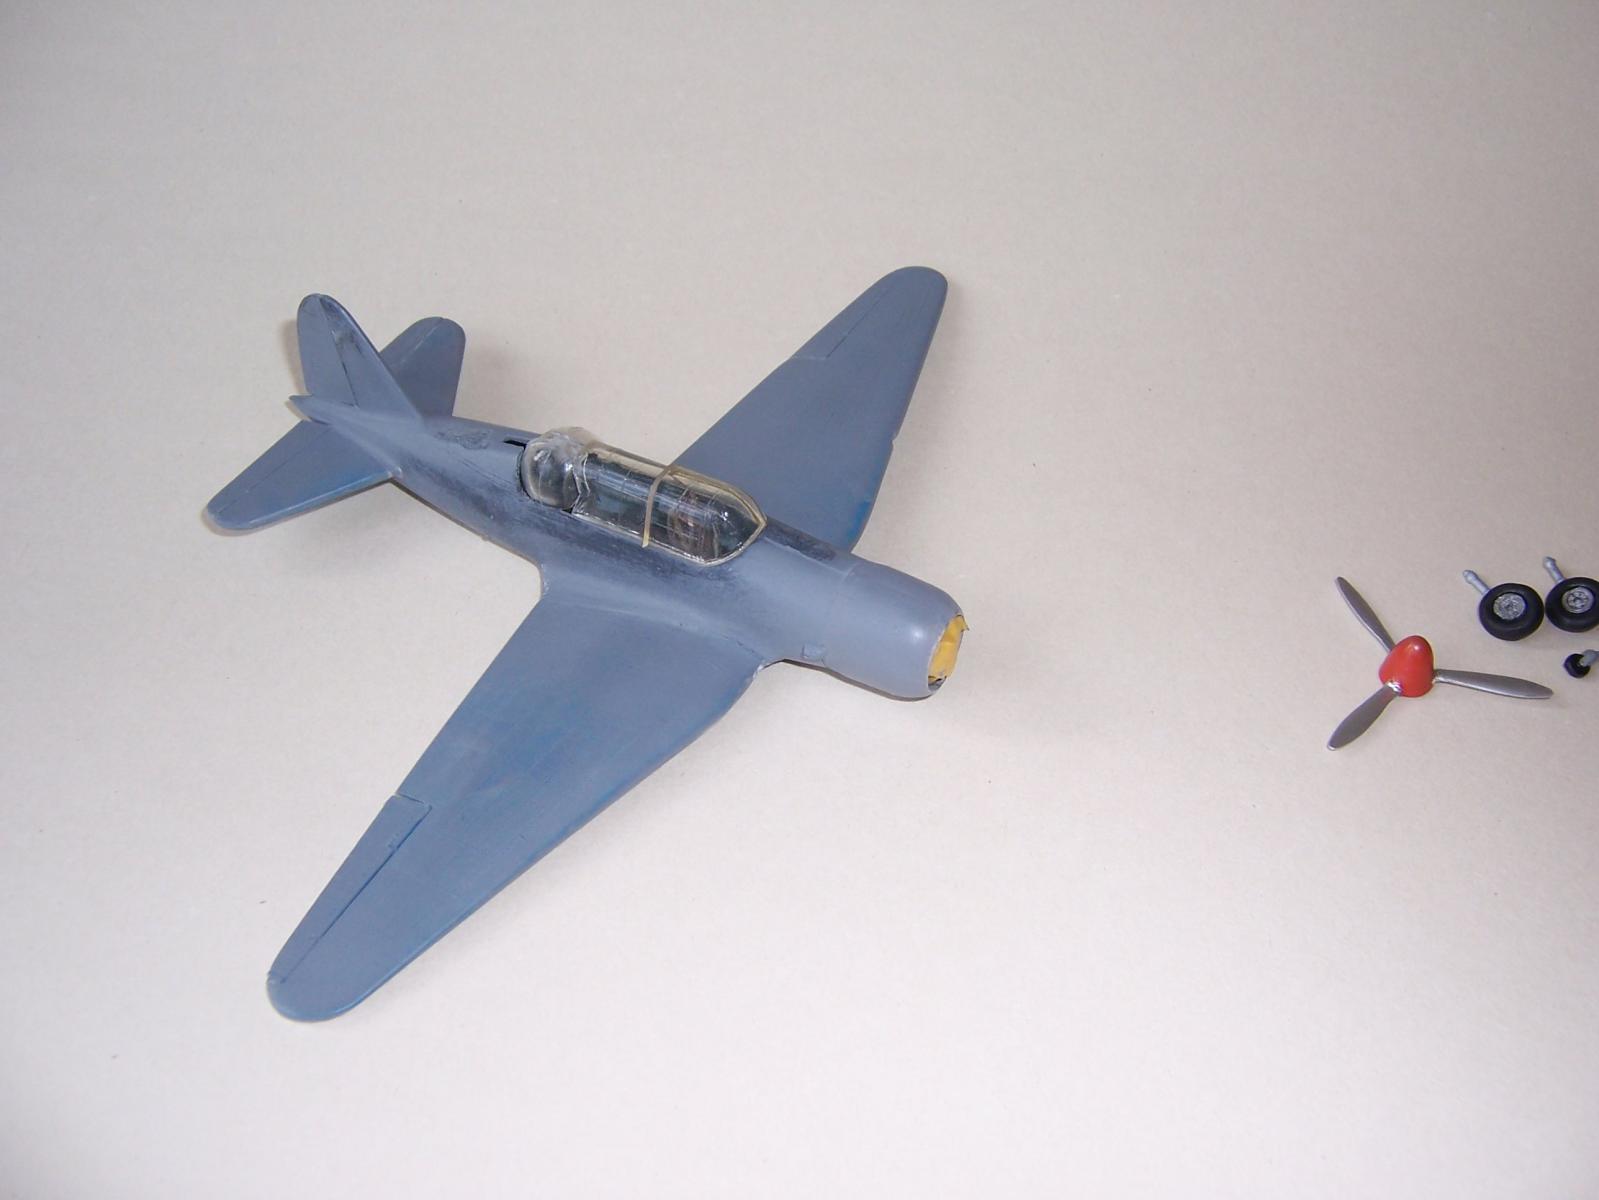
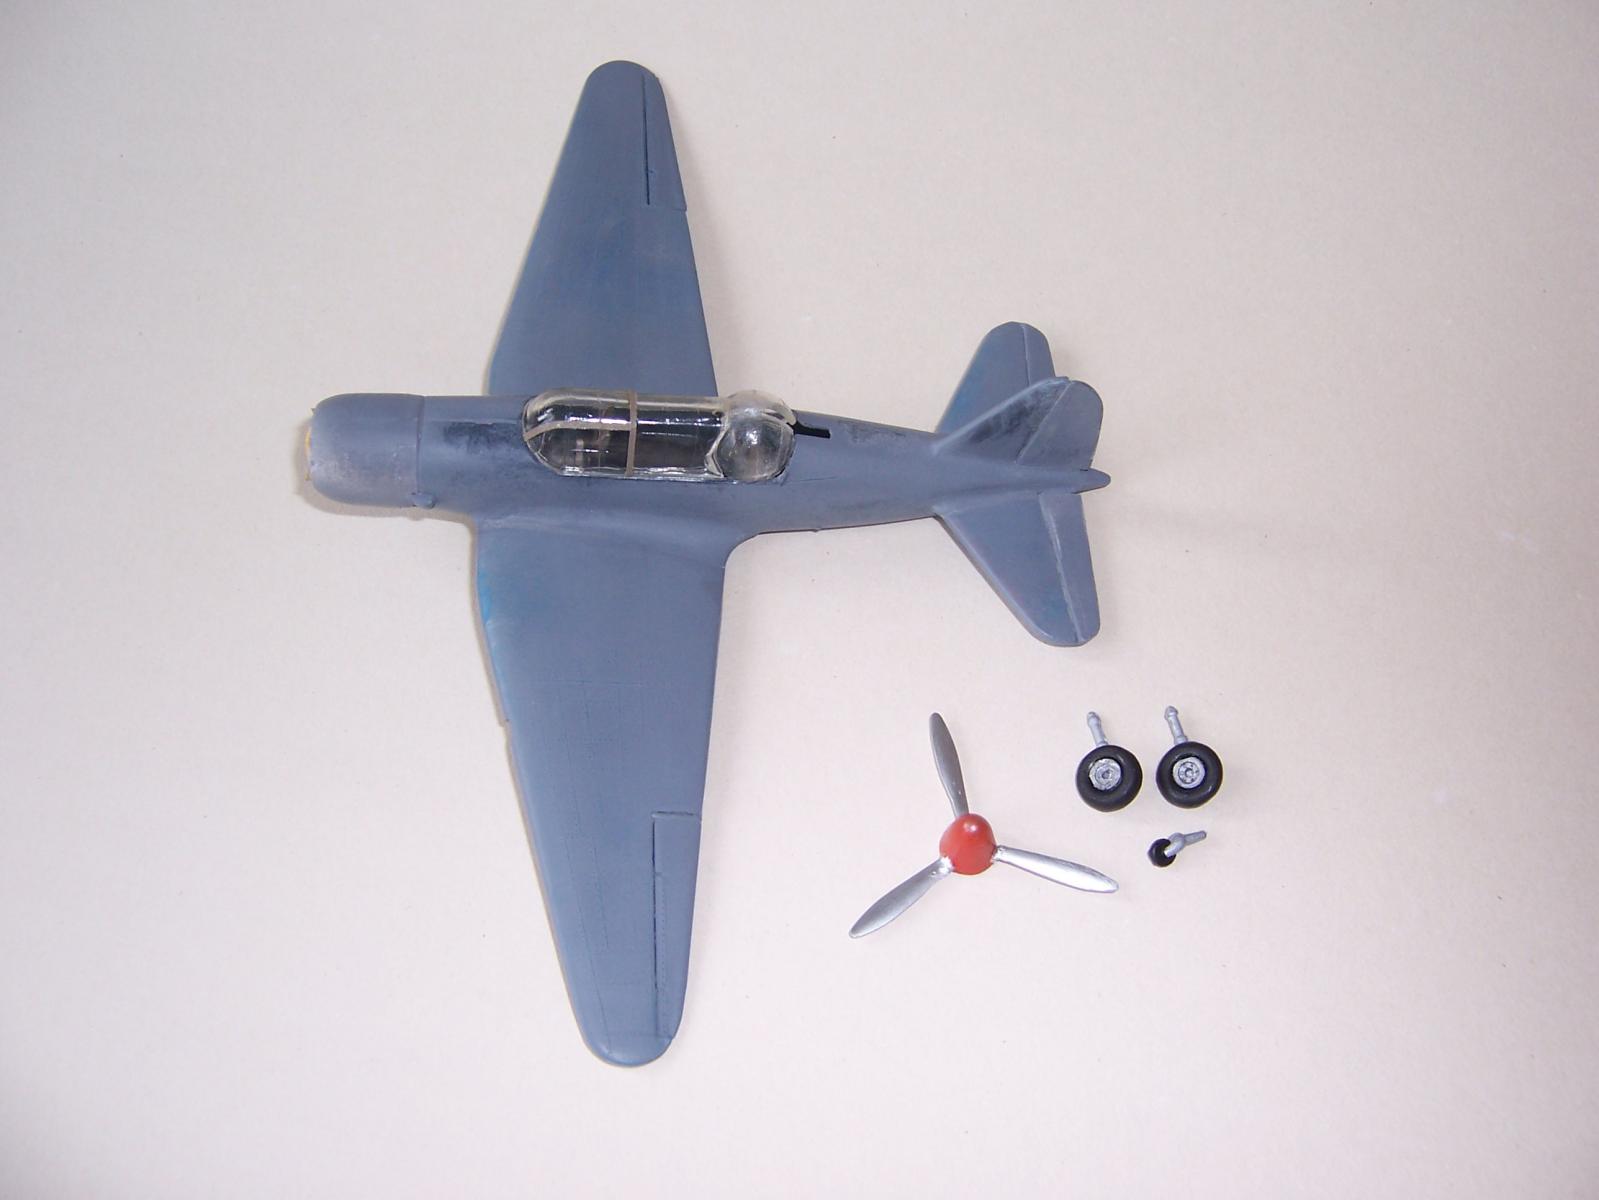
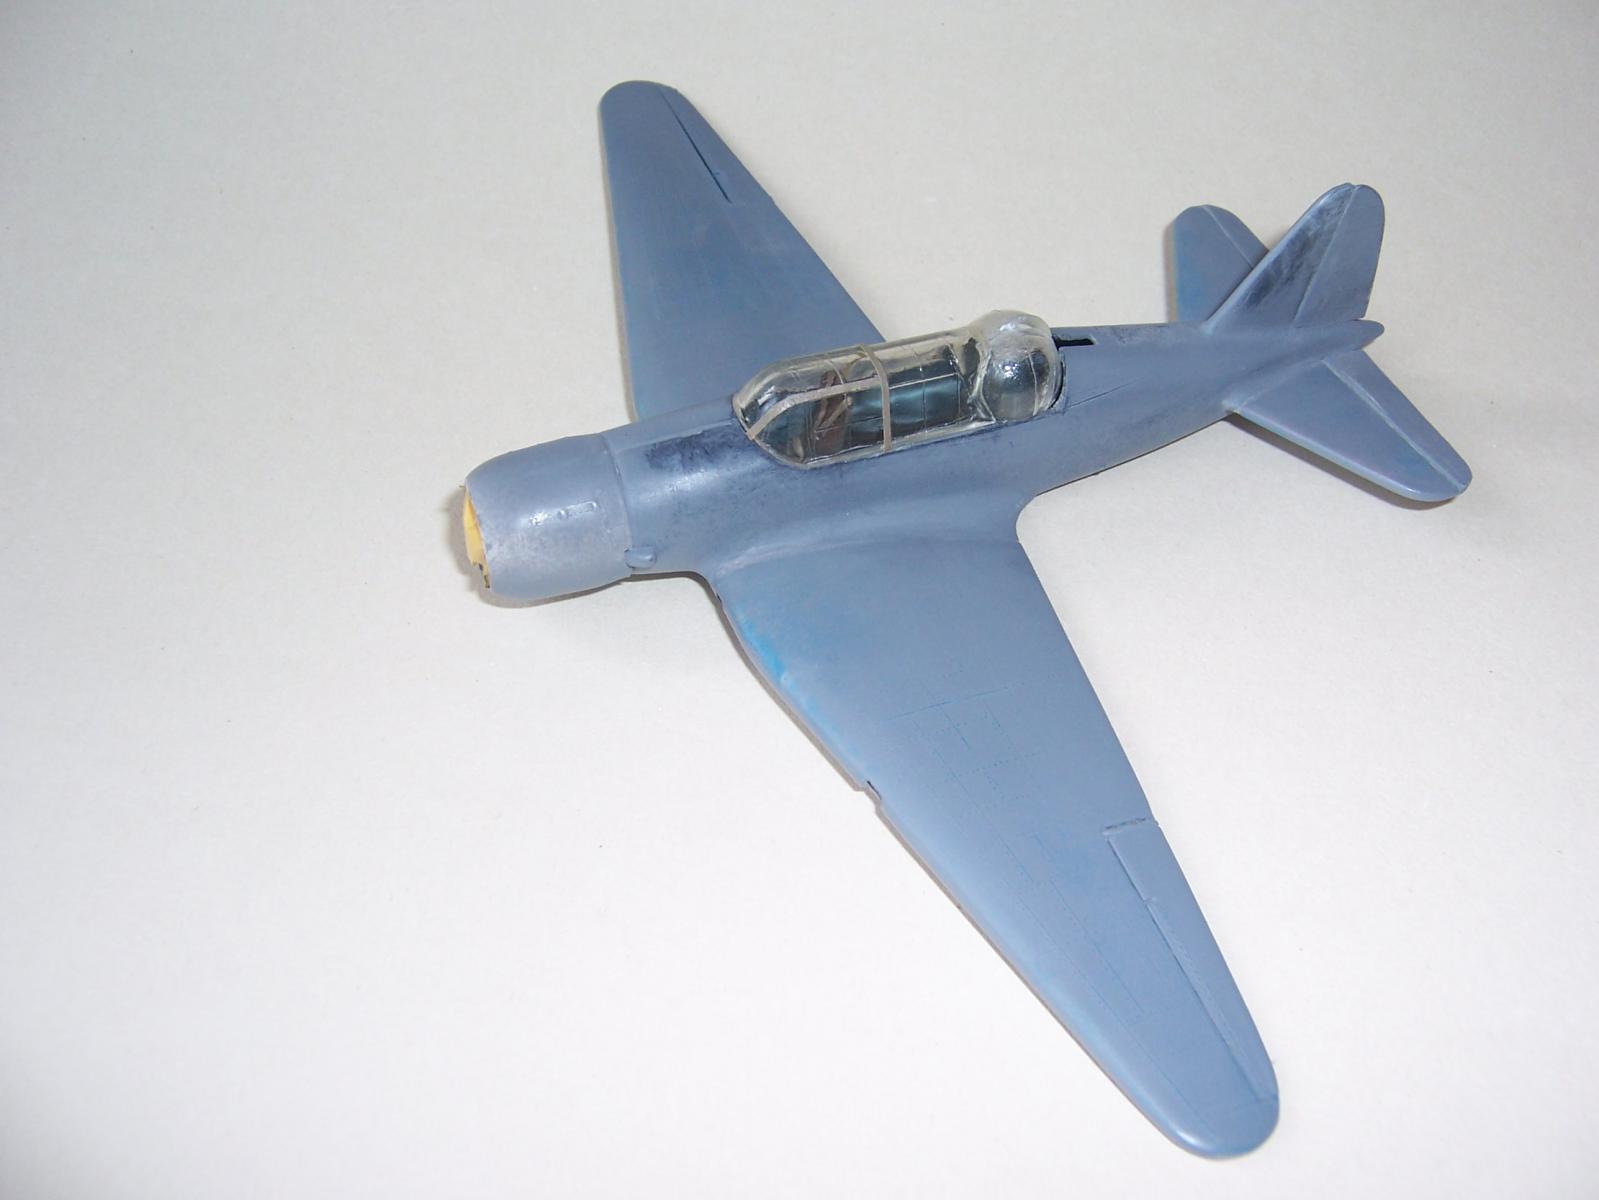
I would have to say that this kit is a classic 10 footer ,every single part required cleaning up,every seam required filler some even needed a plasticard fillet, the clear parts were dreadful and in fact the observation ports on the sides and underneath had to be abandoned as they could not be made to fit they were just to mis-shaped to use,also there was no interior whatsoever so a basic floor was fashioned from plastic from a food container and a control panel and two seats were found in the spares box and harnesses made from Tamiya tape I also added the radio mast and a gun for the turret, I didn't bother with the bombs under the wings as they are just too poorly moulded which is a pity.
All things considered I am pleased with how this turned out,as some of you who have seen my stuff may remember I do enjoy a challenge from time to time and have found that building really basic kits to a reasonable standard gives you skills that come in handy when building much better kits.
Thanks to all who helped with identification in the first place and without whom I could not of even started this project.
I have the rest of the decal set gathering dust and the chances of me building another one of these are on a par with the chances of anything coming from Mars - a million to one they said... so if anyone wants them let me know and I'll post them on gratis.
Cheers N.


In accordance with your description, you should've found out the Russian word for "Phoenix", and used it for the 'nose art' (risen from the ashes). Very nice resurrection, Neil.
That was sharp thinking Craig, nice one.
Thanks for looking Craig ,it was fun but I probably wouldn't bother again.
N.
Well done mate, I would of used it as a mule or target practice.
I have to say, I would have tossed it. You did an amazing salvage of this scrap plastic.
Thanks Tom,that's very kind.
N.
Cheers Simes, she ain't a pretty girl is she ?,nice to hear from you Simes it's been ages ,how ya doin buddy ?
N.
Beauty, Neil! Very nice work...
Thanks Jaime, a lot of work to end up with a VERY average kit.
N.
Good test of your skills Neil and a great result.
Cheers Rob.
N.
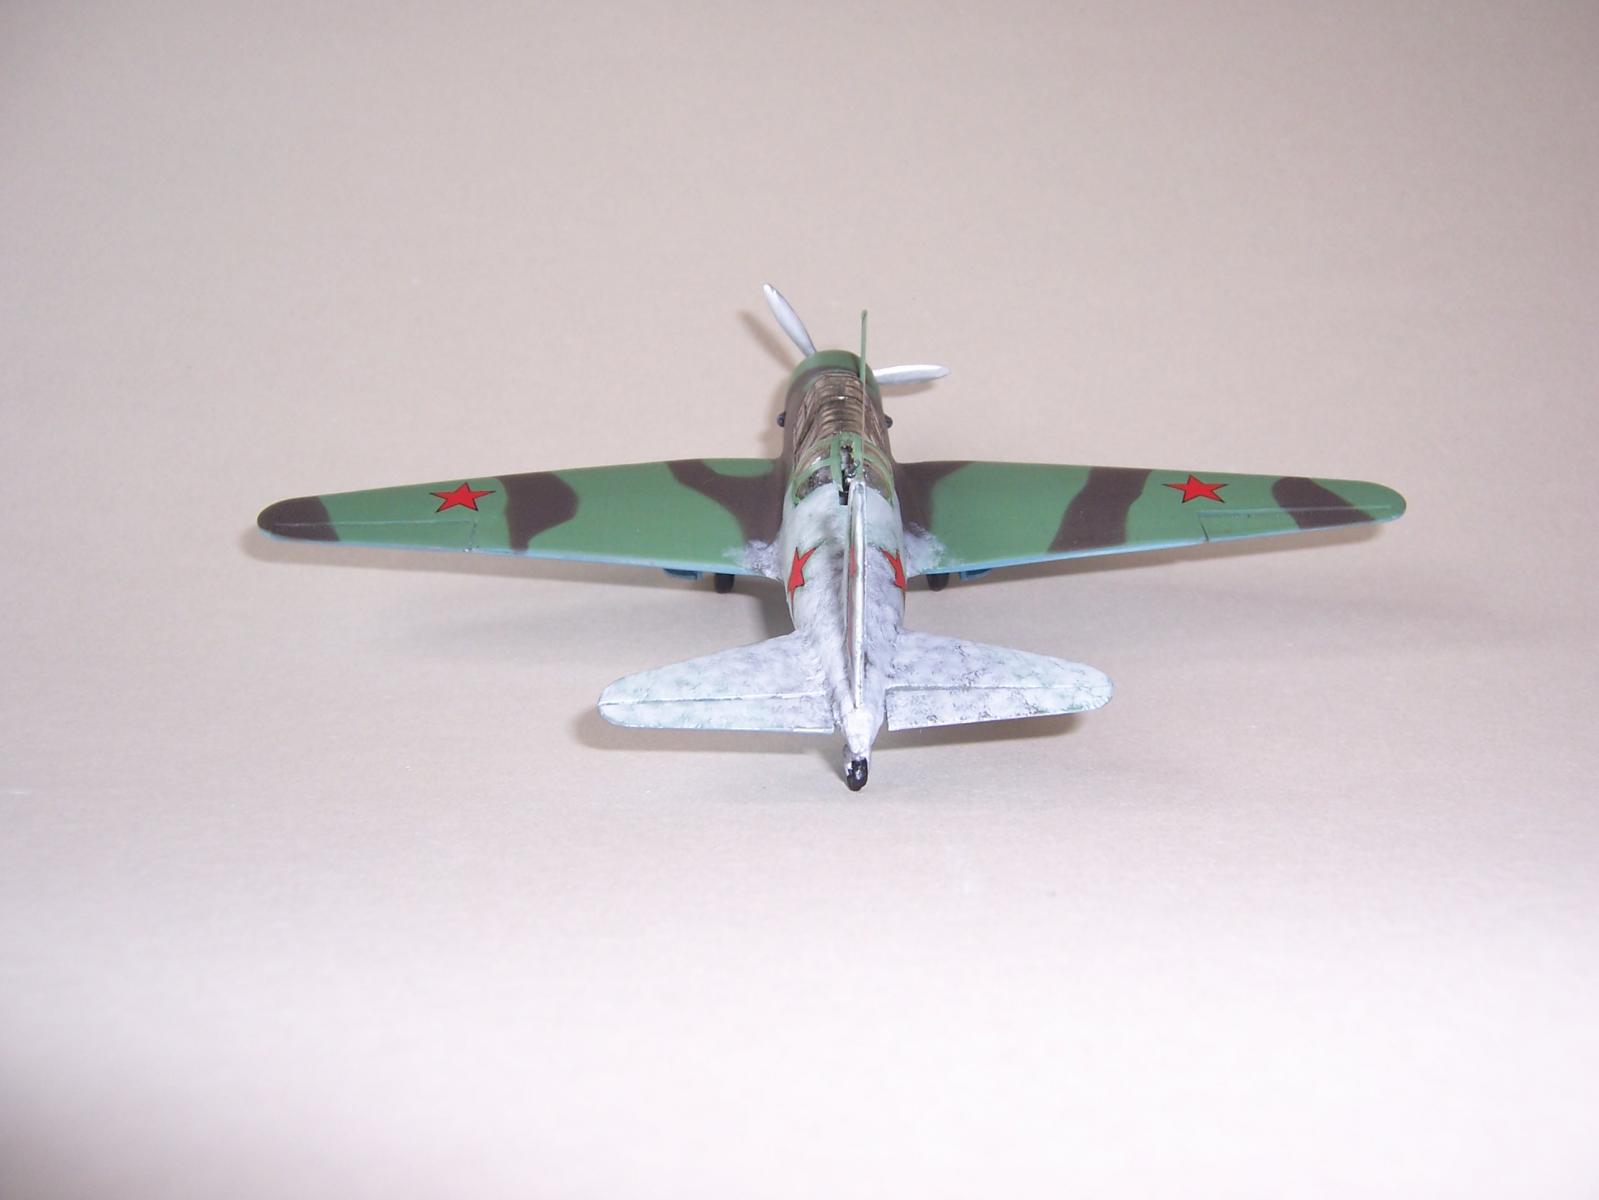
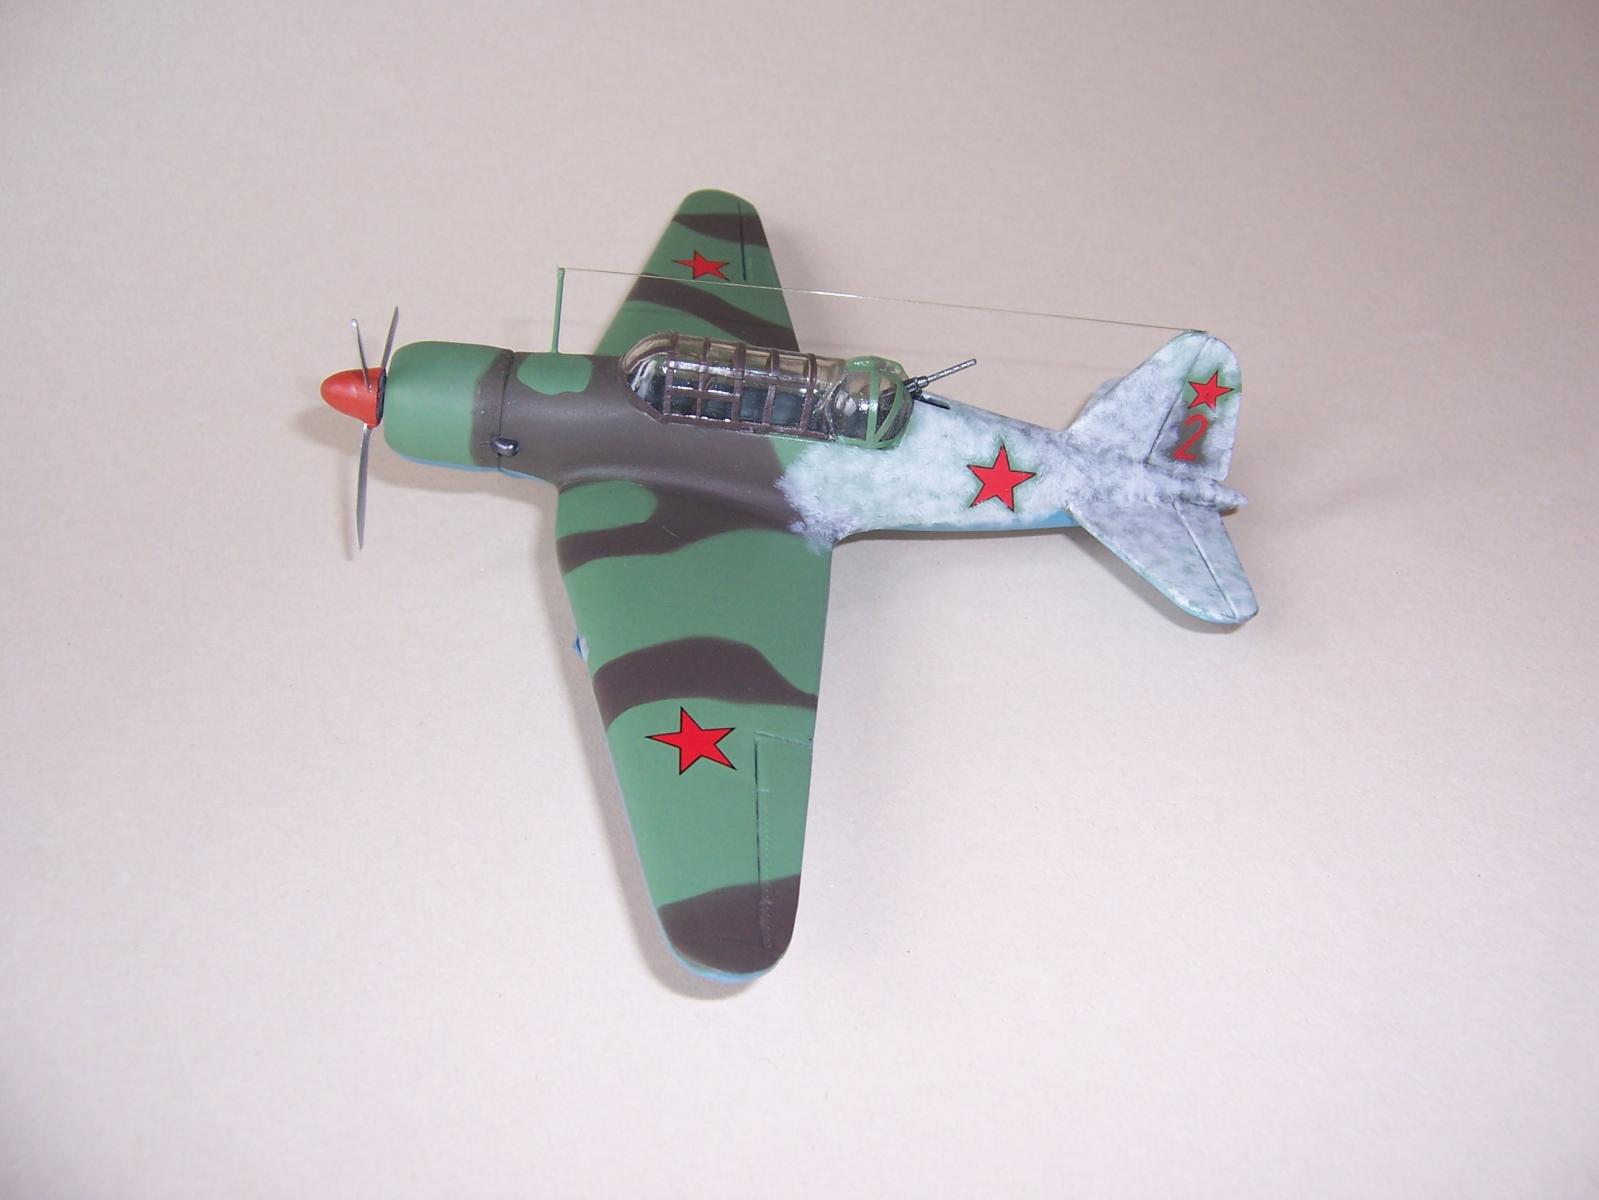
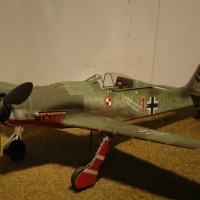
Very interesting paint scheme! I assume you did it at the "half-finished winter camo" stage.
Nice job on a real orphan of a kit!
Thanks Jeff, for some reason the Russians painted them up like that .
Thanks for looking ,N.
You like challenge indeed! Great result especially one consider what kind of kit You had -those sprue shots are frightening; really 🙂 Grat!
Thanks a lot Gabor it turned out not to bad in the end Eh?,thanks for your contribution .
N.
oh wow, that turned out really nice considering what you had to build from!
Thanks Seb , that's very kind.
Cheers N.
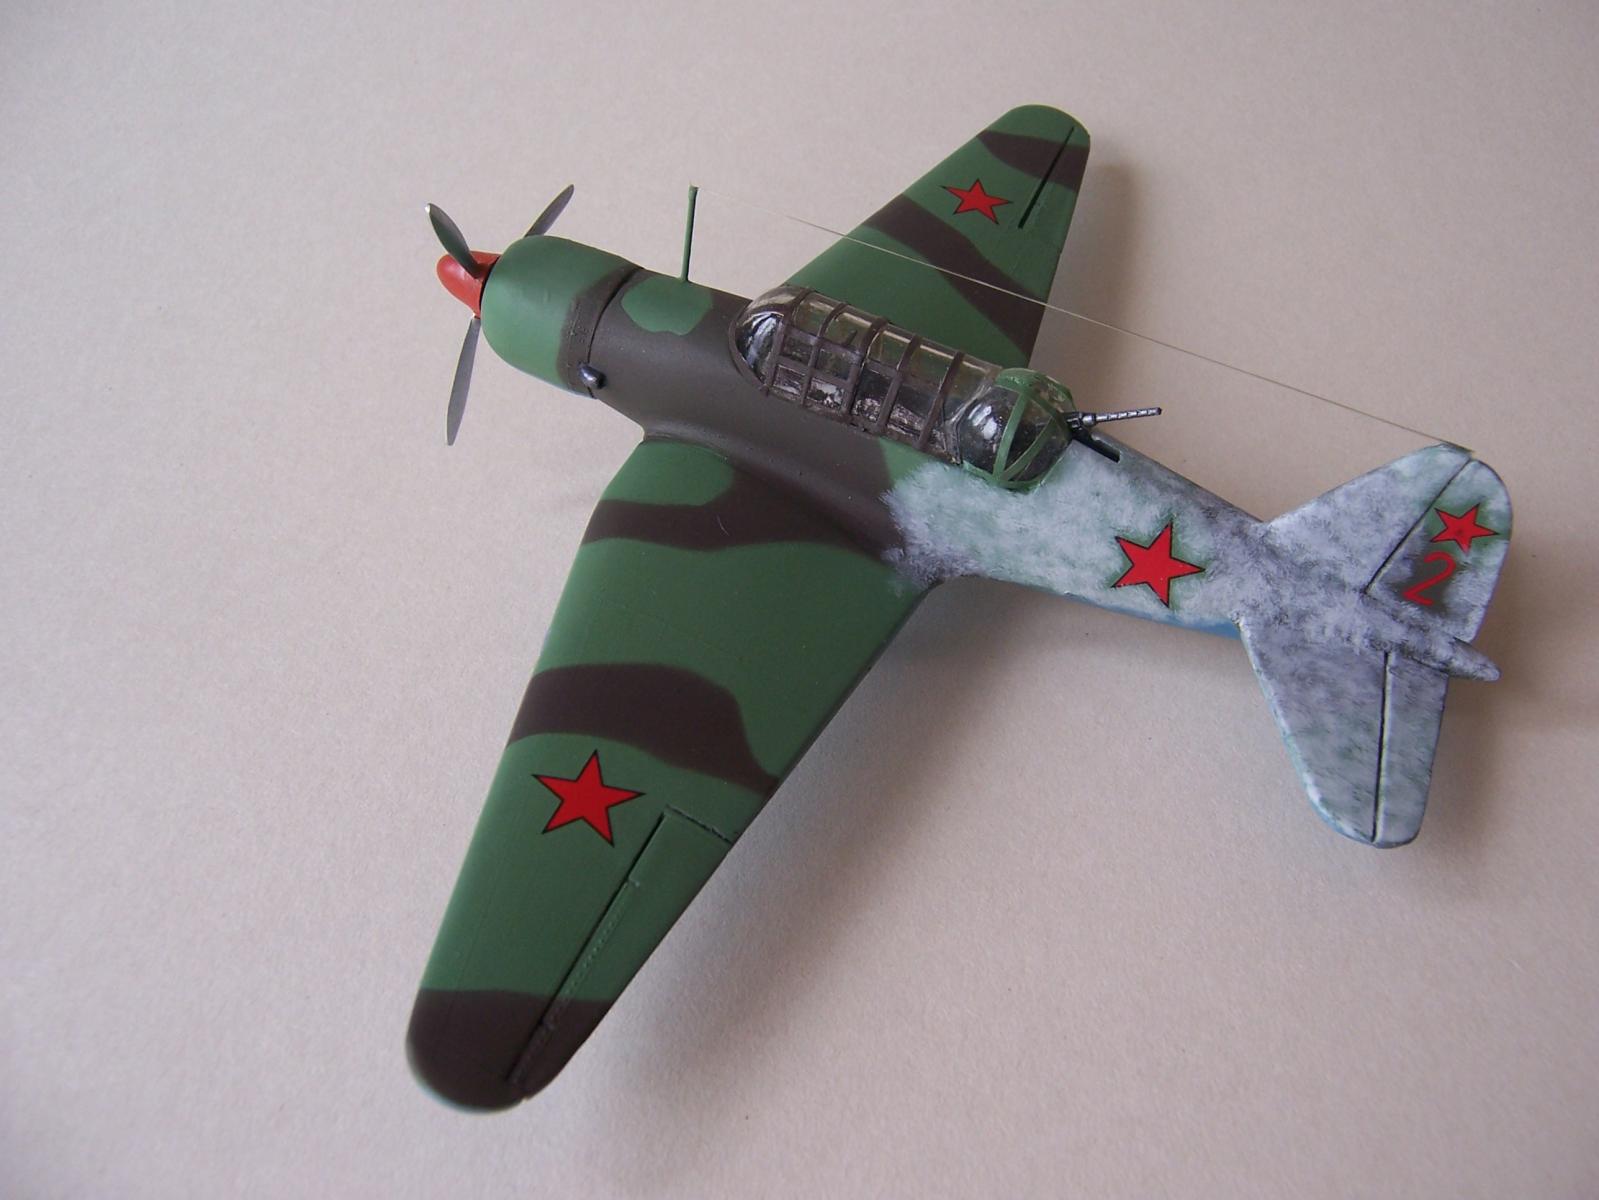
Nice finish Neil! I like the camo you ended up going with. Did you brush on the winter overpaint on the tail, and what medium did you use?
If no one else begs you for the decals, I'll surely take them. I didn't really check what the ICM kit offerings were when I looked over my kit, but aftermarket usually tend to be better quality. Now - if my Su-2 comes out as nice as yours...!
Hey there Greg, I airbrushed it first using Humbrol enamels ,I can let you know the colours if you want, and then used an old make up brush (the little ladies not mine I should add !) it is a brush with very short bristles about 5mm and sort of stippled on Humbrol matt white with the brush semi wet ,not like dry brushing in a straight up and down dabbing motion.It can be rough looking as this was applied hurriedly in the field, I deliberately went round the decals and allowed tiny bits of white to touch them.
If you want the decals just private message me your address and I'll send them on, for your info it is printed by AML decals and has five options to choose from though obviously I've used one .Thanks for your help and encouragement during this build buddy.
N.
Not a bad looking piece of c**p Neil, well done.
Cheers Al...I think ! LOL
N.
your right Neil, it came out looking pretty good you did a great job of it mate considering the way that plastic looked! so it looks like you can polish a turd 😉
Cheers ,obviously it'll never see the light of day and the canopy framing is bad ,I was trying something new,I cut thin strips of Tamiya tape and painted them in the camo colours before applying them to the canopy ,from a distance it looks ok but it doesn't really work, overall though it turned out ok considering what I had to work with.
N.