3D Printing & Modelling
I have always been a bit of a gadget man and so when 3D printers first appeared on the scene some years ago it was like a moth to a flame. However, at that time I was unable to find a suitable CAD package that was capable of 3D modelling, simple to use and affordable. So, owning such a device remained a pipedream.
That is until March of this year. Once again, I saw an advert on a craft shopping channel for a 3D printer. The price had dropped considerably but as usual no suitable 3D CAD software was included. Had things changed in the intervening years? Worth a look I thought. My investigations led me to a software package called Autodesk Fusion 360, a product that could be registered for free as a hobbyist. This is very sophisticated software but easy to use at the simplest level. Here was something I could use to design and print modelling subjects.
To some, owning a 3D printer in its self is the hobby. That is not what I wanted, to me it would be a tool. After some research I opted for a printer that was ready assembled rather than a kit, just some final assembly and a bit of setting up. The setting up, mainly levelling the print bed in relation to the printer head, proved a little trickier than anticipated and took me a while to get my head round. But after a few hours we were cooking on gas.
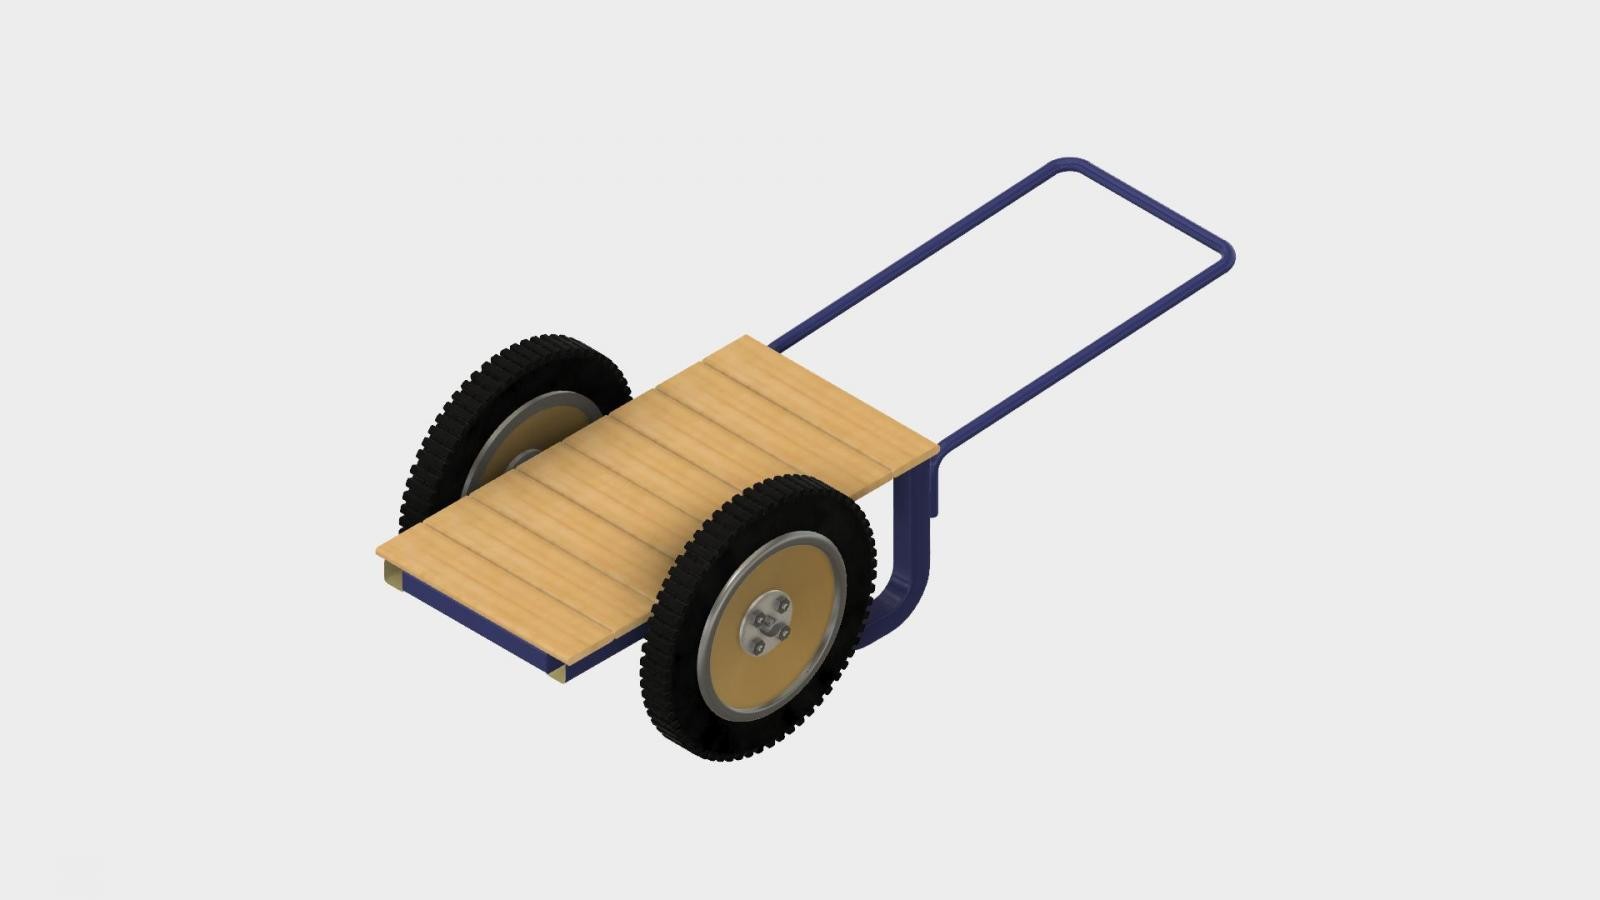
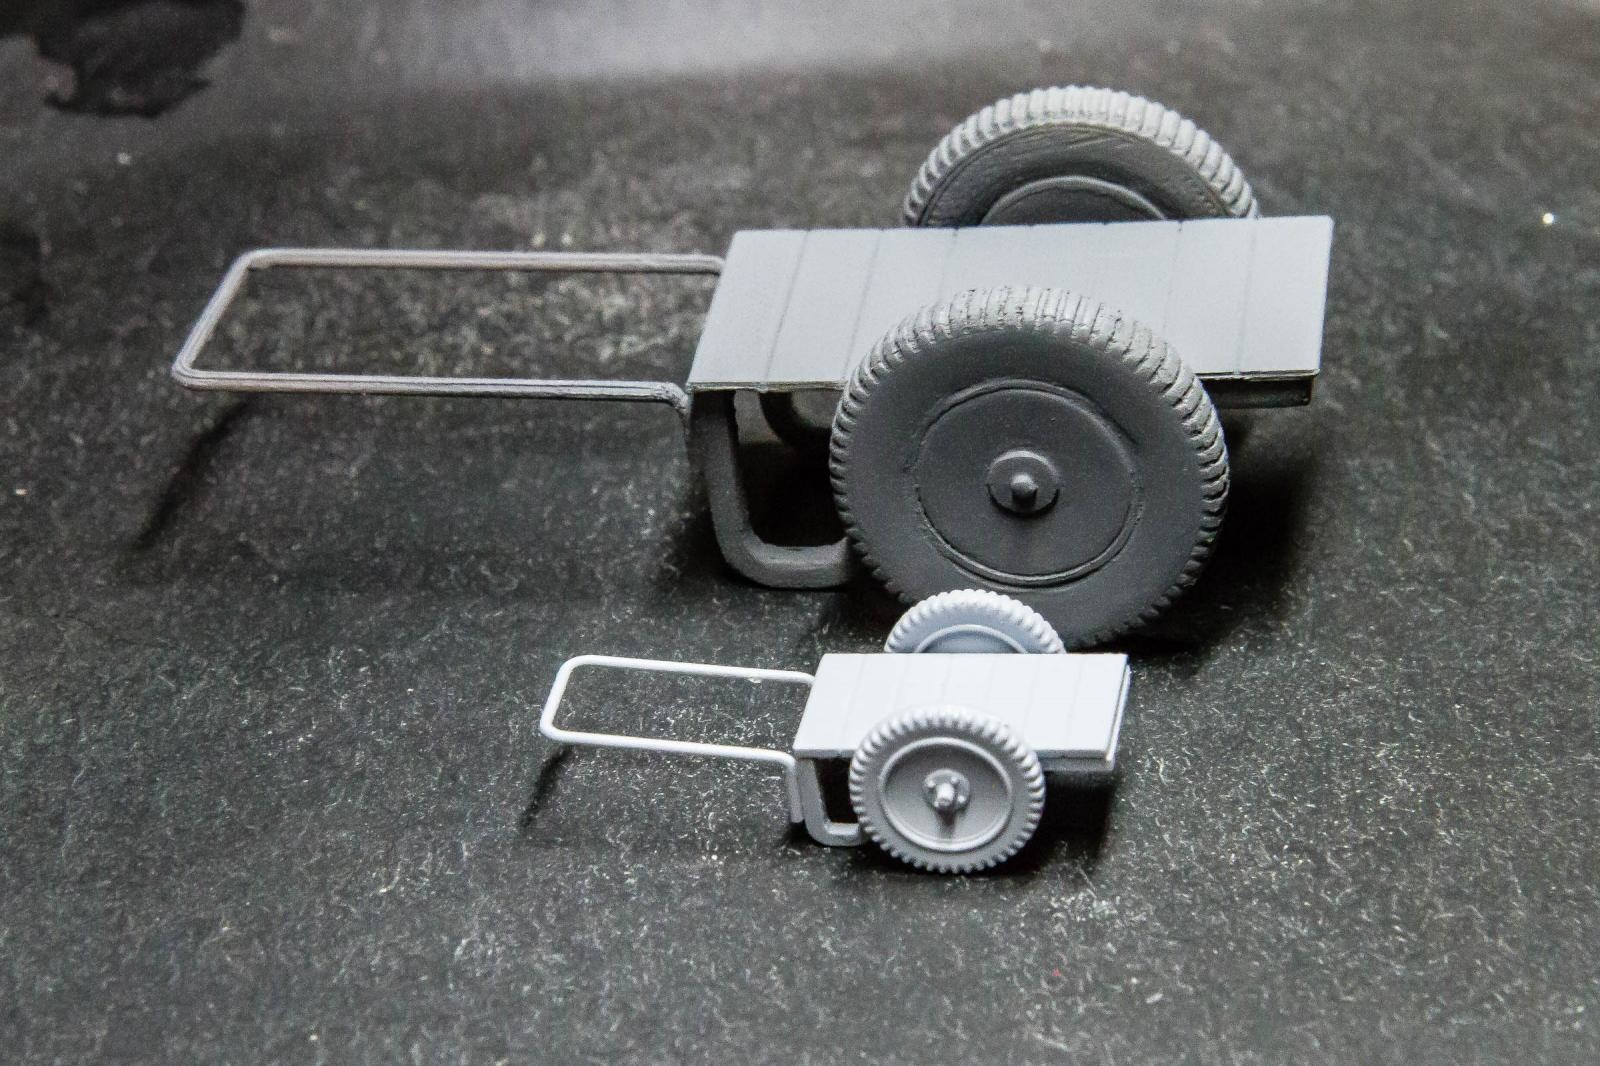
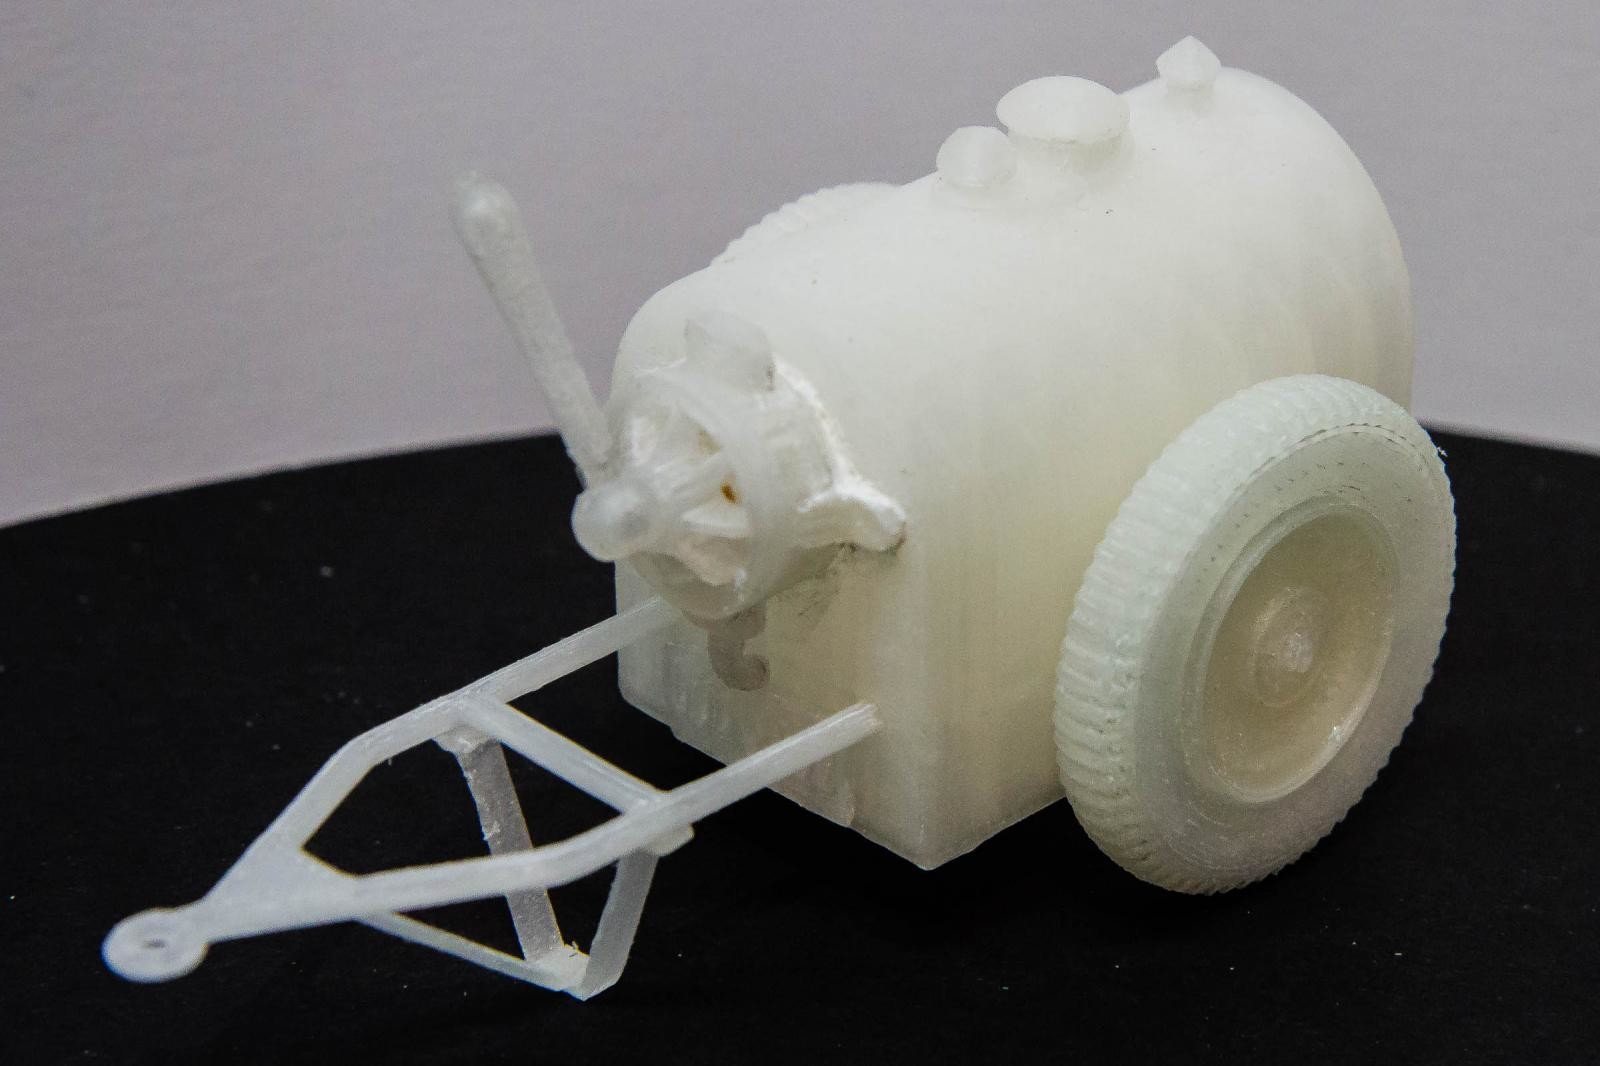
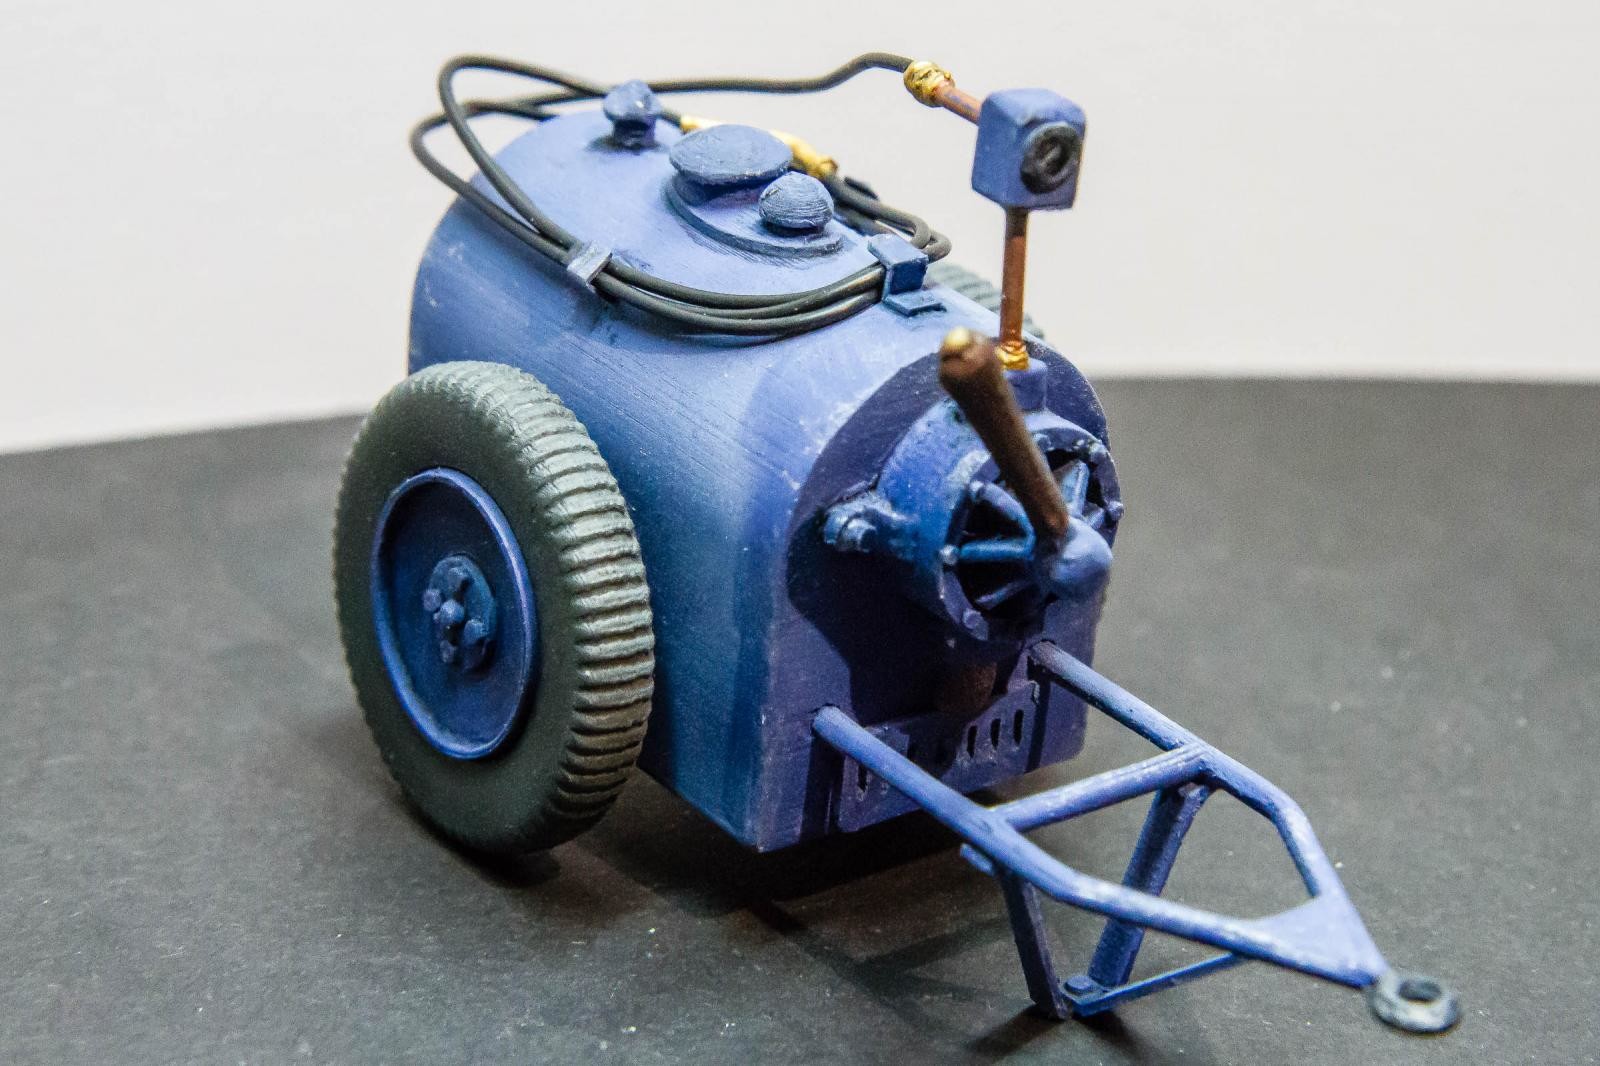
So, what to do with it? I like to build some of the larger aircraft kits in 1/32 and 1/24. I wanted to display these models with a little ground equipment which, for WW2 allied aircraft, is rare in 1/32 and practically non-existent in 1/24. I had an Airfix 1/48 ground support set that included a simple hand cart and an oiler cart. I decided to have a go at both.
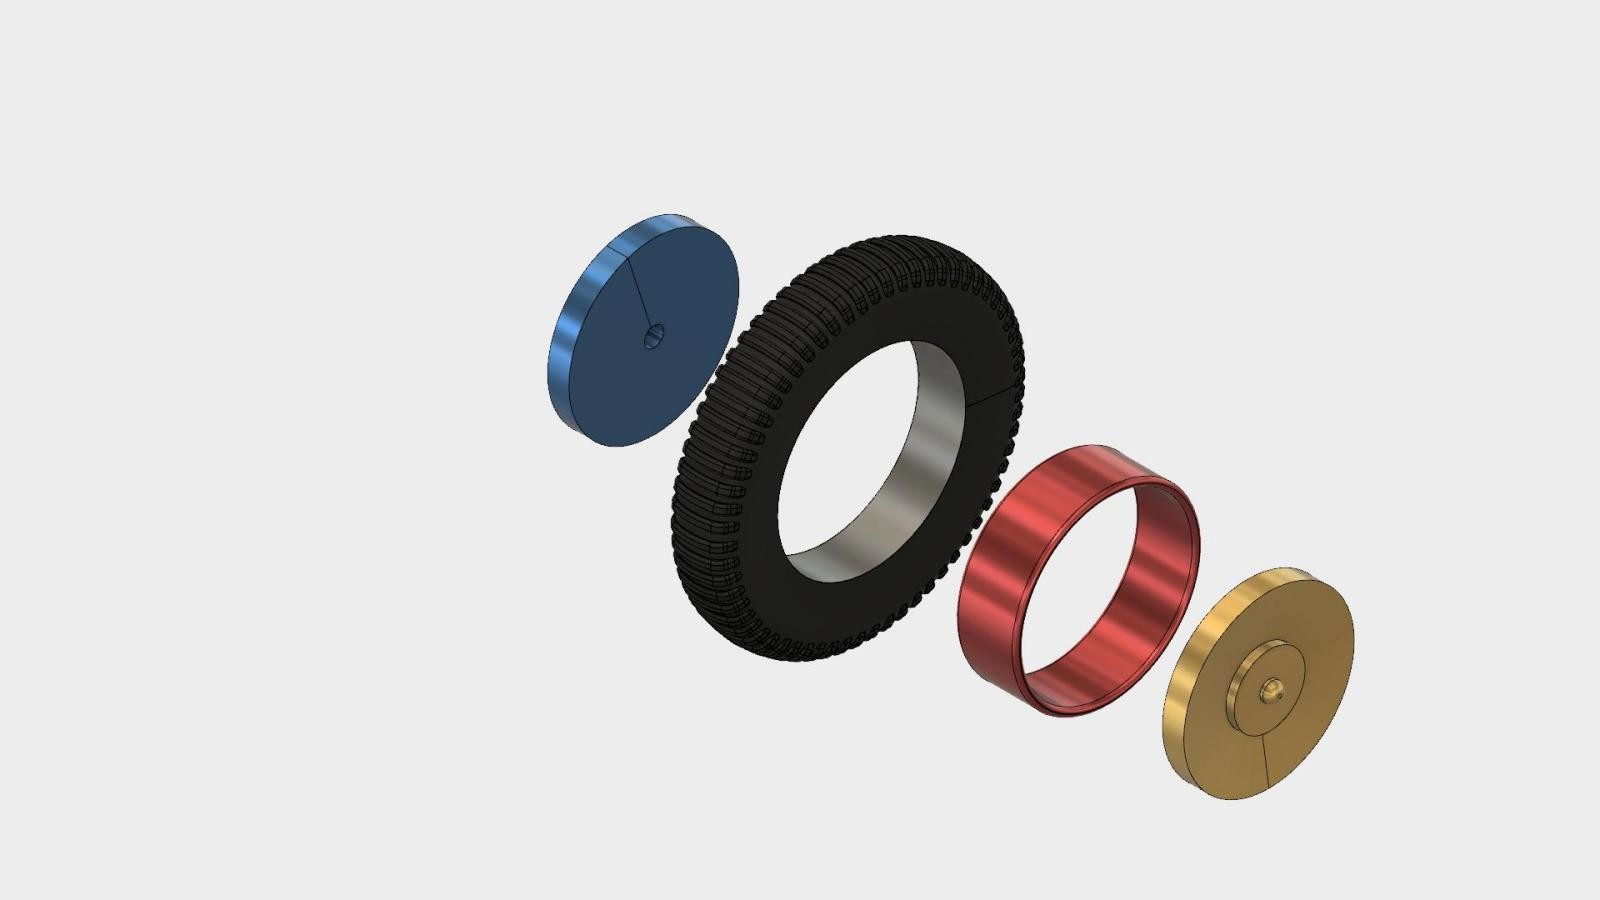
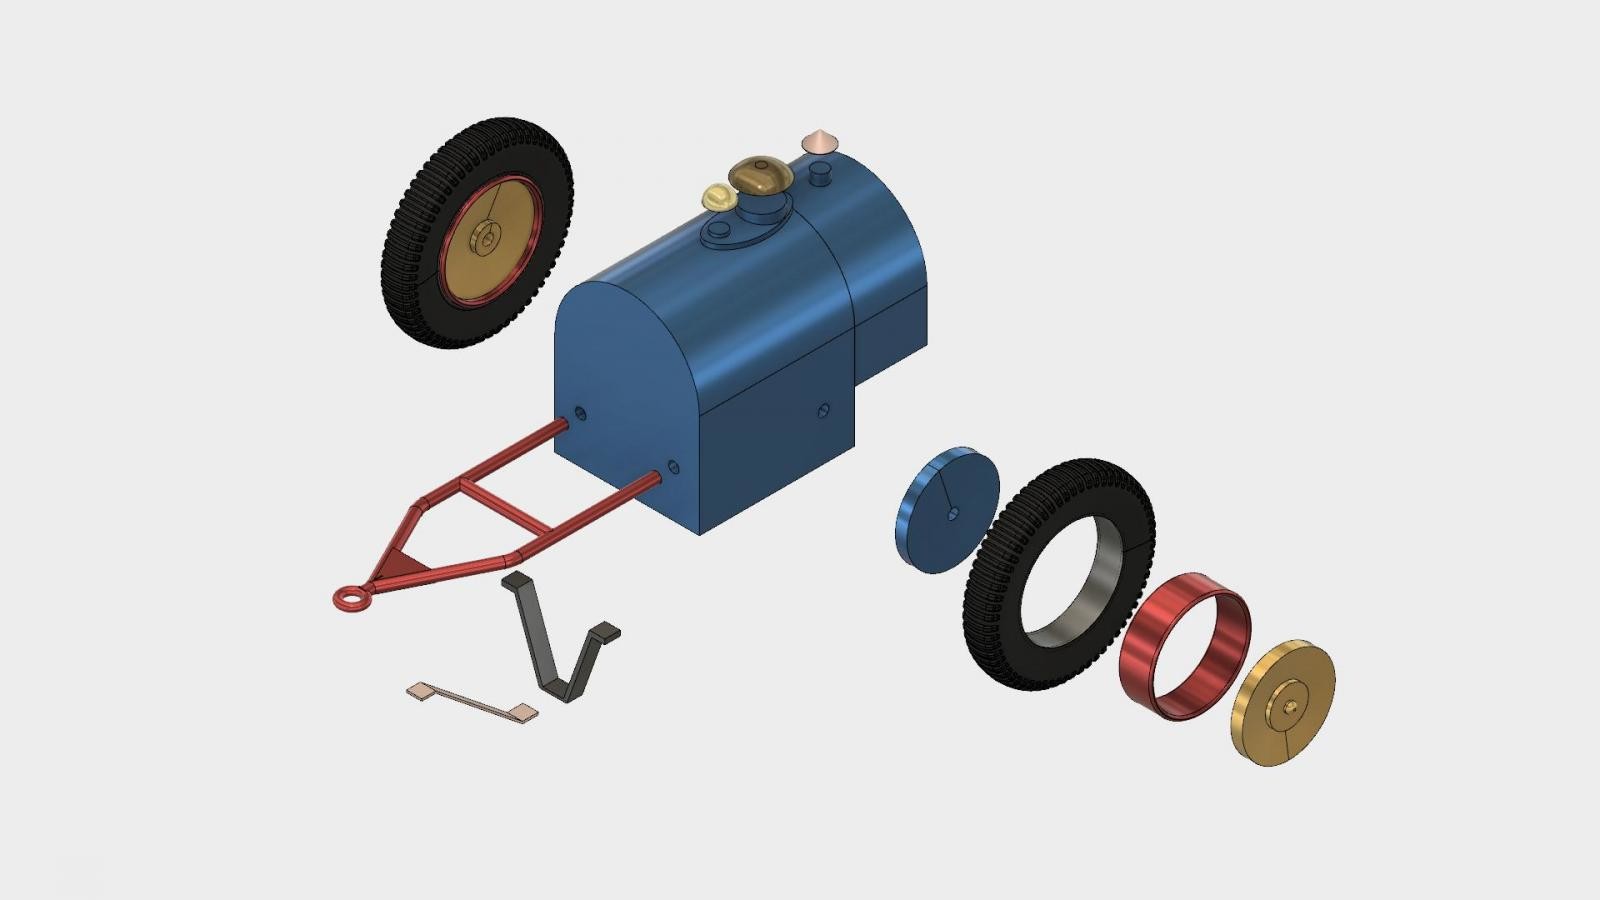
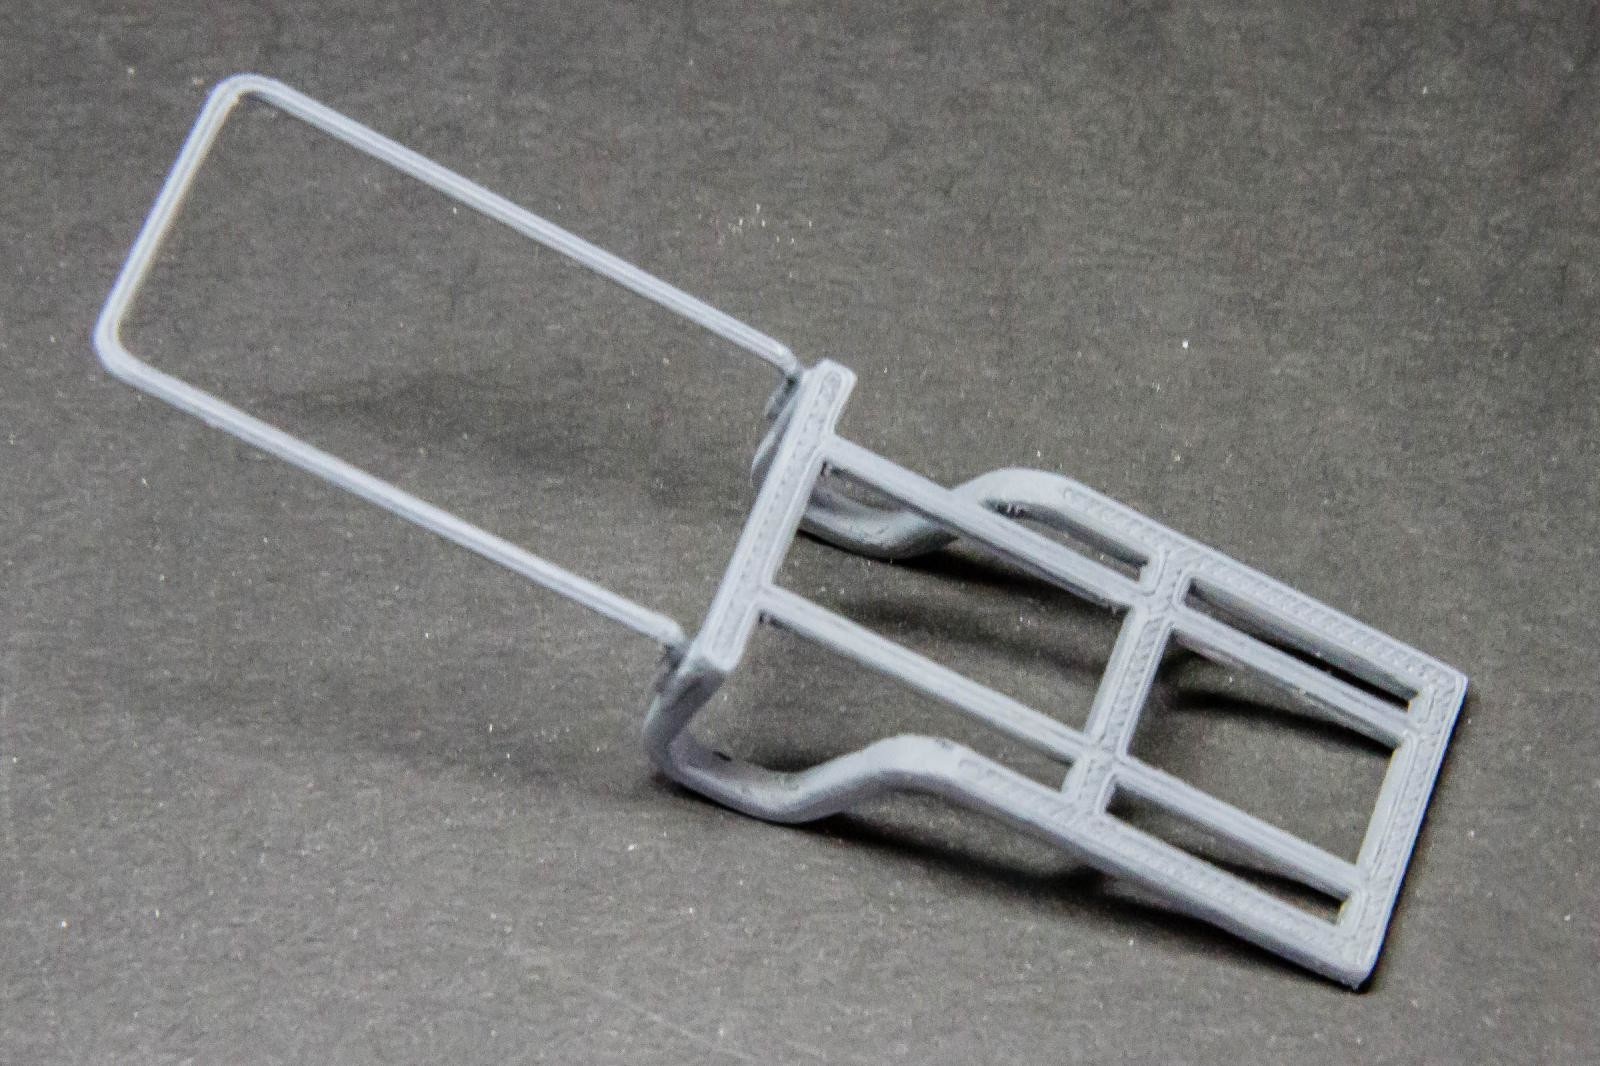
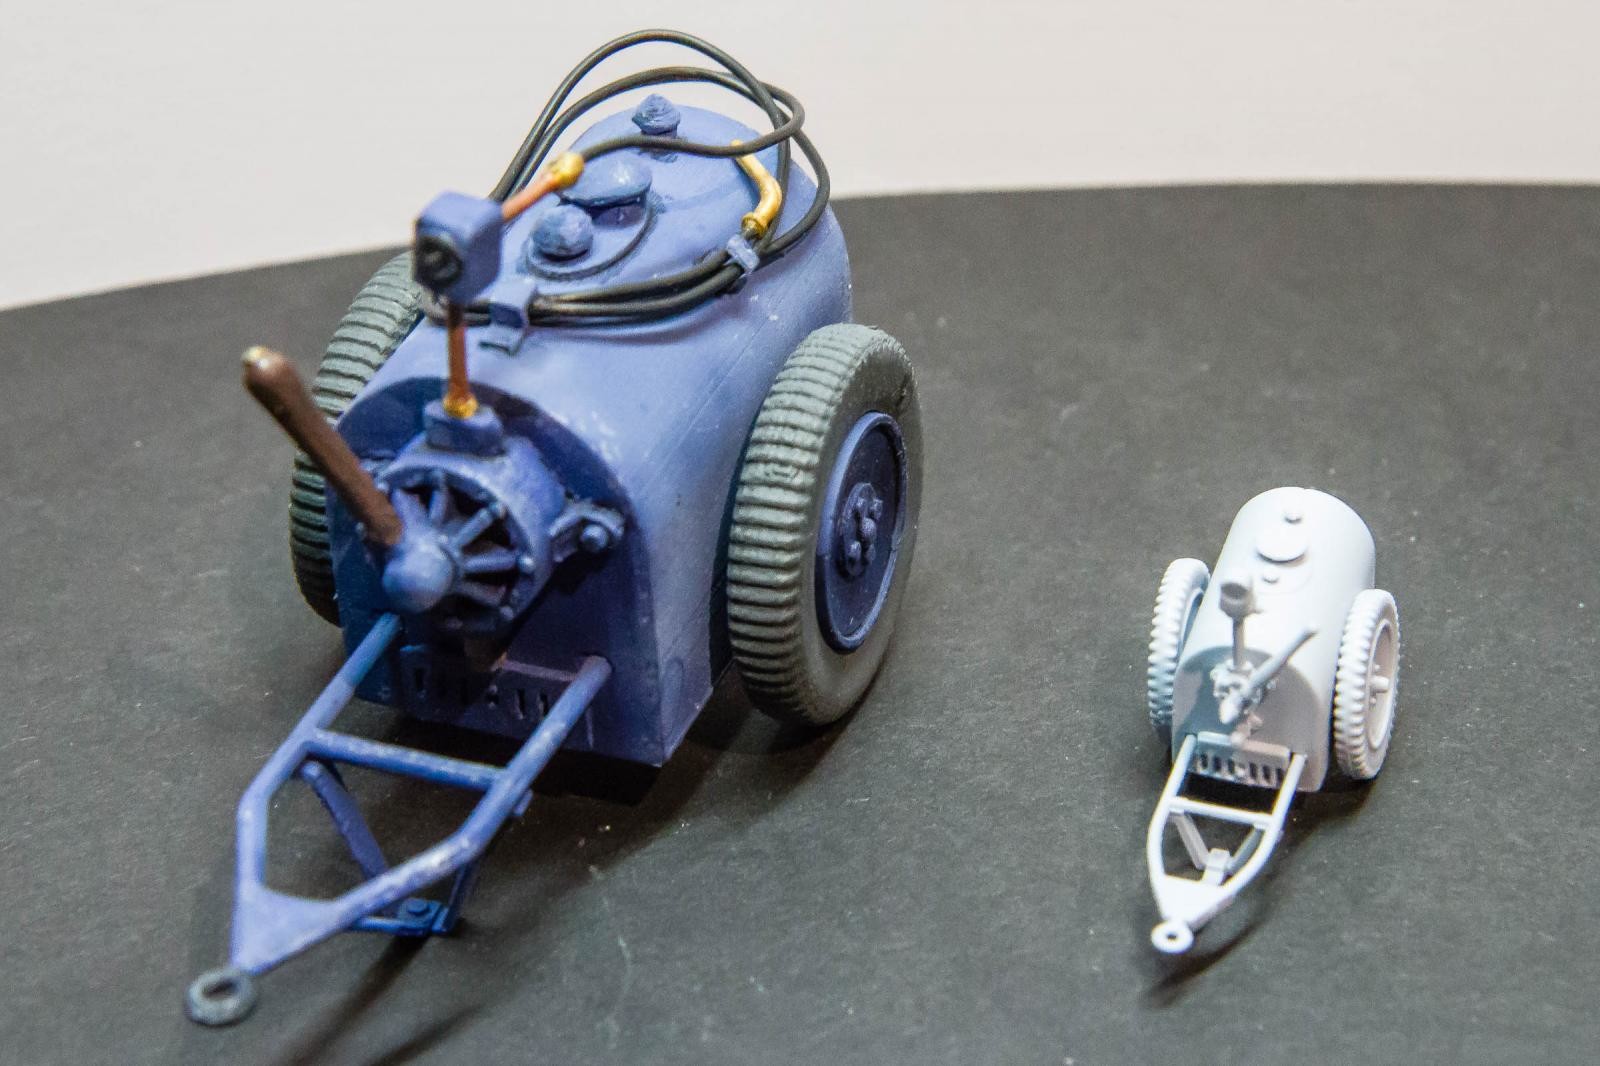
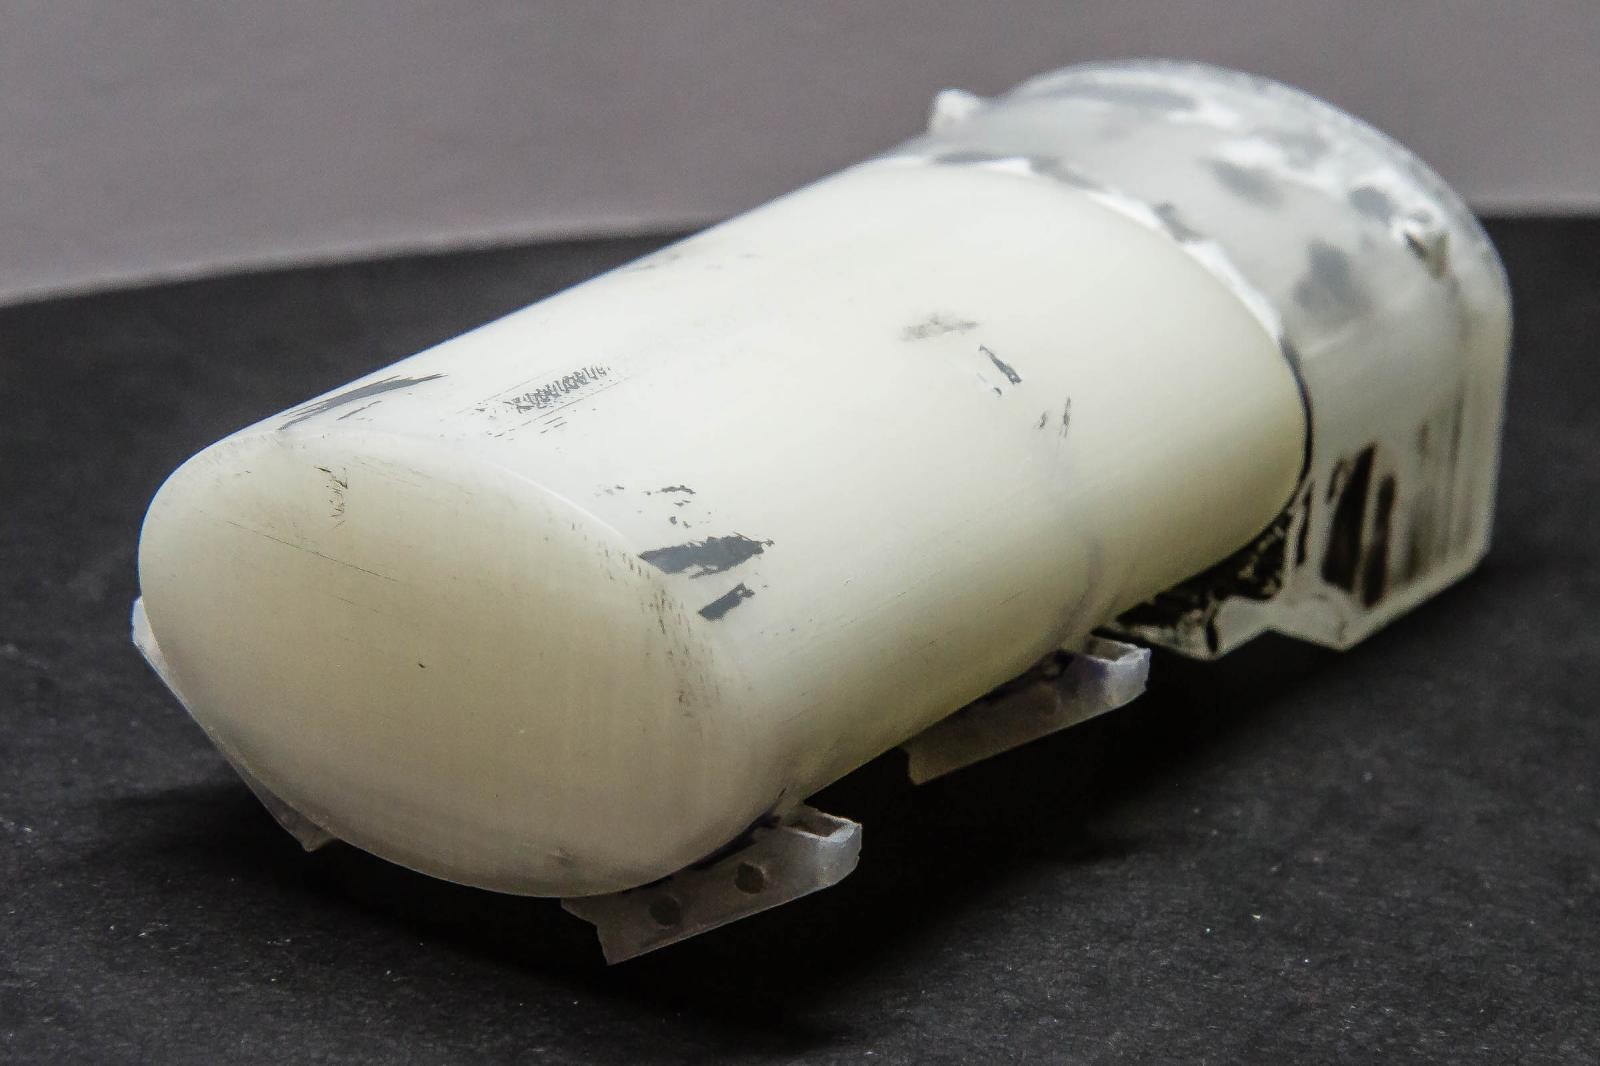
As you can see from the pictures I managed to complete both. This initial project highlighted some of the limitations of my 3D printer. Firstly, as it prints in layers, the finished surface is always ribbed to some extent. Secondly, smaller items don't print well; anything under 5mm is liable to be a mess or ignored. This limitation is related to the nozzle size of 4mm. Some scratch building is therefore required.
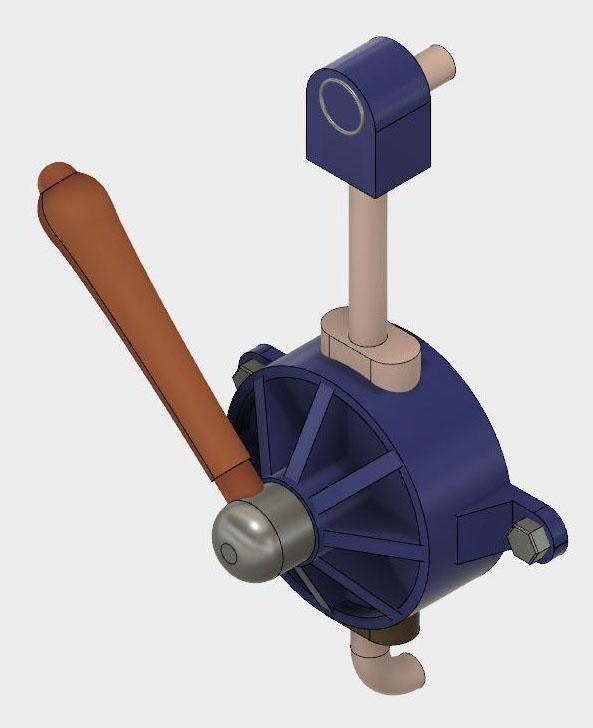
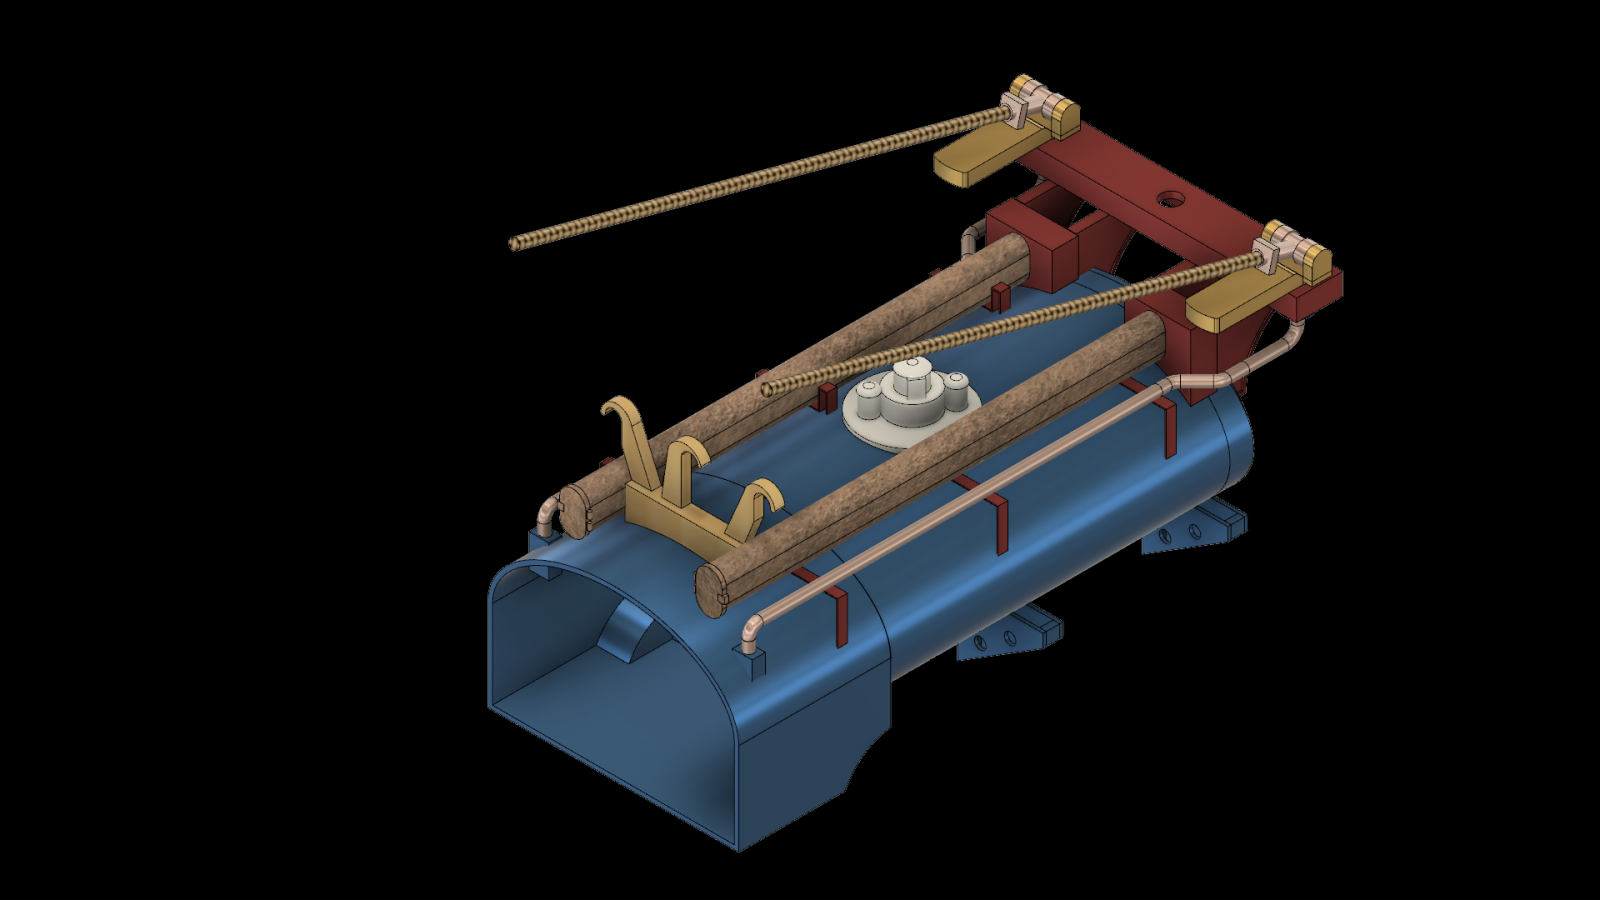
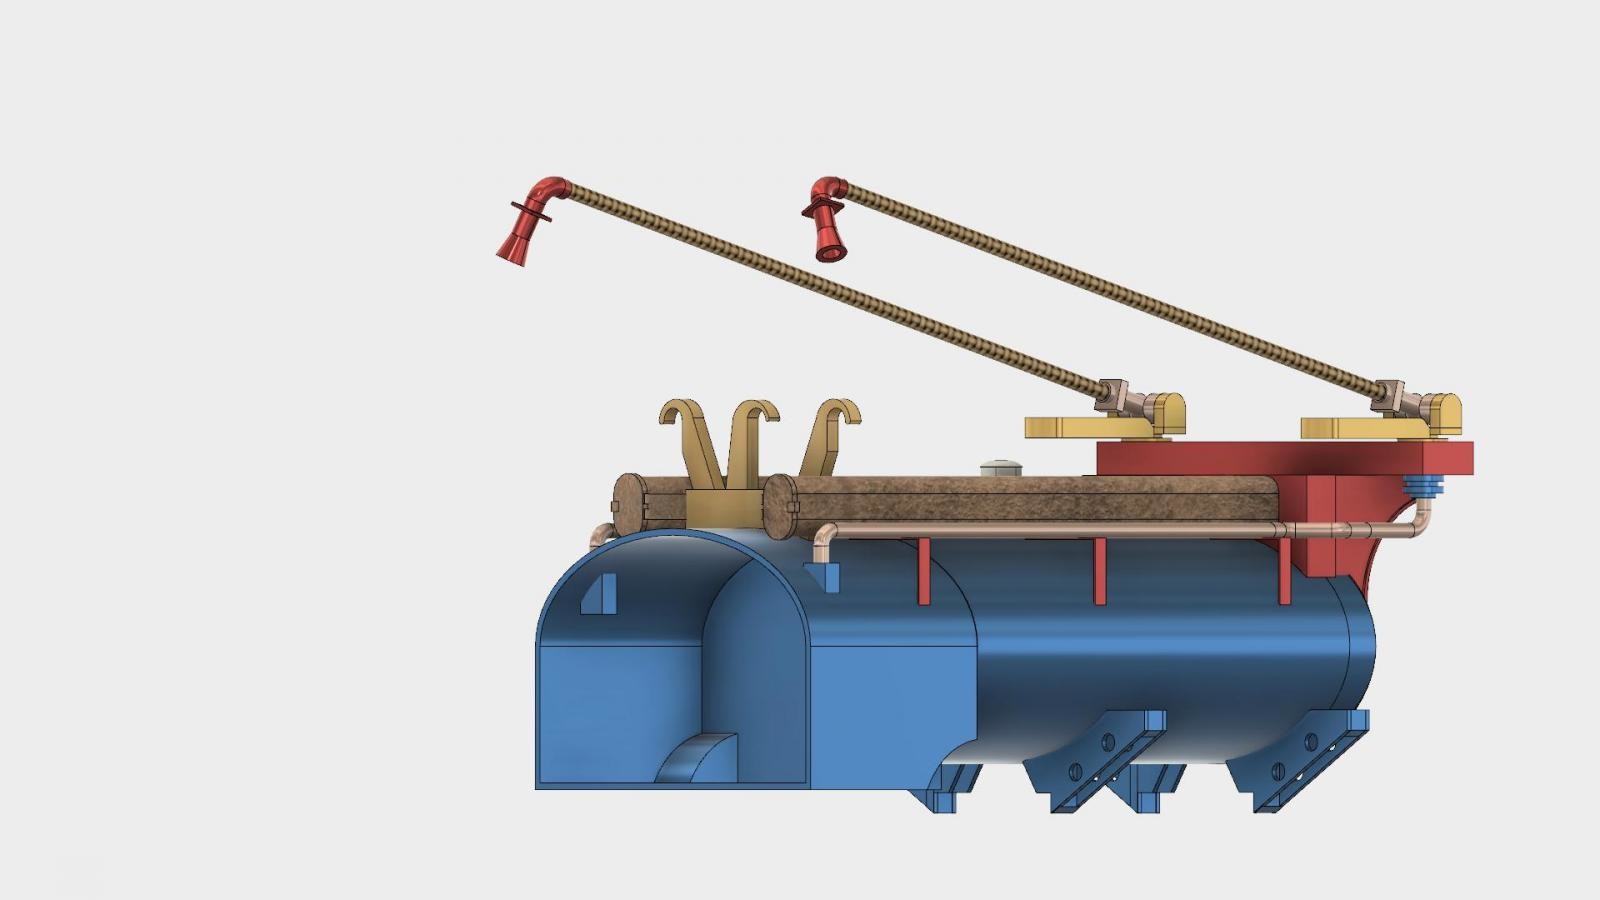
The first 4 pictures show rendered images of the cart and oiler from the Fusion 360 software and pictures 5 to 10 the cart and oiler at various stages of construction. The results were to me quite satisfying and I felt I wanted to try something altogether more challenging.
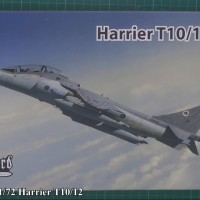
I decided to upscale the Accurate Armour 1/48 Twin Boon Refueller to 1/35 scale. To aid me in this I purchased the 1/48th kit and the IBG 1/35 QLD truck. I used the Cab, chassis and running gear from the IBG truck and designed and printed the larger parts for the Refueller.
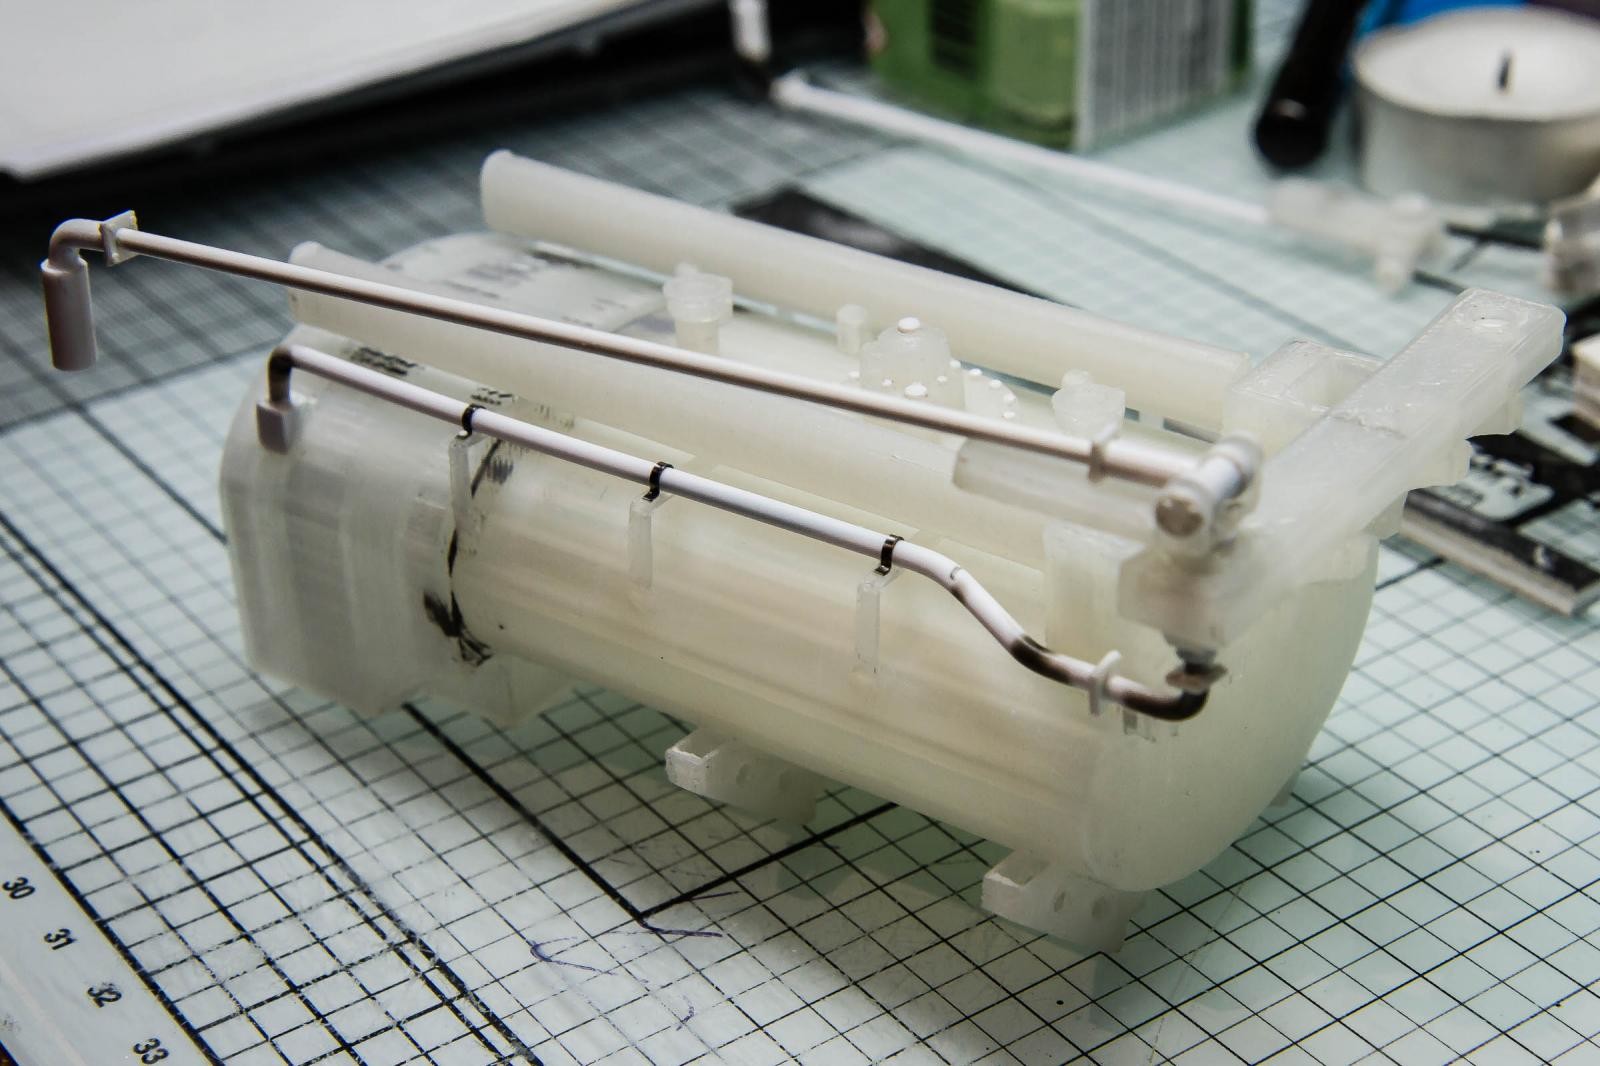
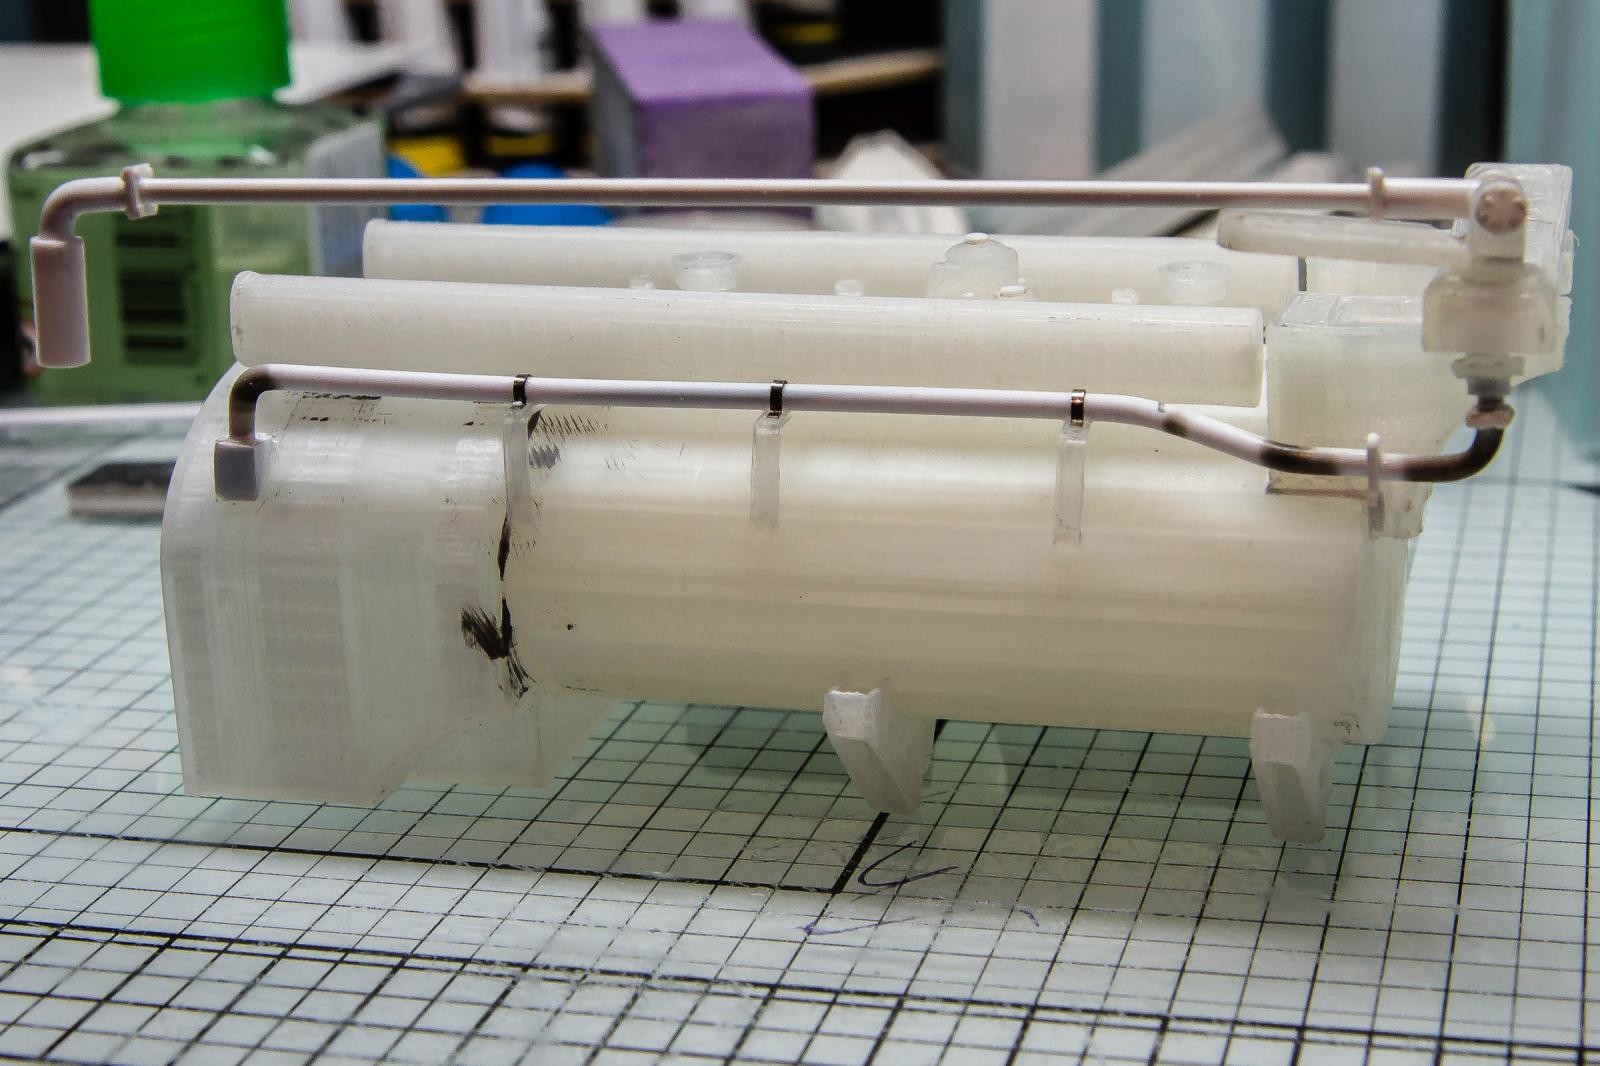
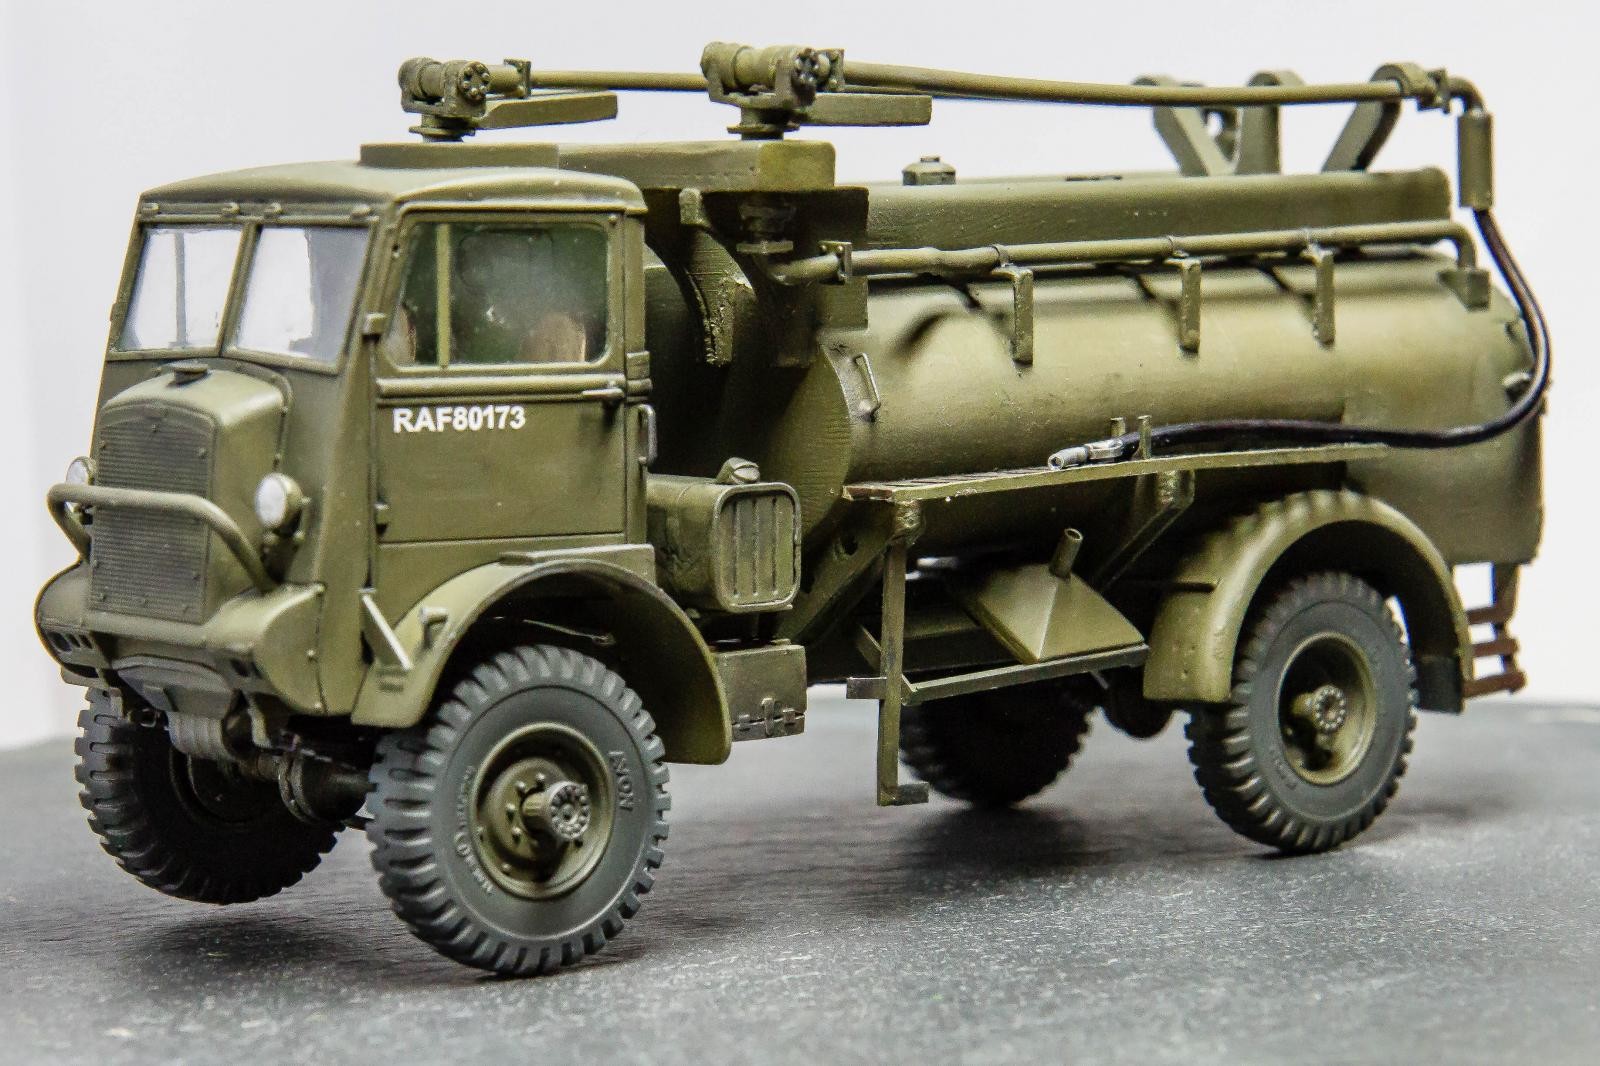
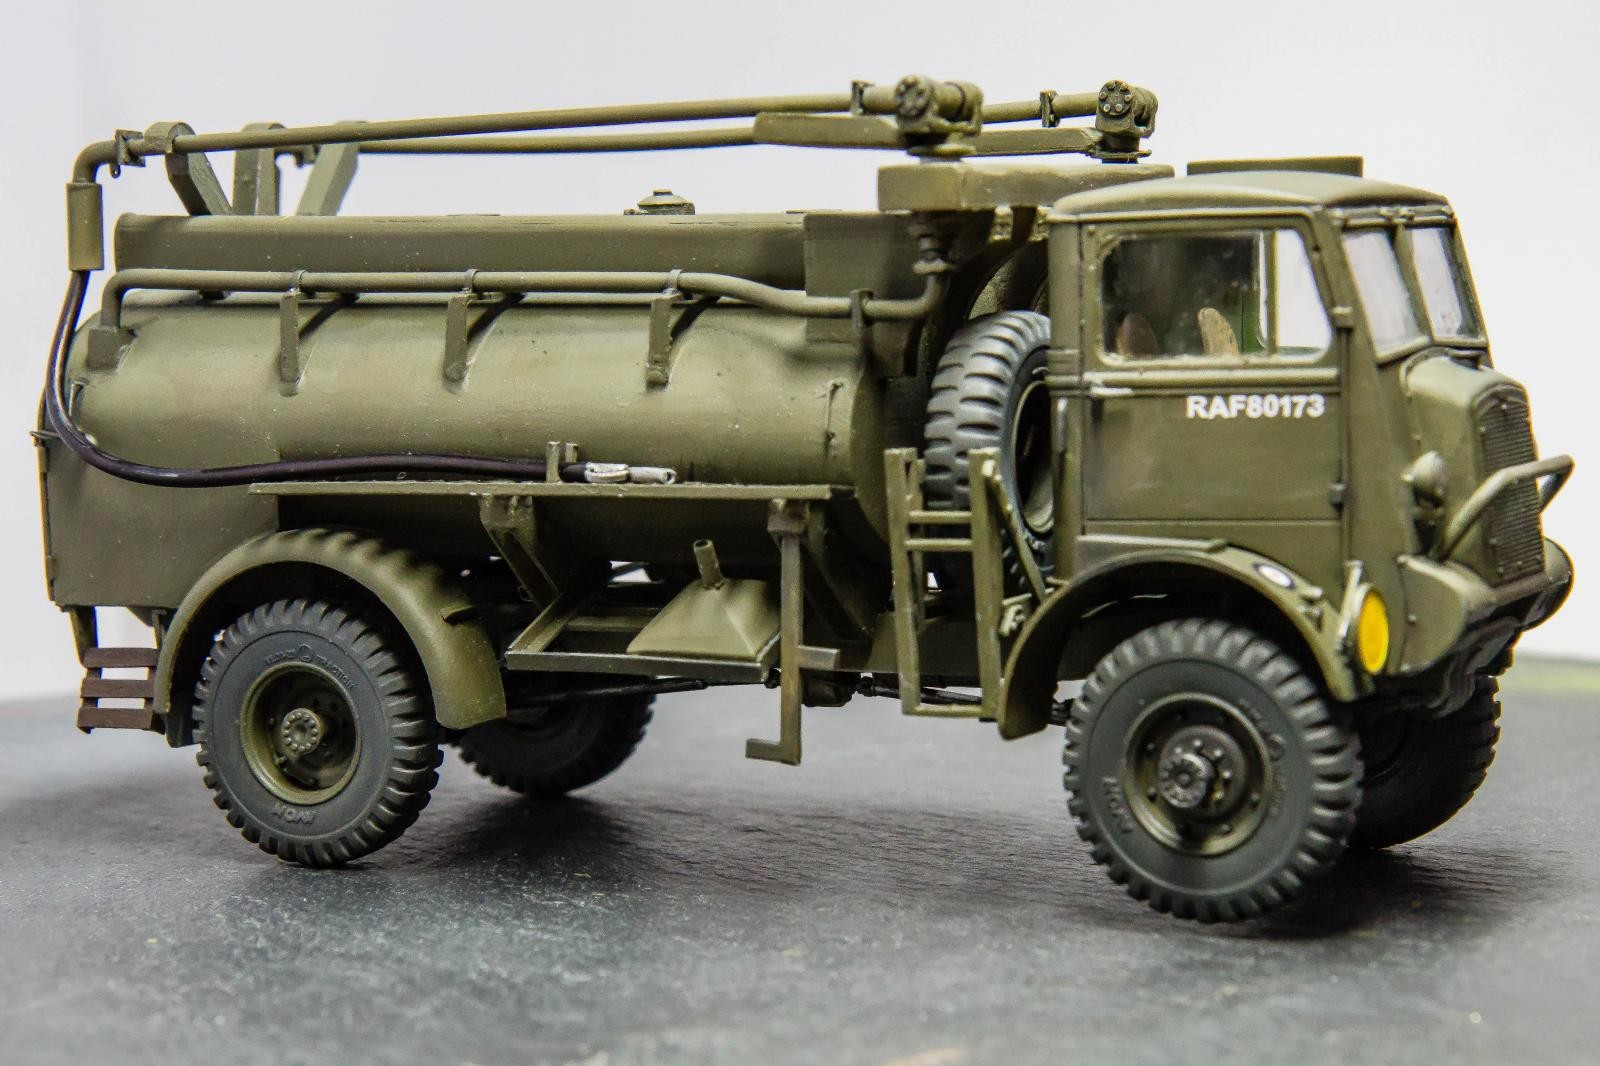
Whist it took a little longer to draw and realising that I needed to design it to fit the chassis it all went quite well. Pictures 11 & 12 are again renders of the design from Fussion 360 and 13 to 15 sfow the 3D printed parts combined with some of the scratch built parts (the styrene is white, and 3D prints off white). 16 shows the 3D new Twin Boon Refueller mounted on the chassis and the last 3 the completed model!
Let me know what you think. I'll try and answer any questions if you have any.


One of the more significant articles of late. Very helpful. Obviously requires a bit of capital, but good to keep in mind.
This is really cool, I do a lot of scratch building and this could be the answer to doing some complex curves. Nice.
Very cool, and the outcome looks fantastic. Great work!
How cool is THAT...? Amazing! Thanks for the tutorial.
Does his mean the elusive Airfix SAM 2 could be re- produced ? I'll buy one! ,you may come under certain copyright laws though, interesting article all the same.
N.
WoW! Very interesting!
Thanks for a great article Derek. The processes and the outcomes are fascinating - would love to see what directions you take this in.
I'm currently trying a Thompson Brothers refueller from scratch. I took a trip to the Yorkshire Air Museum in July. They very kindly let me photograph and measure their example! I'm currently working on the 3d design in Fusion 360 in between kit building!
I just purchased one of the Prusa clones off of Ebay at a real affordable price. Yet I hear of horror stories associated with that printer. I am not too concerned because if it takes off like I am hoping and I can learn either Blender or Fusion 360 in due course. I have printed a couple of small nick knacks and find that PLA is a fairly hard plastic. I think I will need more files and sanding sticks.
Greg knows that my holy grail for modeling is the Northrop Gamma so that is my ultimate goal. Knowing how to model in a CAD program is also a must here in order to replicate that specific airplane and others to follow. That's a lot of brain frying to an old codger like myself.
I am eager to see what you come up with in your prints.
Cheers
Paul
There is a lot of training material for Fusion 360 on YouTube that might help.
I got to get a successful download first
Derek, this is very interesting, I have heard and read that the future of our hobby may change drastically when these become more feasible, may take the fun out of all those long hours trying to sand out a seam line or fix a glue smear ! Could be scary or great !
If you like sanding then this is definately for you! That surface ribbing I mentioned requires loads of it!?
I was thinking of trying something like Mr surfacer 1000. that should fill in some of the texture.
It does but not straight off!
Interesting article, Derek, thanks for posting.
Very interesting, thank you Derek.
Great article. Very informative.
Hi Derek,
This may well be a glimpse into the future of modelling. It would be great to read more about your experiences, particularly learning the software you mention. I had a go a few years back and creating basic shapes to scale seemed like a lot of hard work, but as you said, things change fast. Thanks for sharing with us.
And for those with a bit of cash in their pocket, the Anycubic Phrozen Mini 8K makes steps of 24µm (half width of an human hair, if I am right), but a bit of cash: here in Europe, it costs around 700 €.
And the winner is... an israeli company which name I forgot which makes a machine with steps of... ... ... 1µm; I dared not ask the price; but when you think of the Anycubic, it's almost within reach for an aficionado, it seems it begins a good career among Warhammer and Co enthusiasts, among others
An alternative for Fusion 360, which is a wonderful software, by the way, is Freecad, a bit more "rustique" but nevertheless excellent product
For the slicer, you have some big boys as Prusa slicer or super slicer, both free, and a number of other with the flavour you like most
Another thing: photogrammetry; you have an object in volume, you take a number of pictures of it at different angles and a software combines the pictures to make a 3d file; trial and error, but it's an interesting path
Now, with cash you can get a 3d scanner used by car repair workshop but as far as I know, price is also around 700€ at bottom price...
Experience shows that we have both a increasing curve of quality and a decreasing one of price, so my advice is: if you want to buy a new TV, wait for next year, they will be better and cheaper (ok, sorry)