LIGHTING TUTORIAL
This is a simple and quick lighting tutorial for those that have been thinking about doing this. I'll be using the 1/6 scale Tamiya Harley FLH Classic main headlight here. Assembly is covered in step 30 of the instructions.
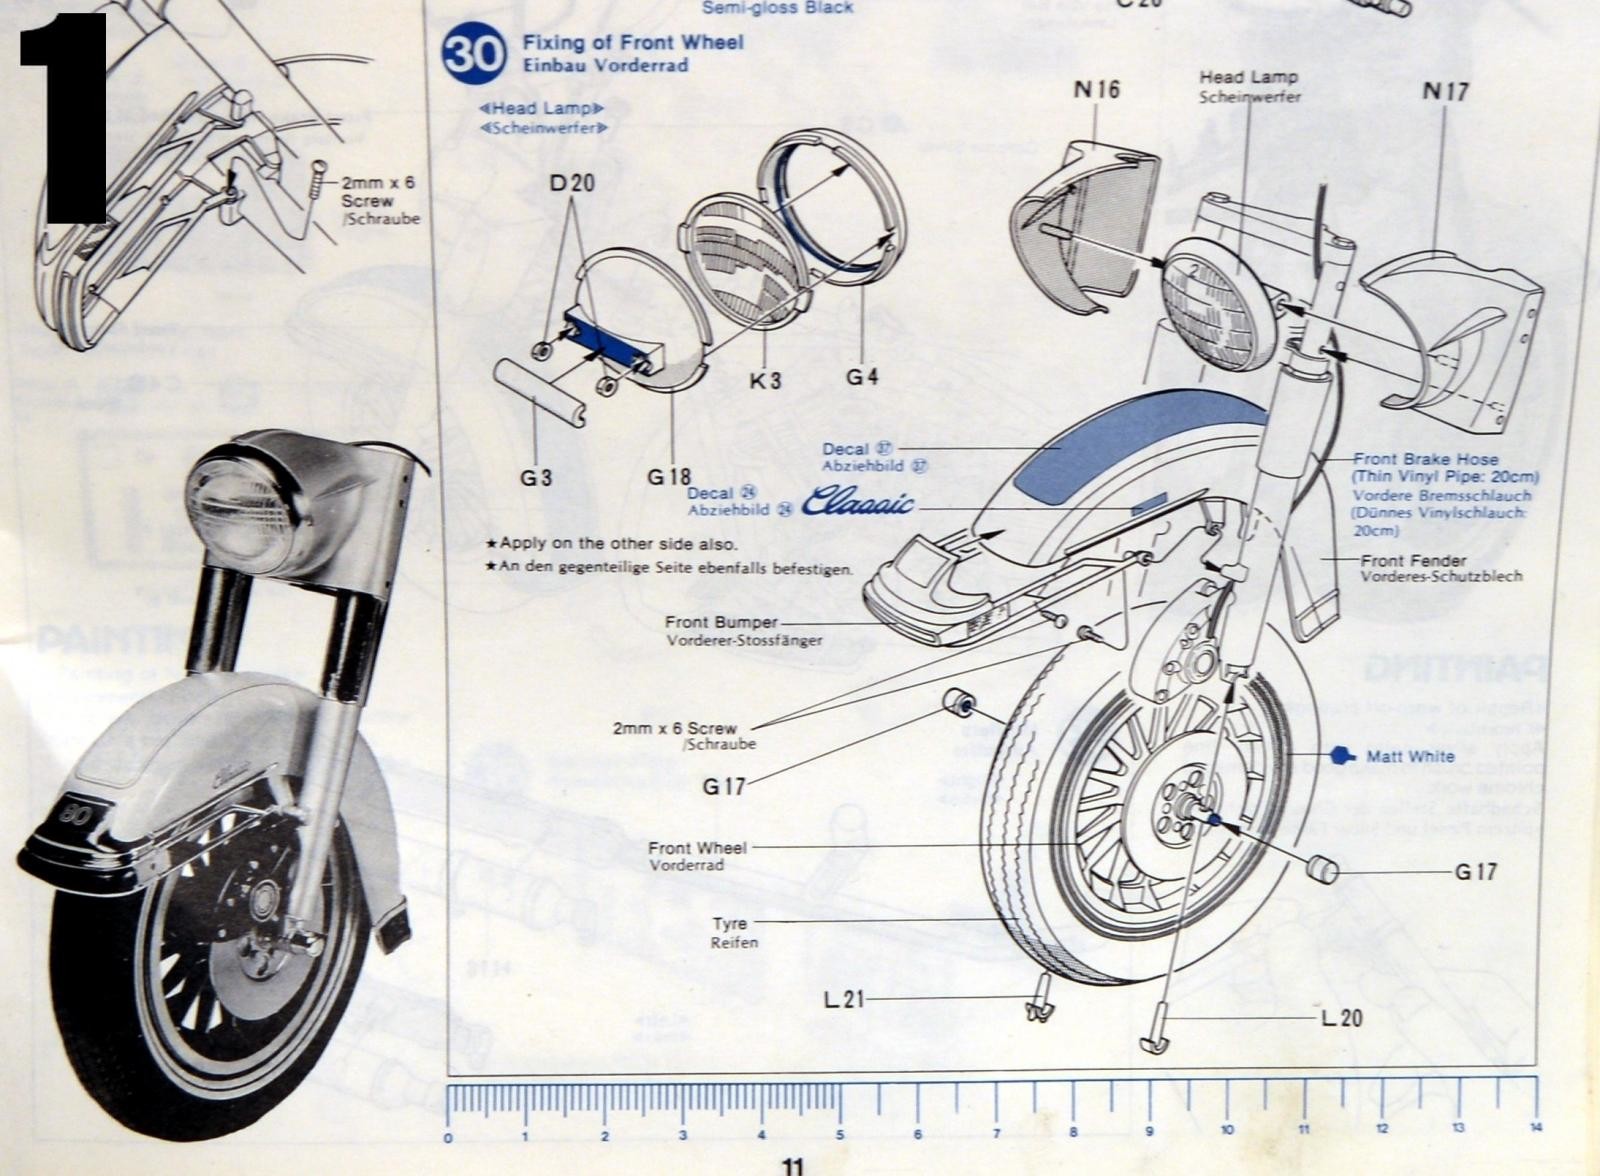
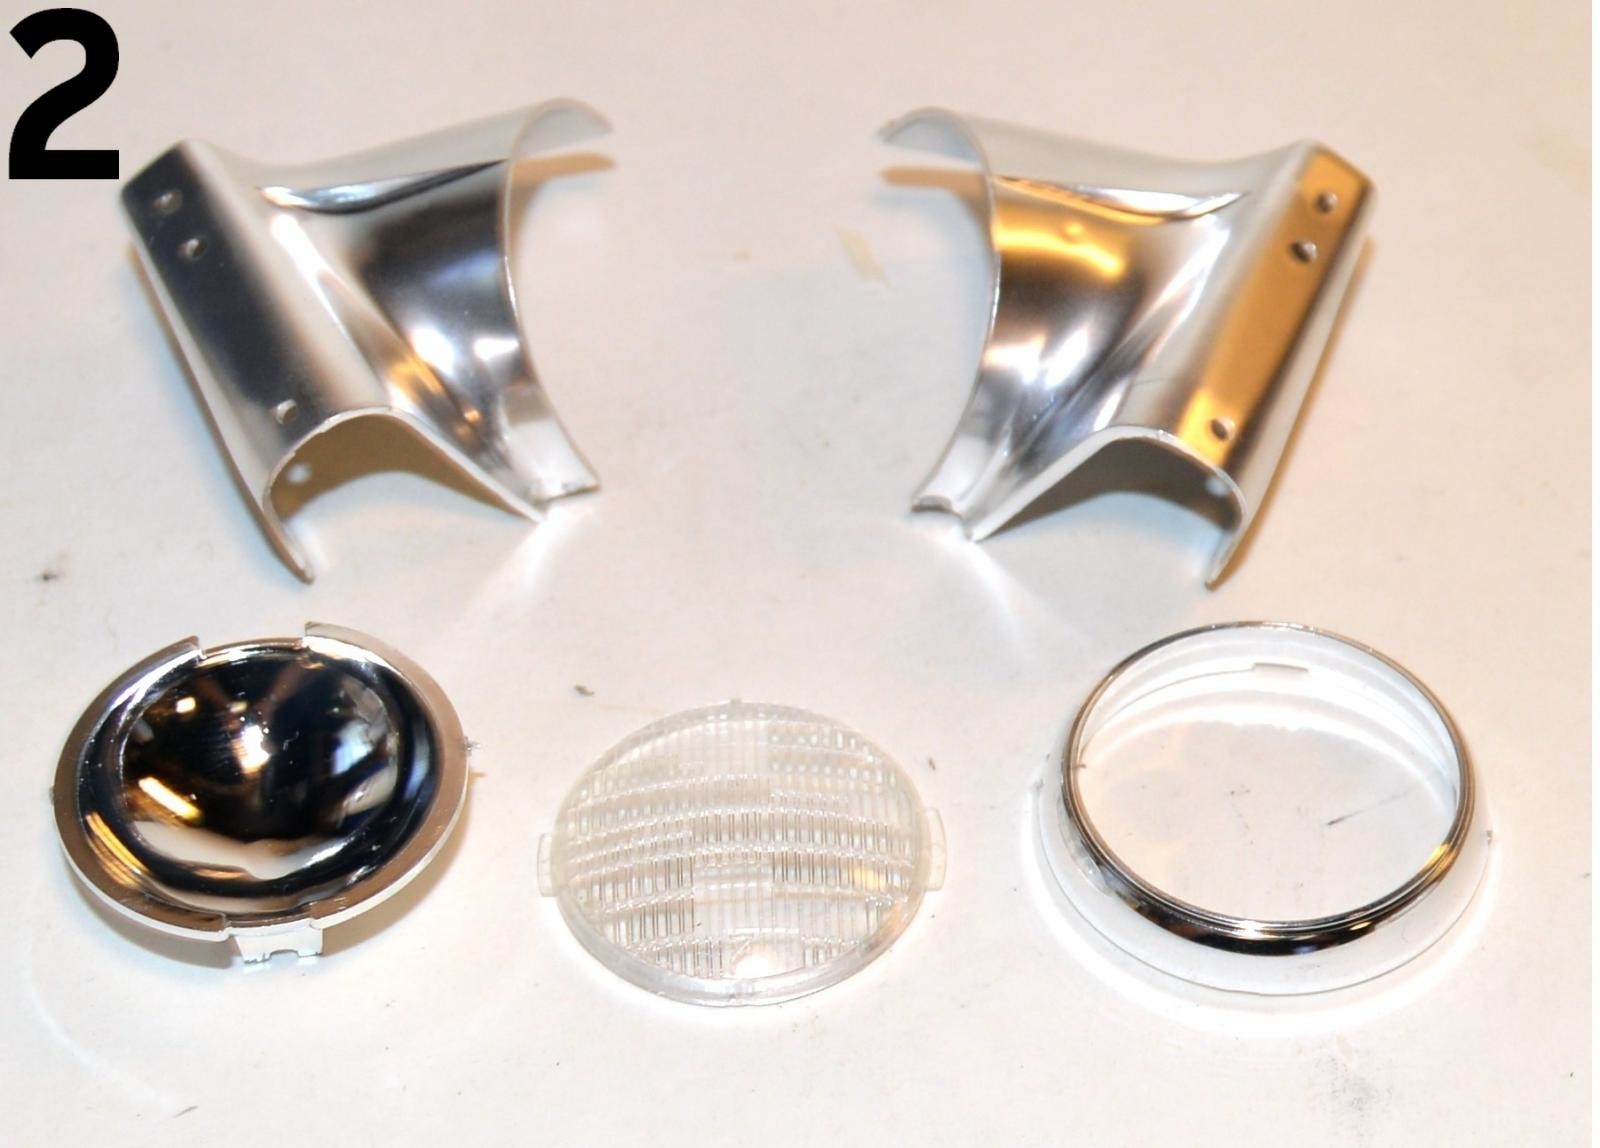
First, get all of the parts you'll be using together, Then assemble part numbers G3, G18 and D20 before anything else. You'll be handling this part quite a bit and it's much easier to go ahead and complete this so none of the wires get pinched.
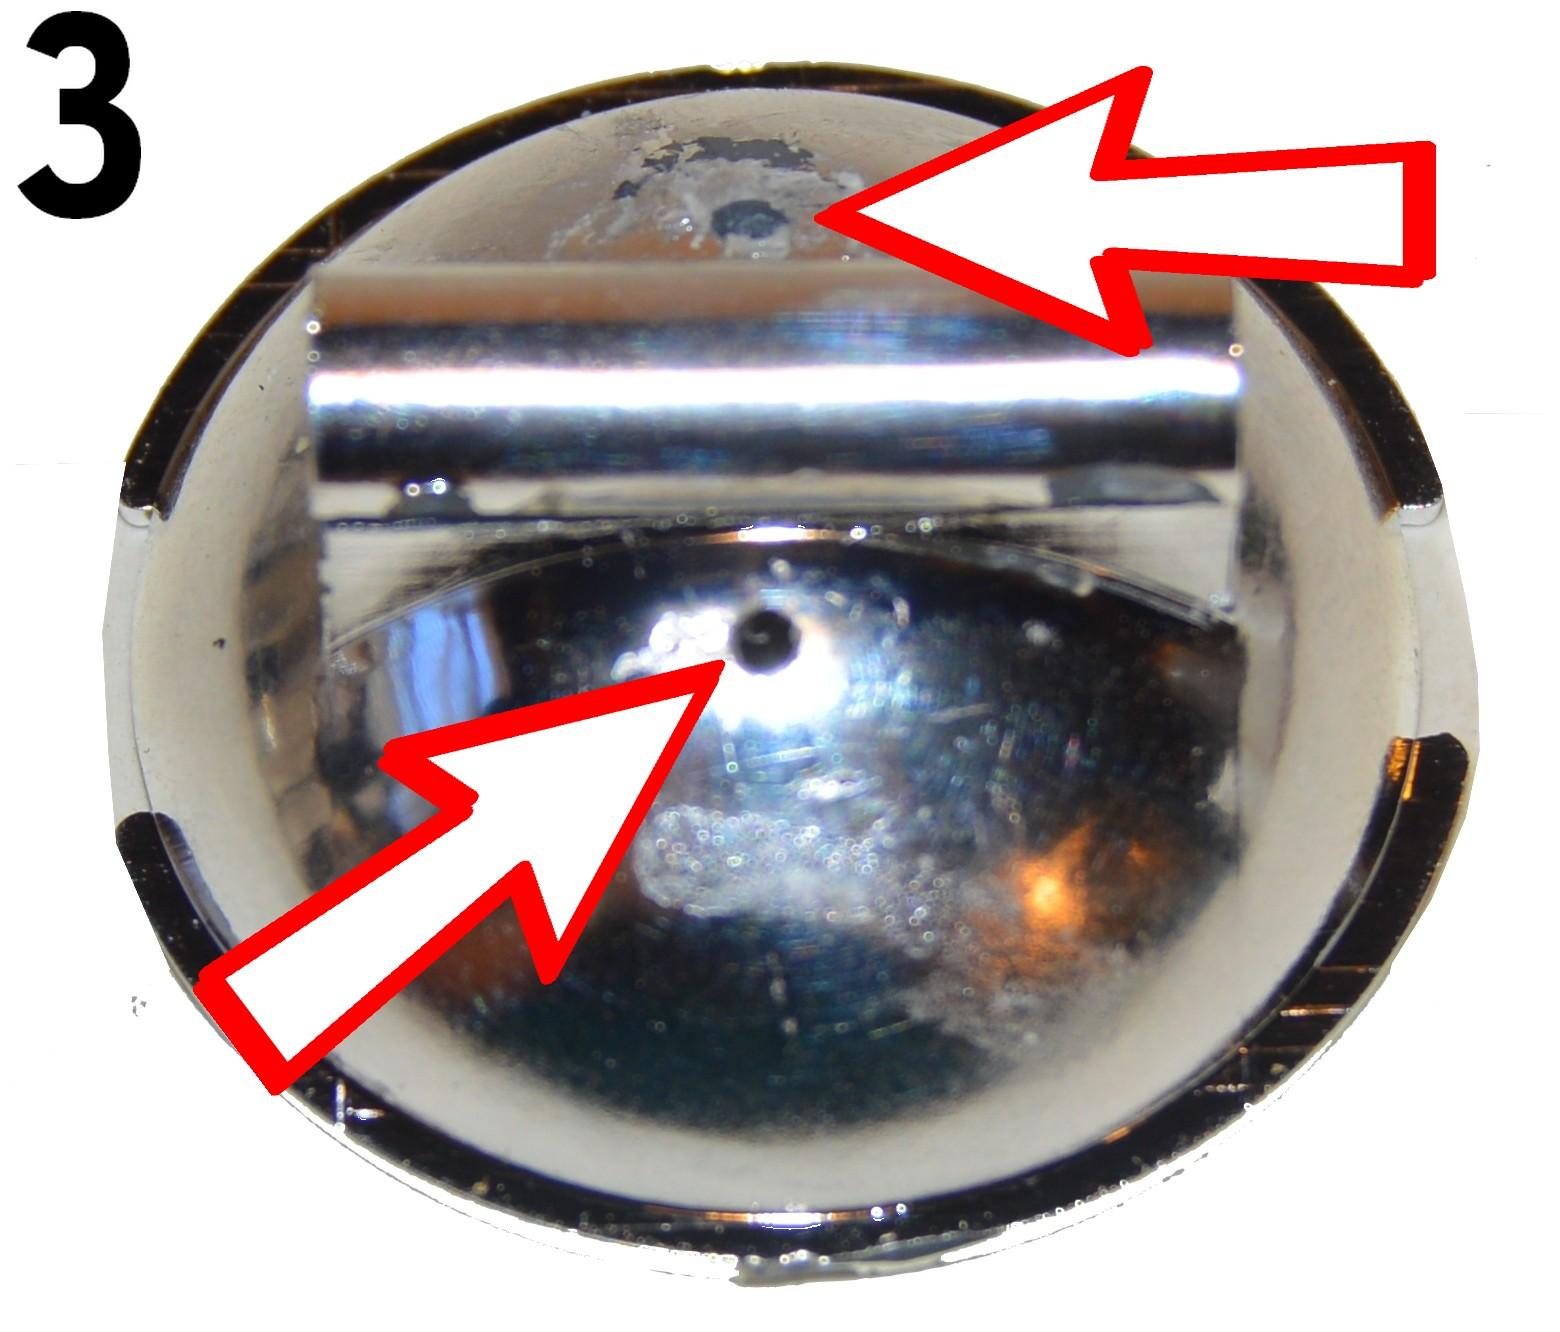
First you'll want to drill a small hole through the rear of the headlight bezel. You can do this using either an sharp Xacto knife or a pin-vise with a small drill bit. decide at this point if you are going to use one or two SMD type LED's. I chose to use two.
TEST THE LIGHTS
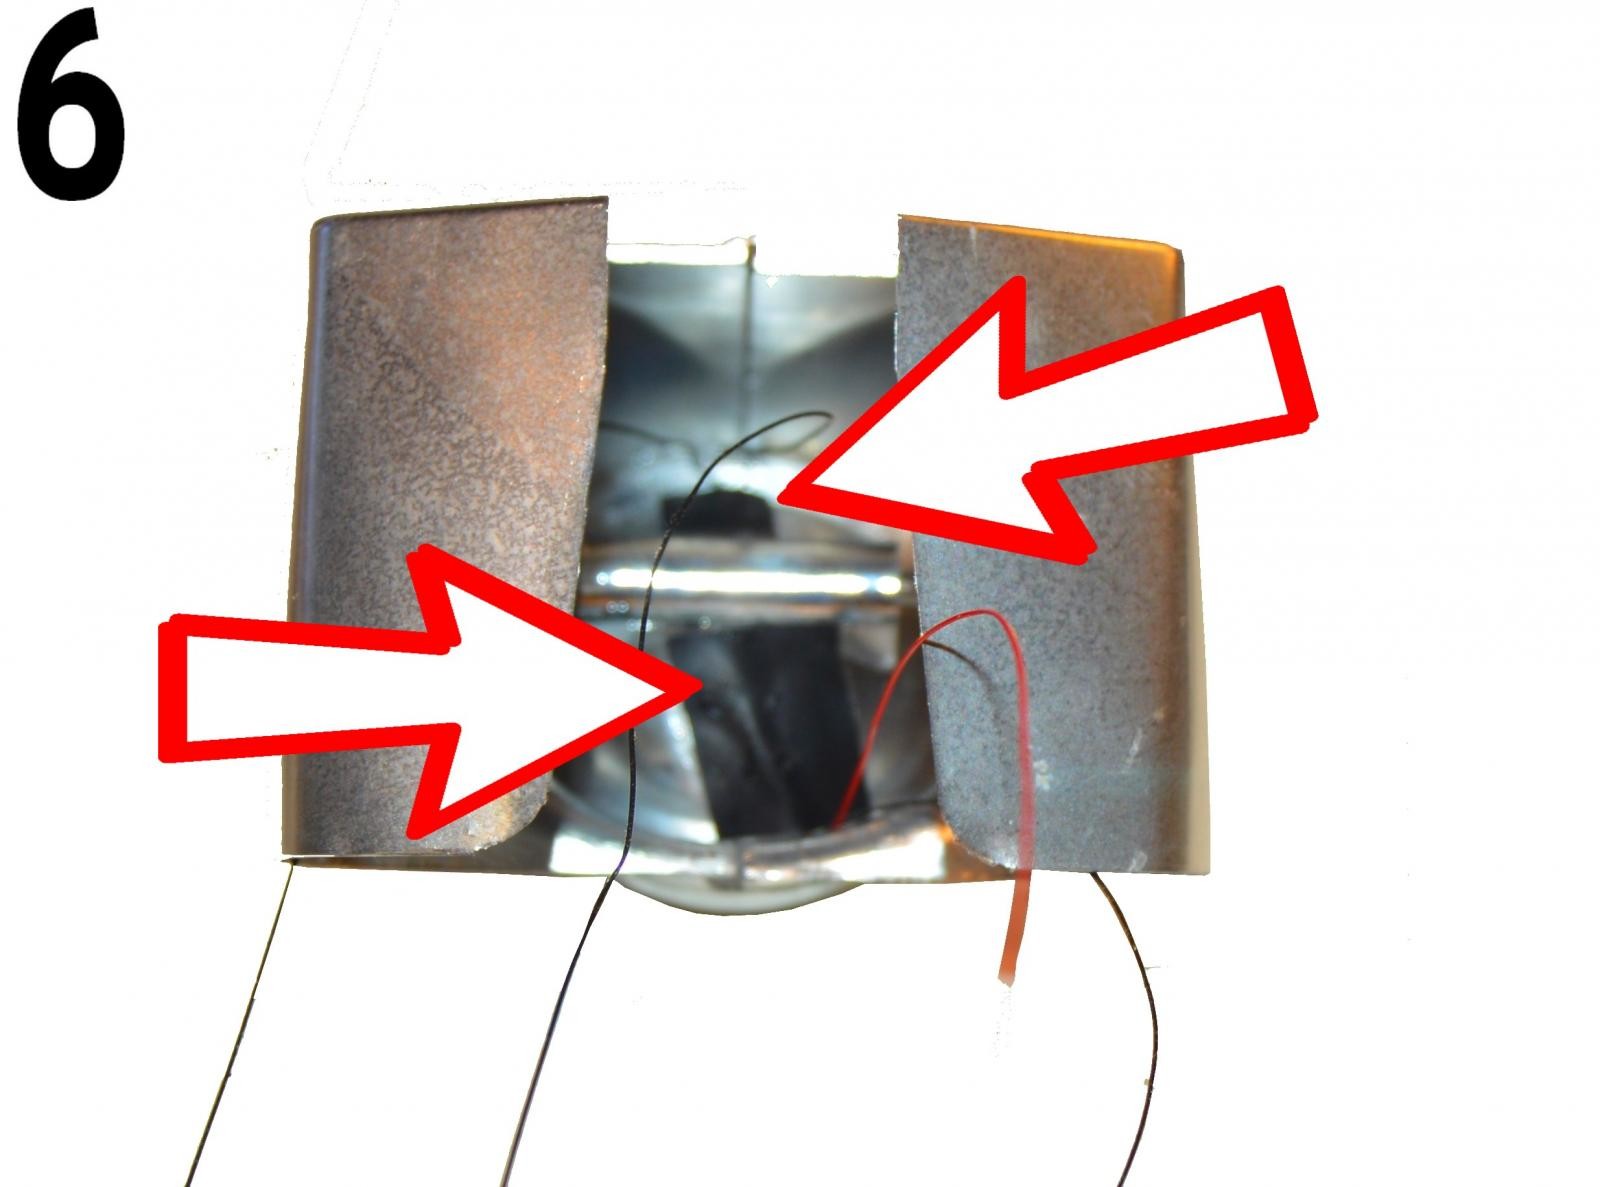
Place the SMD's through the holes lining them up as close to center on the inside of the bezel. You'll need to hold them in place for a few minutes as you'll need to place a small drop of CA glue, preferably the gel type, on the rear of the hole to holes the light in place. Wait a few minutes for this to dry.

TEST THE LIGHTS
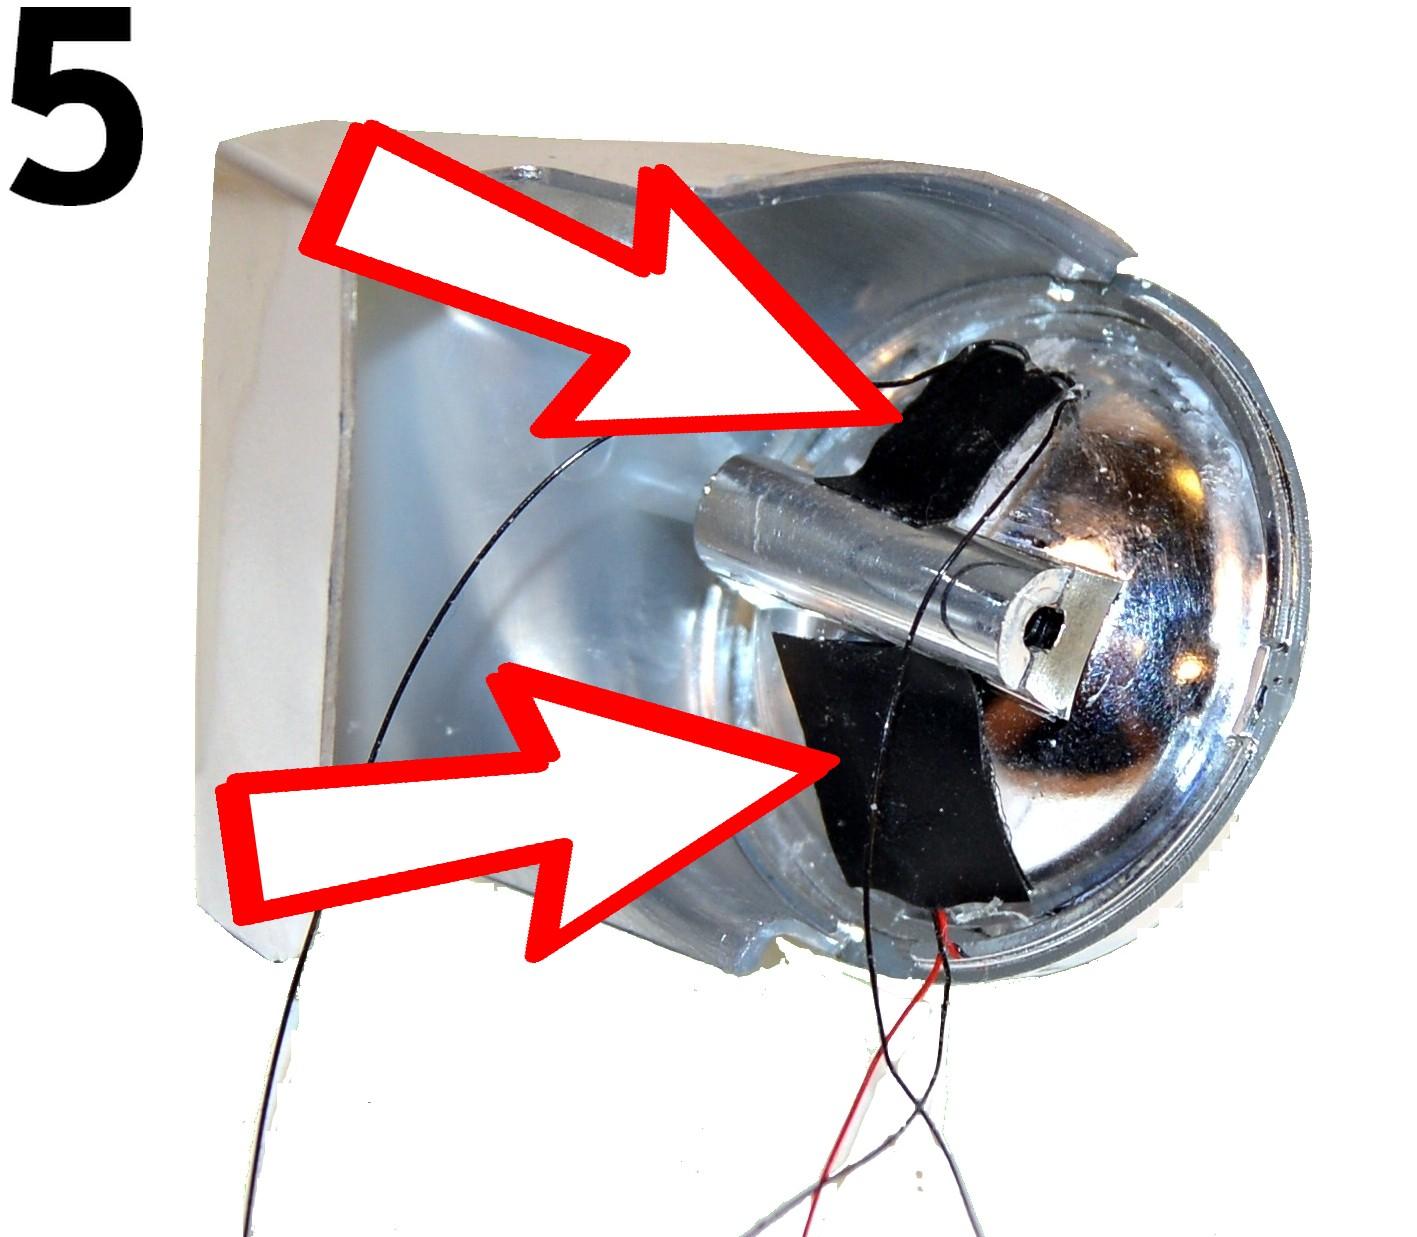
I then attached one half of the main body to the bezel. After that had dried I place two small pices of electrical tape as a safety measure to help hold the SMD's in place. Don't worry, this will not be seen on the finished model.
TEST THE LIGHTS
Then you can attach the other half of the main body giving plenty of drying time before continuing.
TEST THE LIGHTS
Next is the attachment of the chrome ring and the clear headlight lens. Once this is attache it's EXTREMELY hard to disassemble to get in and make a repair to the lights. Hence the reason for the TEST THE LIGHTS throughout.
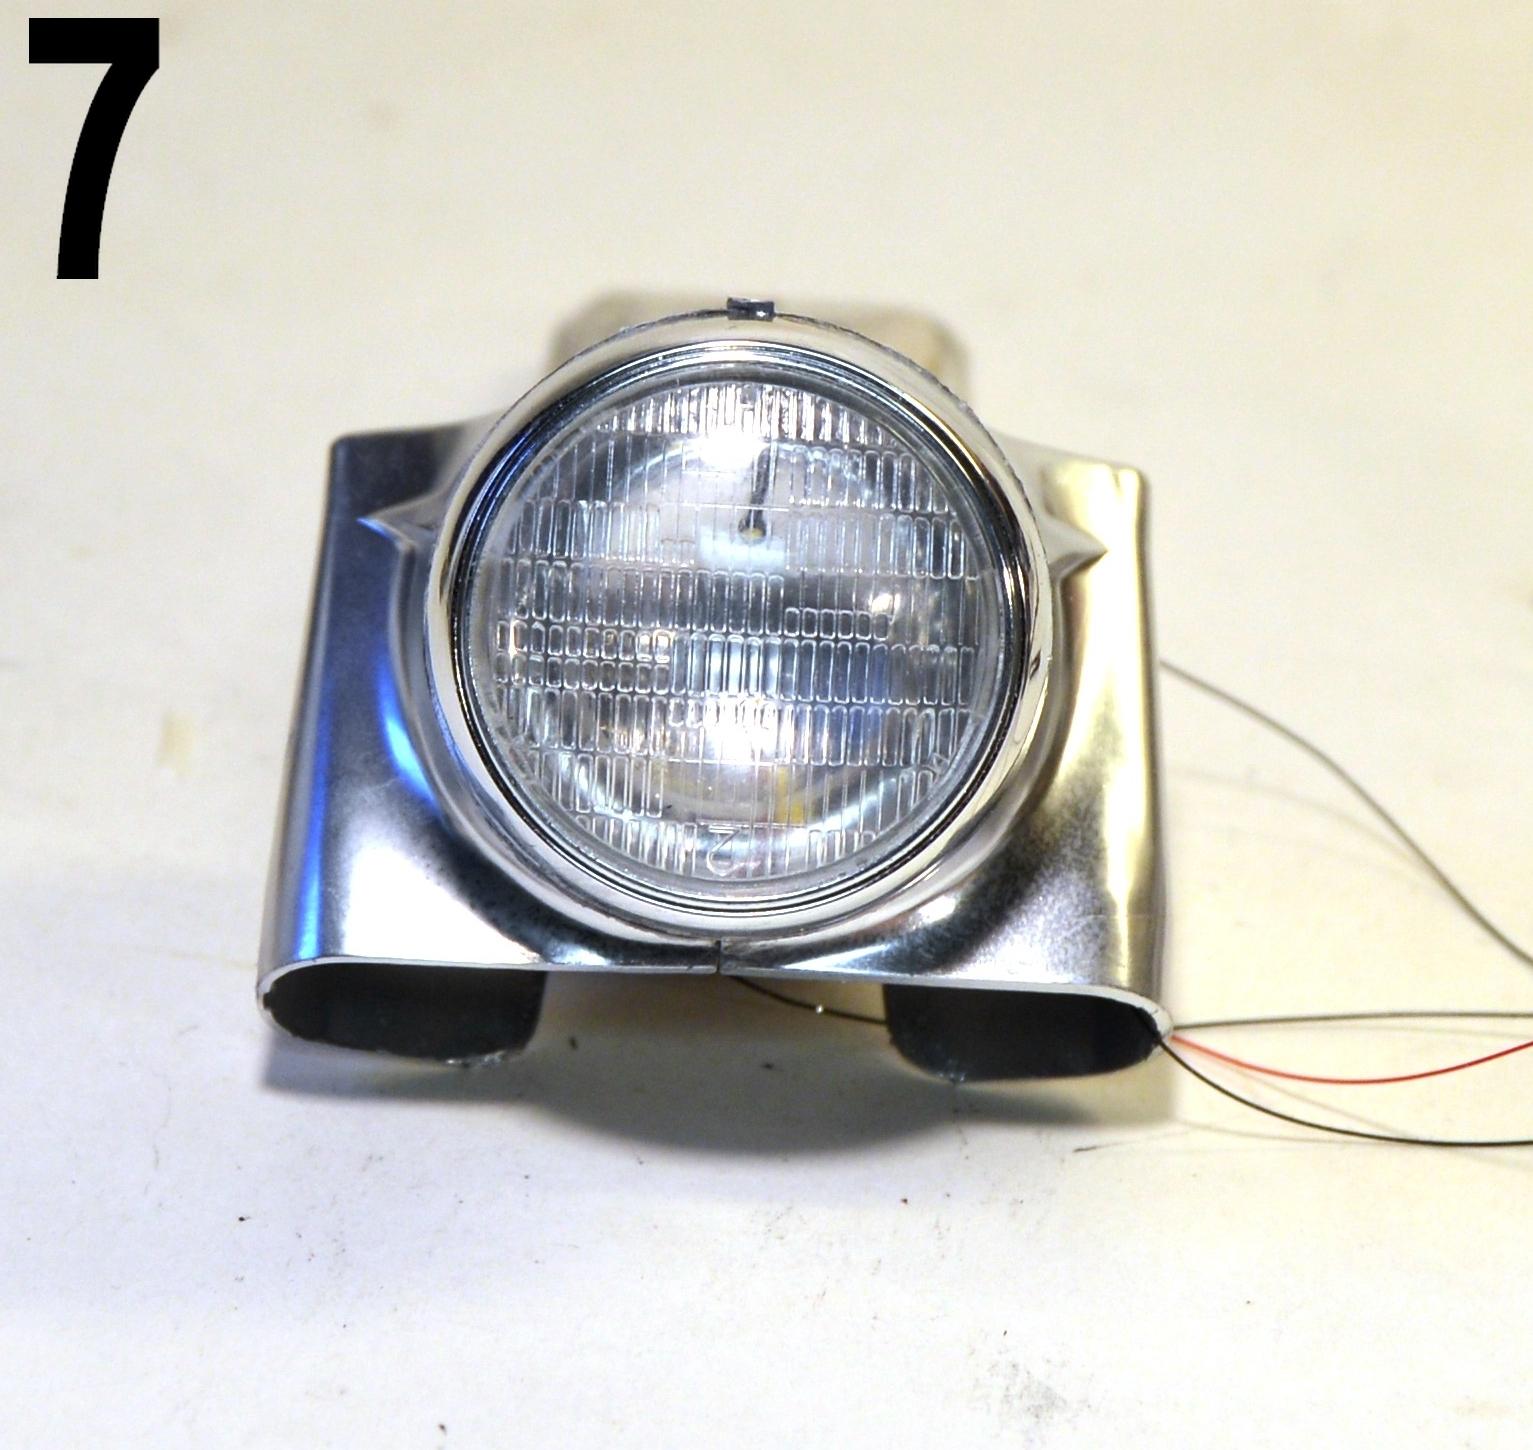
Photo 8 shows the light off.

Photo 9 shows the light on in full darkness.
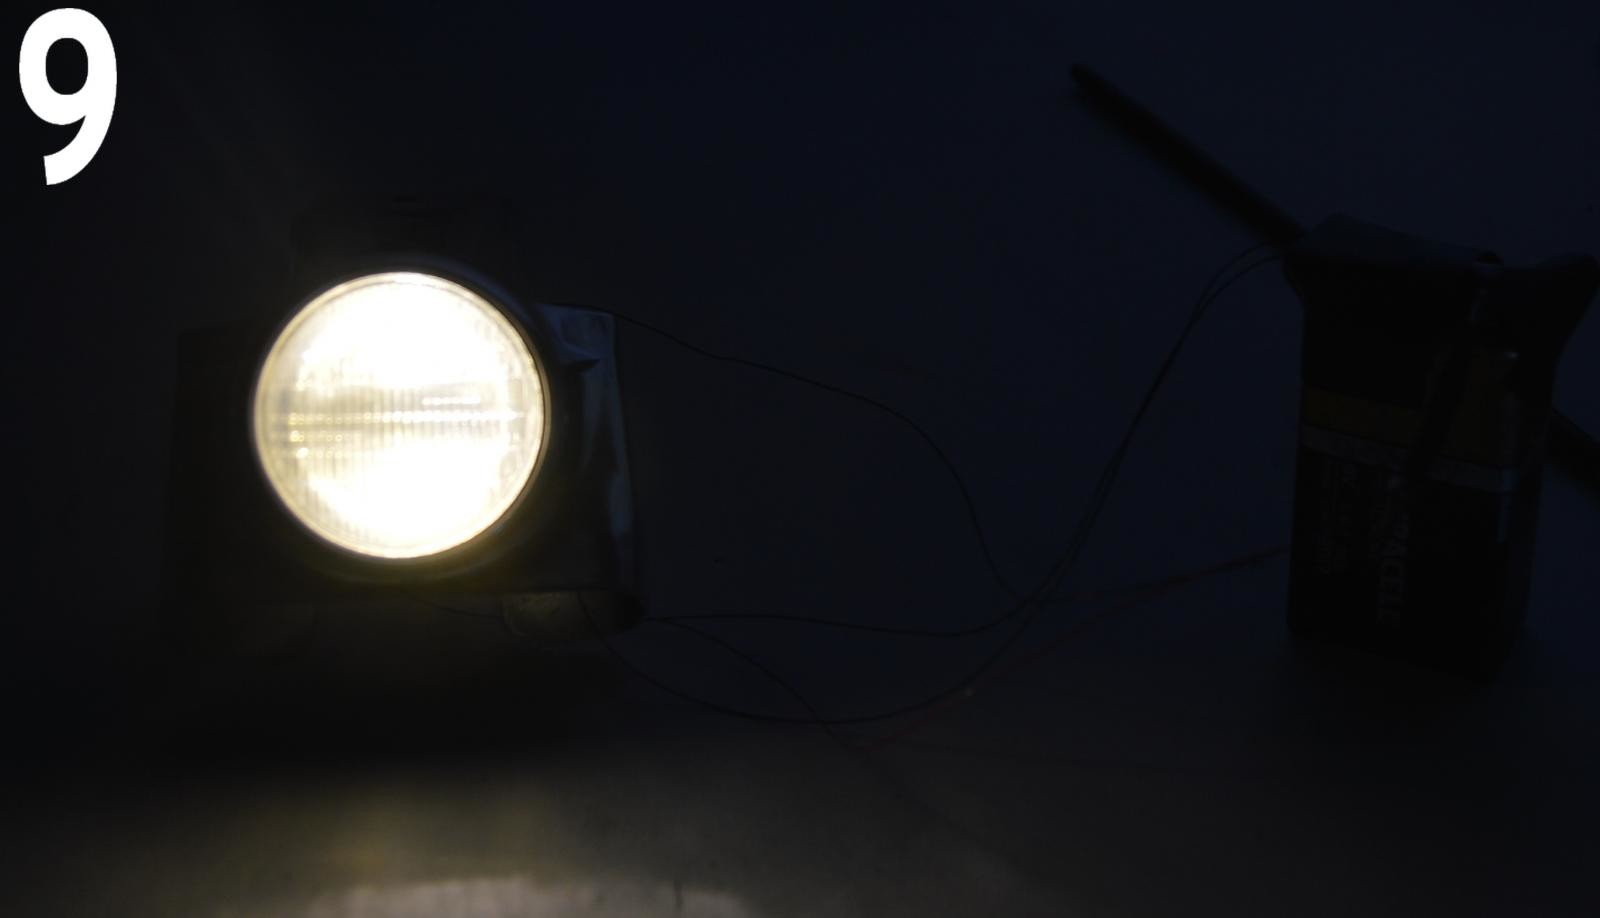
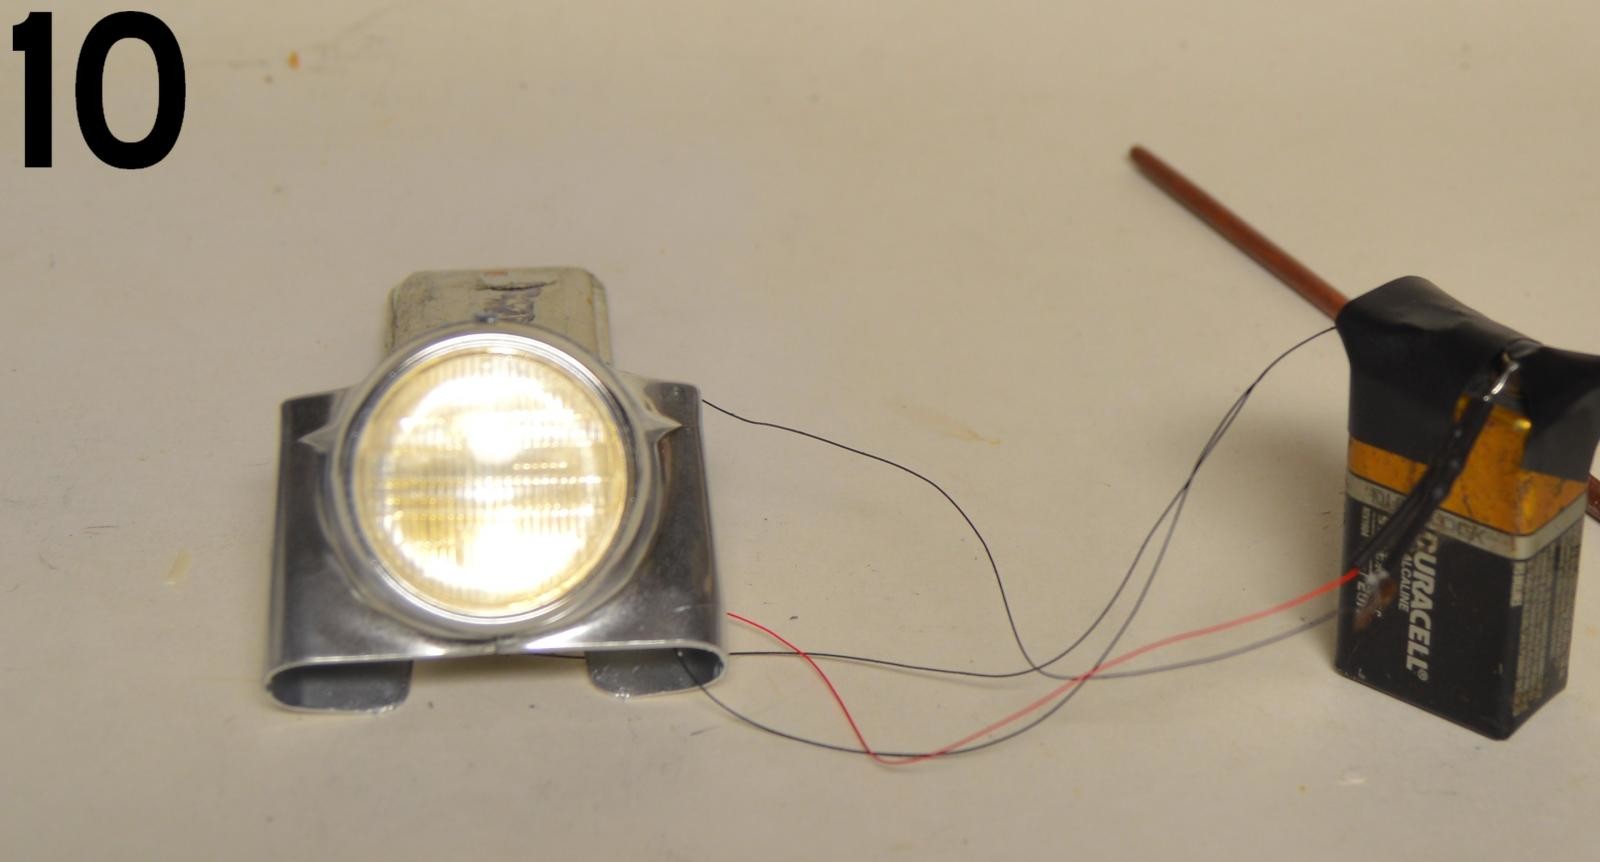
Photo 10 shows the light on with the room lights on.
As always, if you have any questions please feel free to ask and I'll be happy to answer.

Having never done this, I have two [apparently] dumb questions I didn't see/read covered in the tutorial: 1) where do you hide the 9-volt battery and 2) how do you turn on/off the light after assembly...? 🙁
I generally mount these big bikes to a base. Running the wires underneath that and attaching them outside the model itself.
What size resistor do you use with those LED's?
These come with pre-attached resistors. You'll find available information at the web site where I got them.
http://hdamodelworx.com/
Thanks, Harry. I'll check out that site. I usually make my own LED/resistor components, but pre-wired units would definitely save a lot of time. Thanks again for the excellent tutorial.
Thanks Harry, really nice to see some electronics here!
Thank you
I think you can now get these for doll’s houses etc where you can use a button battery, which of course are much easier to hide.
Thanks for posting.
http://www.smallscalelights.co.uk
Master bike builder and electrician! Cheers for the article mate, very informative.
Stay tuned...more to come! THANKS!
Harry, what size is the wire? I realise that 1/6 scale is a big bike but those wires look very small. Do they come installed on the bulbs from the dealer?
Thanks.
Yes, the wires come already attached to the light WITH a resistor on the far end. The wires are a lot smaller that angel hair pasta ((if that helps)) I do not know what gauge they are.
The size of the wires also makes it very easy to hide them.