THE FRYING PAN CHALLENGE! Part 4. The fun has begun.
Playing around with the airbrush over large surfaces is the best part of aircraft modeling in my opinion.
Before I painted the black underside, I laid a foundation of reddish brown.
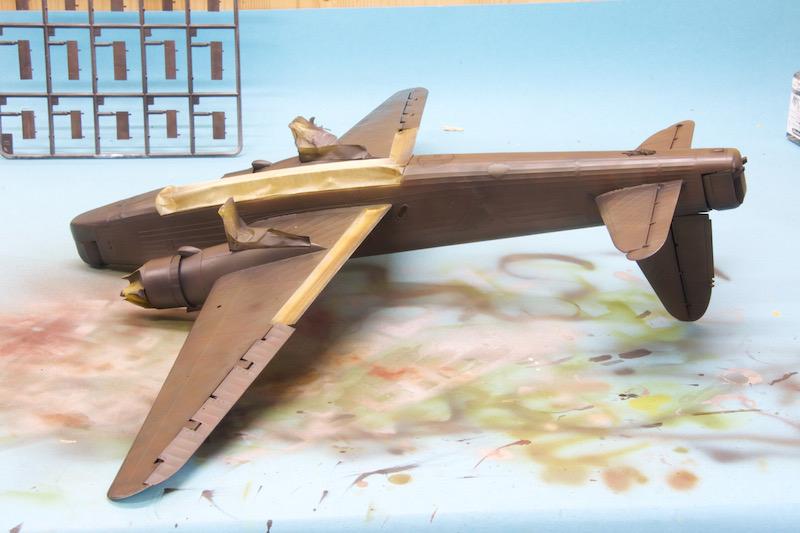
That was followed by a thin layer of dark grey and then it was time for some masking.

A chaotic pattern of green and brown served at foundation for the green thin layer of green.
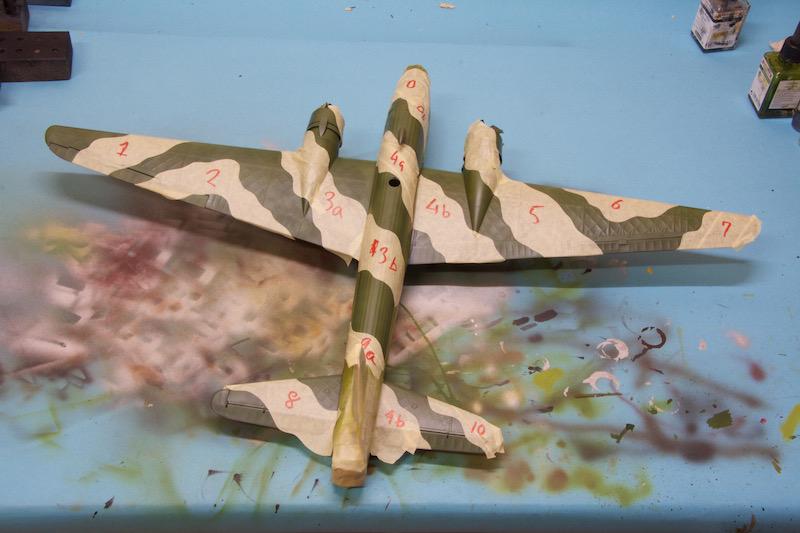
After a thin coat of green, more masking followed.
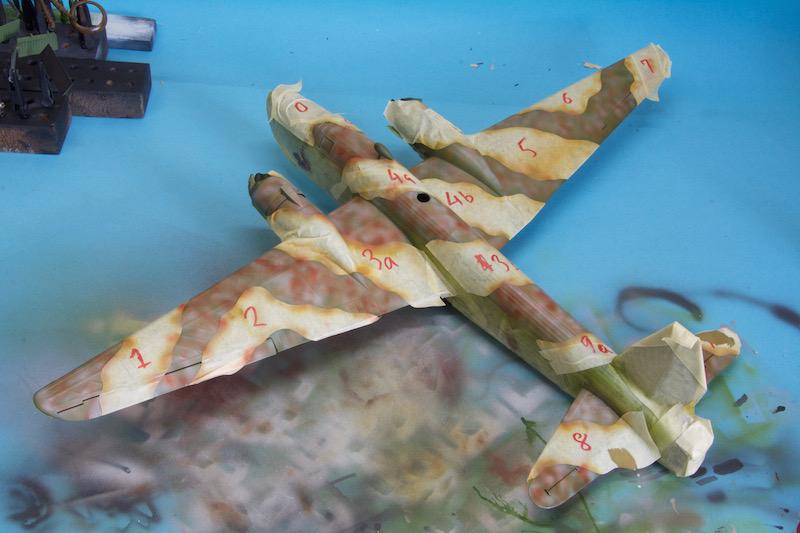
And more playing around with the airbrush.
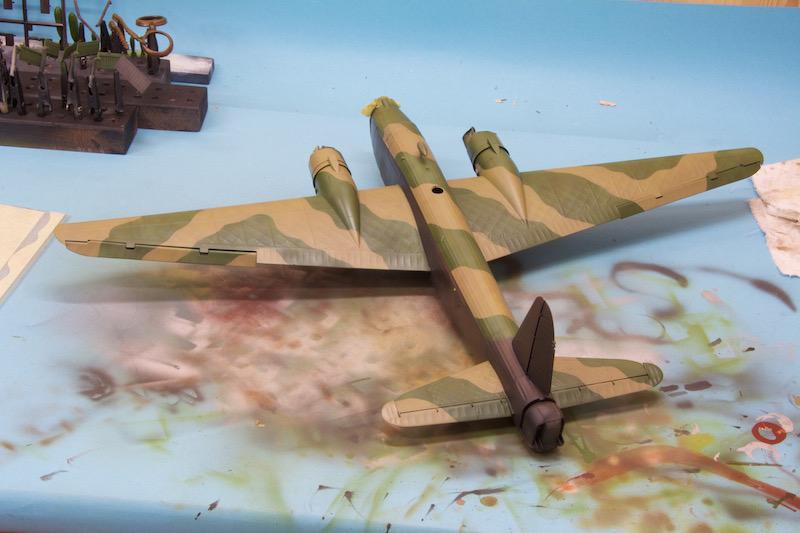
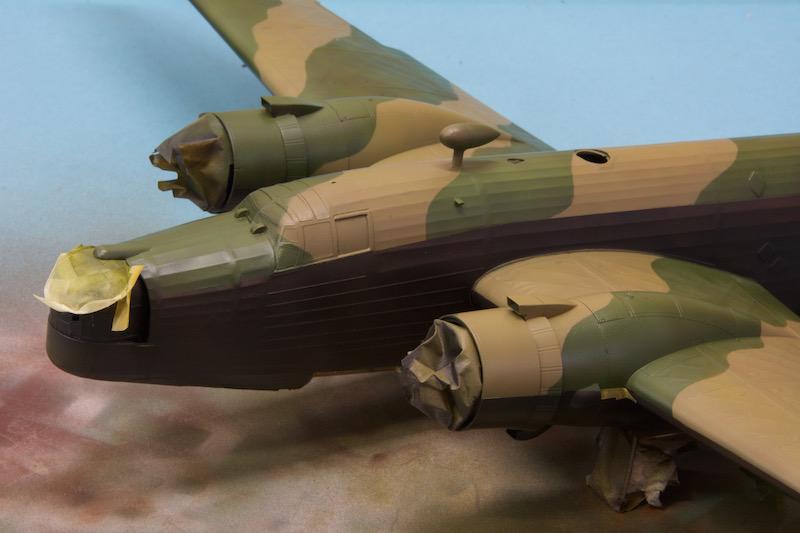
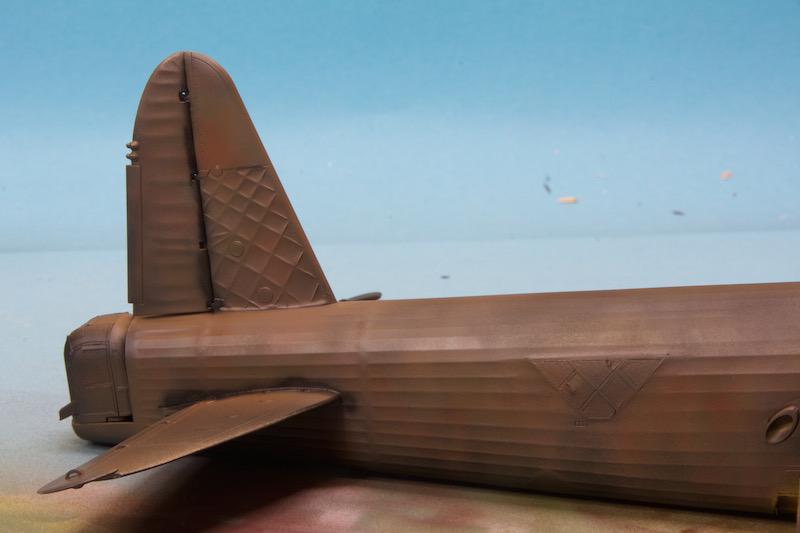
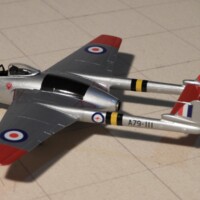
The result after removing the masking was a little bit of a disappointment. Like so many times before, the last layers of paint were a bit too thick, so quite a lot of nuances were lost.
Now, it's time for some decals and then I'll see what I can do about the monochrome appearance with some thin mists, washes and possibly pigments.
Cheers.
Ulf, the photographs are neither here nor there but, base on what you have written what, if you where to take a old cotton T-shirt and gently go over the surface of the wings and fuselage and see if you can soften or smooth and remove some of that heavy paint? It would help give the appearance of aircraft that has got a little time on it. You have to do it gently and gradually using best judgement. It also, helps smooth over any paint that is a little grainy if present.
Thanks for the tip.
I'll try it.
The T-shirt may remove some of the paint and burnish other area's and it might soften some of the edges on the green paint. If too much paint has been applied to let the under lying paint show through. Try the reverse and start to paint the greens with lighter shades of greens starting from the middle of greens toward the edges. Same with the browns...using very light coats. So light that the paint is translucent. The idea is similar to the dot methods where your drying to get the human eye to move over and look at the model. If that makes sense. Mistakes can be mistakes at times but, sometimes mistakes can be good..
Keep going Ulf, would hate to see it smashed.
I'm with Tom on this... The Wellington doesn't need to meet the pan... It's looking too good for that.
I agree...we'll be watching with bated breath for the end result. 🙂
Looking good, when is the dead line?
31.12.2017 at 2400 hrs.
I'm pretty confident I'll make it.
Coming along nicely! I guess one of the advantages of not owning an airbrush is that I'm not tempted to do a lot of work that disappears under final layers of paint! Since everything I have to do is post-paint, I can see pretty well what the end result is going to be as I go, except that even the final dull coat can make some effort disappear! Oh well - live and learn - and continue to experiment.
To paraphrase Frank Zappa, "Fried planes don't make it!" Just a thought. Too much Egg Nog, one suspects.
I didn't think I'd EVER read a Frank Zappa reference here! Yes, I'm a fan.
Good one, Bernie! Dead babies & all that!
R.I.P. Frank
What ever the final outcome is, it's looking great!
Very nice, work, Ulf. I've seen nuances be added with a dab of artist oil paint from the tube, then blended with a fan brush. It's slow to dry so that allows you to work with it and keep the airbrushed appearance.