iModeler Review: Trumpeter 1/35 Tiger I late w/Zimmerit (09540) – Part 2
This article is part of a series:
Basic Construction is Basic.
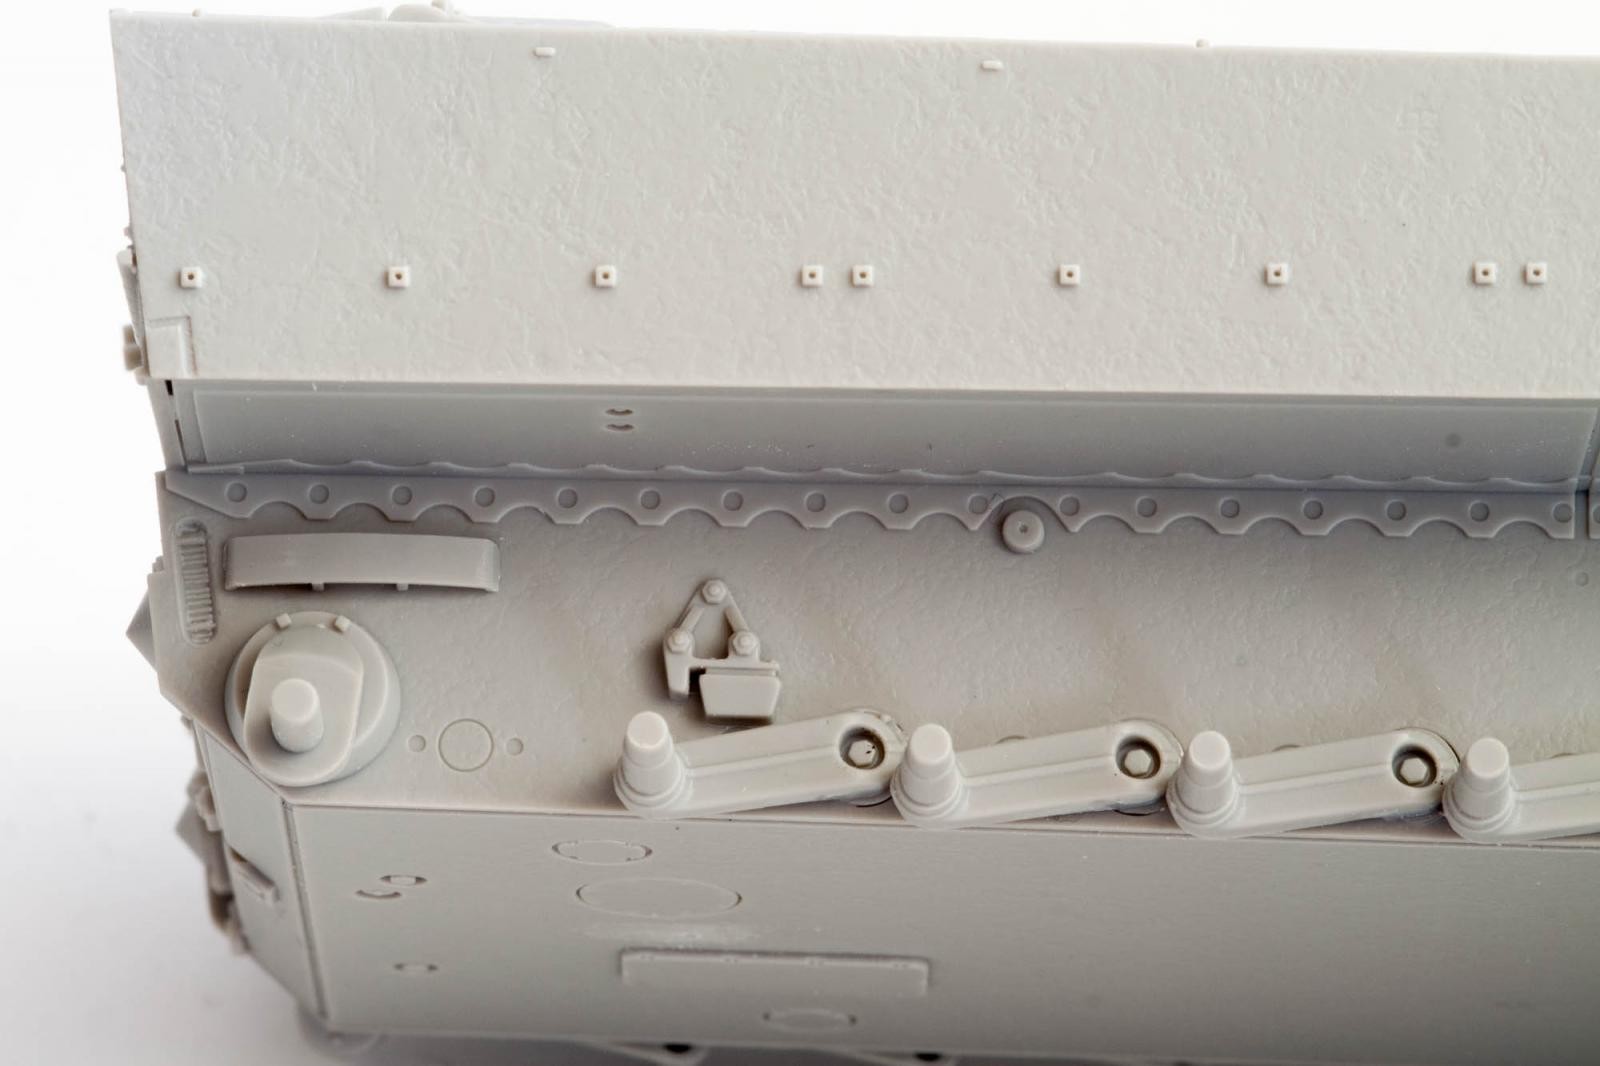
Building the kit is very straight forward – after all, the Tiger is more or less a box with some doodads attached to it. I followed the first steps of the instructions and attached the swing arms and the final drive plates. These plates will leave a slight gap where they meet the hull sides which needs to be filled.
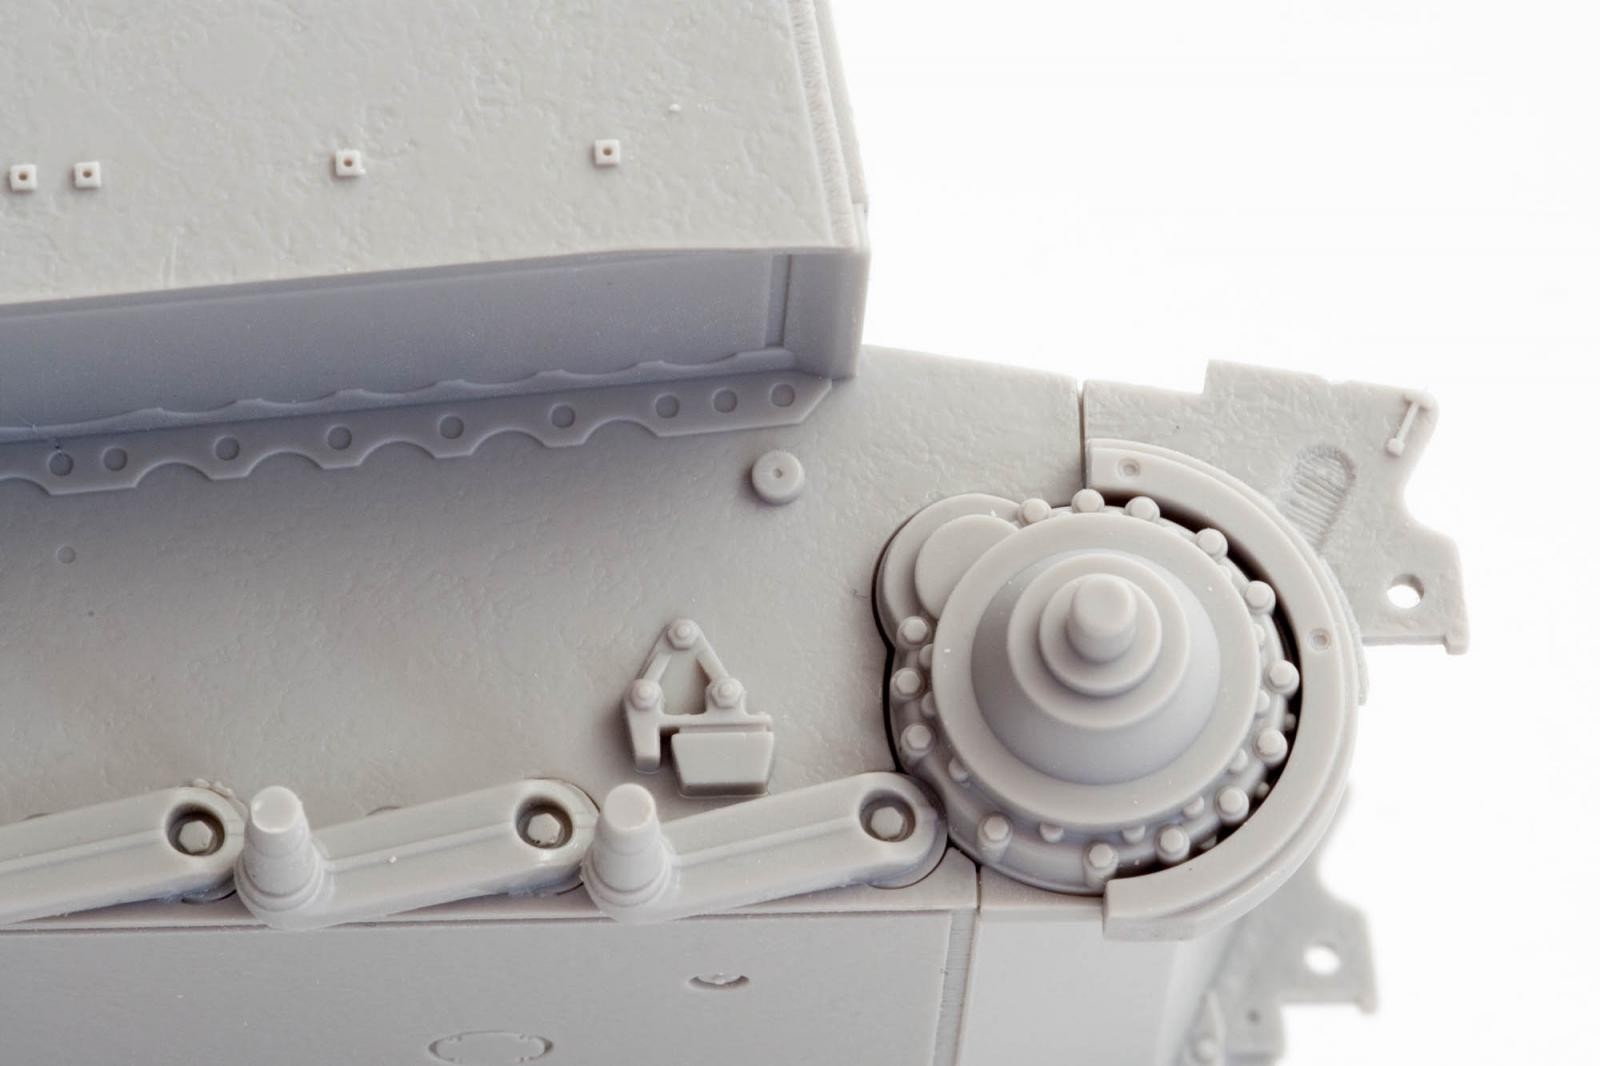
The fixture above the idler wheel mount should sit parallel to the hull bottom, not angled as Trumpeter would suggest. Easiest fix is to cut off the locating pins and glue the part on horizontally, conveniently covering the wrong locating holes.
After assembling the main hull parts you are left with some seams, especially at the rear. As I knew these seams would be covered by the Zimmerit I did not bother filling them.

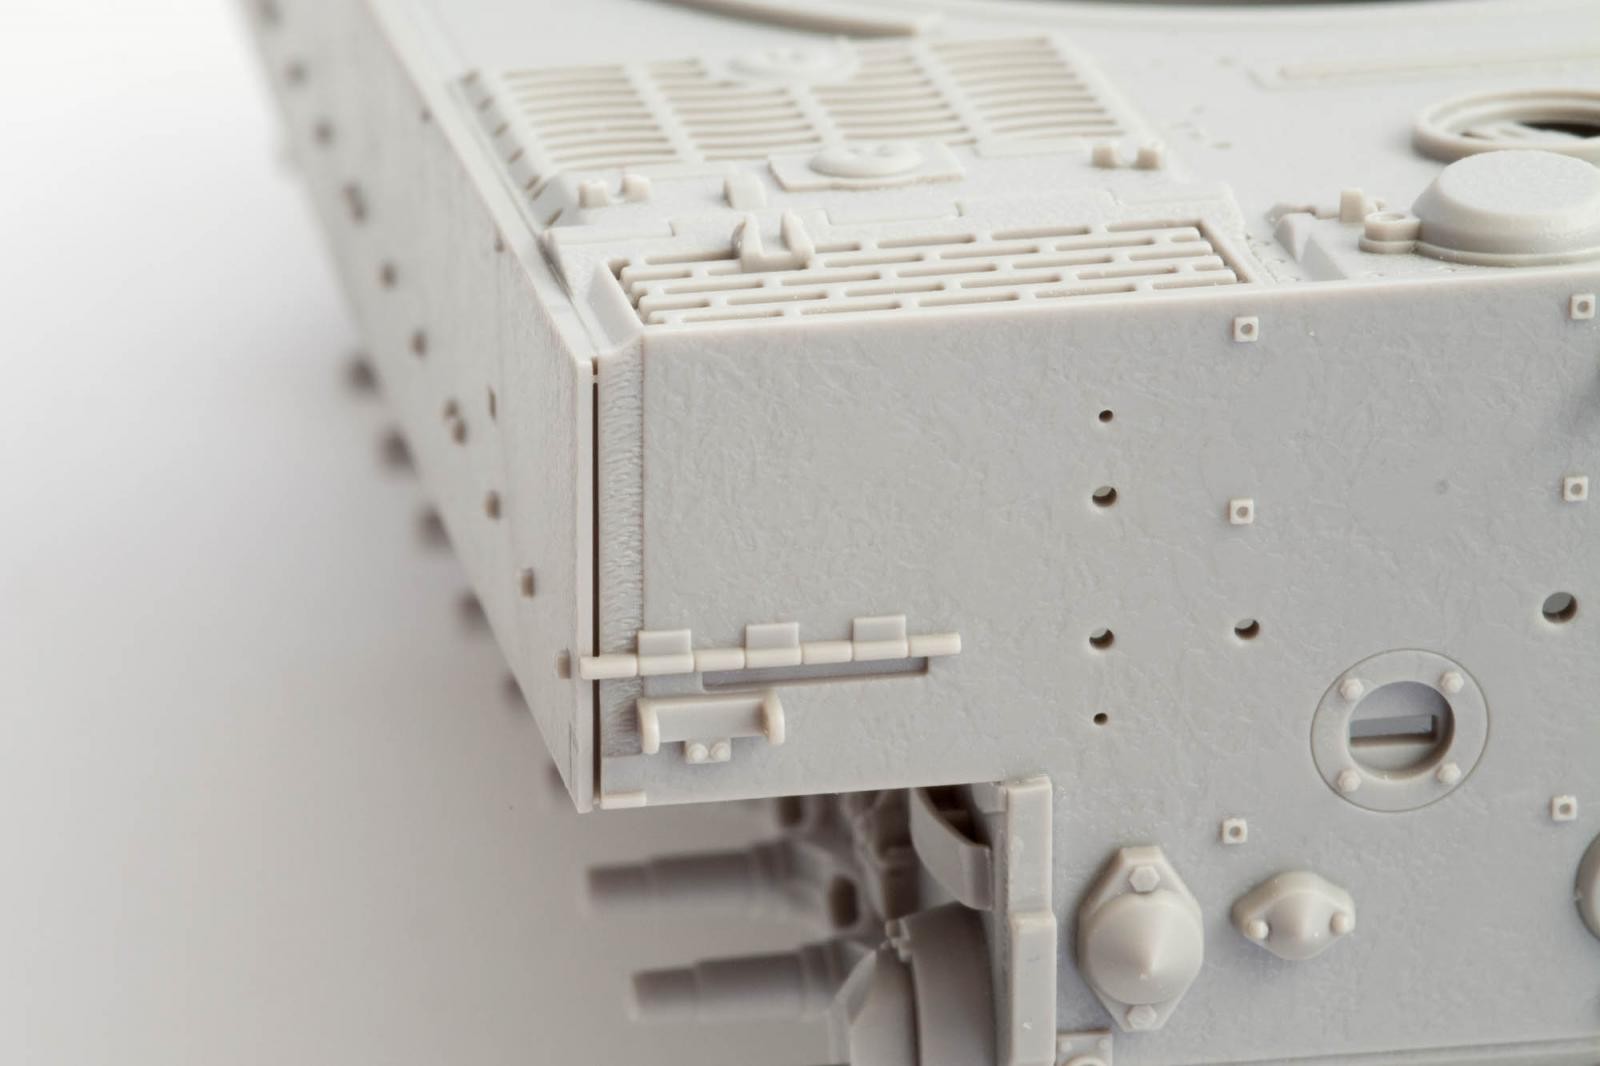
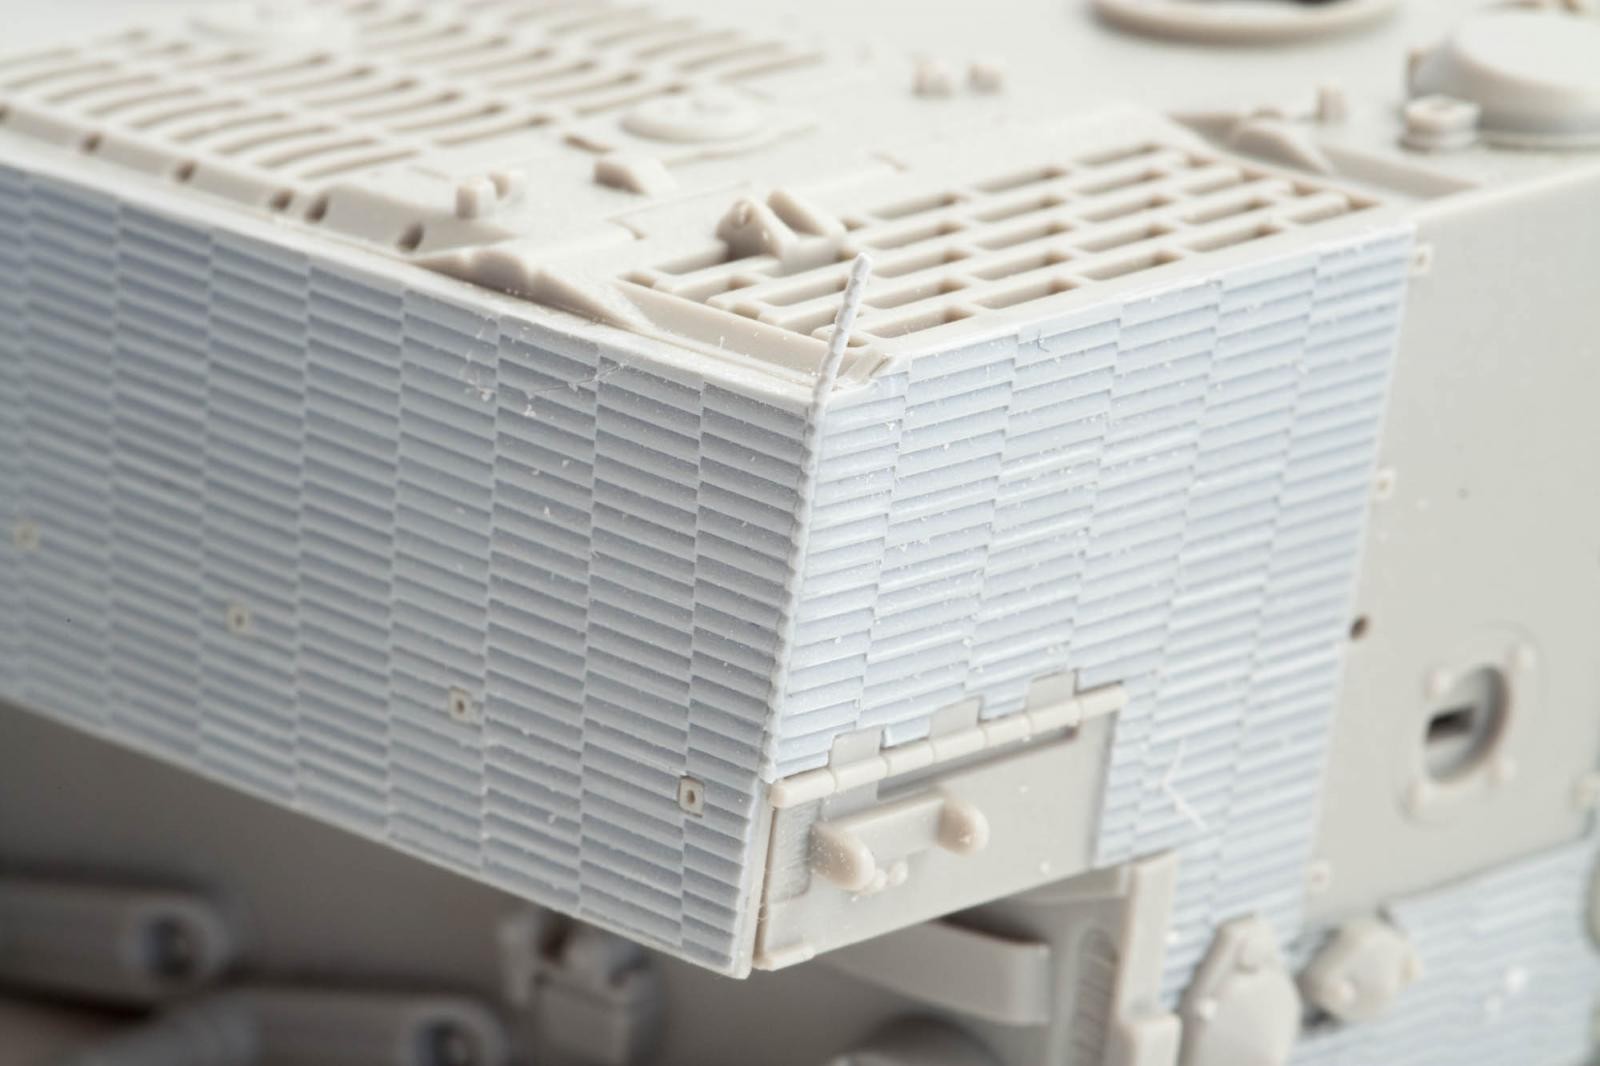
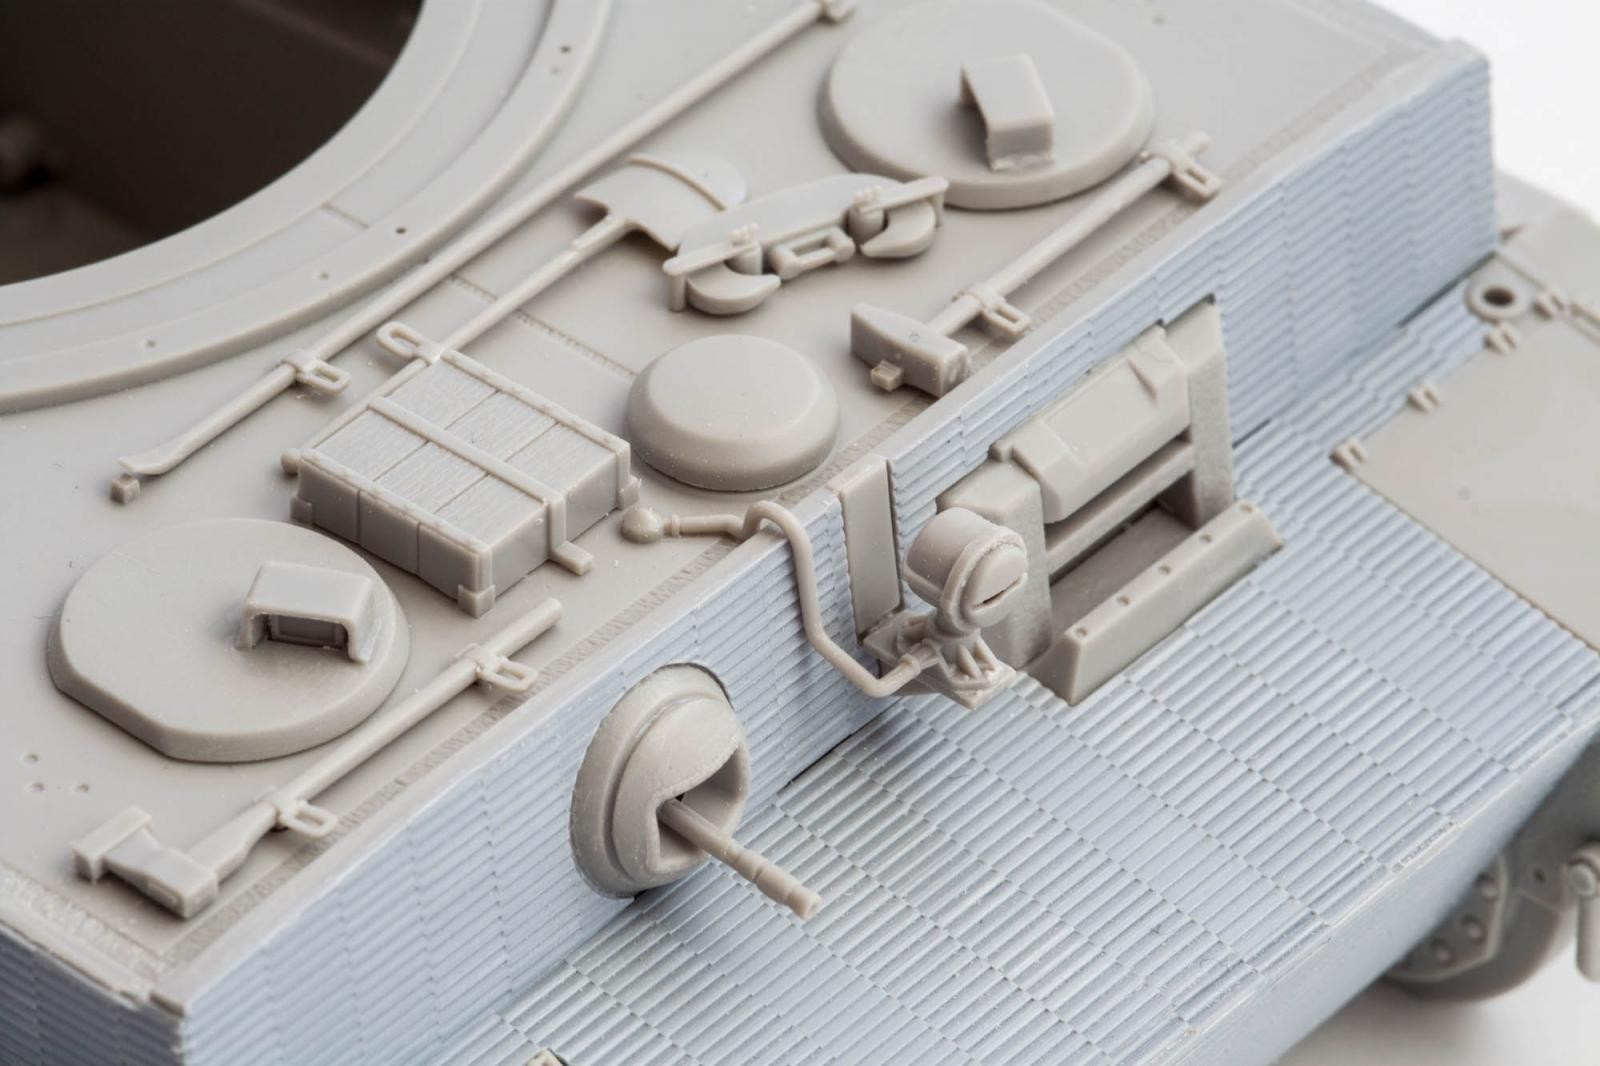
Applying the Zimmerit plates is easy, cut them out of their carrier sheet and glue them on. I would suggest running a good amount of Tamiya Extra Thin along the edges and applying some pressure to the Zimmerit until the plastic melts and forms a bead along the edge. Sanding this bead after it dries will give you a smooth joint without any gaps.
Speaking of gaps, the joint between the hull sides and rear plate Zimmerit is not the best. Using a small strip of the carrier sheet, I filled the gap and again used plenty of glue to smooth things out.


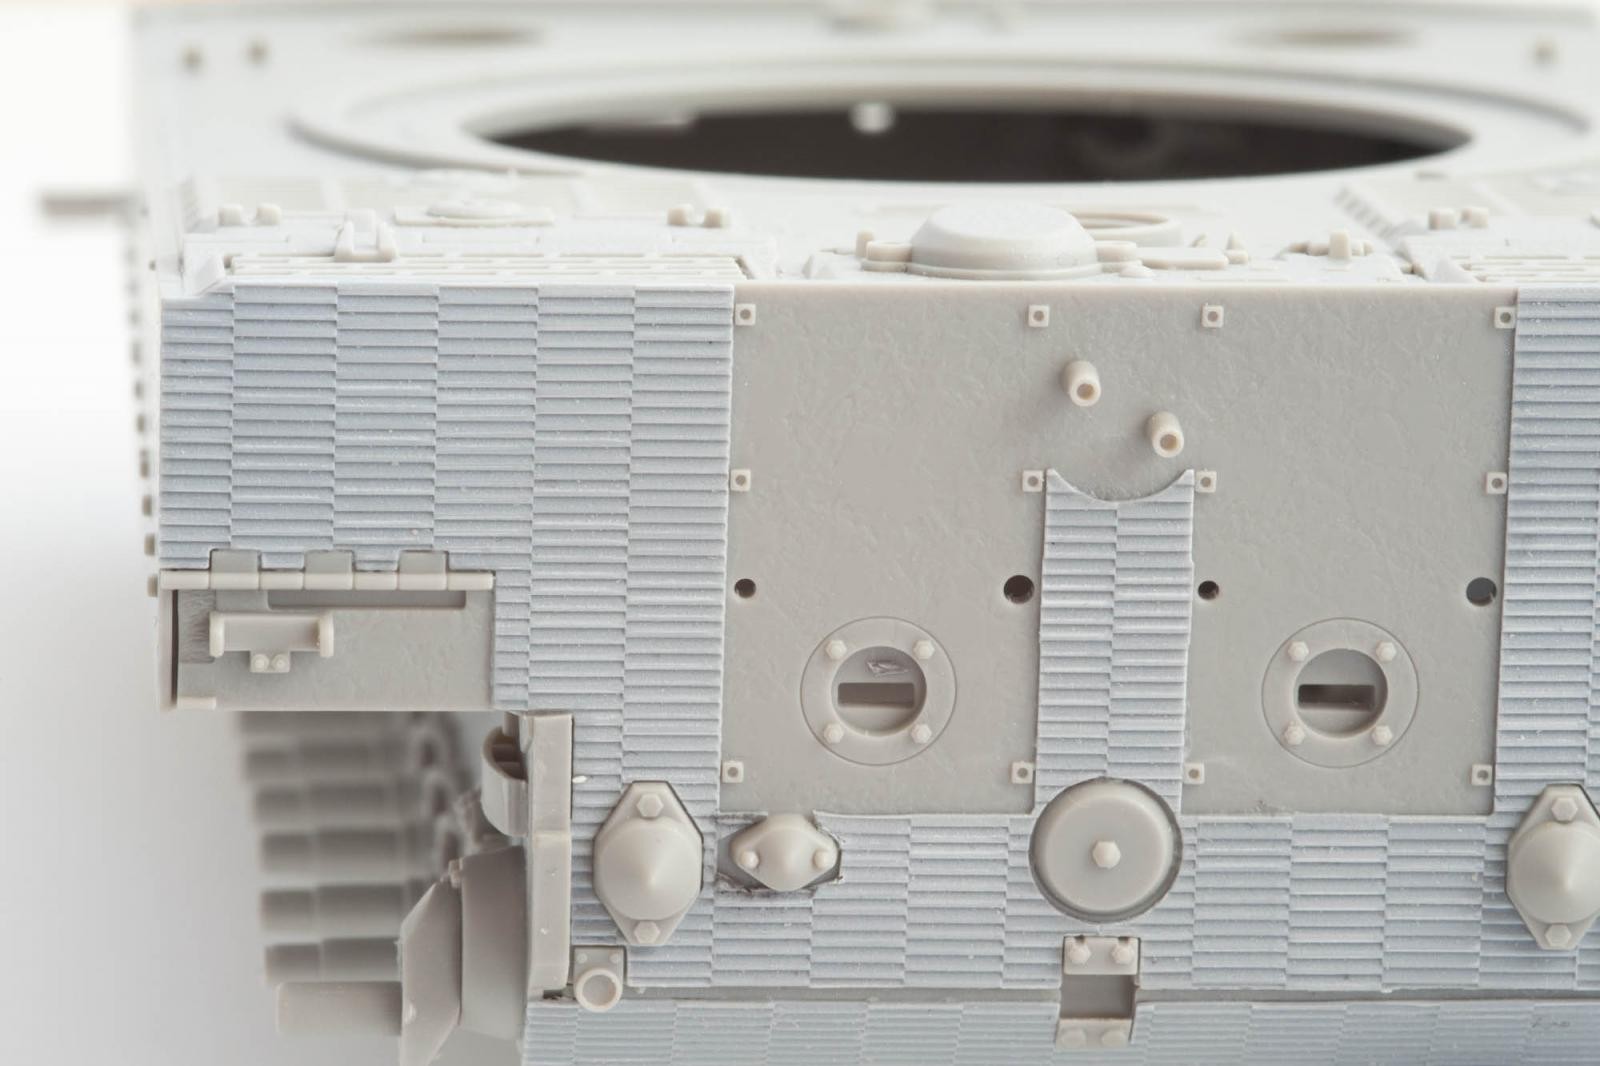
For some reason Trumpeter omitted one hole on the rear Zimmerit plate – but to be fair, the instructions tell you to cut it out. I did a so-so job on that, but the real stuff was far from perfect, so I can live with the results.
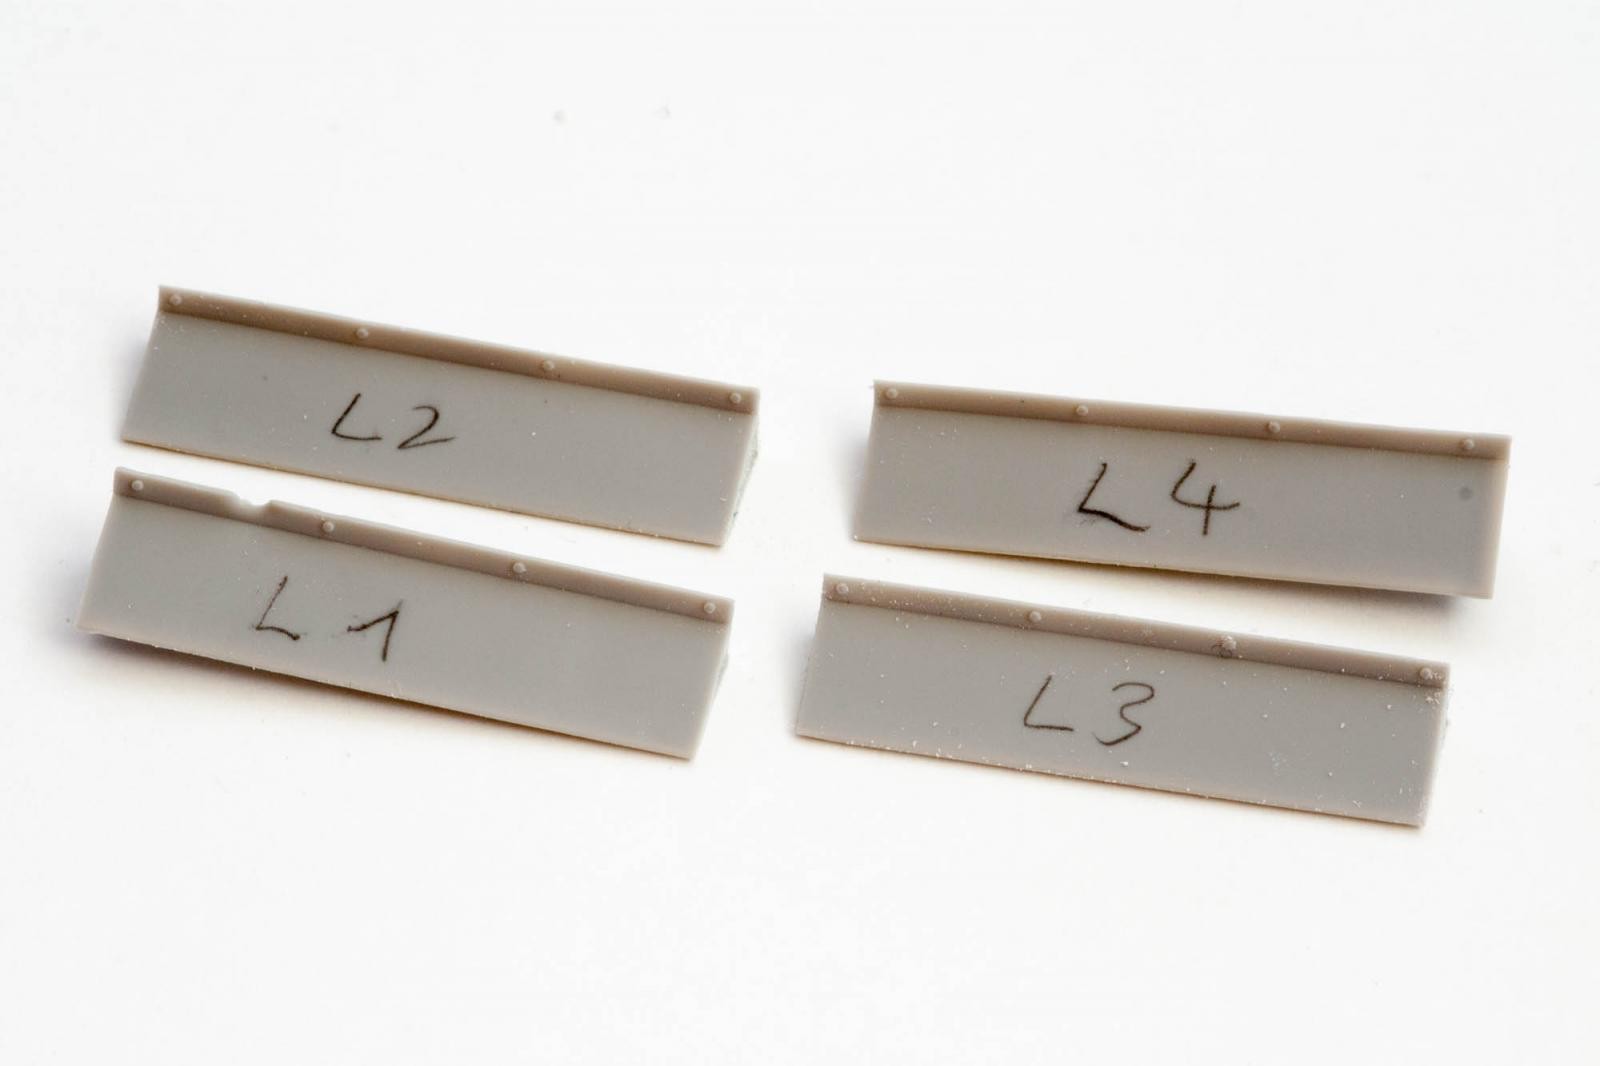
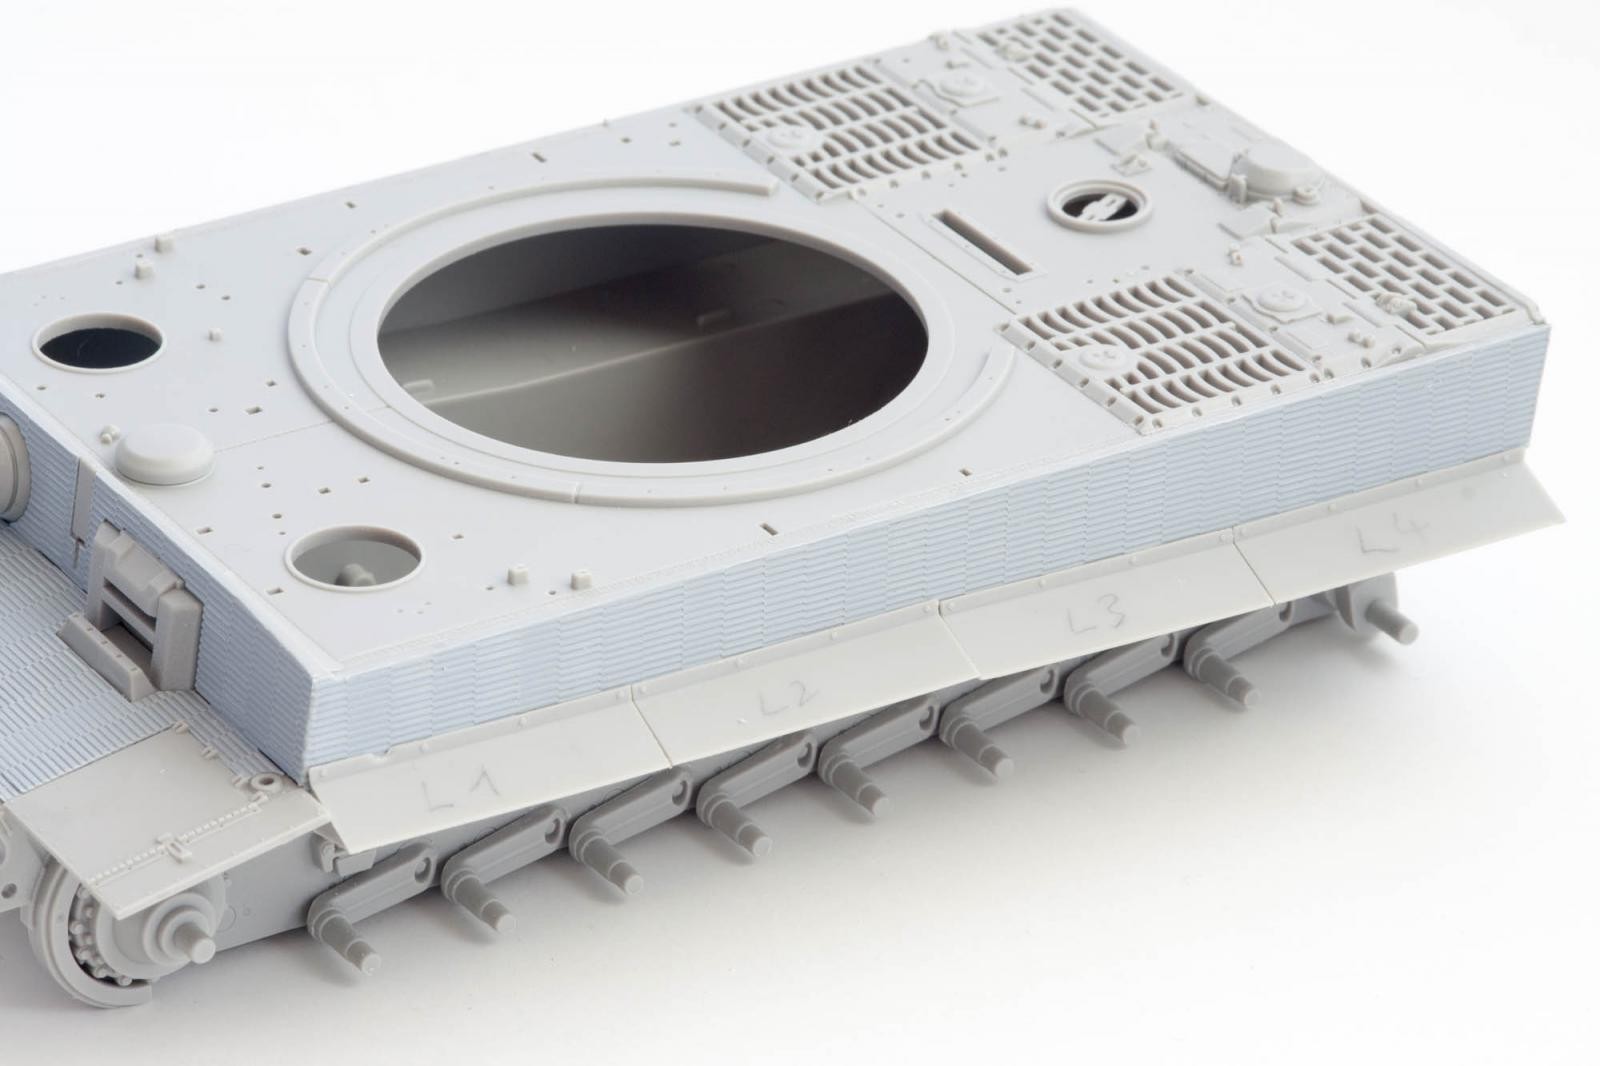
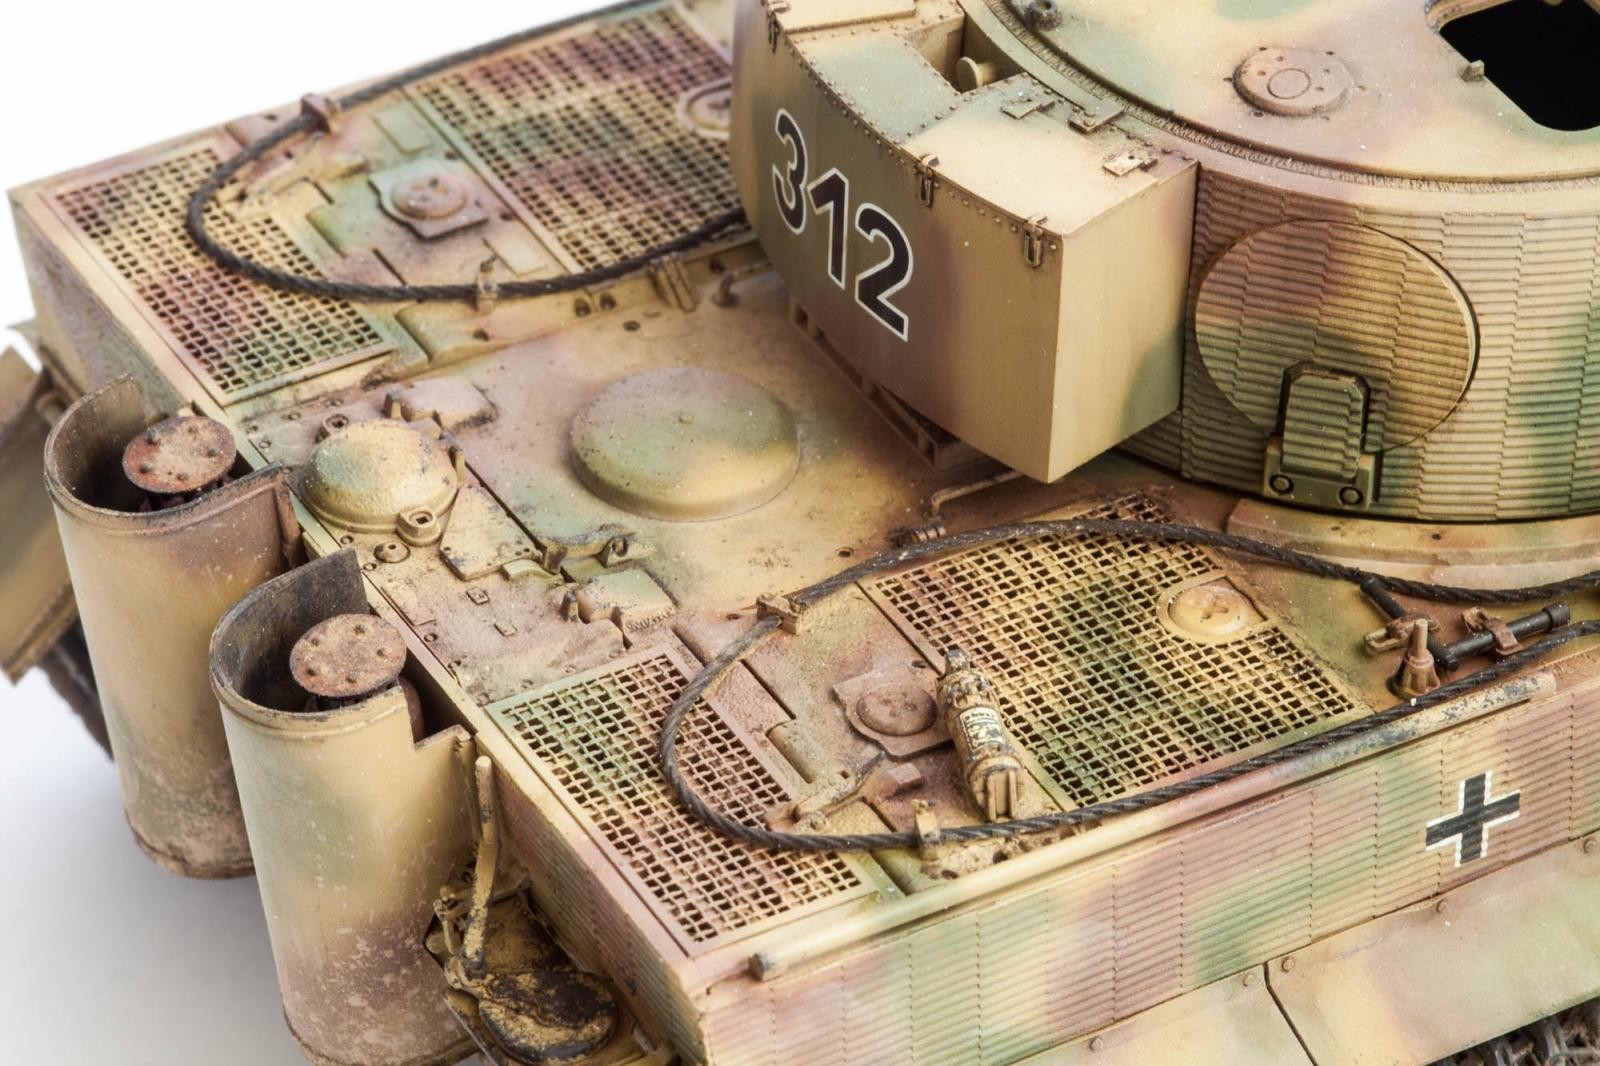
One thing that bothered me was the look of the side fenders. Trumpeter gives you attachment points along the hull sides which fit into corresponding notches on the fenders. With the Zimmerit glued on, these points no longer stand proud of the hull, and simply attaching the fenders will result in some ugly gaps. I decided to sand off the backs of the fenders to get rid of the notches, and at the same time cut them apart to prevent that factory-fresh straight look.

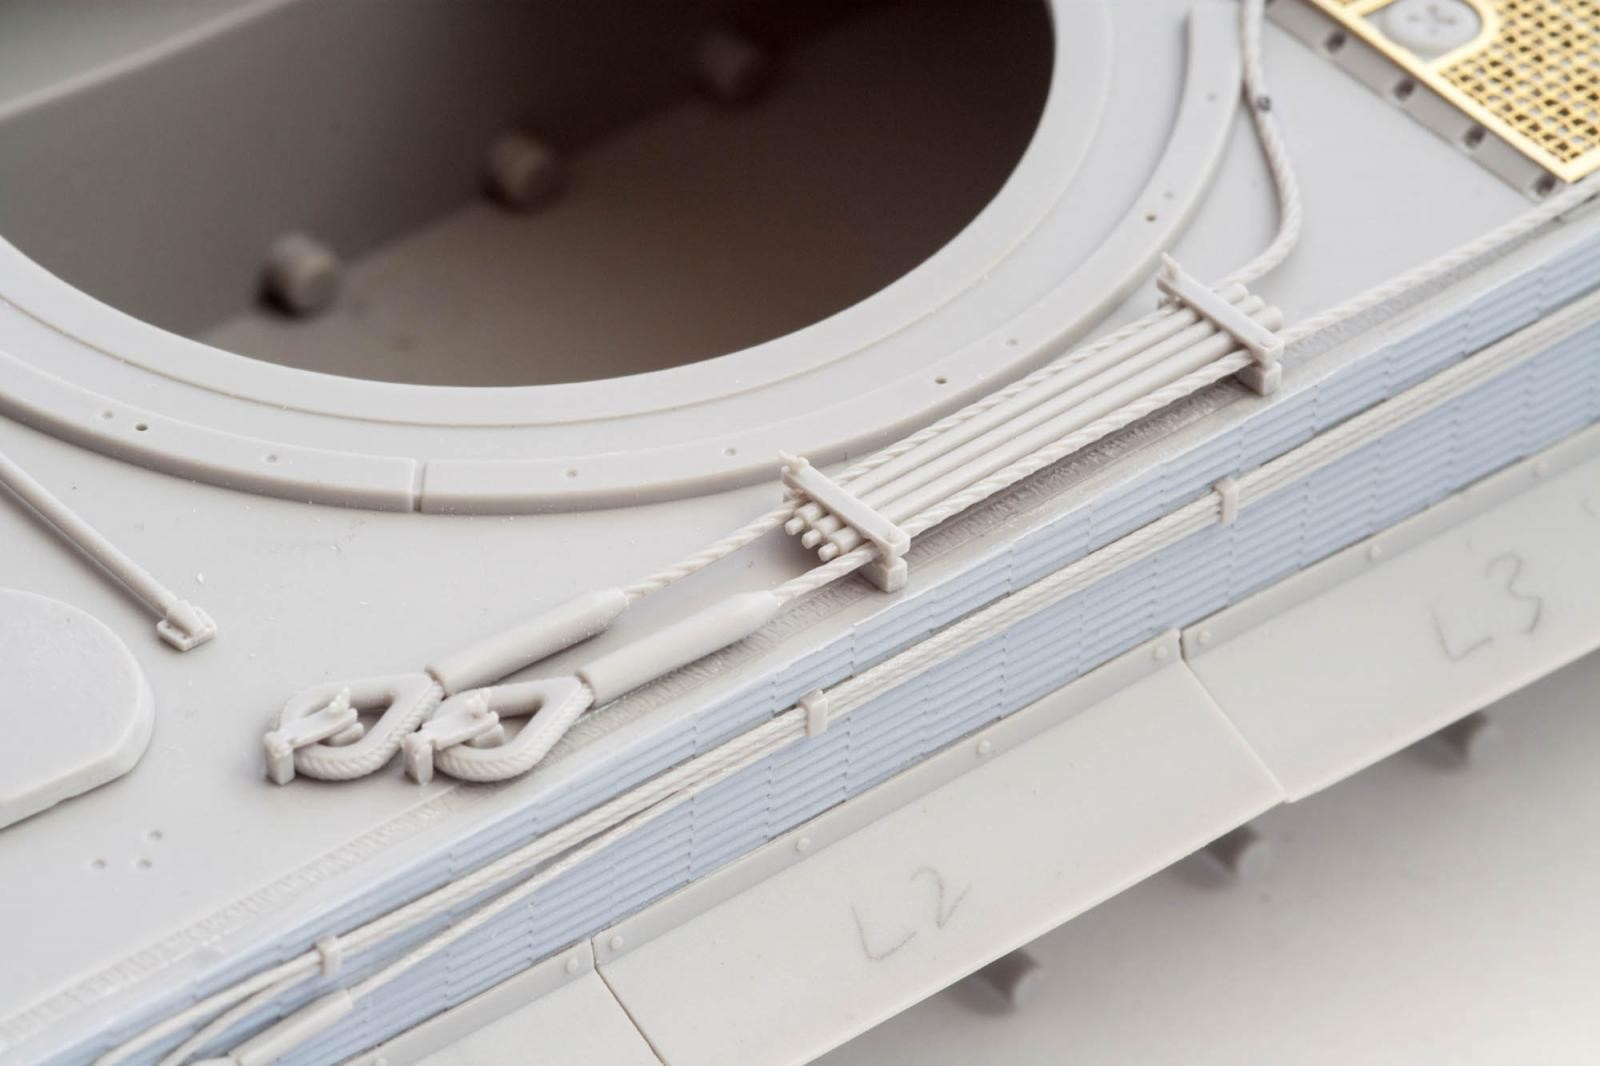
Attaching all the small parts to the hull took a bit of time, but went without issues. When using the kit-supplied tow cables you will want to glue them down one step at a time, making sure the glue has set before moving on to the next section, thereby ensuring a natural fit.

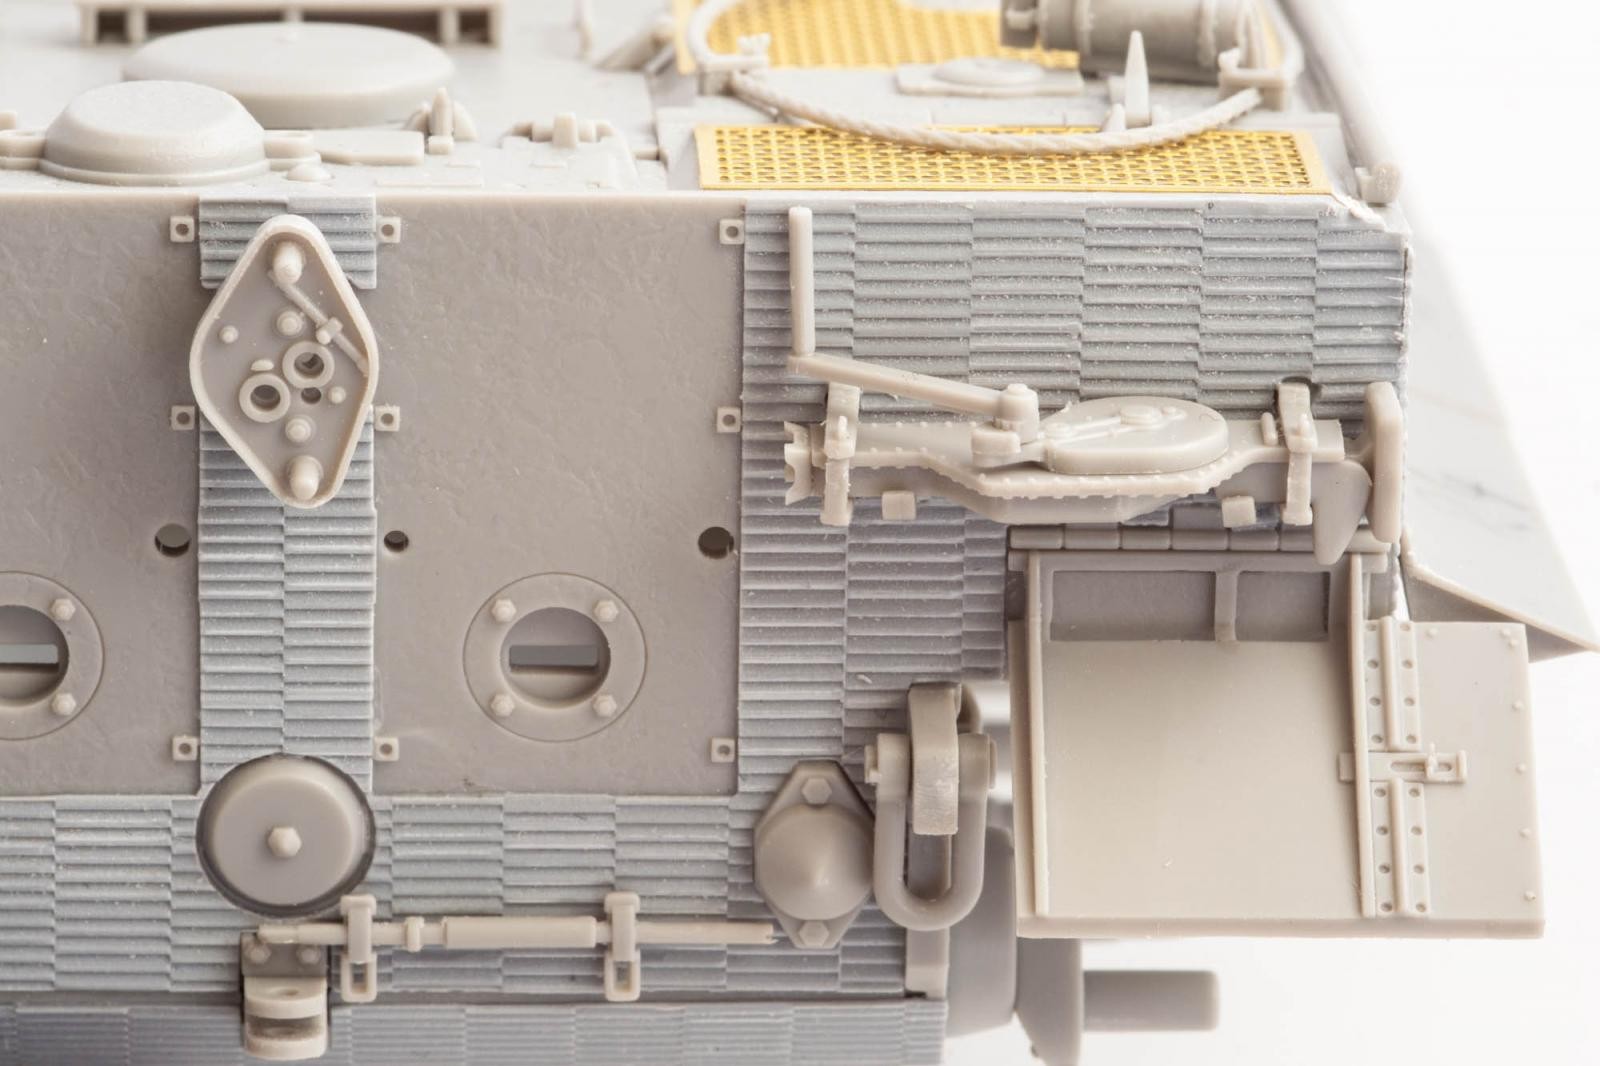
And here is one omission from the kit that I failed to correct until it was too late: The jack on the rear plate should have an additional clamp holding the crank in place. Silly me…
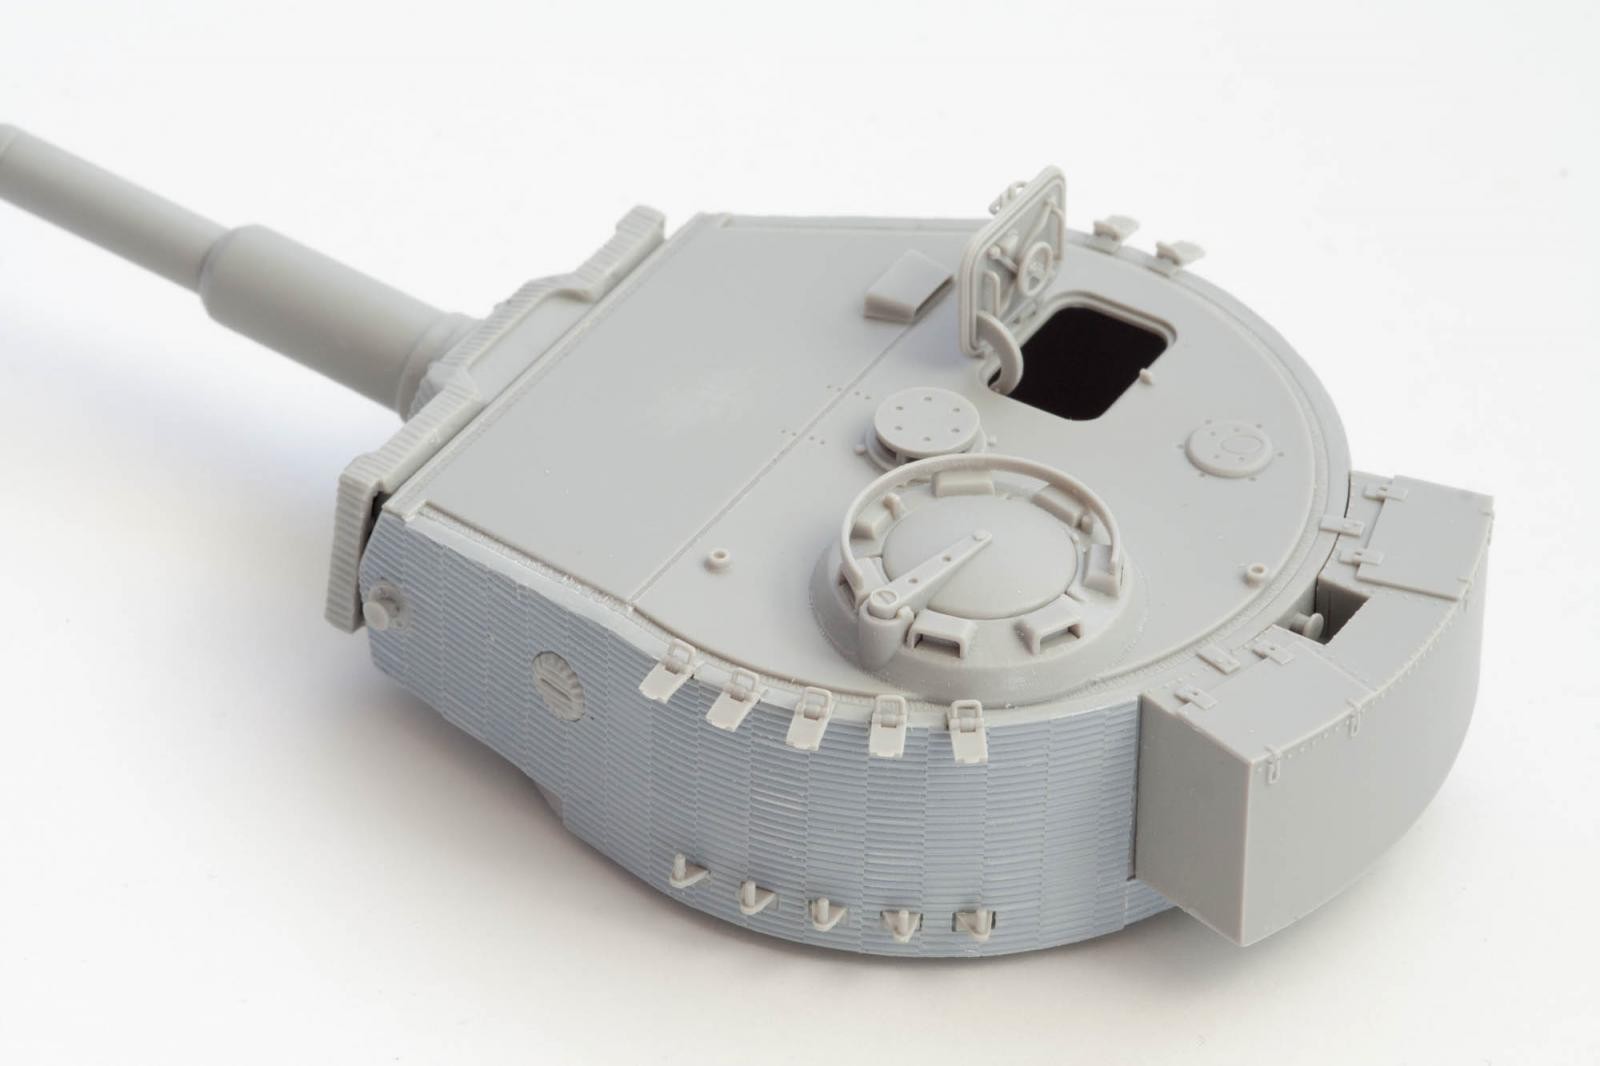
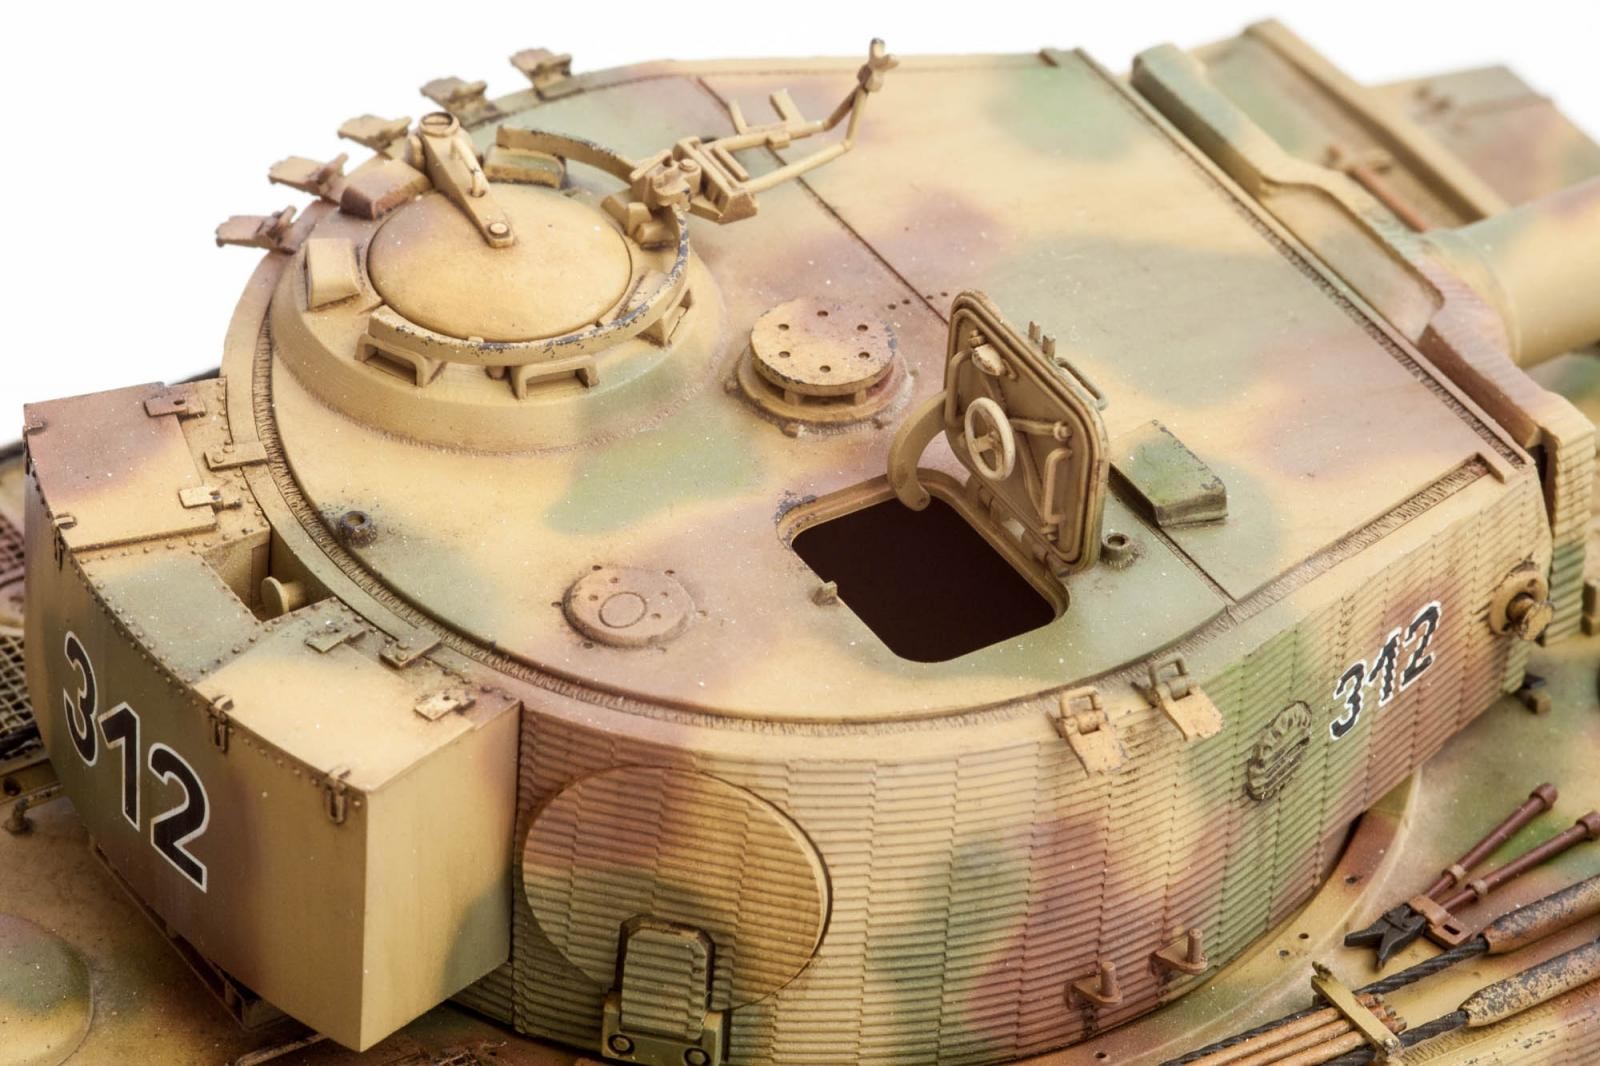
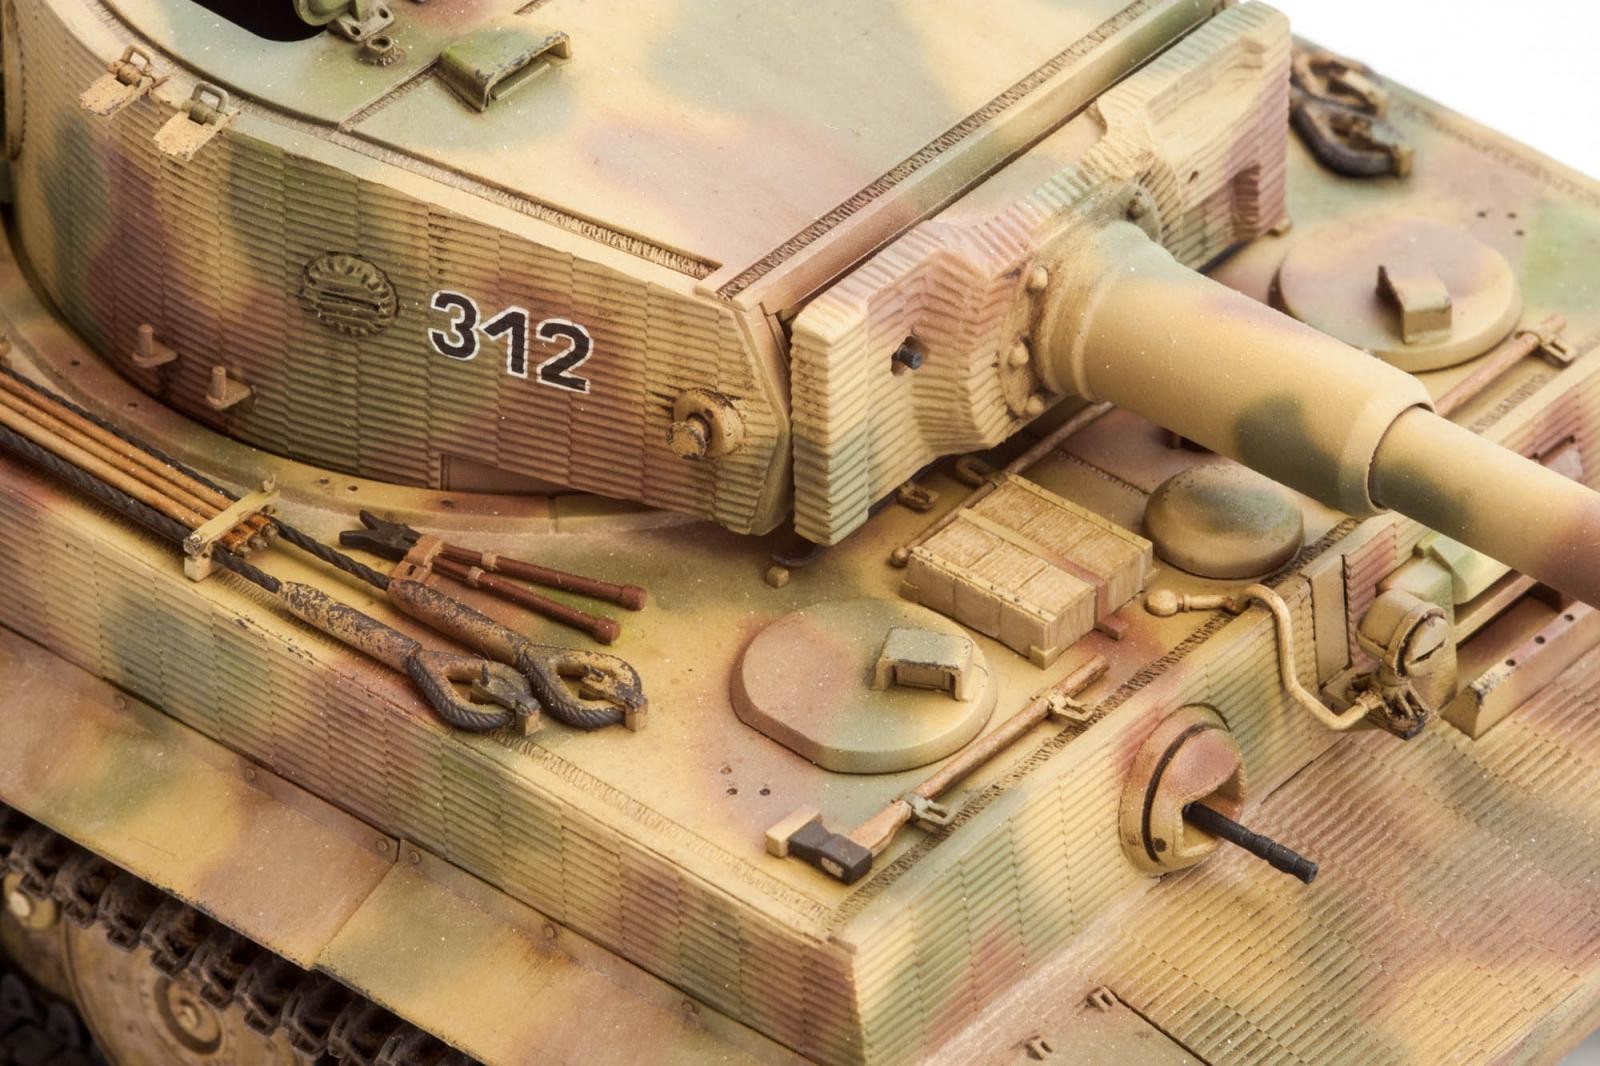
A Quick Turret.
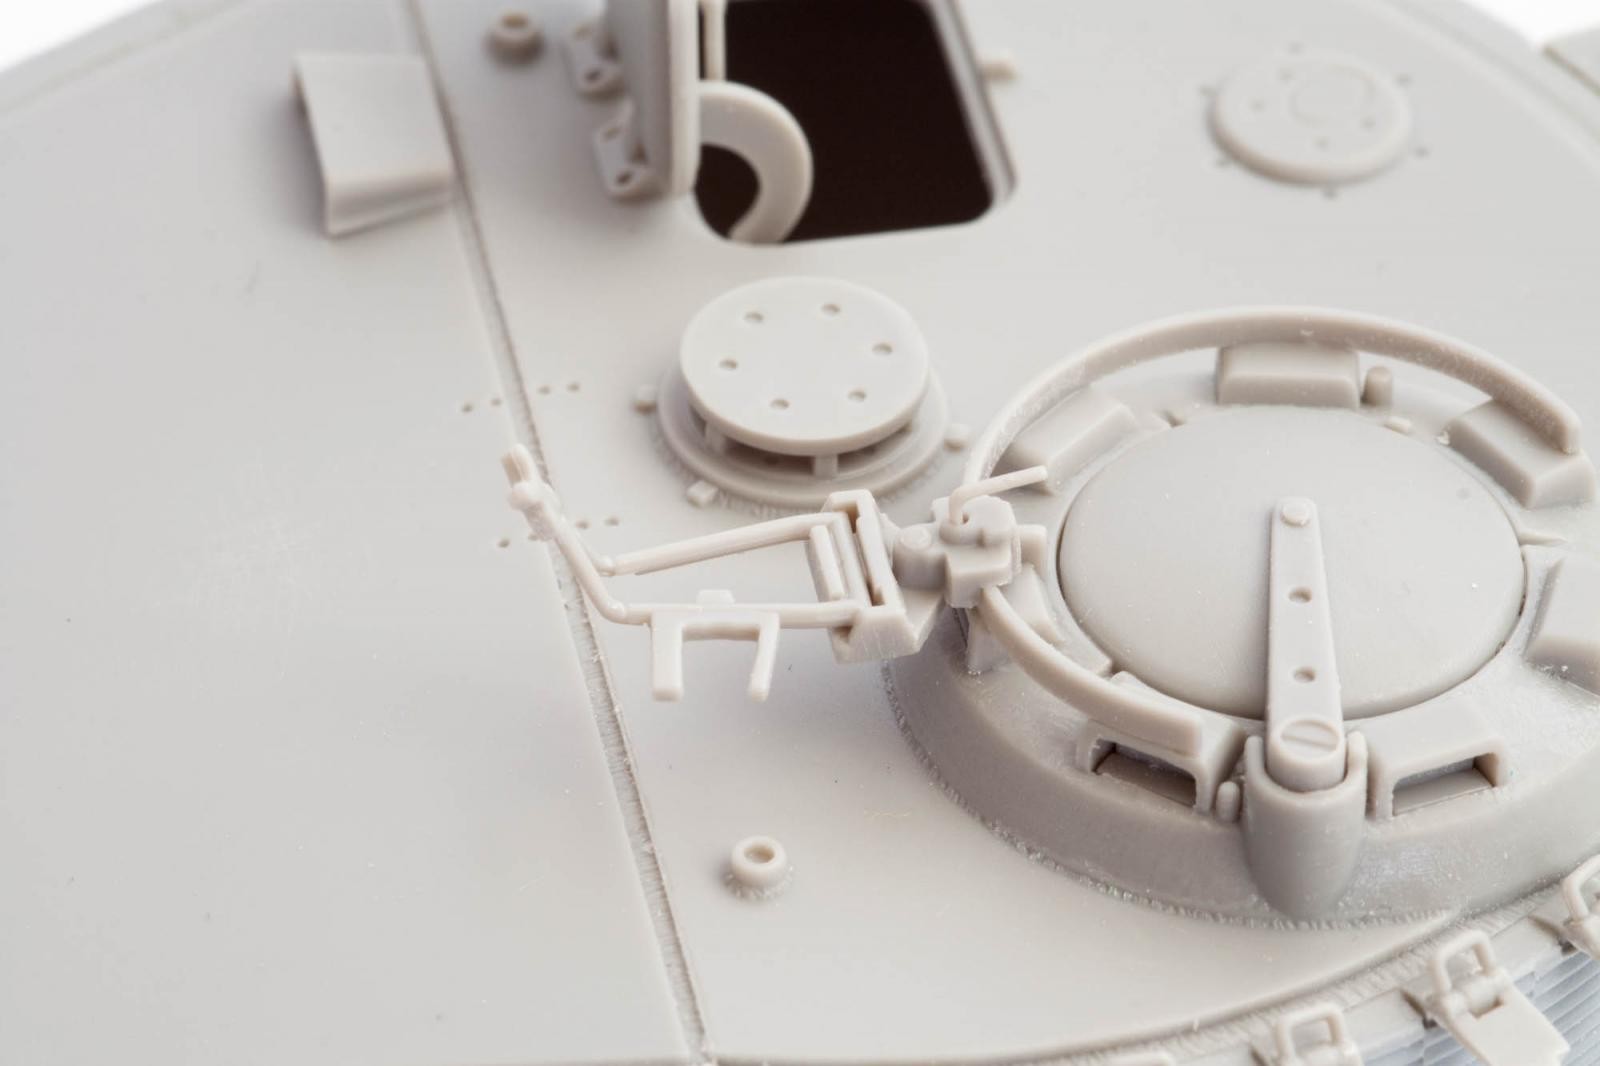
This one is easy. Glue the main parts together, remove the vision slits on both sides (as indicated in the instructions), and slowly glue the Zimmerit to the side walls, working in sections and bending the sheet as you go. The stowage bin needed a small amount of filler on its underside, apart from that everything fit perfectly. As mentioned in part 1, I sanded the commander's cupola ring smooth, removing the cast texture.
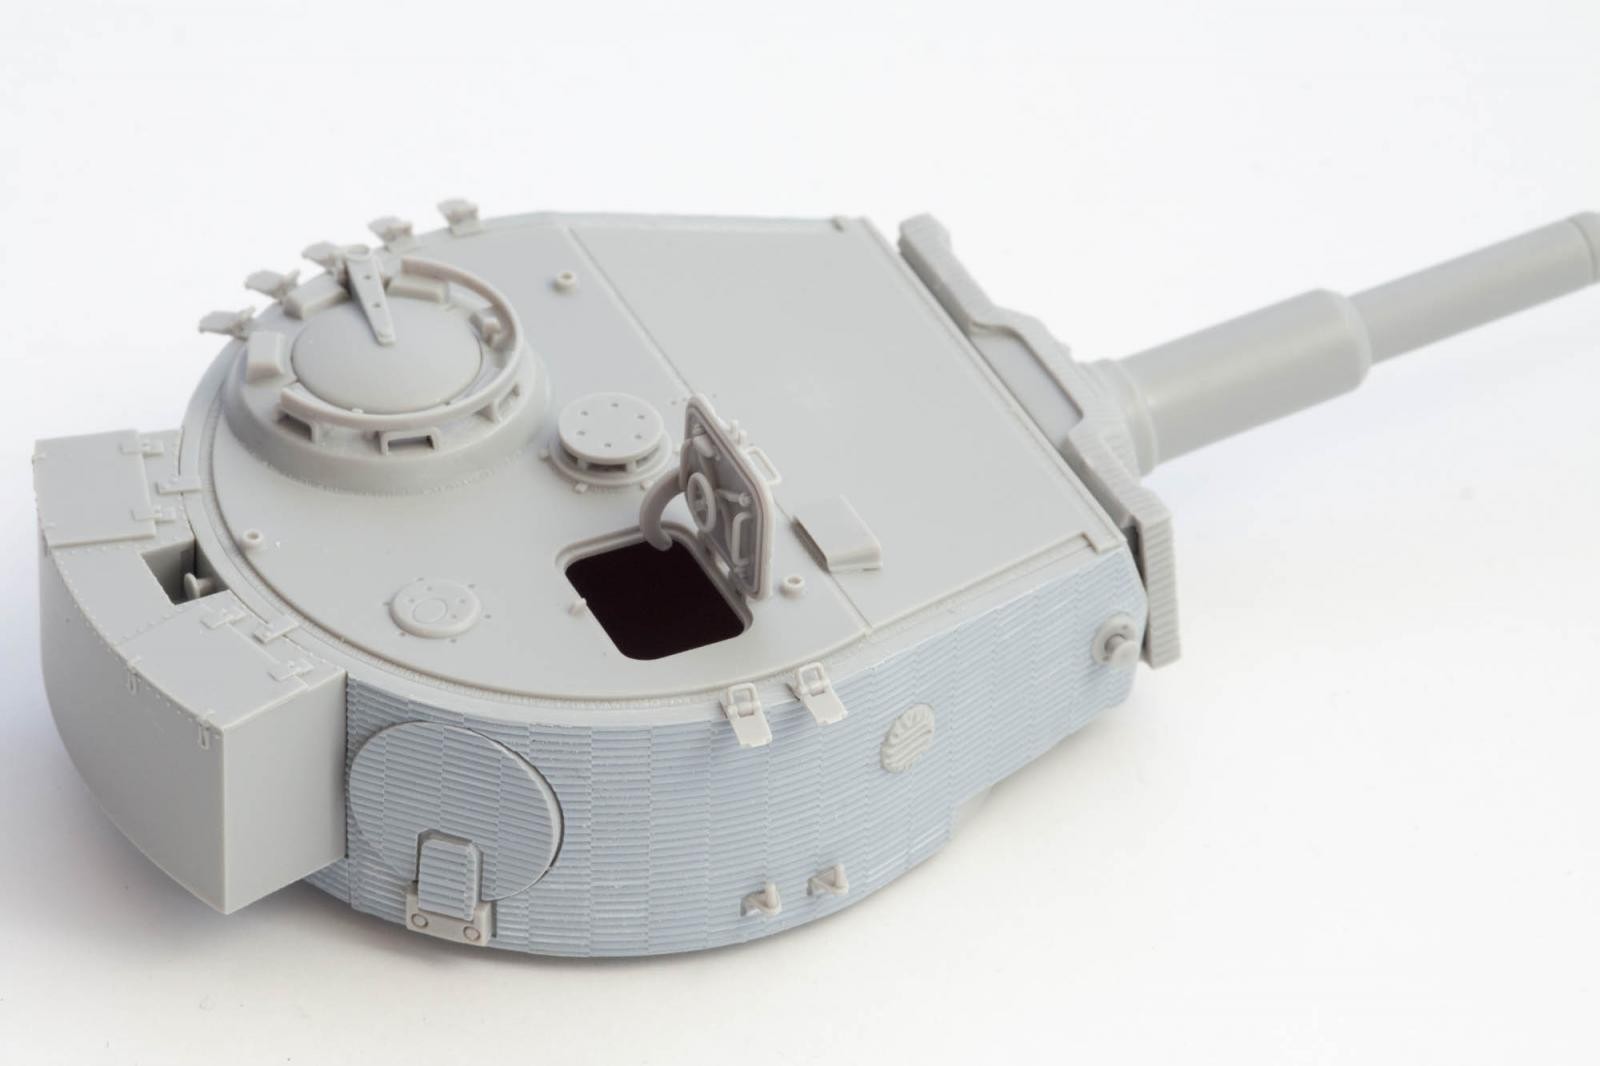
The MG mount for the commander is the only slightly fiddly part – the mounting bracket consists of two parts and will leave you with a seam line, filling and sanding being impossible due to the thin and fragile parts. Together with the MG34 this part could do with aftermarket replacement if you are so inclined.
Finally, the stowage bin's look… It was mentioned somewhere else that the bin should drop slightly towards the rear. I can't really tell if the angle is correct in the kit, looking ok from one perspective and too flat from another.

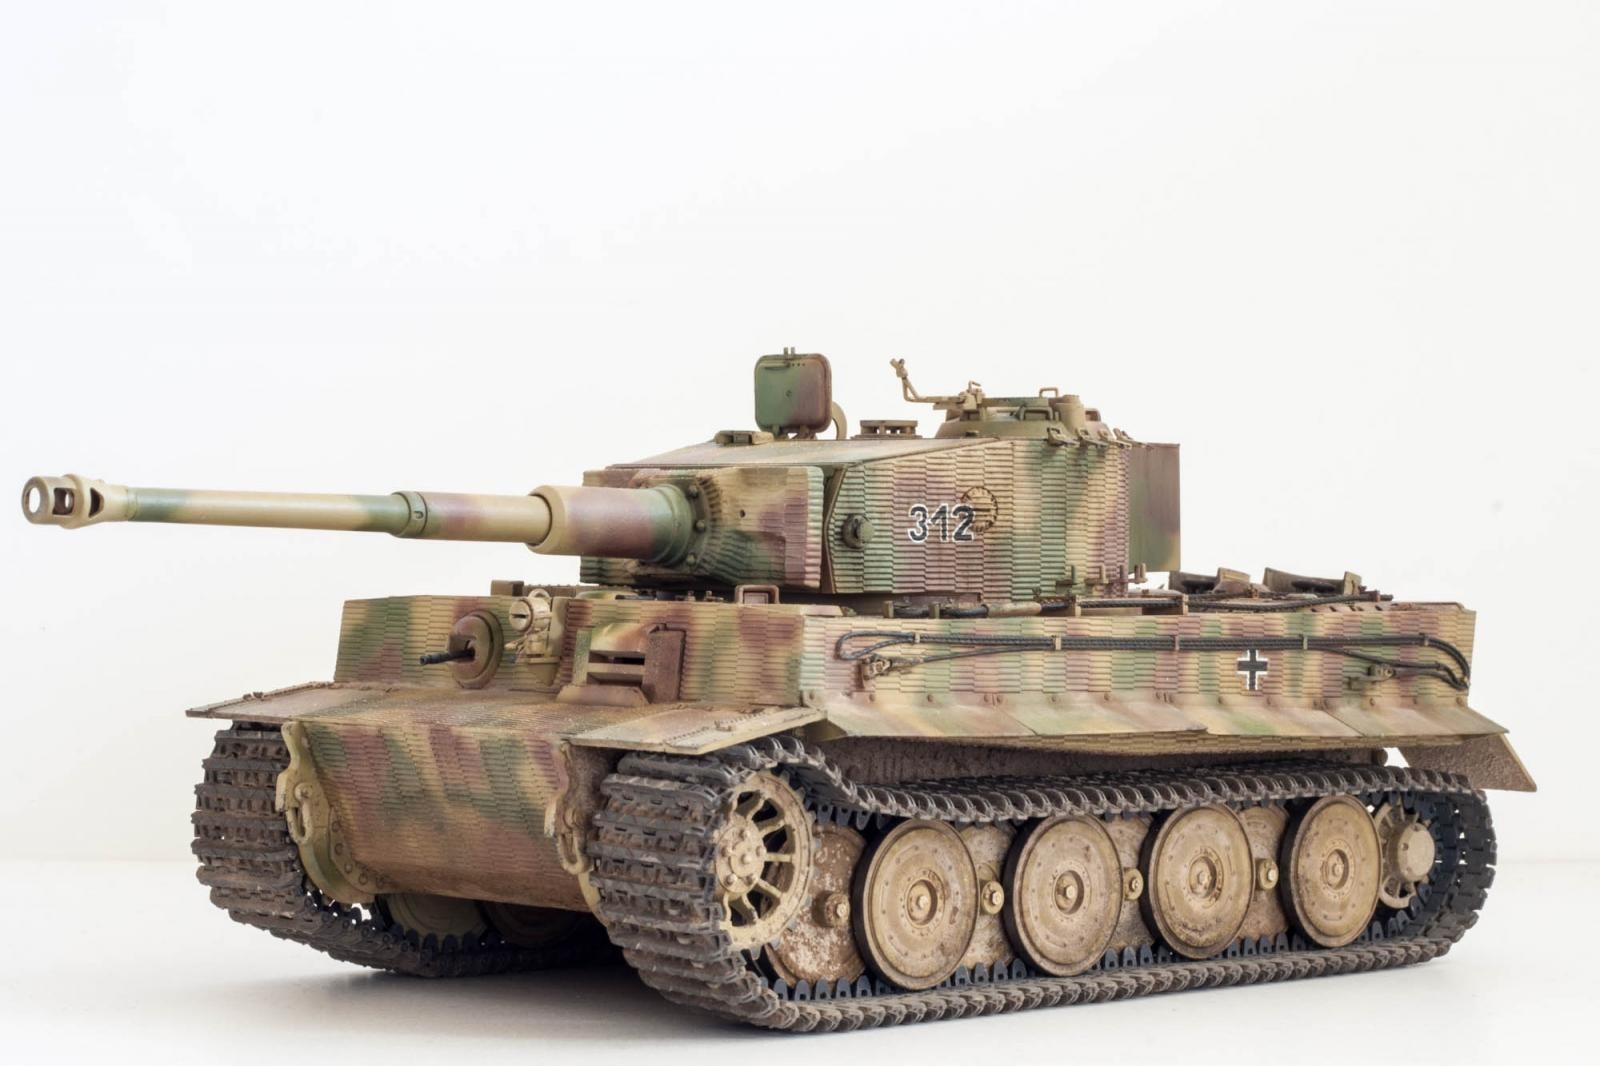
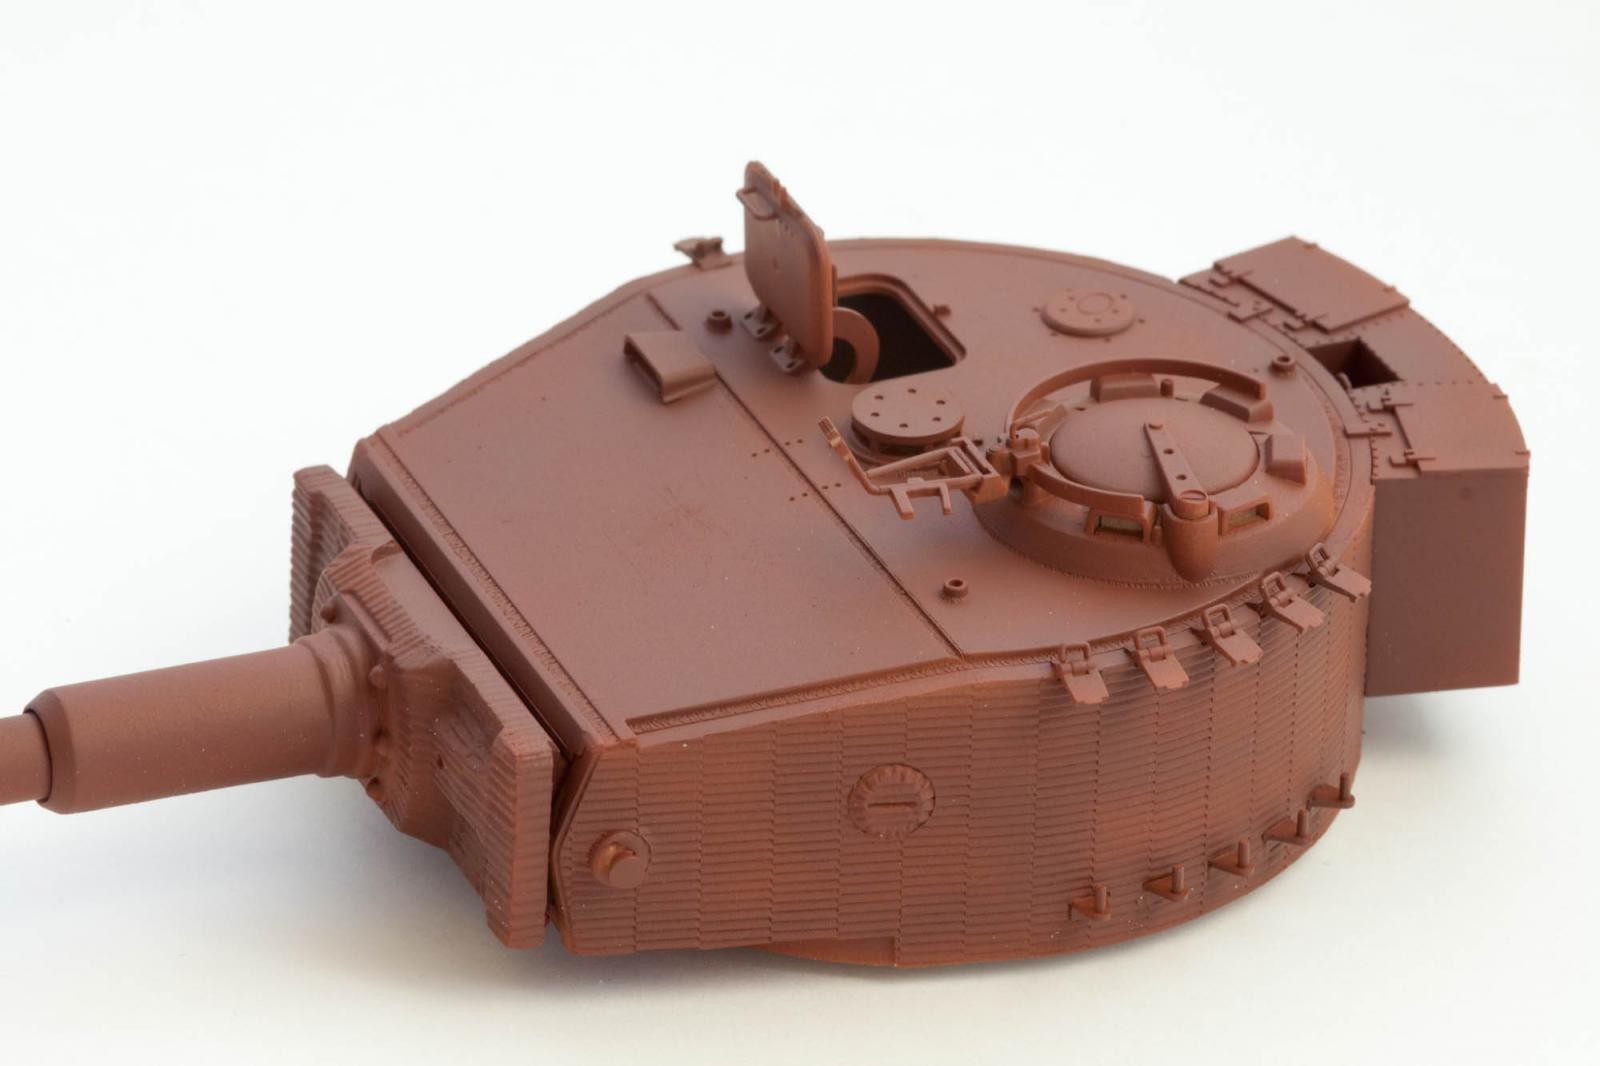
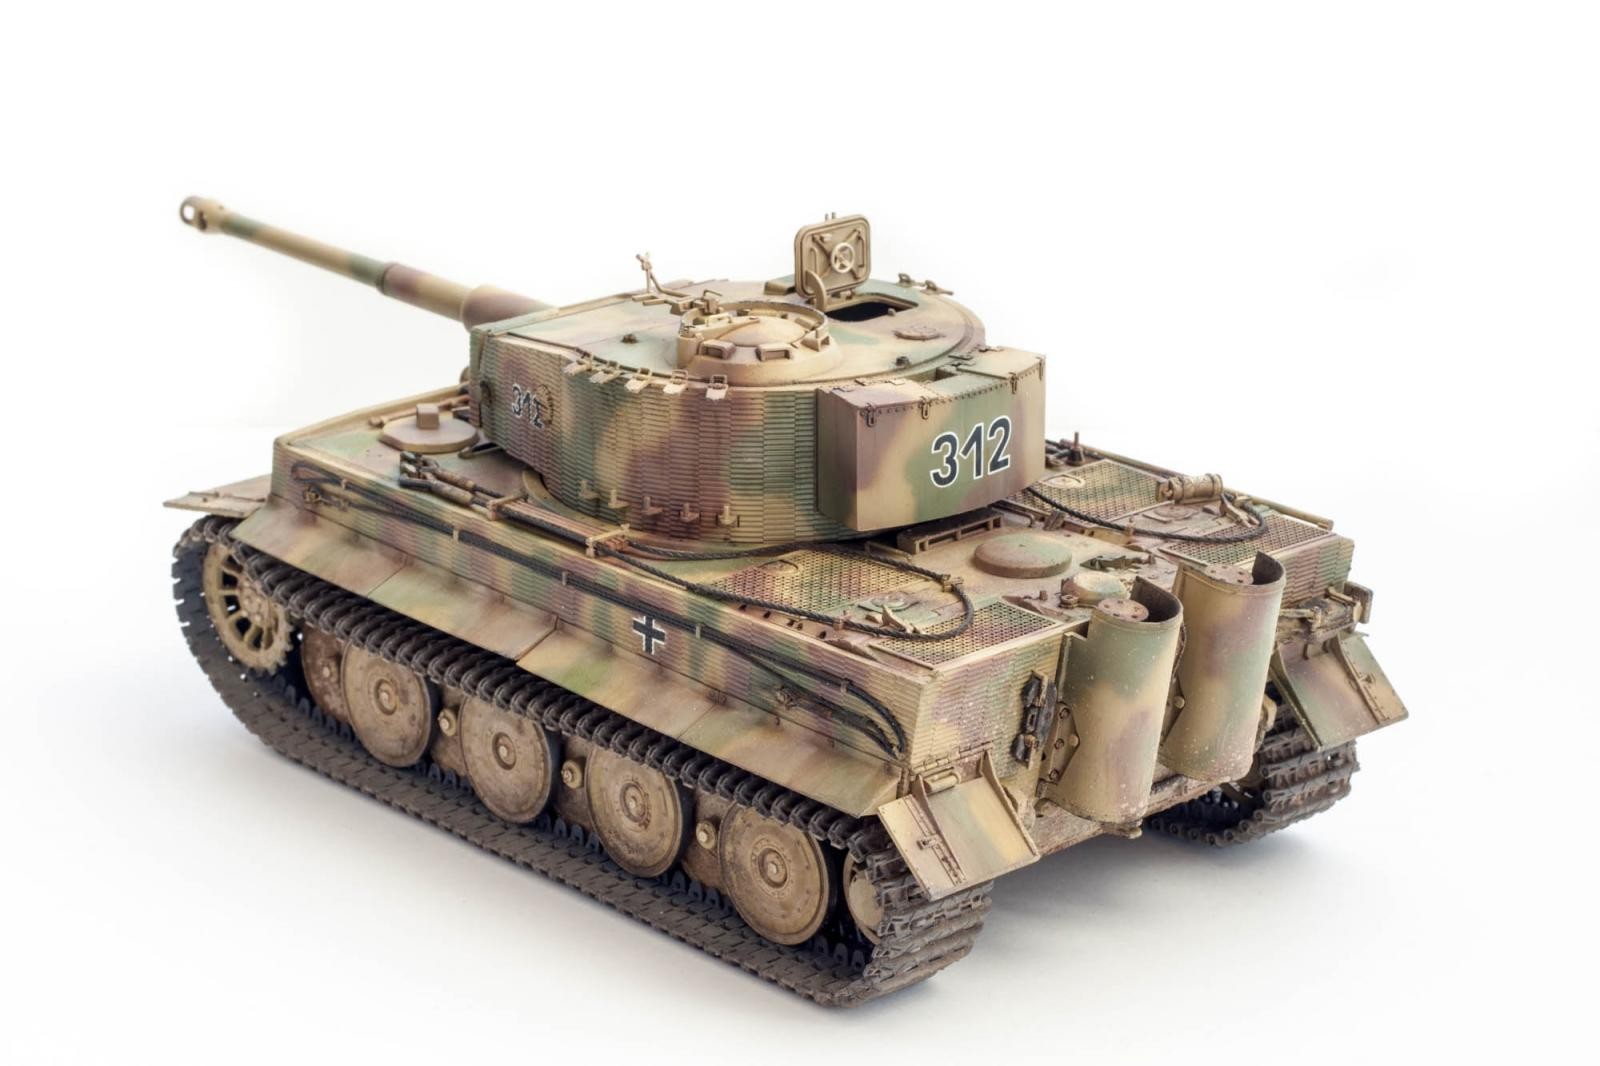
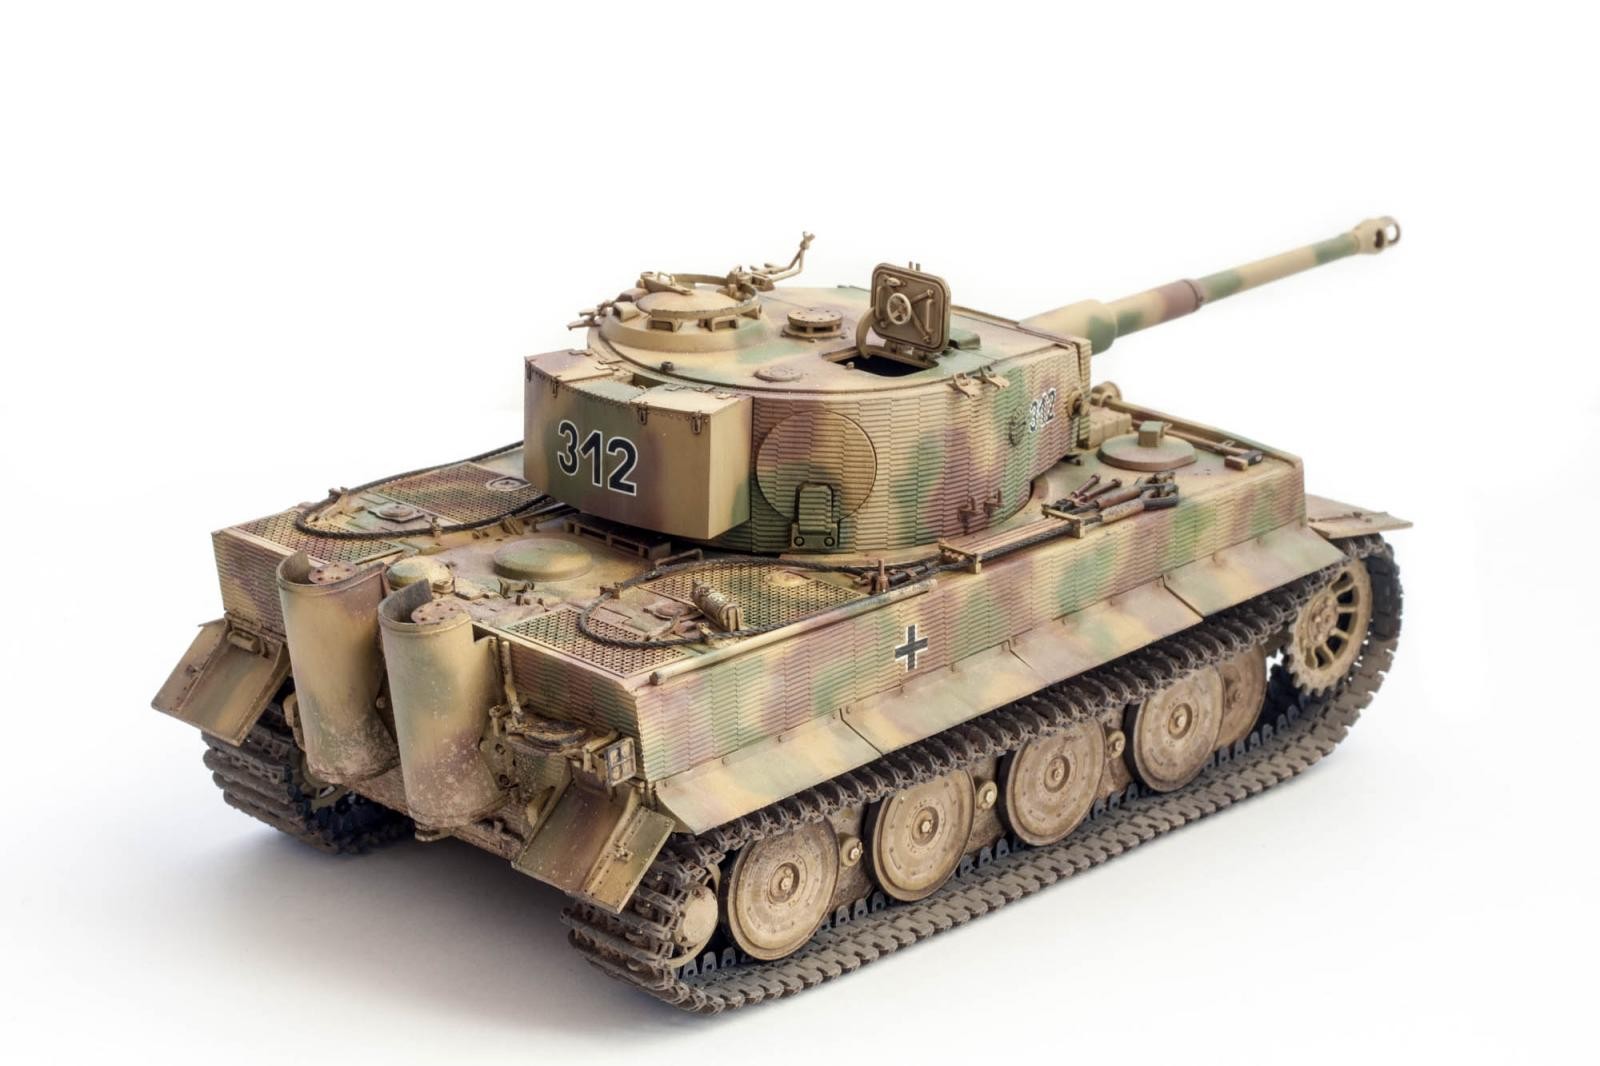
Putting Some Paint On.
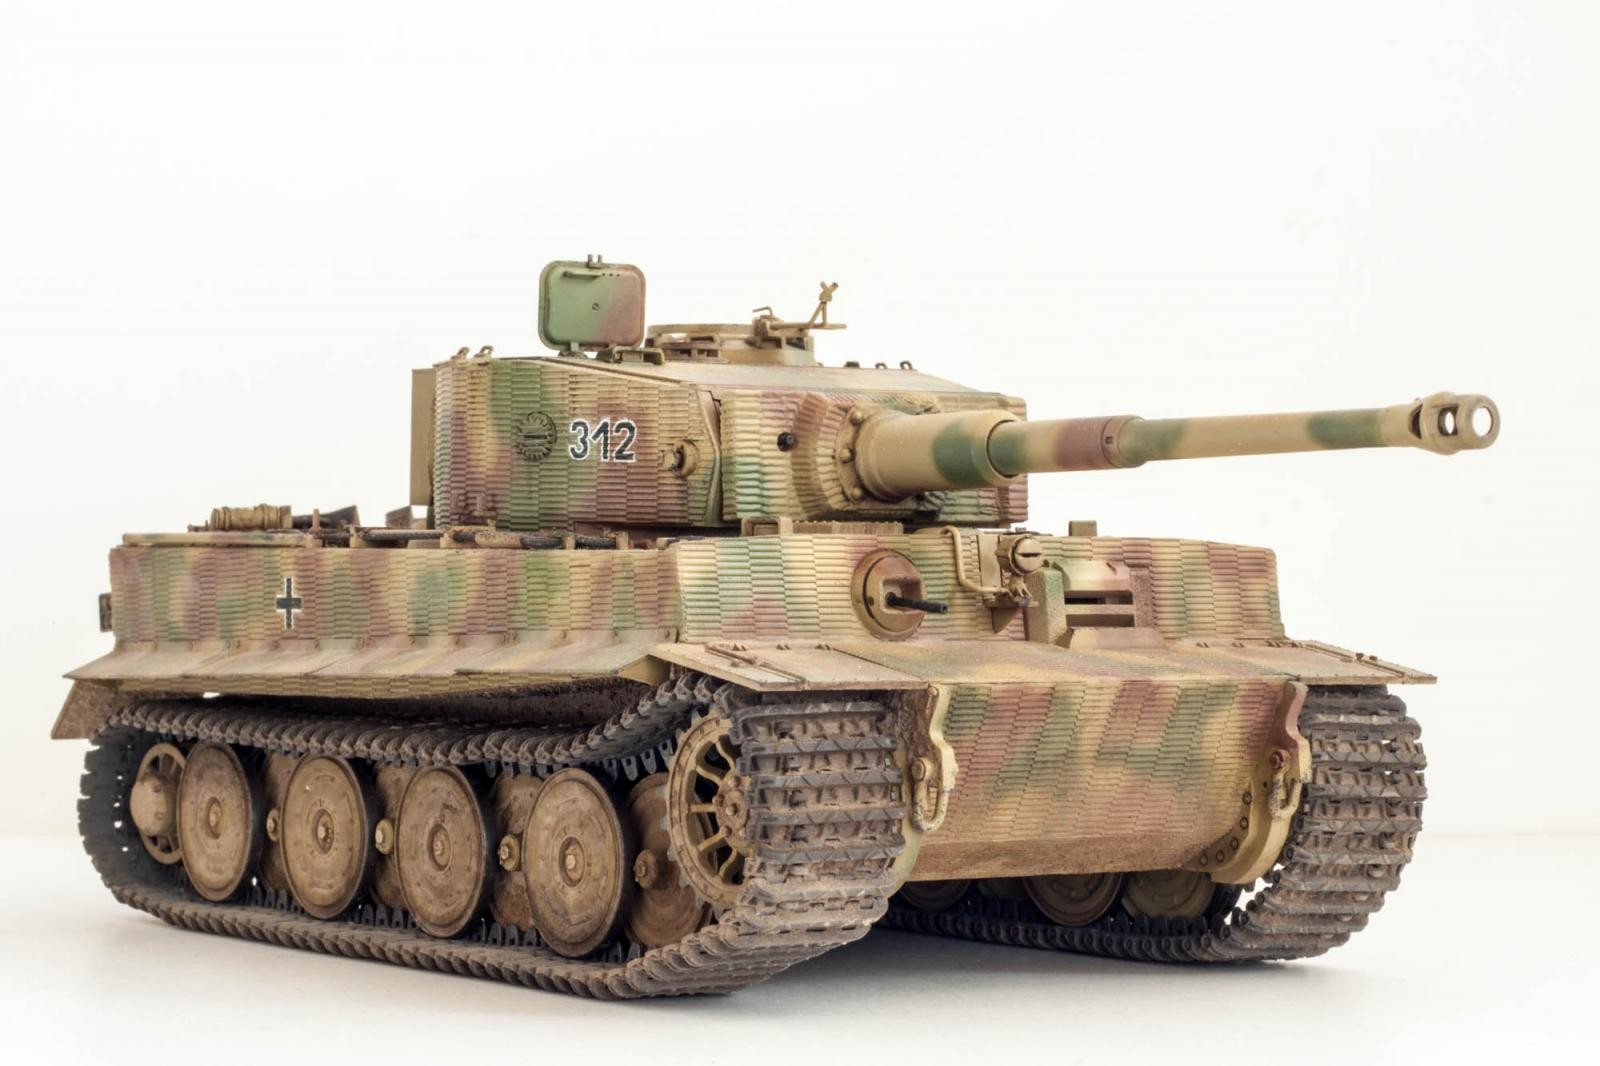
Early on I decided to finish the tiger in somewhat generic markings, as none of the kit-supplied options really appealed to me. I opted for a standard three-color camouflage of Dark Yellow, Olive Green, and Red Brown.
The whole vehicle was given a primer coat of Tamiya XF-68 NATO Brown. I think this color passes for any generic red oxide primer, in contrast to its intended use as NATO Leather Brown, in which capacity it fails miserably. After that I applied Tamiya XF-60 Dark Yellow, followed by some highlights with XF-57 Buff which were airbrushed on horizontal surfaces and exposed corners. Finally, selected small parts were brush-painted with Vallejo 71.075 Sand.
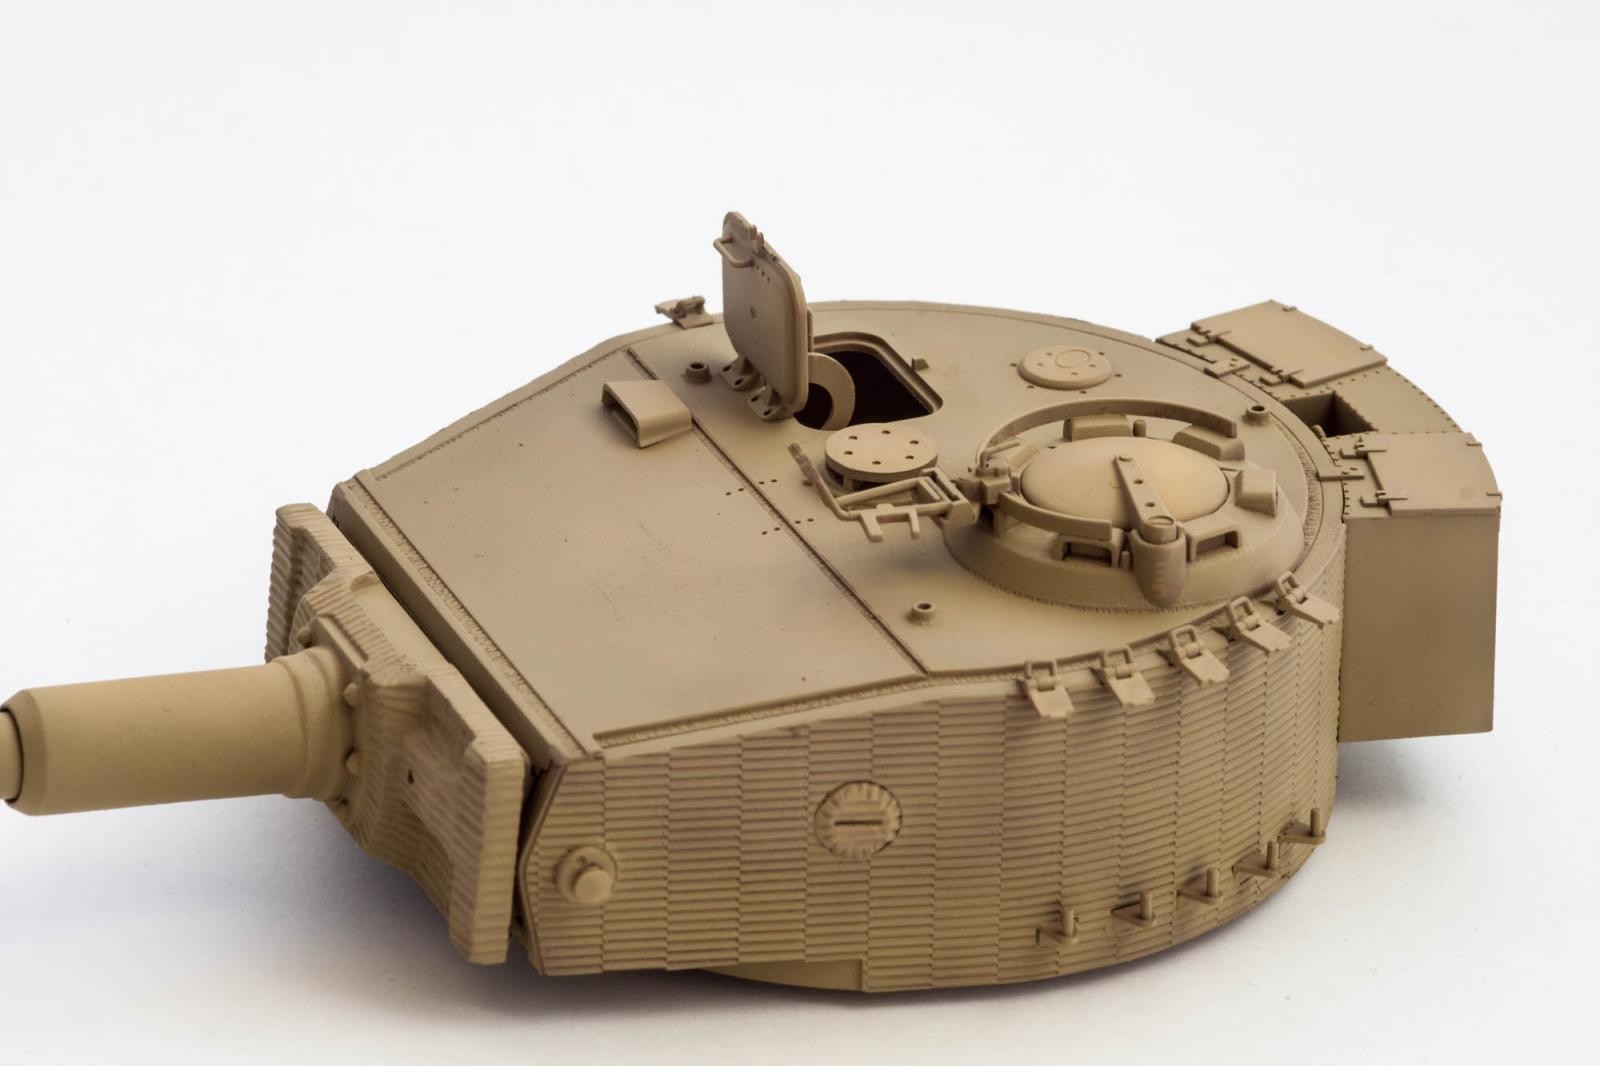
The camouflage pattern was applied randomly using Tamiya XF-65 Field Grey and XF-64 red Brown. Although I thinned these paints quite heavily, the contrast was still to stark for my taste, so I oversprayed the whole tank with thinned Dark Yellow to blend everything together.
Weathering took some time, as I enjoyed playing around with oils, pigments, and washes. I tried airbrushing pigment fixer for the first time, giving me the possibility to create subtle dust marks without having to worry about handling the model afterwards.

Aftermarket as an Afterthought.
Now that everything was done I had to wait for a package to arrive. I had ordered AFV Club's Tiger I tracks, as I really don't like the kit's tracks with their solid guide horns. After I had finally received the tracks I spent three evenings assembling them – 380 parts in total, but worth the effort. The tracks were airbrushed with XF-63 German Grey, given a wash with Mig Dark Brown, dry brushed with Testors Metallizers, and finally weathered with a pigment mix of Mig European Earth and Dark Earth.
Jury? Hello?!
As I mentioned in part 1 of this review, I am not really an authority when it comes to German armour. Like, not at all. Nonetheless, in my view this kit surpasses the basic “Looks like a Tiger” category by far. With competition from Dragon and the recent releases from Rye Field Models, Trumpeter seems to have picked a niche were ease of build and good outside detail come first, together with an attractive price tag.
If you are looking for the ultimate Tiger, this one might not be for you – the two-piece barrel is bordering on the insulting nowadays, and the Zimmerit structure is just too perfect. There is absolutely no interior, and the tracks will need replacement if you are halfway serious about the topic.
On the other hand, if you don't mind getting an aftermarket barrel (or, heretically, sanding a seam line) and tracks, and can live with hatches closed or some crew figures to cover the void inside the turret, you should give this kit a try.
A most excellent result, Boris...beautiful work and nice presentation as well.
Very nice Tiger Boris. As you said, Trumpeter goes for ease of assembly. In the end you get the Tiger w/o too much hassle. The last Tiger I built (Dragon #6608) was a bit the other extreme.
Of the two vehicles in this dio, I actually enjoyed the old Italeri Opel Blitz the most, despite it being stone age and quick a build...
Some times those stone age kits are the most fun, that's why I love original issue Monogram kits so much. Decent detail, fun builds!
Yeah Rob, couldn't agree more!
Nice, The zimmerit looks good, perhaps a bit too perfect, but still I think better than Dragon's take on it.
Good honest review, Boris, and a more than acceptable final result, good job.
Beautifully done, Boris!
Boris, the thing I really like about this build is, absolutely bloody everything.
Boris,
I'm right there with David... There's absolutely nothing wrong with this build (other than the fact it's not in MY display case) 🙂 , or the article in general... In fact, I'd say it's perfect !
Well done and thanks for the very detailed kit review.