Work In Progress: 1/48 Italeri Sea Hurricane in FAA Theme
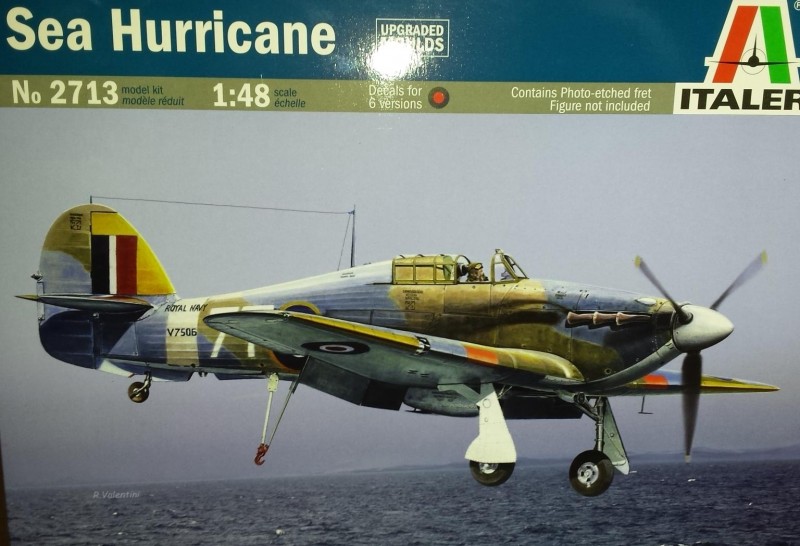
This is the current build on my workbench. It is the Italeri boxing of this nicely featured and detailed 1/48 scale aircraft model. I didn't know much about this particular model and performed no research prior to purchase. Basically I made a visit to the Hobby Shop with my family on my Birthday. My two little children wanted to purchase a model for me on that day for under $20.00 and as most of you know there is not much to select these days when your budget is under $20 and you have been building for over 40 years. These days I always research what I am purchasing so I was going in blind, like the good ole'days without the internet to guide my selection. The attractive box art of the this Italeri Sea Hurricane coming in for an arrested landing caught my attention. I could not re-call ever building a Sea Hurricane in Fleet Air Arm theme, or any theme for that matter. The price was also right so I decided to give it a shot. The kids were happy I found something after spending over a half-hour searching for my selection. As you can imagine their patience was a bit shorter then mine. I was just happy to get a model instead of the usual tube socks and deodorant I usually get for a gift from the kids.
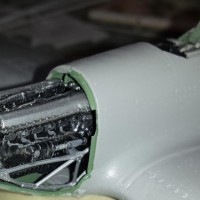
Upon opening the box I was pleasantly surprised and pleased to find a model with a good amount of parts including some nice details and a small photo-etch sheet. The decal sheet was large and appeared impressive, and the instruction manual was well illustrated and printed. Looking at the parts the molding appeared 1st class with nicely scribed surface details and little flash. The model contained a nicely detailed cockpit, although the side wall detail was basically non-existent. This was OK b/c the cockpit was a self-contained unit sandwiched between a nicely detailed representation of the Hurricane's tubular frame. This frame would hide most of the side wall detail anyhow. I really liked that the kit had a full Merlin engine, although only a few pieces to assemble, it was really nicely detailed and would pop with some good detail painting. All control surfaces except the flaps could be positioned as desired. The other parts all looked nicely done including the weighted tires. I can't speak for the accuracy of the molds b/c I am not an expert of this particular aircraft and did no research to examine this accuracy. I want this to be one of those simple, basic, fun builds. Anyhow it looks like a Sea Hurricane to me.
I started construction not knowing what to expect regarding overall parts engineering and fit. A thorough review of the instructions helped me plan a strategy and indicated it would be a fairly straight forward conventional build. One of the fuselage halves contained positive tabs to help with the precise placement of the cockpit tub, although once I attempted to attach the tub to the fuselage half and close it up I found the assembly to still be a bit fiddly and needed some close attention to insure it seated properly and centered itself between both halves. I decided to add a bit more detail to the cockpit such as junction boxes for the electrical switches and some plumbing. It was not exact but would busy up the cockpit area. I needed to do a lot of dry-fitting, and testing to insure the cockpit tub could be placed w/o interference from the pieces I was adding. There were a few fiddly parts which made up the cockpit and gave me some trouble. These parts would be the main instrument panel and a tubular brace which attached to both sides of the cockpit tub and then extended all the way to floor under the pilot's seat. It was fiddly b/c there was no exact guides which indicated placement on the actual plastic. To make matters worst the instructions provide for a blown-up detailed side schematic to indicate position of the parts but the parts did not fit as directed. Actually the schematic was wrong entirely regarding placement of the instrument panel. I did not find this out until the parts were already assembled and resulted in careful disassembly of the attached parts with some minor damage resulting. I then assembled the engine and attached it to the mounts. This assembly then attached to the firewall and sandwiched between the fuselage halves along with the cockpit tub assembly. This engine assembly was also fiddly and not very precise. It was a bit of a challenge to get the engine assembly with attached mounts to sit cleanly against the firewall and remain aligned and centered perfectly in the fuselage. After a little extra work with this assembly it was time to close up the two fuselage halves. All the extra attention with getting the sub-assemblies correctly aligned paid off as the two halves closed tightly with no problems and no filler needed.
The remainder of the build was great with no surprises, and/or challenges. The fit of the remaining parts was good, and no extra work, or special alignment was needed. The wing assembly fitted nicely into the fuselage and it left no gaps needing filling. I helped the gap on top surface be eliminated by stretching a piece of masking tap from wing-tip to wing-tip across top of fuselage insuring a tight fit and wing to fuse angle. A surprising feature of this model was the separate prop blades which actually included 4-blades even though you only need 3.
Next comes my least favorite part of any build which is the paint prep steps. Thankfully I only needed to mask the canopy parts, and exhaust stack openings, exhausts stacks being left off until after painting. I wanted to leave the cowlings off to display the engine assembly but to avoid complex masking I temporarily tacked the side and top cowling assembly with acrylic gator glue which is easy to pull apart when needed. I permanently attached the windscreen but only tacked the main canopy in position with the same glue, as well as, tacked the side escape door under the canopy right side. I did forget to mention that the windscreen does fit well once attached but was very fiddly to attached correctly and extra care is needed to get this right and not ruin the windscreen with glue smears.
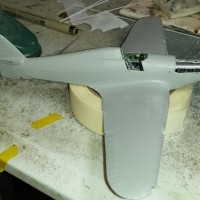
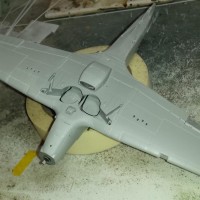
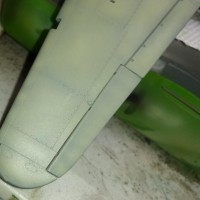
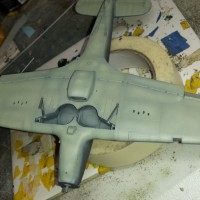
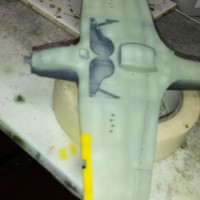
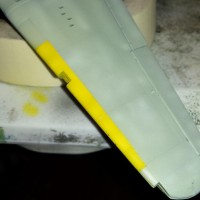
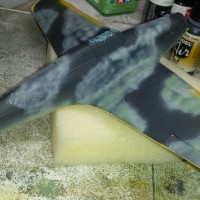
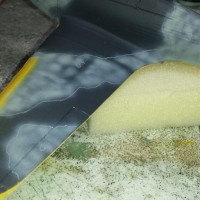
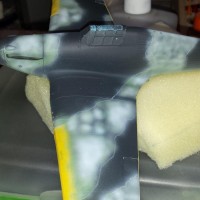
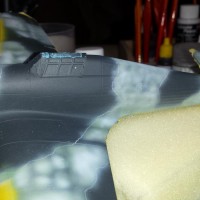
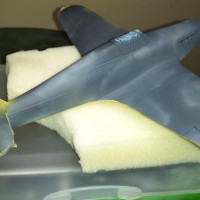
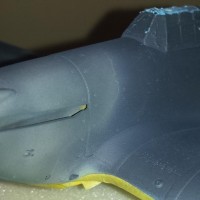
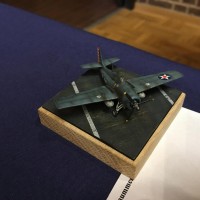
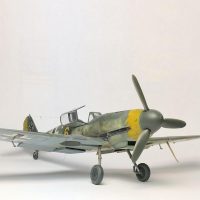
Once properly prepped it was on to my favorite part of any build which is the painting and weathering of the model. I researched the correct paint colors to use as part of the 2-tone top FAA Camo as well as the bottom surfaces of the plane. The included painting instructions did include the FS specs and they match what my research discovered. I primed the entire aircraft 1st using Vallejo Panzer Grey Primer. This dark color helps me apply the paint using a black-basing approach. I applied several tonal variations of the bottom Sky-S base color. Starting with a tight cloudy pattern application of the paint very thinned leaving the dark primer showing through. I try to leave the panel lines dark to avoid needing to go over this again as a separate stage in the pre-shading process. I applied light, medium, and dark tones in the same color family of the base paint as part of this process. This is all blended using a very thin, transparent , mix of the base color over all the pre-shading. I then applied the yellow to the fin and wing leading edges. I masked the bottom of the plane and yellow areas and began the same process used on the bottom camo color with the top surfaces. I did not use an actual camo pattern template but traced the pattern using a white water color pencil using the painting guide as a reference to be as accurate as possible. The last few pictures include the aircraft with the bottom completely painted, and the top surface with the Extra Dark Sea Grey camo color applied. This is were I decided to take a break and write this article.
I hope to have this build painted and completed over the next few days. I will then include final build photos, as well as, pictures of the completed model.
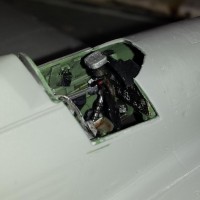
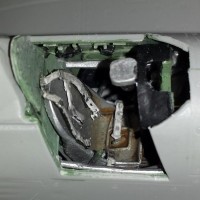
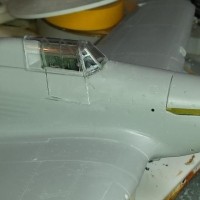
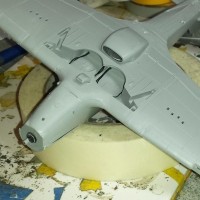
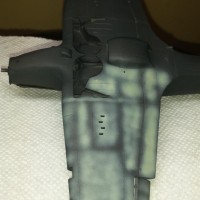
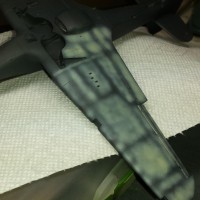
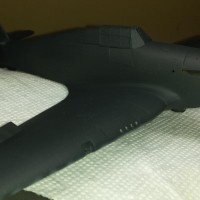
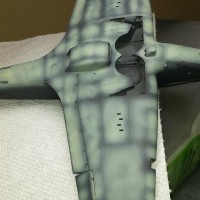
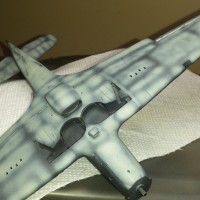
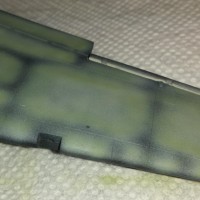
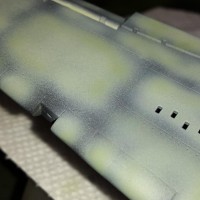

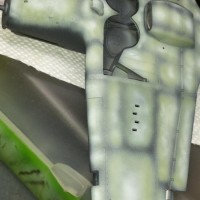
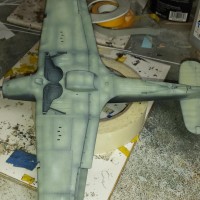
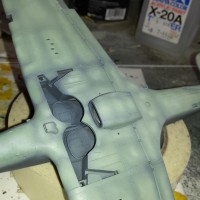
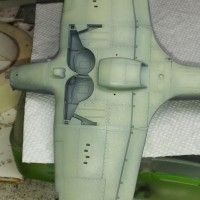
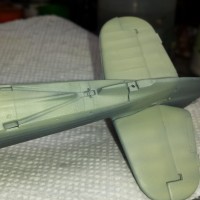
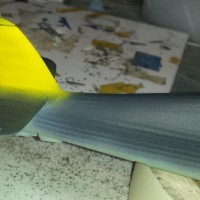
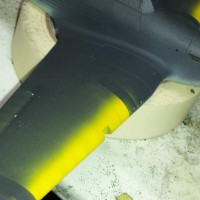
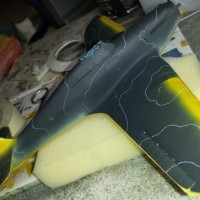
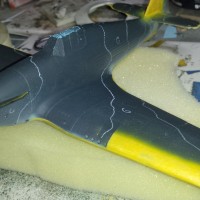
Beautiful work so far, Paul...this'll be a nice one!
I really like this build, Paul. I'm not a great fan of the Hurricane but for some reason I like the sea Hurri. The preshading and camo are both fantastic. Looking forward to seeing her cleared for takeoff.
I forgive you, Tocayo. The Hurricane calls to my heart in ways the Spit does not, as much as she always seems to win the beauty contest.
Ah, she'll always be bridesmaid to the Spitfire for me, David. That said, there's no shame being runner up to a beautiful legend.
I apply a different metaphor: The Hurricane is the faithful-if-less-than-glamorous bride you marry young, who nurses you when you're sick, and grows old with you. The Spitfire is the office flirt who's always wearing something new...
I agree with D.A.T. the Hurricane has a sturdy dependable look to her , the Spitfire looks almost (dare I say it ) flimsy by comparison, I've seen stacks of these kits at shows in the U.K. and nobody buys them because for some reason they are very pricey ,around £35 or more but I can see now there is a lot more in the box than I thought, maybe I will pick one up next time.
Hey D.L.S. it doesn't seem that long ago since we were whinge-ing about snow now look at us...make the most of it mate,it can't last ,the Telegraph will soon be dusting off it's permanently set up headline "Arctic Blast" and "Colder than Siberia by weekend" , how come whenever it's cold in the U.K. the press use nice easy to understand Celsius but come the summer when it's hot they go back to Fahrenheight like the're trying to sell us the summer by making it sound hotter !,any way I'm just nipping out now to fry some eggs on the bonnet of my car.
N.
Beautiful work, Paul. Amazing what I can learn on this site.
Looking good, Paul.
BTW, Buyer Beware. Tamiya has re-boxed this model as a RAF version Mk.I. It includes the same plastic as the Italeri but includes 3 figures. Sounds like a bargin but it is double the cost. When I purchased the Sea Hurricane my budget was apx. $20.00. I also wanted the Sea Hurricane version. In summary they are the same model but Tamiya costs much, much more. Not worth the 3 figures IMHO. Here is a picture of the Tamiya boxing.
1 attached image. Click to enlarge.
Paul, thanks for the warning. I'll stick to the Airfix.
Neil. Yep, here in London it's pretty hot but still ok for a spot of modeling. This is me (well, my feet) as I relax with something cold. The eagle-eyed will just make out the Tiger that I'm working on at the moment (WiP somewhere on iModeler) and the beer is a reward (well earned, I say) grappling with the tracks - guys, someone could have told me not to attach the skirts before the tracks.
And regarding the Spitfire debate...
I win.
Paul - excellent work so far! And anything that elicits these kinds of arguments from DLS is worth it!
Ahhh the wonderful Ms Kelly Brooke, we wouldn't of won the war if not for her ,stunning to look at ,an IQ of 150 and a crack shot in a Spitfire...God bless her and all who sail in her.
N.
Dave is that an outside toilet I see, an alfresco poopette as the French say ?
That, my friend, Neil, is the very 'privy' that had a key scene in the classic movie, 'Chitty, Chitty, Bang, Bang' - I kid you not! Rescued from a reclamation yard, along with a letter of provenance. We do also have an indoor 'poopette', just to reassure our American cousins I'm not some kind of Dick Van Dyke character living in olde London Town in need of charity. Not yet, anyway...
I'm not making much sense, but in my defence, I'm still thinking of Kelly in that flying jacket...
What's that ? are you saying that London isn't swarming with grubby faced street urchins and jovial chimney sweeps liable to burst into song at any moment? Actually I'm thinking of Flt Lt Brooke out of that flying jacket...Mien gott vee vill nefer vin ziss accursed var Kelly Brooke iss just too gut ien shot viss ze Shpitfire und I hear zay still haff Barbara Vindsor in reserve ,I'm not tellink ze Fuhrer he vill go bananas...Nurse I'm hearing the voices again.
Neil, its nearly 20:00 hrs. Medication time...
I swear, it's the sun. Does strange things when you are not used to it.
Wonderful!
Great job.