Ansaldo A.1 Ballila – Progress 2
A bit further along now. If you're wondering why these Progress reports aren't set up in WiP, there are only around 50 parts to this resin kit, and so I thought it unlikely to merit a full-blown WiP thread. This present post is in fact the second and last of its type. All being well, the next post will be the finished model.
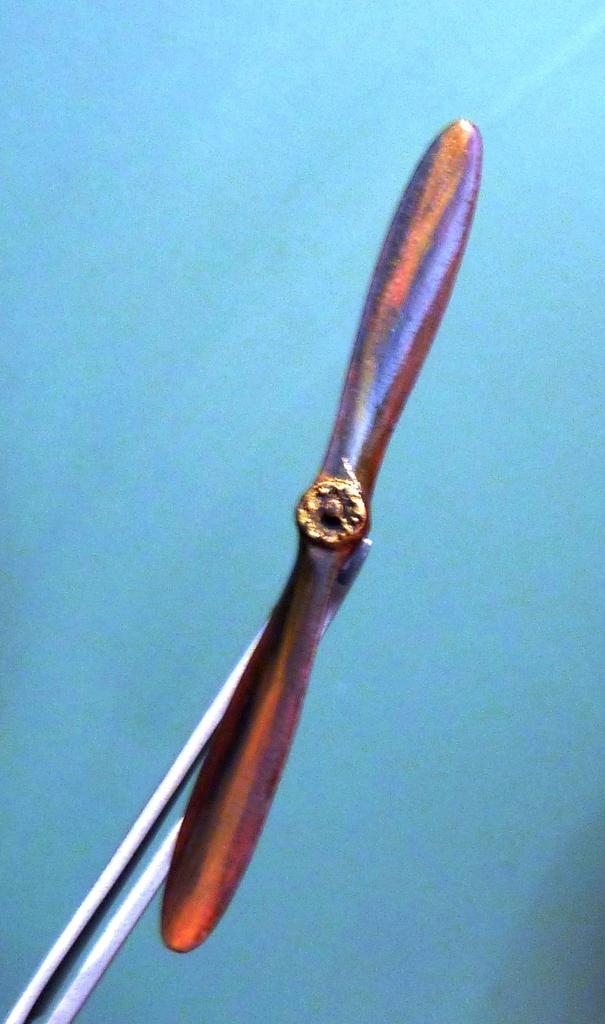
In the main photo you can see the propeller is now complete. Laminated props are usually the preserve of the Central Powers, while the Allies had solid mahogany or cherry, so it's unusual to find that the Italians preferred the laminated option.
Further, I neglected to mention previously the useful Windsock Datafile 88 for the Balilla, as pictured.

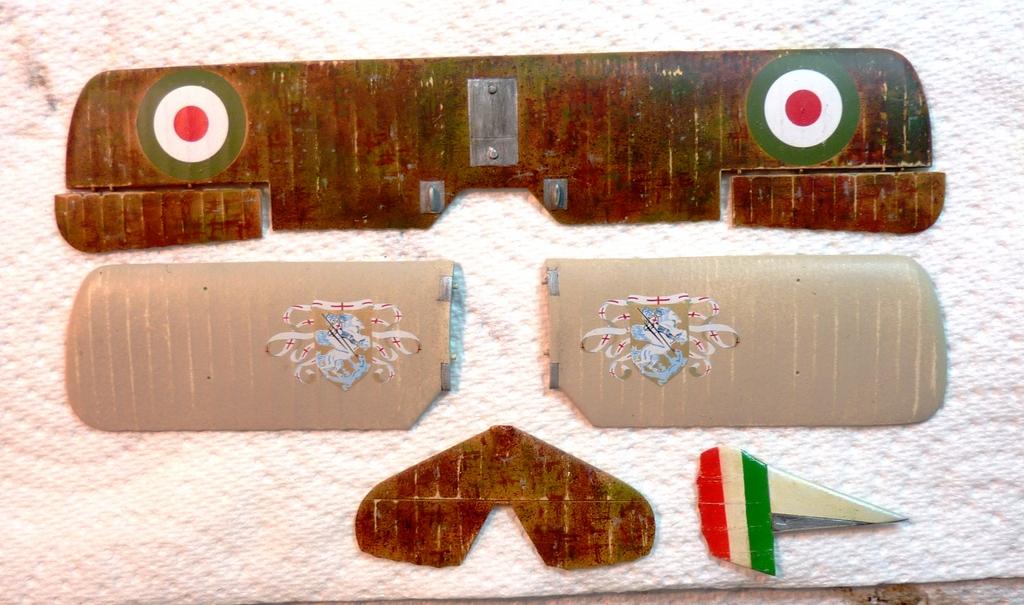
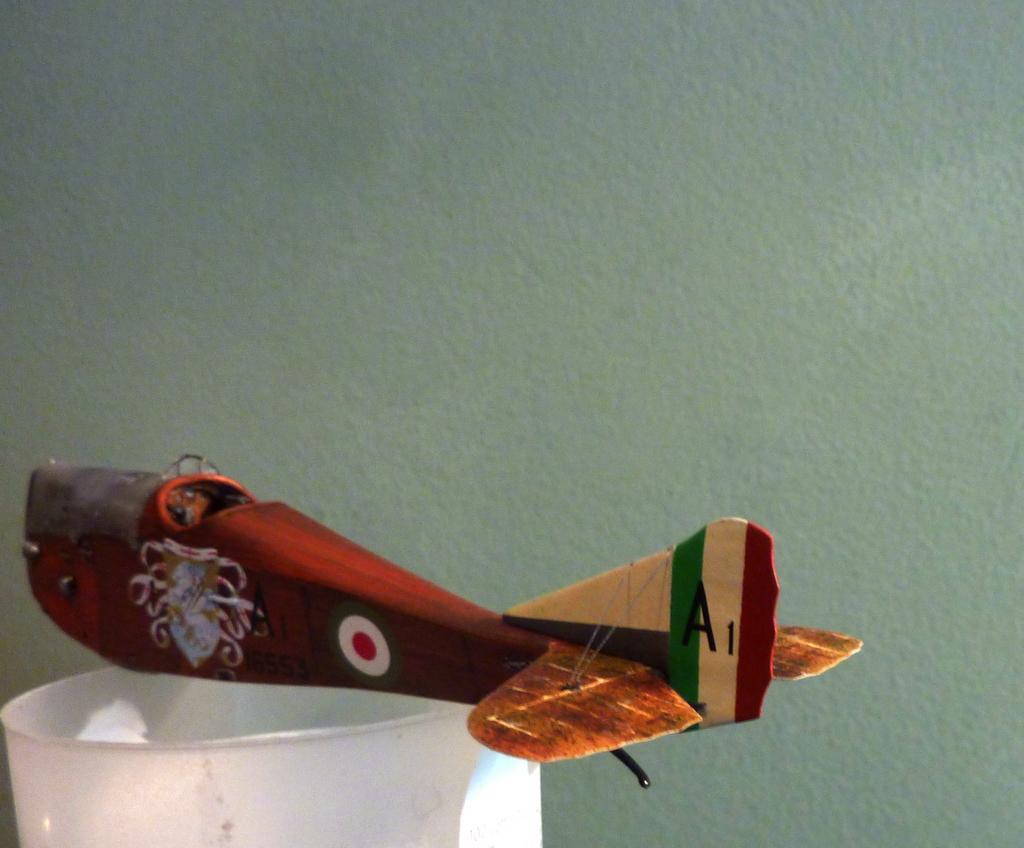
In the last post I showed the wings being prepared. They're now complete, with national roundels in place, and so forth.
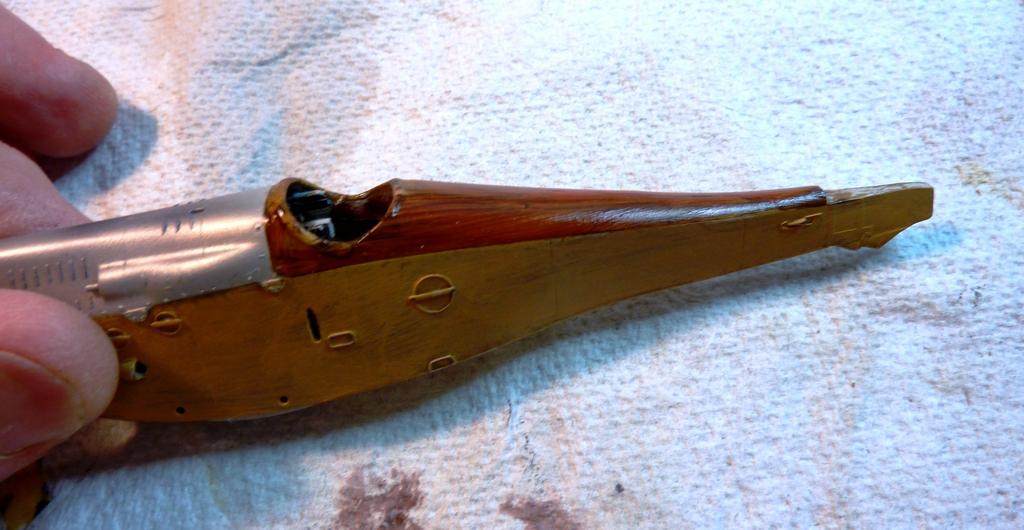
The A.1 had a dark red stain applied to the fuselage. Here, I've masked off the sections one or two at a time to apply the finish, which is Artists Oils Raw Umber, Lamp Black and Red, sealed with a matte varnish and then two coats of Klear for decals, followed by a final mist coat of matte.

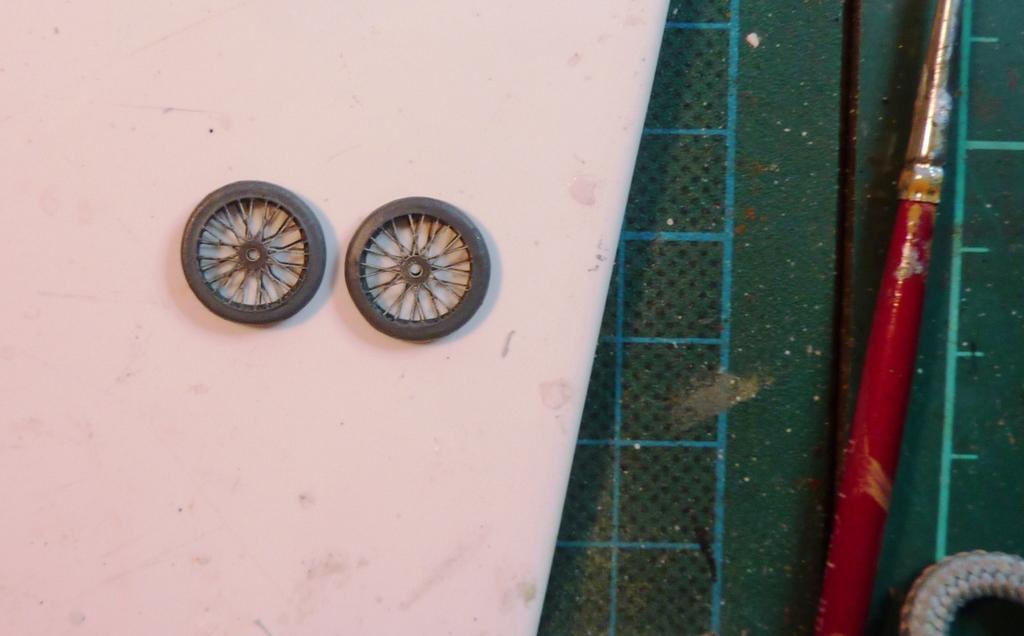
The kit comes with two wheel types. I like the version with the tyre hoops and fine PE wire spokes, but they're incorrect for this version. I decided to make them up anyway, for use another time perhaps.
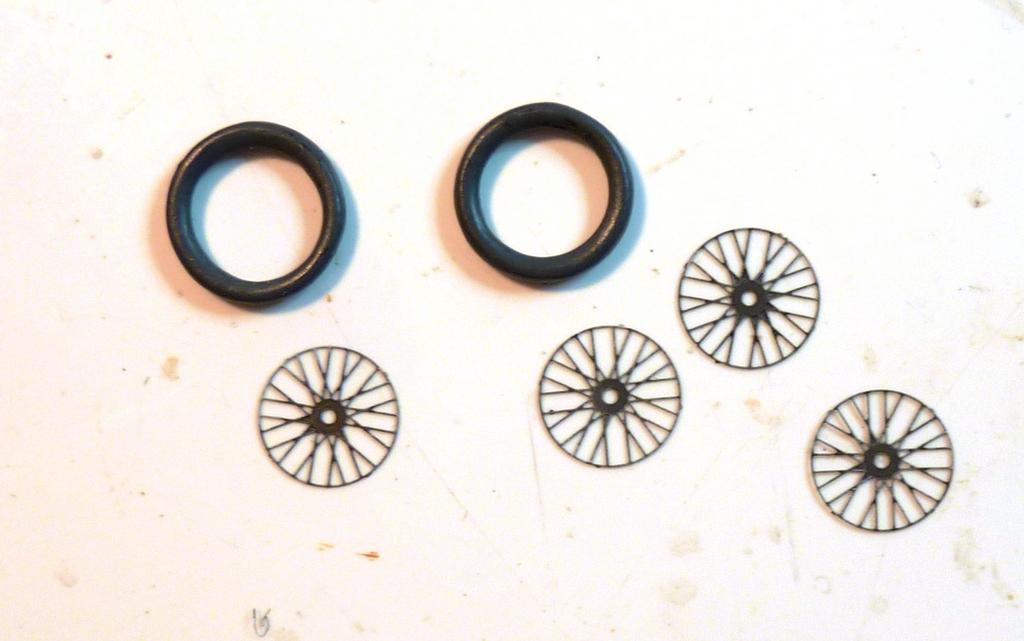
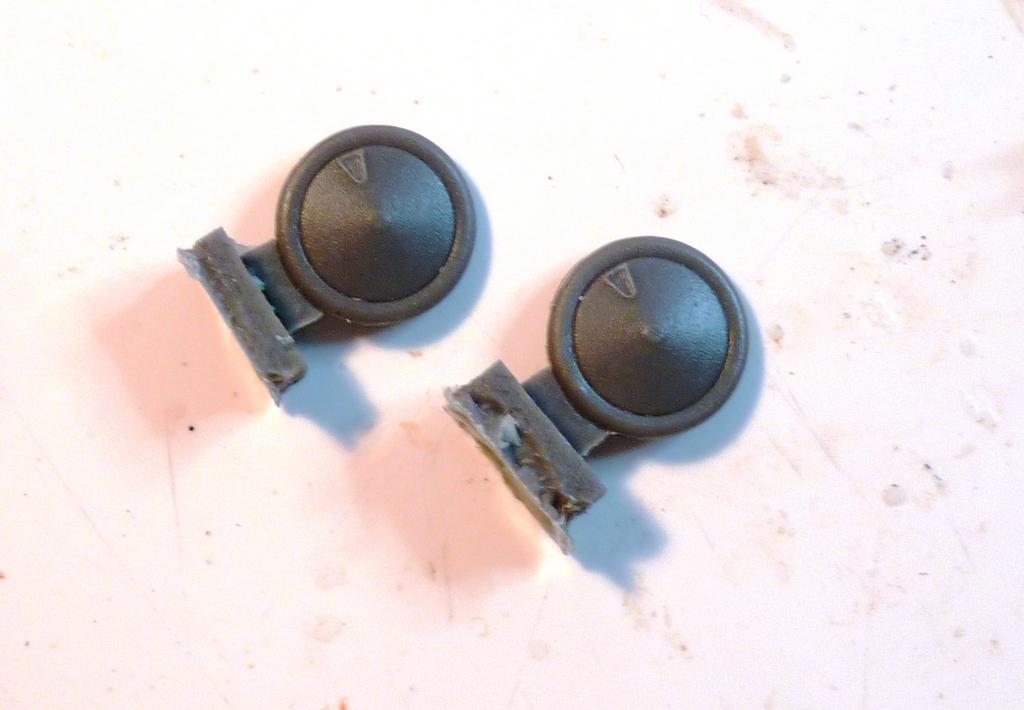
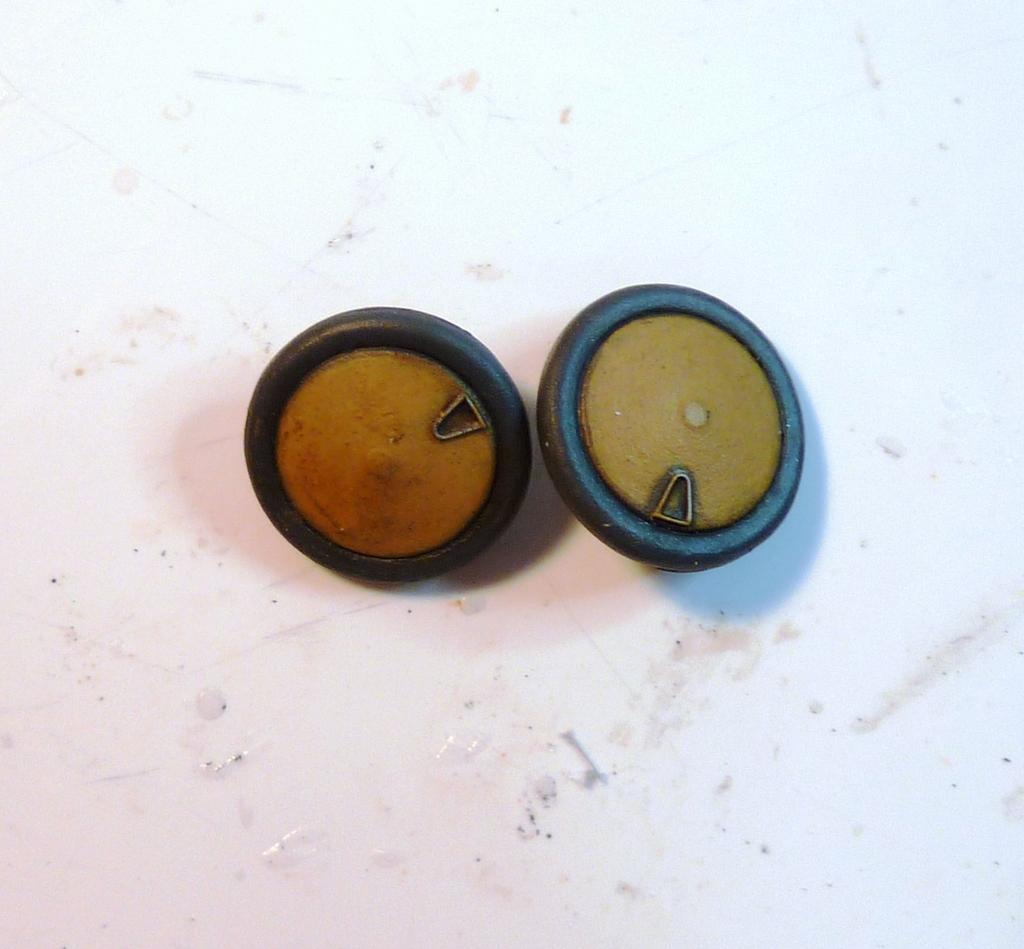
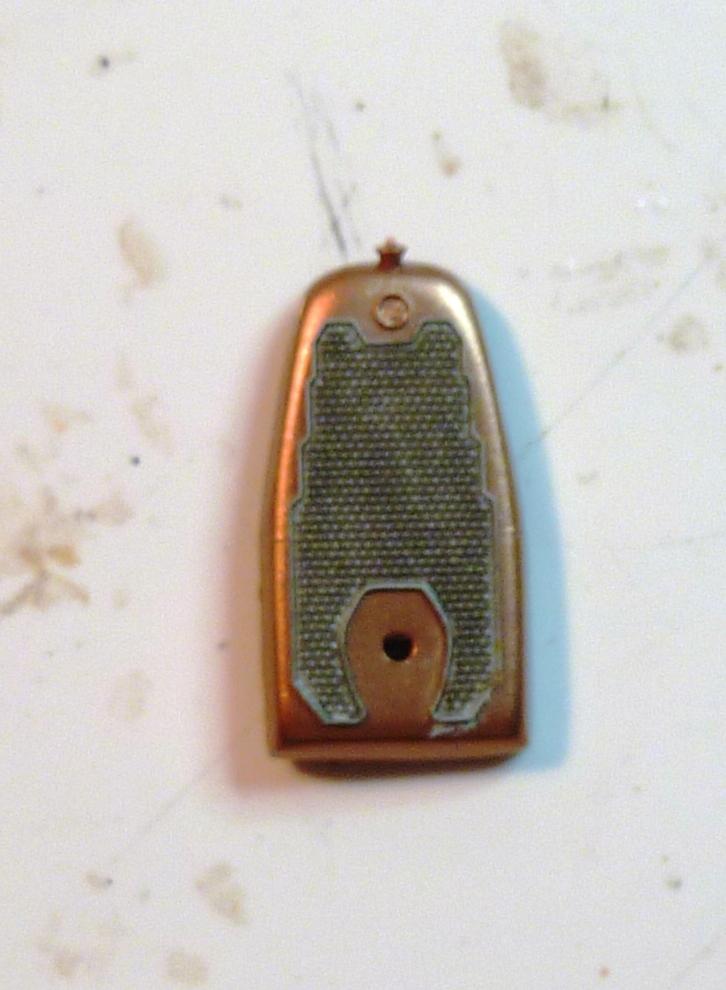
It's the set with the solid hubs that will be used. After treating with yellow ochre they're been burnished with a little graphite powder.
The double run of rigging from the tailplane across the top of the rudder has had its anchor points set.

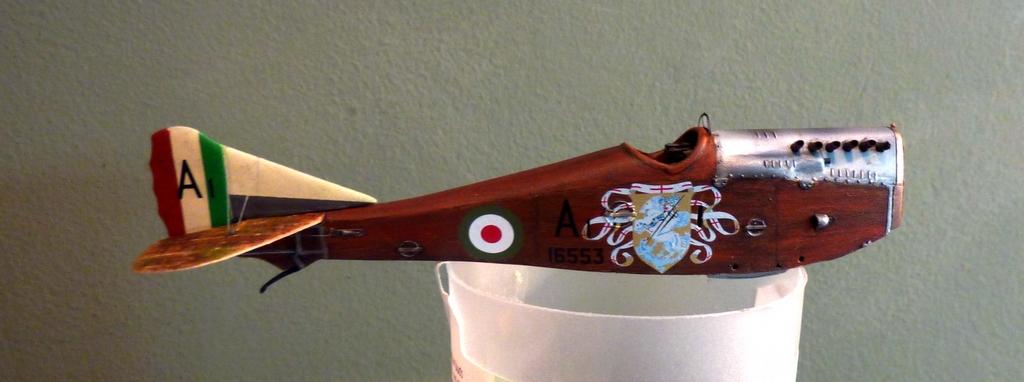
Here the fuselage has had its beautiful decals applied, including the excellent St George shield (motif replicated on top of lower wings).
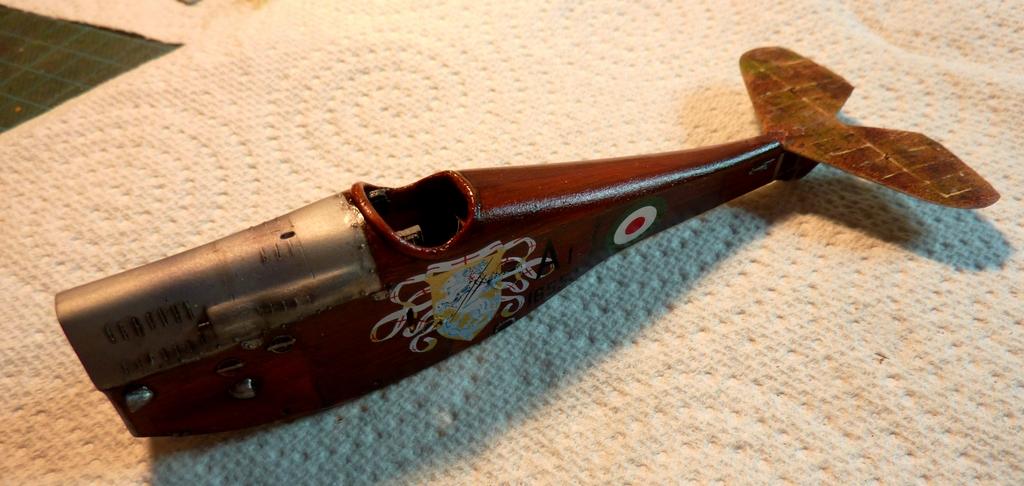

The radiator and grille are seen here to good effect, too.

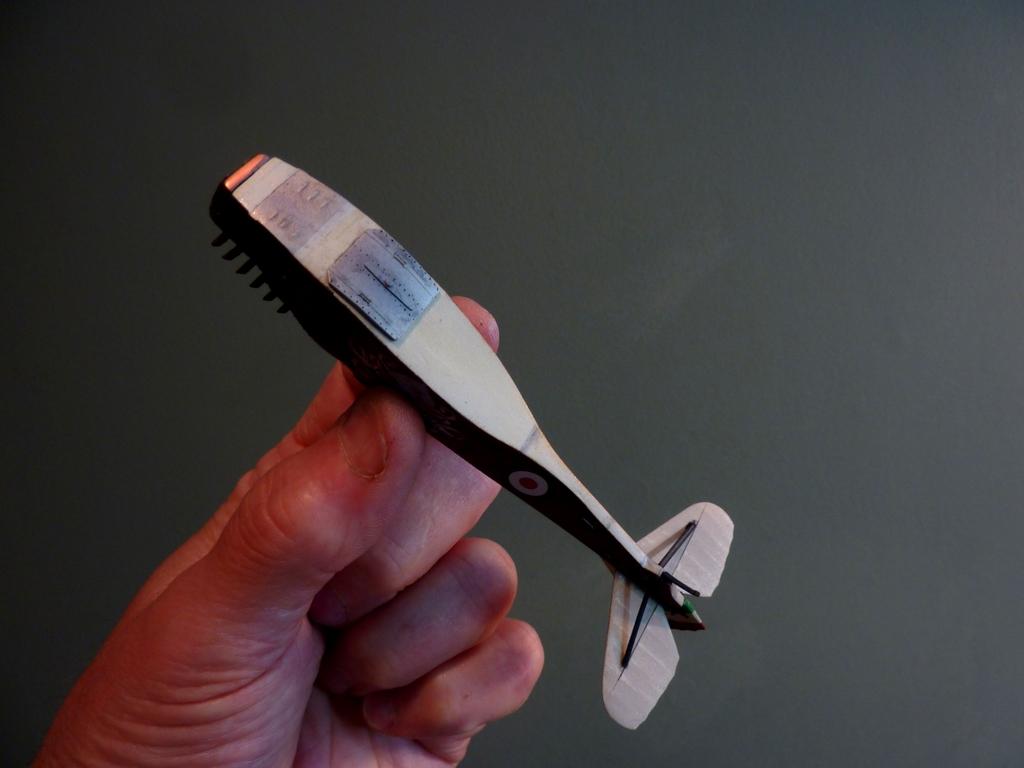
And here a few photos of the completed fuselage and empennage.

The next stage is to set the wings, etc. I've just found that the flying wires on the A.1 are doubled, and also have a timber infill between the individual wires in each set, running along lengthwise, so that it looks not unlike a single piece of heavy cable rather than standard rigging. Not quite sure how to accomplish this at the moment, although I do have styrene strips 0.56mm x 0.84mm that might work as the timber pieces, but then the double runs of rigging have to be in place first.
Need to think about that one...

Very effective wood grain finishes, Rob...nice work.
Cheers, Craig.
Wood stain looks real good Rob.
The decals really pop against the red finish.
Looking fab Rob! Seems you got the taste for biplanes now!
Any port in a storm, as they say. Still mostly sane.
Yes, otherwise you could not deliver on such quality of work Rob! Keep building to prove it and let us enjoy the results!
For my money the work you are doing on these biplanes is some of the best and most interesting detail work I've seen here.
Regarding your sanity...
Modelling by special licence.
I got married by special license. Think there might be a loophole?
Really nice looking fuselage. Like the different shades of wood and metal. Going to be a stunner when done.
Thanks, Stellan.
Stellar effort Rob!
Cheers, Greg.
This looks fantastic as all of your builds do.
It's amazing to me how you have captured the look of real wood using paint and oils. The camouflage paint on the upper wing surfaces, the radiator and wheels, decals (basically all of it) display some serious craftsmanship. The details in this kit with the small parts count are interesting too.
You have been turning out some fantastic biplanes Rob. This one will be no exception.
I'll be looking forward to the final reveal posting. 🙂
Thanks, Louis. Mapping out a mile of double rigging at the moment.
Looks like another museum piece!