WIP: 3rd Update “1/32 Trumpeter F6F-5 Hellcat in Royal Navy Markings”
This article is part of a series:
Well, this project is still on-going. It's one of those projects were you feel like you are almost done but then you realize you are still so far off. Trying to get everything correct, and taking care of those little details can take so much longer then you expect. Thank-God I love building models...LOL!
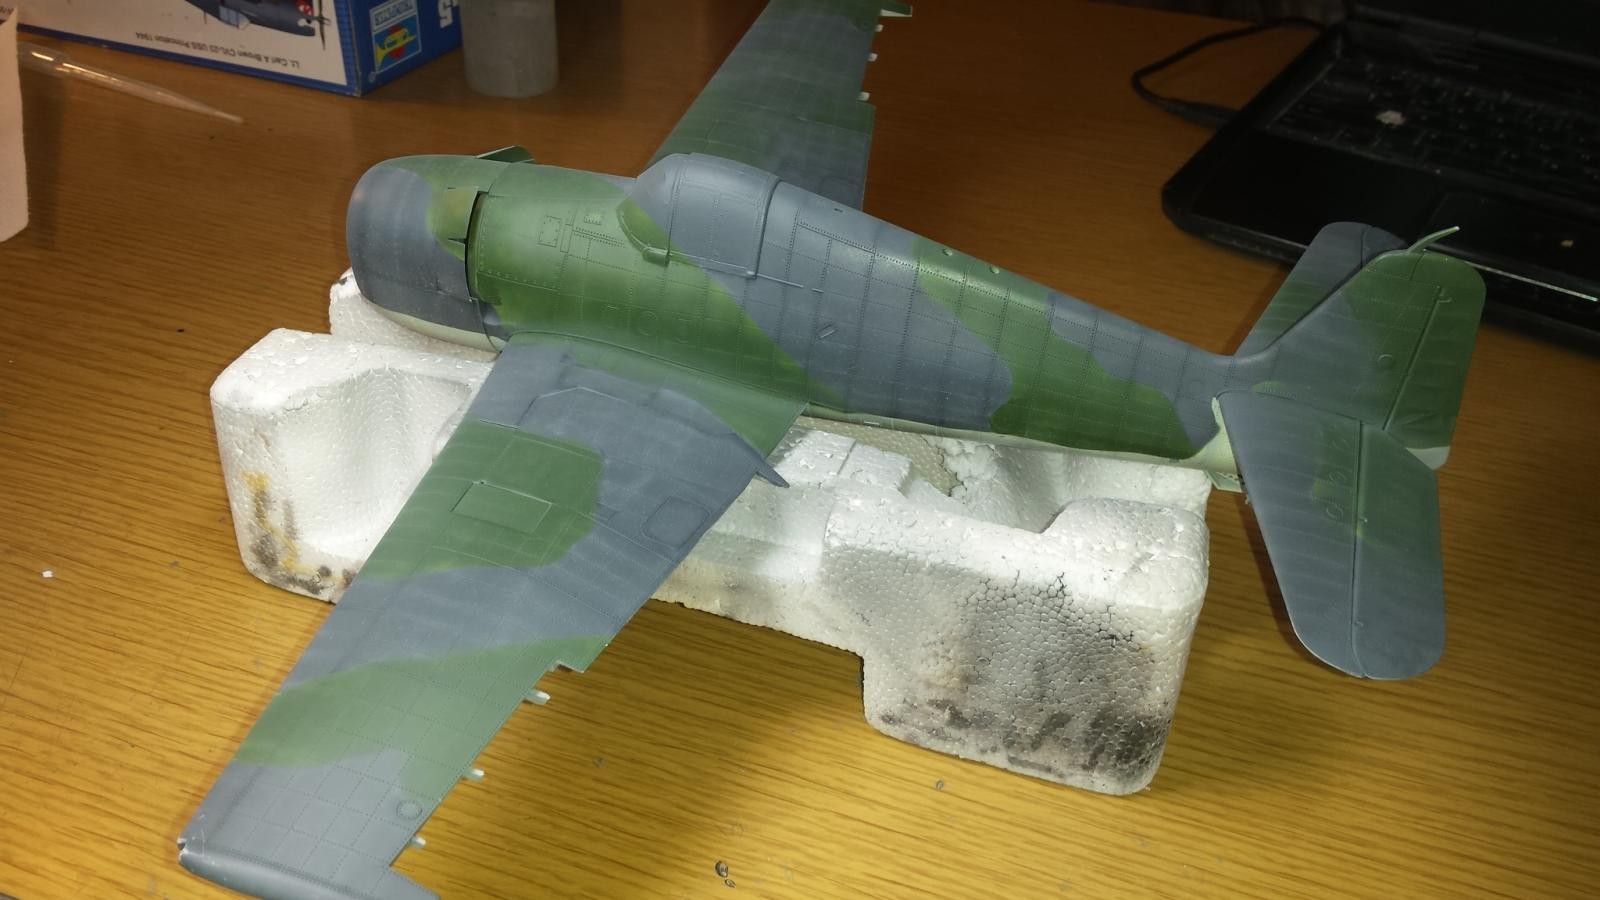
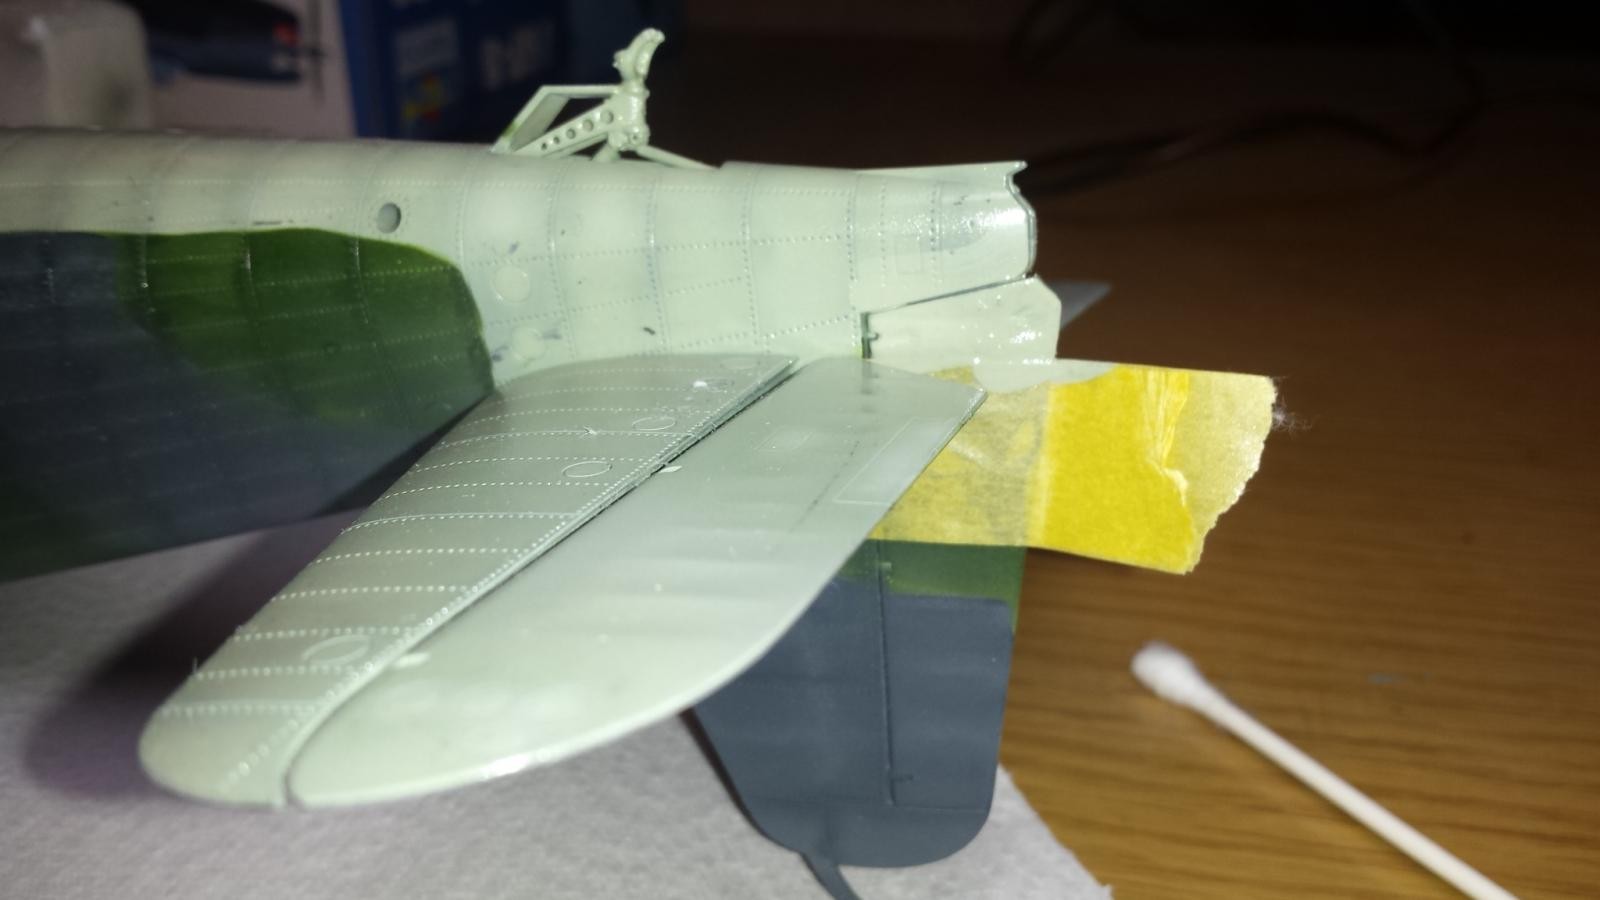
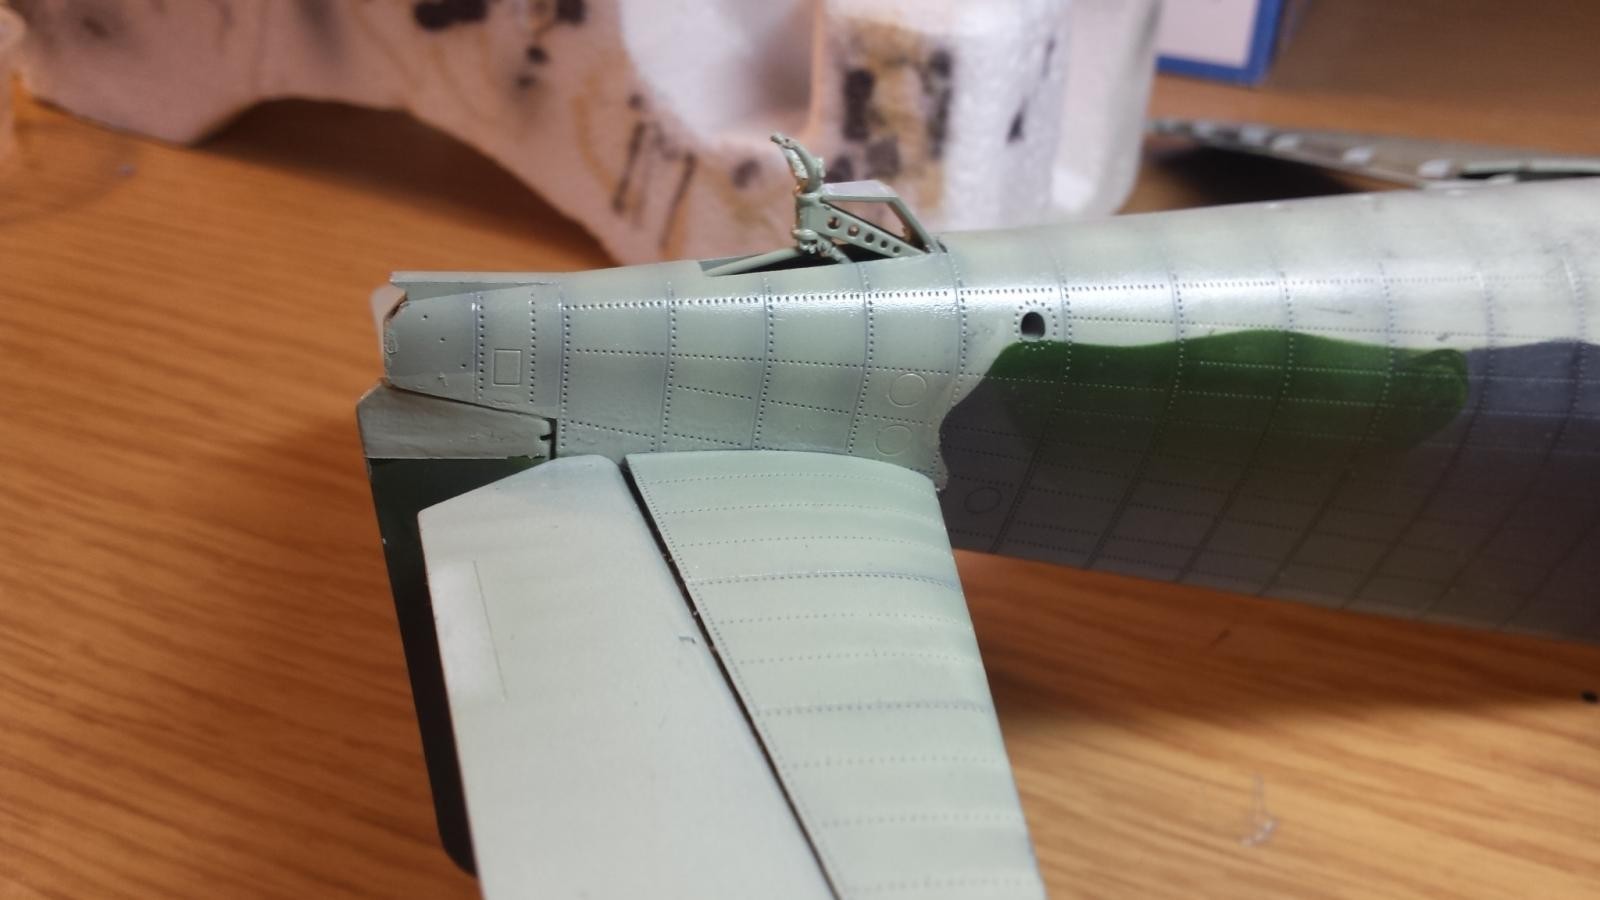
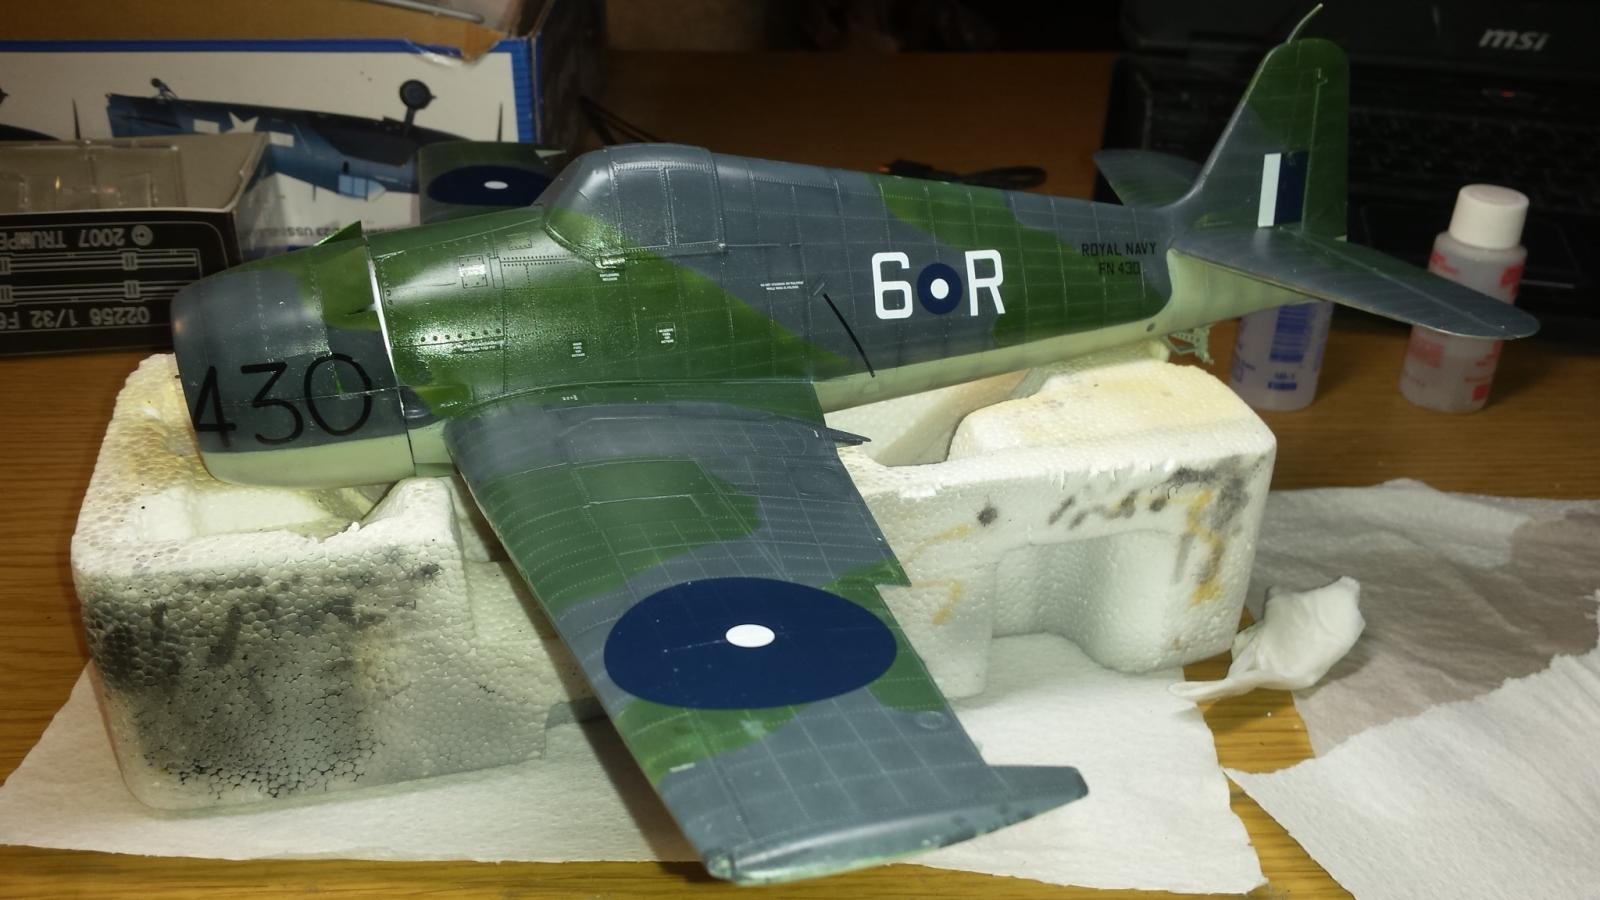
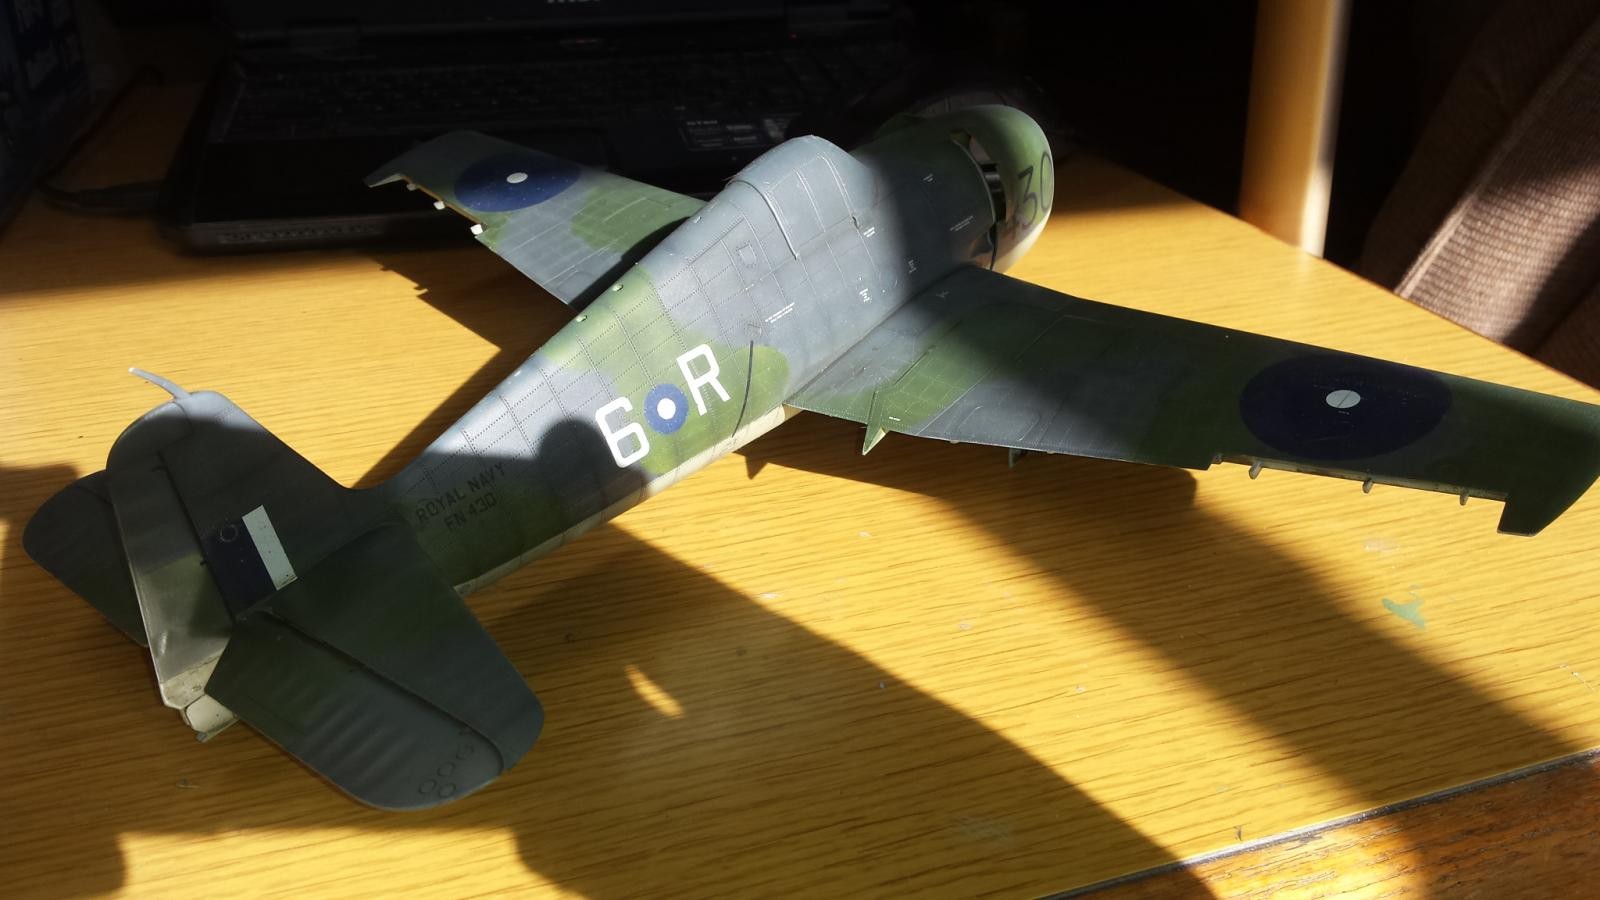
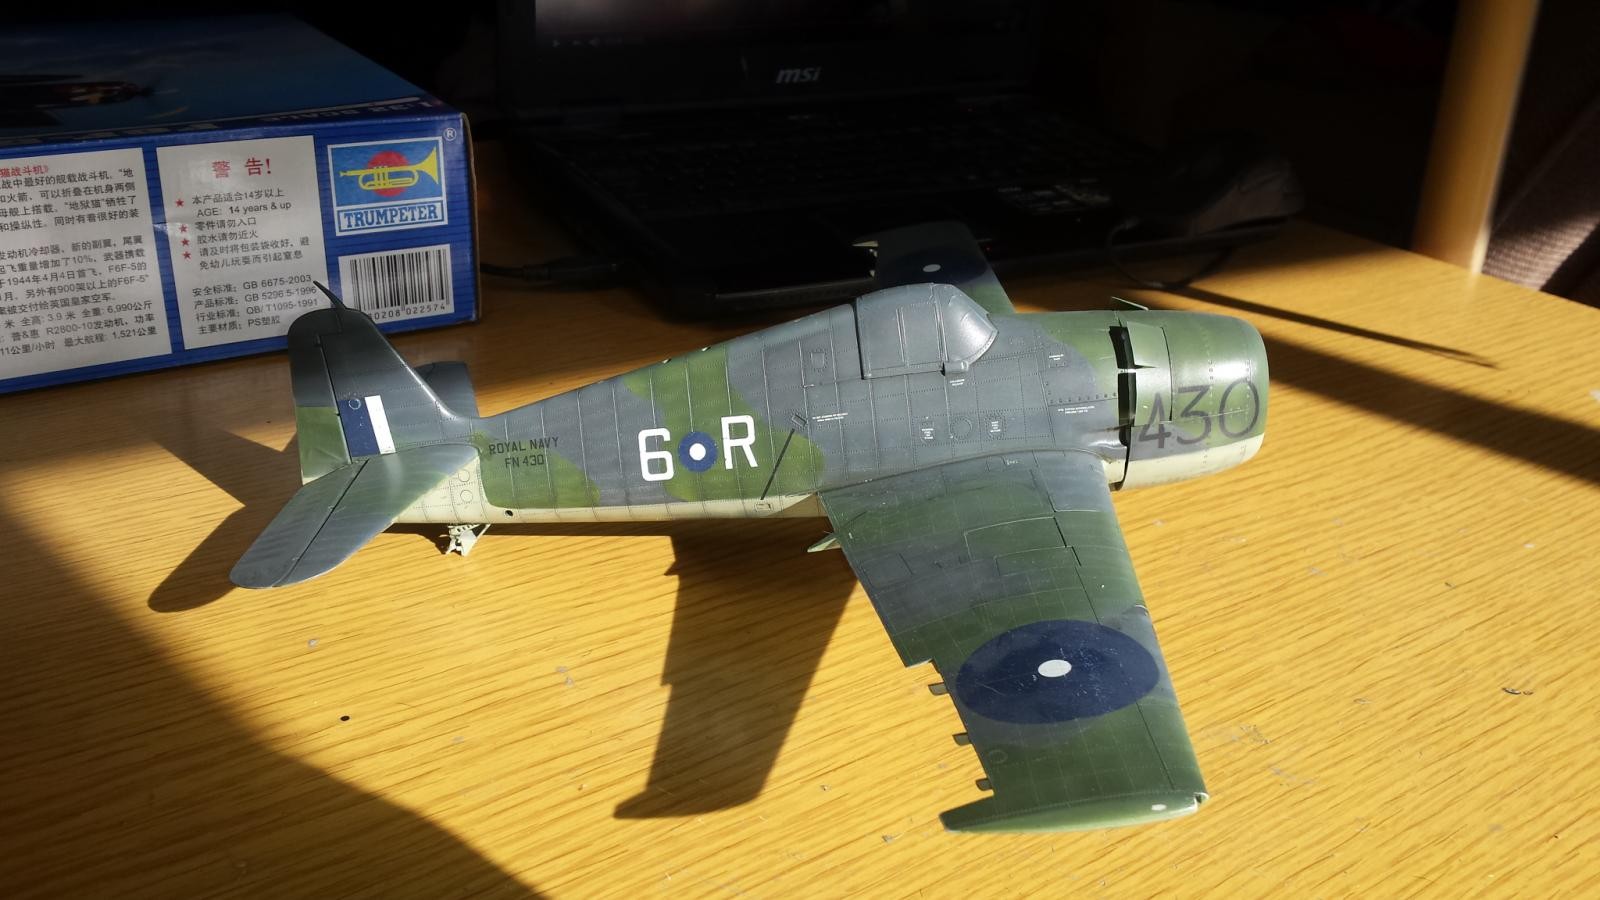
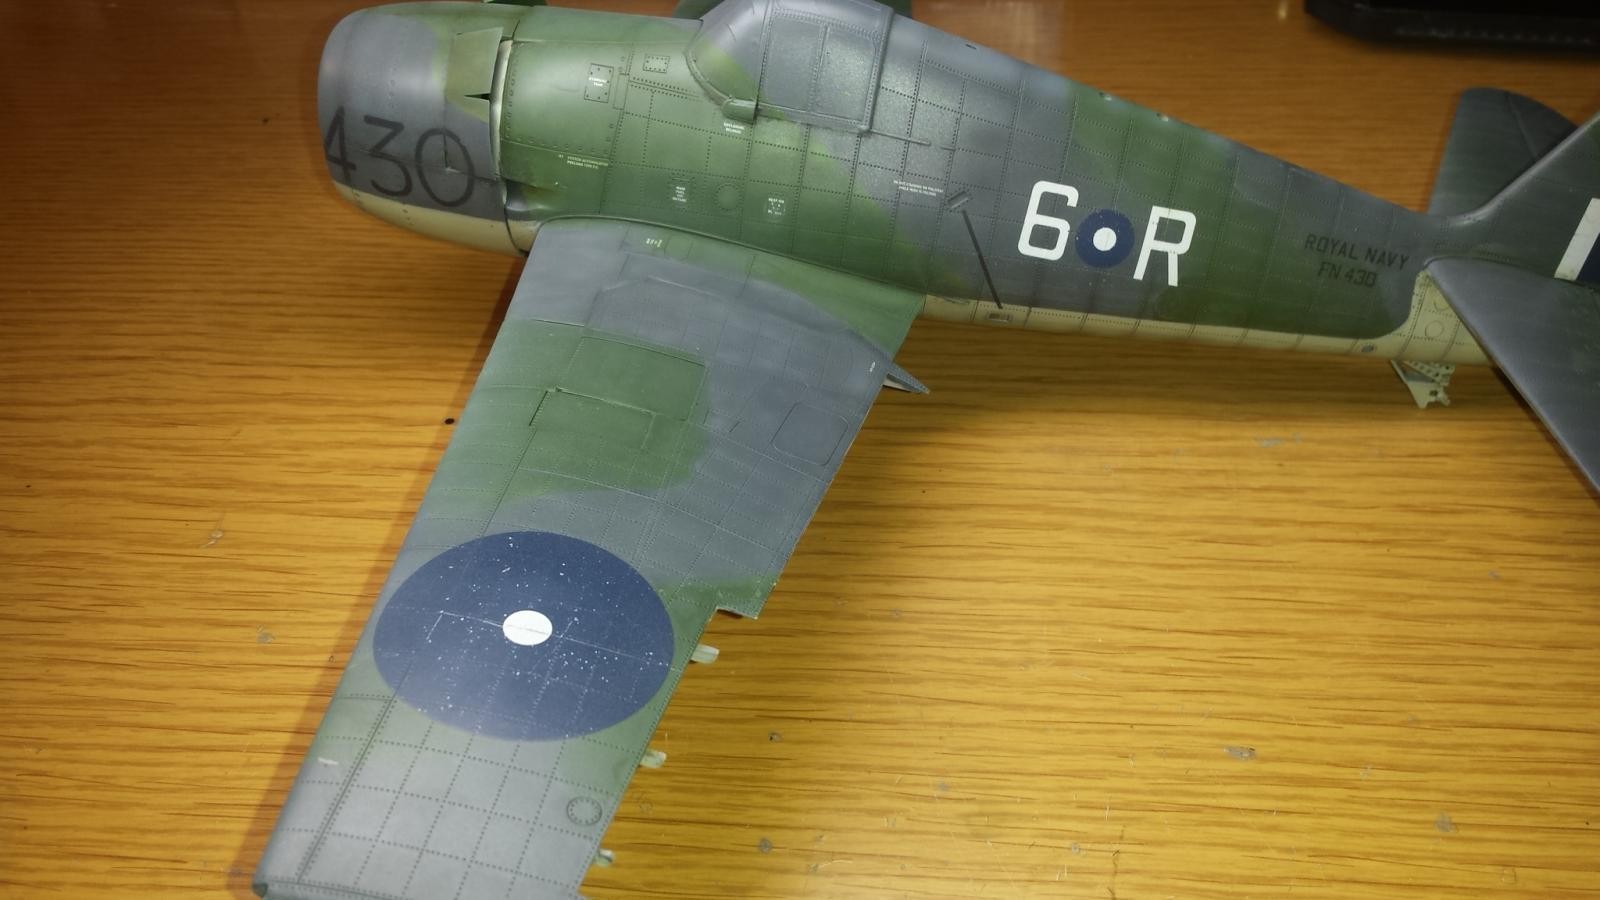
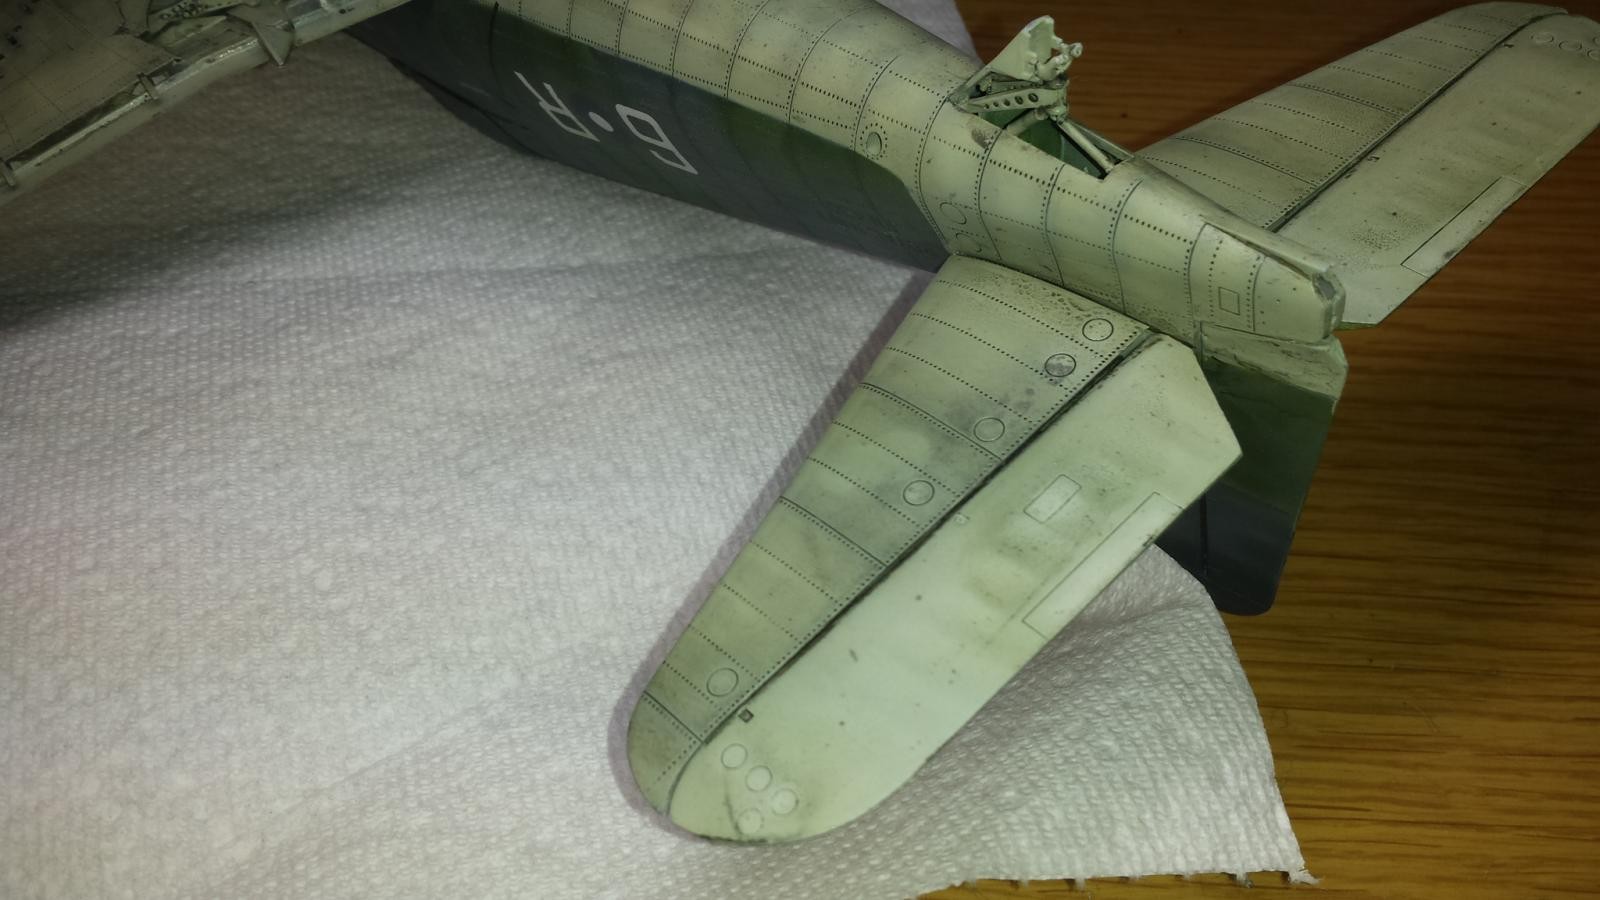
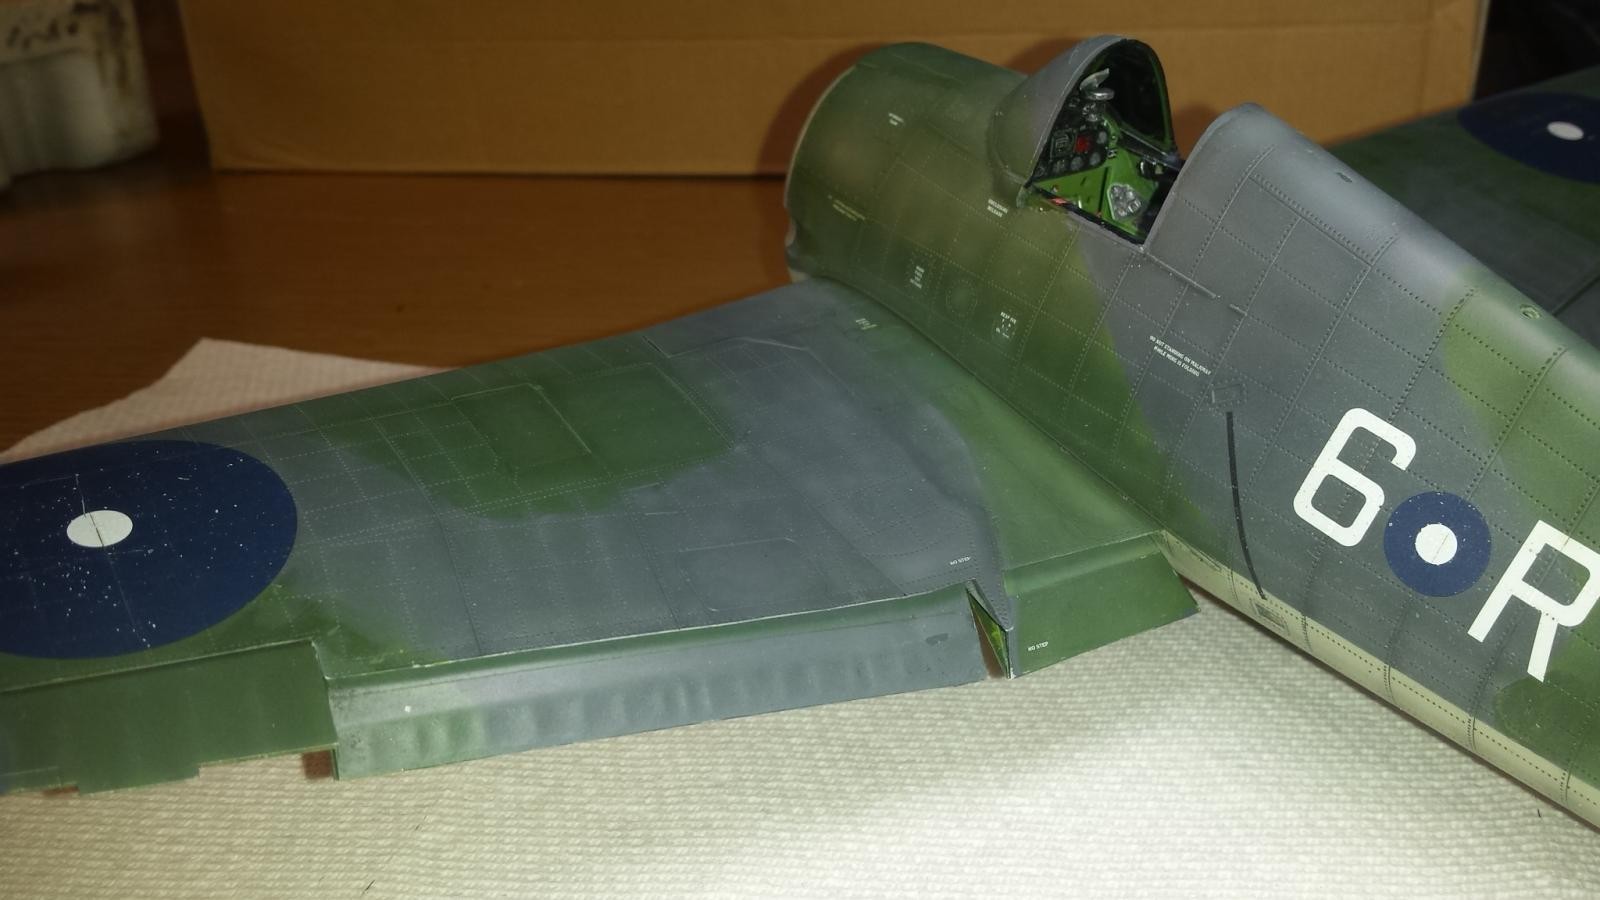
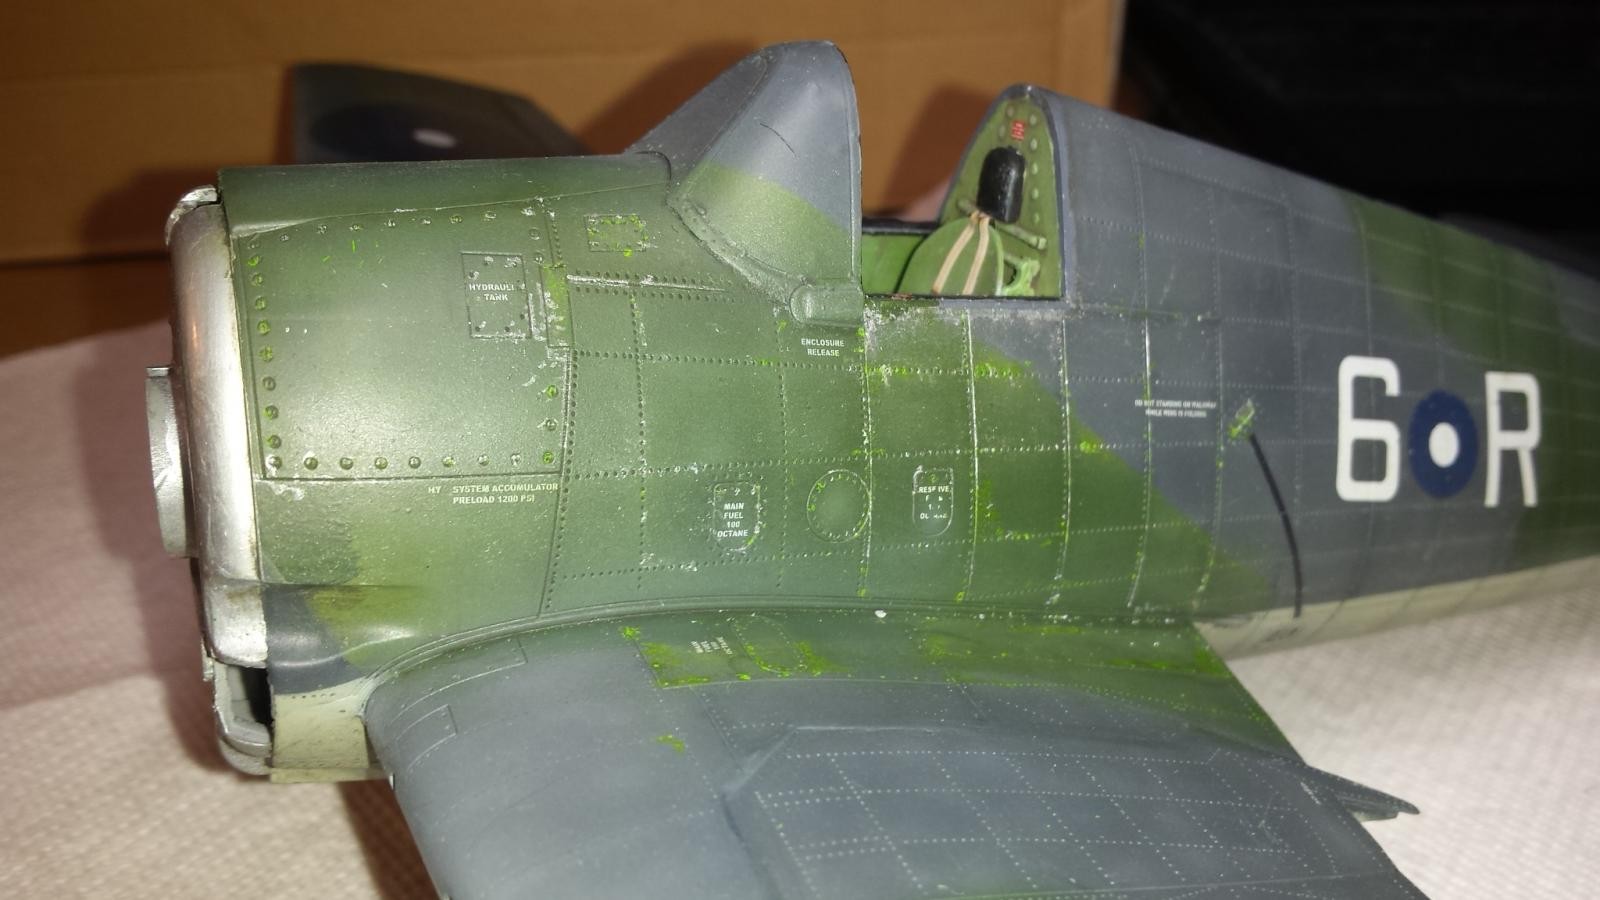
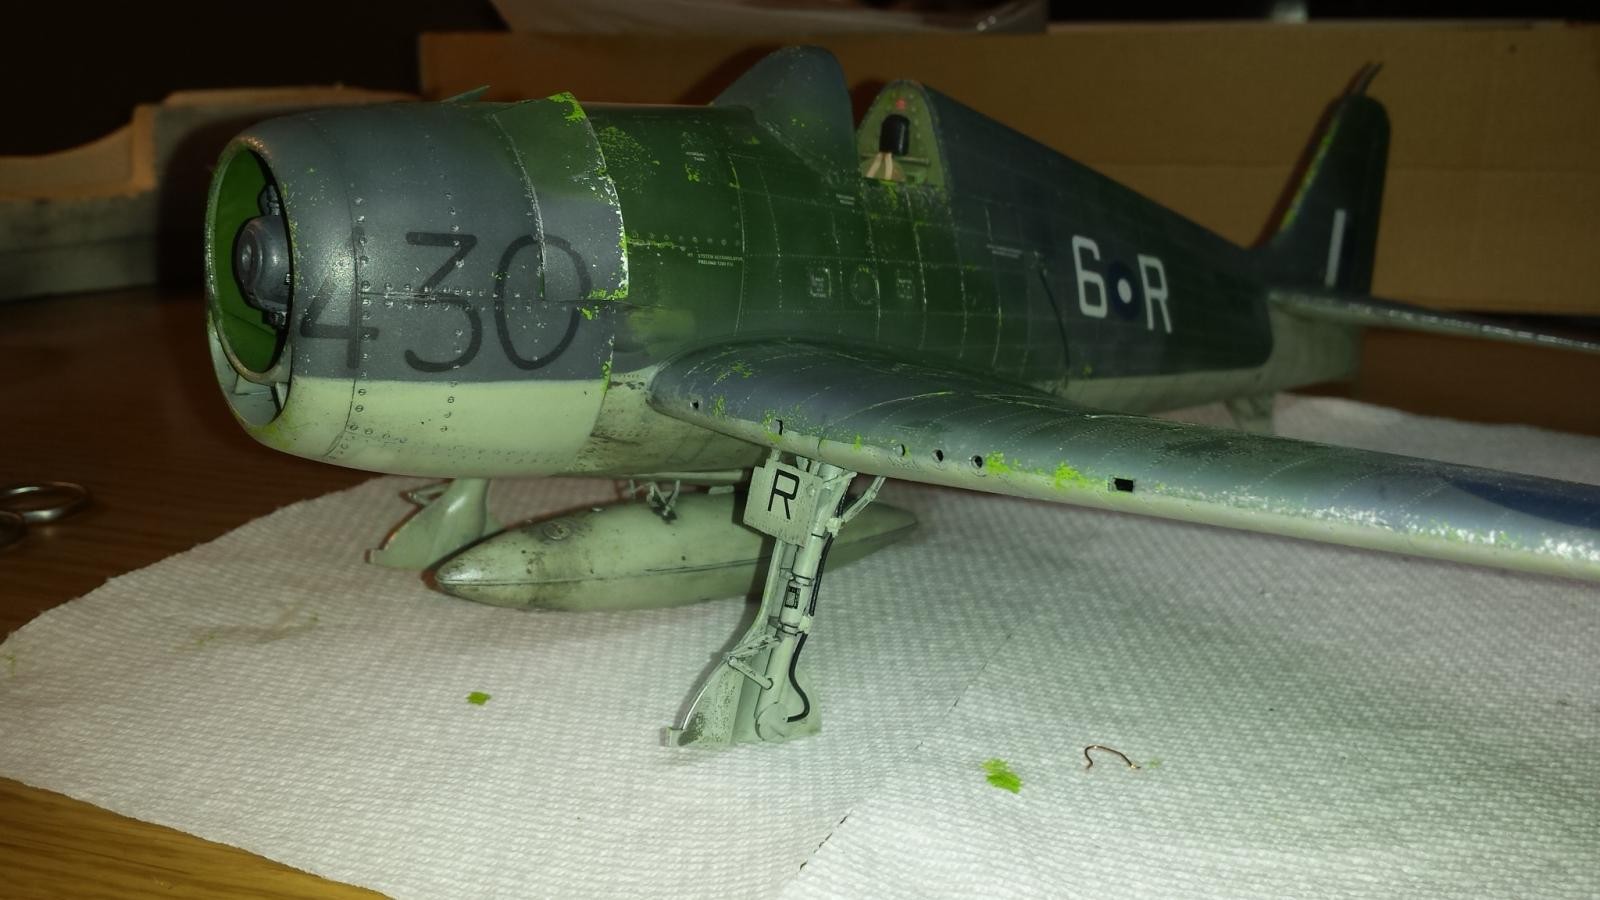
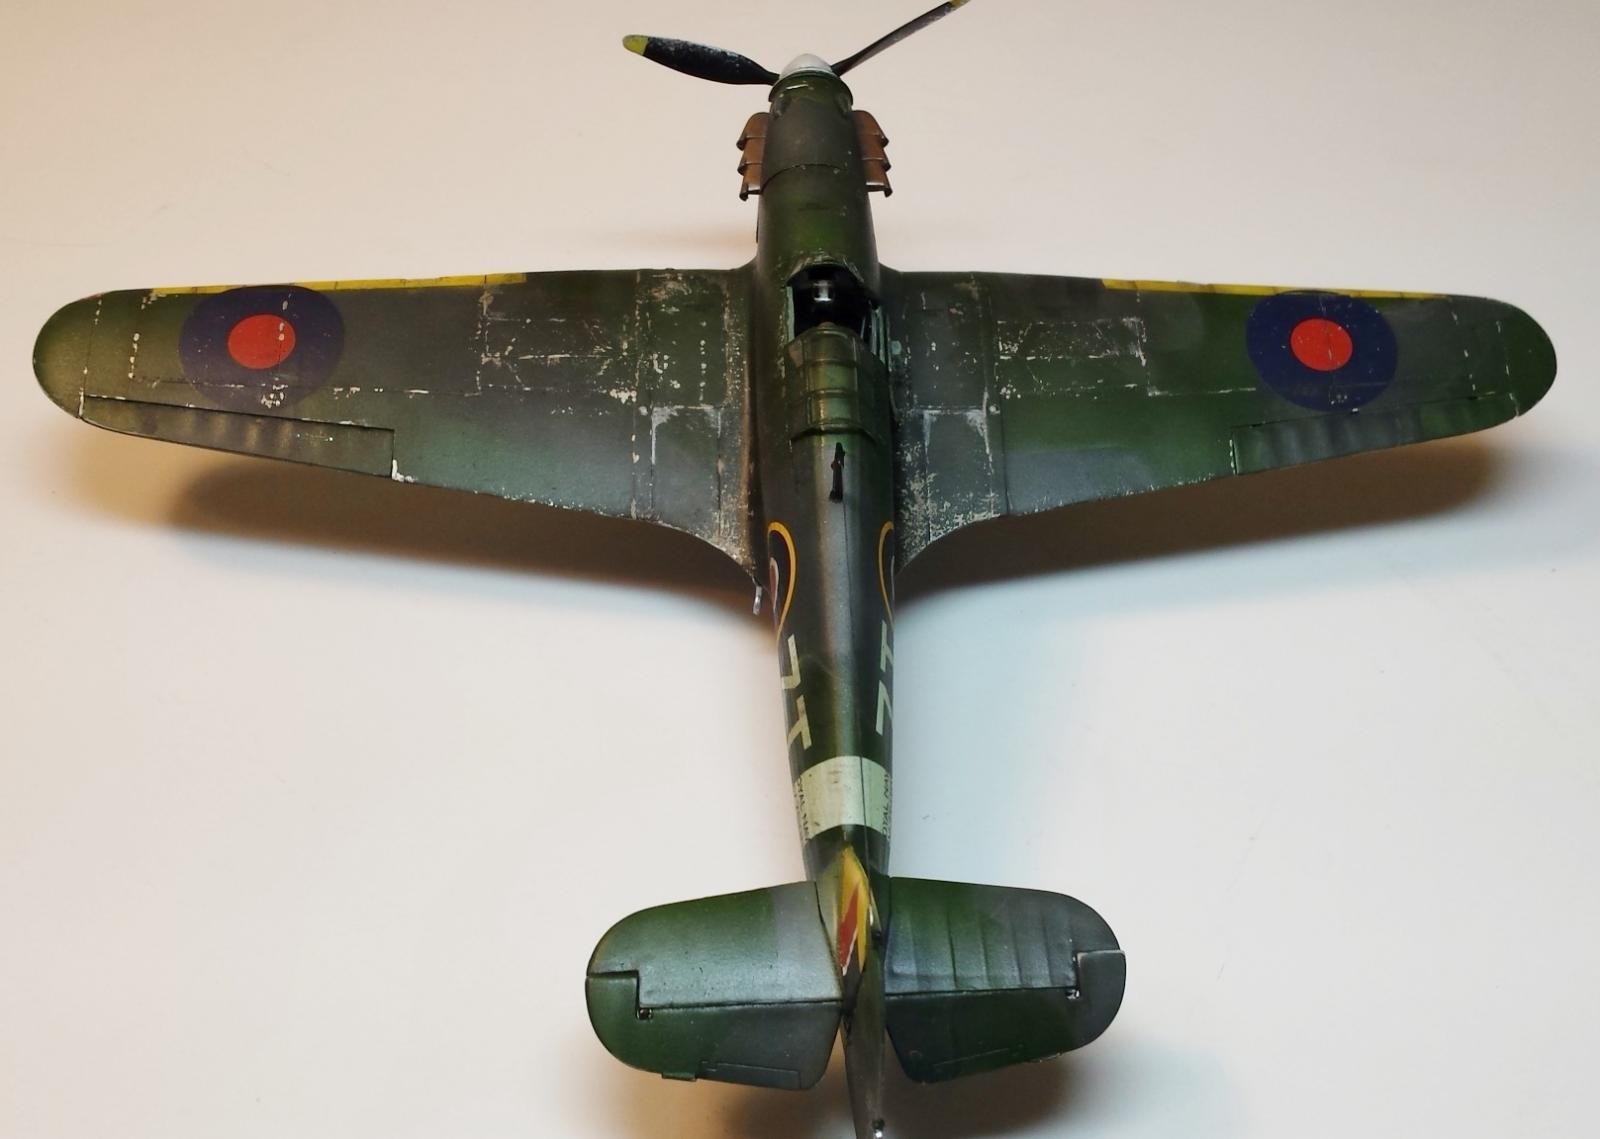
This update again mostly captures the painting and final finishing process. My last update created some good dialogue regarding choice of colors. Several felt the Dark-Sea Grey was way to greenish. My opinion is it is more on the green side then some of the available reference photos. If I was to do this build again I would use Tamiya RLM-Grey. This seems to be a better match to these reference photos. Although I also used some reference photo's in which my choice of color is a closer match. So I choose to leave it because re-doing it just did not seem to be an option at this time and overall I was happy with it. Also, based on experience I know the color will continue to change as I fade the colors, blend with washes, and apply filters.
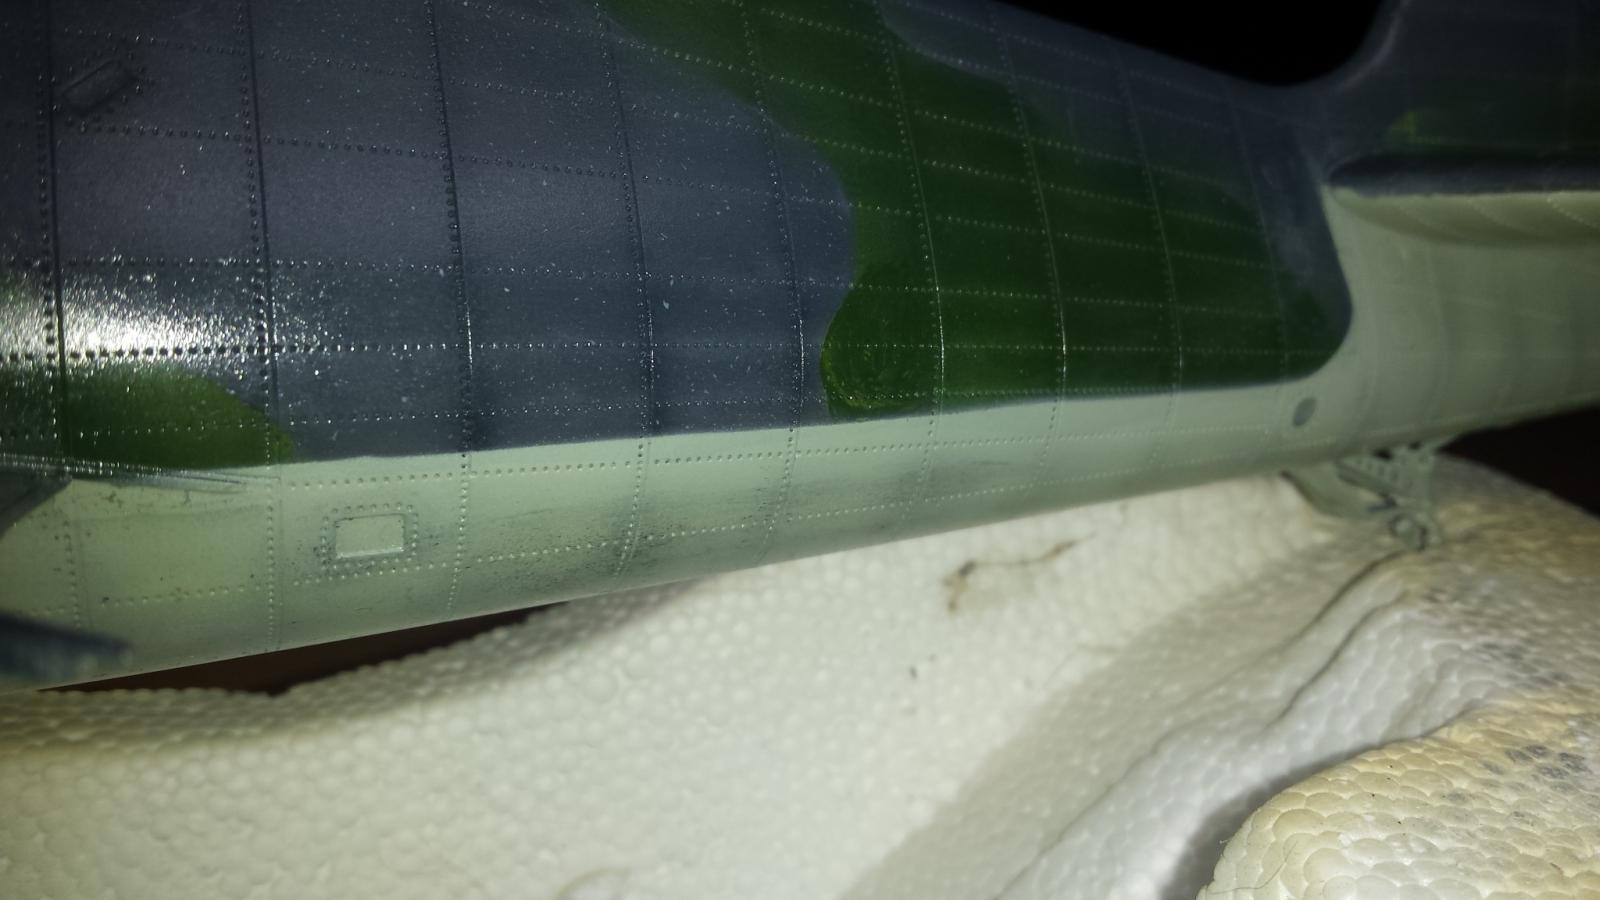
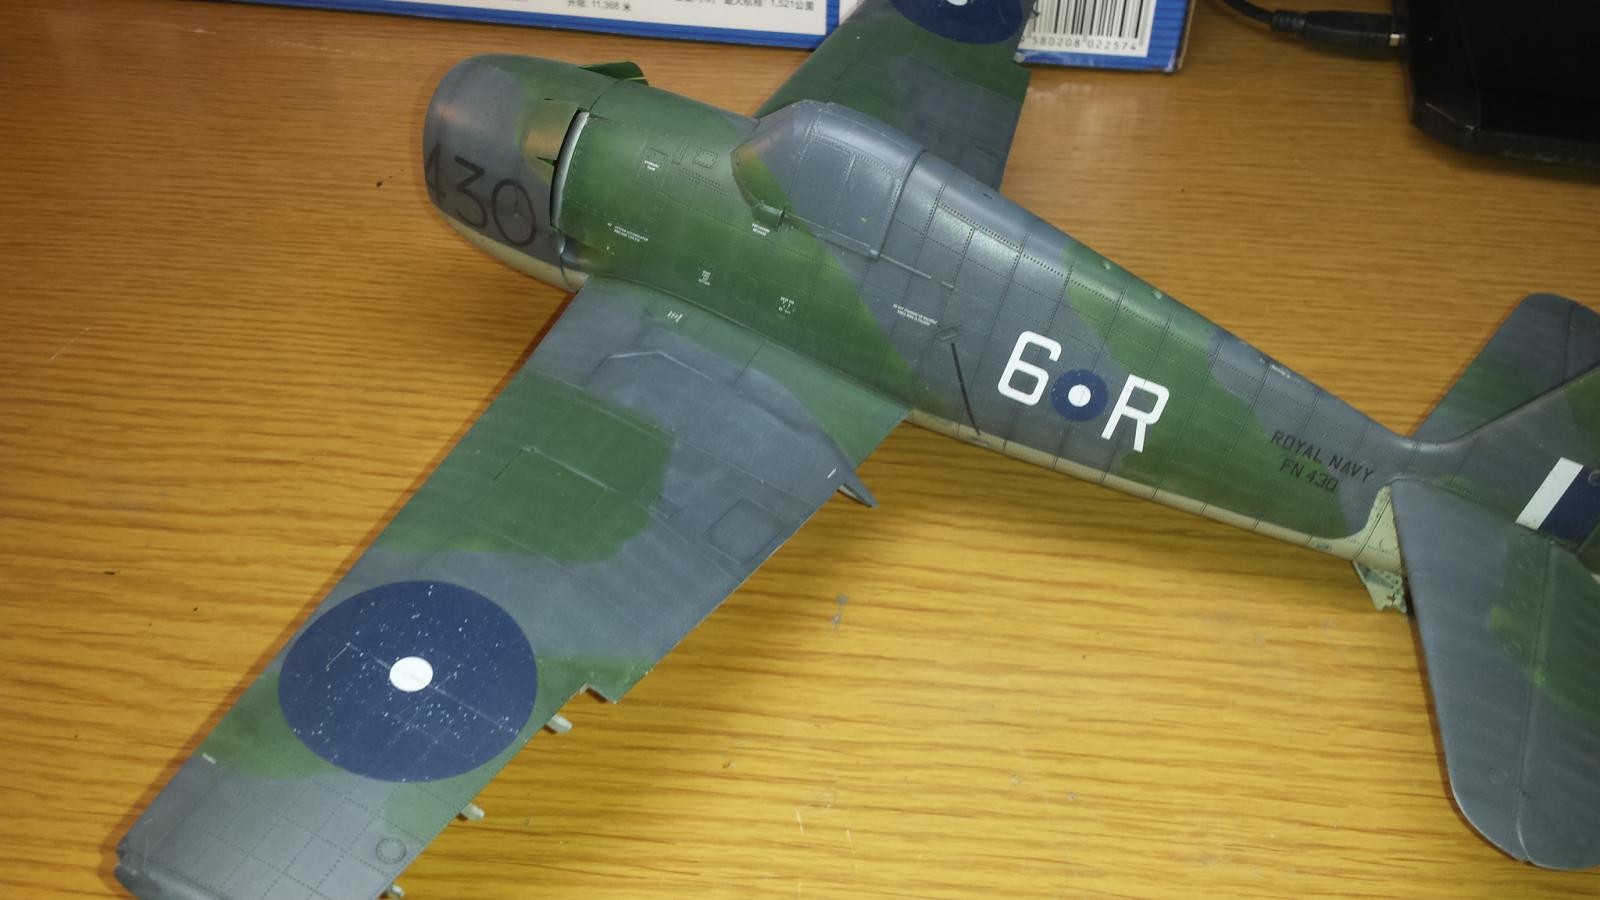
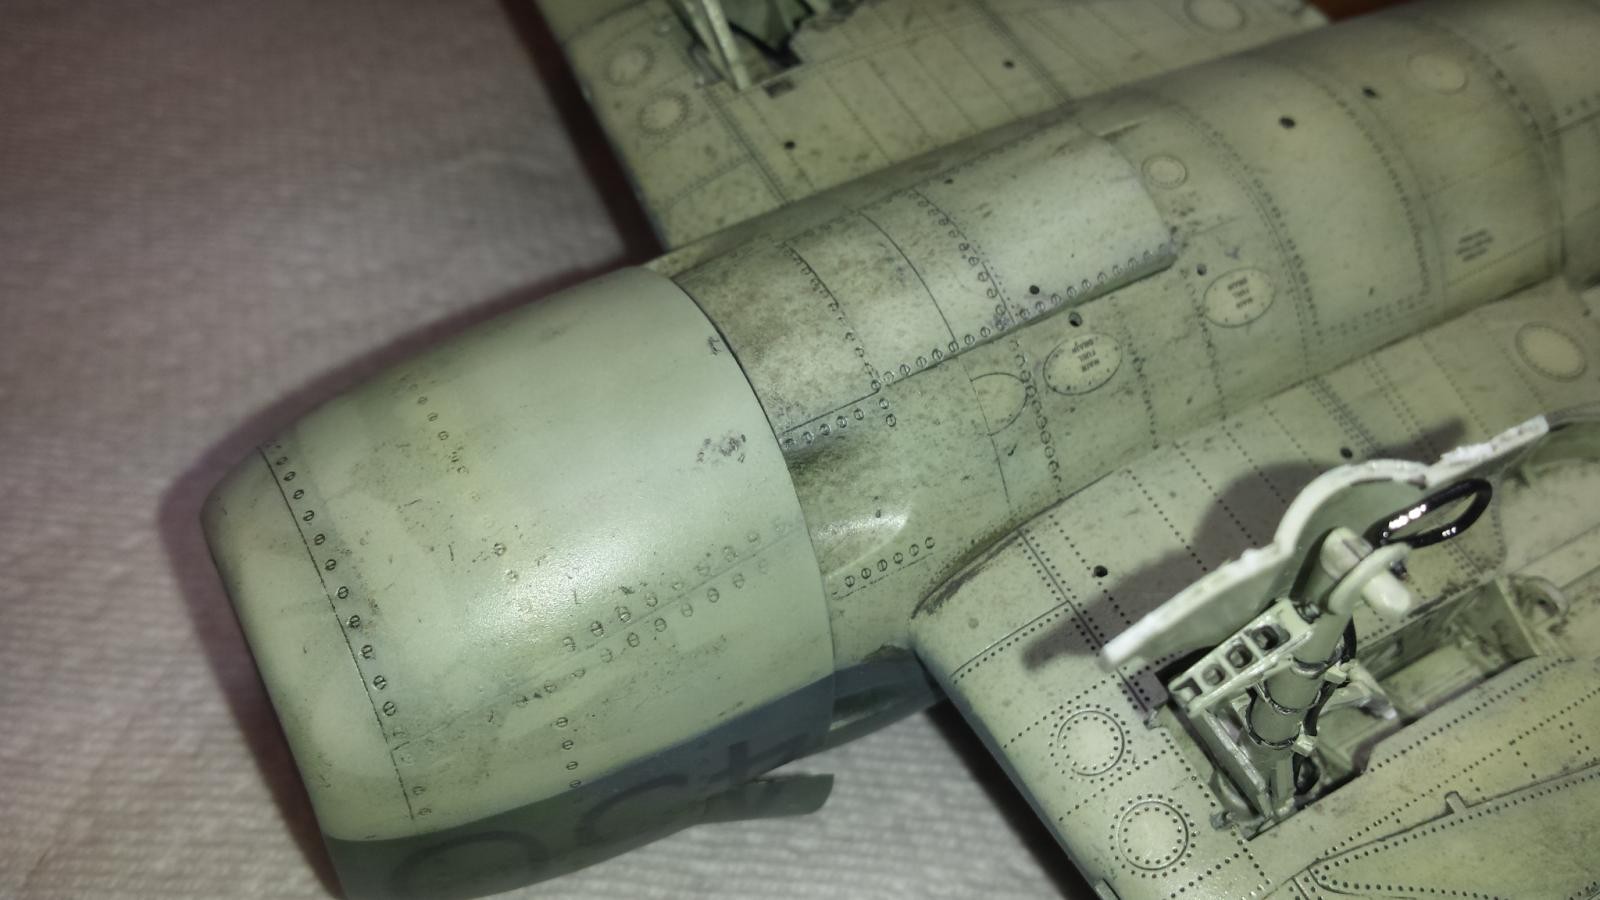
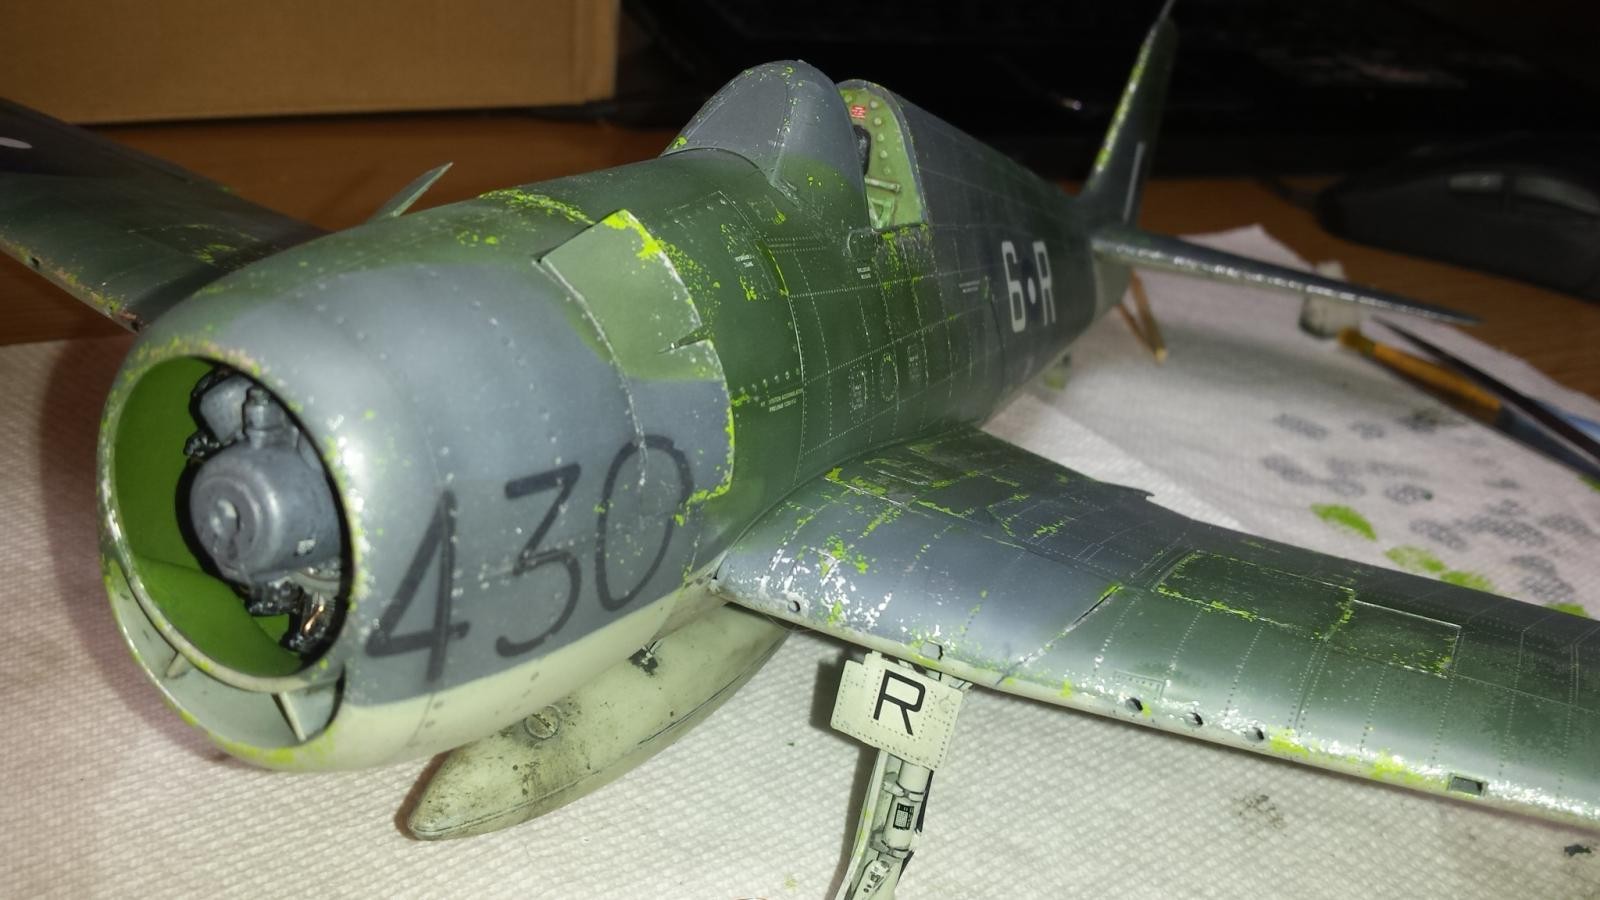
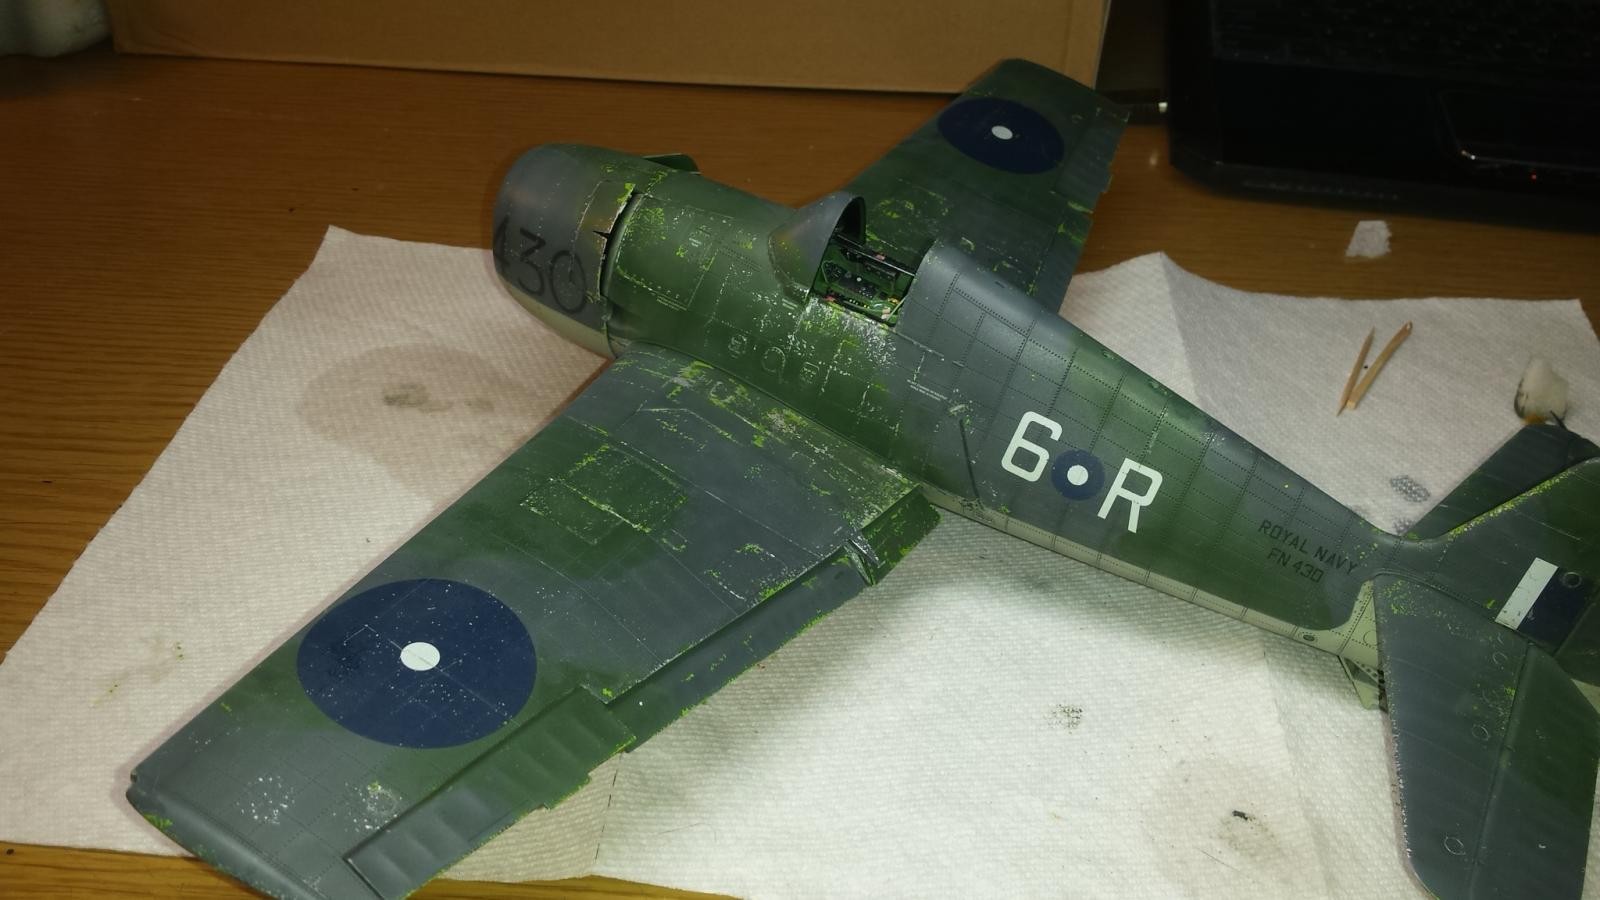
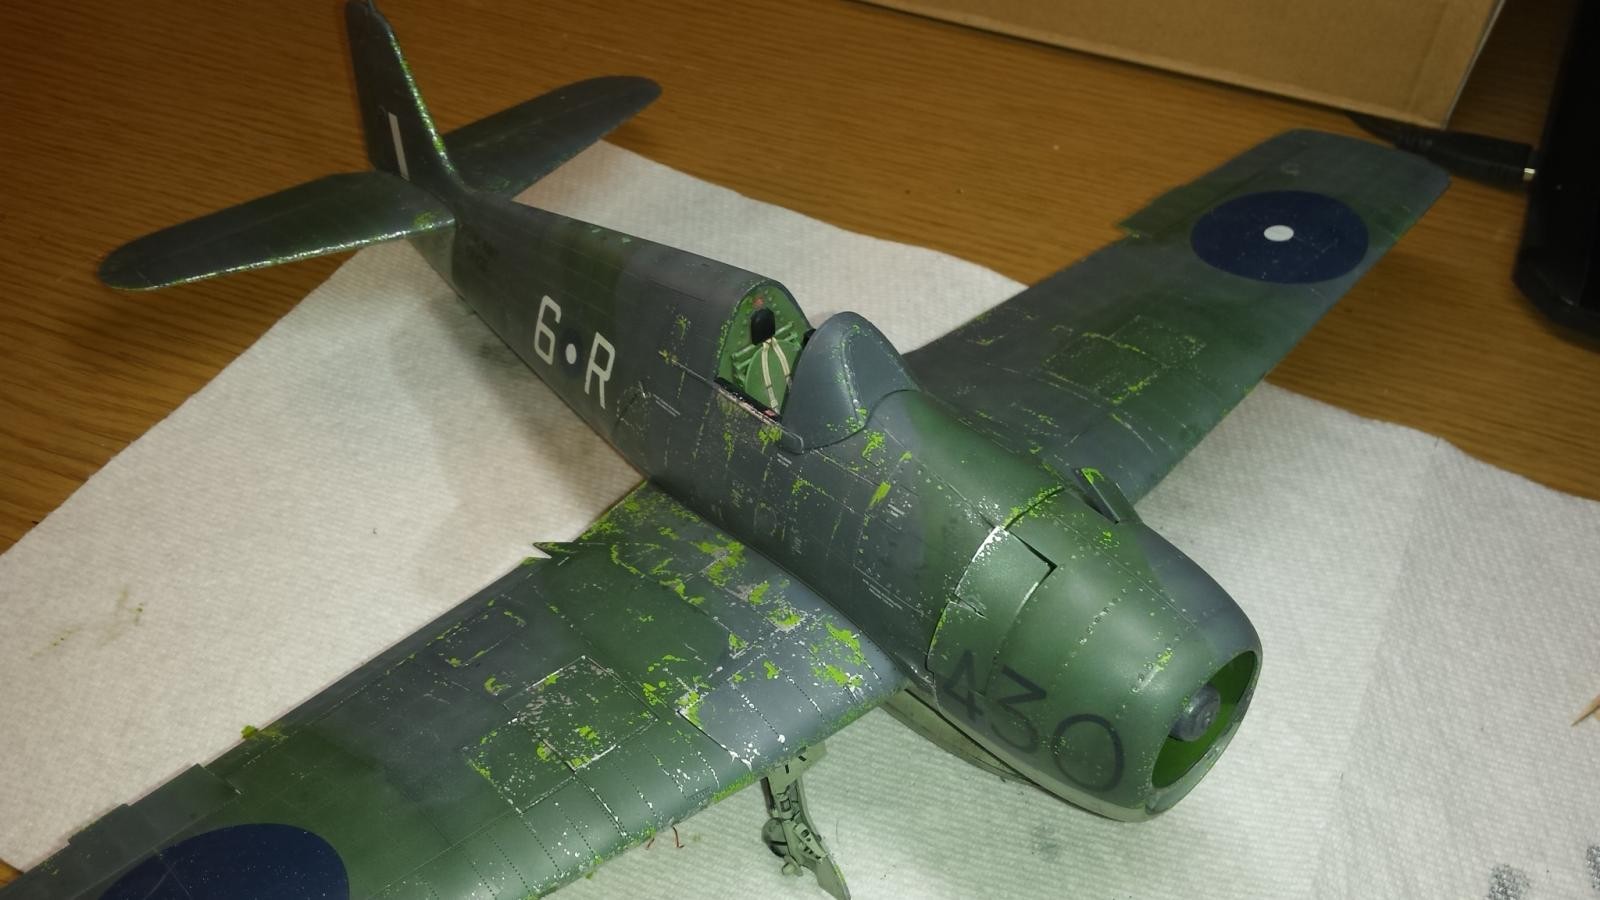
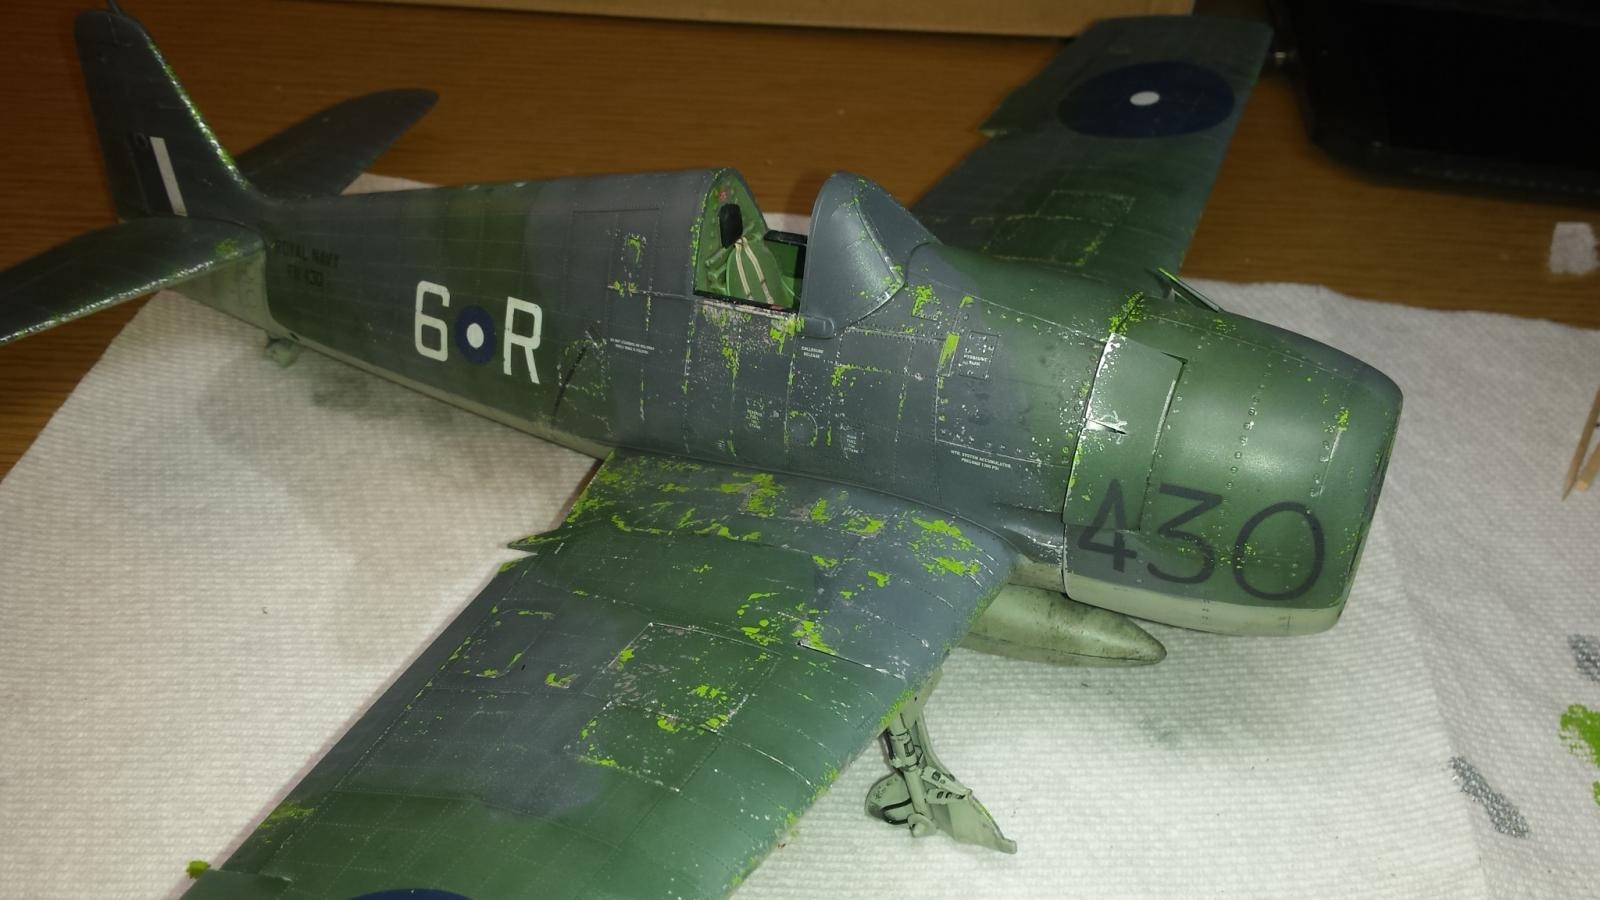
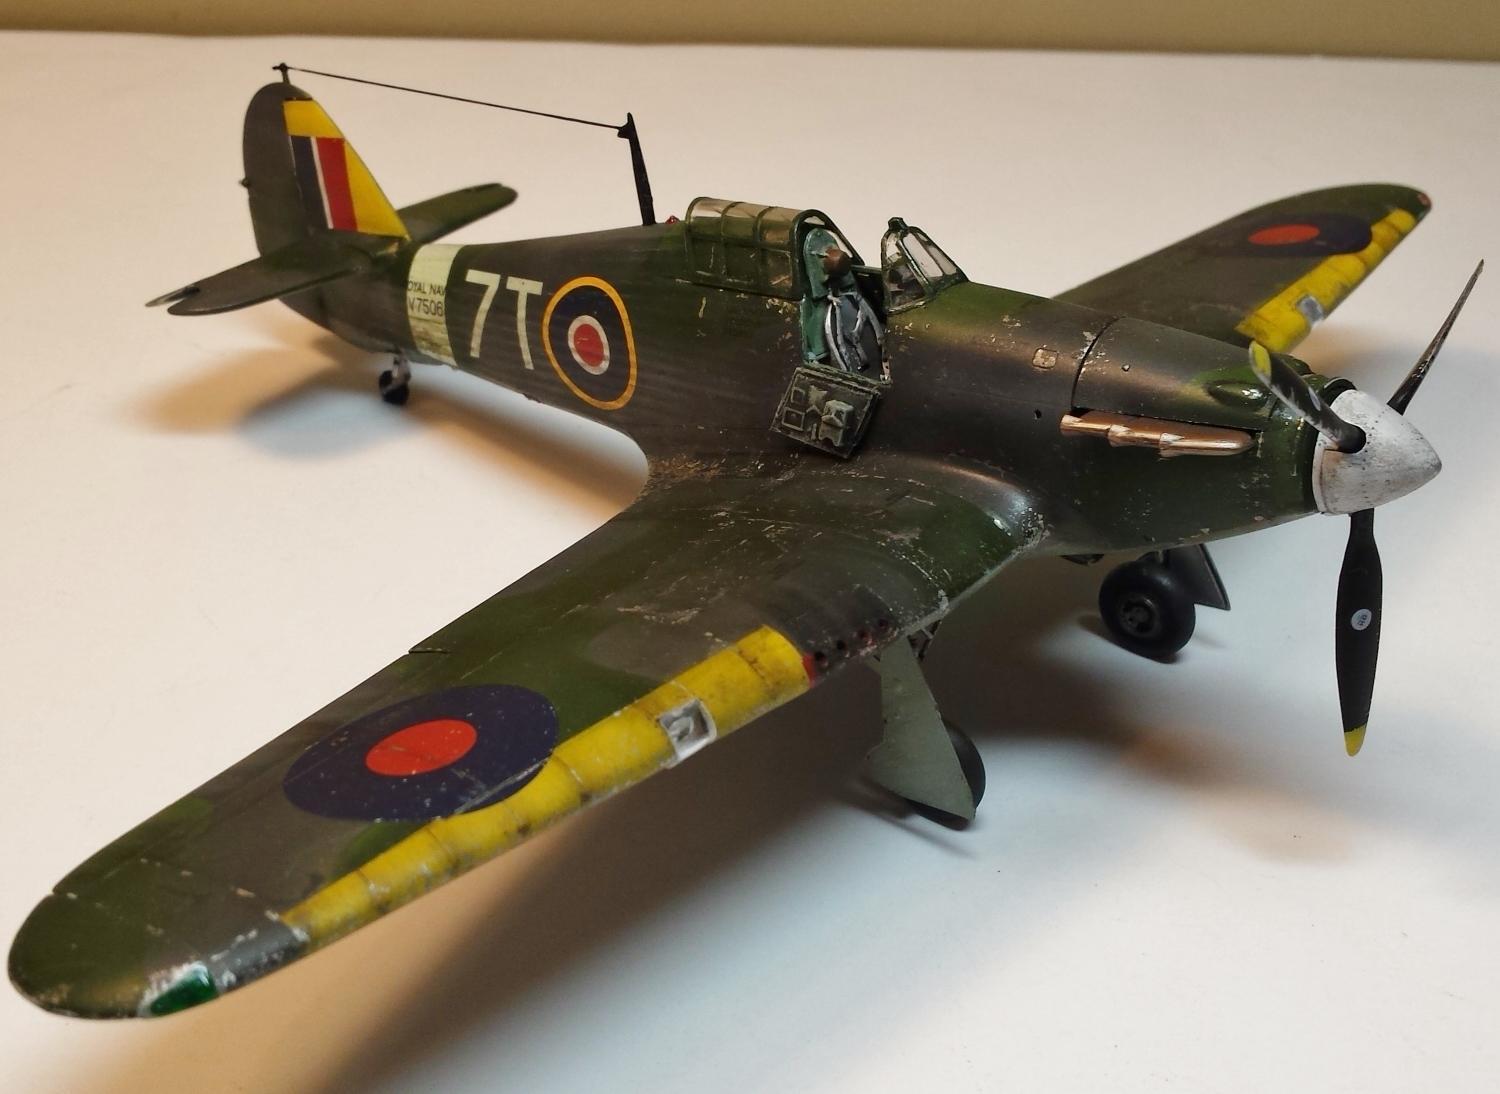
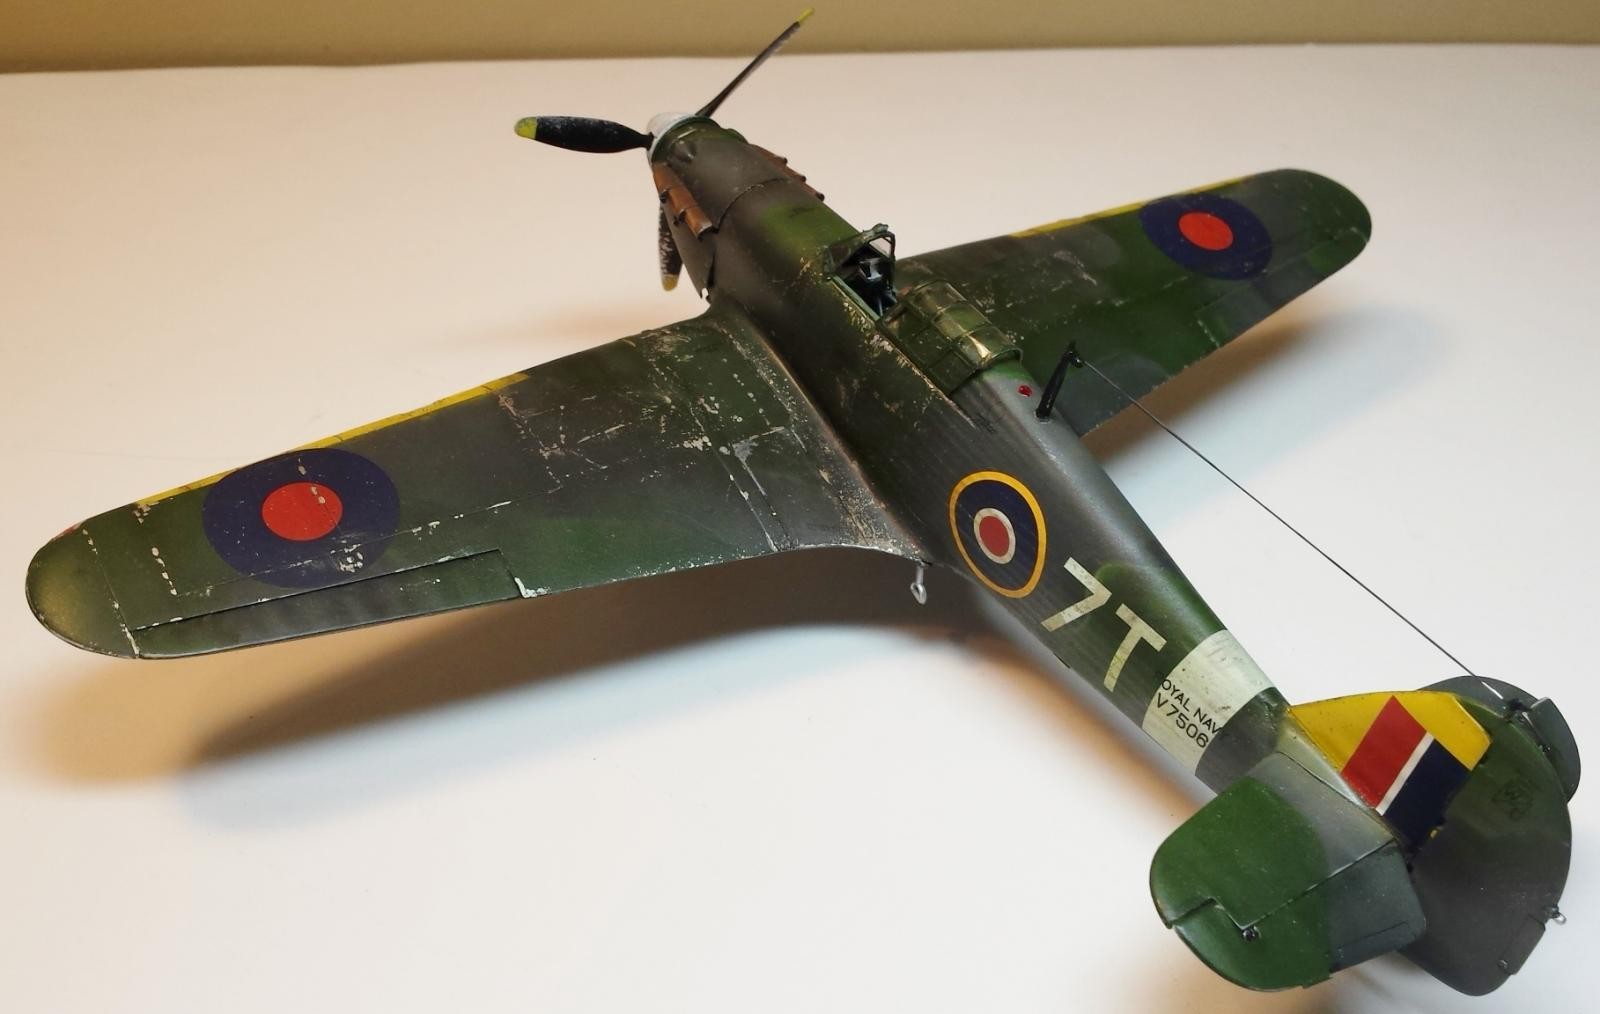
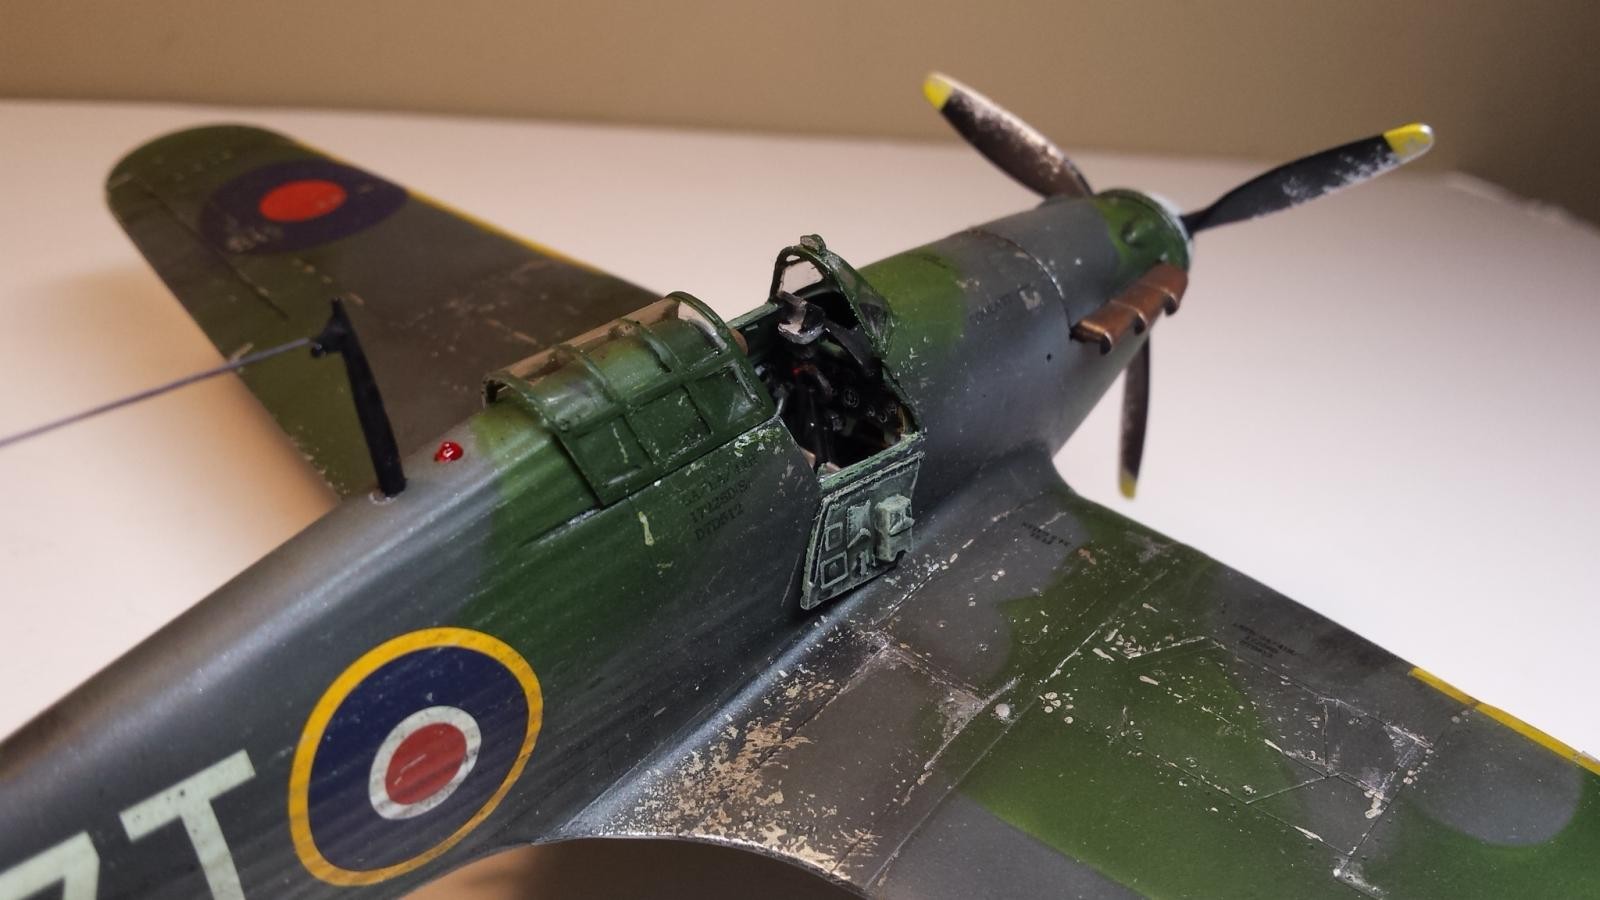
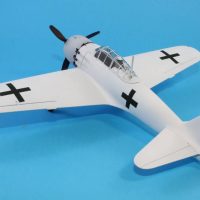
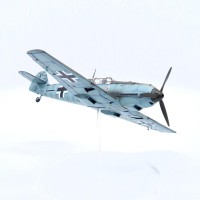
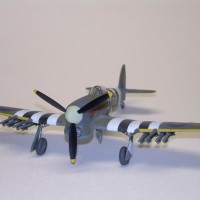
I learned a lot from this build about painting and color. Lessons Learned: "I will not trust Brand FS SPec colors as being 100% correct". This is an issue for me with Vallejo Air Color brand paints. This is the second time in recent history that I researched an FS Spec number to help with color match, and choose the Vallejo Color Air FS SPec paint labeled with the desired FS SPec color only to find out that when dry it did not match at all. I have also had the same color paint re-labeled with a different name, and FS SPec, from this same brand. Fool me once shame on you, fool me twice shame on me! I used this same FS Color from Vallejo on my recent 1/48 Sea-Hurricane build but it did not receive any comments regarding color being wrong so I was confident in using it again. I felt on that build the model did match some published photos but then again I may have been biased. I have included a few pictures of that build for your review and judgement. The problem for me results from not trusting the available color photo's because many are restored and re-colored through processing applications, different lighting, variation when color is re-applied, different aircraft companies paint formulas, etc. In this case I mostly relied on the detailed color photo's and painting guide included with the after-market decals. My color is a perfect match to those drawings and paint guides. Finally my camera and lighting set-up appears to make the green appear more green then it really is. I noticed this to also be the case regarding the greenish/yellowish zinc chromate primer I used as a chipping paint. In the attached pictures this Zinc Chromate looks so bright, and almost florescent, but in reality it is not that bright. I will also be scuffing it up a bit, and applying further oils, filters, and a matte varnish to tone it down considerably.
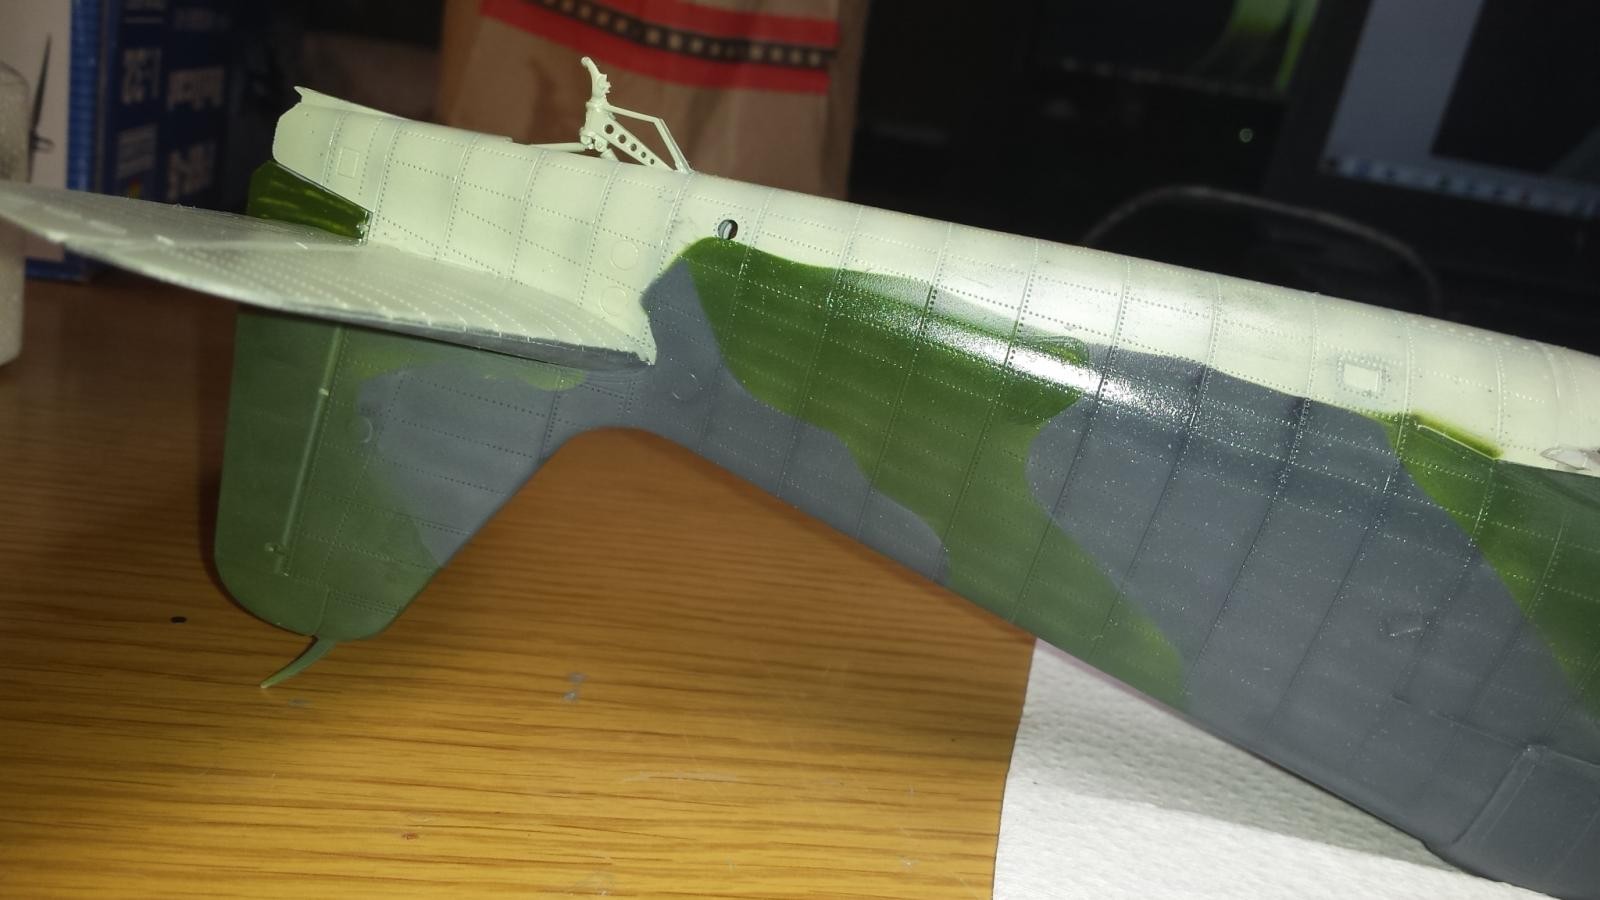
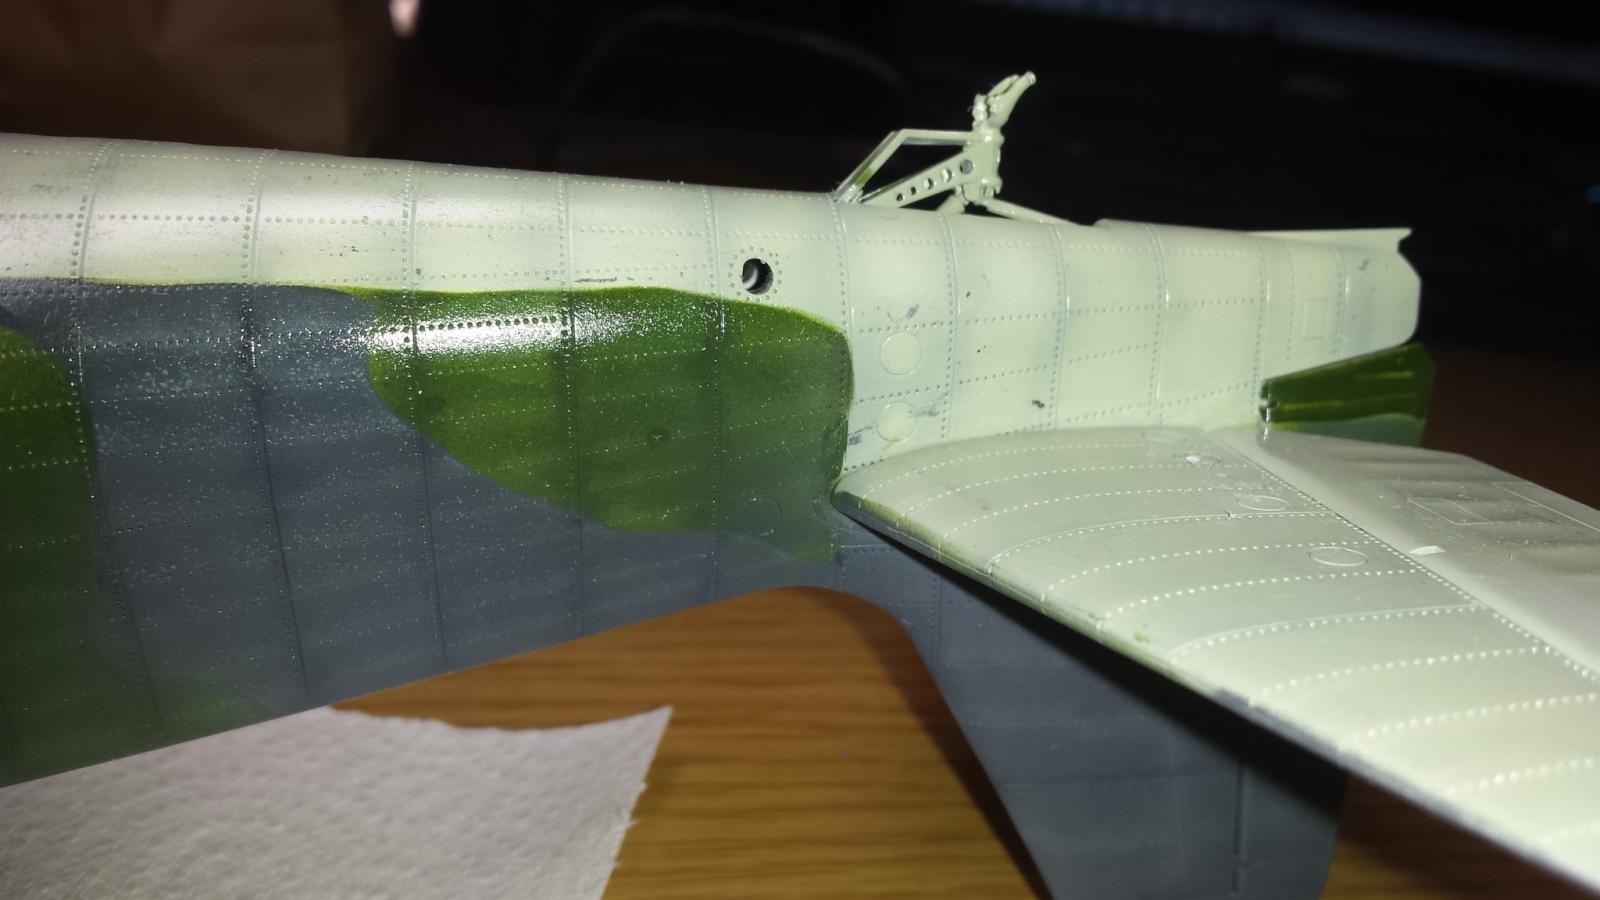
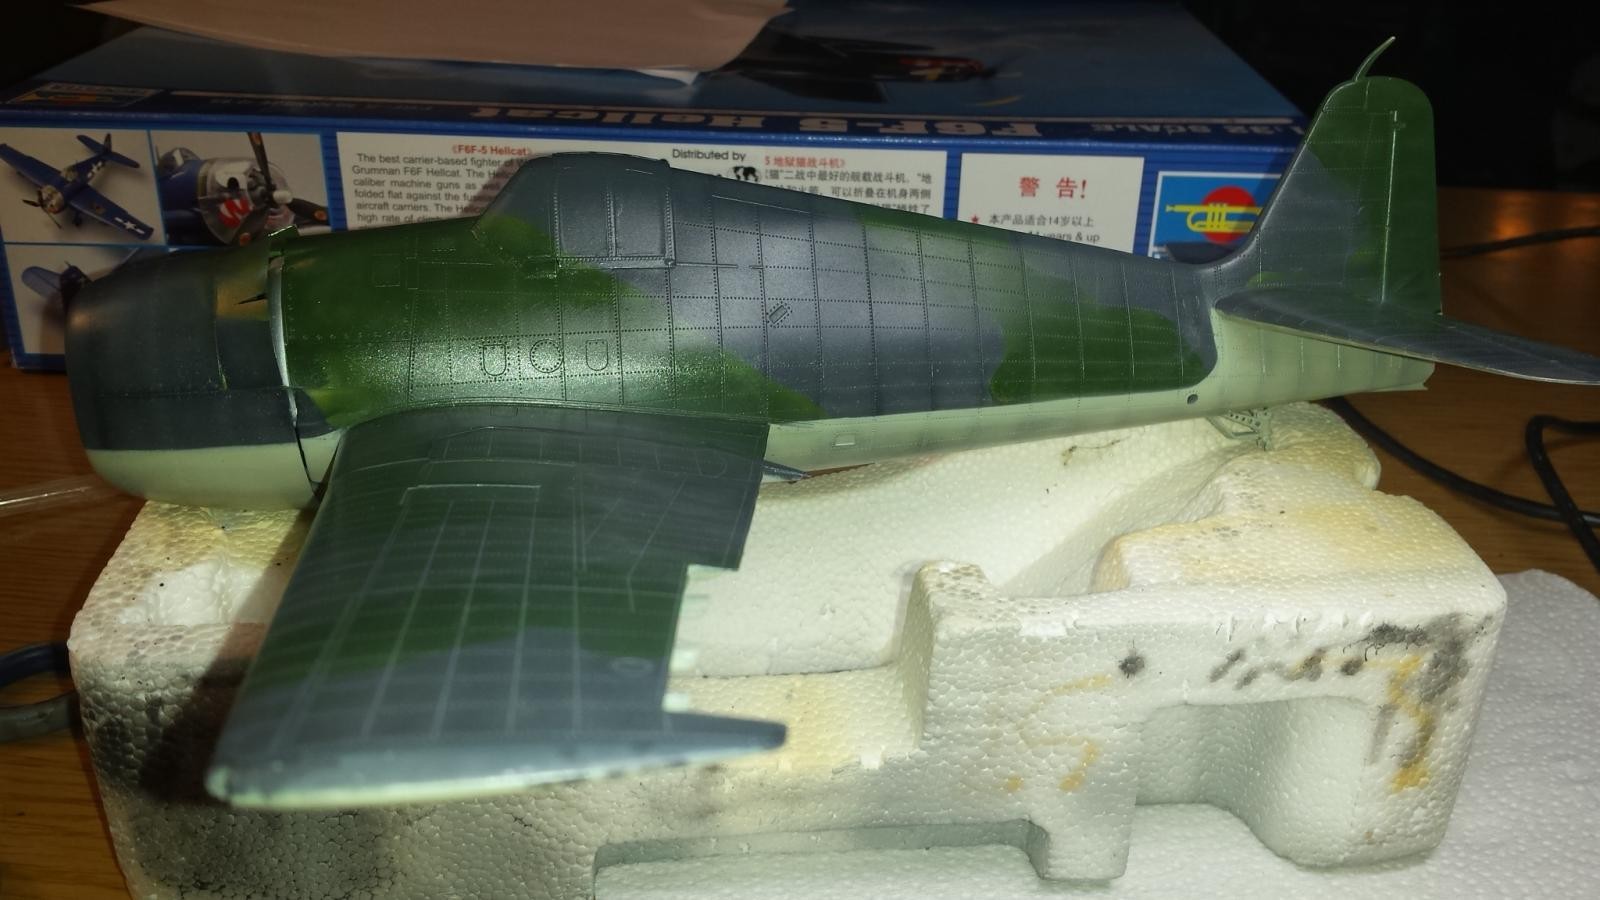
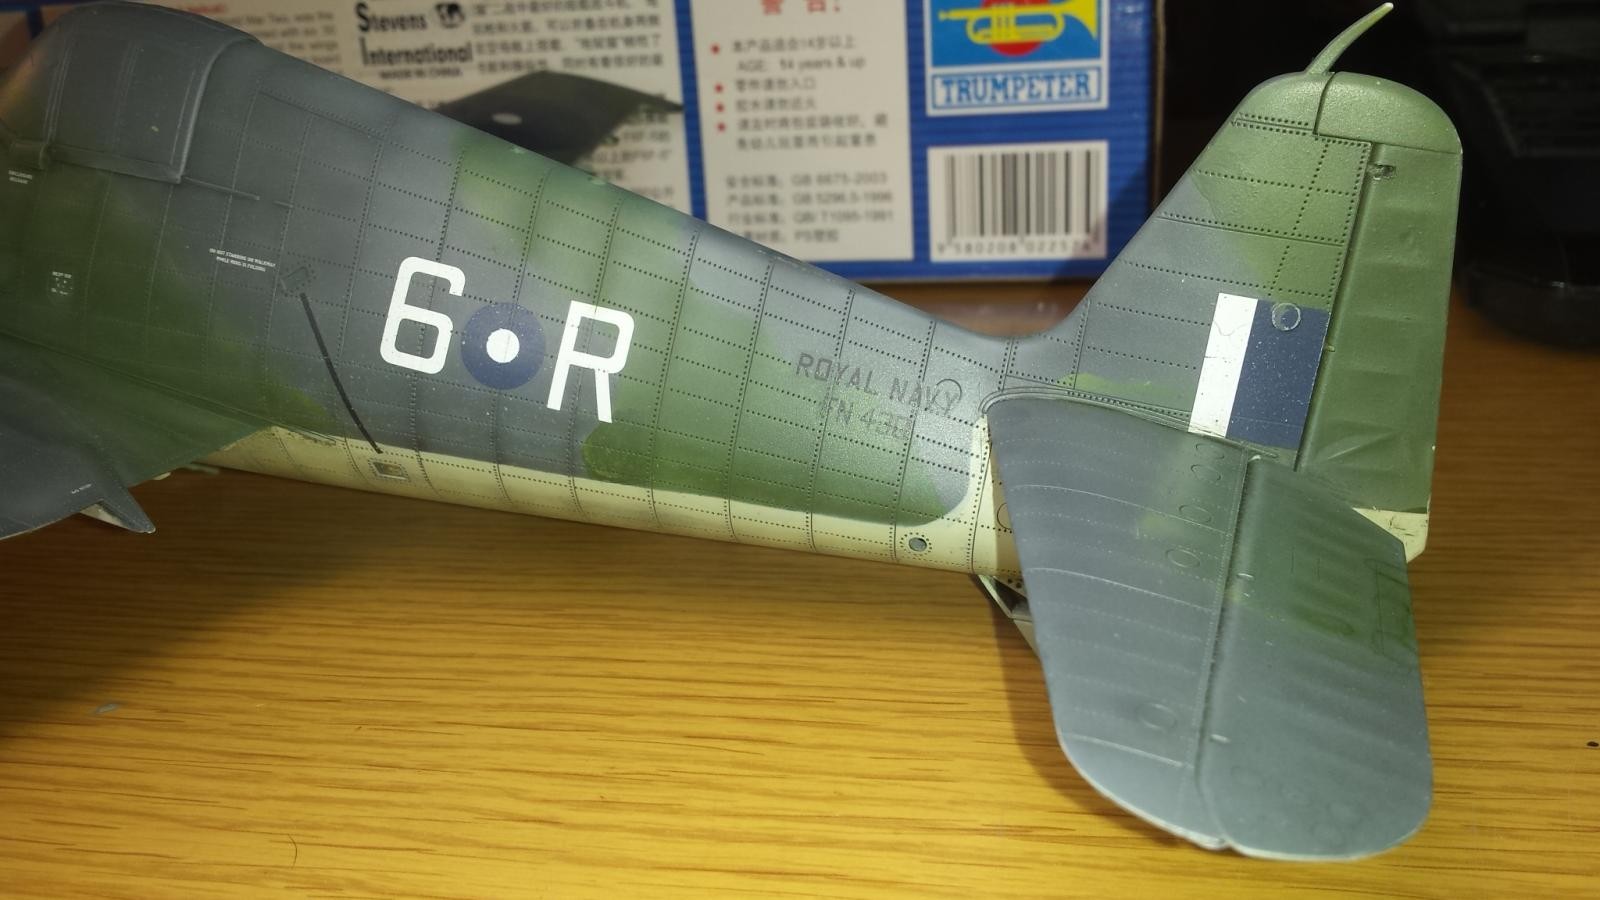
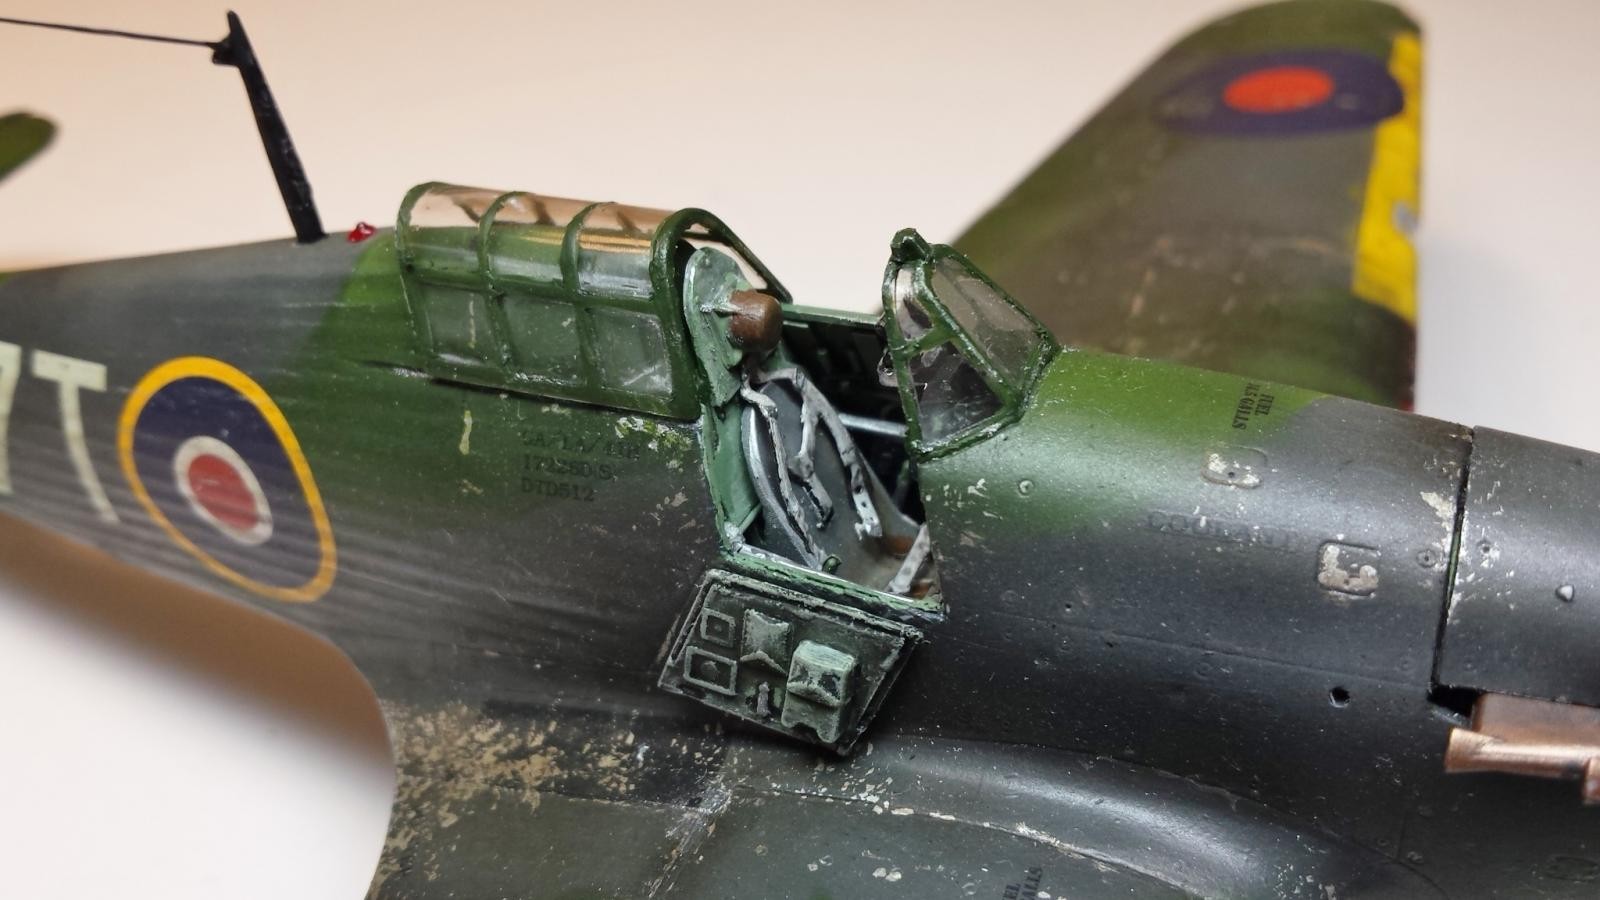
In the final included photos the weathering is applied using a combination of water-color pencils, acrylic paints, enamel washes, and some oils. Most of the scratches and chips are painted using fine paint brushes, as well as, the colored pencils. The recessed panel lines and rivets are enhanced using AK Interactive dark washes. I also enhance the brush painted chipping with a sponge dipped into the appropriate chipping colors and lightly dabbed onto the surface of the model as needed. I did not use any chipping solutions. The weathering process is not complete in the included pictures.
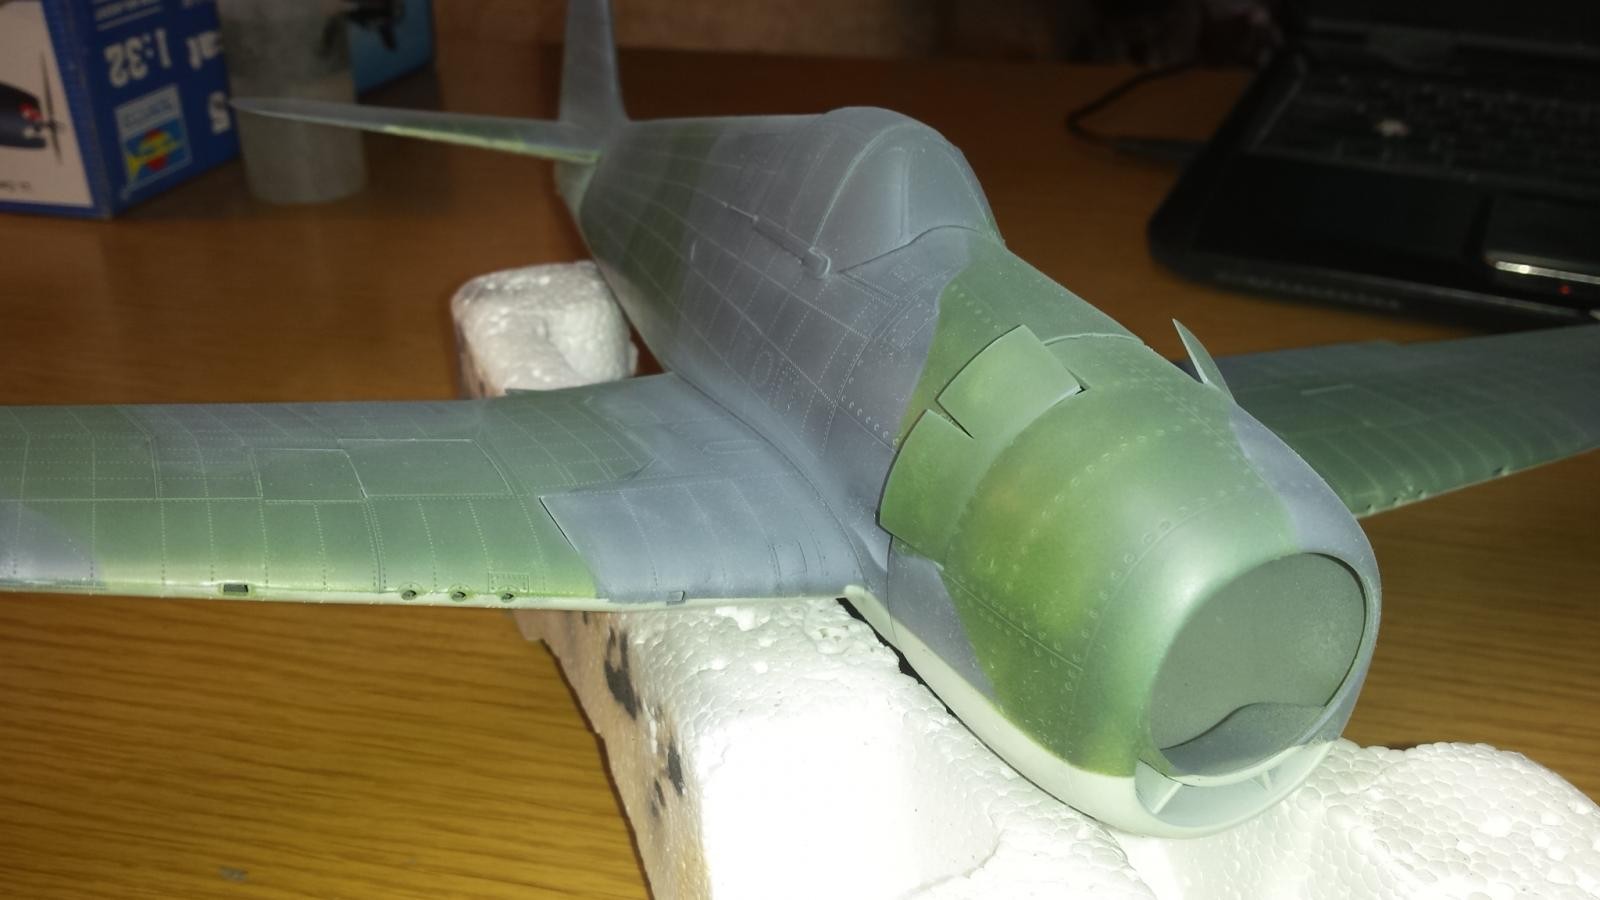
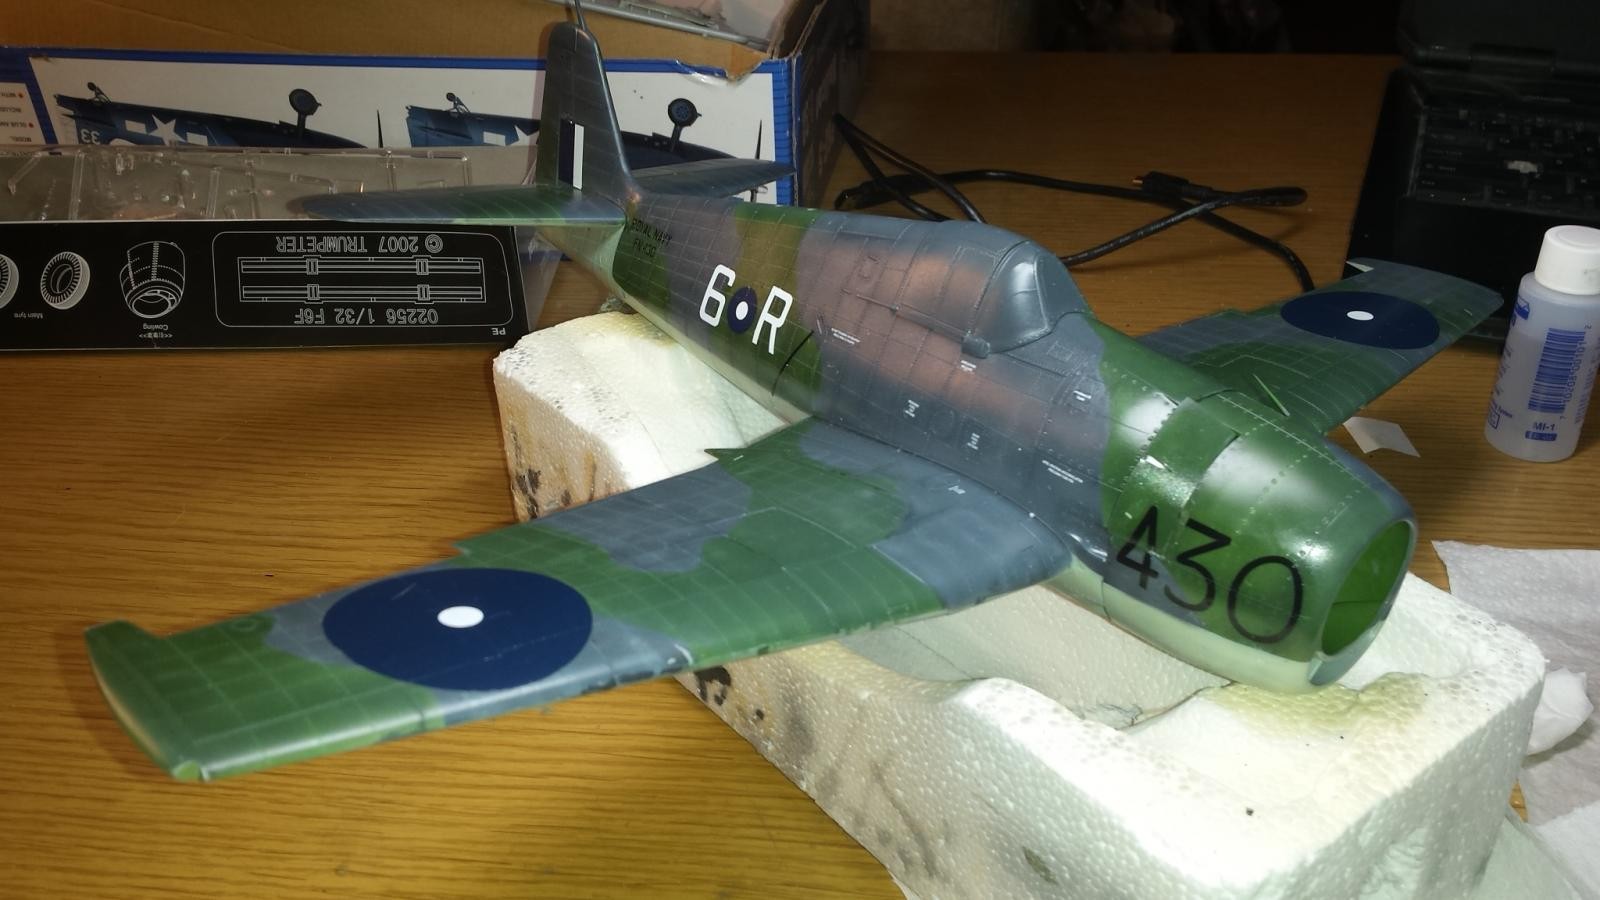
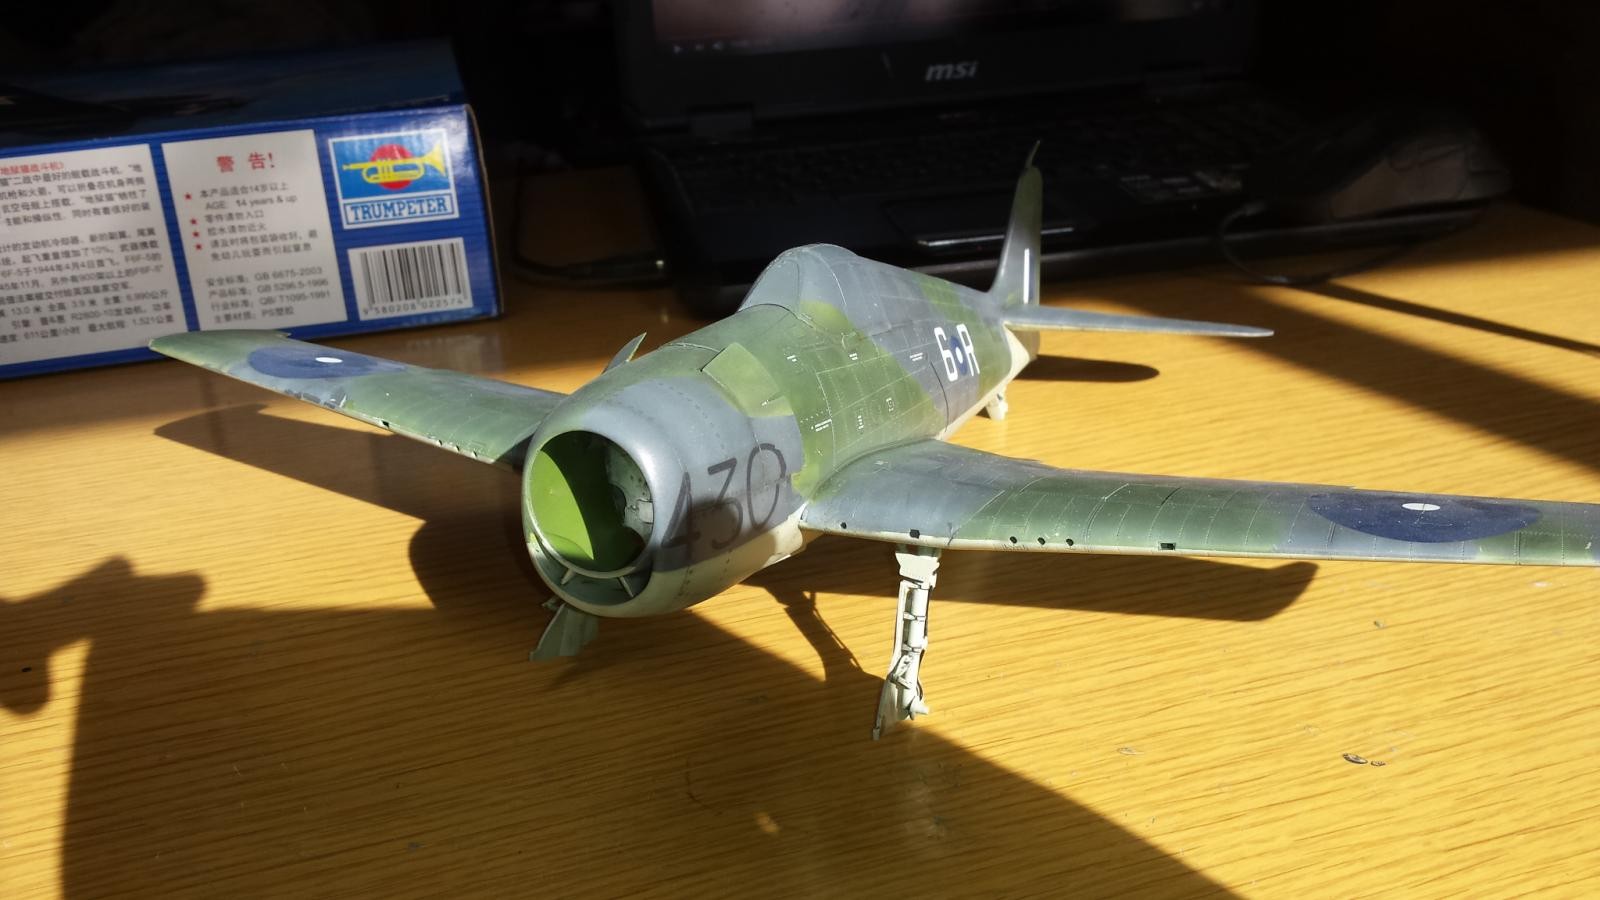
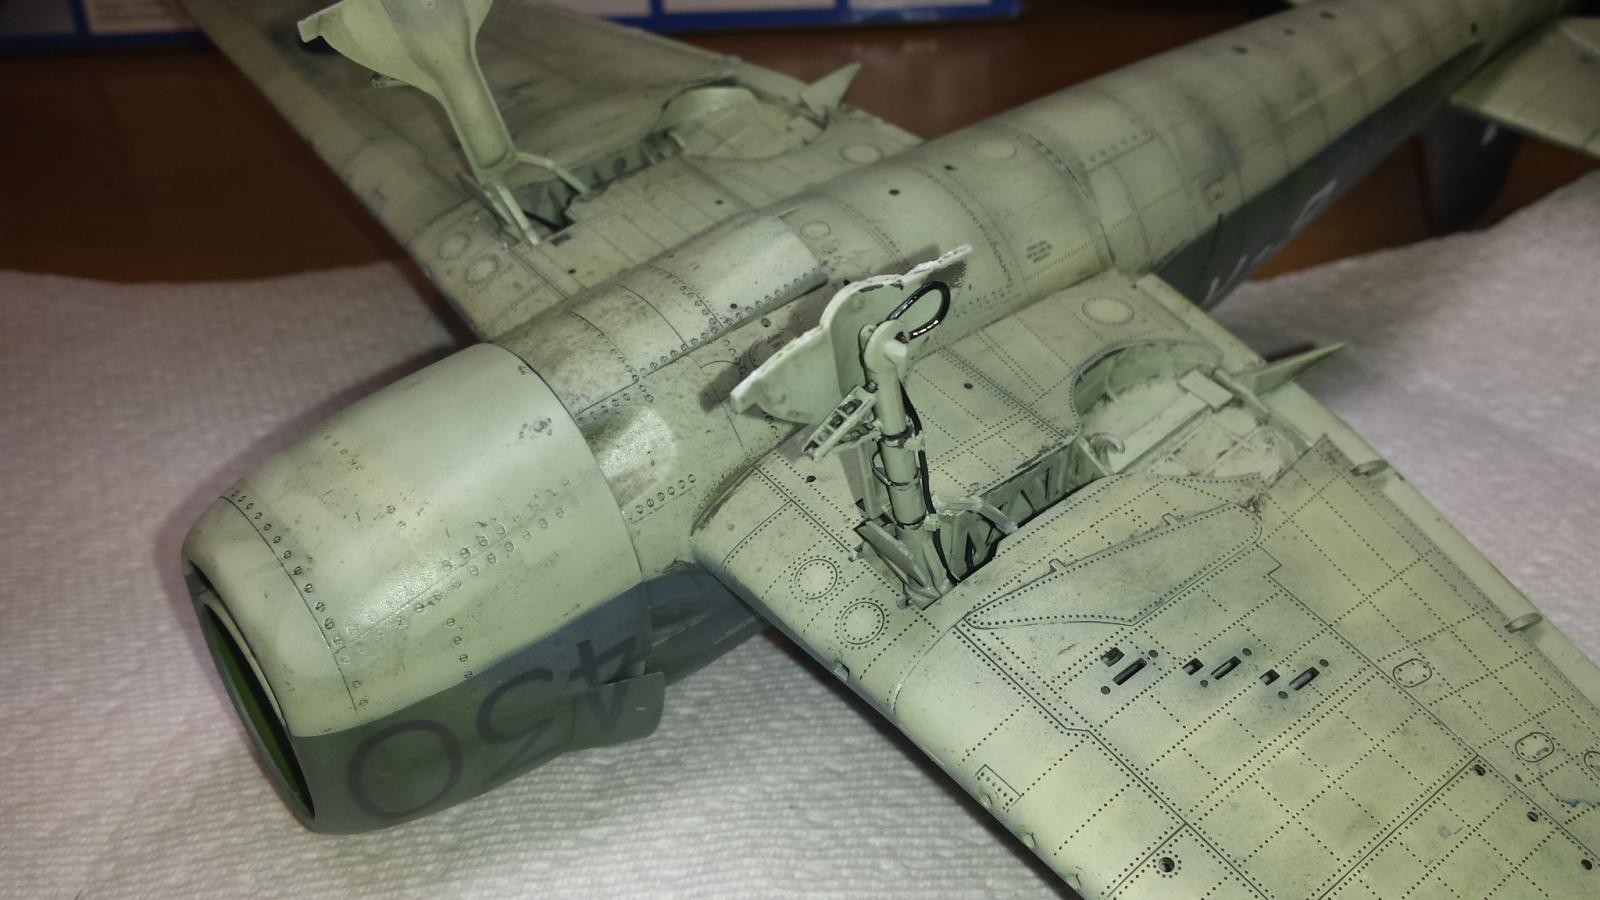
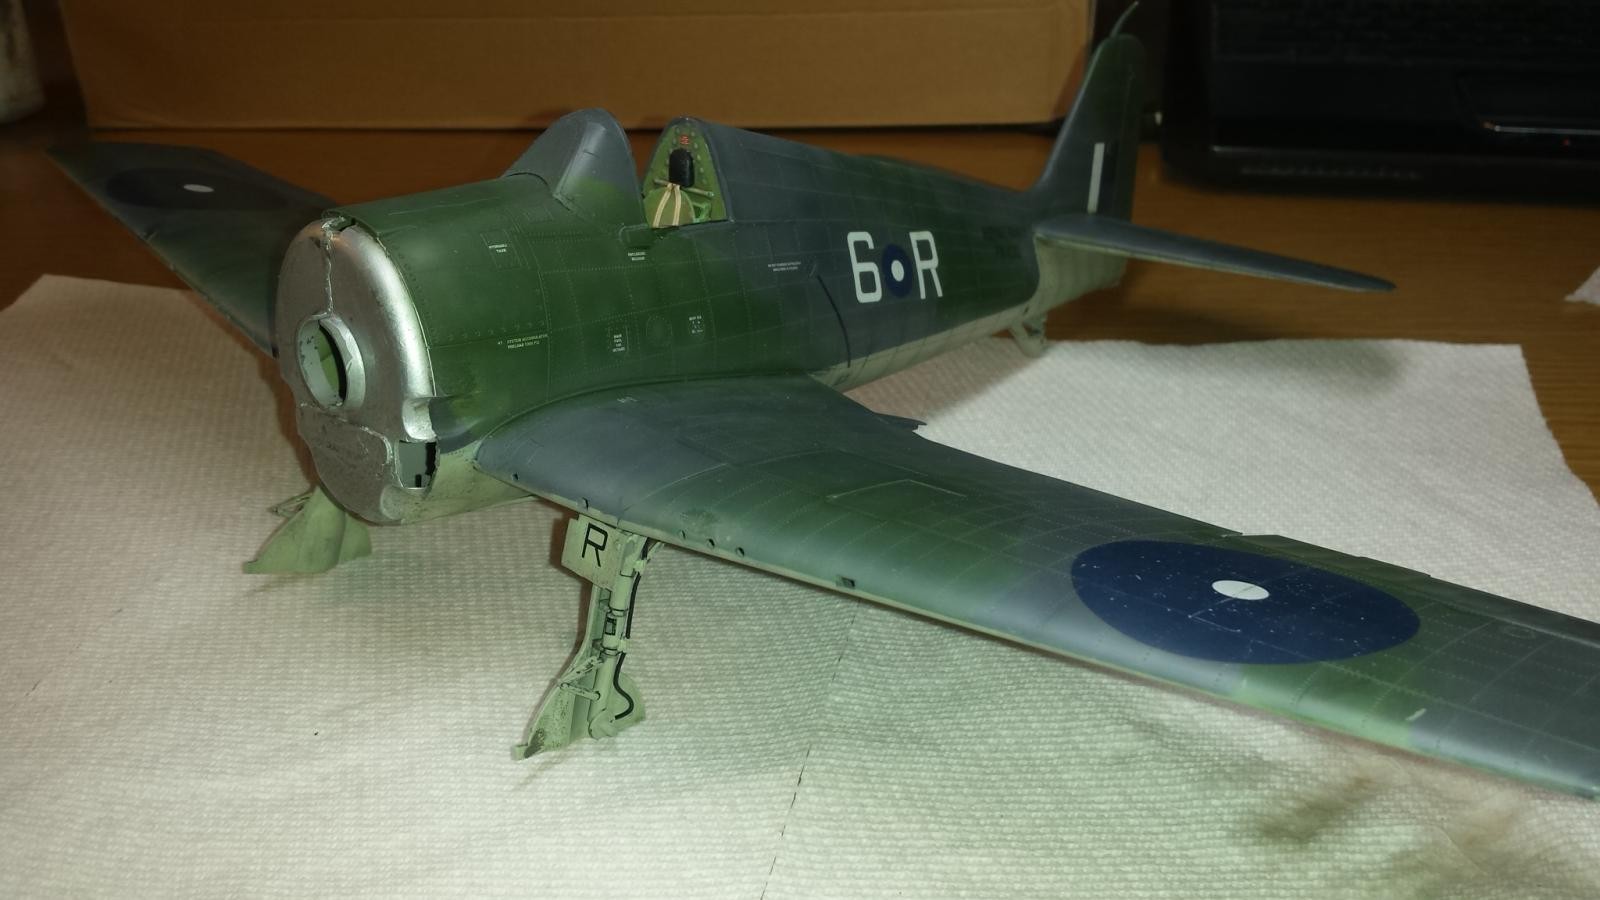
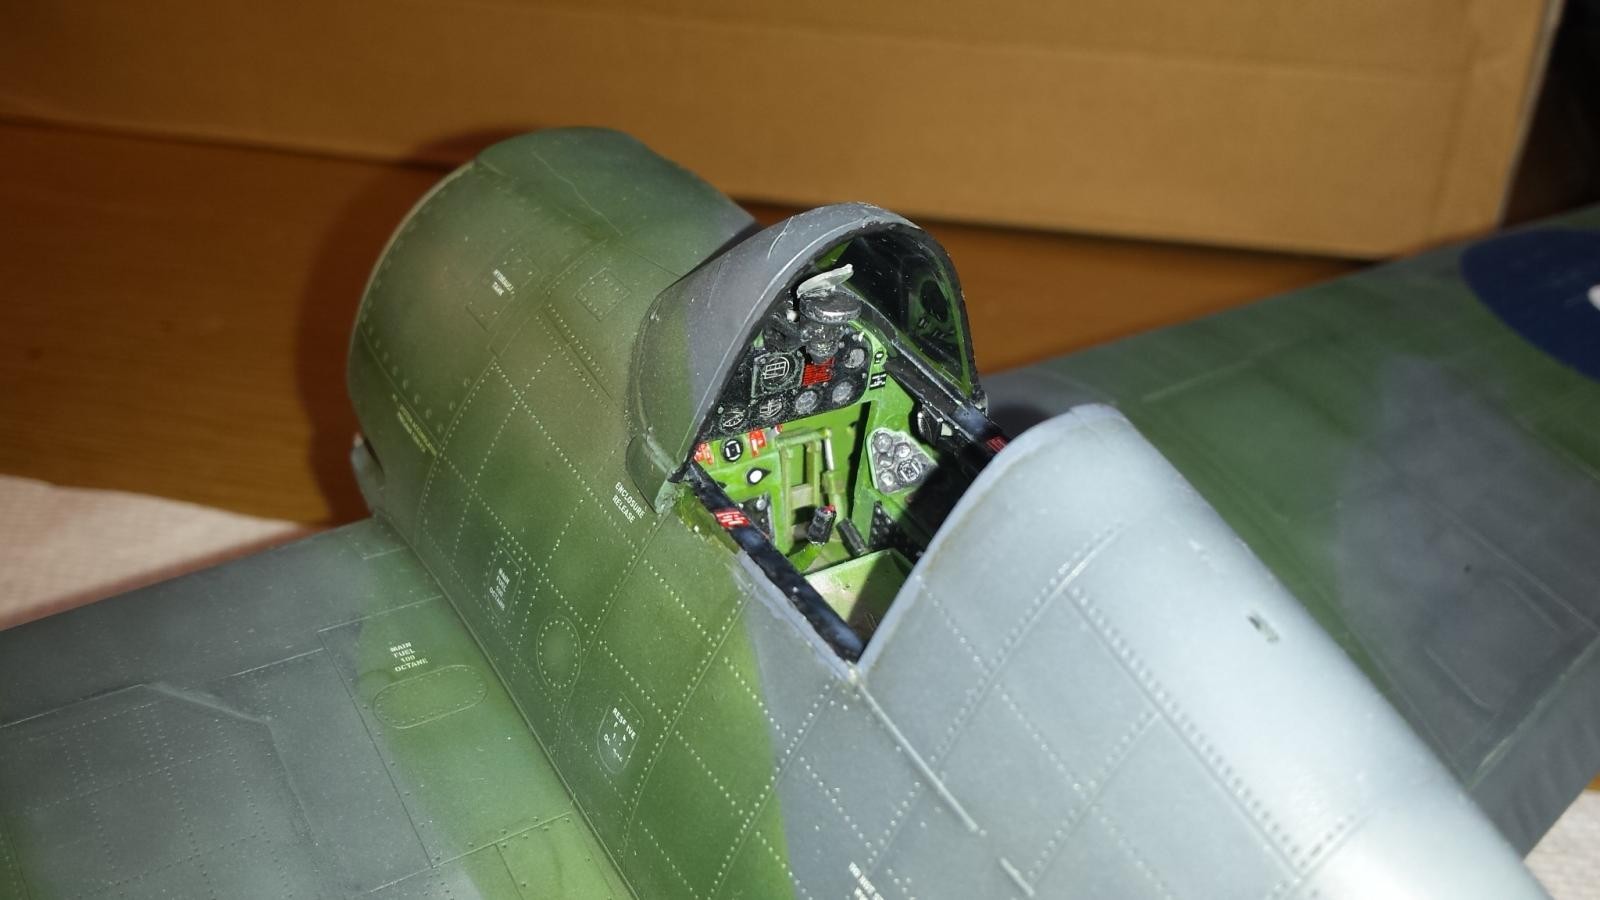
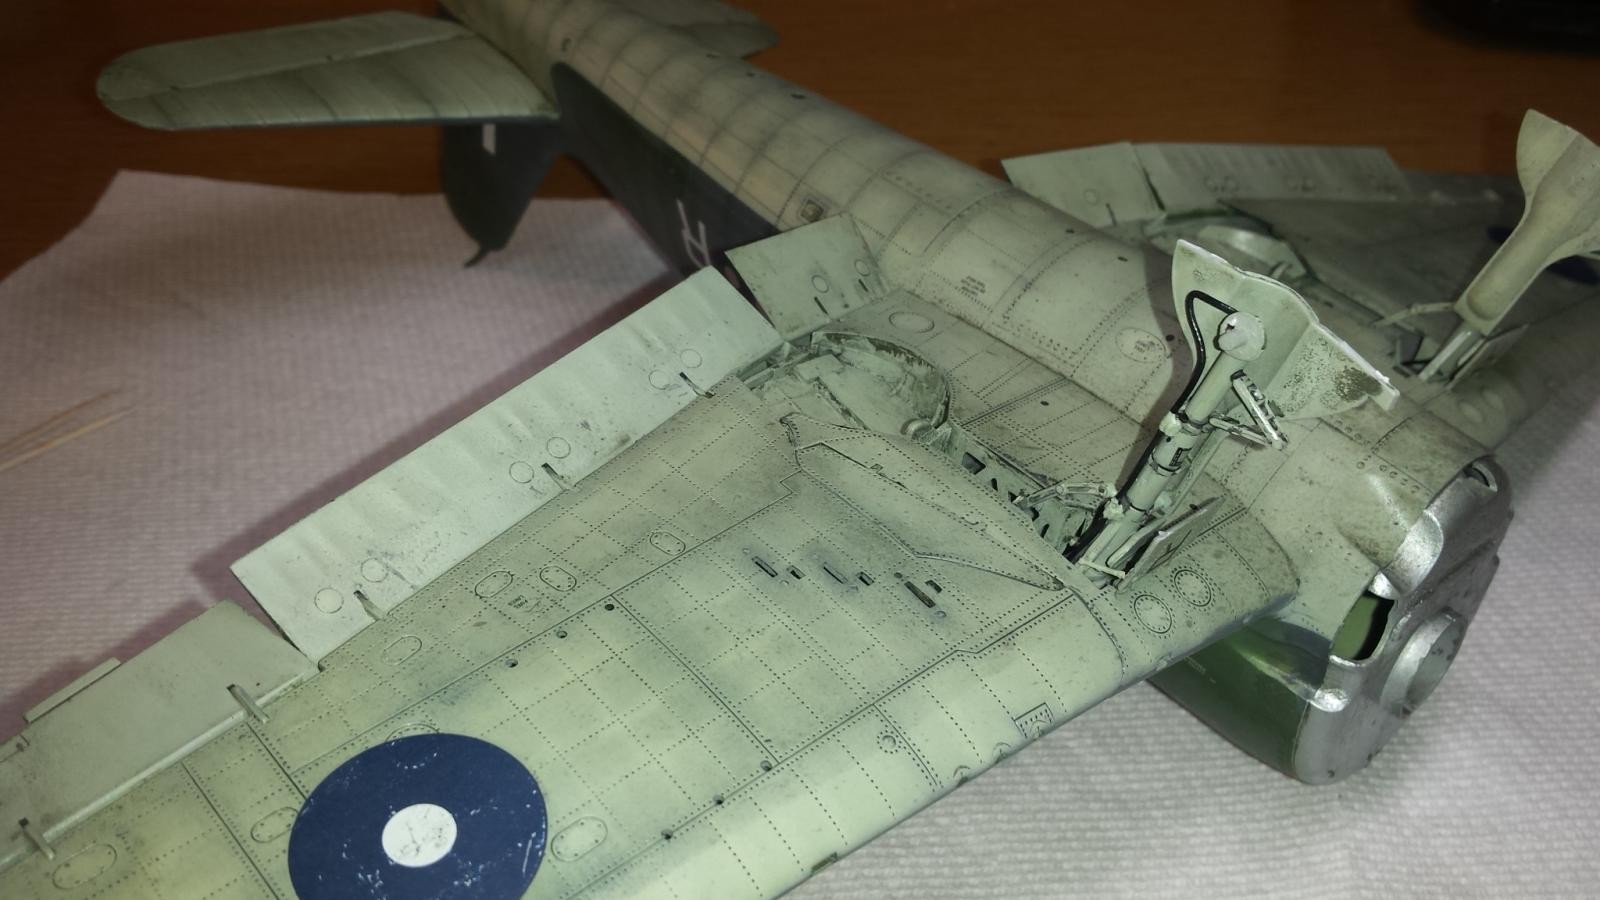
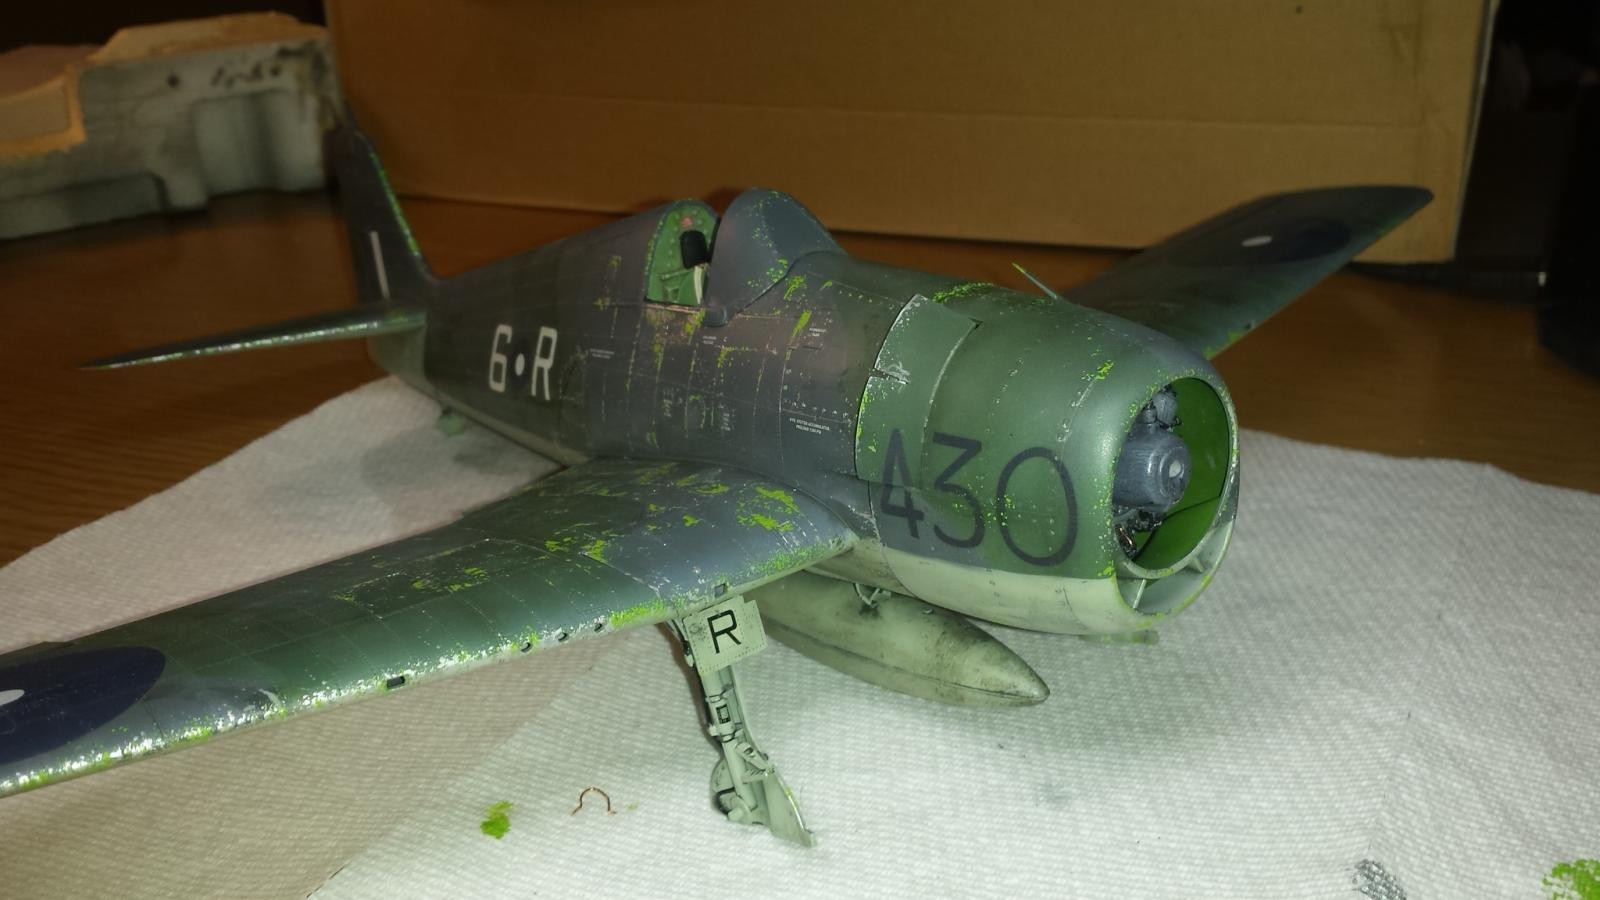
One note regarding the build process at this stage. I fitted the engine with the cowling for the 1st time. Something was seriously wrong. The engine face was displaced very far from the front of the cowling opening. It was hidden way way back and absolutely not correct! Something is definitely not correct. The strange thing is the connection between the engine and fuselage is perfect, and aligned with placement keys. Its a perfect match so what is missing which would have positioned the engine a 1/2 inch forward correcting the issue. Did I mess something up, or is the kit that wrong? I reviewed the instructions again and based on the illustrations I cannot find the error. I did leave off pieces that would not be seen once the cowling was in place but based on the instructions these elements would all be placed behind the fuselage fire wall and play no part in positioning of the engine forward/aft. SO something is wrong but its fixable with some spacers or just not pushing the engine all the way back on its mounting boss. Also regarding assembly this kit is very detailed but lacks brake lines. I added black coated wire to replicate this on the landing gear. I did not use the included vinyl tires and plastic hubs. I used a more detailed resin replacement rim/tire assembly. They look much better.
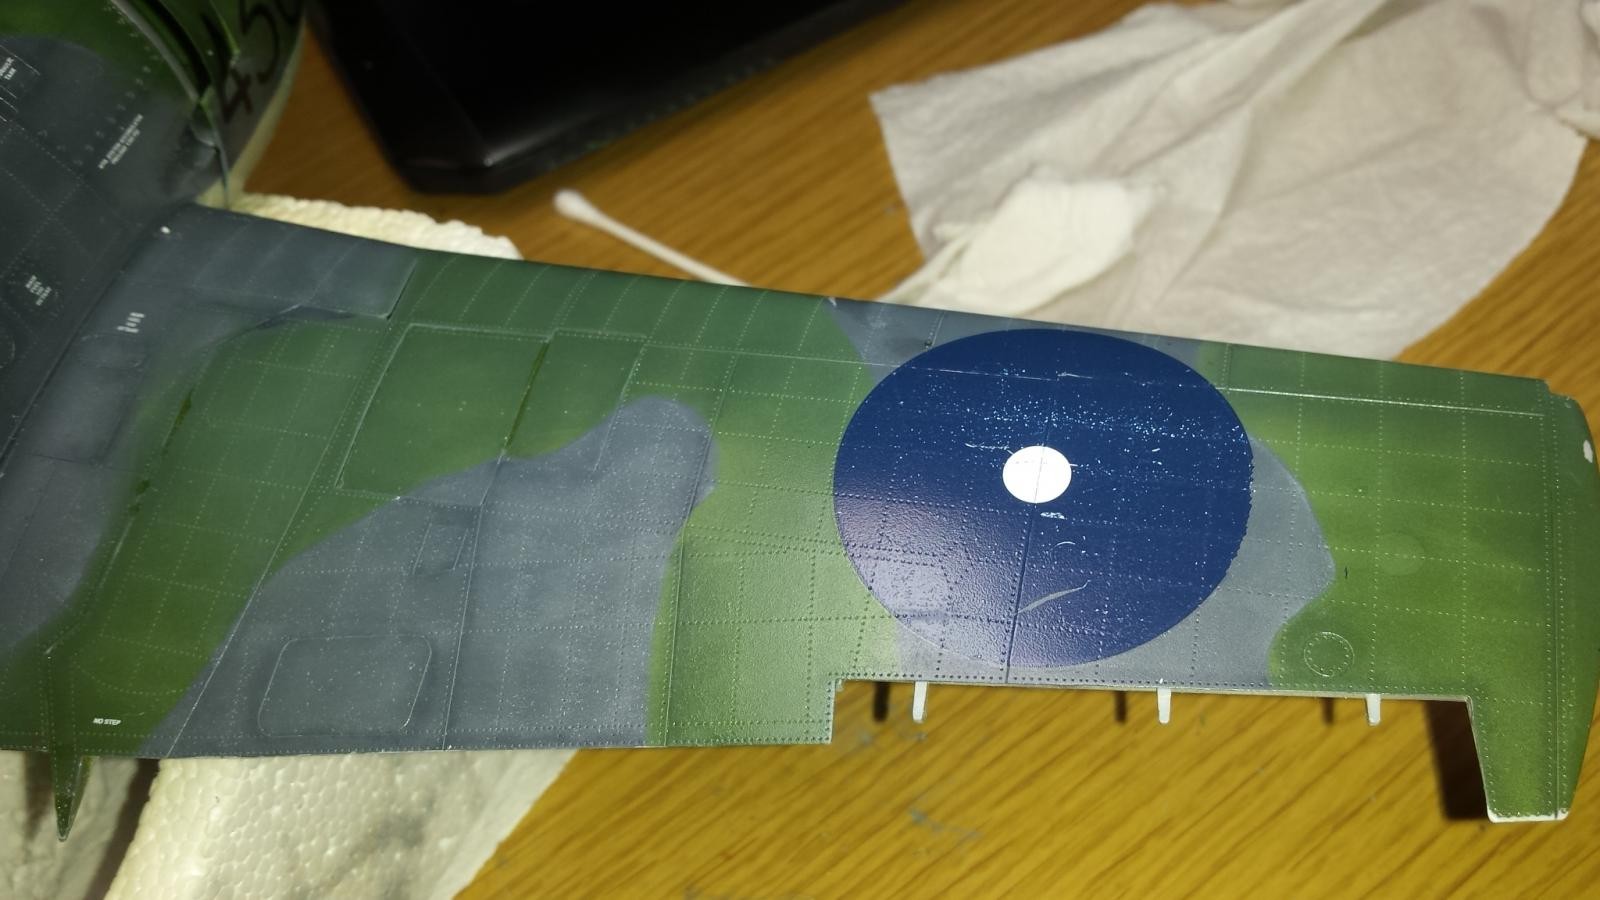
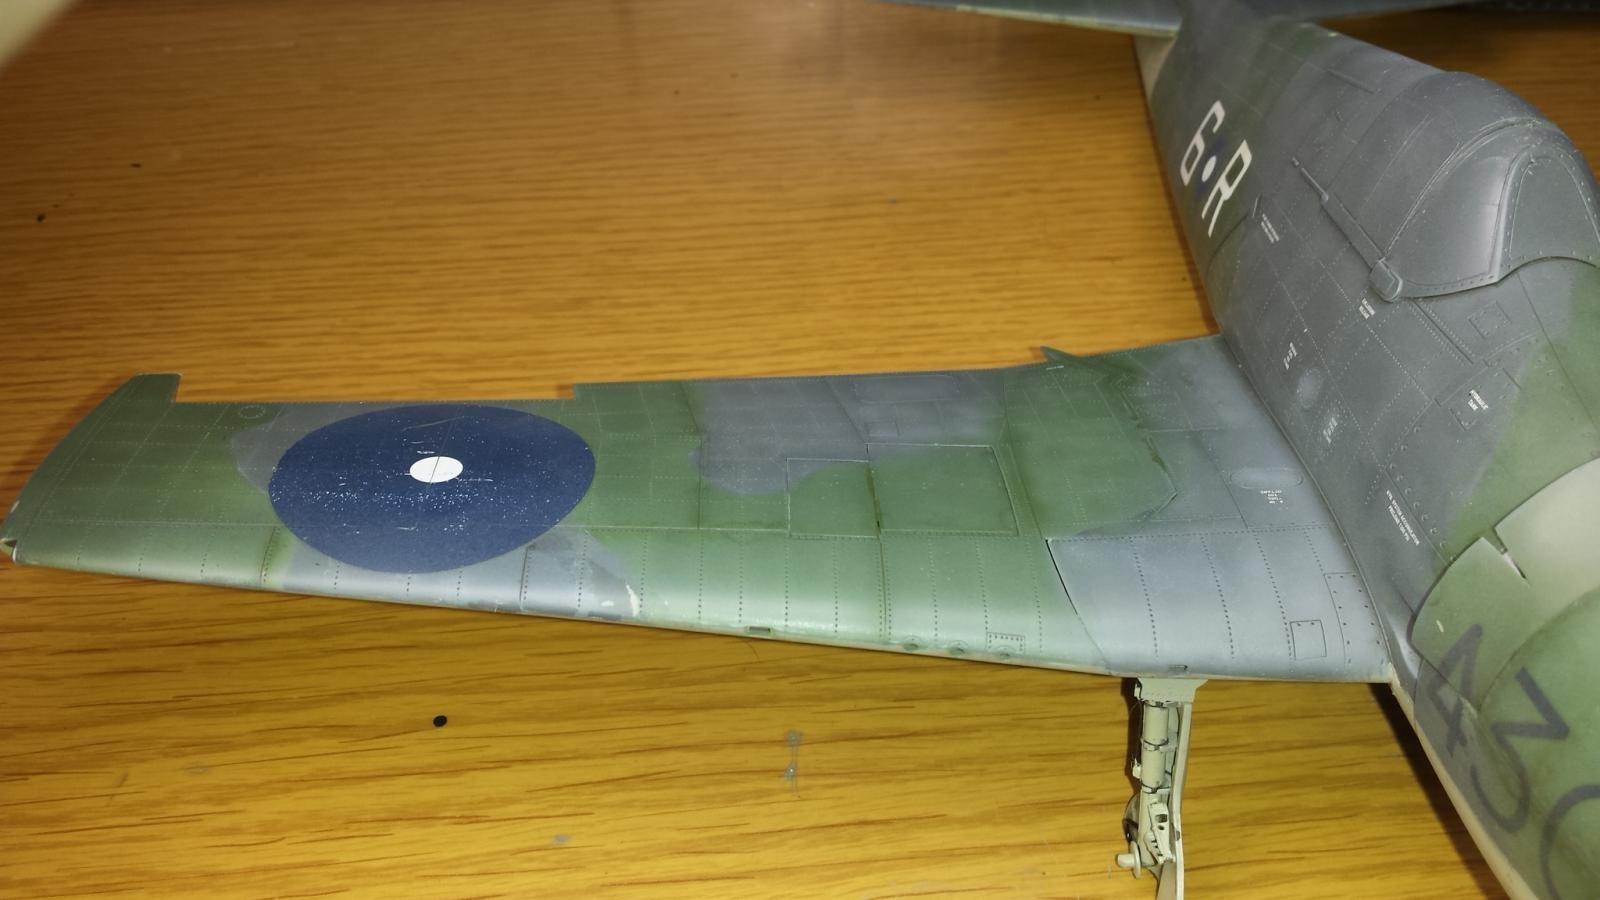
I coated the entire aircraft with several layers of Future FLoor polish, or whatever they are calling it these days. The after market decals were applied and performed fairly well but needed some setting/softening solutions to get them to settle well into the recessed panel lines and rivets. They are delicate and can be ruined with the use of the softening solutions if not very cautious with its application. The large roundels on wing tops were especially difficult to settle down onto the wing. I scuffed the decals up using 3200 polishing pad once dried. I then applied another matte coating.
More to come when the project is complete.


You know, I don’t think colors are the most important thing in a model. If you get it in the ball park the variances in light, weathering, materials available, the theatre of operation, and camera and film stock, will all show differences in shade and tone.
This Hellcat is a beauty. Of that there can be NO doubt.
I agree with your assertion that color shades are not the most important things for the same reasons stated. I think for me part of the fun is the challenge of matching your idea of what it should look like, or matching a particular reference. Prior to posting, and or making models for others, I probably would not have cared so much as long as I was happy. But now with the added fun of posting pictures comes the down side which is pleasing others in addition to yourself. Maybe pleasing others becomes even more important for some of us (me). Maybe need to go back to building just for myself. I really appreciate your thoughtful comments. Happy Building!
I would agree with David. But since I'm on of those obsessive compulsive types, I select my paints then apply them on some bright white card stock to see what they dry like. Vallejo colors can be a bit deceiving even when you have their hand painted charts.
She's looking good Paul!
I did do some test shots with this particular build but I compared it to my references, especially the color references included with the decals, and it was right on. This is a situation in which one error leads to follow-on errors. Although I am not really sure it is a total error? I do have many pictures which match closely to what I have under certain conditions. Maybe I just want to be more correct with the masses. Vallejo must of used the same references, or had their heads stuck up u know where?...LOL!
I like it...I like it...! 🙂
Paul, you can delete the entire text and post just one photo of the model and most people here would identify it as your build 🙂
Never mind the “correct” shade, if it looks good then it is good...an this is certainly the case
I appreciate your comments and support. It is neat to know people can identify my work without a text. Maybe my own school of painting...LOL. Of coarse this could be a bad thing also...people could say all thats a crappy over-weathered model it must be a Teixeira model...LOL!
Looks like a Royal Navy Hellcat to me! looks great. Question, I'm a bit confused, when dark slate gray is called out, that's the greenish grey in question? and what would be a close rattle can match?
Well I cannot be specific in regards to exact brands and titles of color. What I have noticed is many model makers, and color call outs, use a generic Olive Drab. I never thought this to be correct and felt dark slate grey is not Olive Drab, but if I was to do this again, and I did not have access to the correct Dark Slate Grey, or needed to access a spray can, I would definitely go with Olive Drab. I believe the FS Specs are close, or at least the same family of colors. I am sure others with more experience working with spray cans may be more exact for you. Before I started these FAA builds I always thought the greenish-grey on these aircraft was more in the Olive Drab family then any grey family colors.
Thanks !
Paul, ( @jjetmec ) you have a FINE looking Hellcat. That is numero uno. There are SO many variables in light, background, and other factors I have no idea about that can influence the way we see these colors. The fact that you want to have your color(s) to be as exact as possible is great and shows that YOU want your model to be as perfect as possible ... and that's wonderful and shows great skill and character. For me, I want to be as close as possible, but I don't see as well as I used to and frankly, I don't have anywhere NEAR your skillset, so I'll settle for "that's close." Comparing model paint out of a new bottle to a picture taken with print film back in 19-forty-something or even from an FS color chart can be problematic. Your models are some of the best I've ever seen so you MUST be doing something right! Don't sweat it. I can tell you from years in the military that sometimes when we needed to touch-up the paint on our tanks or other equipment and we DIDN'T have the approved color like what came out of the factory, then Krylon came to the rescue! Who knew?! LoL! Not EVERYTHING was a perfect match. But it was "close." Keep doing your best and believe you me ... we'll appreciate your work and no one will look at it thinking "Hmmm ... that Olive Drab looks a little off to me ... " You do GREAT work ... keep up the good work!
Jeff, thanx so so much for your compliments, comments, and kind words of support. It is a great honor when respected fellow model makers such as your self provided such constructive and supportive words. I do try to get it right but try not to over obsess on those types of details. I have built this model for someone else so it is important to get it as close as possible, or at least meet the customers expectations. I dont mind the extra pressure b/c it has really pushed me past my usual comfort level and my recent modeling projects reflect that extra effort. Every once in a while I like to just let my hair down and build a fun project just for myself and I dont fret any of that stuff. Thanx again and Happy Building!
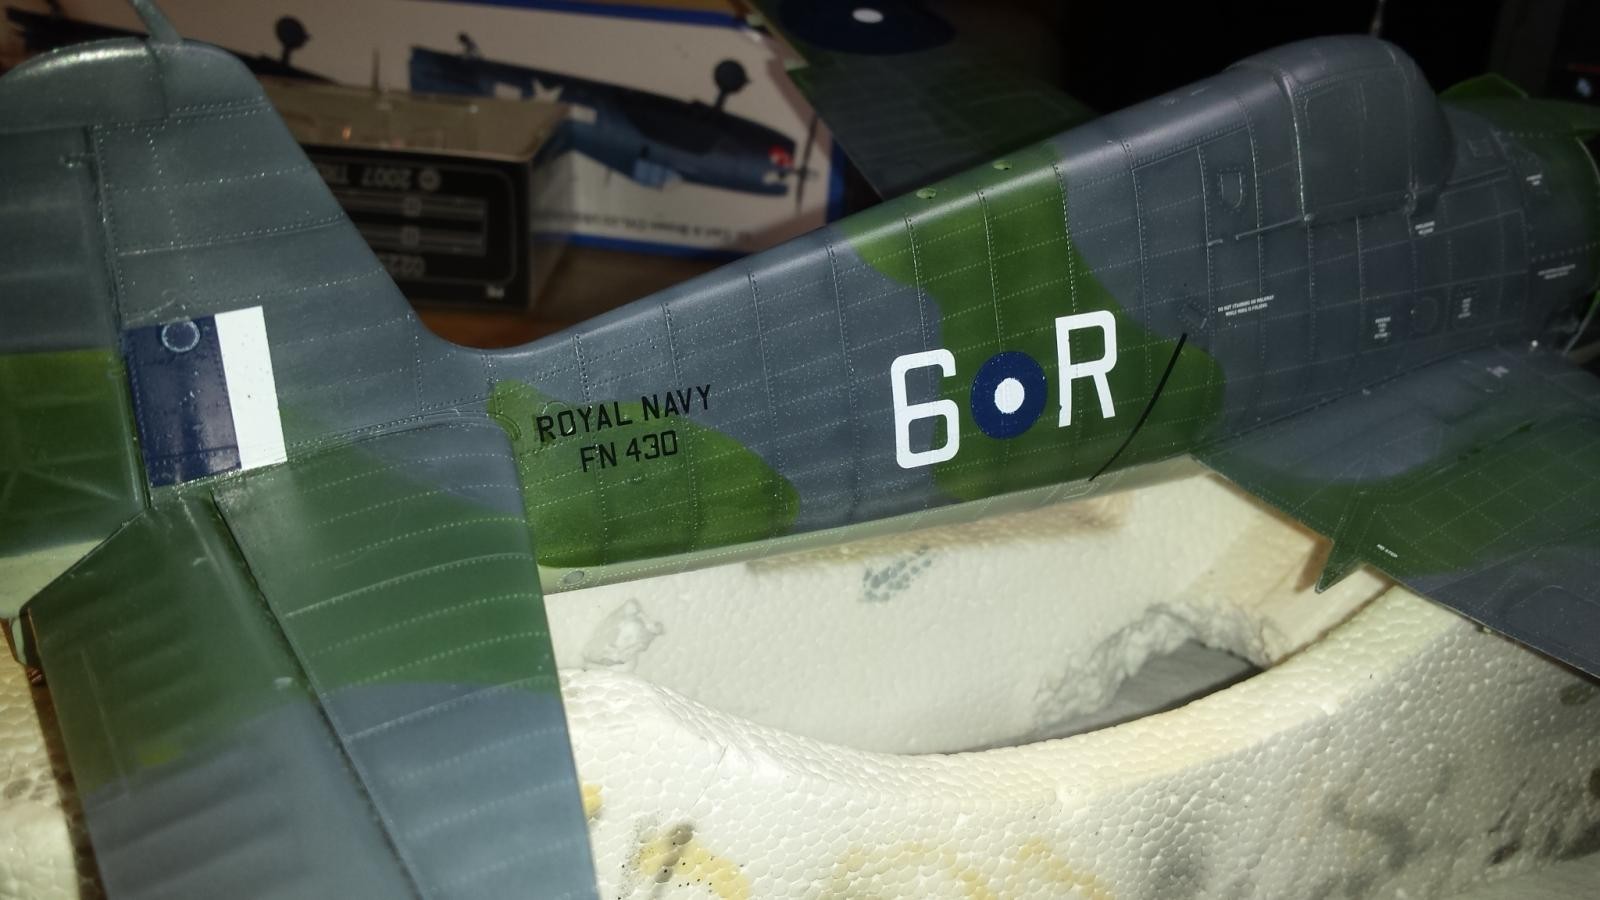
looks like a salty RN aircraft ,i really like that that the chipping not only shows the bare metal but also the primer(Good/nice detail)