iModeler Review: Airfix 1/48 Bristol Blenheim Mk.IF
This article is part of a series:
Summary
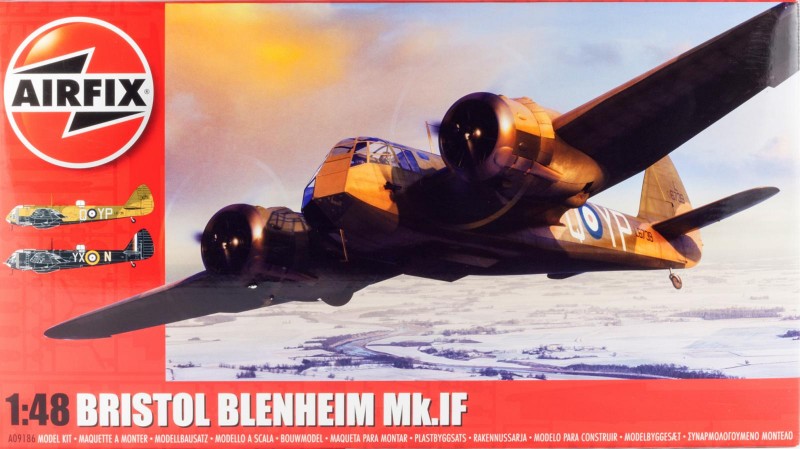
Airfix Bristol Blenheim Mk.IF
Scale: 1/48
Kit No: A09186
Finally a new kit of this early-war fighter, with comprehensive interior detail and options for two different aircraft. Airfix' surface detail is getting there, but could still be impoved.
Long awaited by many, Airfix just released their Blenheim Mk.IF in 1/48 scale. Up until now, the only option to get this plane in your collection was the Classic Airframes kit, and that one was not for the faint of the heart. A true multimedia kit, it offered injection molded plastic, resin, and even vacu-formed canopy parts – so it couldn't hurt having some experience with short-run kits, and lots of patience.
What Do You Get?
The Airfix kit (No. A09186) comes in the usual Airfix-style box and contains
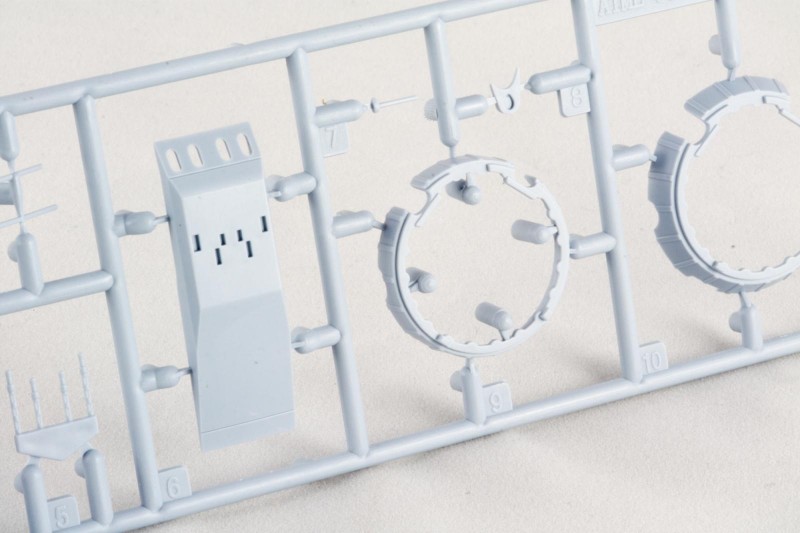
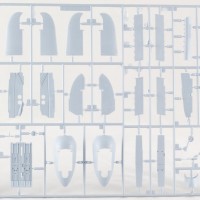
- Seven grey sprues
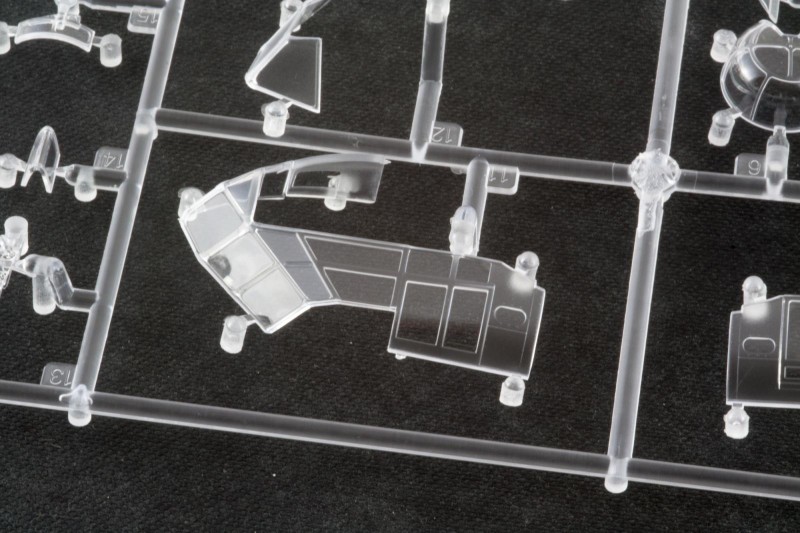
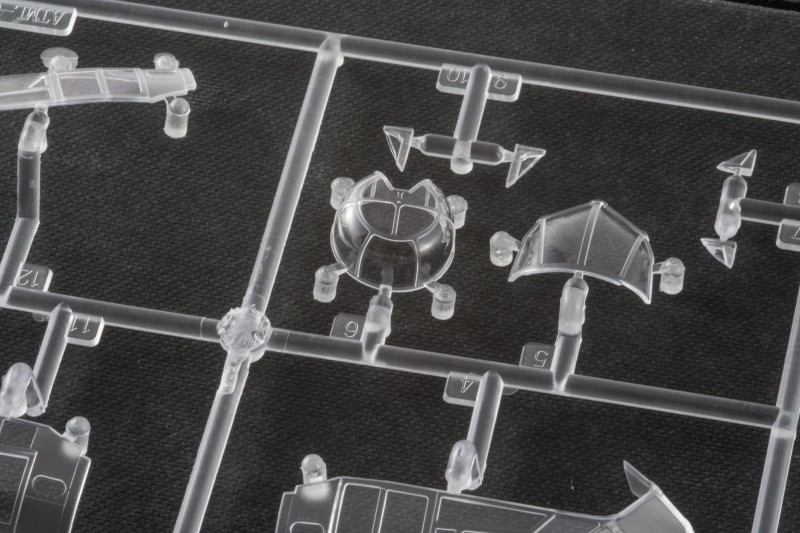
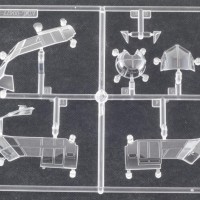
- One clear sprue
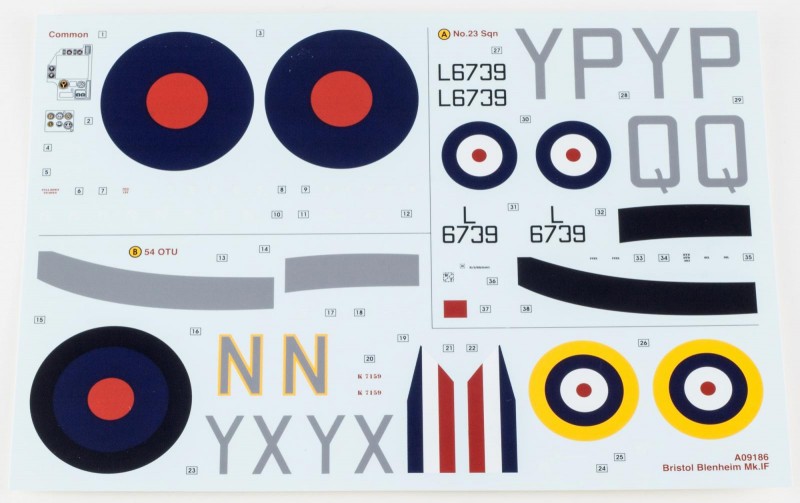
- Decal sheet
- Instruction booklet
- Full-color paint guide
As usual with Airfix, all sprues are packed into one large plastic bag, resulting, in my case, in a broken antenna mast. The clear parts are bagged separately, but one of the main canopy parts had almost come off already. Meh.
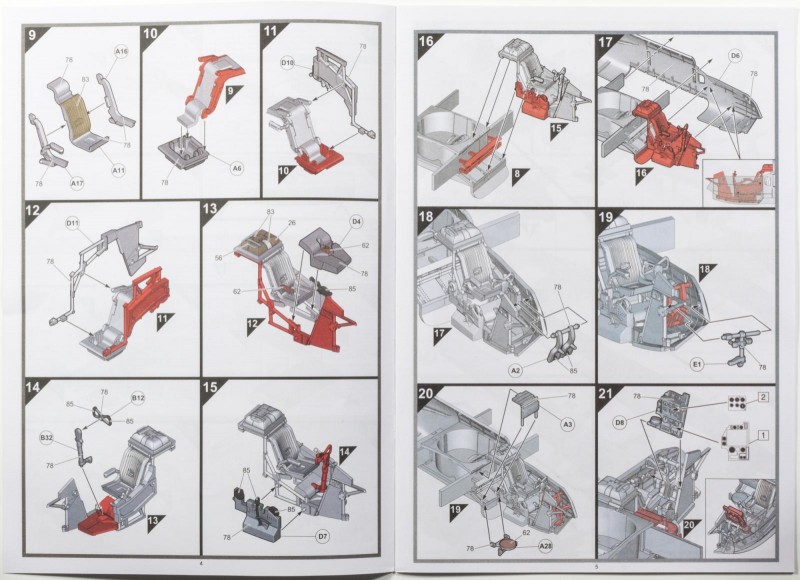
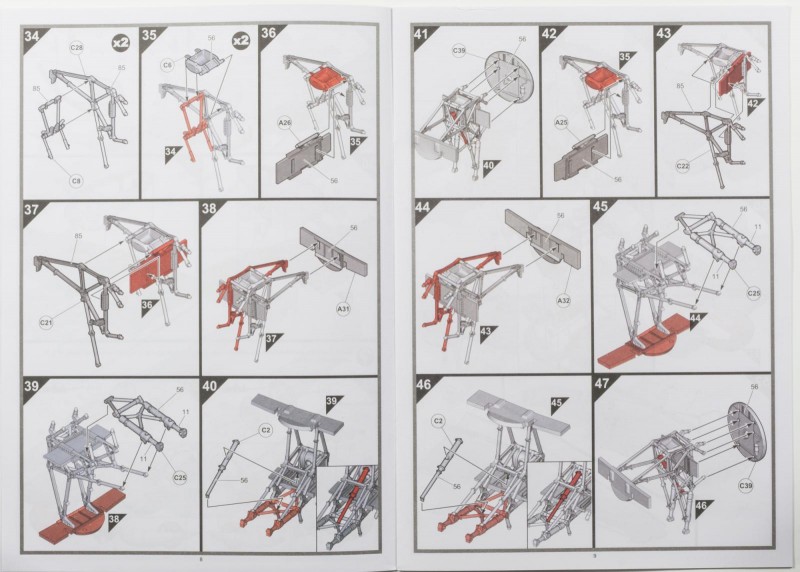
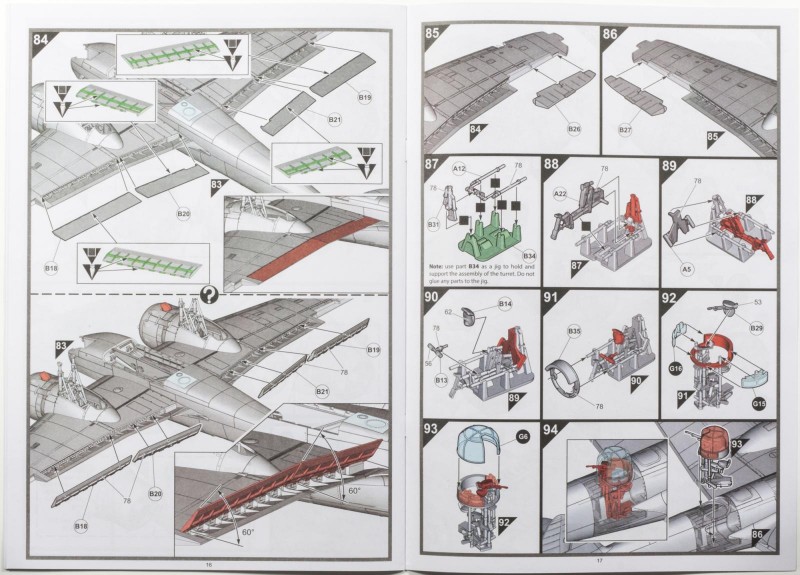
Instructions
These guide you through the process in no less than 116 steps. And if this sounds like a lot, that's because it is. I can understand Airfix trying to make things easy for the novice builder, but I feel this approach actually leads to cluttered and somewhat confusing instructions.
What is missing from the instructions is any mention of antenna wiring, so yo will have to consult your references.
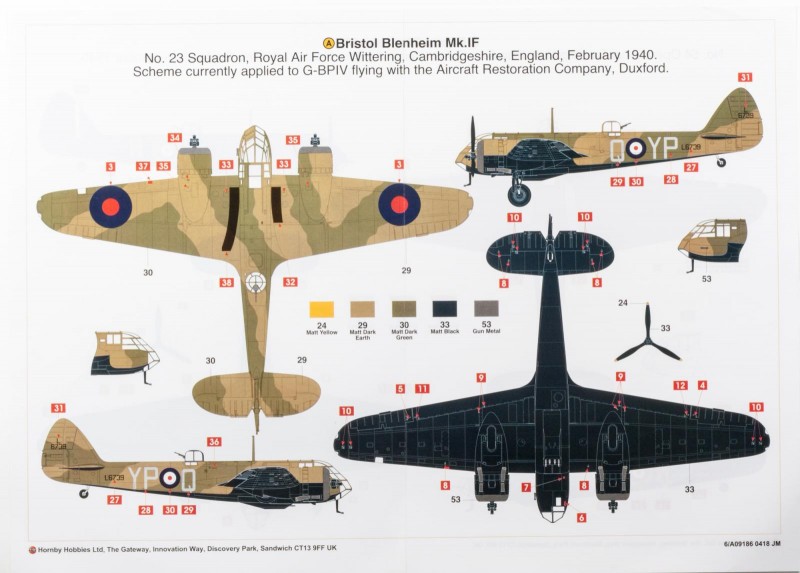
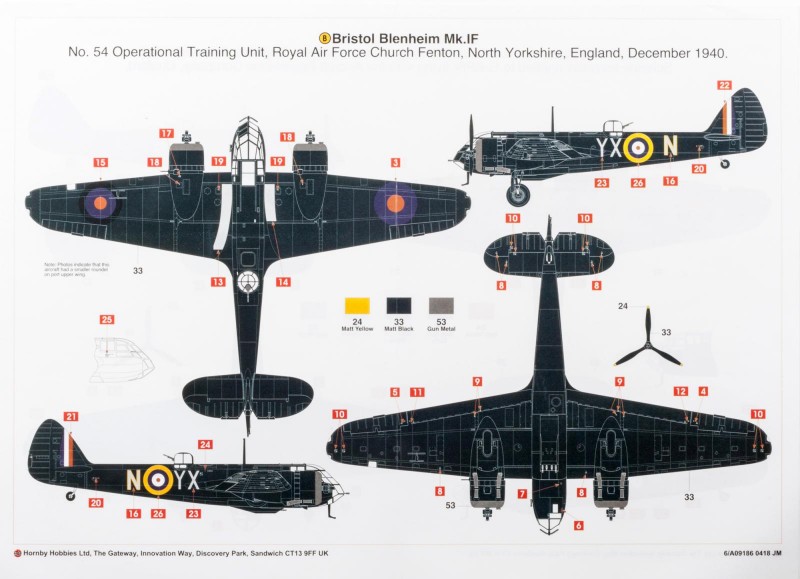
As usual you get color call-outs in Humbrol only, and apart from the main camouflage scheme, no color names are provided.
Marking Schemes
Out of the box you get two options:
- 23 Squadron, RAF Wittering, February 1940, in Dark Green/Dark Earth with Black underside
- No. 54 Operational Training Unit, RAF Church Fenton, December 1940, Black over all
There is not a lot going on in regards to stencils, so decaling the plane will be a rather quick affair.
The Plastic
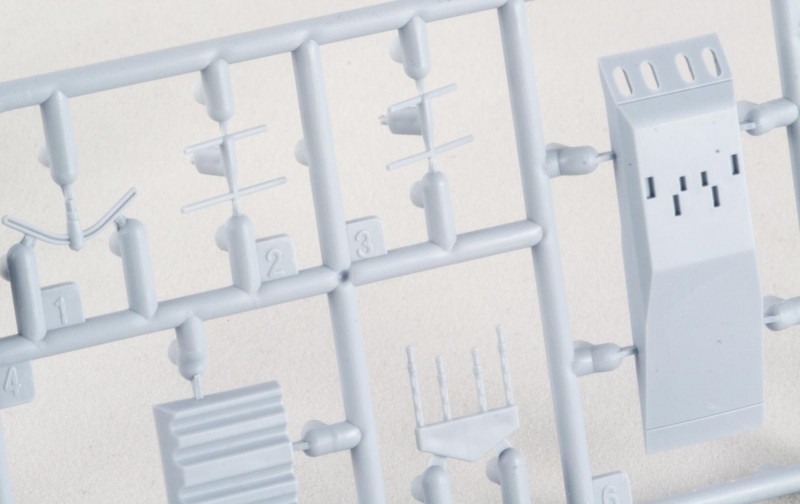
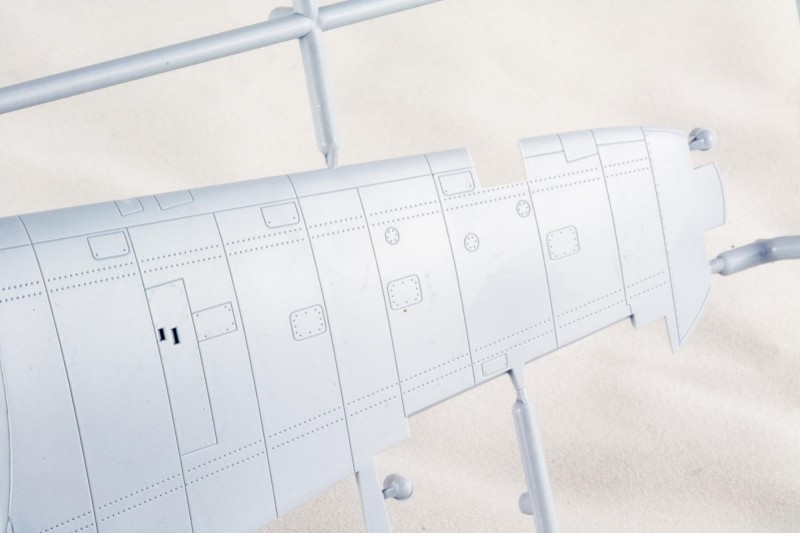
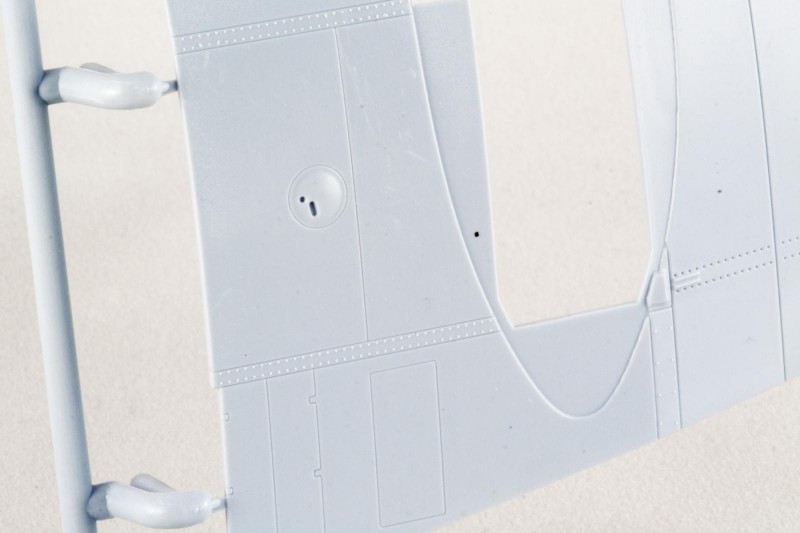
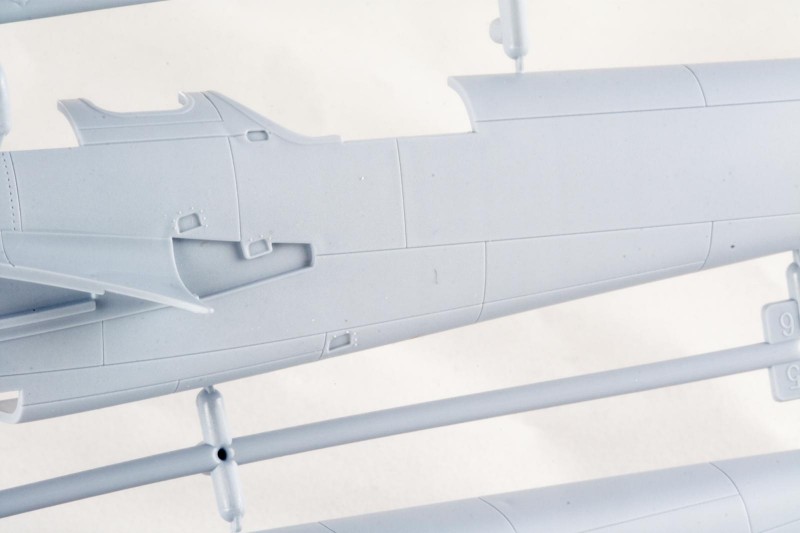
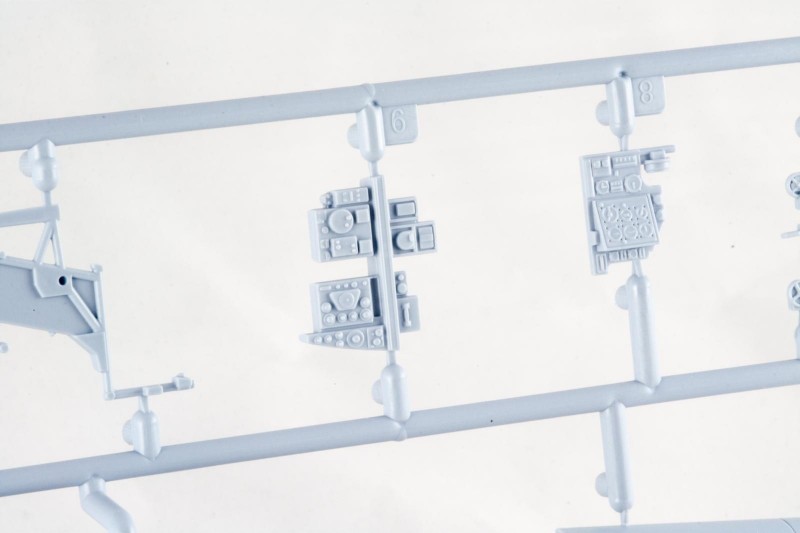
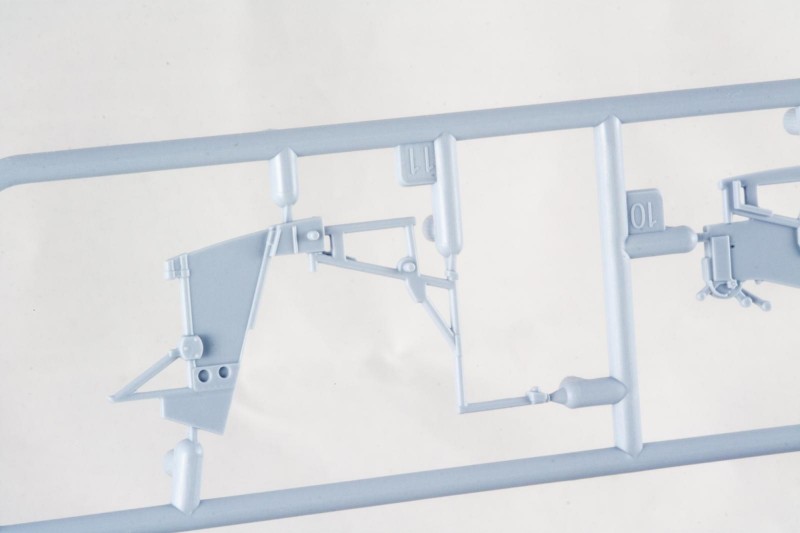
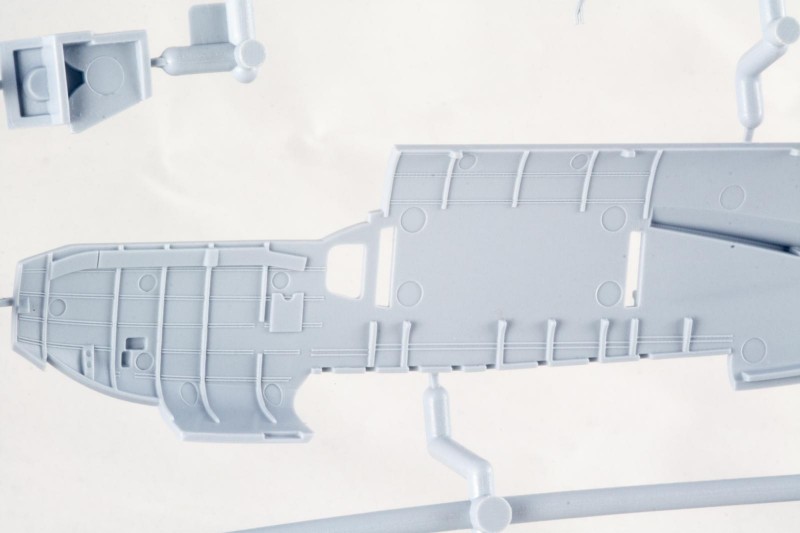
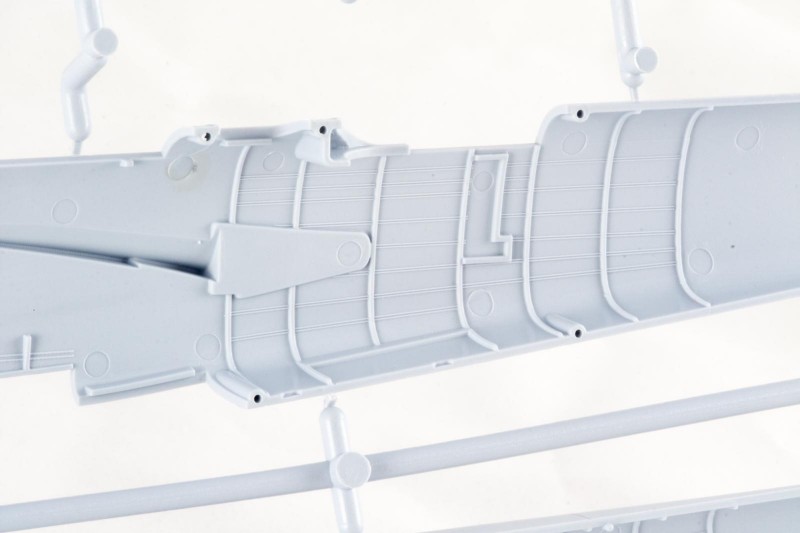
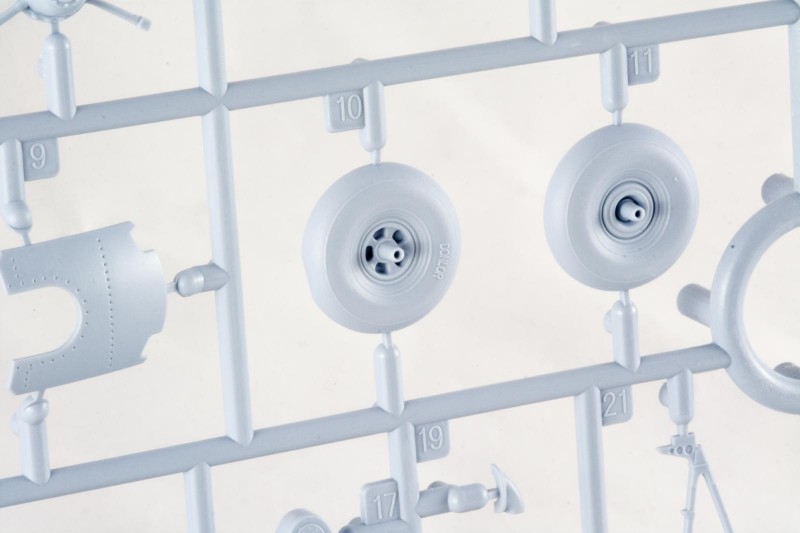
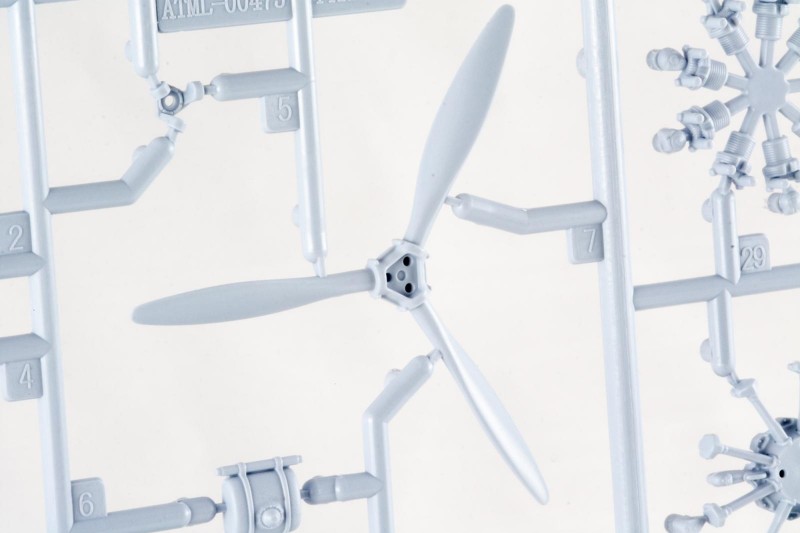
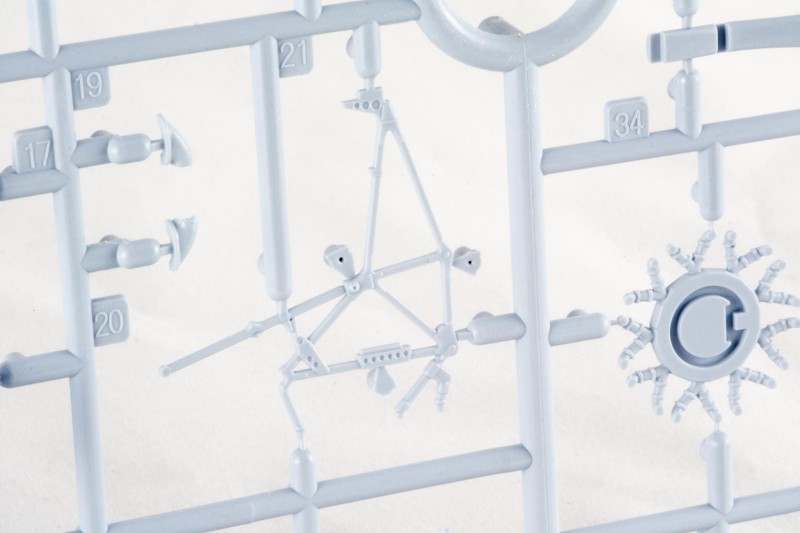
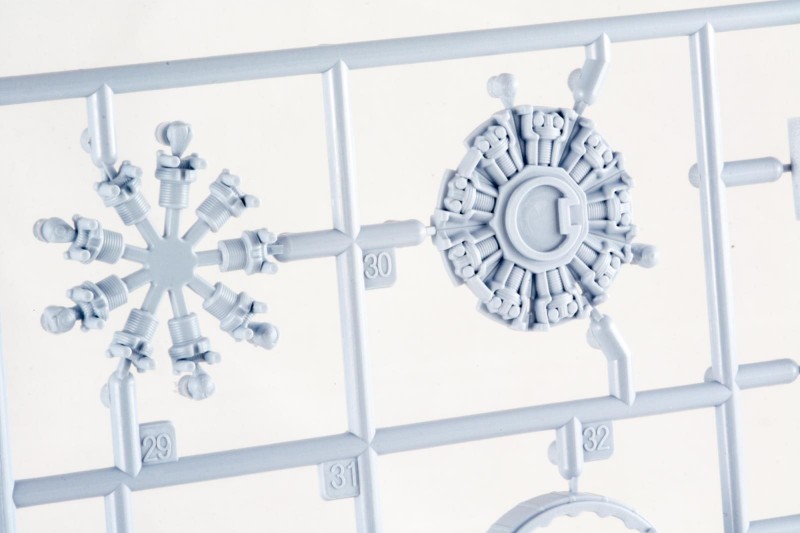
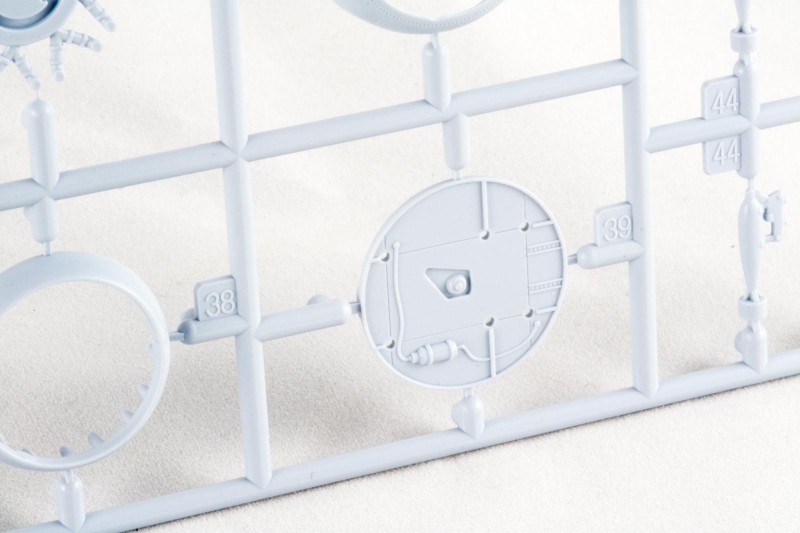
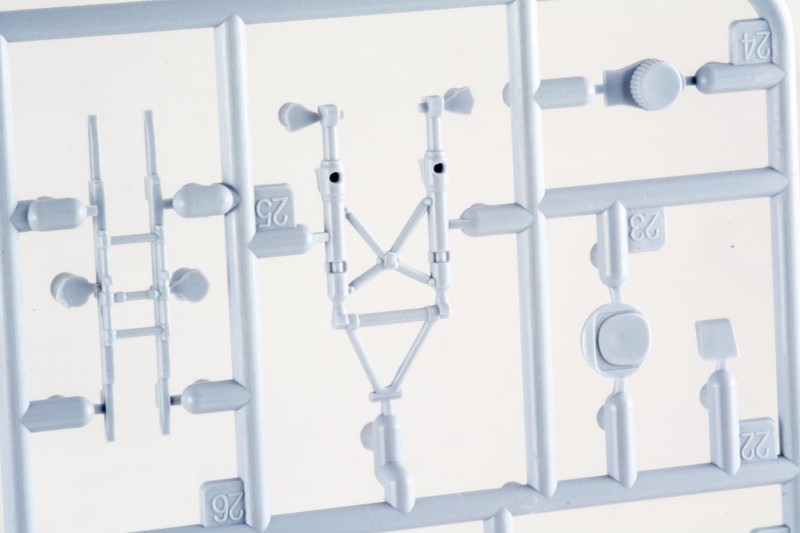
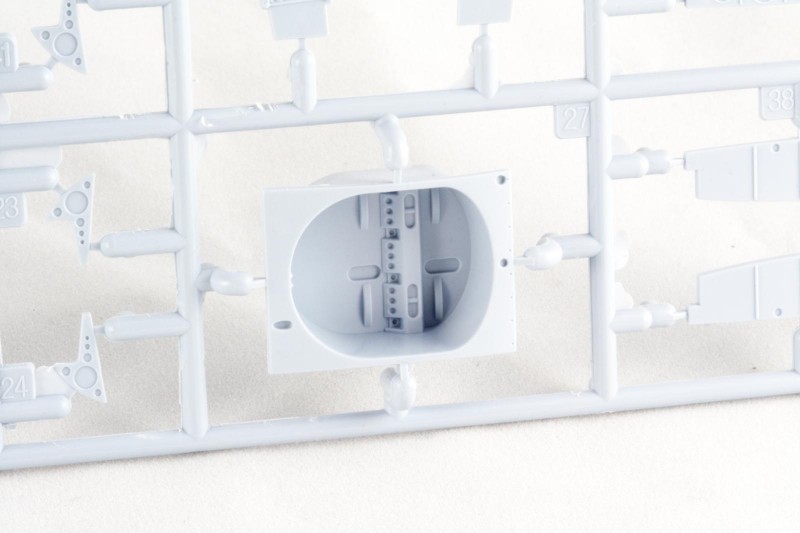
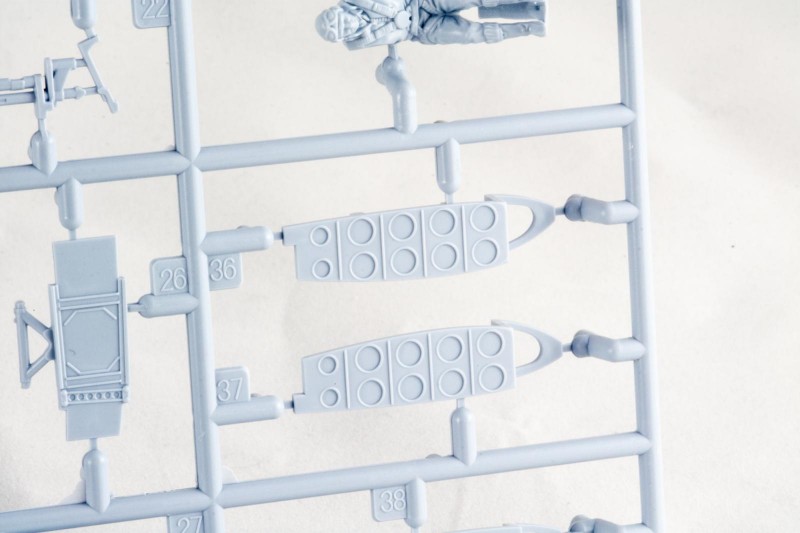
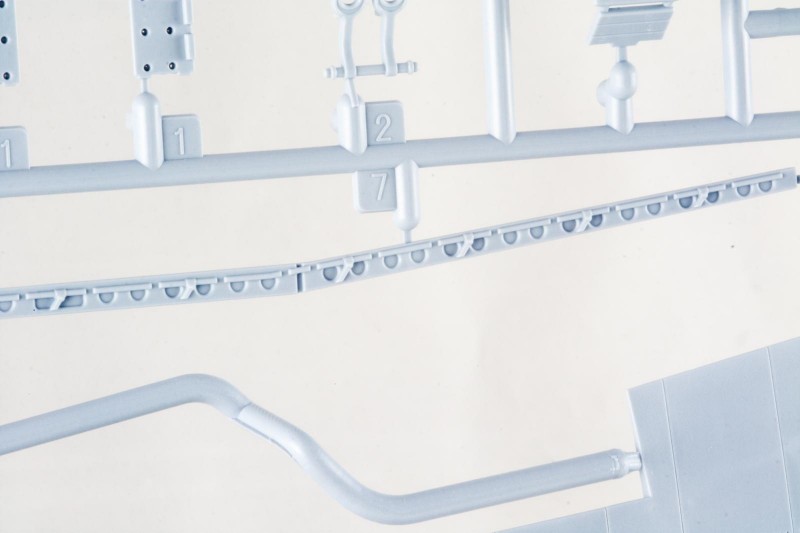
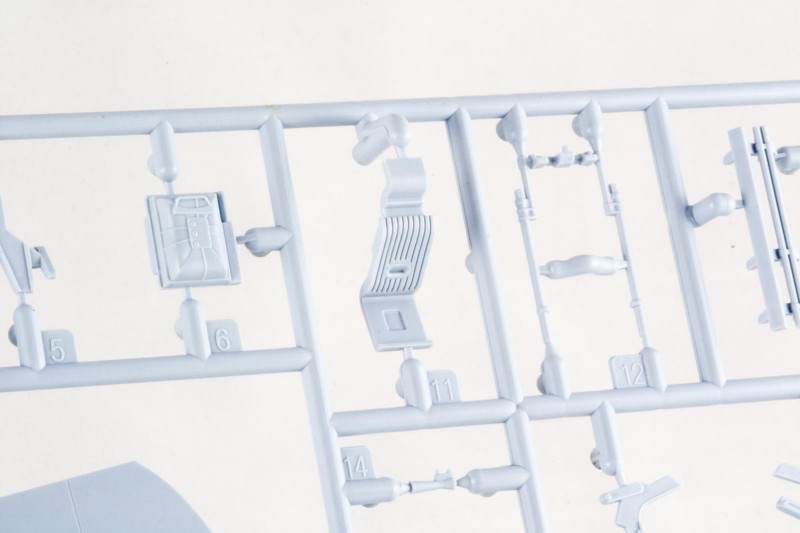
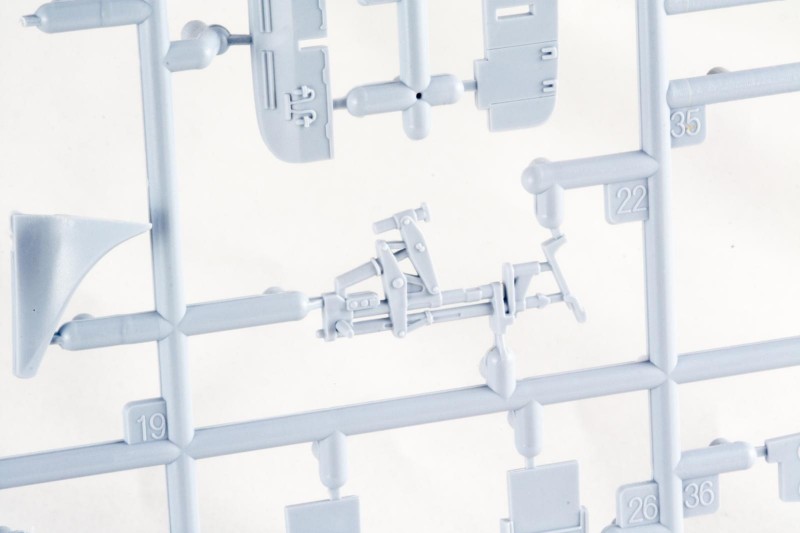
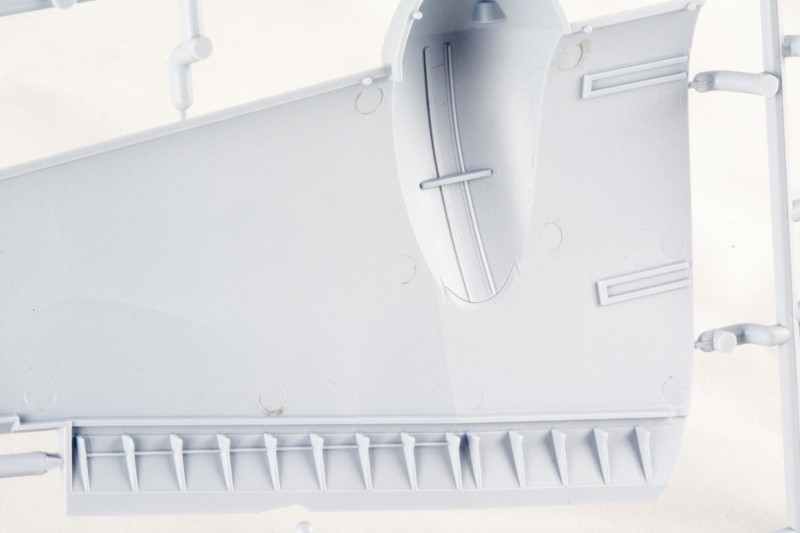
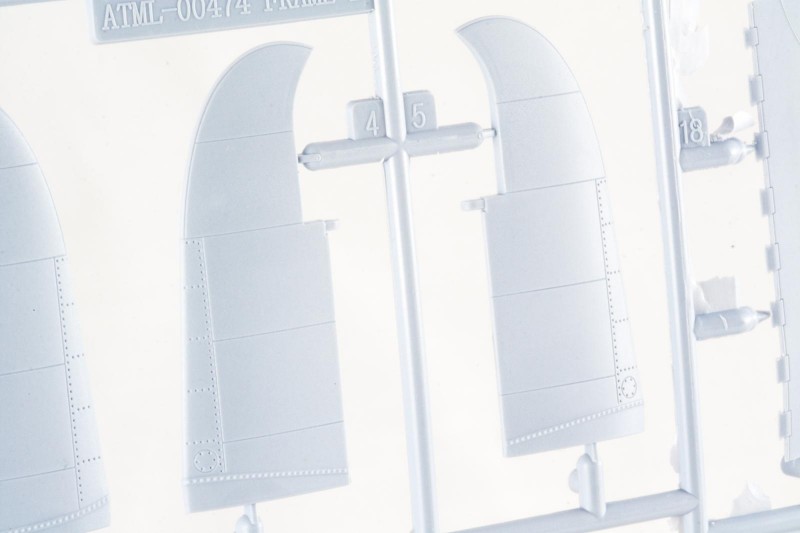
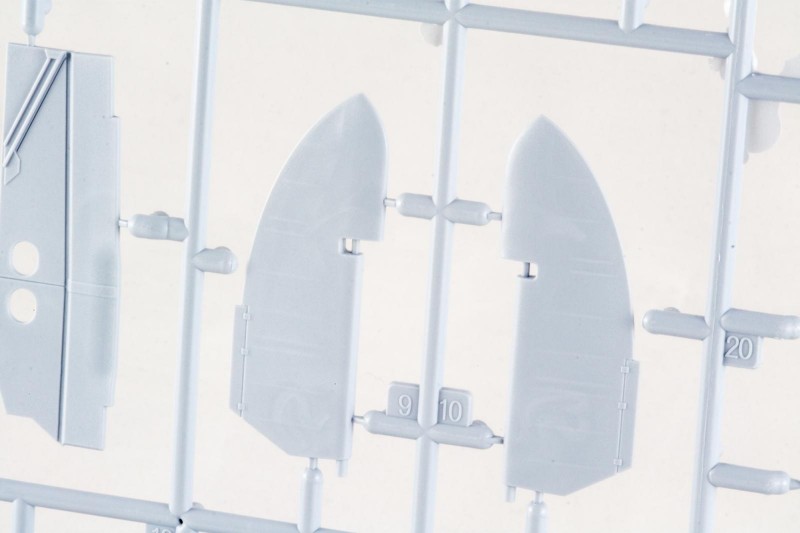
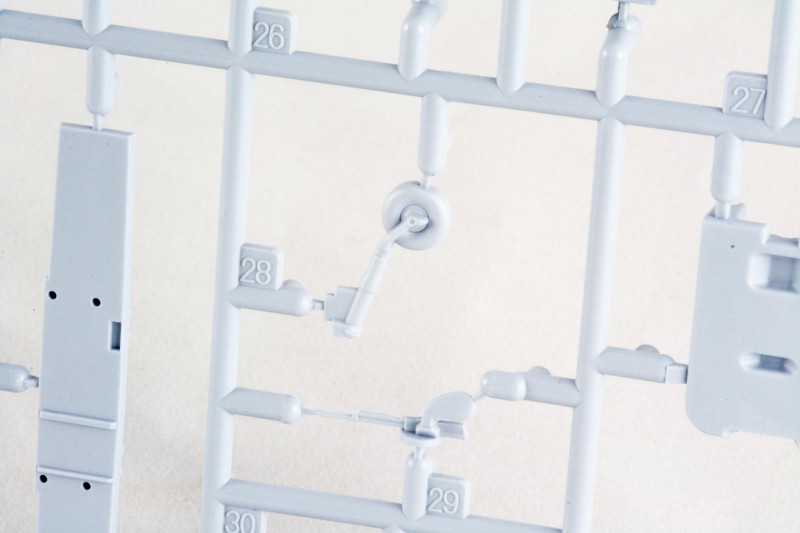
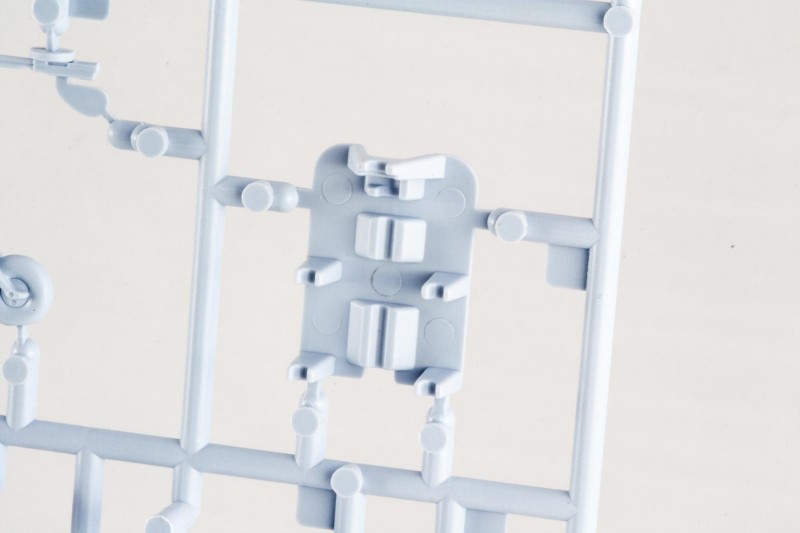
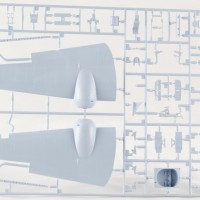
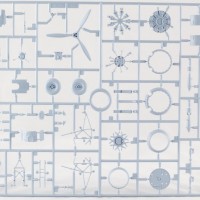
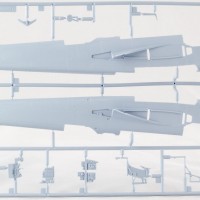
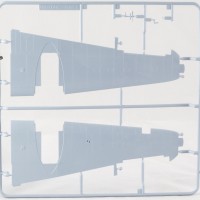
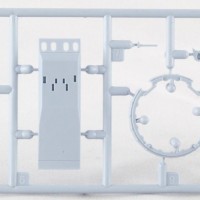
The grey plastic looks and feels like what we have come to expect from recent Airfix offerings – a tad softer than other manufacturers, and with a slight texture. Interestingly, however, the wing parts seem smoother and more polished than the fuselage. Panel lines are still a bit heavy, although not as overstated as they used to be with kits like the P-40 – and we even get a mix of raised and recessed riveting on the wings.
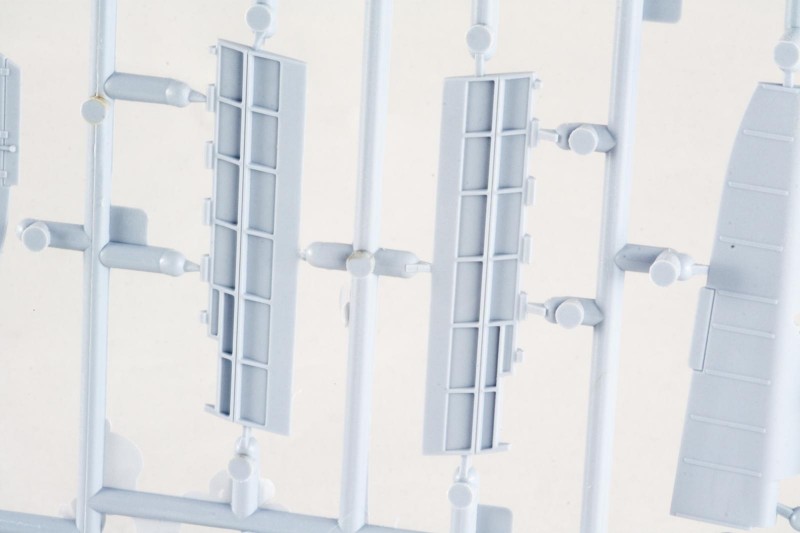
On the sprues you will find parts which are not used - basically a compliment of bombs and open bomb bay doors, hinting at the future release of a bomber version from Airfix.
The kit you see here suffers from a rather large short shot at the trailing edge of the right upper wing part. I don't know if all kits will have that, uhm, feature, so you might want to check your kit.


Thanks for the review Boris!
Seems to be pretty clean. Interesting treatment for the props, with separate weights. Nice level of detail. Patiently waiting for it to show up here in the states.
Nice review and great hints, thanks Boris!
Been waiting for this kit ever since it was first rumoured around the web. Just got their Defiant NF (a very good bargain here in Portugal, sold at 21 euros) and it seems this new Blenheim kit has the same touch, meaning good detail, a rather soft plastic, but accurate lines and a good fit of parts. Like most brands all it needs is some seat belts. Obviously one can add masks, gun barrels and perhaps the exhausts but all that can be added or improved by homemade methods if you want. The total sum will still beat some Japanese brands cost. Ever since Airfix delivered their quarter scale bf.109 E I lost my long time prejudice about their poor quality and old moulds. Good job Aifiix, keep them coming!
Great timing as mine is supposedly arriving today. Will only use some of the markings as I always produce my kits as a local aircraft. With four nearby airfields that were heavily used in ww2 I have plenty of choice. Will be marking mine up as a training aircraft called "Calypso". Airfix are doing such a good job at the moment. They are not perfect but will get my support and backing and should be applauded for the improvements they have made in quality and subjects. Given the amount of interest they are showing in the restoration of the Handly Page Hampdon recently, I can only hope this may be the next 1/48th kit.
1 attached image. Click to enlarge.
A Hampden would be cool. Always liked The Flying Suitcase.
Yesssss. I said the same. What a seller it would be.
Nice review. Plastic looks nice in the flesh. Lots of detail that will look great under a coat of paint.
Great review, Boris! You know at what pace I model, but I may have t get one of these. It looks like you can make a great piece, if you want. I've not done one of these, but I did a 1/72 Airfix Beaufighter many, many moons ago. This one in one quarter scale is a needed aircraft in a collection!
If it were me making one, I'd really go for the all-black Trainer version. VERY interesting.
Mine arrived today. Lovely looking kit. Great review, very accurate. How is it that you always have to nip out when the delivery chap drops your kit off. Large box well packaged from Airfix on the dining room table when I got home with absolutely zero chance of sliding this one through the house without anyone being the wiser. "I liked it! I bought it! and I wear the pants in this house! "No, I wont get paint on them this time dear".
Great review thank you. Mine is on its way.
My only disappointment are the decal options. They have a built one going around with the black n white undersides... why didn't they add that option in the kit? Better look for after narket decals.
Hi guys new to site. I have this kit please note that if you build the all black version the N in the
code should be ahead of the roundel on the starboard side not as in the decal placement instructions.