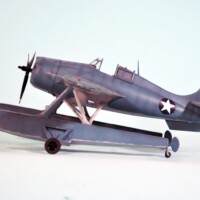
1:48 Eduard He 280 Experimental Jet
Here's what I thought would be an E-Z weekend build: Eduard's 1:48 He 280 ProfiPACK 2018 re-pop. The molds have held up well considering they date back to circa 2005 when Eduard was just starting their rise to excellence and began issuing new styrene kits that featured improvements like real locating pins. Consider this a big step forward in refinement compared to other limited run kits of 20 years ago by the likes of Classic Airframes, Special Hobby and Sword, etc.
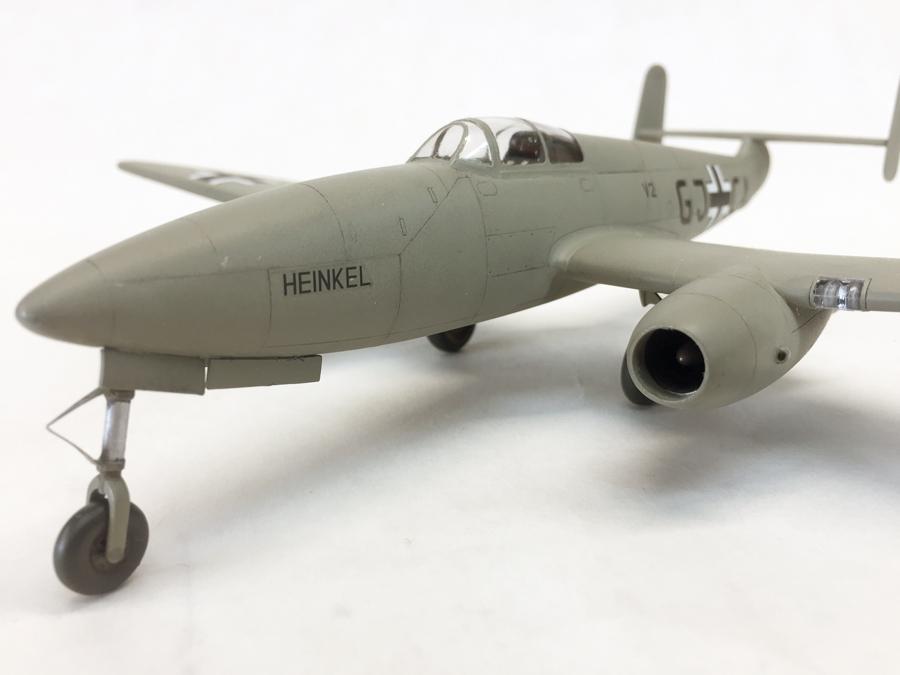
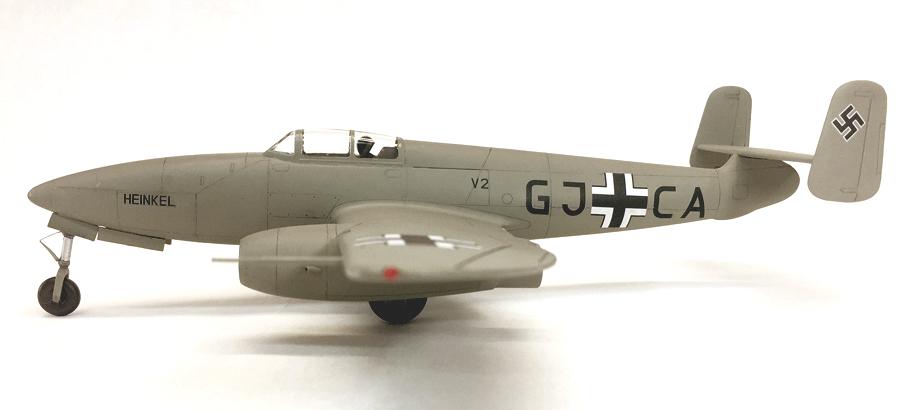
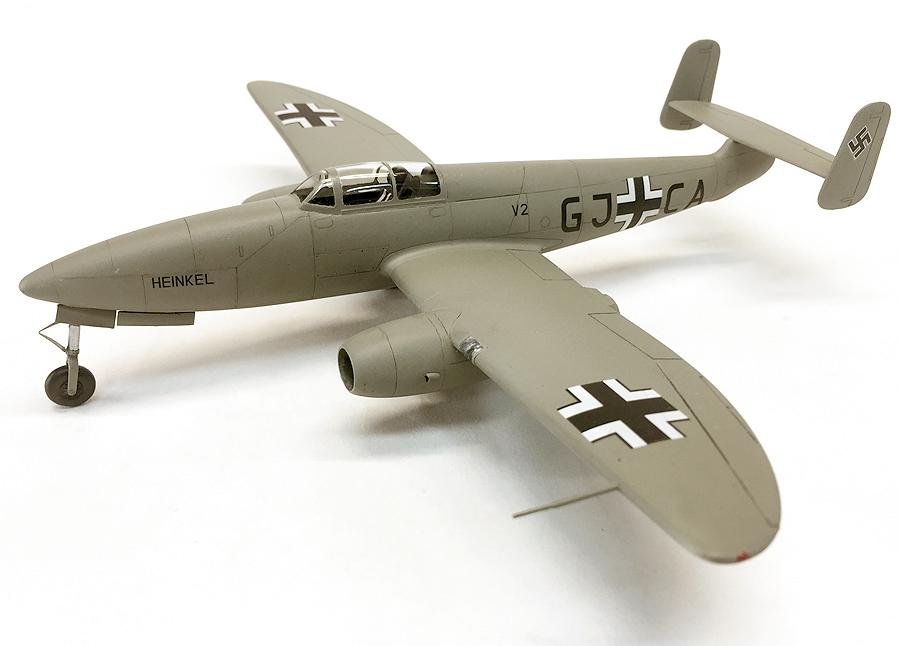
I modeled this as He 280 V2, Heinkel's second experimental jet powered by HeS 8a engines. V2 was the world's first jet to fly under its own power in March of 1941. You can also model prototypes V3 and V8, using the Jumo engines supplied in this kit. A total of 9 He 280s were constructed before the program was cancelled in 1943.
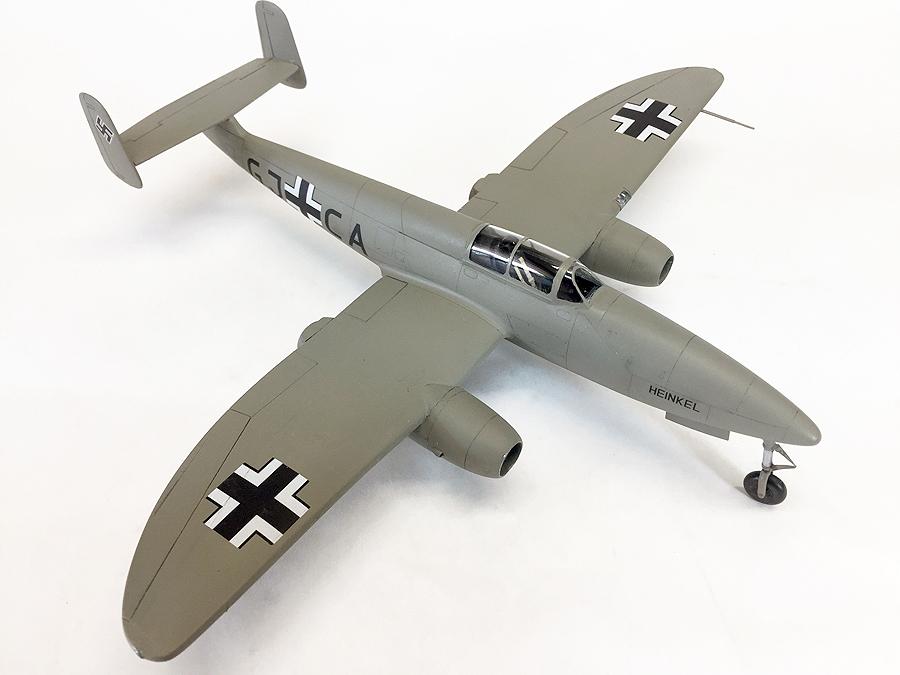
Like most limited run kits of that era, Eduard's He 280 has several fit problems that turned this build into a three week, on-and-off project. The worst is the closed canopy, which is way too thick and causes nothing but alignment headaches. Despite sanding down the headrest on the pilot's seat so it would fit over the cockpit, the canopy still sits noticeably higher at the point where it meets the fuselage behind the seat. I made the big mistake of sanding down the rear only to make it look worse. Grrrrr.
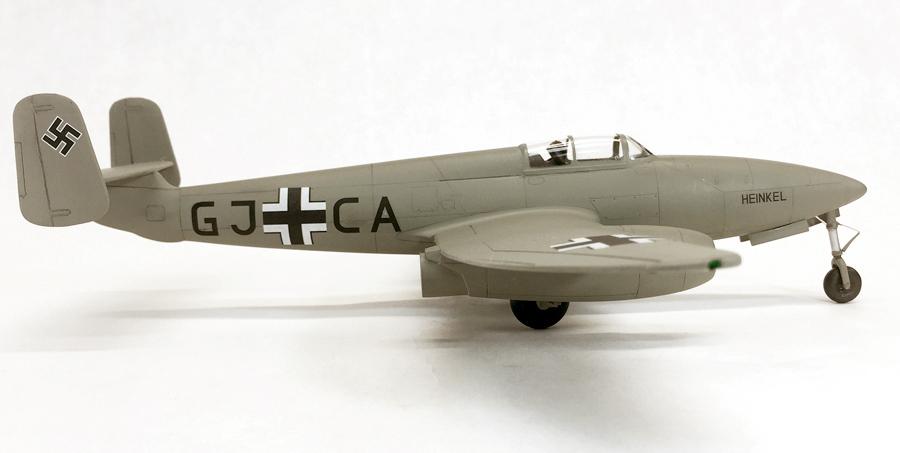
Be sure to test fit the wings to the fuselage prior to gluing and get ready to do a little sanding here and there for a tighter fit. Use superglue and hold each wing in place as you eyeball and adjust for a proper dihedral as the glue sets. Gap filler will be needed afterwards. The fragile landing gear supports and all the wheel covers have no specific joint to glue them to, so you just have to take a stab at it.
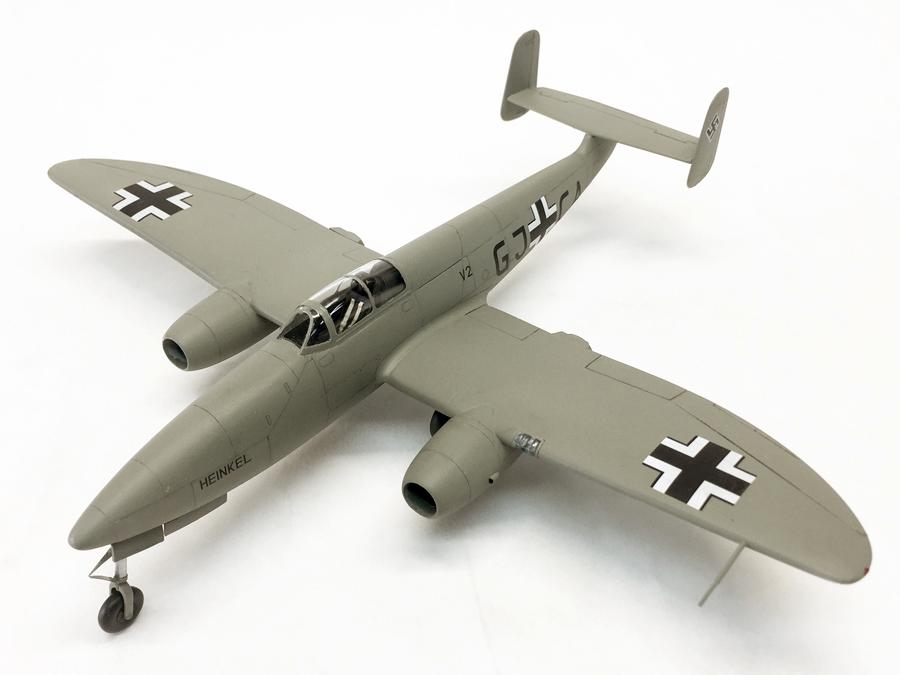
Recessed panel lines are extremely petite and shallow and easy to sand away if you're not ultra careful. Cockpit detail is minimal but looks ok thanks to the included updated PE set. Decals are very thin and the black on the wing crosses looks a little faded but appropriate. Care is needed to avoid wrinkling them during application.
Painting the He 280 is a breeze. Almost everything on these experimental jets was sprayed with RLM 02 light grey. Apparently all Luftwaffe x-planes were painted this color but it is said two different RLM approved shades of 02 (early and late) were used depending on the year the plane was rolled out. I used MasterModel acrylic standard 02 but Vallejo offers both. Check your references. There are plenty online.
Fit problems aside, Eduard's He 280 makes for a very cool looking and relatively simple model worthy of your time. It looks great sitting next to its more successful cousin, Me 262.
Beautiful work! Love this airplane ?
Very nice. I wasn't aware of this model
love that
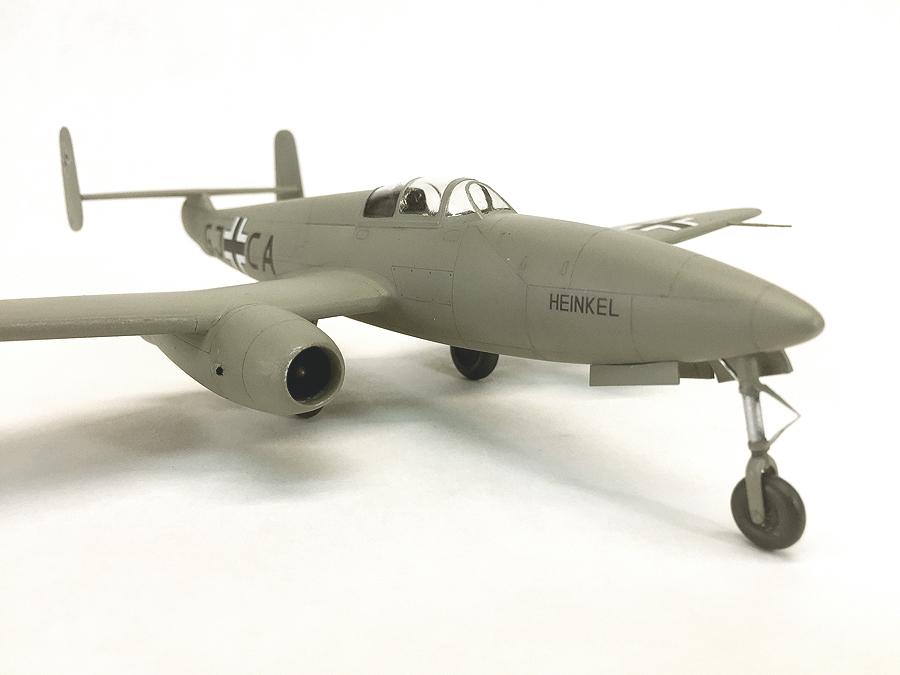
I always loved that aircraft and historical moment, too. You did a very good job, Eric! It inspires me to do it again (built it in the early 2000s). Especially your fotos from the front are real amazing.
Despite the several fir problems you describe I really can’t see them reflected on the model, it’s very well built and painted. Like Michael say, I too like especially your frontal photo. The first release of this kit is still somewhere in my stash, wonder if it’s worse than this new re-boxing?
Your stash kit should be exactly the same as the molds have not been updated as far as I know. You get an improved PE set and canopy masks with the current re-boxing. I shot these photos with an iPhone instead of my high end SLR.
Very nice Heinkel, looks smooth!
Well for all the issues described it looks like an excellent build. Nice addition to any collection I'd say. Well done Eric.
Yep...what they said. Nice build.
Very nice!
I think it looks great, even with your identified challenges (hard to see!). I will keep your notes for my attempt!