Review: iModeler Review – Airfix 1/48 Hawker Hunter F.6
Summary
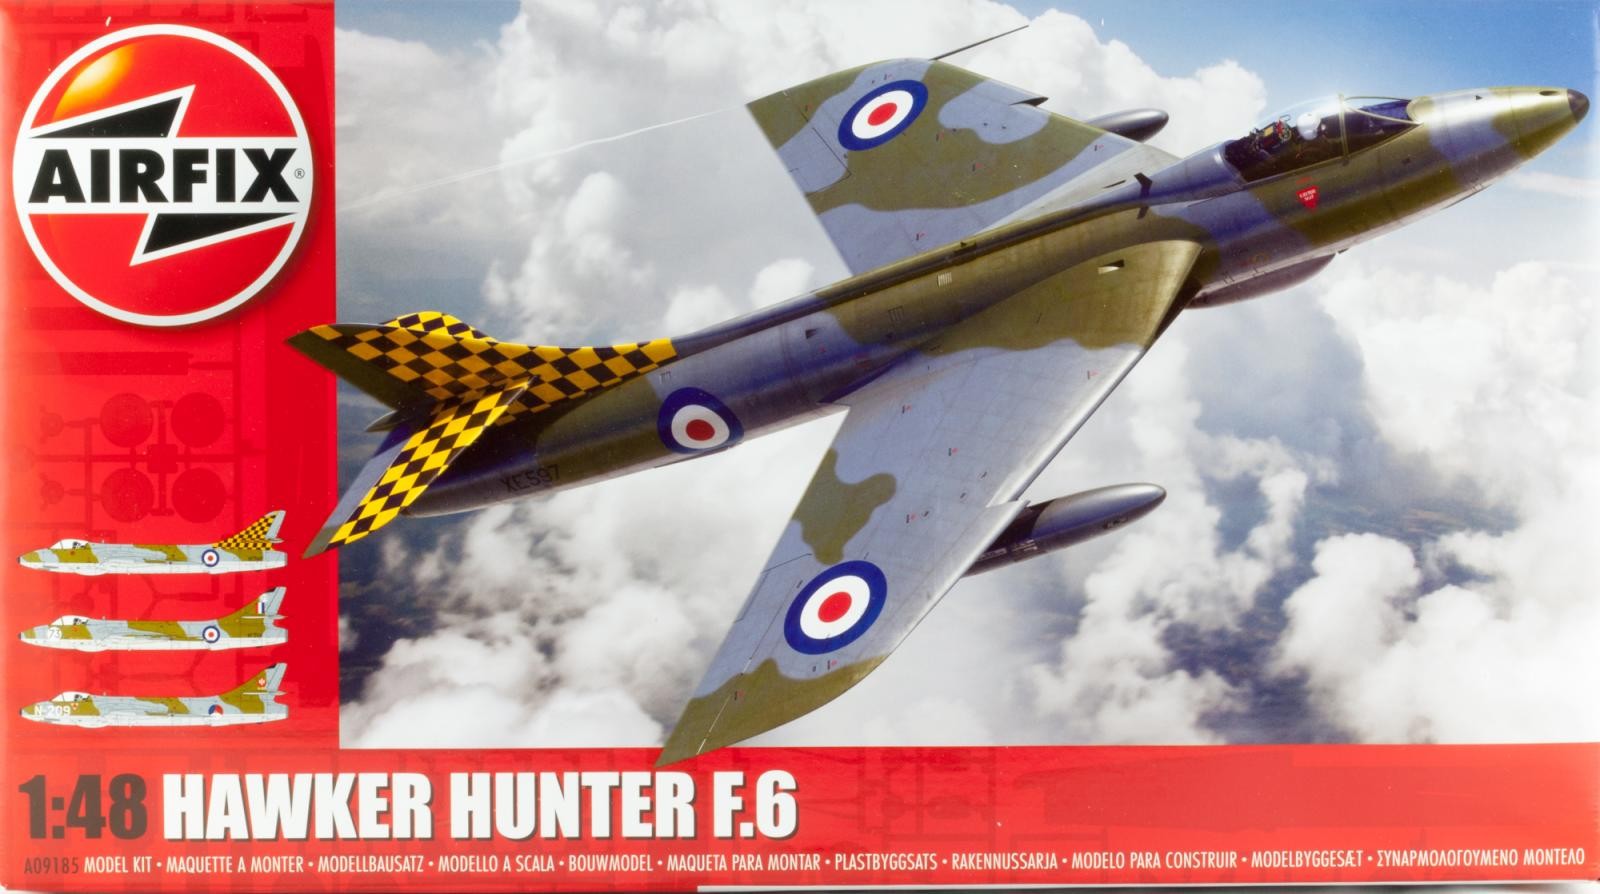
Airfix Hawker Hunter F.6
Scale: 1/48
Kit No: A09185
A modern tooling of this British classic that was long overdue. Airfix' mold quality has again improved, surface detail could still be more refined. Three marking options from two different countries, optional parts for open or closed canopy.
Hot on the heels of their Blenheim Mk.IF (reviewed here), Airfix just released another classic British aircraft – and arguably one of the most beautiful jet fighters ever designed.
What Do You Get?
The kit comes in the usual Airfix-style box and contains
- Three grey sprues
- One clear sprue
- Decal sheet
- Instruction booklet
- Full-color paint guide for three marking options.
On opening the box I was surprised to see how little parts there actually are inside – after all, the Hunter is a rather slick looking aircraft, and with almost no external stores there simply is no need for extensive parts count. Luckily this time no parts had come off the sprues despite the usual stuff-everything-in-one-bag silliness.
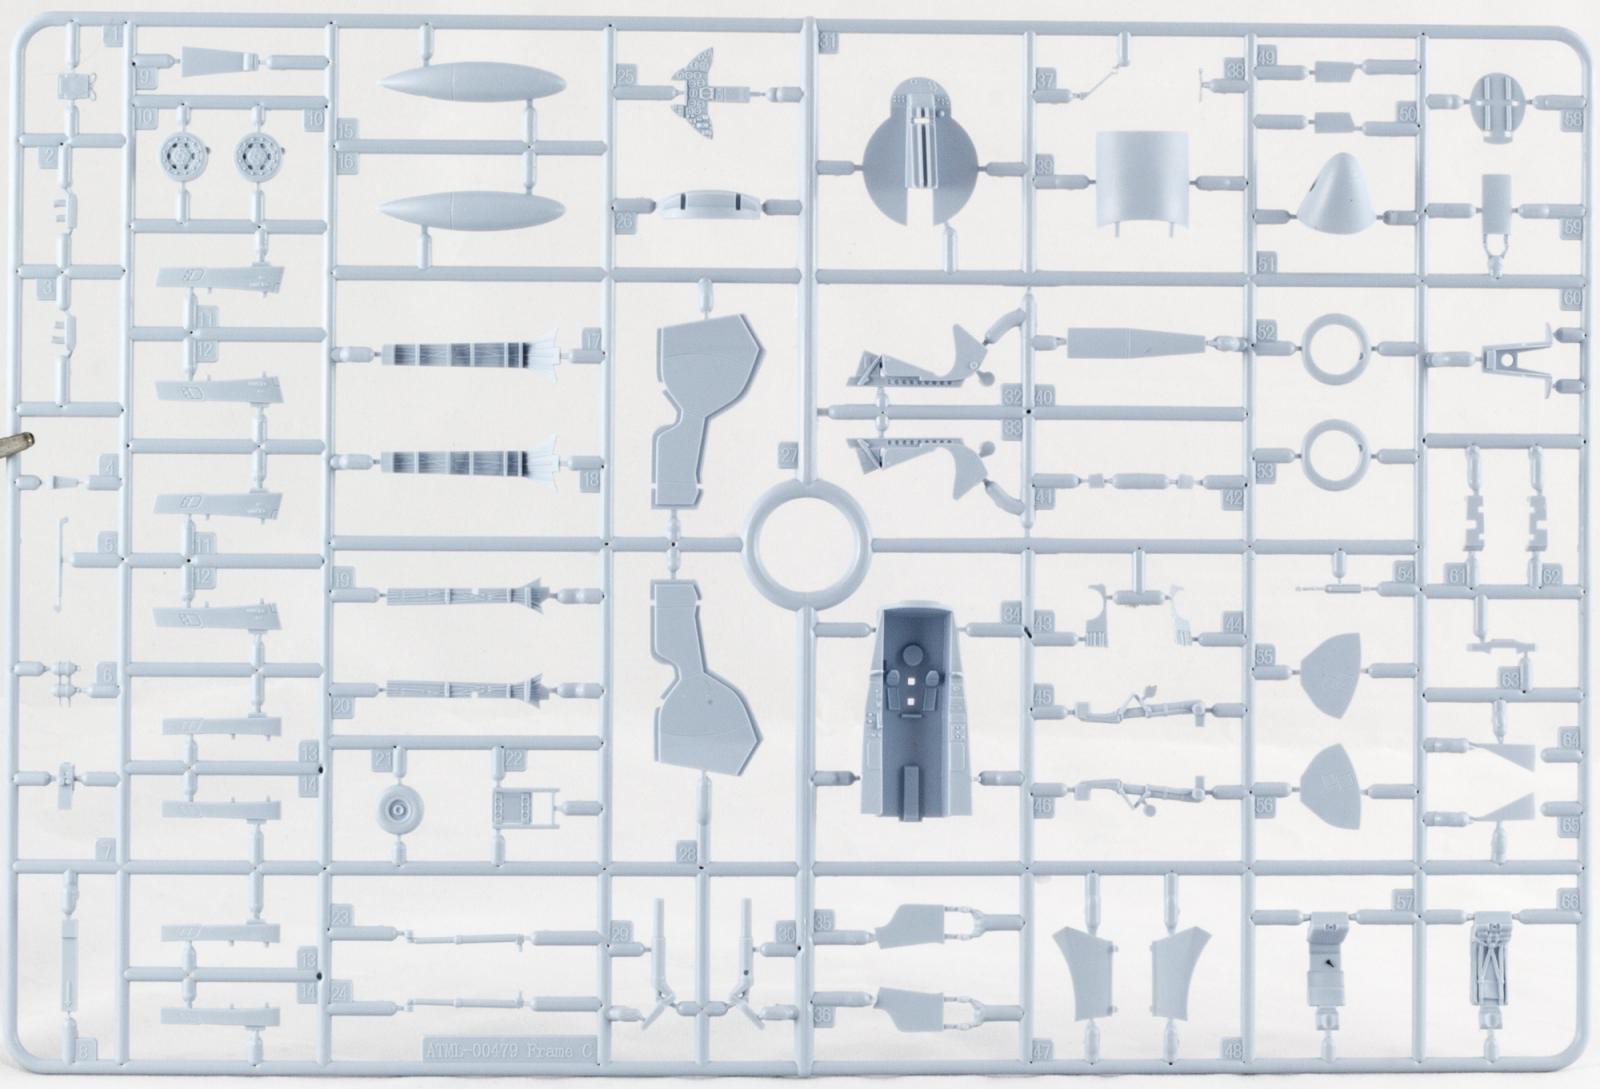
Right away it becomes clear that Airfix has designed this kit with a view to further variants. On the sprues can be found an alternative rear fuselage section with the brake chute housing for the FGA.9, as well as a pair of rocket pods and pylons to go with that version. Alas, you cannot build an FGA.9 with the contents of this kit, as it is missing the appropriate flaps and gunsight.
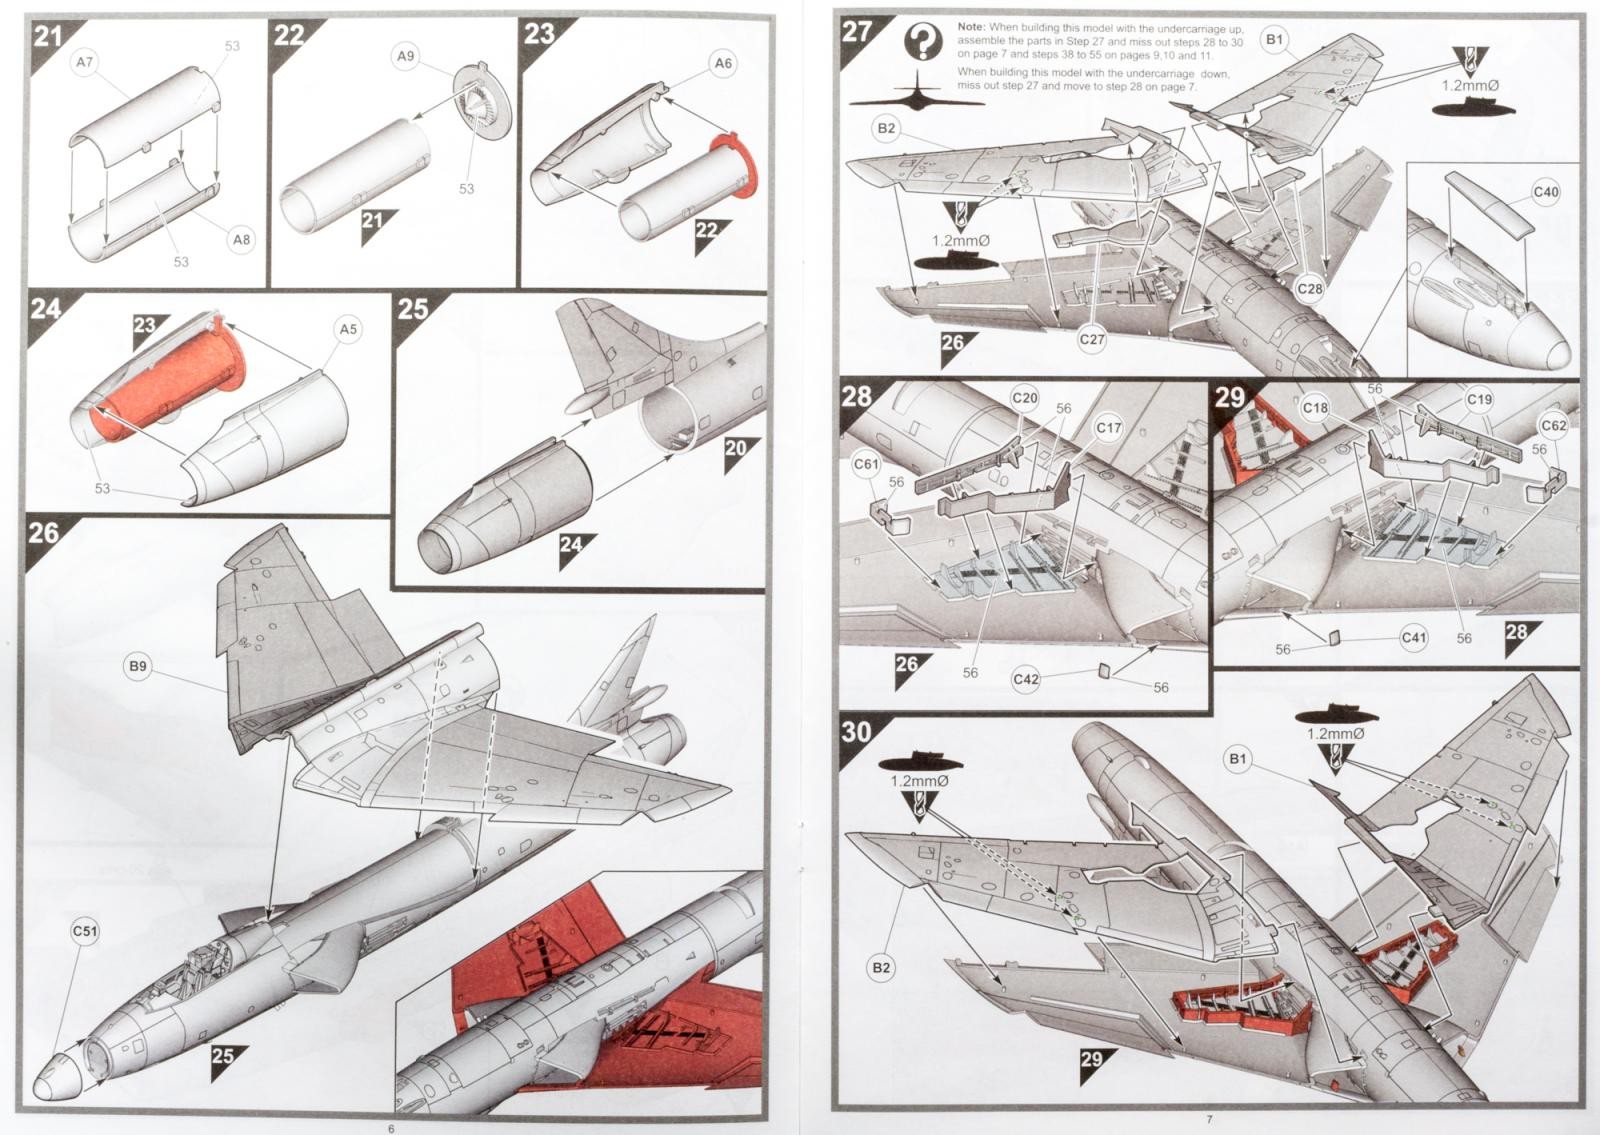
Instructions
There is actually no point in mentioning the number of steps in the instructions (ok, it's 63), as some of them show the installation of exactly one part. Spread over ten pages, construction looks to be reasonably simple, but with some interesting design choices. For one, the whole upper wing comes as a single piece which is mated to the fuselage before building up the main gear bays and finally adding the lower wing parts.
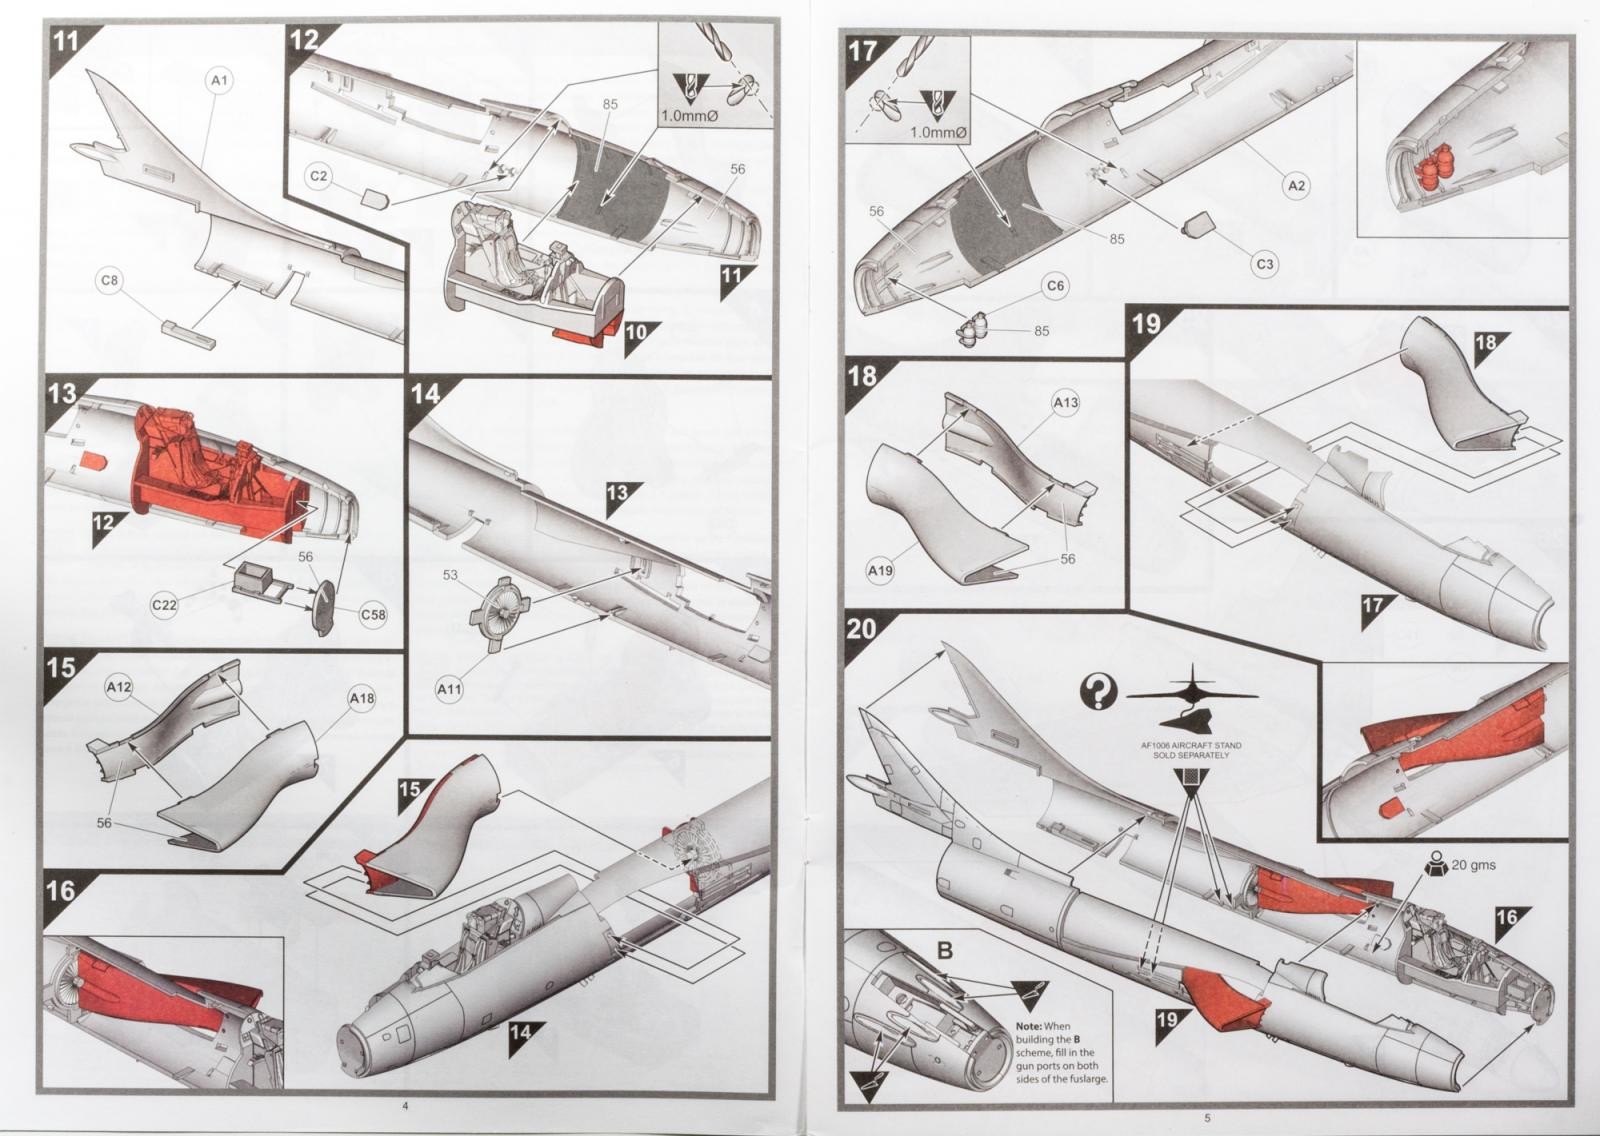
As mentioned, the back section comes as a separate assembly. A first dry-fit shows these parts fit together quite well, but as usual with such an assembly I would suggest gluing each half of the rear section to their corresponding fuselage part first, before bringing the two halves together.
Marking Schemes
Out of the box you get three options:
- No.63 Squadron, RAF Waterbeach, September, 1958 (CO's aircraft specially marked for 1958 Battle of Britain display.)
- No.4 Flying Training School, RAF Valley, September 1968
- No.324 Squadron, Royal Netherlands Air Force, Leeuwarden, 1964
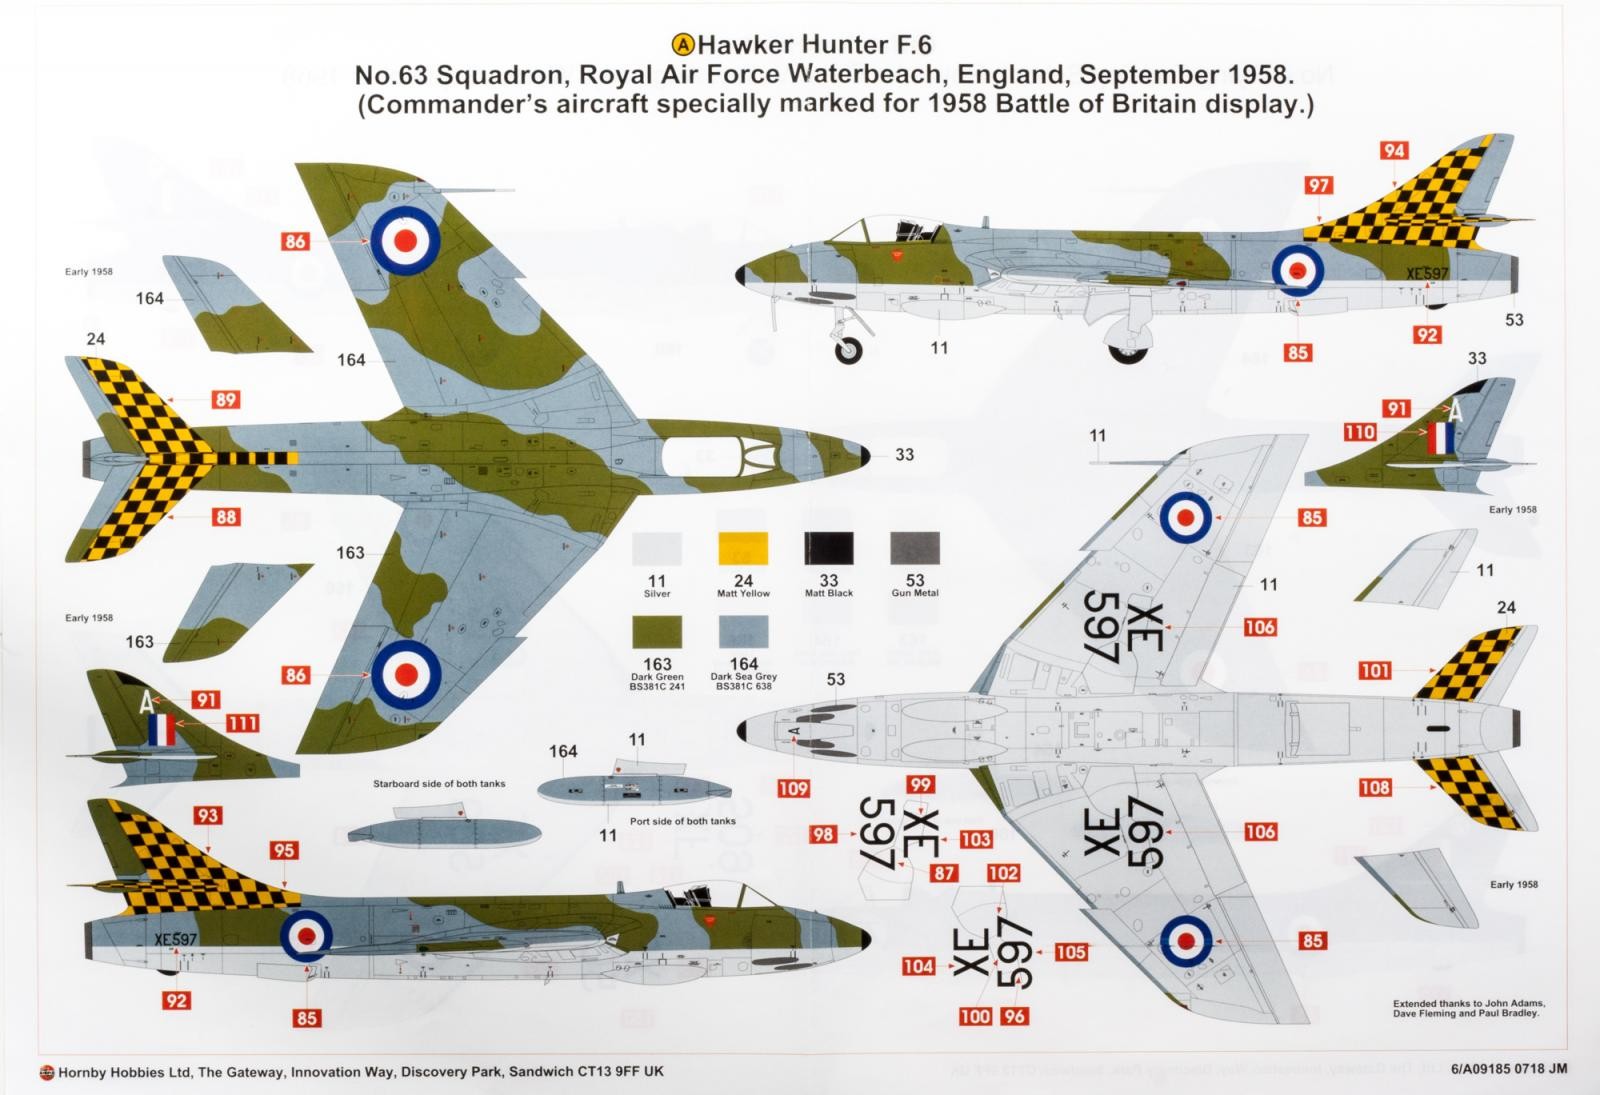
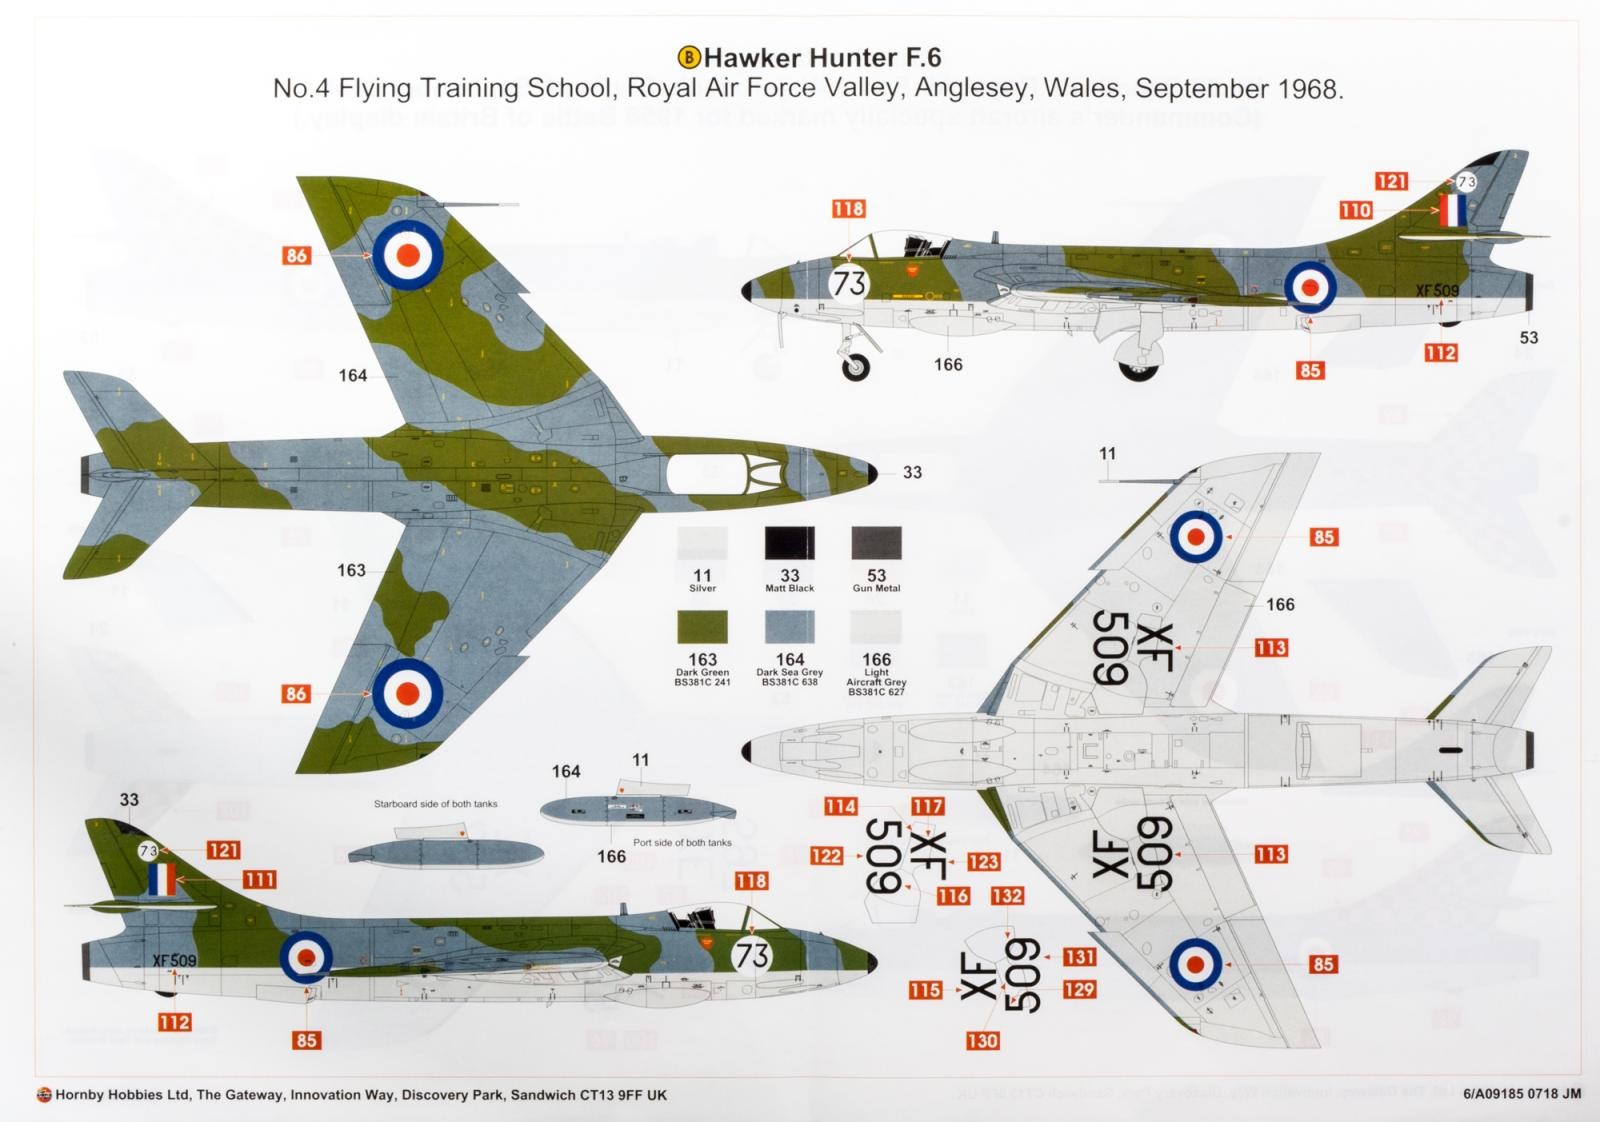
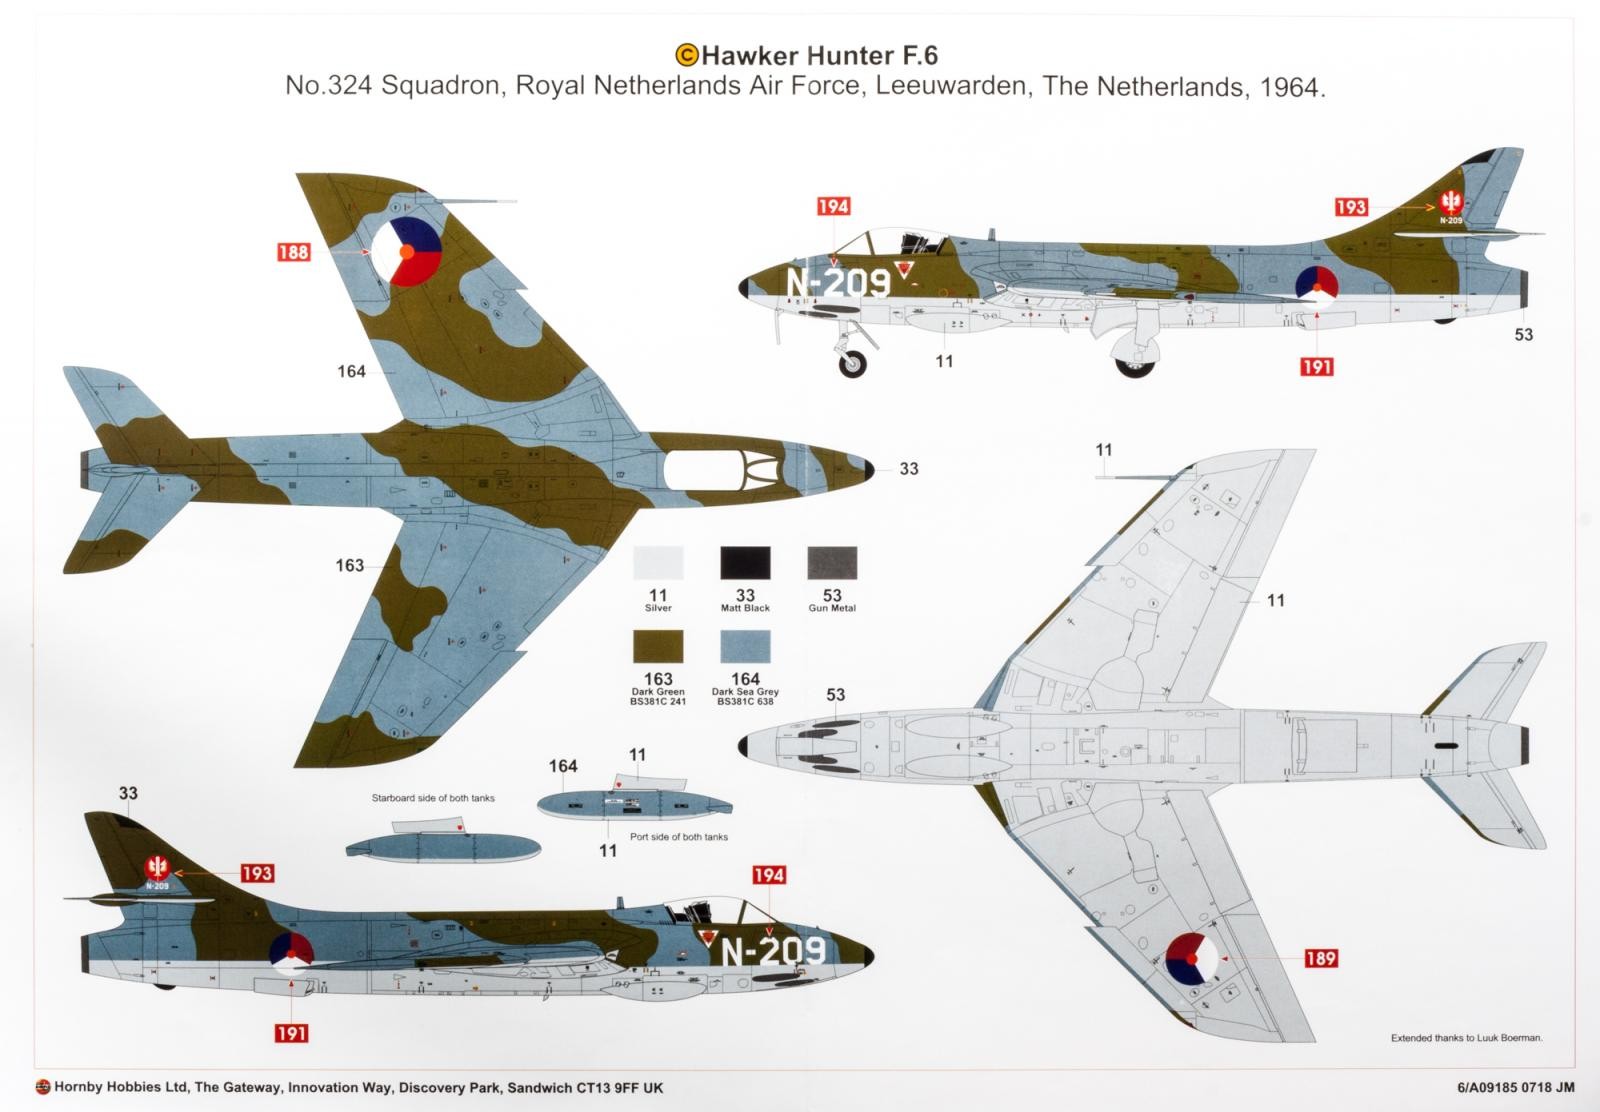
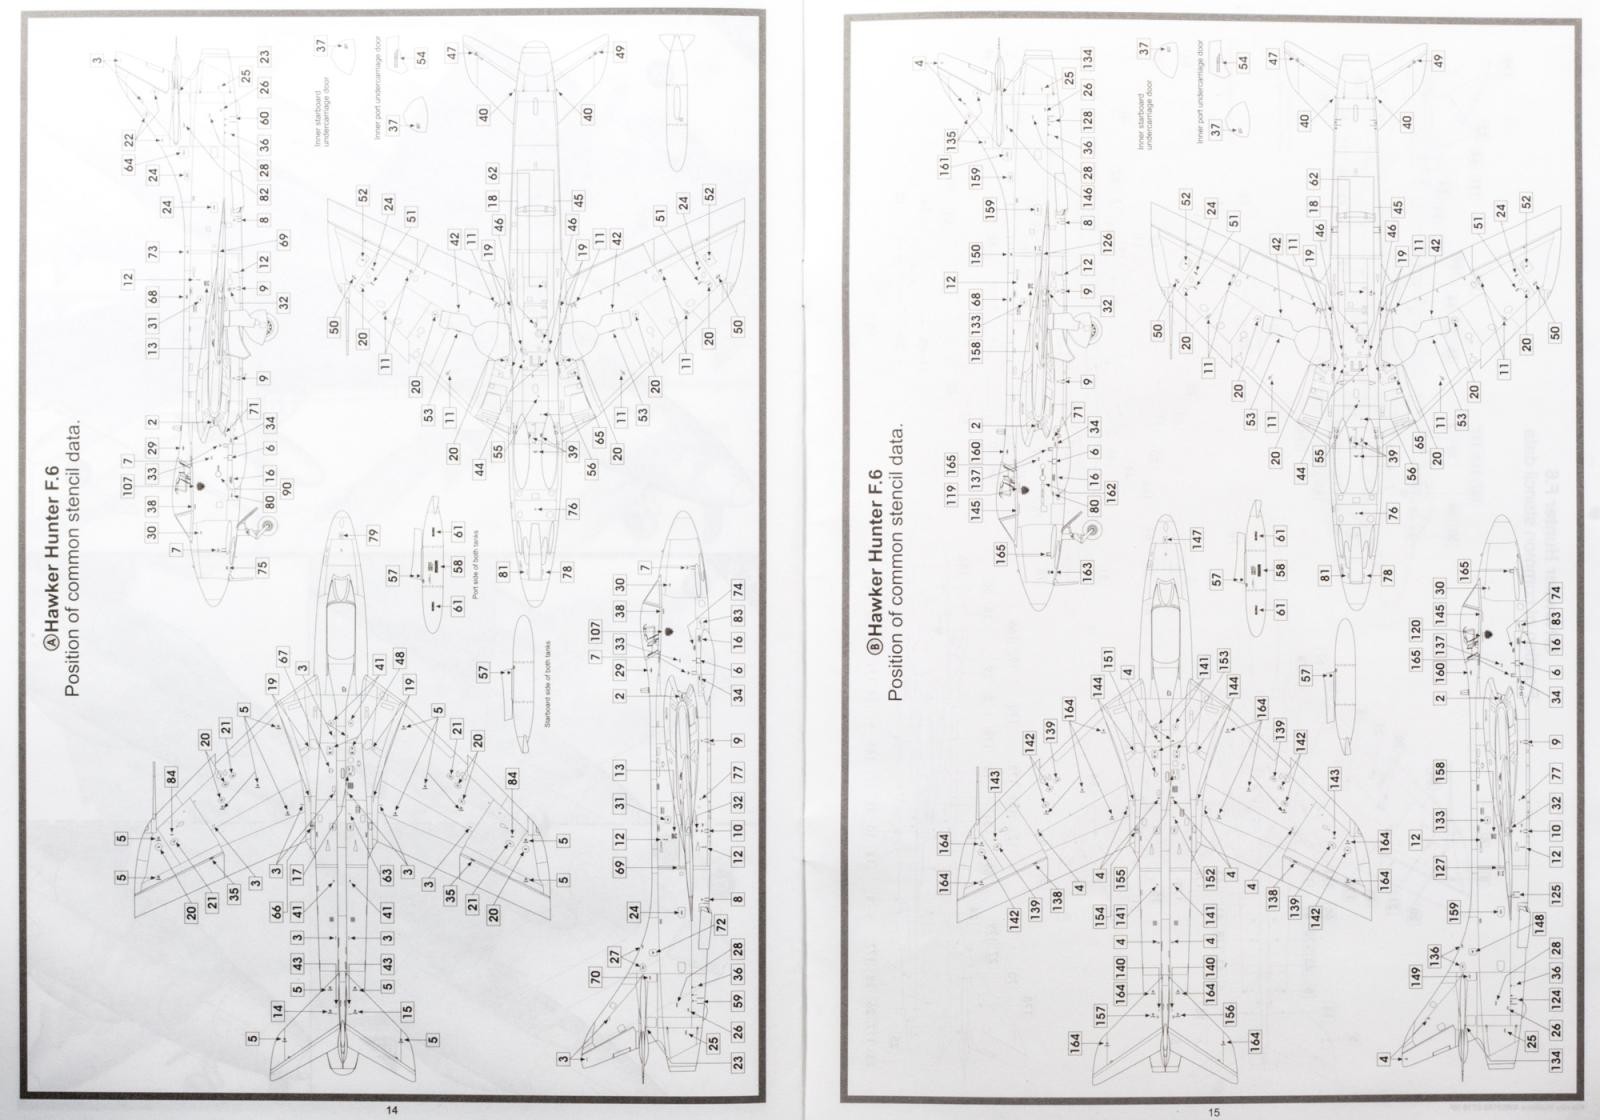
Apart from the full-color paint guide the instruction booklet holds three pages showing the placement of stencils for each of the three marking options.
The Decals
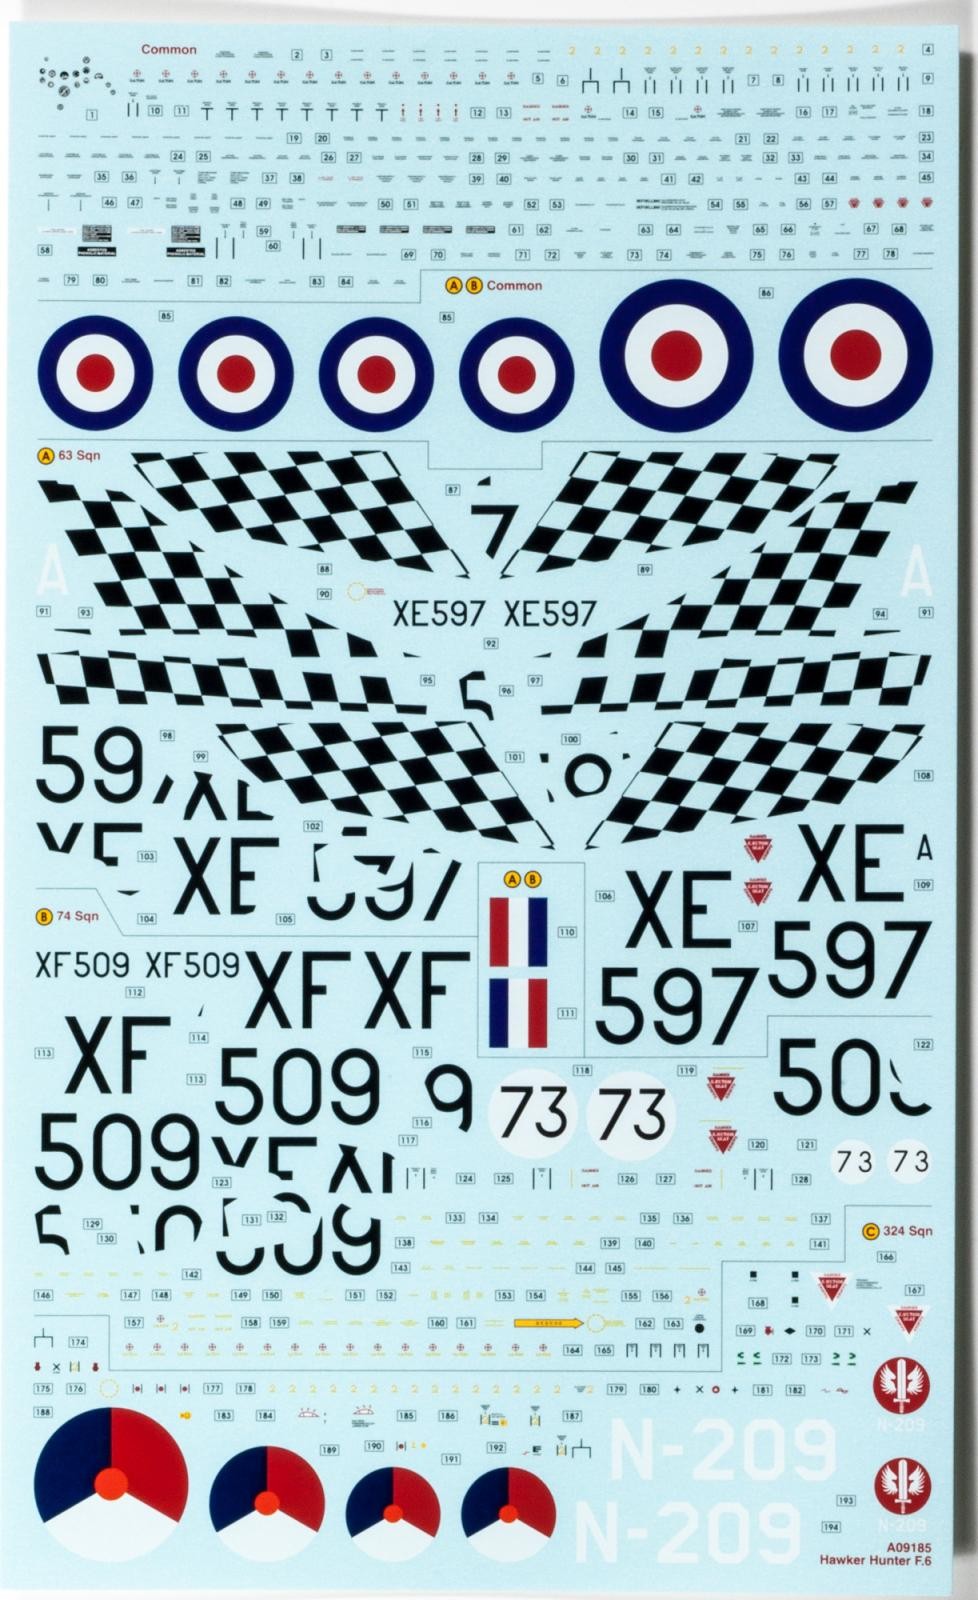
The decal sheet for this kit is surprisingly large – and filled with stencil data. Print quality looks excellent, and the choice of options is perfectly fine. Sure, with the huge number of Hunter users over the decades you won't please everyone, but that's what aftermarket decals are for.

The Parts
Molded in the usual light grey Airfix plastic, the parts feel somewhat sturdier and smoother than previous releases. Comparing it directly to the 1/48 Blenheim, I got the impression there is some actual improvement going on. Good show!
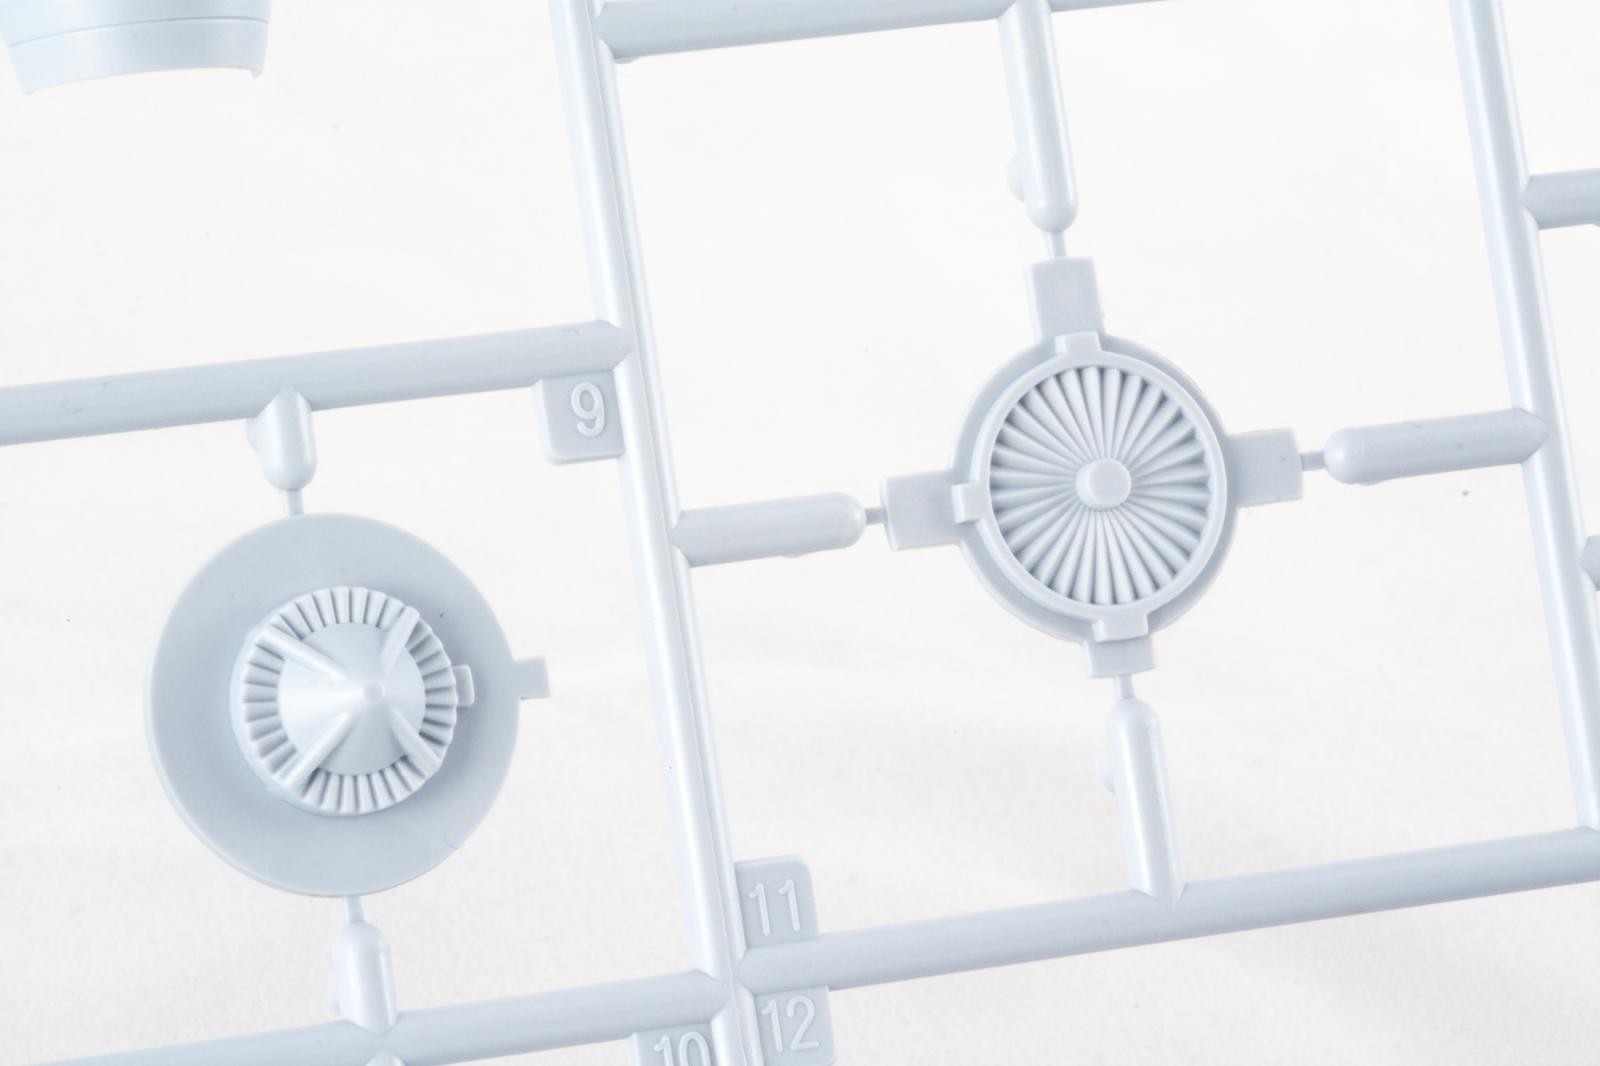
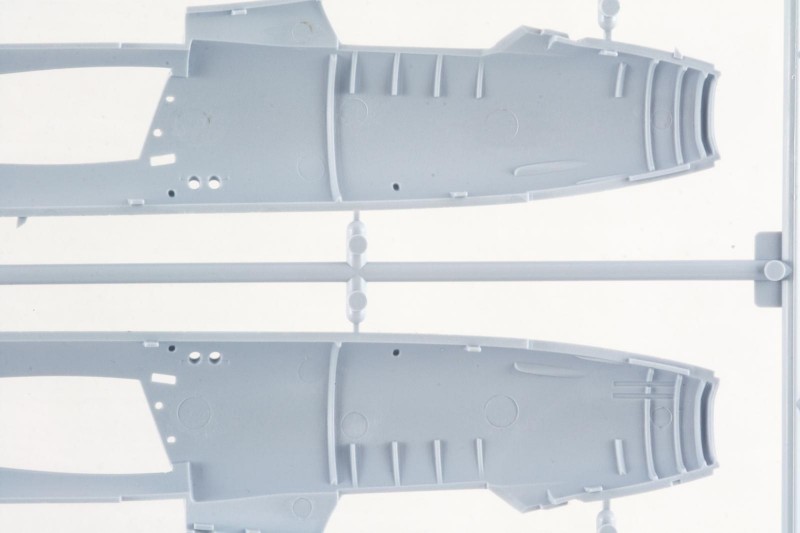
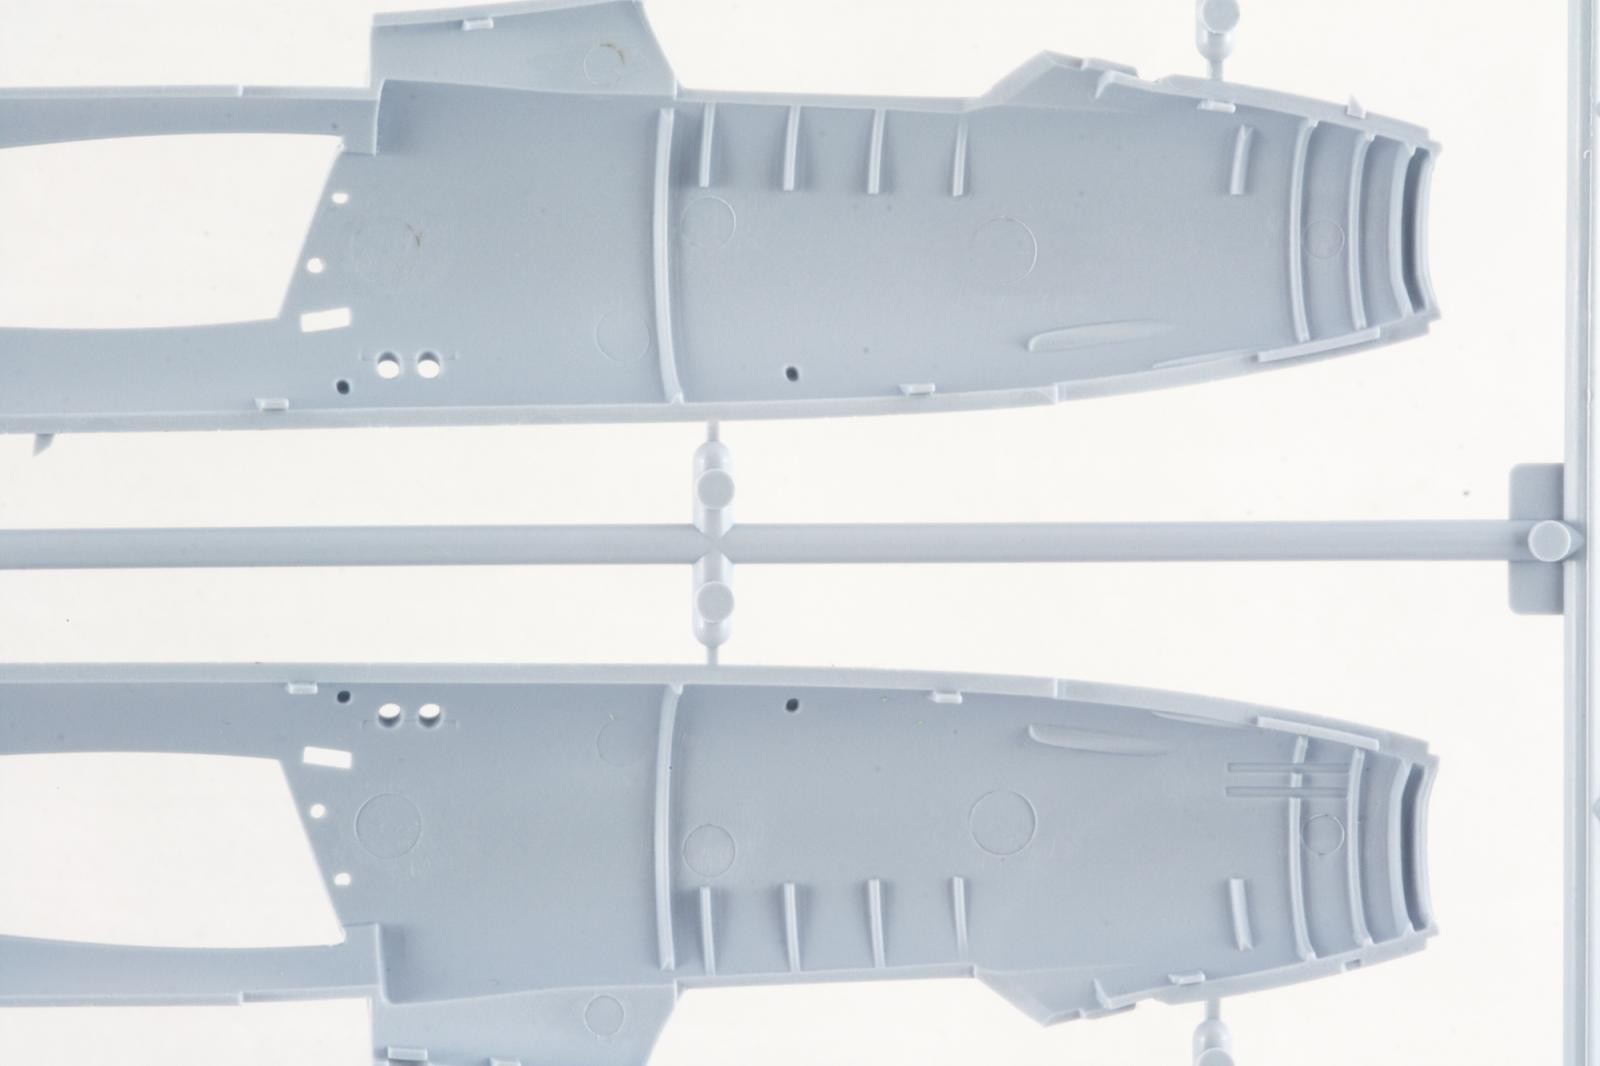
Surface detail is ok, but still nothing to write home about. Whereas features like cooling vents look rather nice, the surfaces in general look a bit bland.
What I do like is the way Airfix lets you match the two fuselage halves together; Instead of the usual pin-and-hole system, the halves feature alternating tabs on each side, resulting in a more secure and precise fit.
-
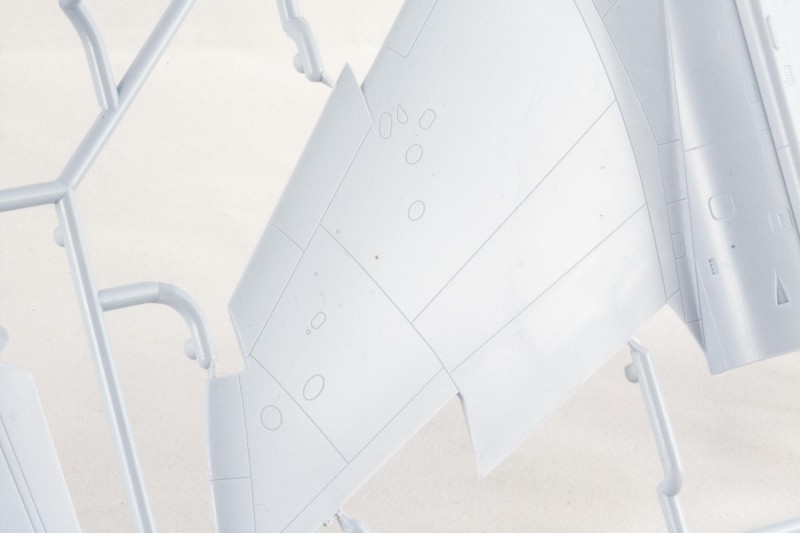
- 1. Some rivets or fasteners wouldn't hurt the surface.

-

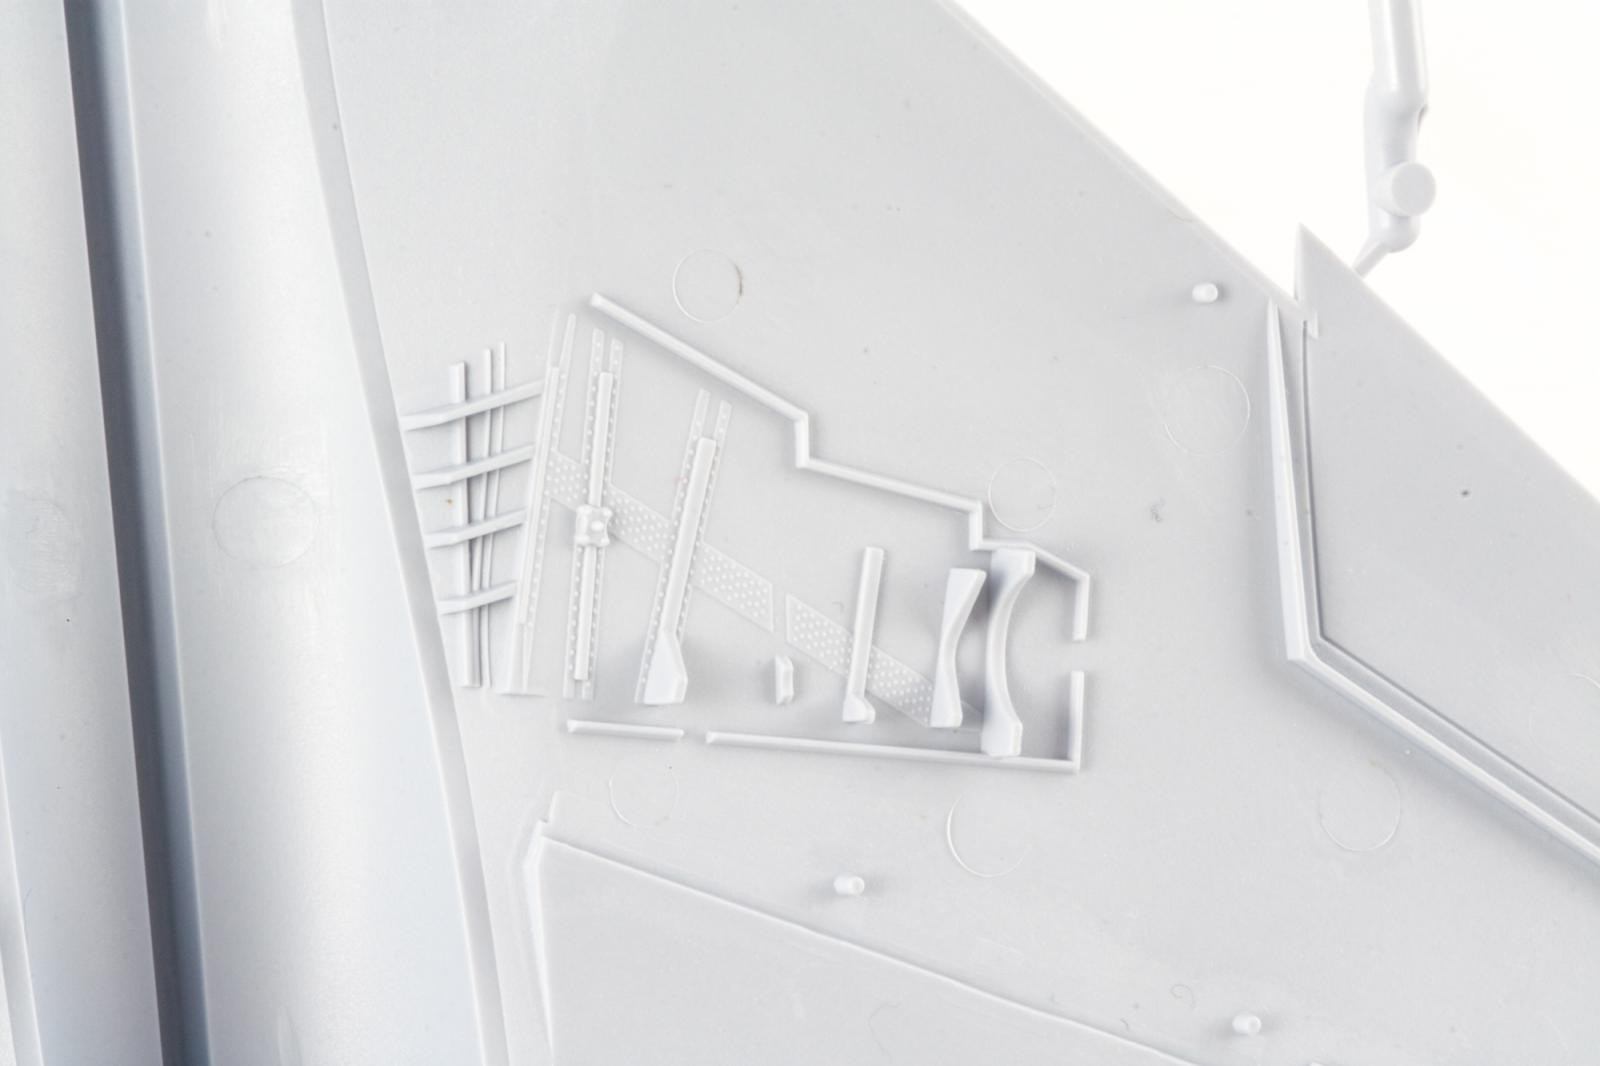
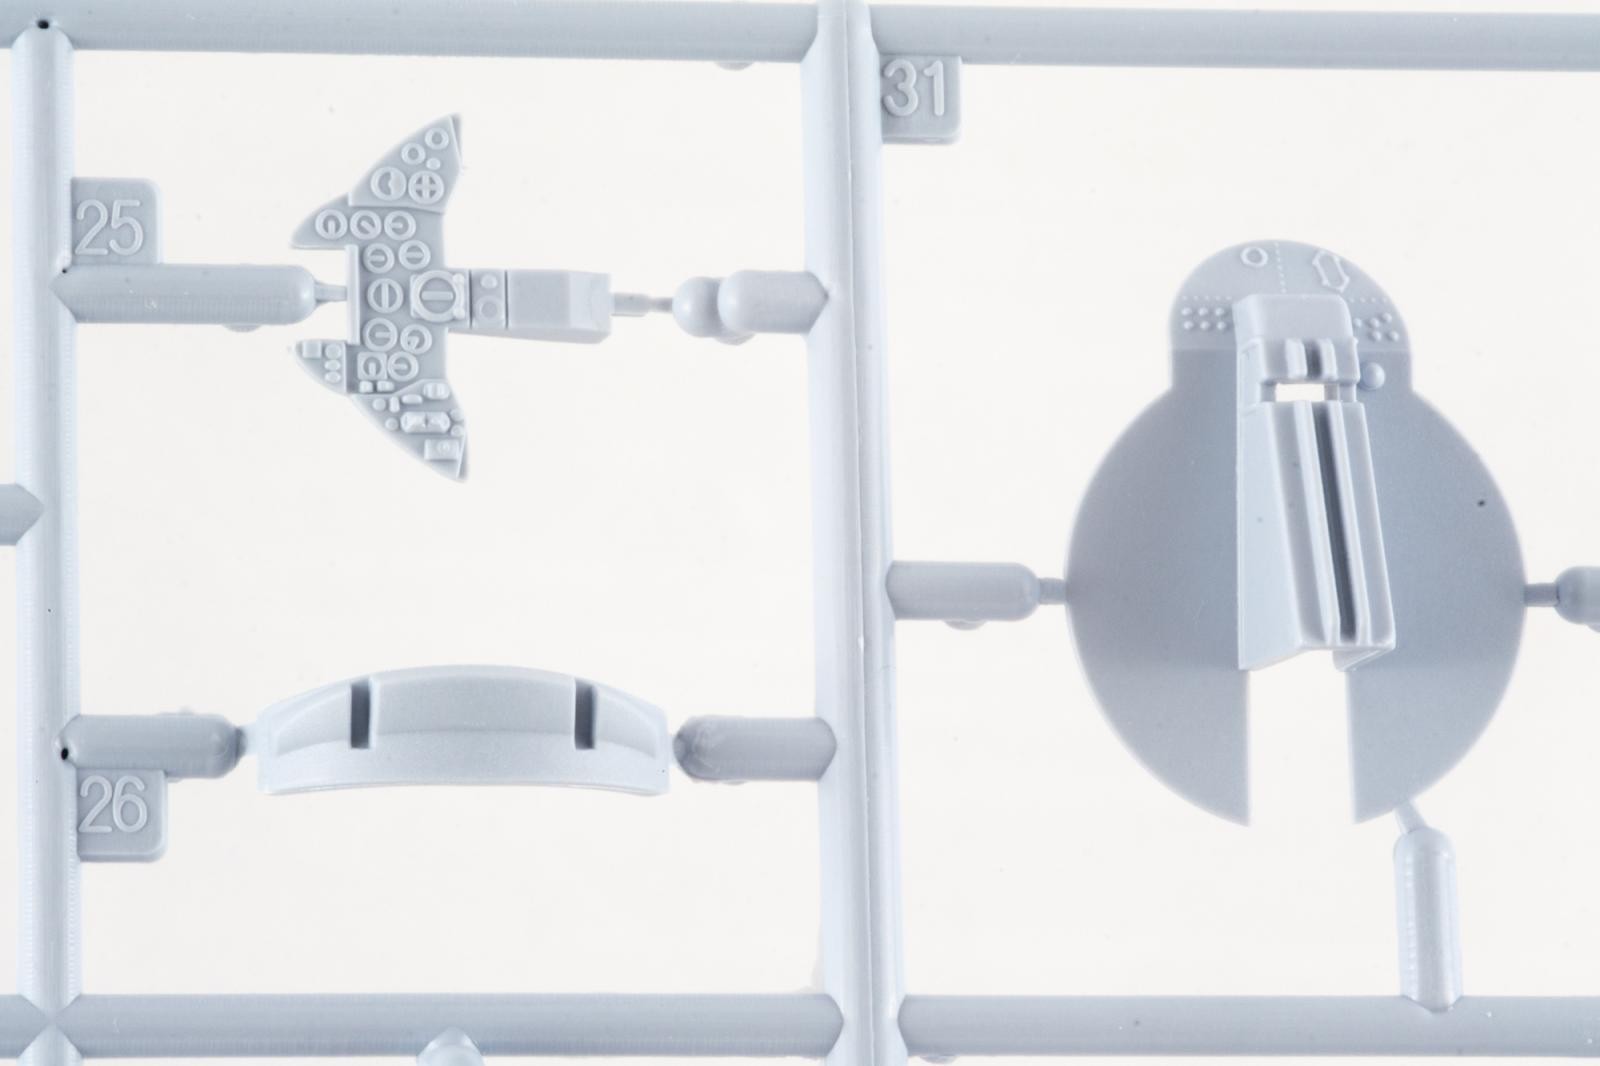
- 1. Wheel well detail. Nice, and a good starting point for superdetailing.
-
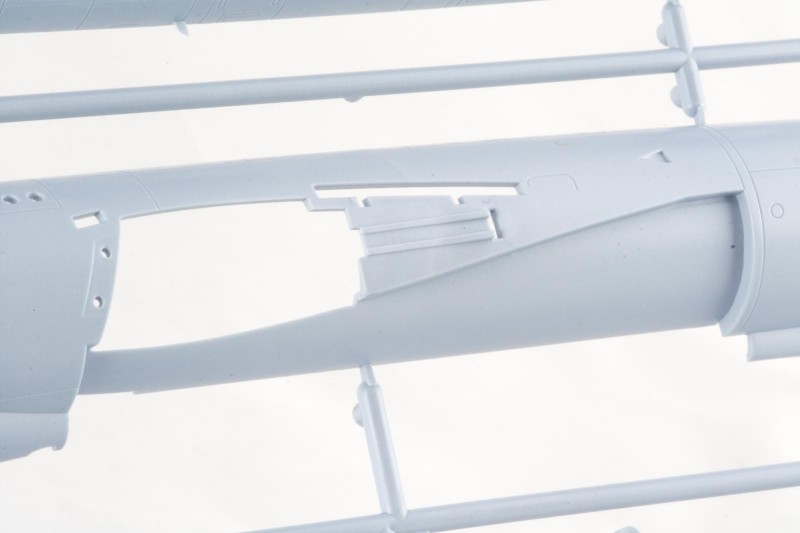
- 1. Wing goes here.
- 2. Air intake goes here. Let's see how everything fits.

-
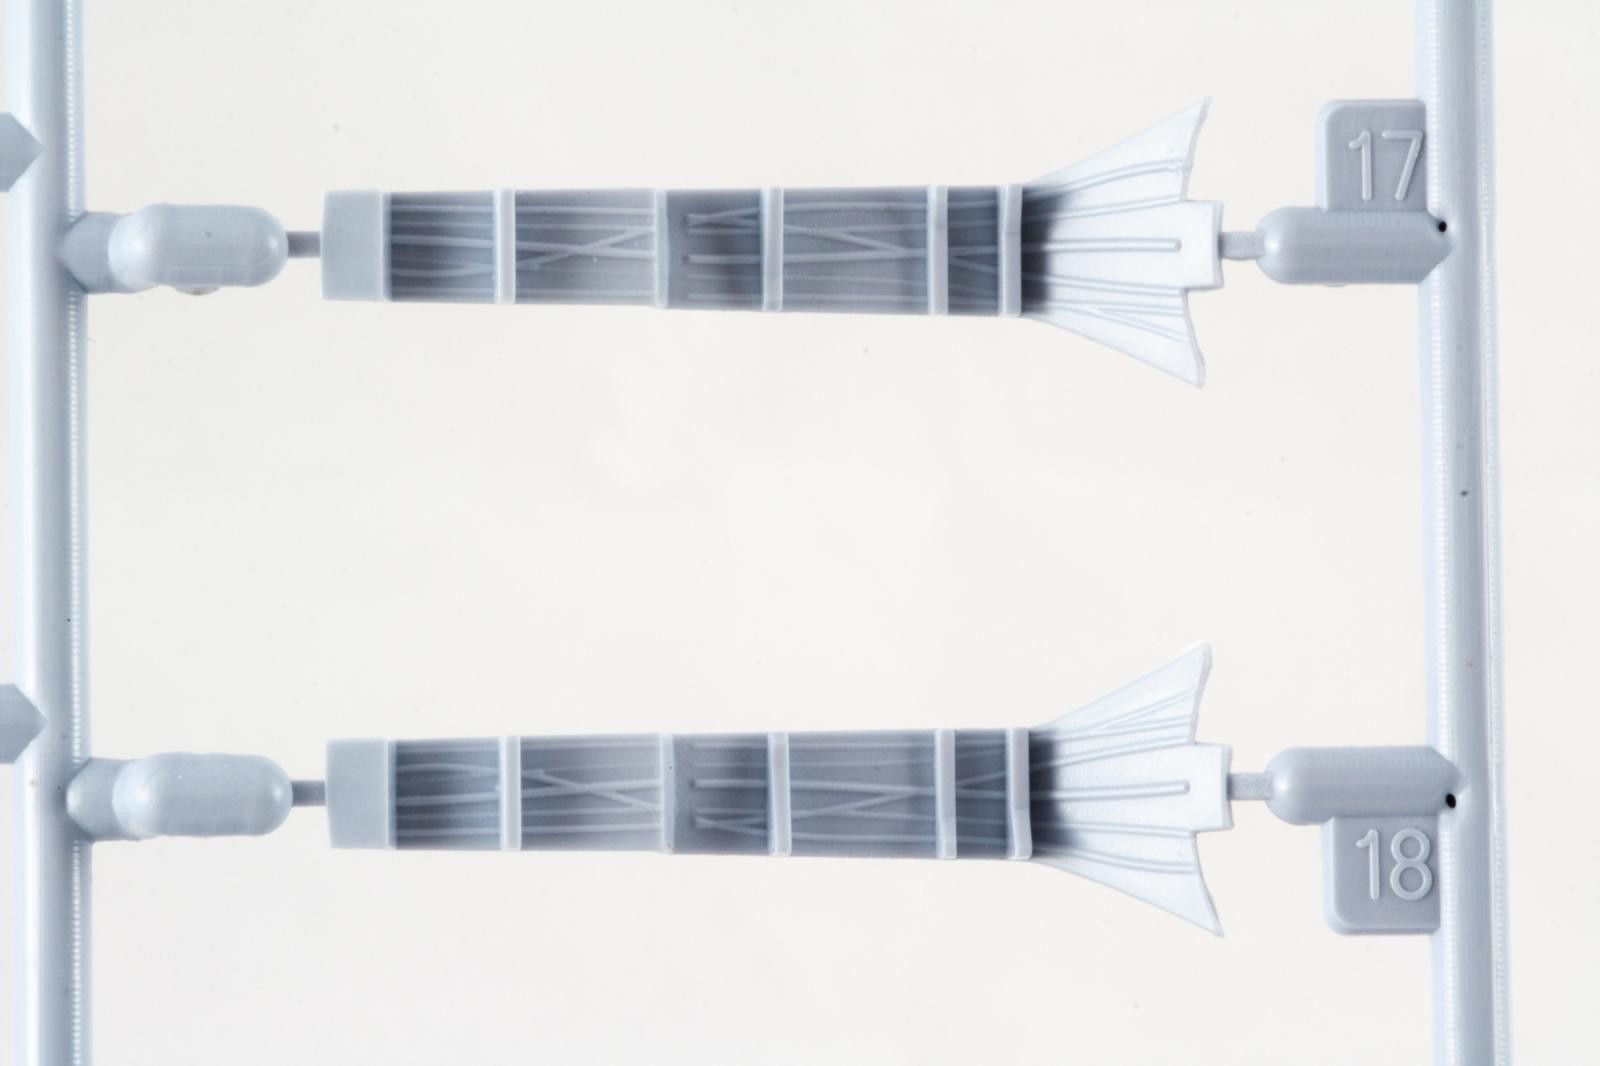
- 1. Alternative parts for later version, featuring brake chute housing.
-
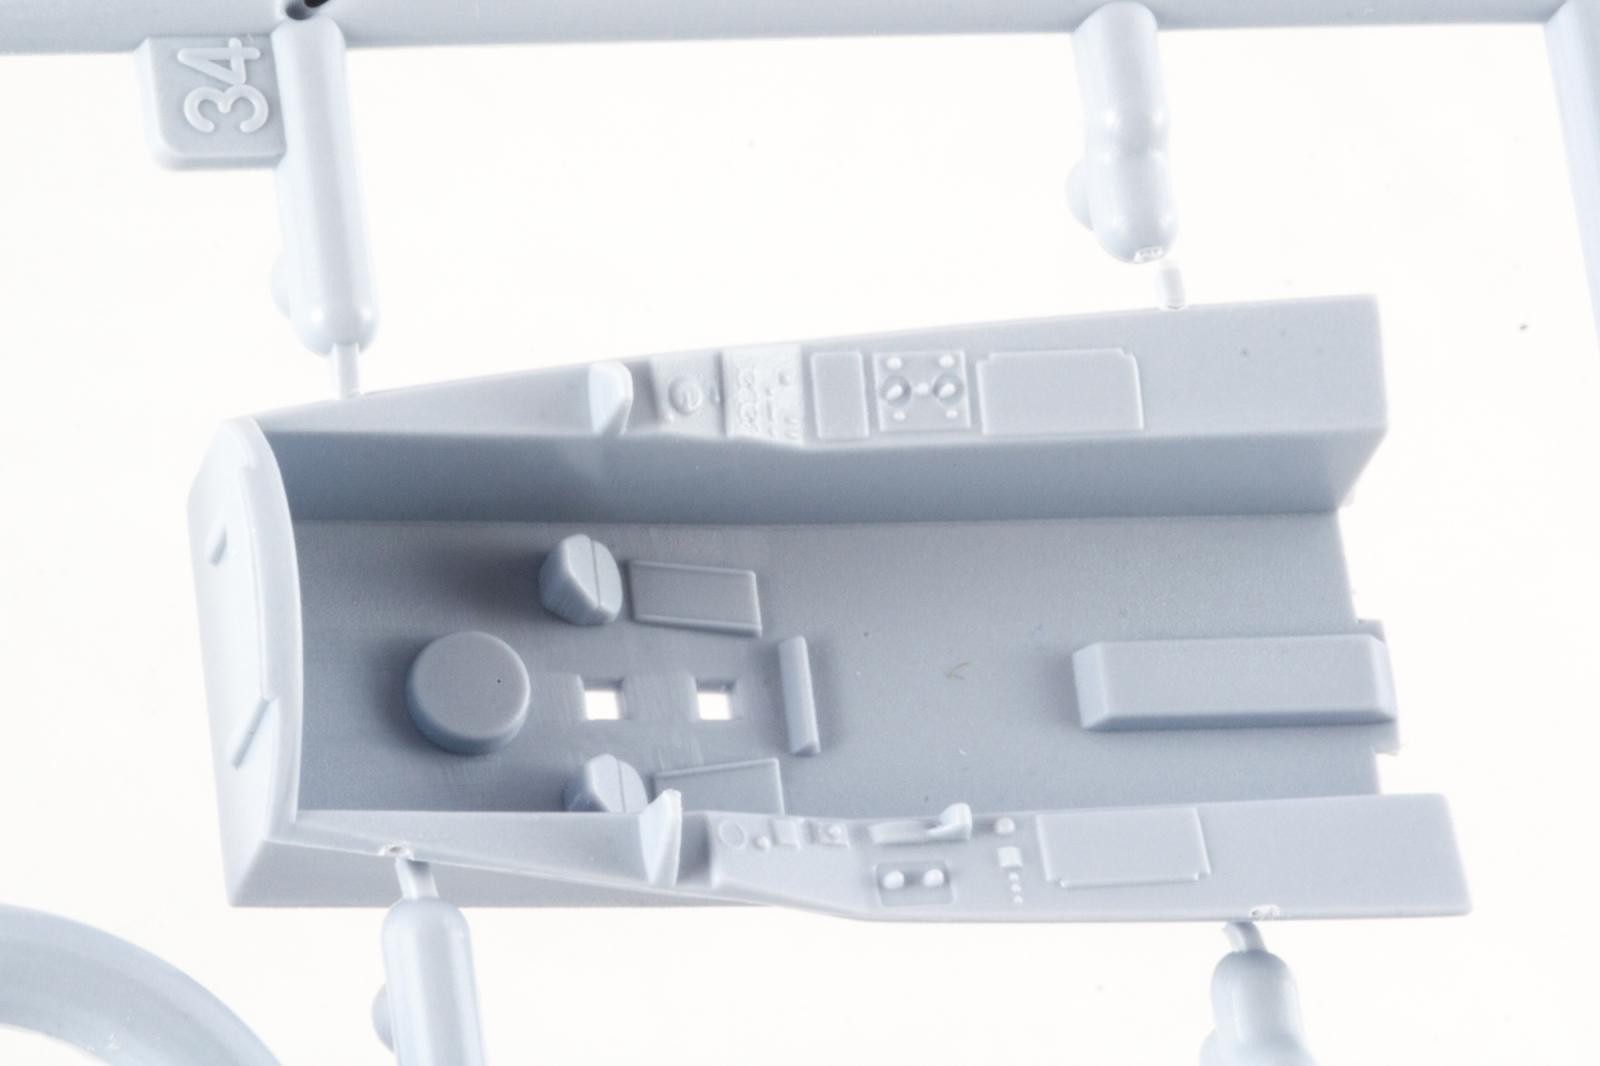
- 1. Cockpit wall detail can be improved. A lot.
-

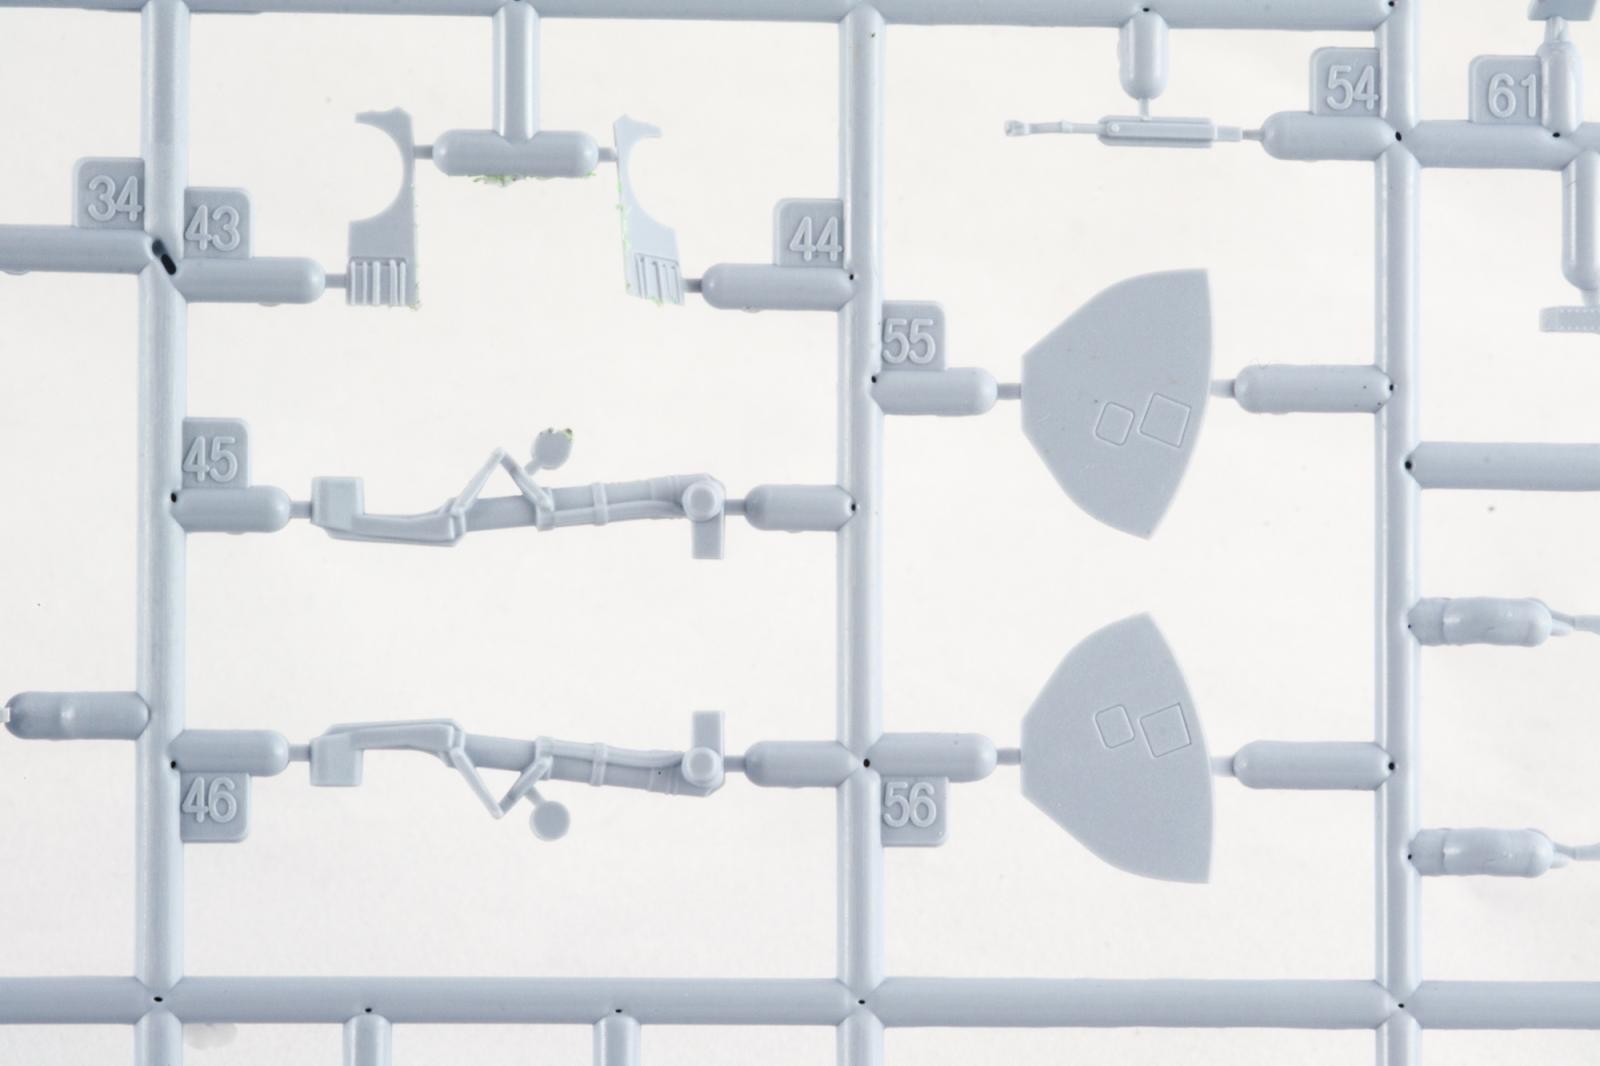
- 1. Cockpit tub. Not the kit's strongest point.
-
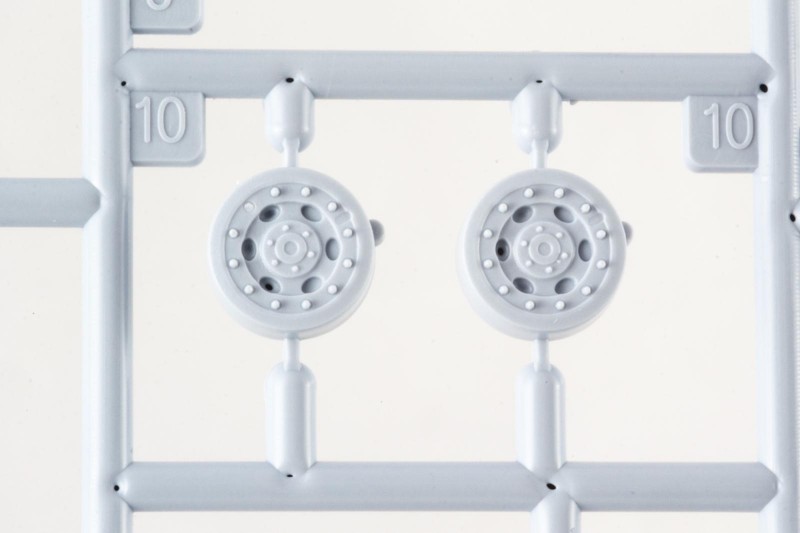
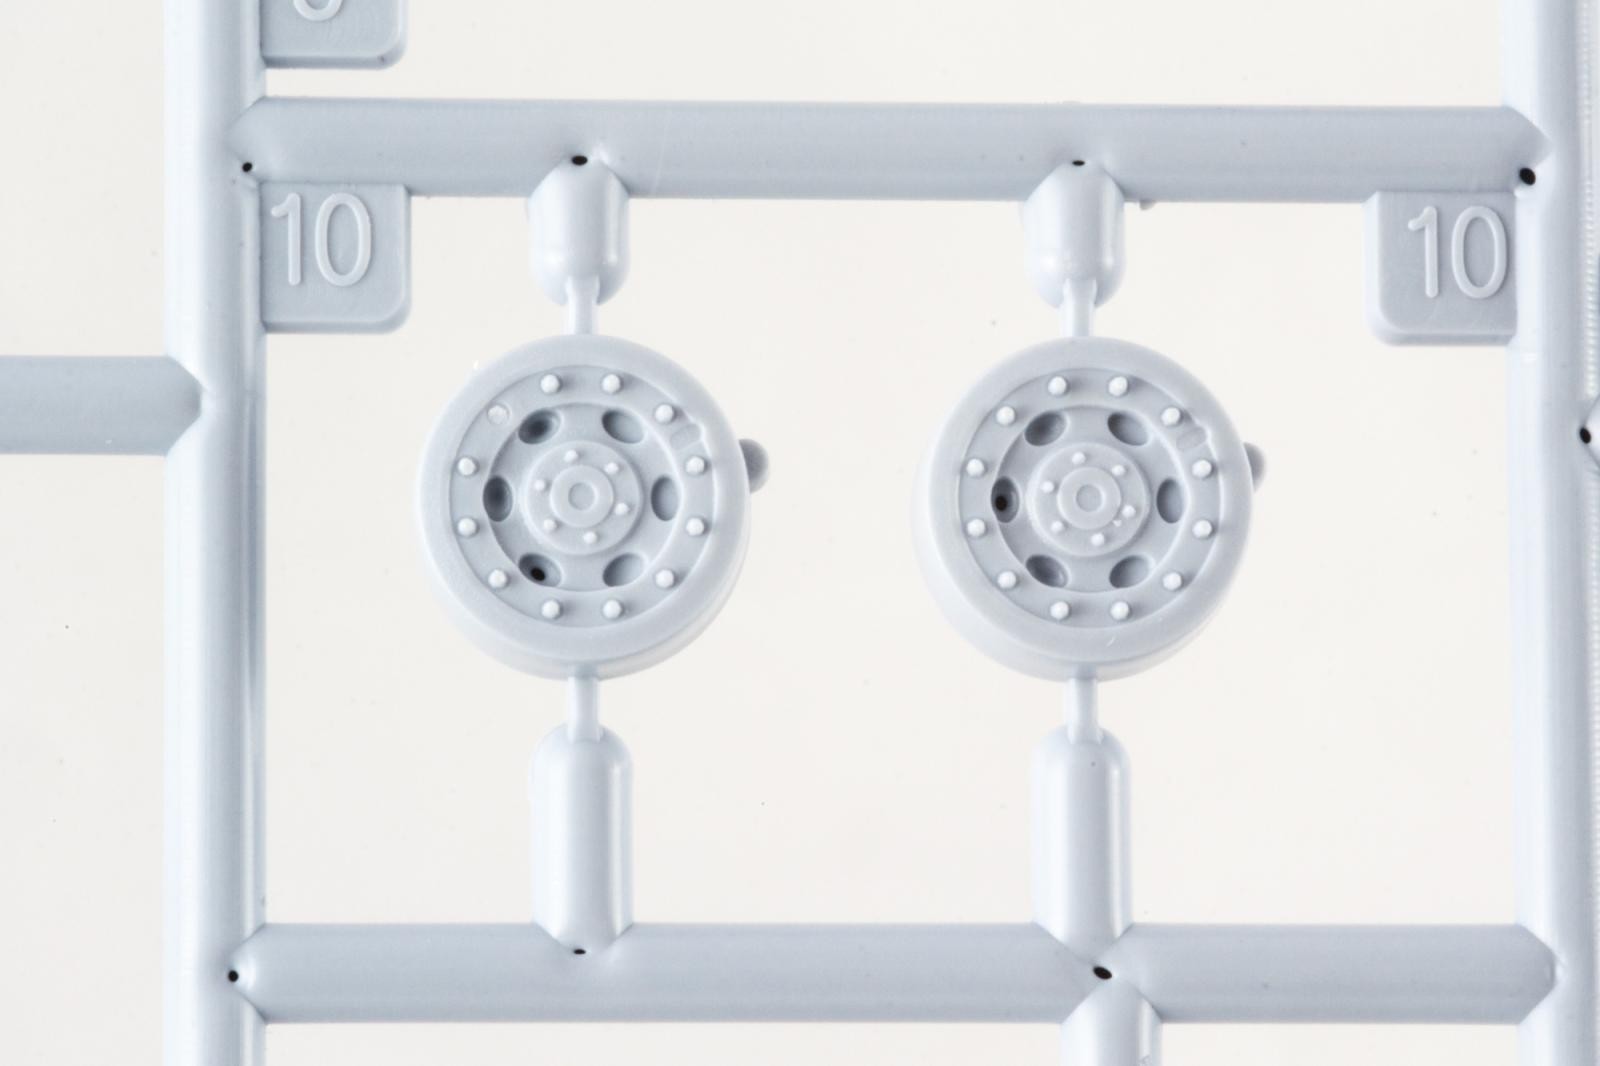
- 1. Main wheel hubs. Separate tires are flattened, but show no profile whatsoever.
-
- 1. Wheel well sidewalls
-

- 1. Cockpit details.
- 2. IP detail is very pronounced...
-
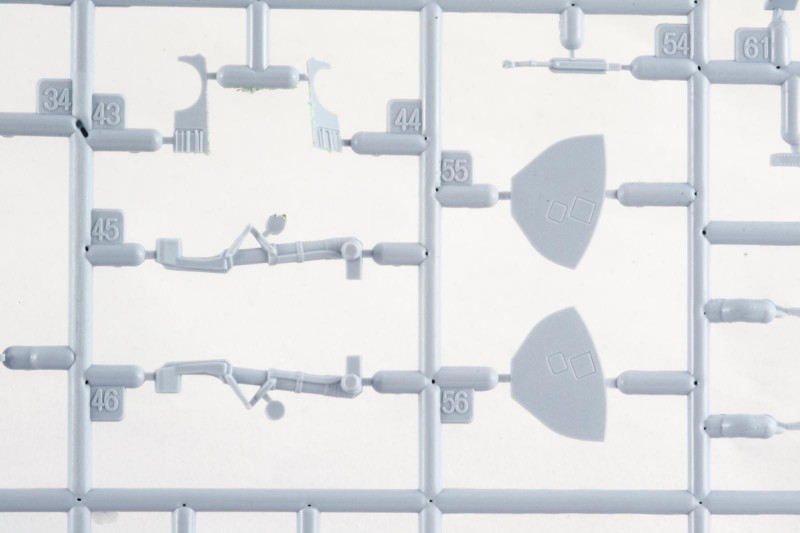
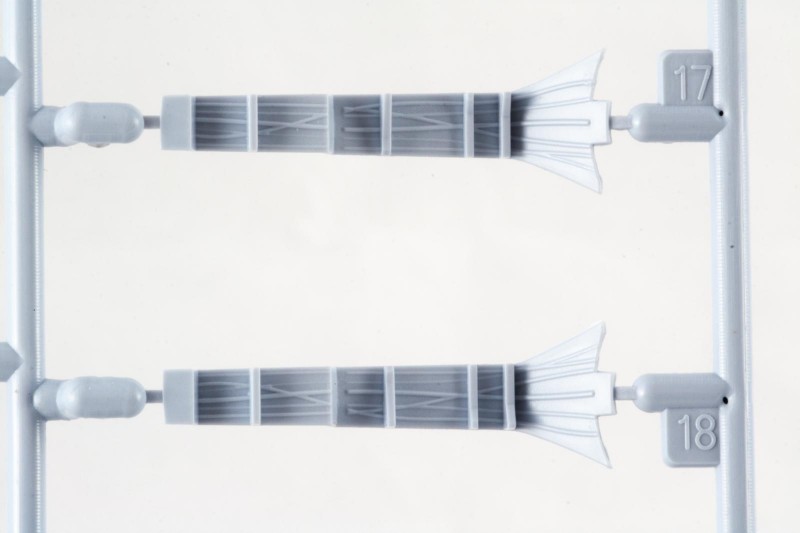
- 1. Main gear legs come with brake lines.
-
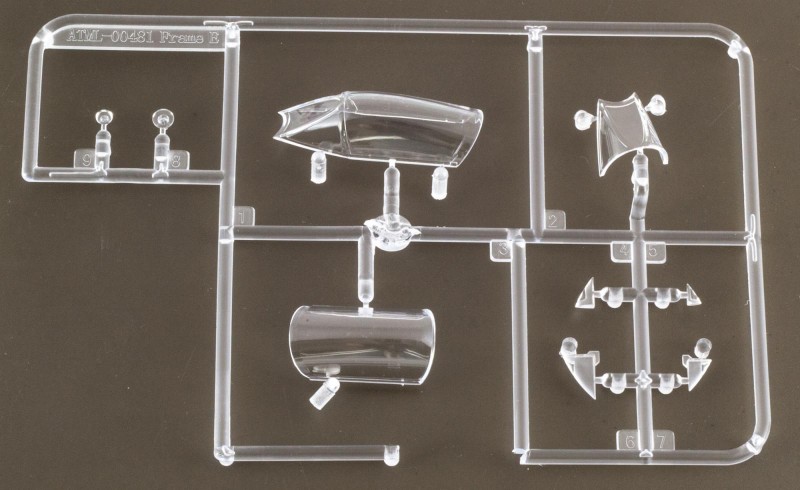
- 1. Different parts for open or closed canopy.
- 2. Separate parts for wing tip lights.

-

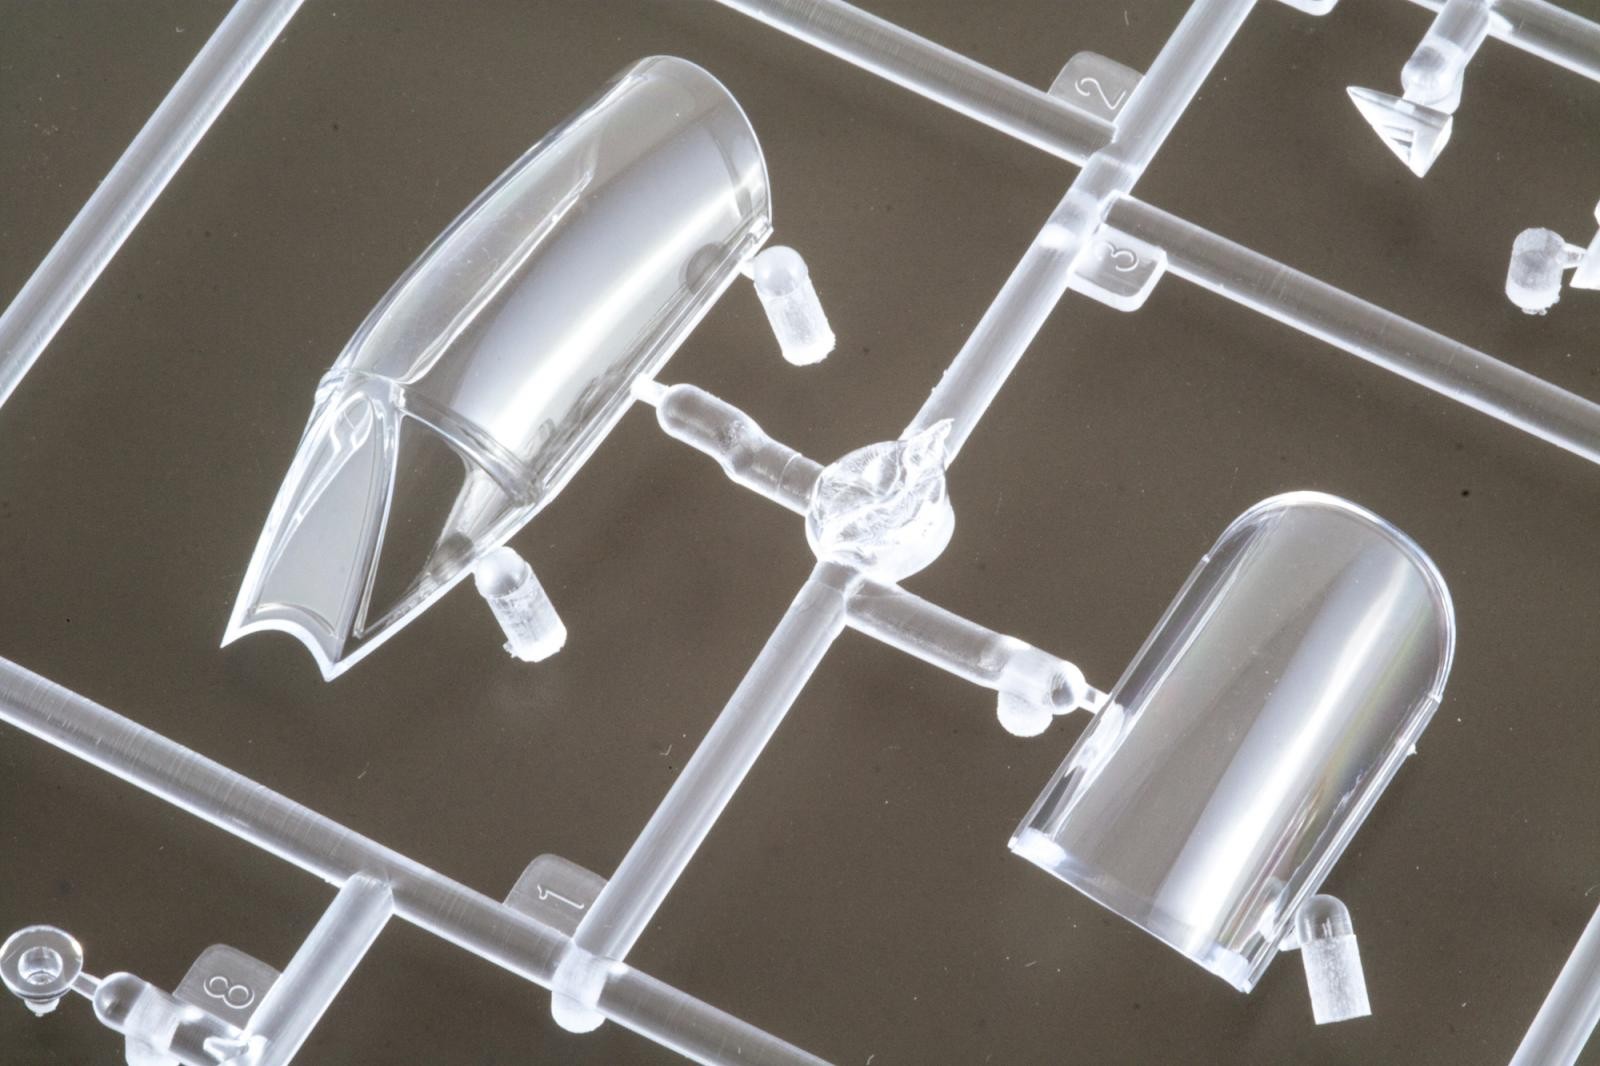
- 1. Canopy parts are actually really nice and clear.
First Impressions. And a Dilemma.
I am happy about a couple of things with this kit. First off, it's a proper Hunter. The decals look to be of very good quality. And Airfix again have improved the quality of their molding. I am not too chuffed with surface detail and the uninspired cockpit, but at least the former point can be addressed with some painting and weathering effort.
Speaking of which, here's the dilemma. Almost all the British and Dutch aircraft I have seen in period pictures look pretty clean and well maintained. That's cool and everything, but I really like the contrast between the classic lines of the Hunter and a beat-up paint job. So I am afraid I will have to do some alterations to the kit and build it as a Lebanese FGA.70 😀


Thank you for the detailed review Boris.
Just out of curiosity, was the Hunter kit molded in India?
Cheers! Yes the small print on the box states "Made in India".
Thank you.
As someone who has been around 1:1 Hunters (there are three here in Southern California that used to fly), the surface detail IS pretty plain. It's smooth.
Glad I kept all my Aeromaster Hunter sheets!
I won't argue jet surfaces are rather slick in general. But there is still something that could be done to make it a bit more interesting. Just take a look at the round panels and the wing tip, and compare it to the kit part - I simply think there is room for improvement for Airfix.
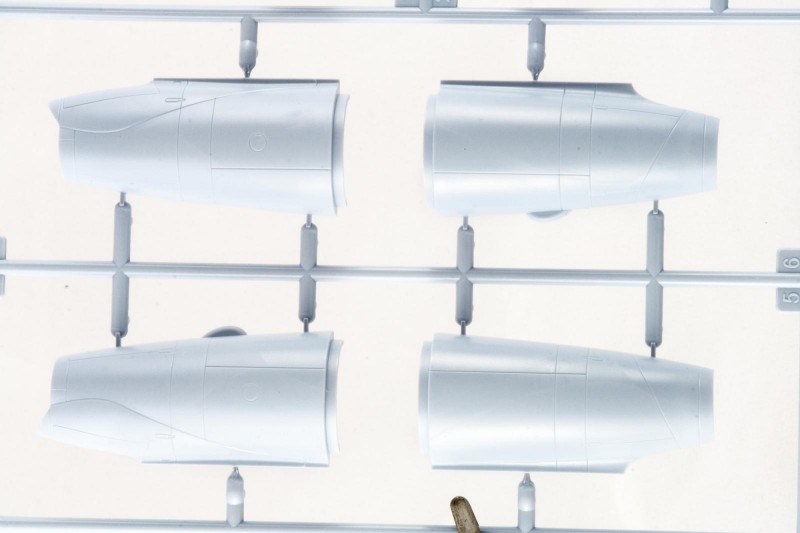
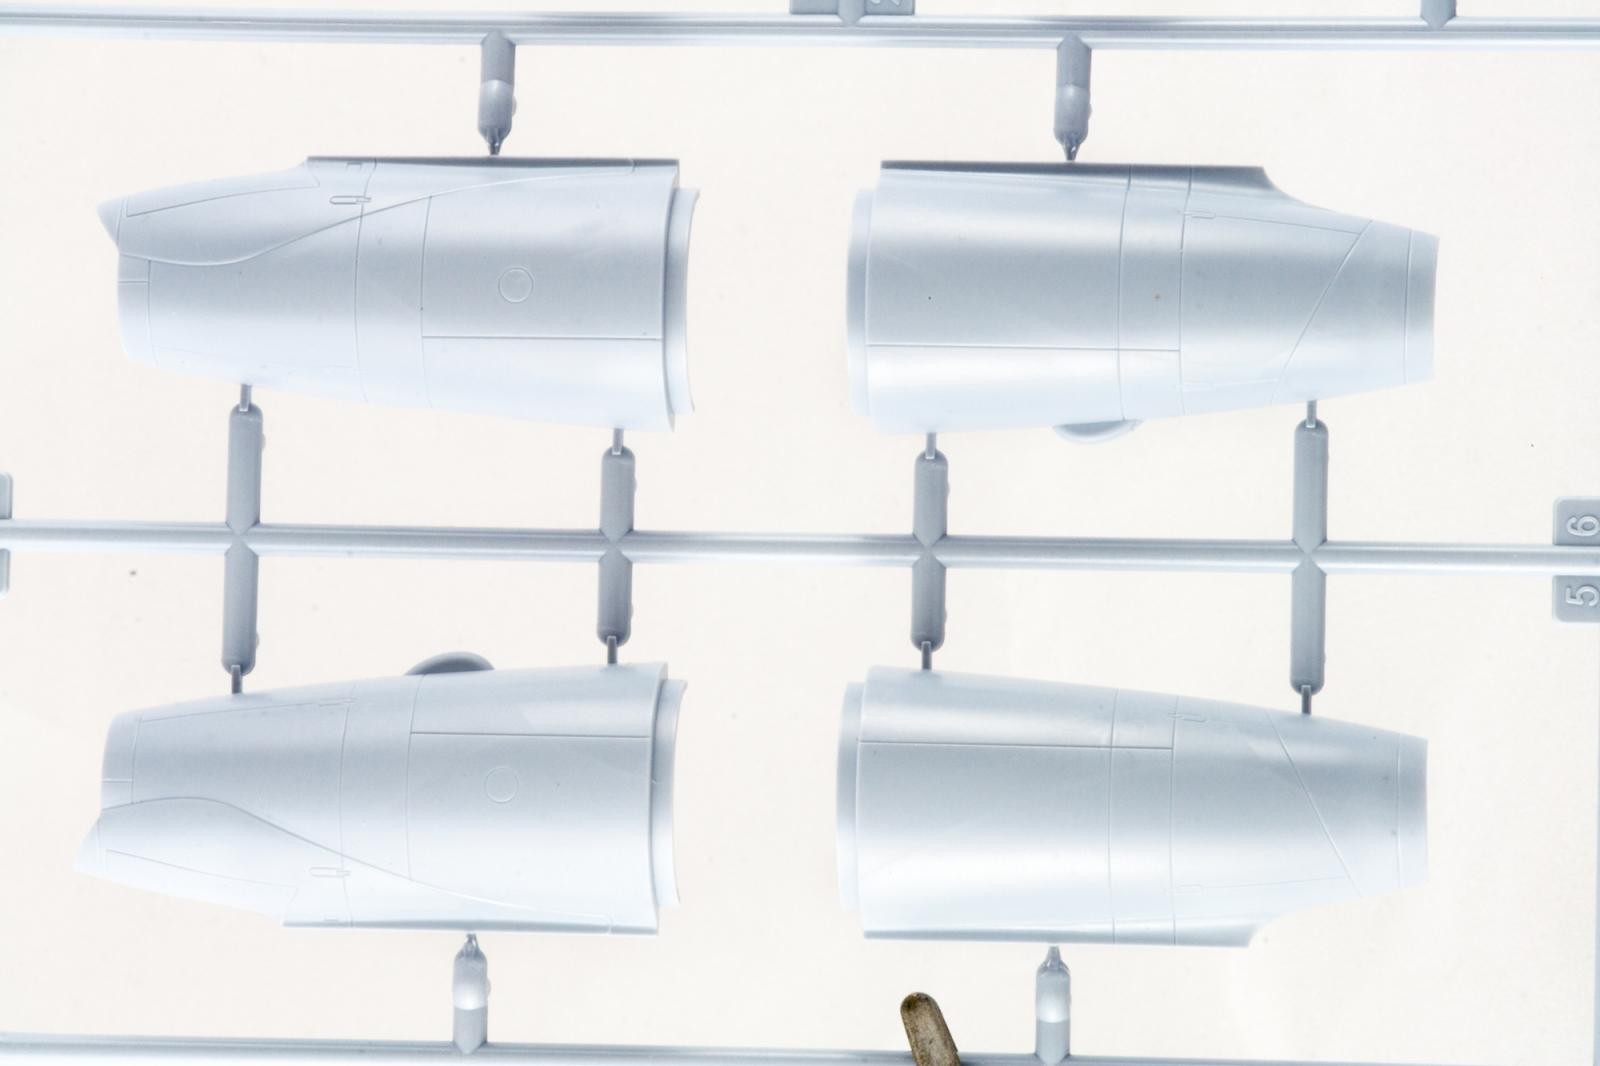
Very nice Boris, I do like how they handled the intakes trunks as separate parts, with what looks like no seams.
Very comprehensive presentation, Boris...and I thought a Phantom had a lot of stenciling - wow!
The handling of the wing looks interesting - the upper surface first. I know some modellers do this to avoid filling seems already. Do other kits take this approach? Aftermarket will take care of the cockpit. Thanks for the review!
Hi Paul. The Airfix Victor and both 1/72 and 1/48 Gnat kits feature wings engineered in this fashion. It sets the dihedral and minimizes seams.
Great review, Boris! I'm like you ... and probably many others here: the Hunter IS a pretty jet - one of the prettiest!
Looks like Airfix is really trying hard to improve. It is too bad about the lack of details, especially in the cockpit. That's where I love to see a lot of detailing. I guess we must just pretend that it's 1965 and then the details that are there will seem like they're GREAT!
Thanks for sharing this, Boris.
With regards to the wing detail and the cockpit...Airfix kits that are a little more complex are priced in the mid-range. Your not getting a Tamiya,Hasegawa or KittyHawk fast jet with fast jet prices. The Tamiya F-14's are in the 100.00 dollar range. Rather, Airfix offers the amenities similar to what General Motors did...you buy the entry level Chevy, the mid-ranged Pontiac or the doctors car the Buick, or go high end and get the Cadillac. Cadillac being the Tamiya F-14 while the Airfix Hunter is more of a Pontiac. A kit that is a little more affordable and one maybe incline to buy another and add a resin cockpit and bang seat...which would offer more detail than plastic depending on how fat your wallet is at the time.
Hi Boris, many thanks for your valuable review. I have one more question if I can... it's about the flaps. The flaps could be lowered if I see it right thogh I have no notion how the inner details (of the flaps and wings) are made. Will I need some aftermarket etched parts, or is it usable as it comes with the kit? Thank you.
Marcel @marcelzius, unfortunately the flaps are devoid of any inside detail - just a plain flat surface. Just in case you need an idea what's actually going on inside the flaps, here's a walkaround: https://www.net-maquettes.com/de/pictures/hawker-hunter-walkaround/
Thank you Boris, I had a feeling it could be so - now I'm sure 🙂 ... all built Arfix Hunters which I saw on the blogs had the flaps either up or were NOT shot from behind! Thanks for the walkaround too!