Tamiya Chieftain Mk5c
This article is part of a series:
- Hull Down
- Takom Chieftain Mk2
- Takom 1/35 Chieftain Mk 11 Stillbrew
- Tamiya Chieftain Mk3
- Tamiya Chieftain Mk5c
- …and the Chieftain Mk 3 progresses…
- Berlin Brigade Chieftain Mk5C
- Chieftain Berlin Brigade Camouflage Masks
- Takom Chieftain Mk5c Berlin Bde
- Takom Chieftain Mk10 Berlin Bde
- Takom 1/35 Chieftain Mk10 Track Bash
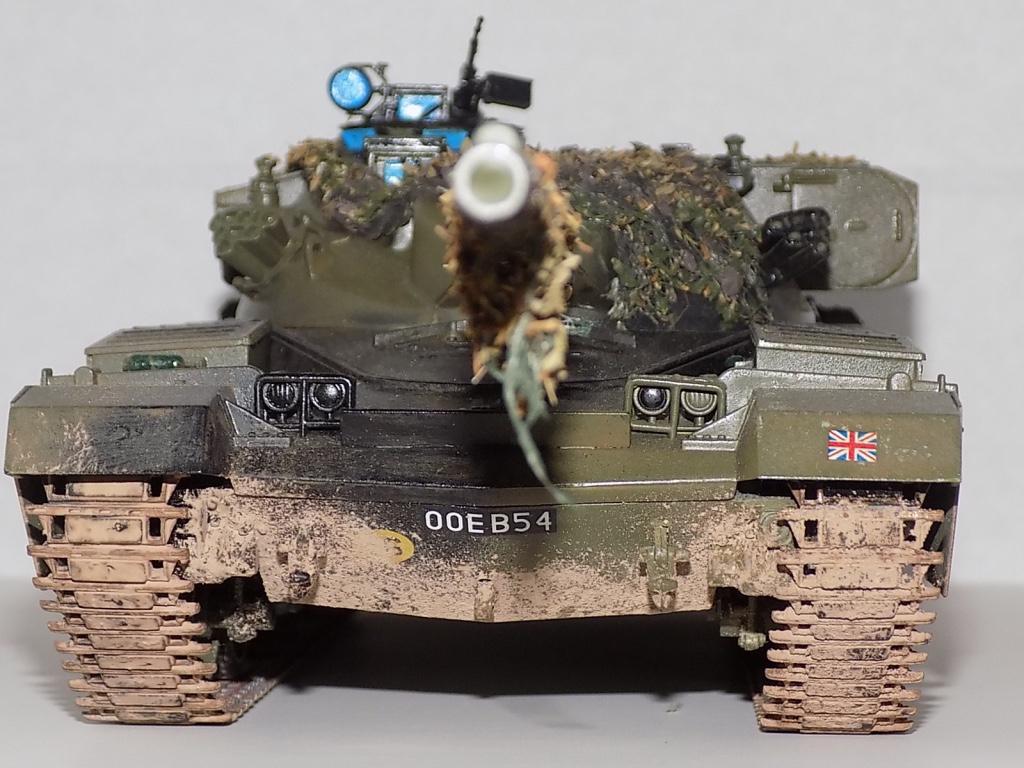
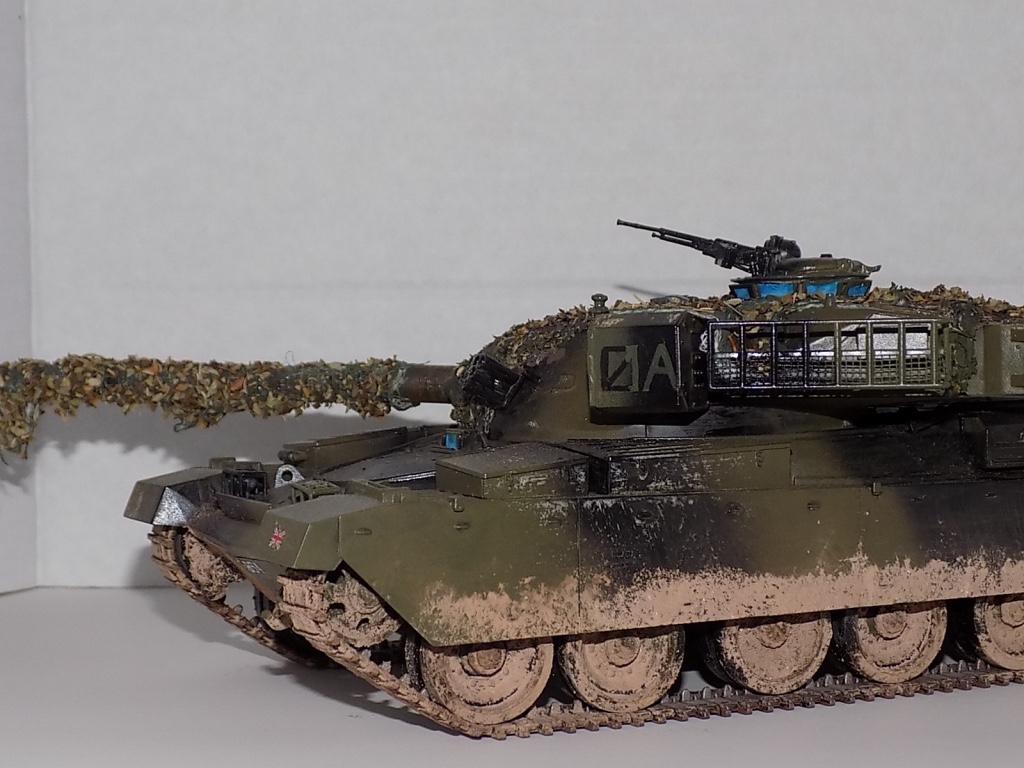
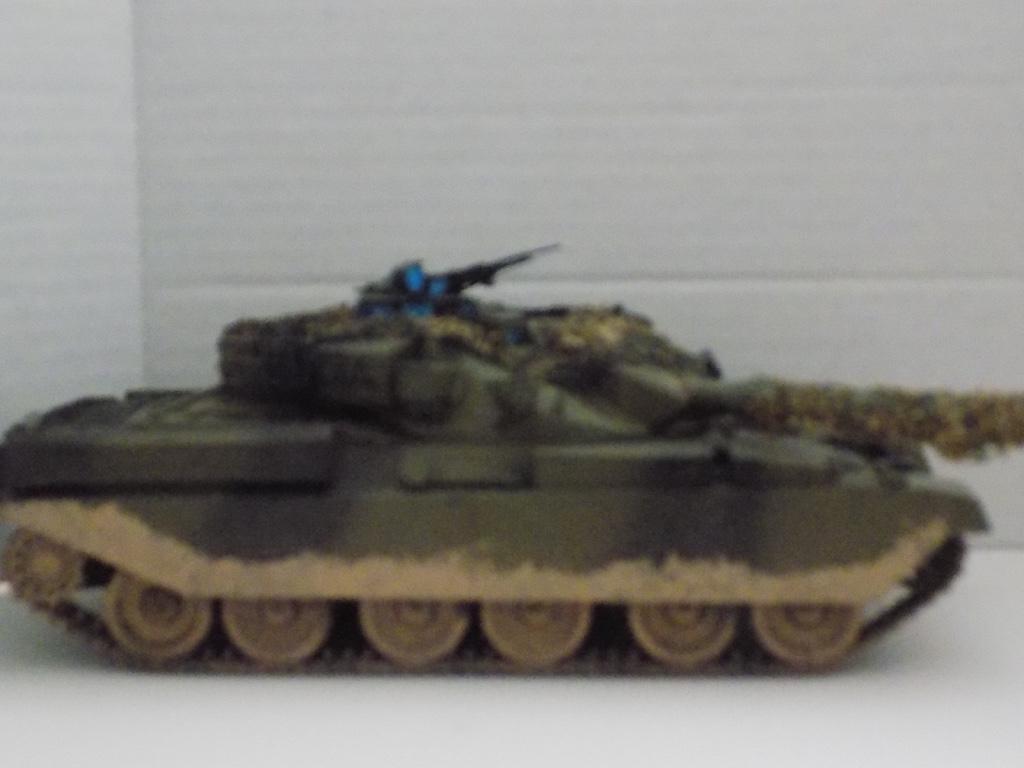
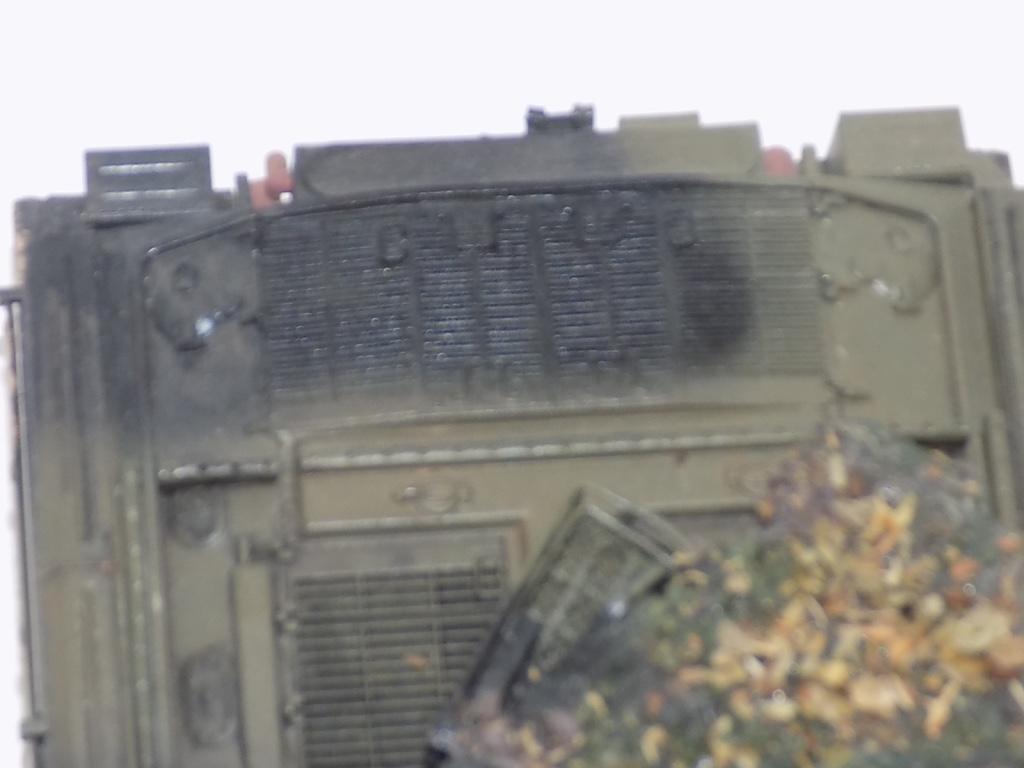
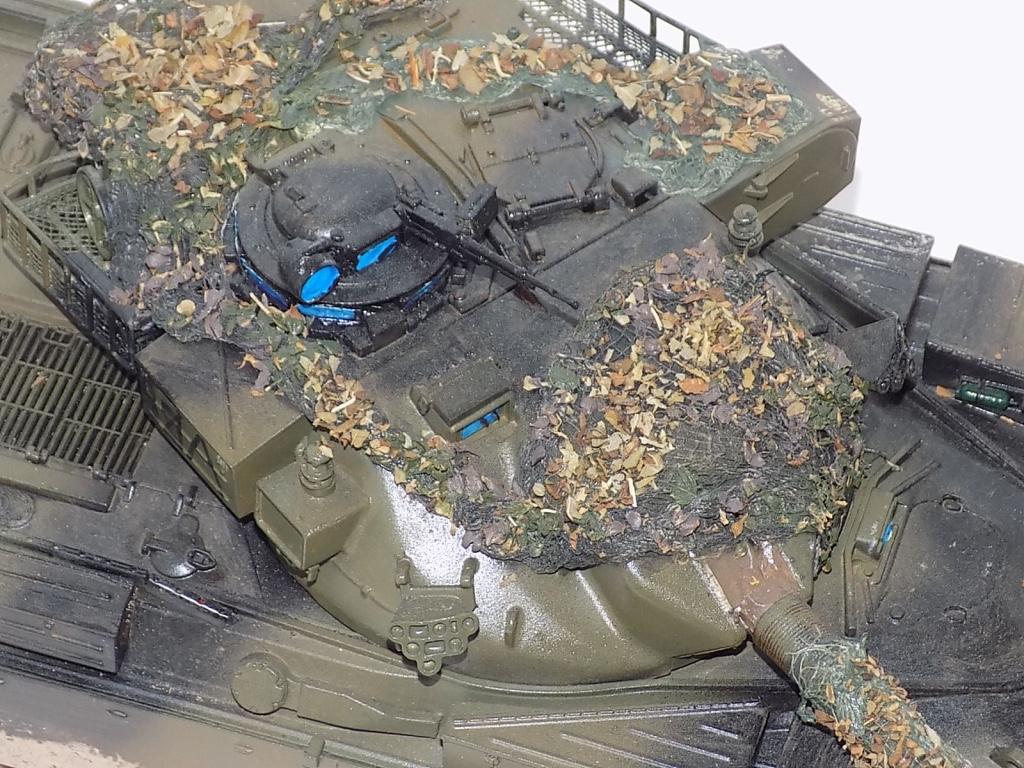
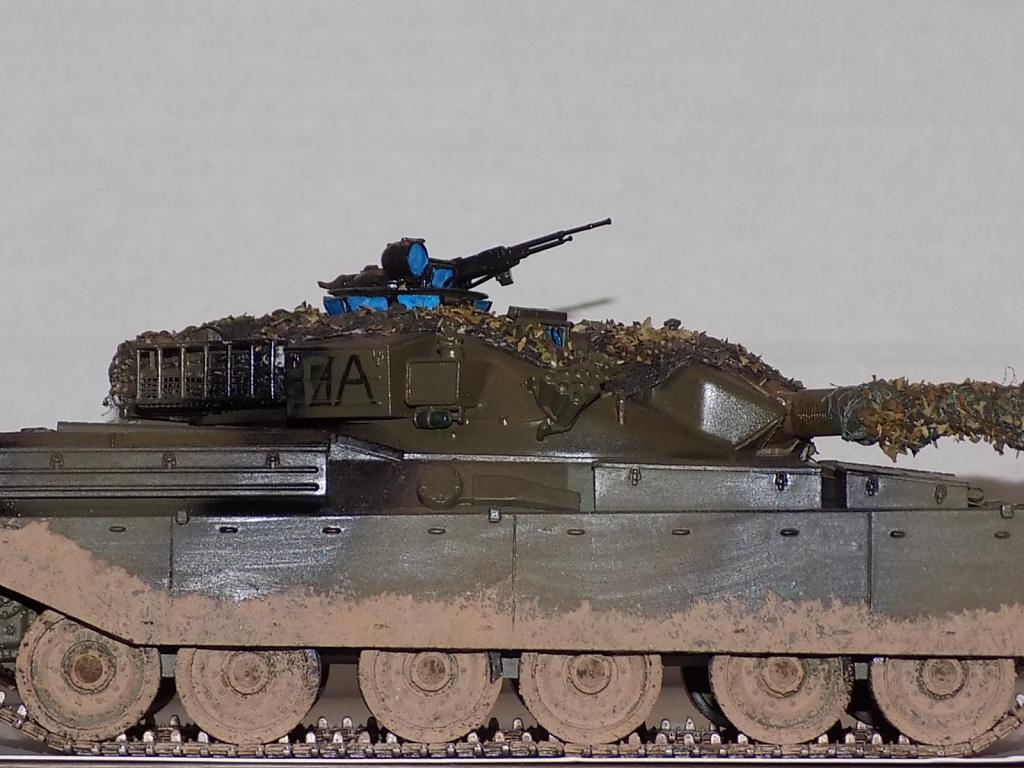
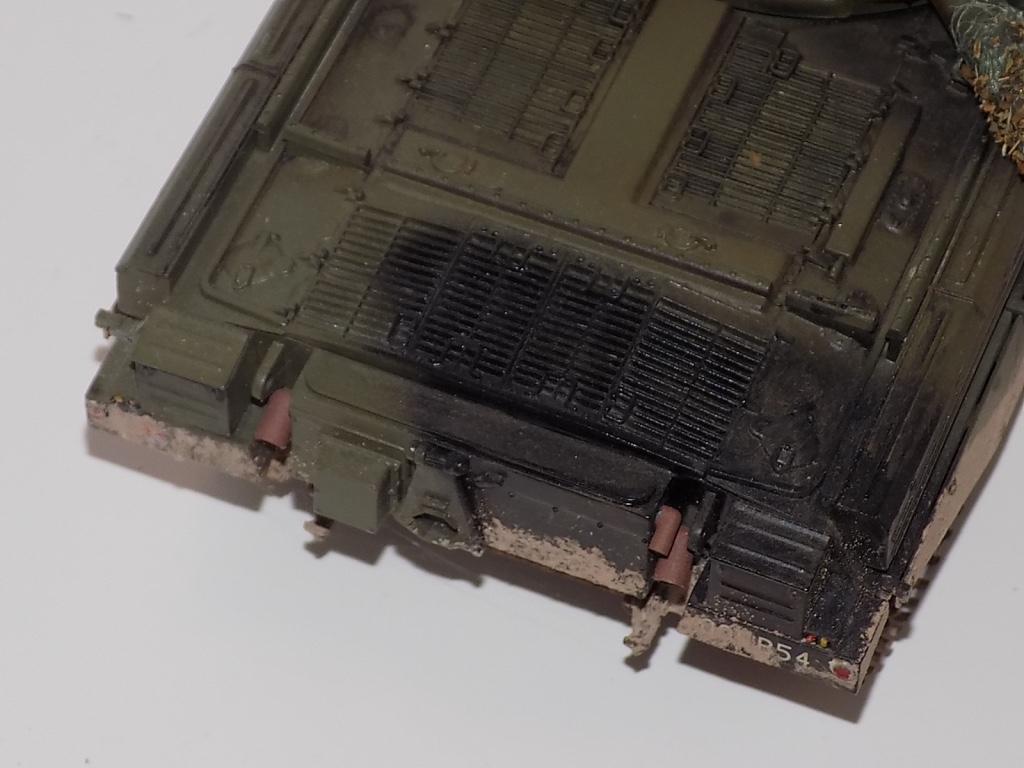
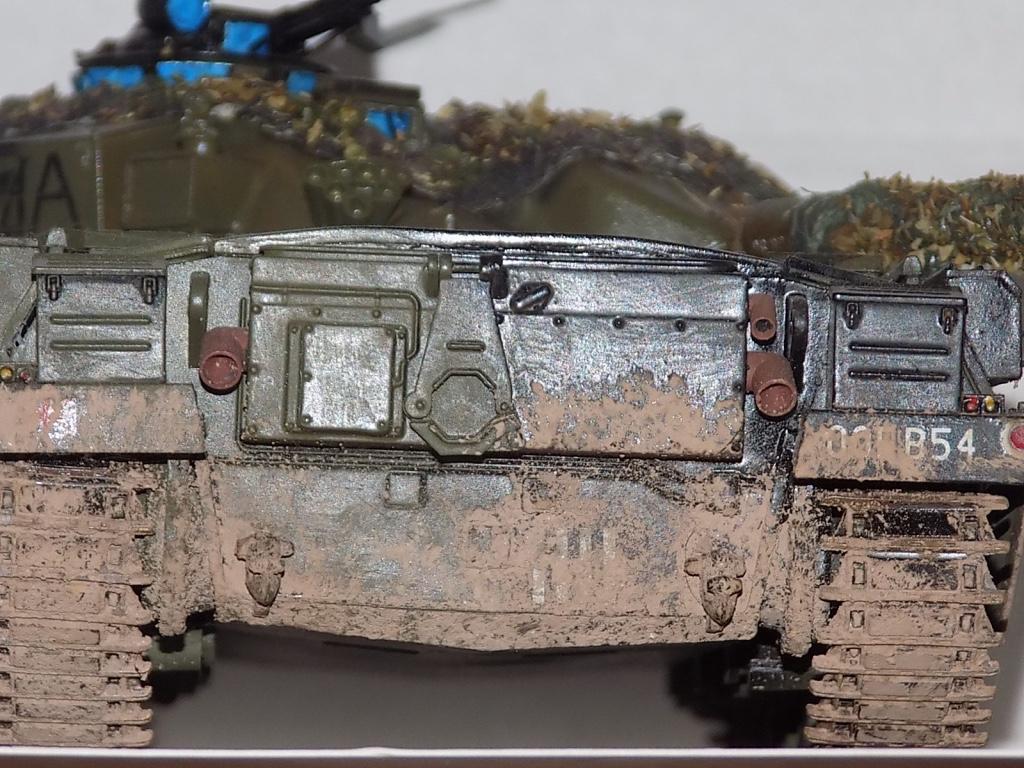
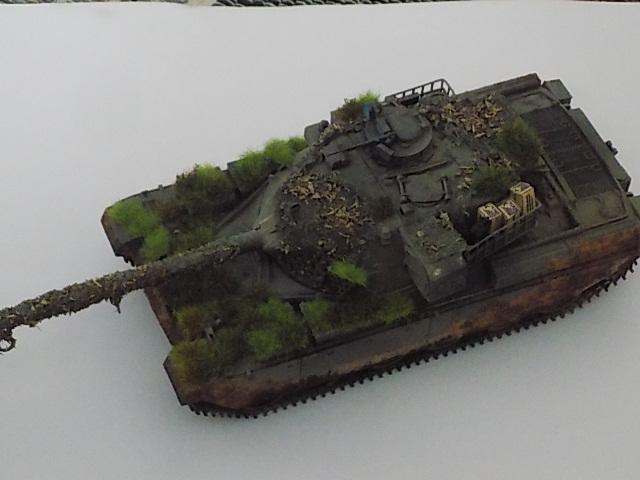
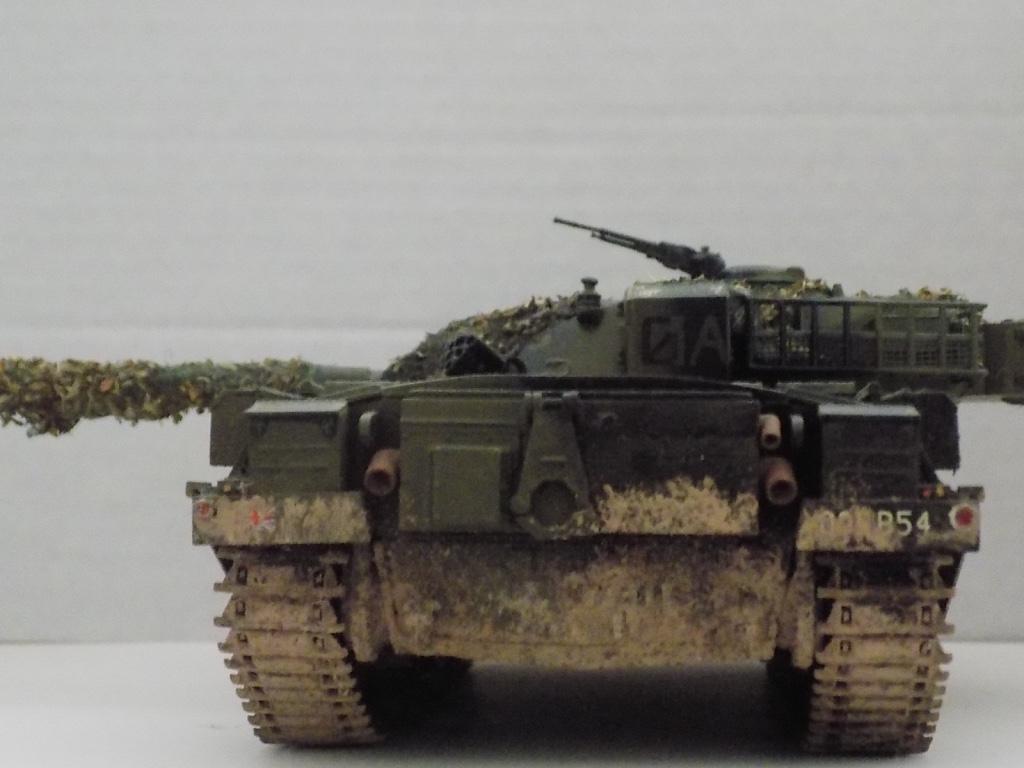
Here are images of my Mk5c that I mounted on a diorama. It has had the rear engine deck corrected and a Clansman TUAAM box mounted on the right side of the turret. TUAAM = Tuning Unit Automatic Antenna Matching. The "c" after the Mk5 denotes Clansman. As it was going to be mounted on a base, I used the kit tracks.
Beautifully done, Ian.
Thanks Jeff. I had "fun" with this one to say the least! In the end I scratch built the larger NBC pack at the rear of the turret. The engine deck needed changing as well, so I made
another mould, but that was less successful
Looks nice! Love the foliage camo treatment.
Thank you Greg
Wonderfully built Ian,
As a former US Army tanker... just like my buddy Jeff B. @mikegolf
I like everything about this one.
The camo netting really caught my eye. We used it on our tanks when in the field too. If you don't mind, what did you use to make the netting ?
I don't mind at all Louis. After painting the base camouflage pattern, I used surgical gauze for the net. I soaked it in a 50/50 mix of water and PVA glue. I built up depth a layer at a time. I used a single piece around the barrel with a single piece, treated the same way, but this time I manipulated it around the barrel more to allow more of "hang off" the barrel. Before it dried, I took a pair of scissors to them and snipped the underside of the "net" until I got a ragged appearance. When it had all dried (I waited about 24hrs to be absolutely sure, but you could probably get away with a couple of hours, in, say, the wife's airing cupboard!), I carefully dry brushed the net with a dark green enamel paint. One that would show up against the green and black of the camouflage pattern. The "garnish" was dried oregano, again, built up in layers, but this time fixed in place with PVA at 100%. When that had dried, I further fixed it with hair spray (the wife loved me for that one!). You will find a varying stages, some of the Oregano that has not glued in place properly will fall off. Don't worry about it, unless you get too much of a "bald patch", in which case just repeat. When fully happy, paint the garnish in the colour or colours that best match the nations camouflage nets you are trying to replicate. I this case, the British camnets used squares that were green on one side and brown on the other. These days, they are triangles in one colour only. I used Humbrol 30 for the green and 98 for the brown. First I dabbed on the colours in a "square" pattern of either green or brown. When dry, I dabbed leaves of the garnish in a the opposite colour to the square . The ratio was about 70/30, the idea is to make it look like some of the underside colour is showing through. In some areas I didn't paint the oregano at all, I was trying to make some of the cam squares look faded, but I would not do it as large as that again. I hope this helps, feel free to contact me if you have any problems