Special Hobby D-558 Skyrocket
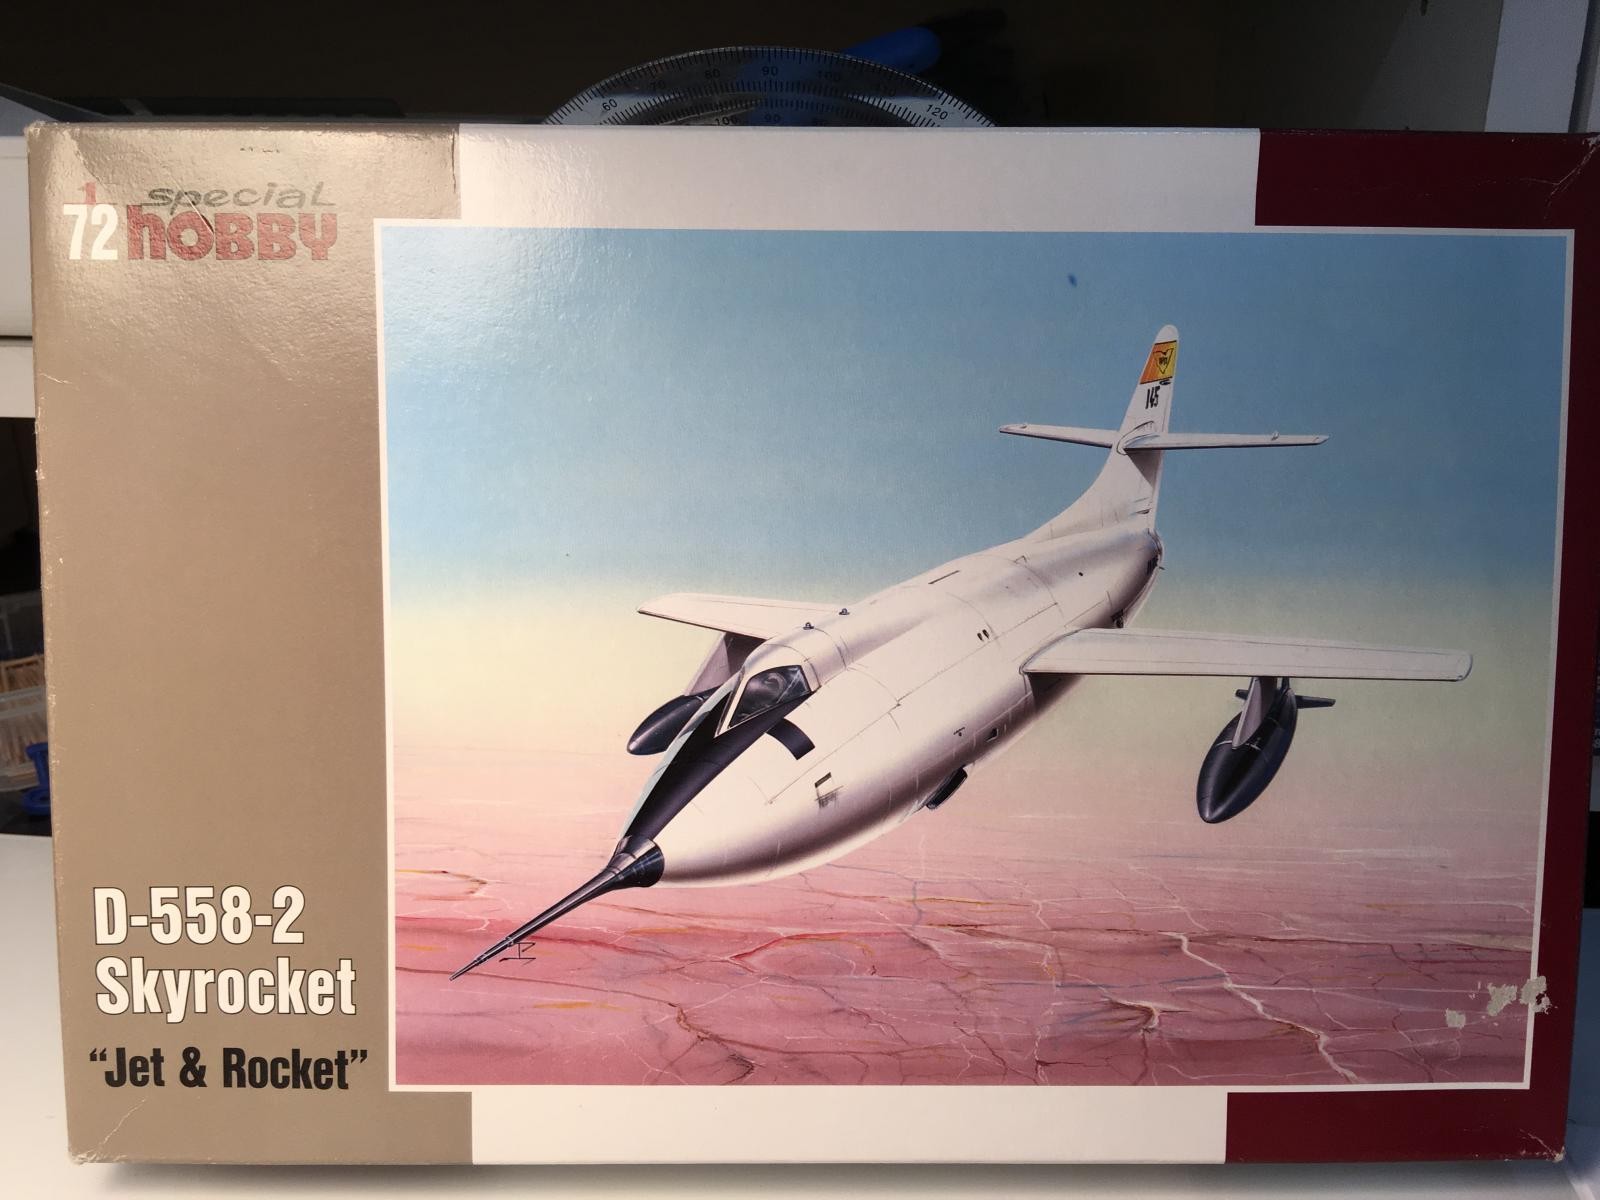
As I have gotten older, I have taken the pledge to avoid all things complicated and small. But sometimes I convince myself that I want to do something that definitely doesn't meet my "keep it simple" guidelines. And so it was that I saw this kit sitting at a vendor's table at a recent IPMS show. I have a soft spot for X-Planes, so I bought this kit, even though I knew it would probably have some twists and turns to it. I decided to build it straight from the box in order to keep it as simple as possible. It is well-equipped from the box, with plastic parts for two versions, a small sheet of photo etch, and resin parts for the jet engine exhaust and the wheels.

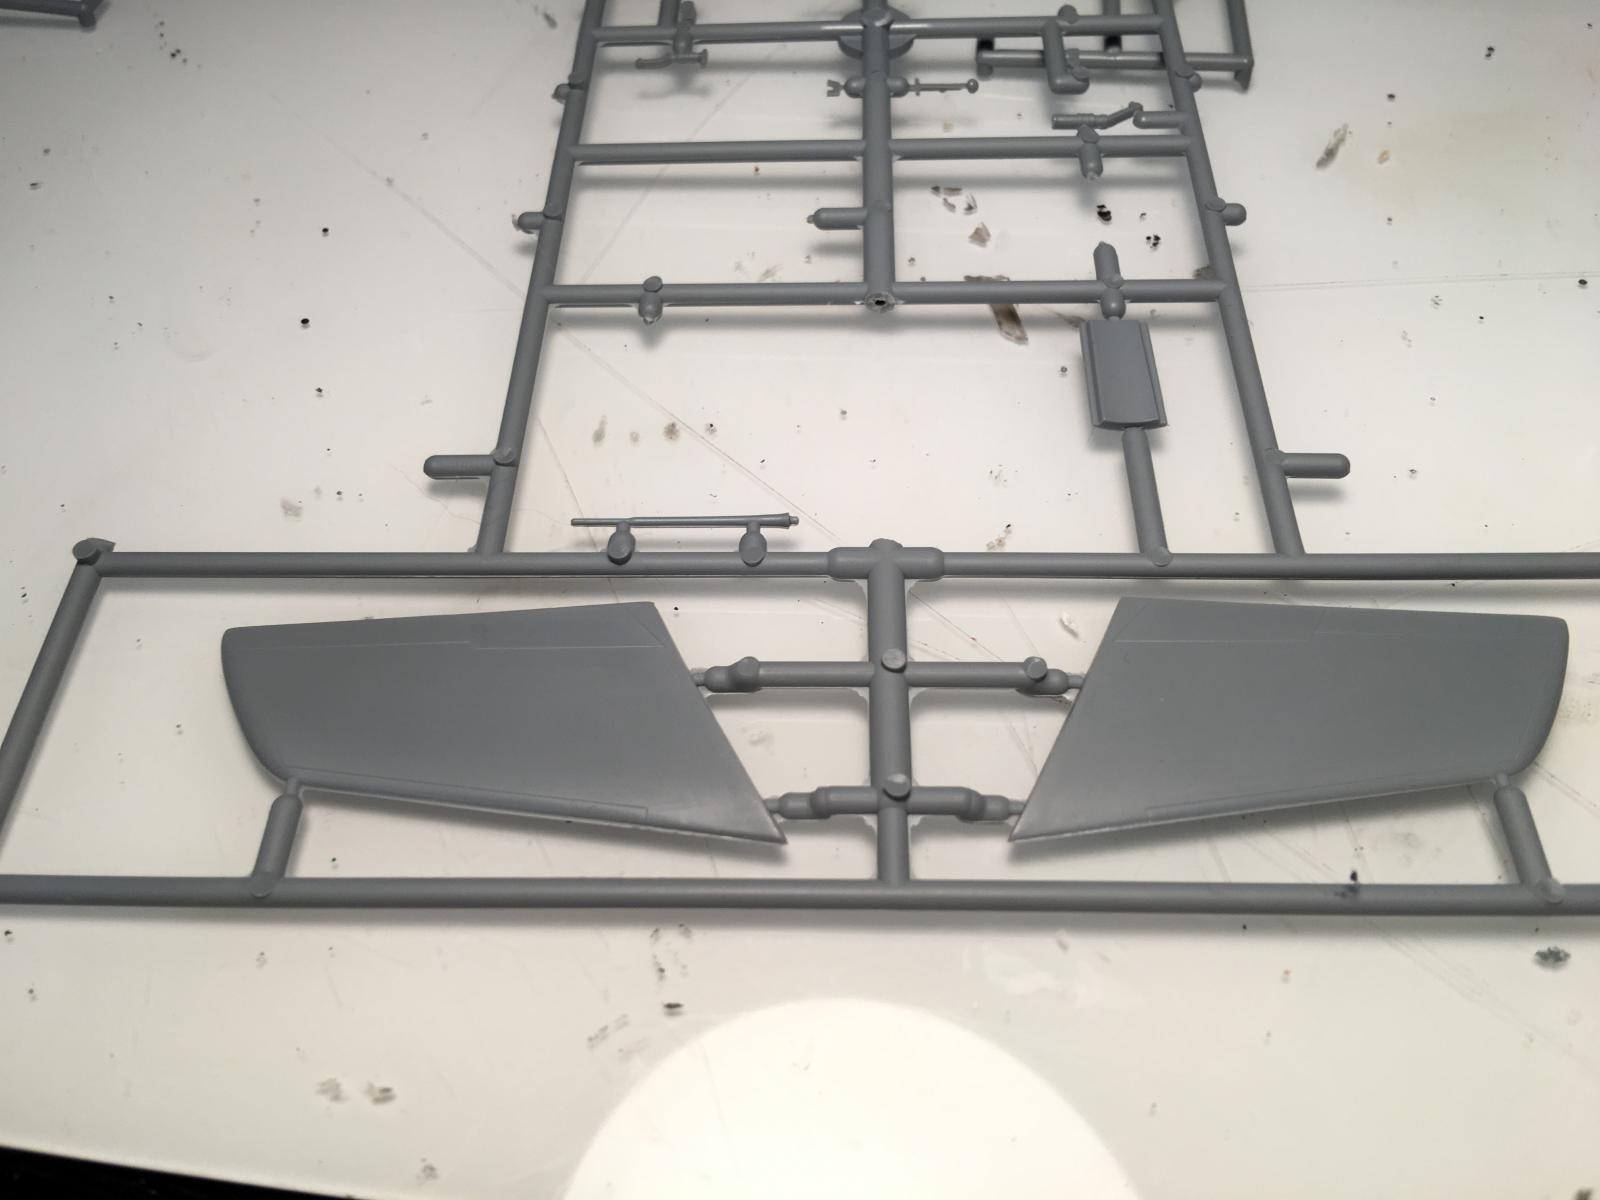
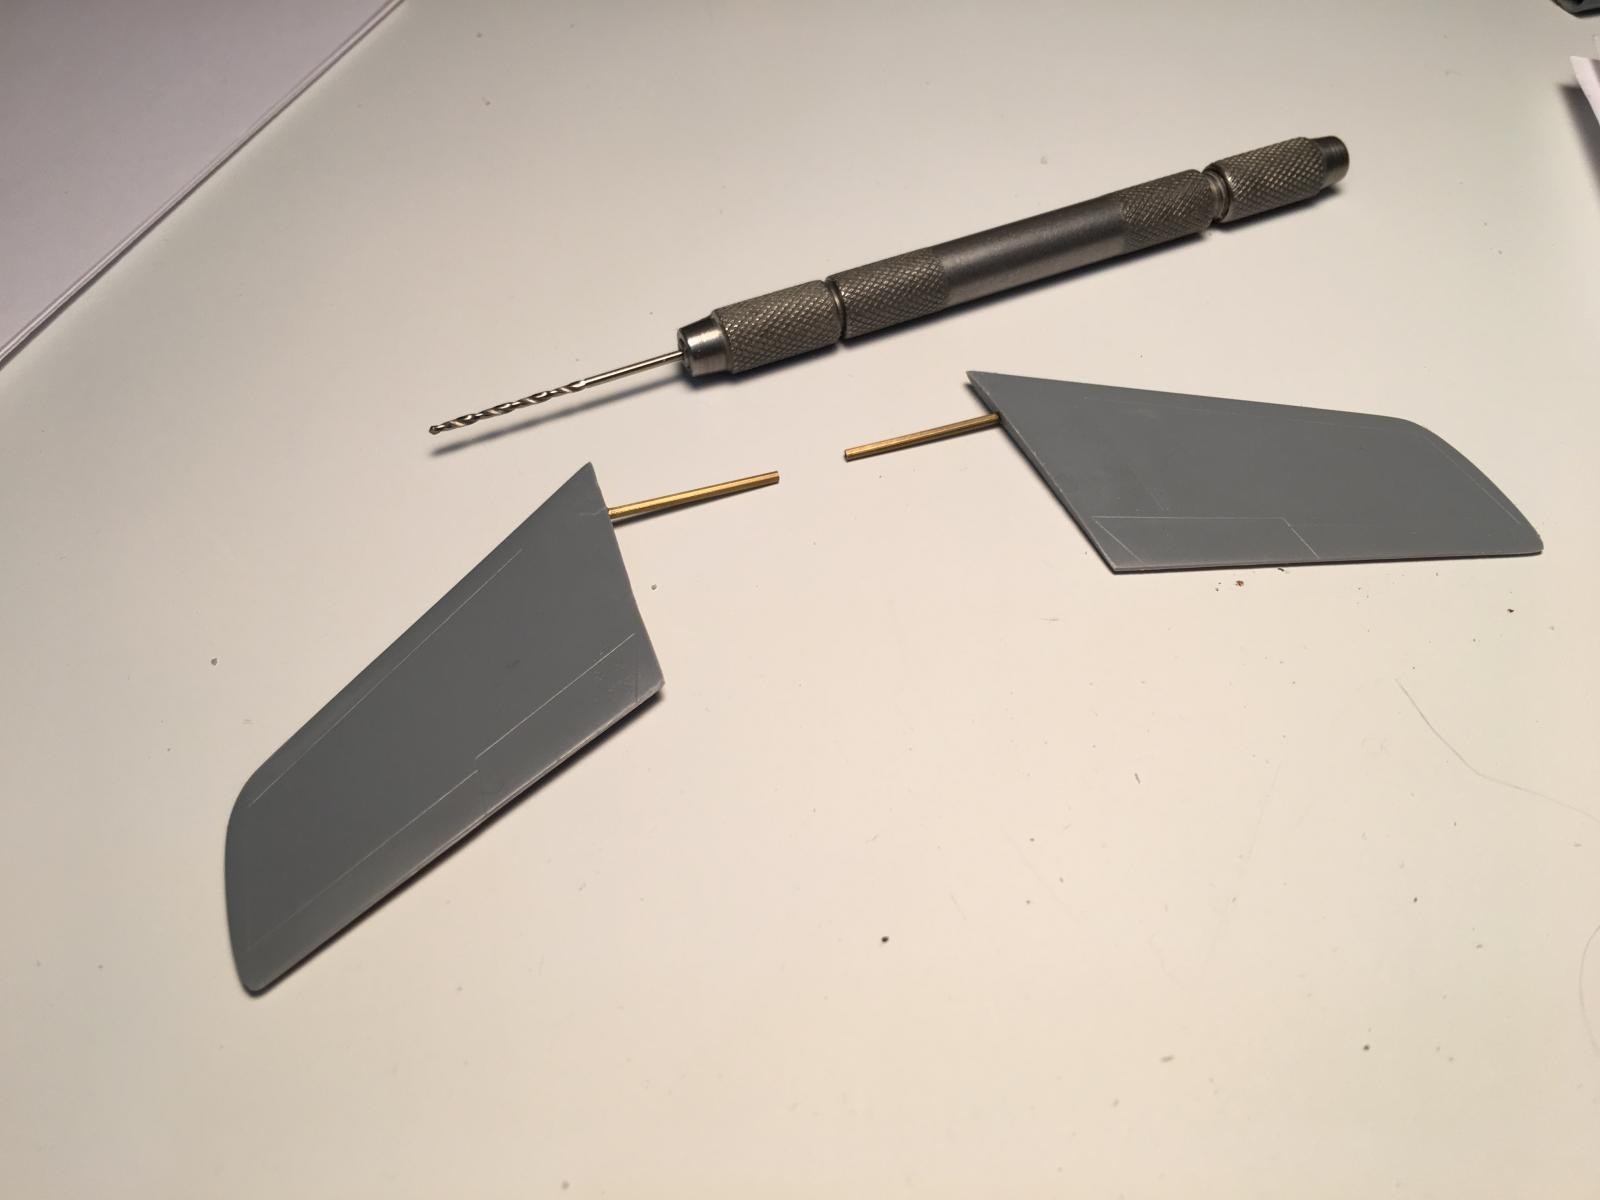
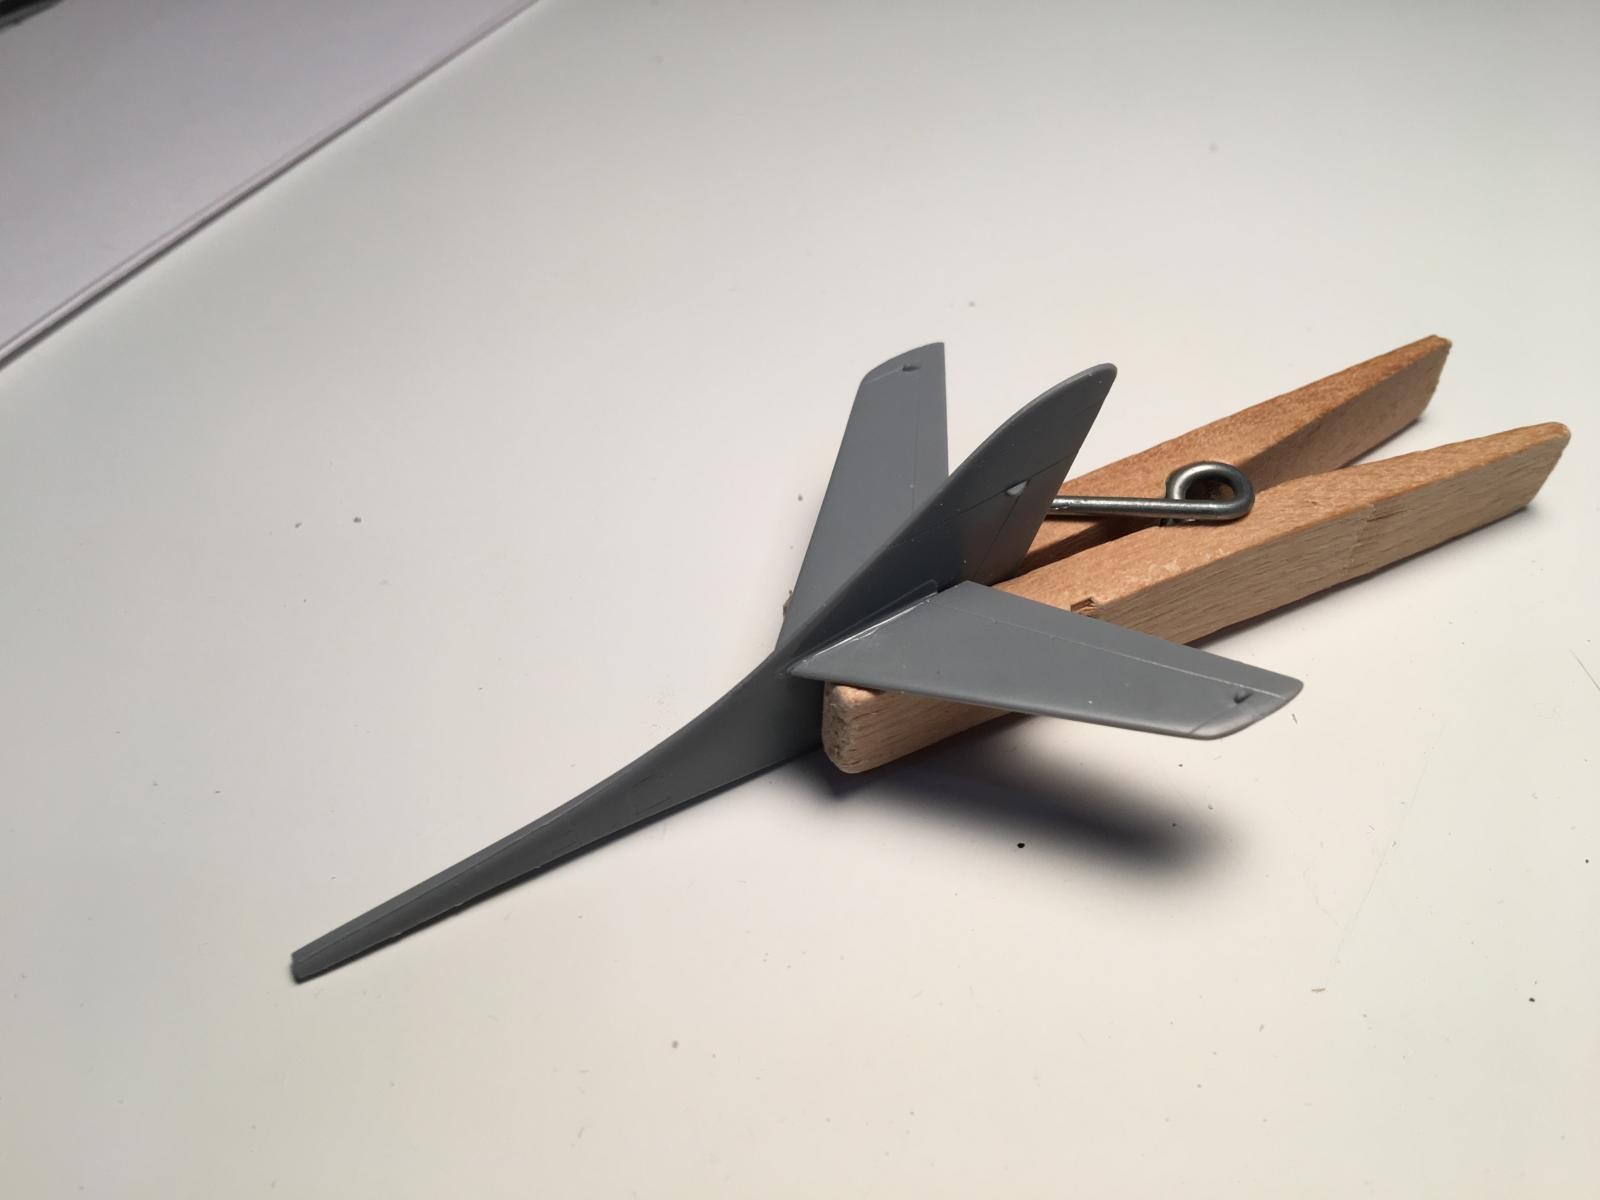
This kit presented a number of problems for me. First, some of the parts, especially some of the photo etch, are microscopic for an old guy. I have reached an age where manipulating these parts has become a challenge. The other challenge for me is that the attachment locations for the wings and the tailplanes consist of a simple butt-joint. I have seen a lot of construction articles where the builder drills holes in the wings and fuselage, and holds the two in position using a metal pin. I have been skeptical of getting everything lined up using this method, but decided to give it a try. The tailplanes were a different matter, since they were very thin. I thought the flat faces of a wood clothes pin would provide a flat surface to keep everything lined up while it dried.
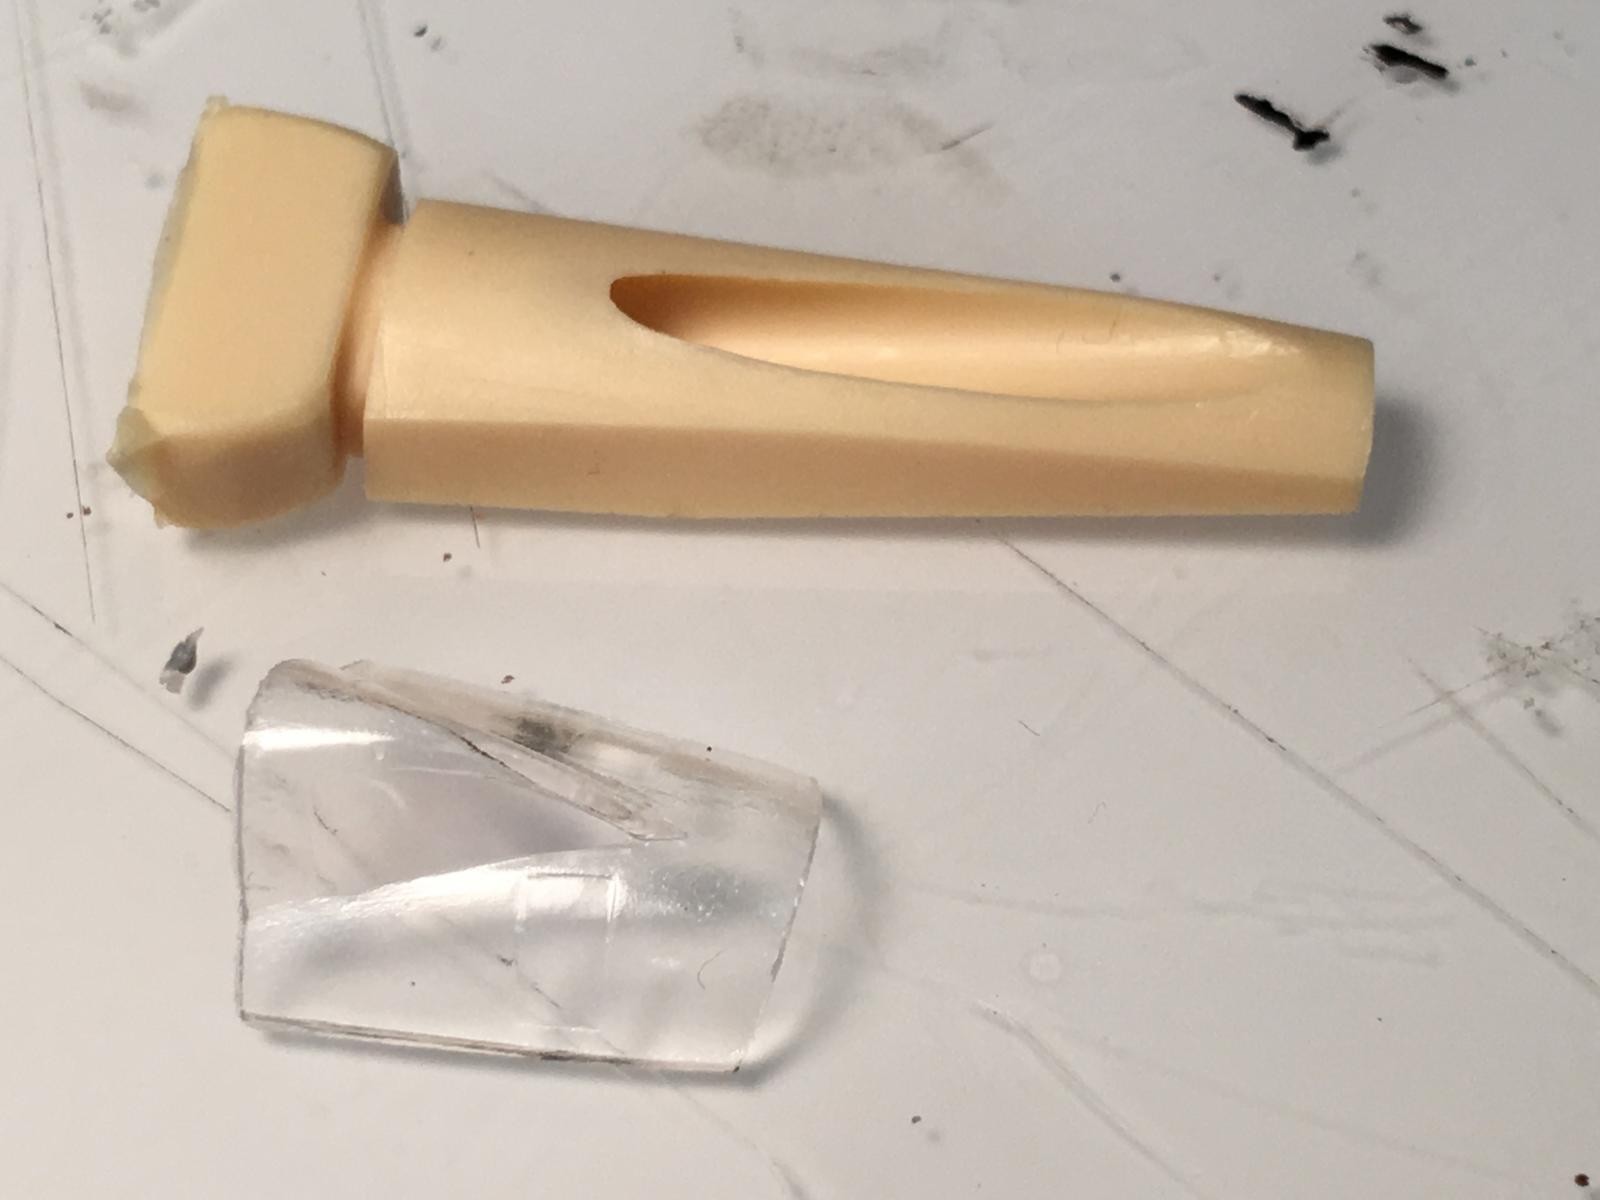
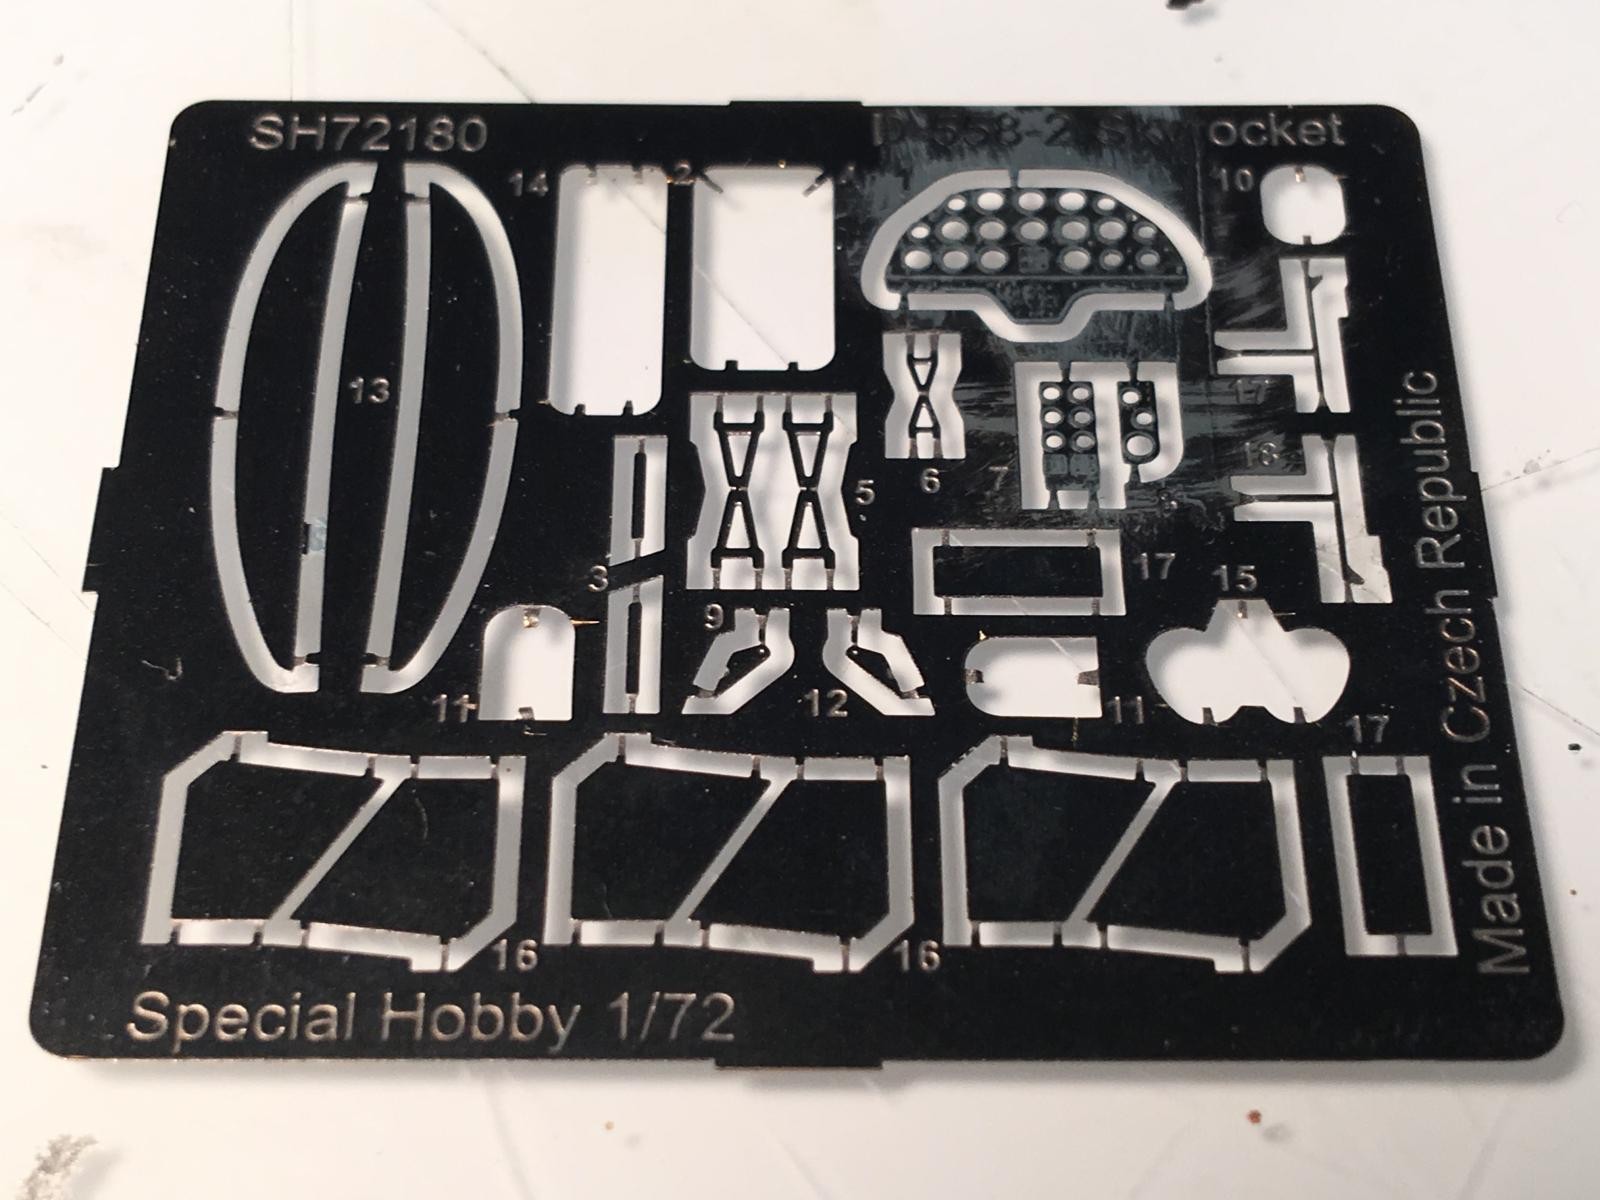
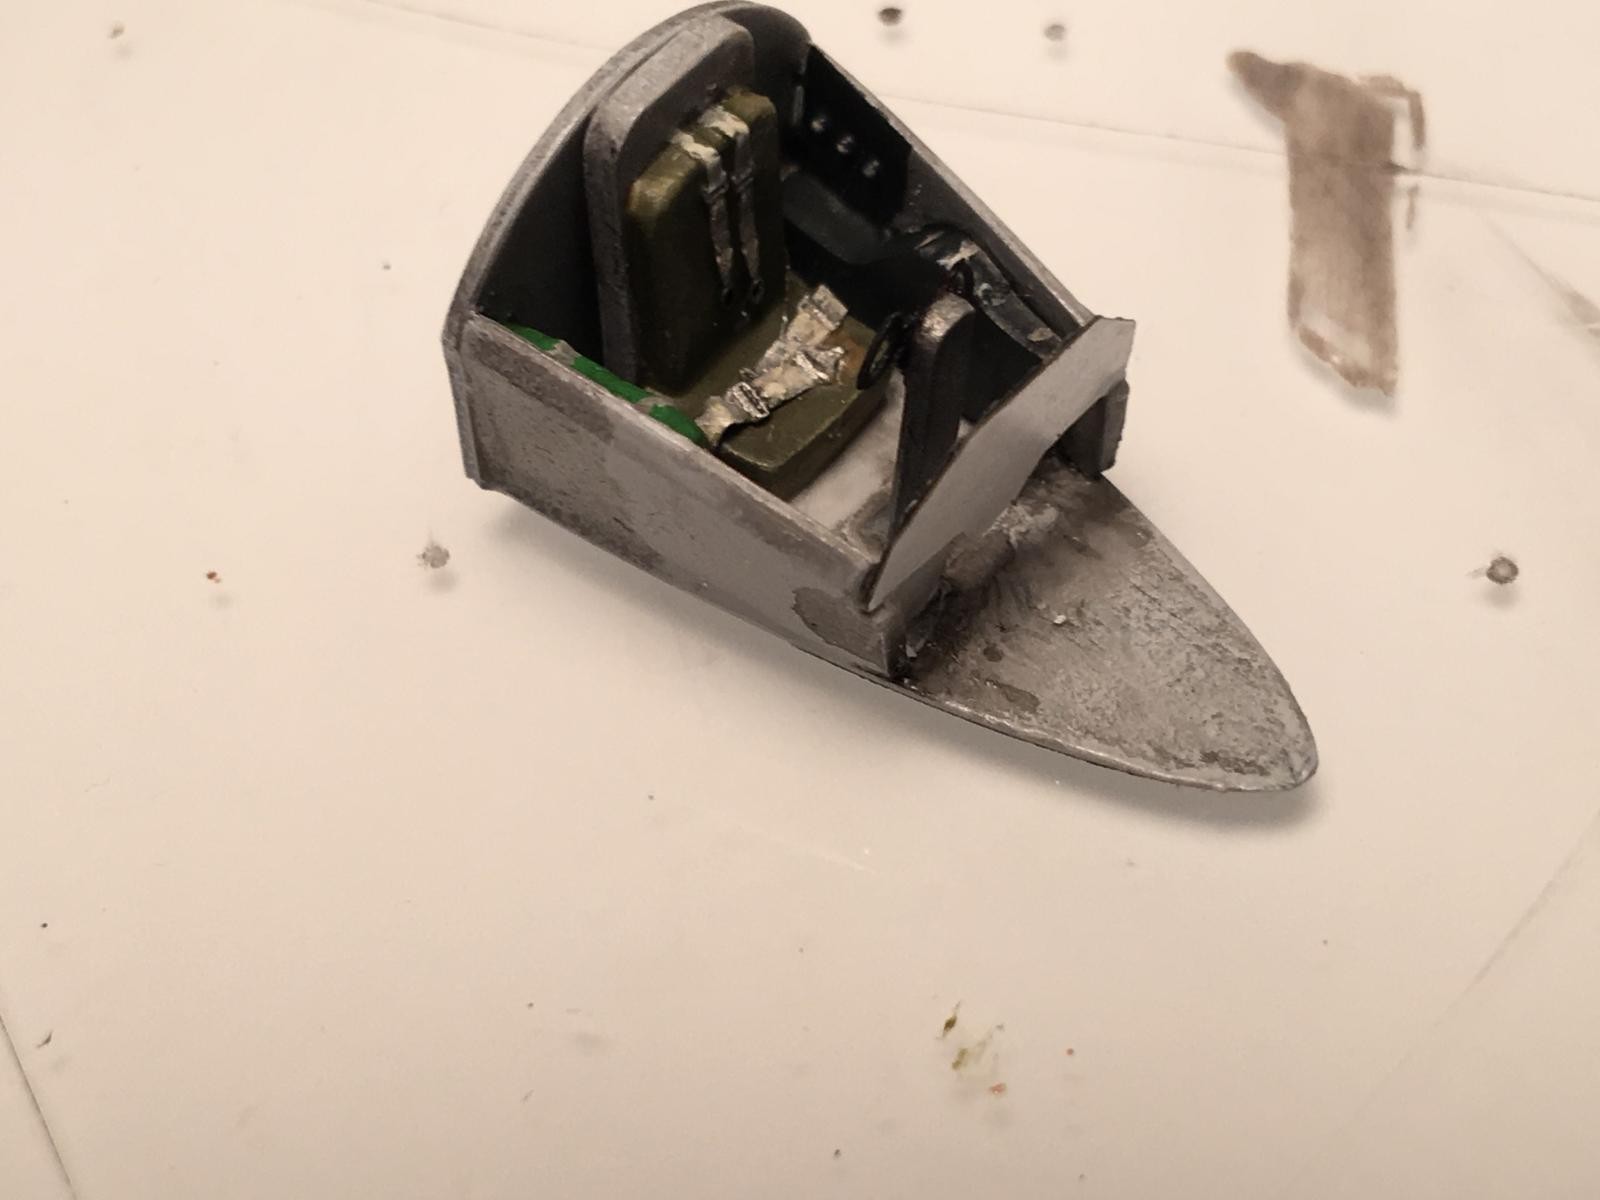
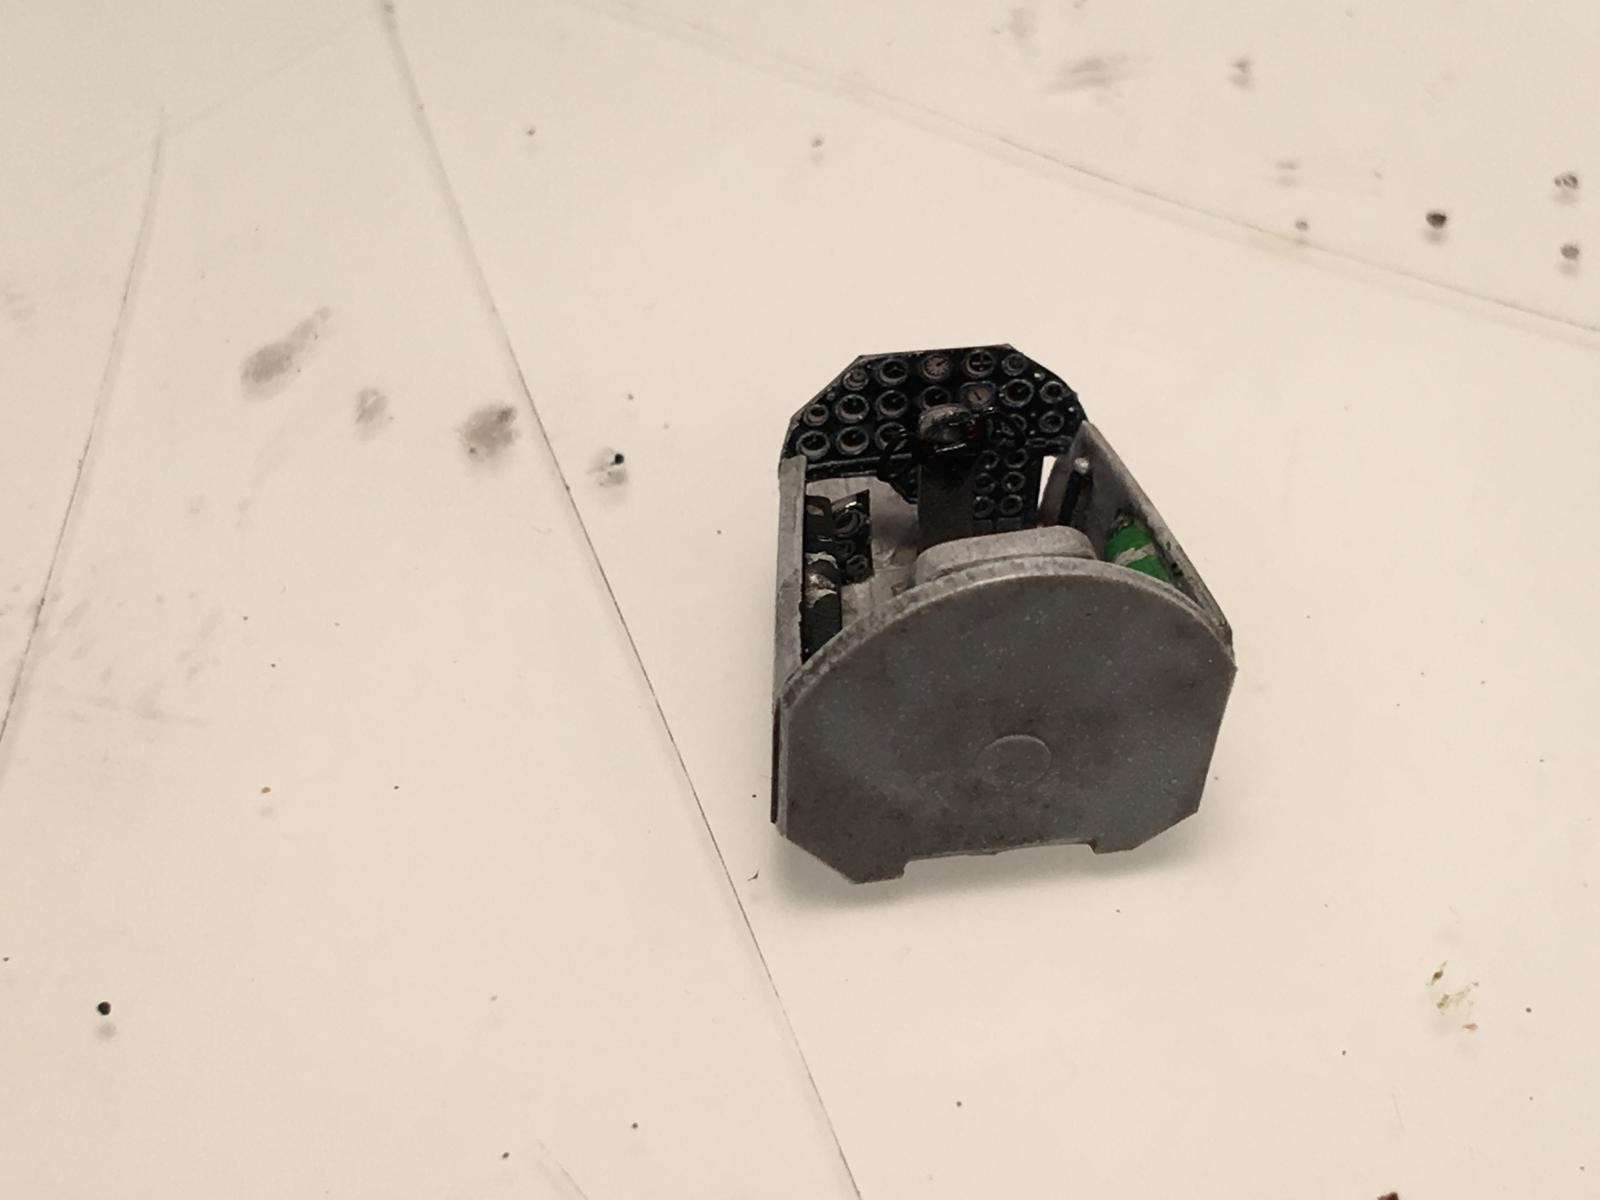
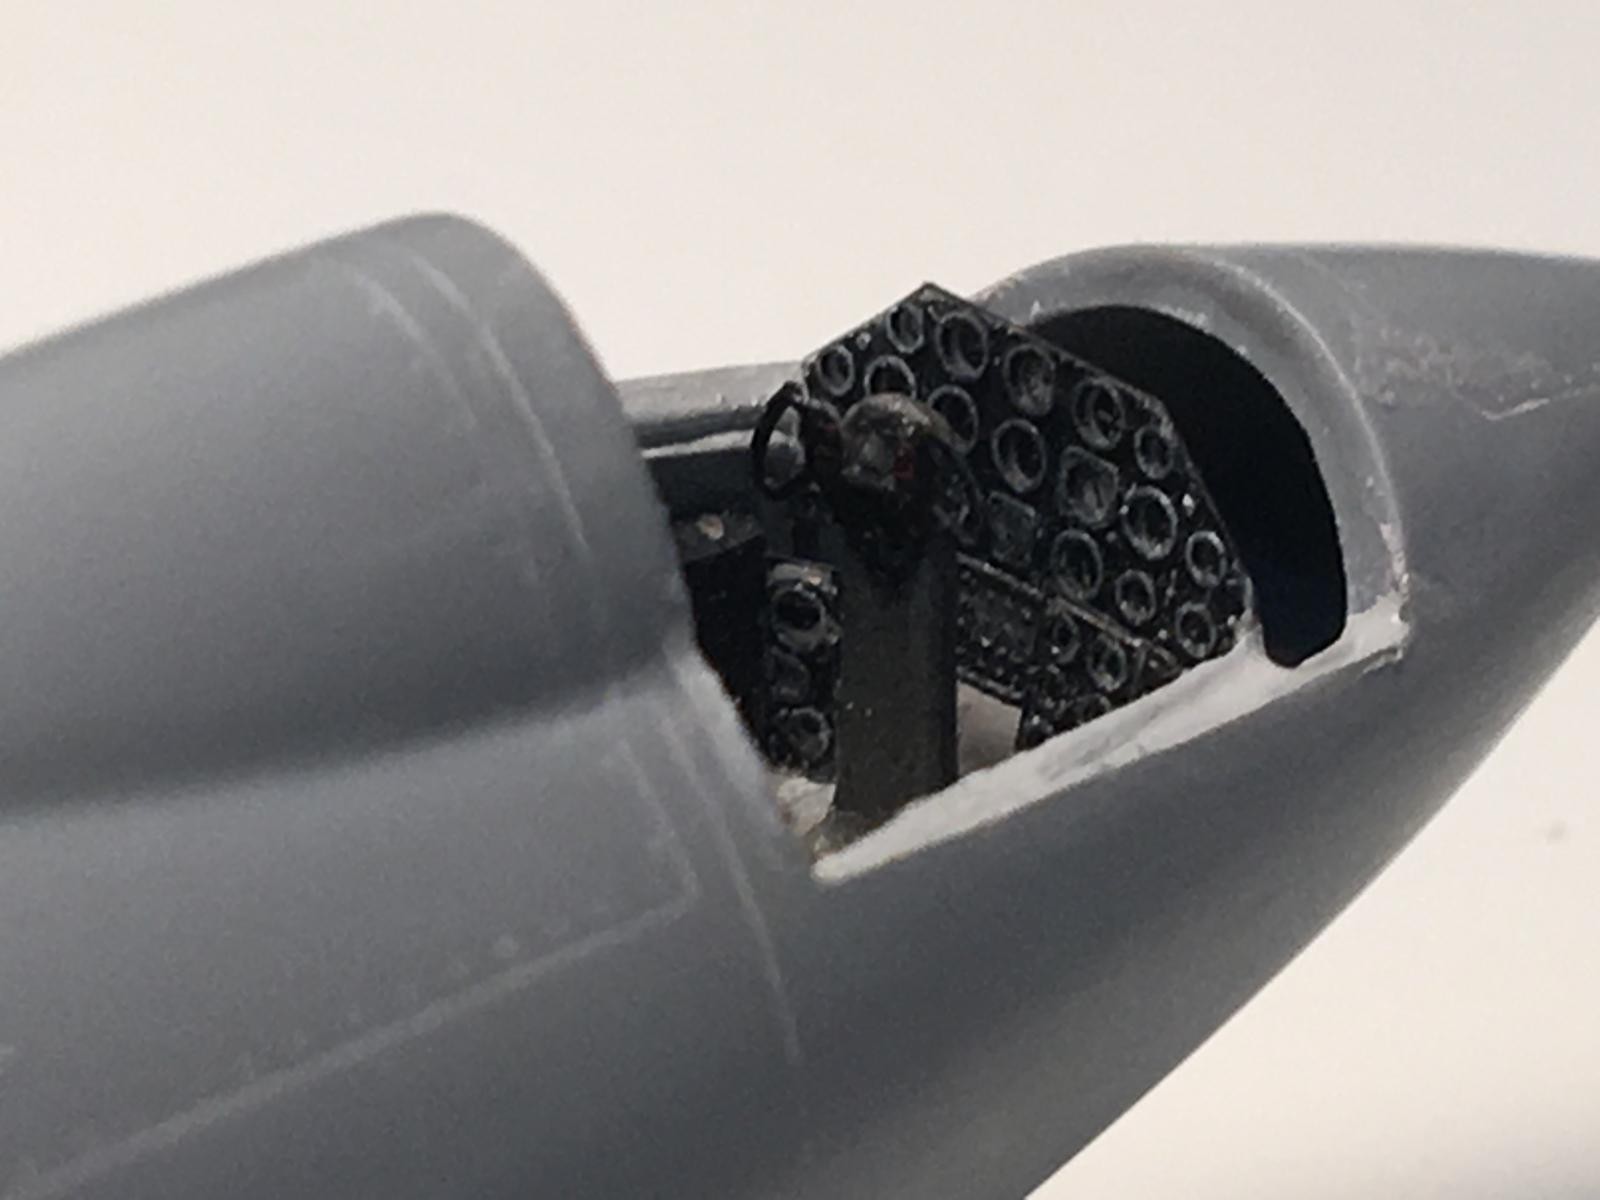
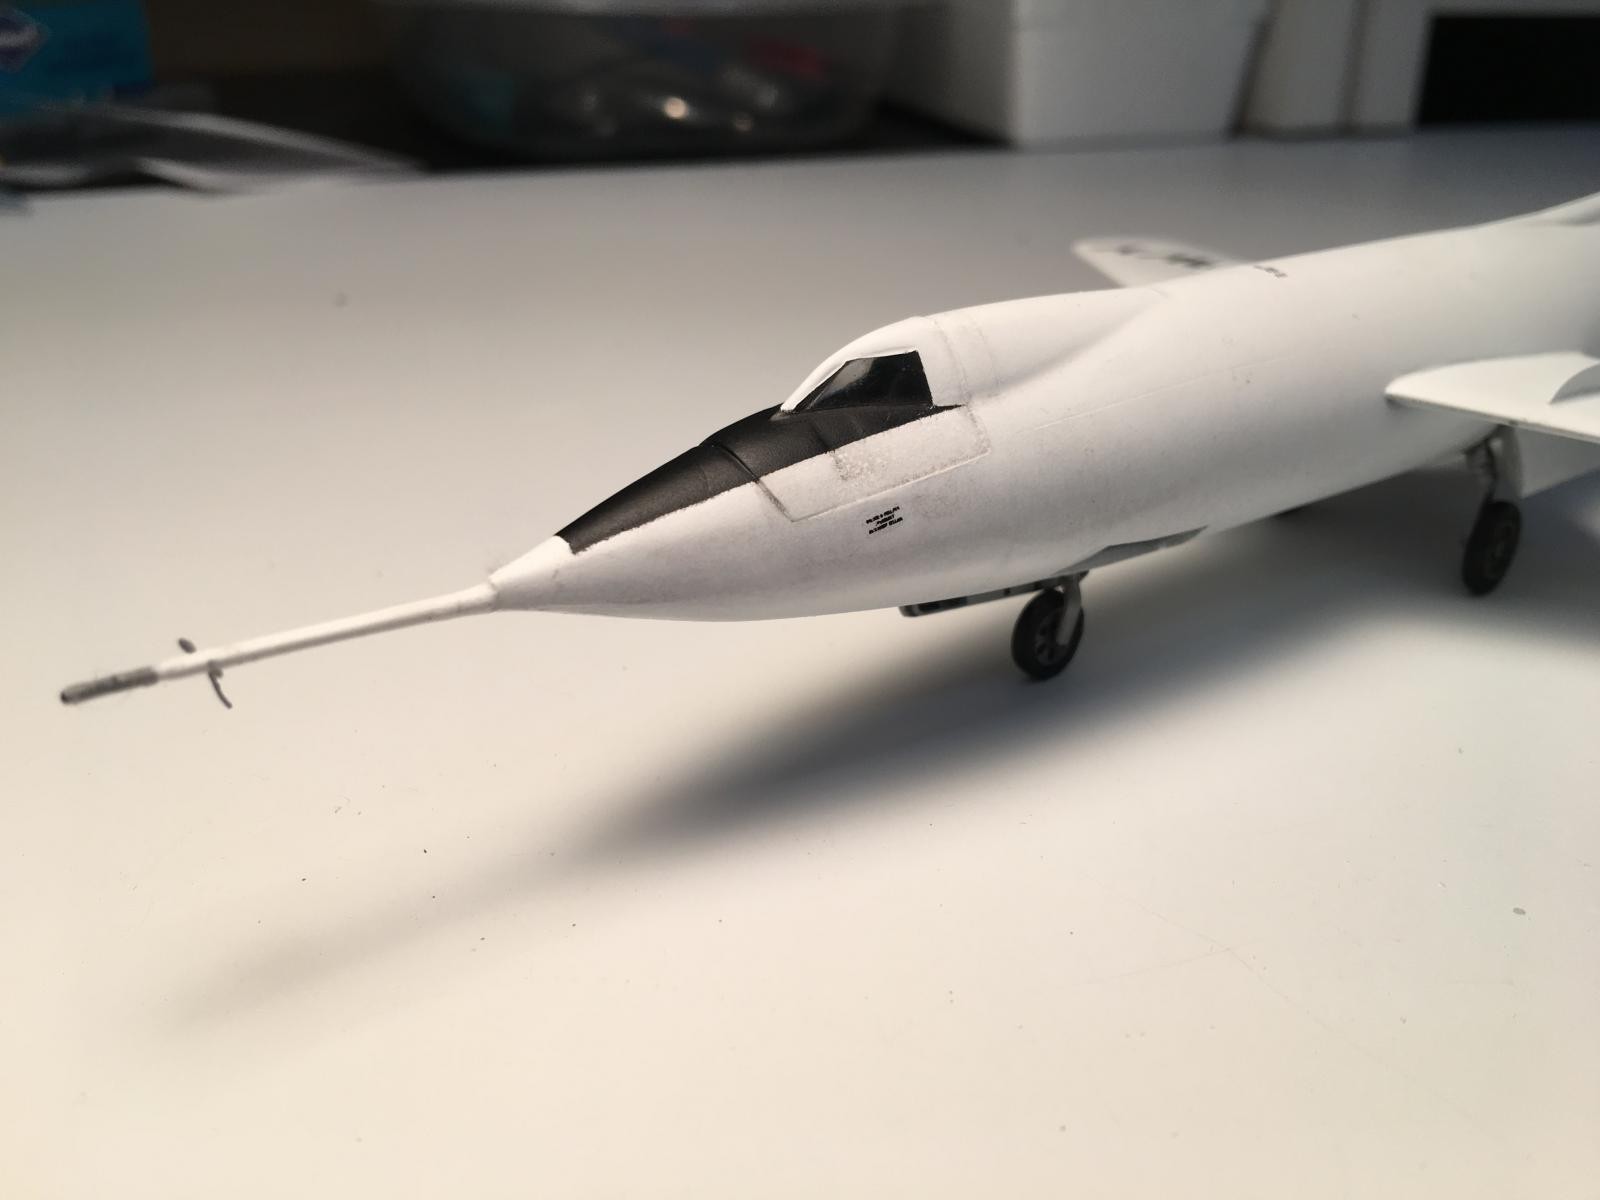
The cockpit is a combination of plastic and photo etch parts. There is nothing to positively locate the parts within the assembly, so measurement and dry fitting into the fuselage was necessary to get everything lined up. Even after a prolonged period of fitting, the positioning of the side walls could still have used some adjustment before the glue dried. Painting these small parts is somewhat of a challenge when it is tough even to see some of the parts, so please view these pictures using one eye only.

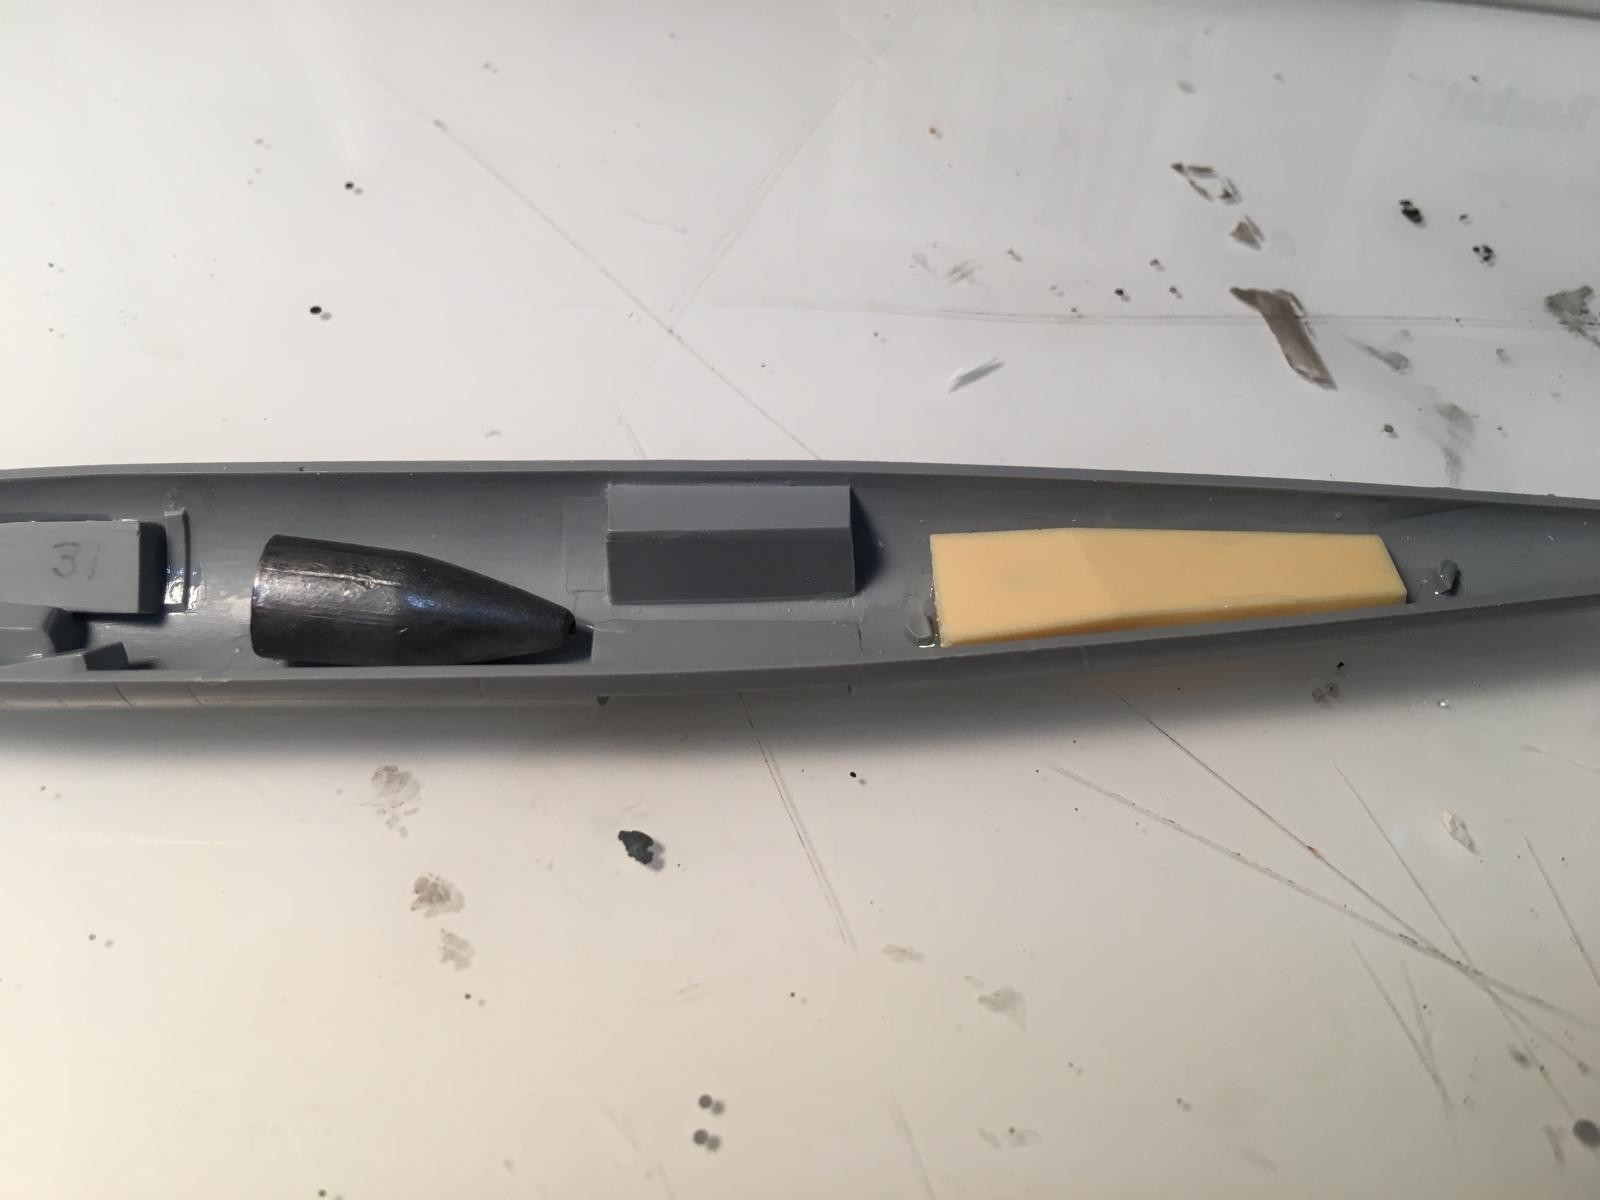
The fuselage sides also had nothing to key them together, so tape and some clamps were necessary to hold everything in place while the glue dried. There is plenty of room in the fuselage for weight to keep the nose gear down.

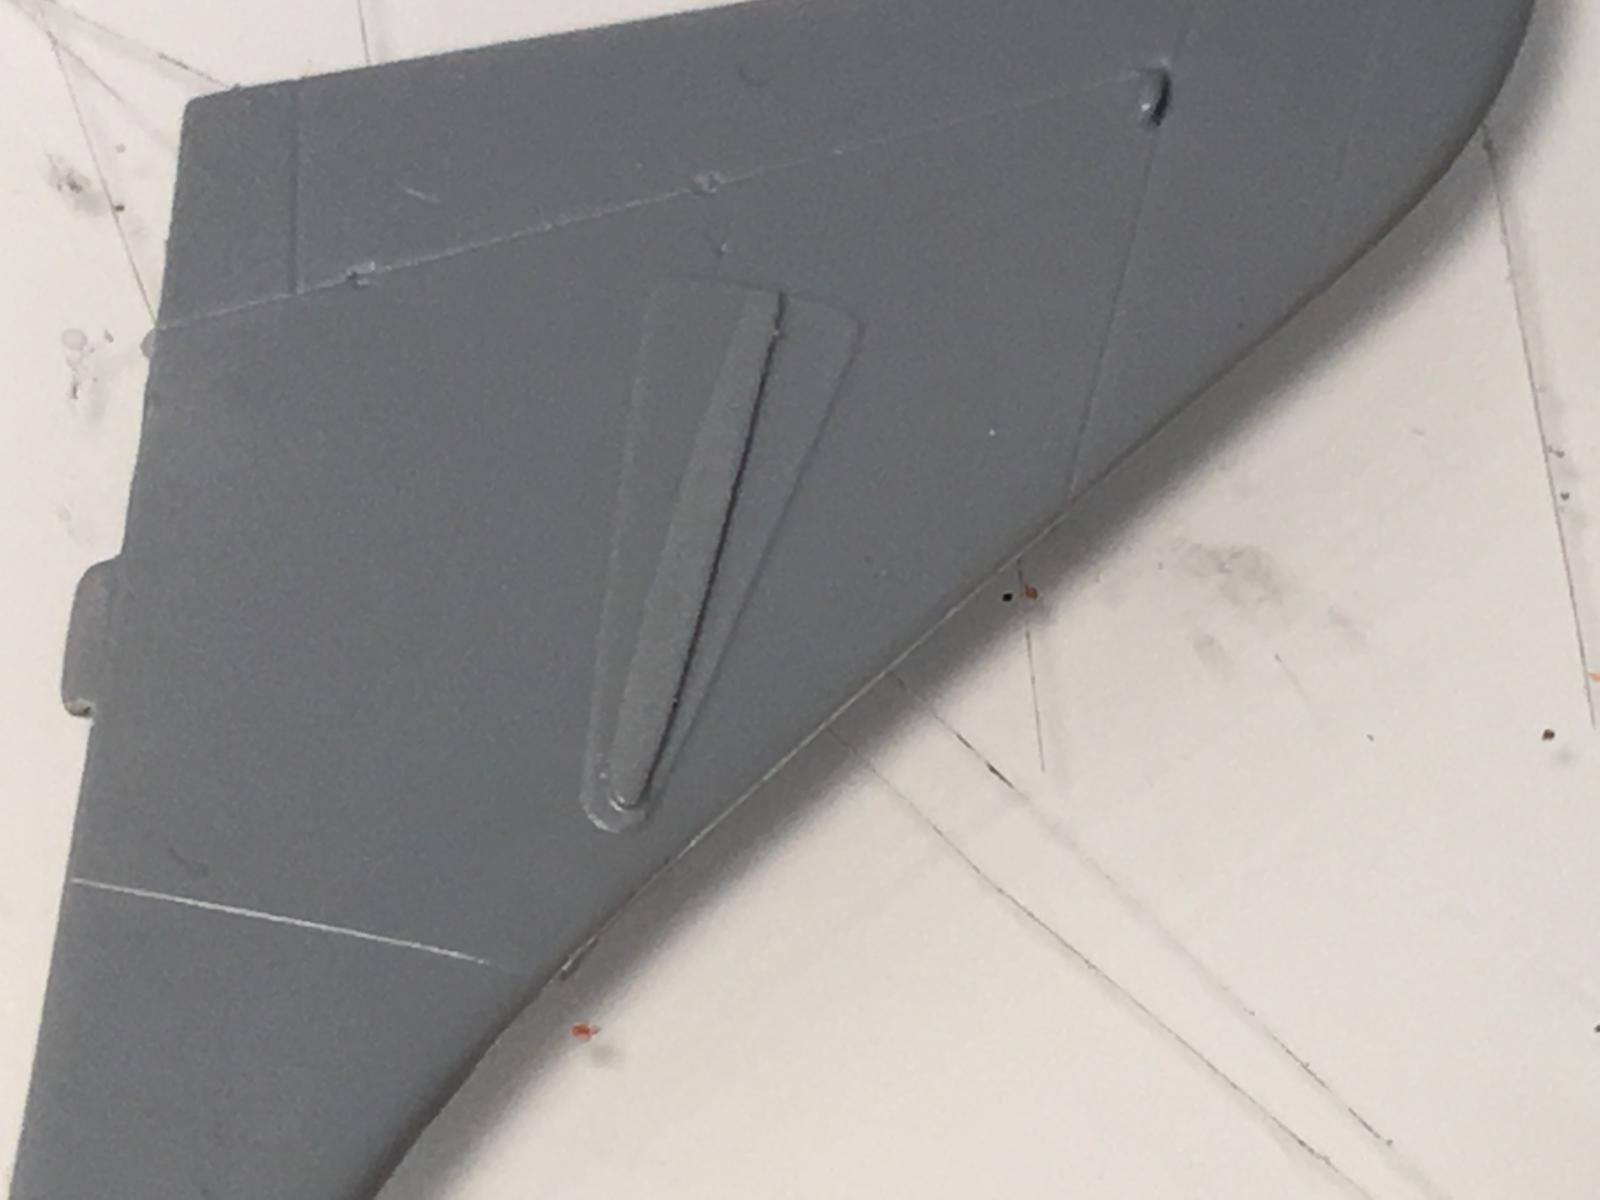
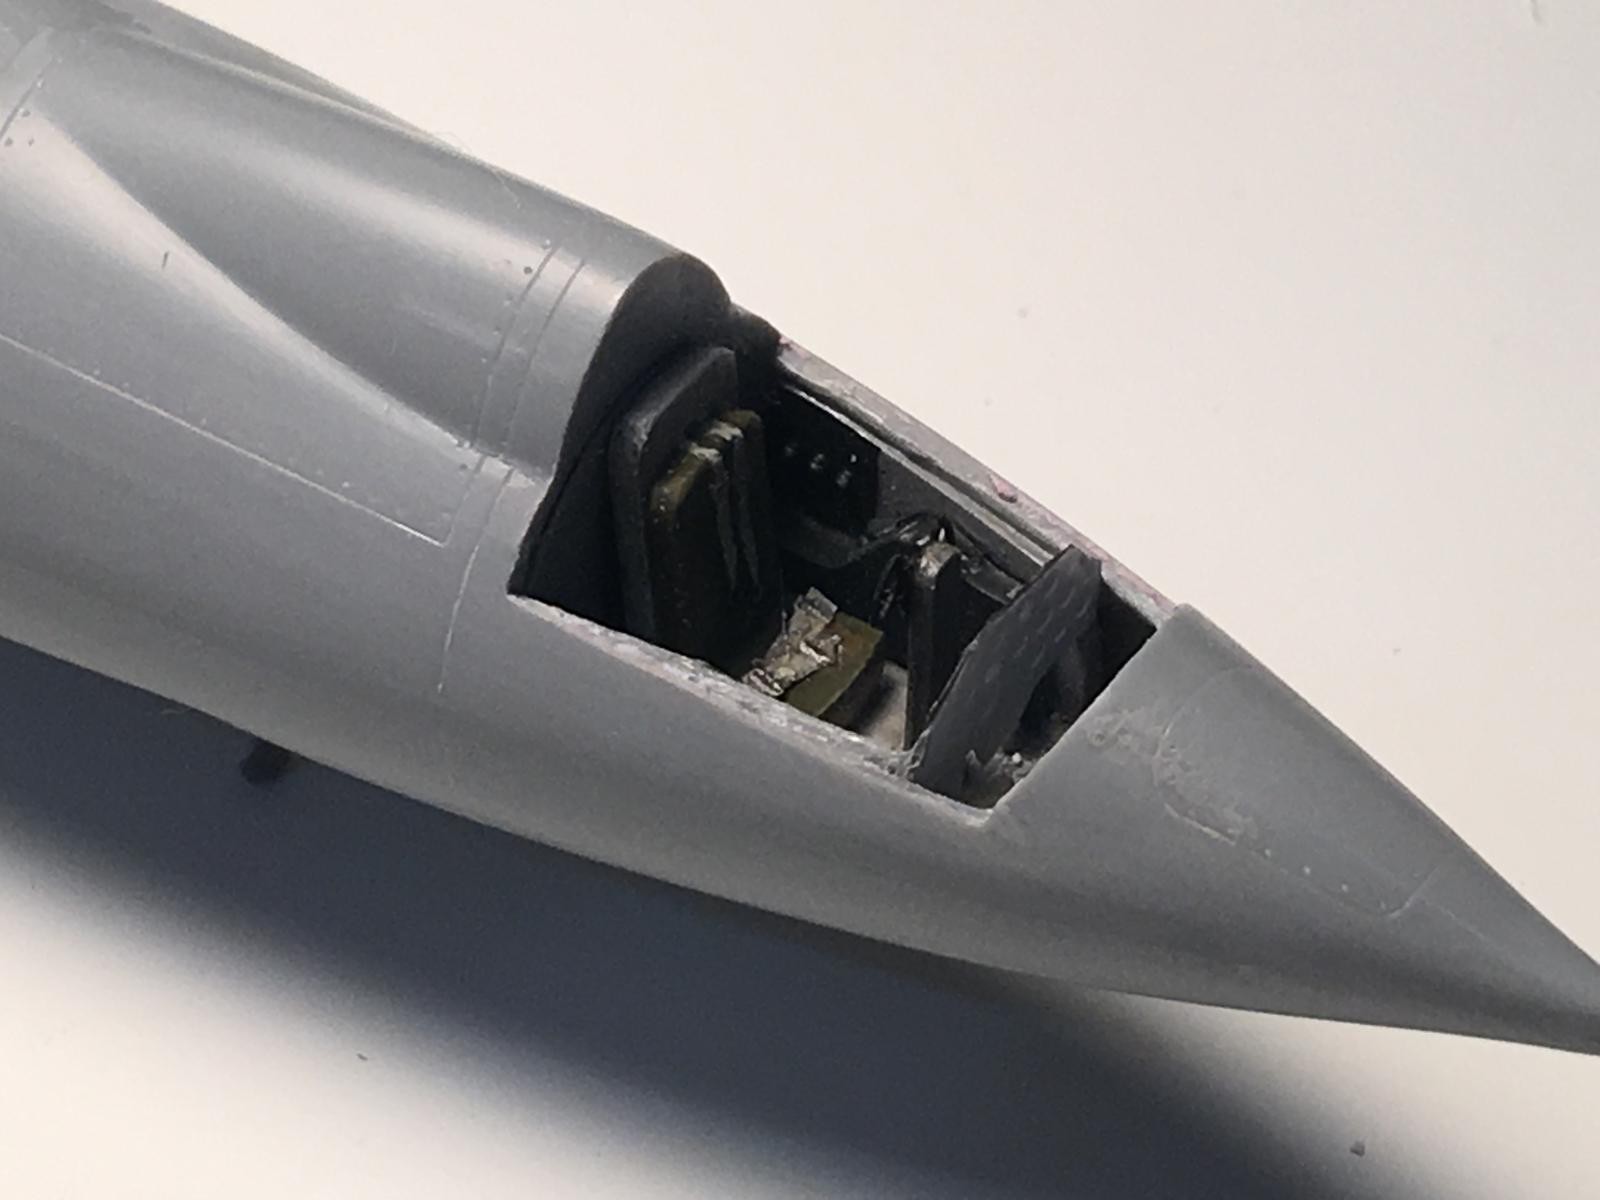
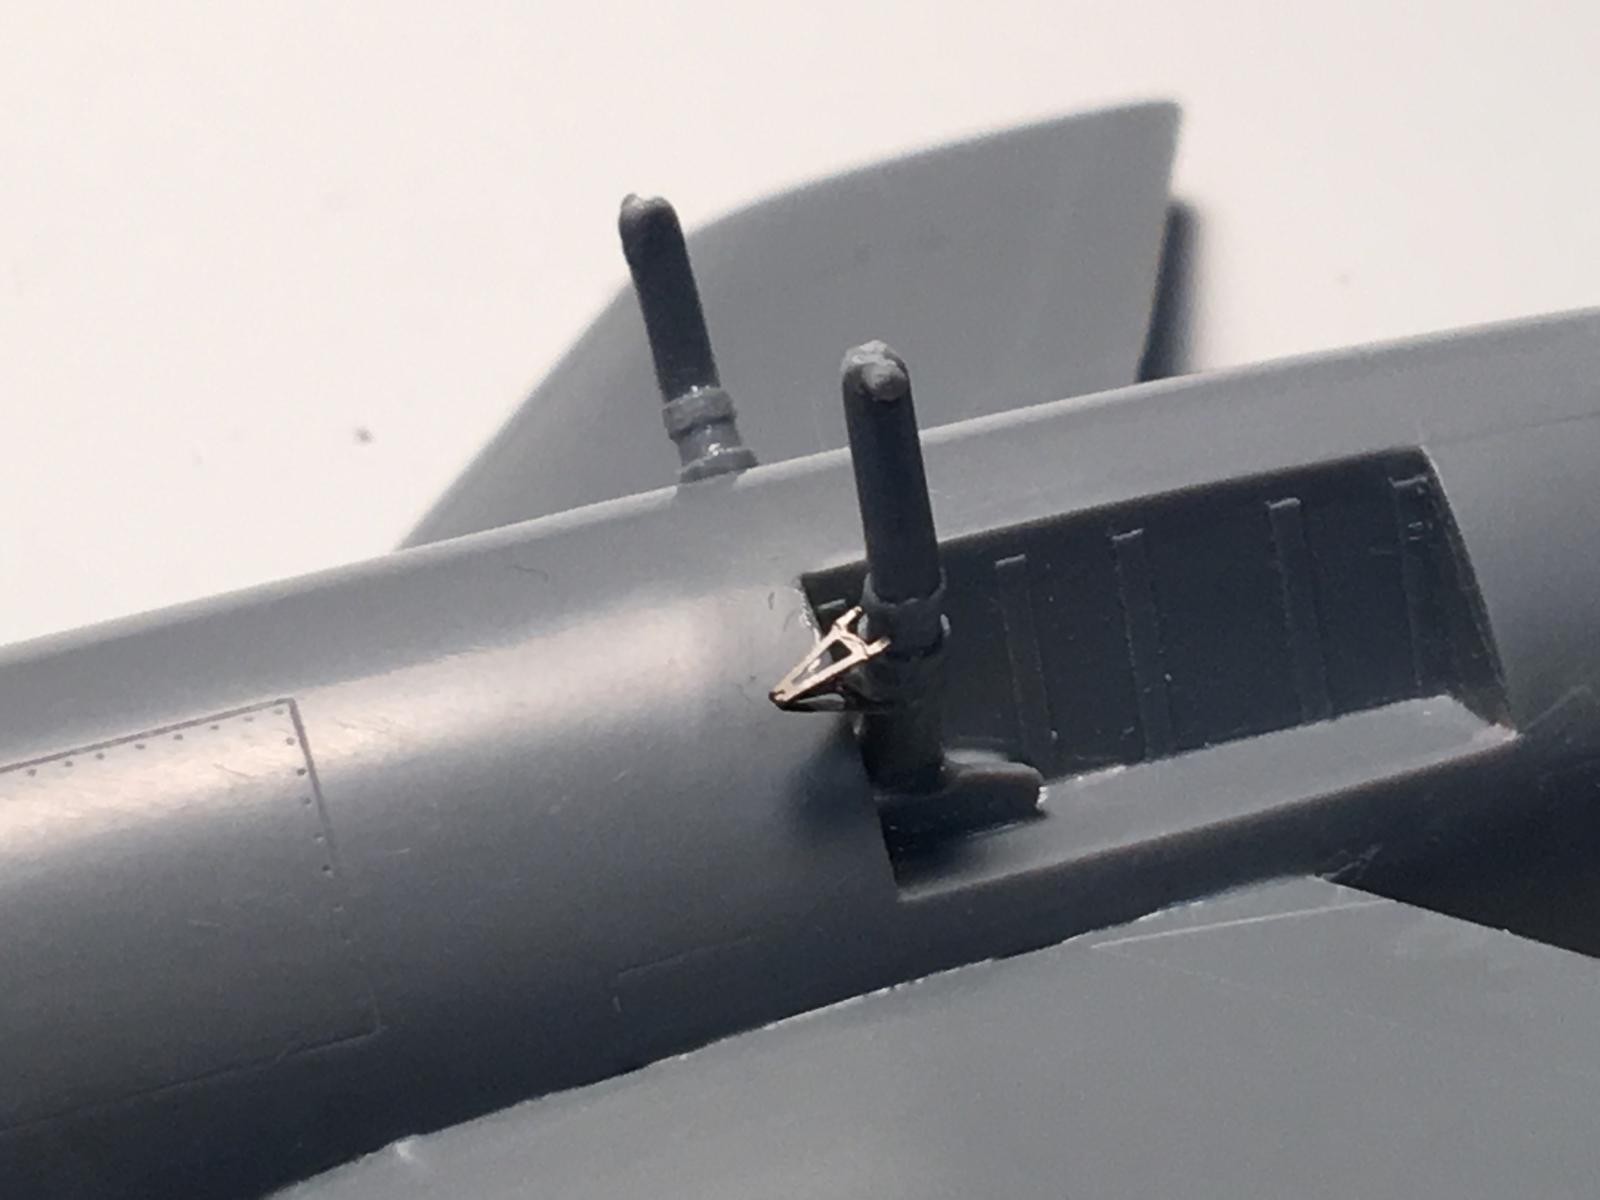
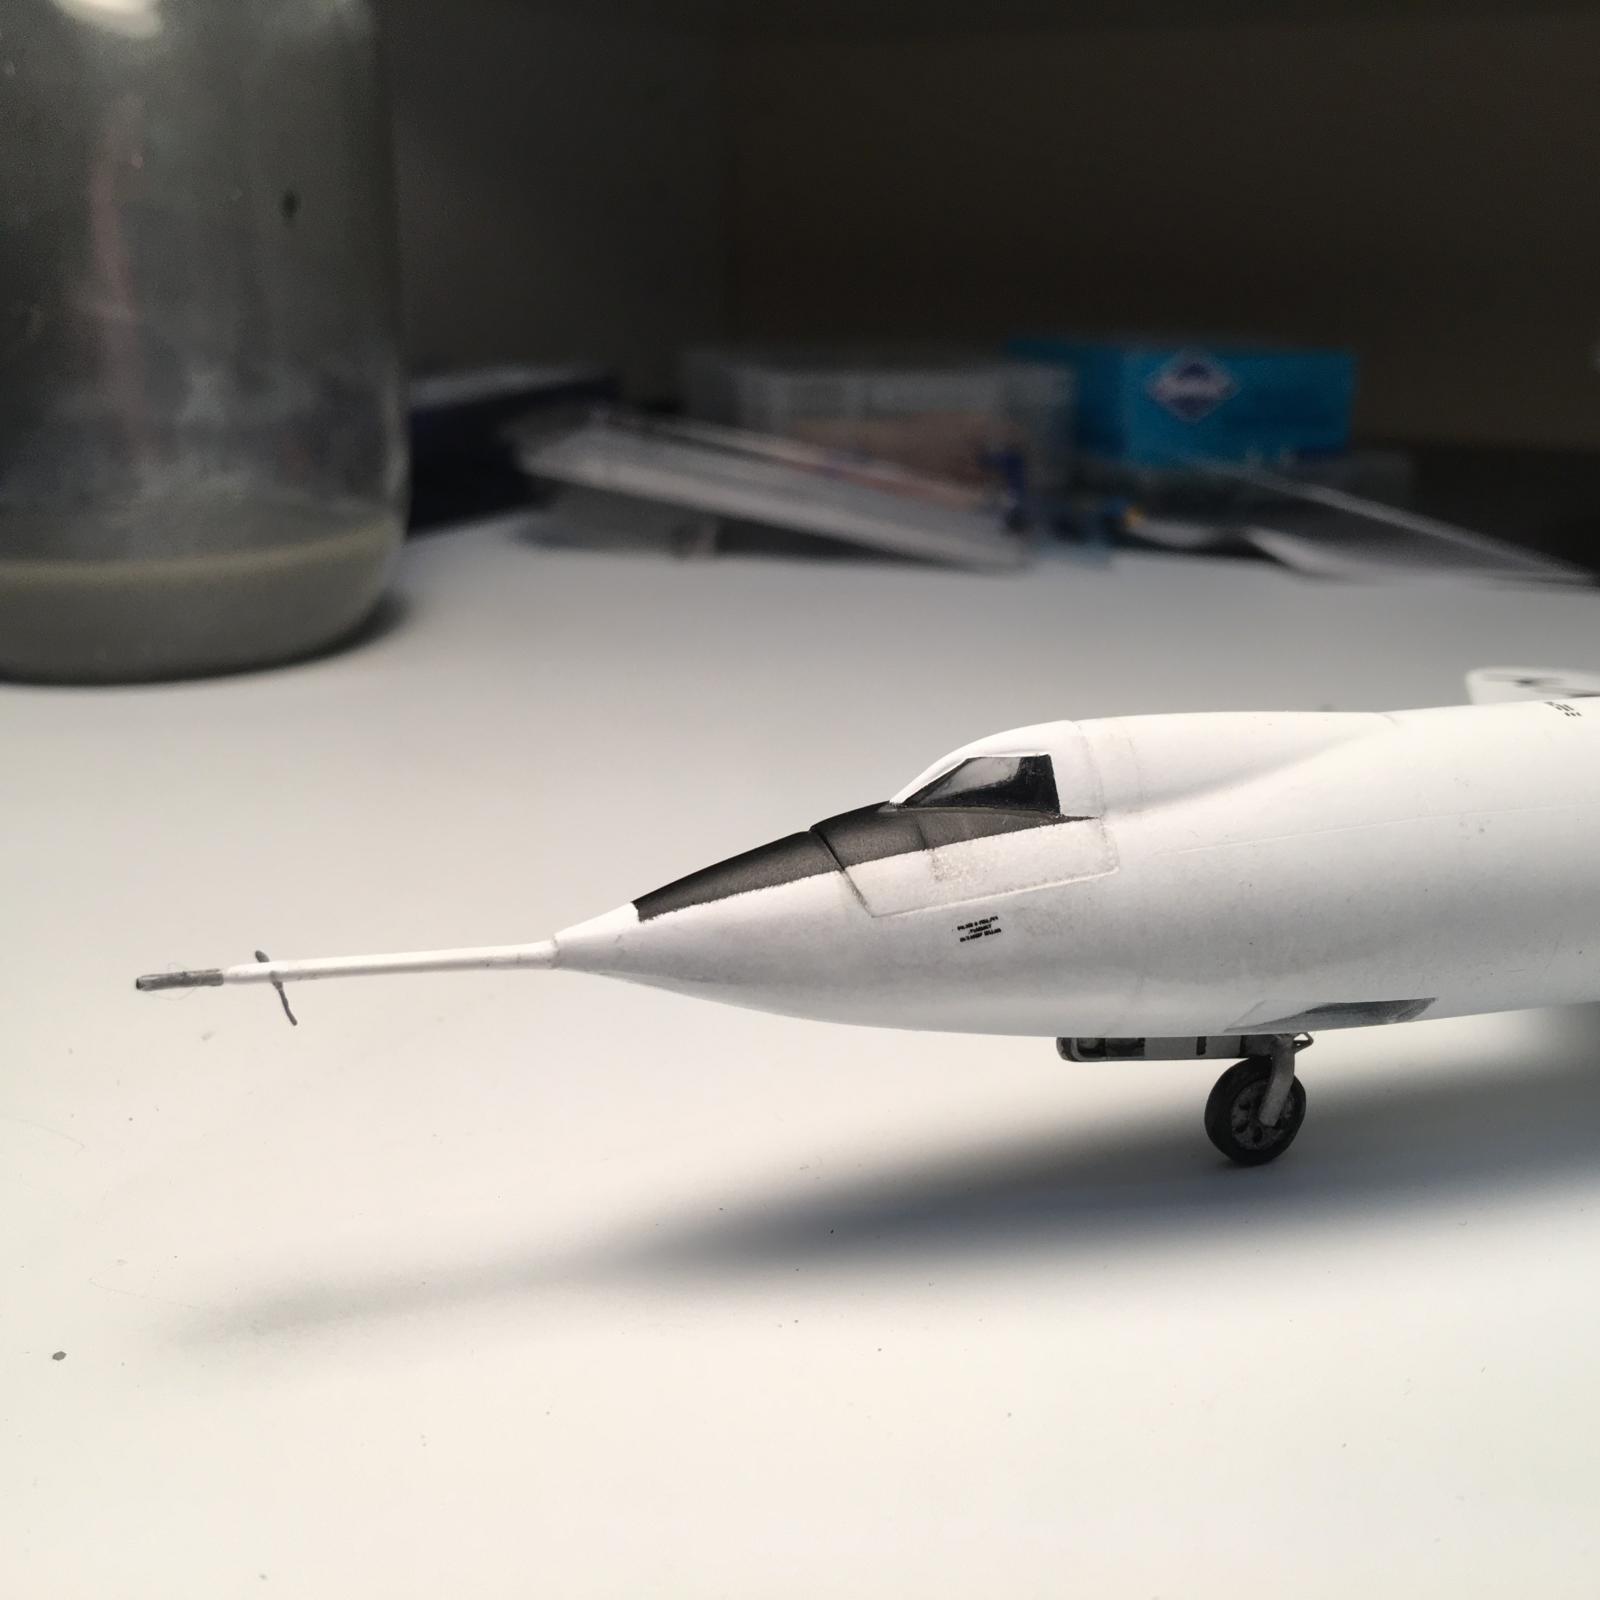
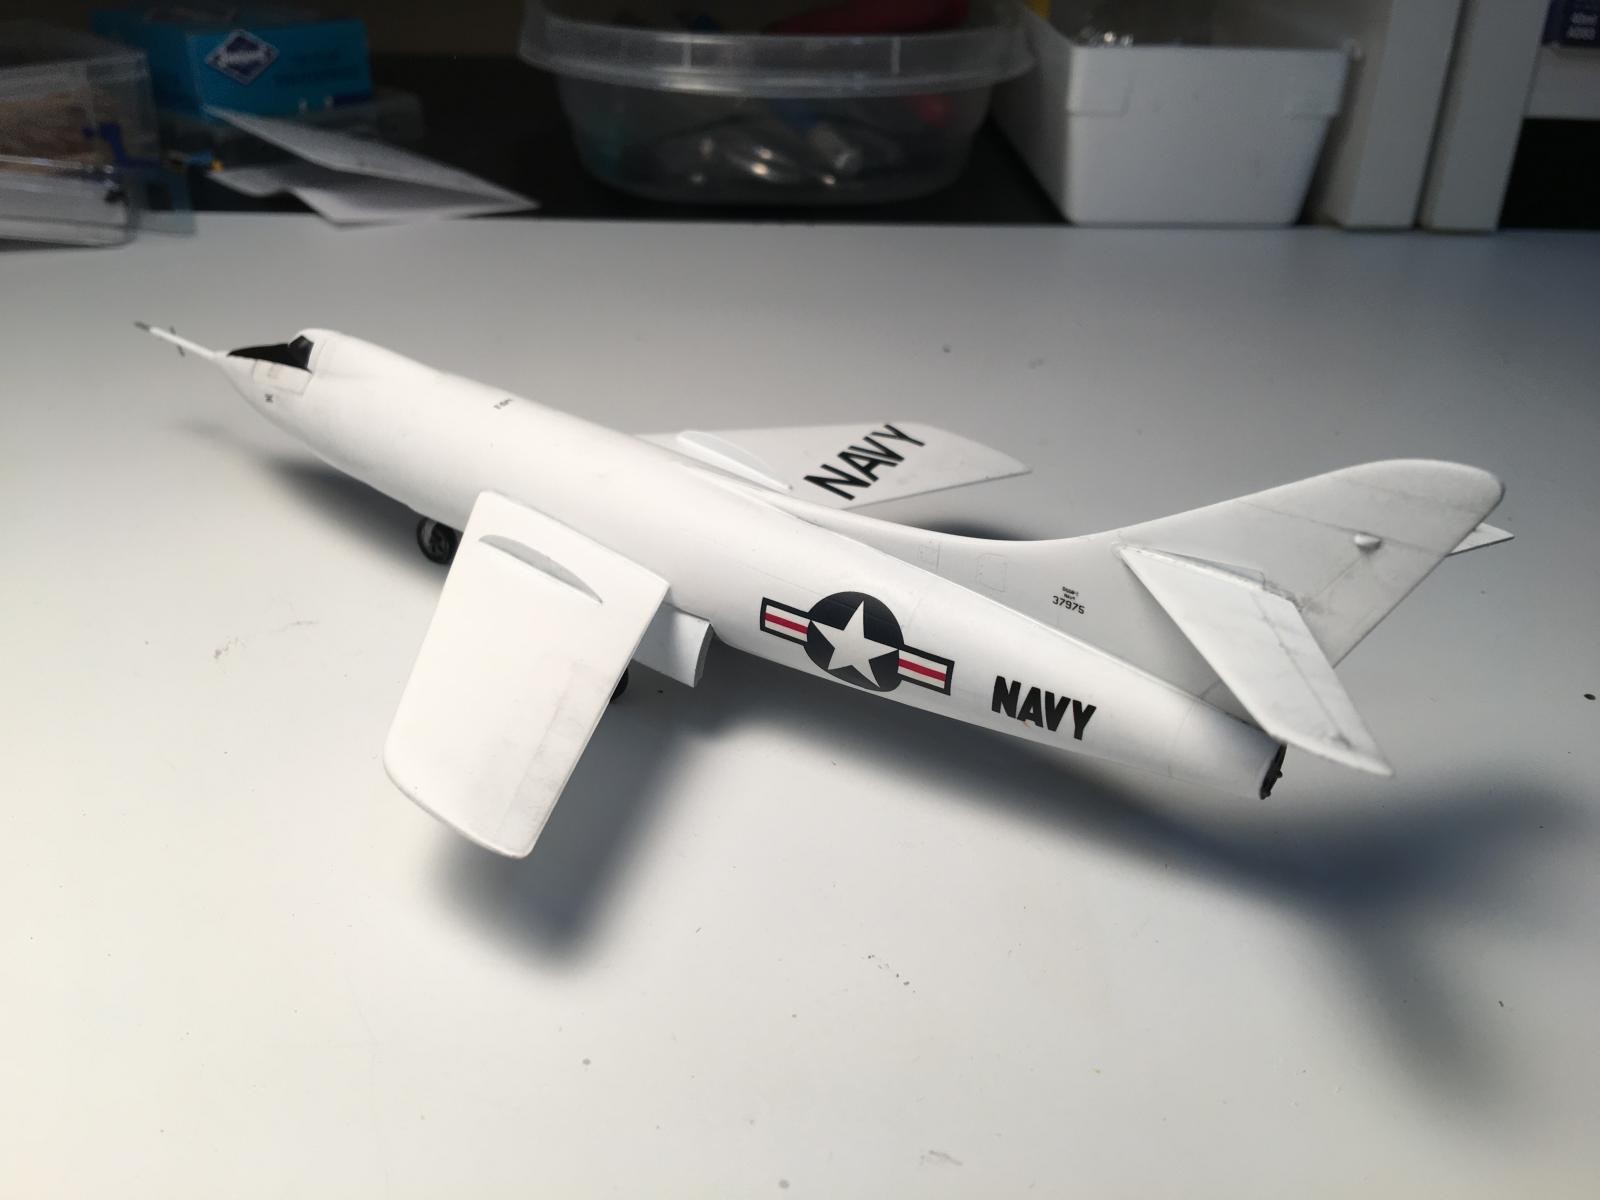
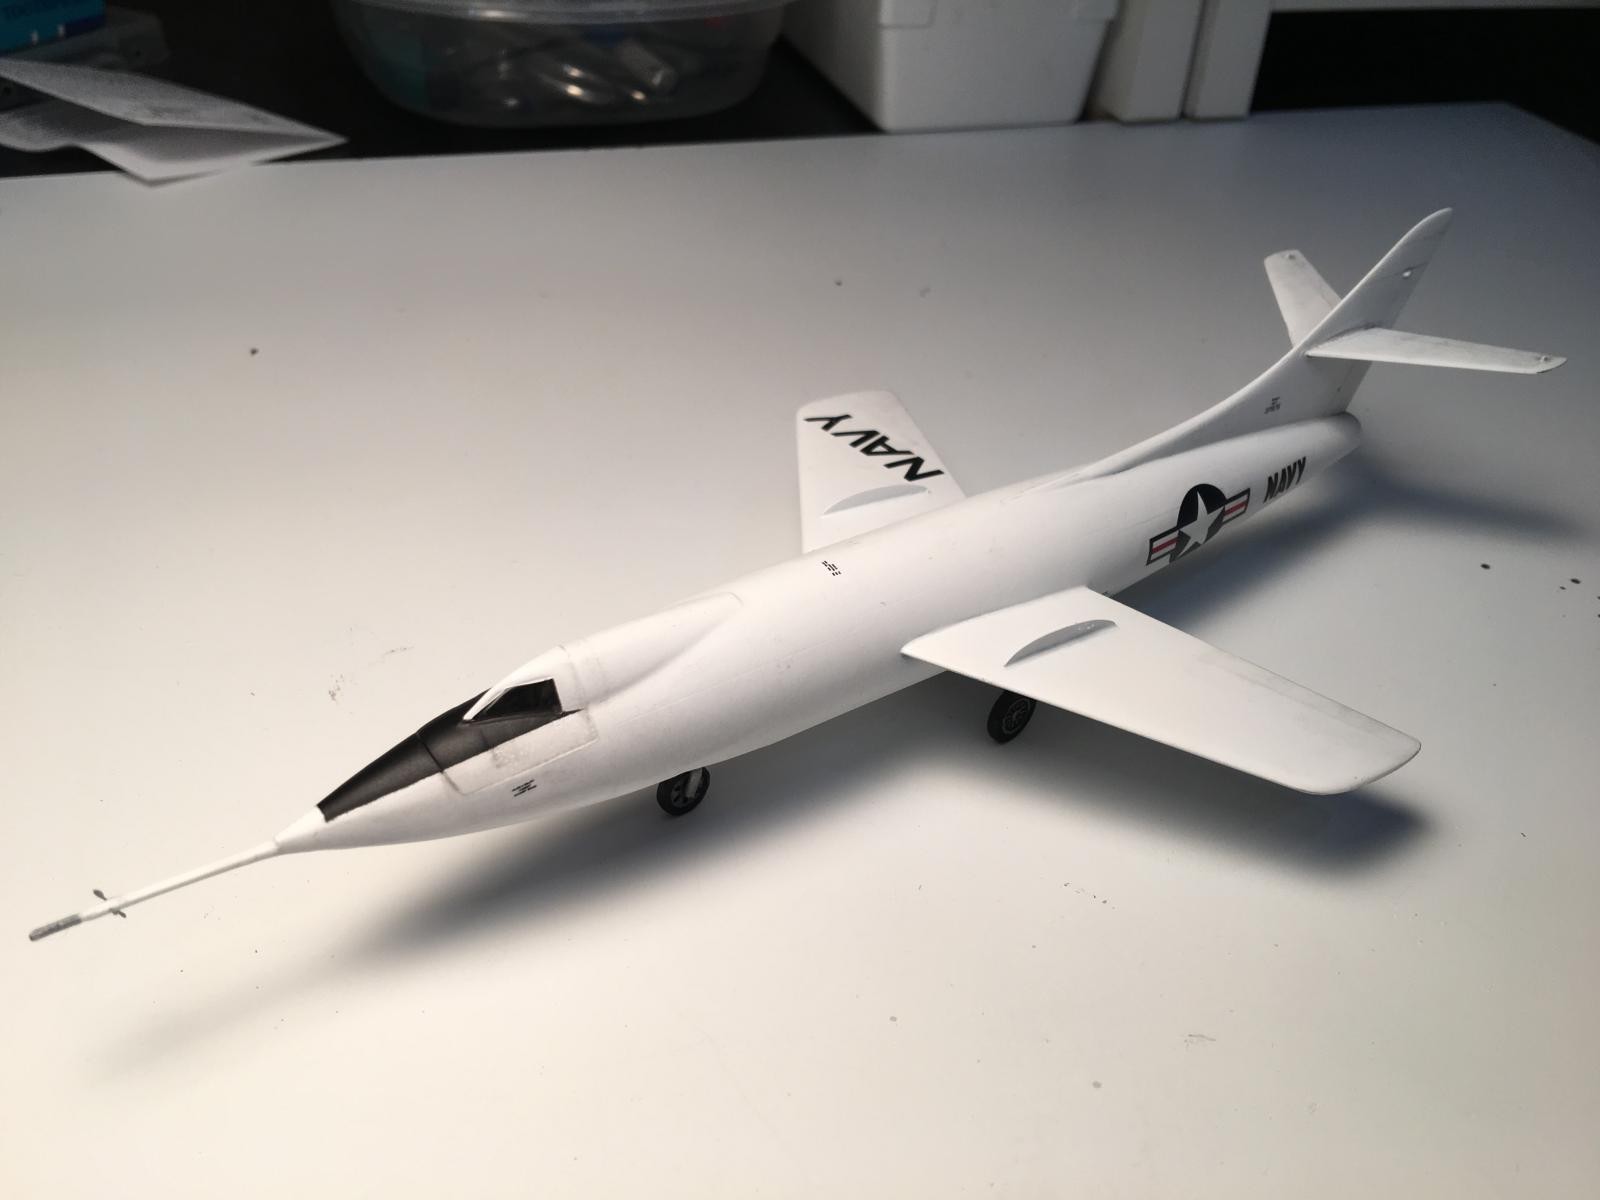
Once the fuselage is sealed shut, the cockpit looks alright, but not much of it will be visible with the canopy down. Attaching the landing gear to the fuselage was pretty simple even though there is no positive attachment point. The main landing gear and the nose strut have very small photo etch scissors assemblies to attach to each strut. The first two went fine, then the third one (for one of the main gears) launched itself into the carpet. Search parties were sent out, but no luck. It's small, no one will notice. Right? I also managed to lose one even smaller piece of photo etch, but it was entirely my fault. Most experimental planes have two vanes that attach to the pitot boom, one vertical and one horizontal. I glued both of them on prior to painting, hopefully aware that they would be easy to knock off in the work that was to come. I should have waited until after painting, but if you look closely at the photos of the finished model you will notice there is only one remaining vane. The other is living somewhere in my carpet.
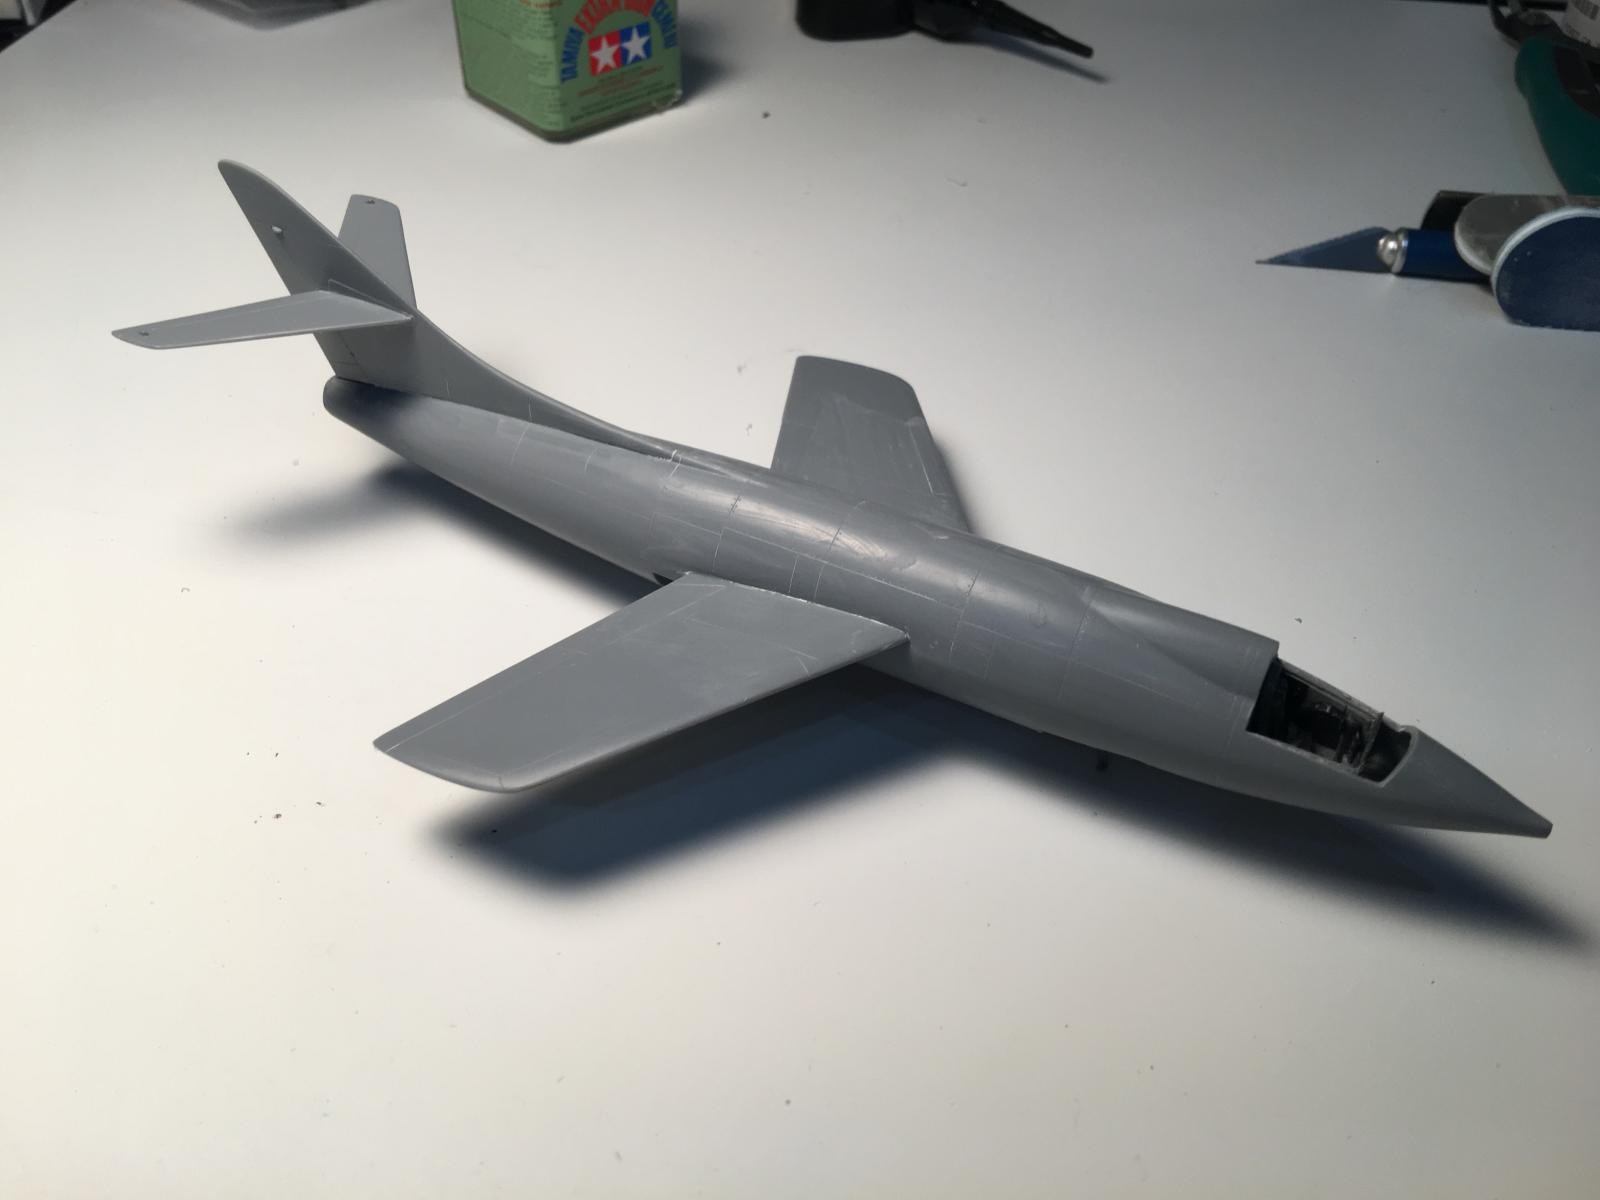
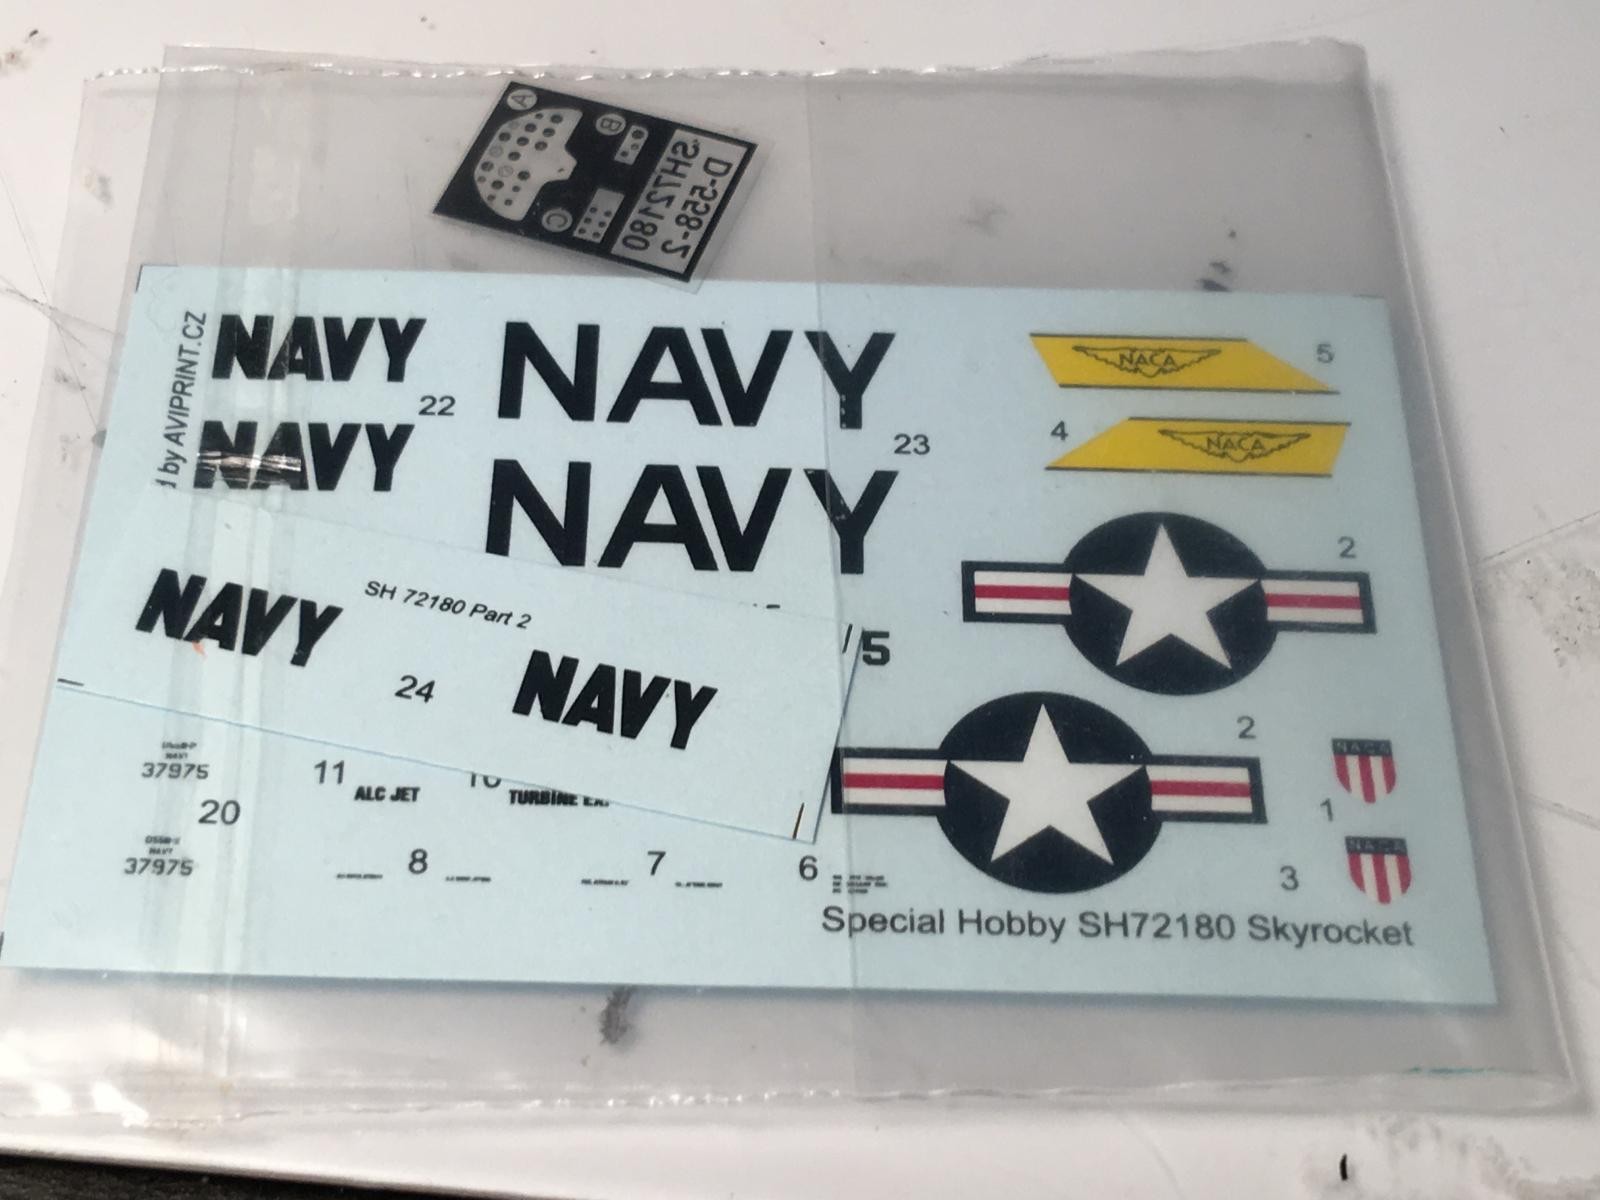
Everything assembled fairly well and was soon ready for painting. I'm not a big fan of white planes, but I decided to use Tamiya white primer for the final coat. A quick coat of clear gloss and the model was soon ready for decals. I was a little worried about the age of the decals, but I decided to press on anyway. I turned out to be a big mistake. I placed the "Navy" insignia under the wing, which promptly disintegrated when I put the Micro-Set on it. Well, I could have replaced it with something from the spares box, but I figured it wouldn't be visible when viewed in my model cabinet. (View with one eye, remember?) So, what is the simple solution to the decal problem? Most would choose to spray some clear on the decals, let them dry, and try again. But I decided to go down the path less traveled. I pressed on with the decals, but didn't use Micro-Sol or Micro-Set. Another mistake, as some of the decals started to come apart. The only one I couldn't completely save was the stars-and-bars on the rear of the starboard side of the fuselage. After everything was dry, I sprayed on some flat clear to seal everything in. I did very little weathering since most of the pictures of this plane show it to be in pretty good shape.

Well, model done. It didn't meet my "keep-it-simple" plan, and it certainly won't stand up to comparison with the other models pictured on iModeler, but it was fun to build. I think, in the end, that is all that matters. Now, on to something bigger...
Turned out well IMO...looks good. 🙂
"but it was fun to build. I think, in the end, that is all that matters." Yep - absolutely! A nice, not-often-seen subject. Well done.
Came out great! Drat that hungry carpet!
Well dang it George, looks like it came out rather well to me. If you had fun along the way, that's a bonus, after all it's suppose to be a hobby. Wonder why nobody's done a series of quality kits of X planes? IMHO, I believe they would sell rather well.
It's a pretty looking model. Gotta love that characteristic "swoopy" Douglas tail!
Looks much better than the old Revell kit! Well done!
Looks perfect, George! A beautiful build of a beautiful plane. All this work you put clearly shows. Better still, the fun you had building it and the joy we have looking at it.
All the best, my friend!