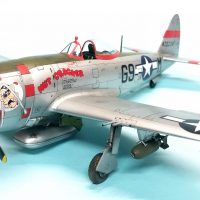
1/32 Scale RB 51 ‘Red Baron’ Fisher Models
This article is part of a series:

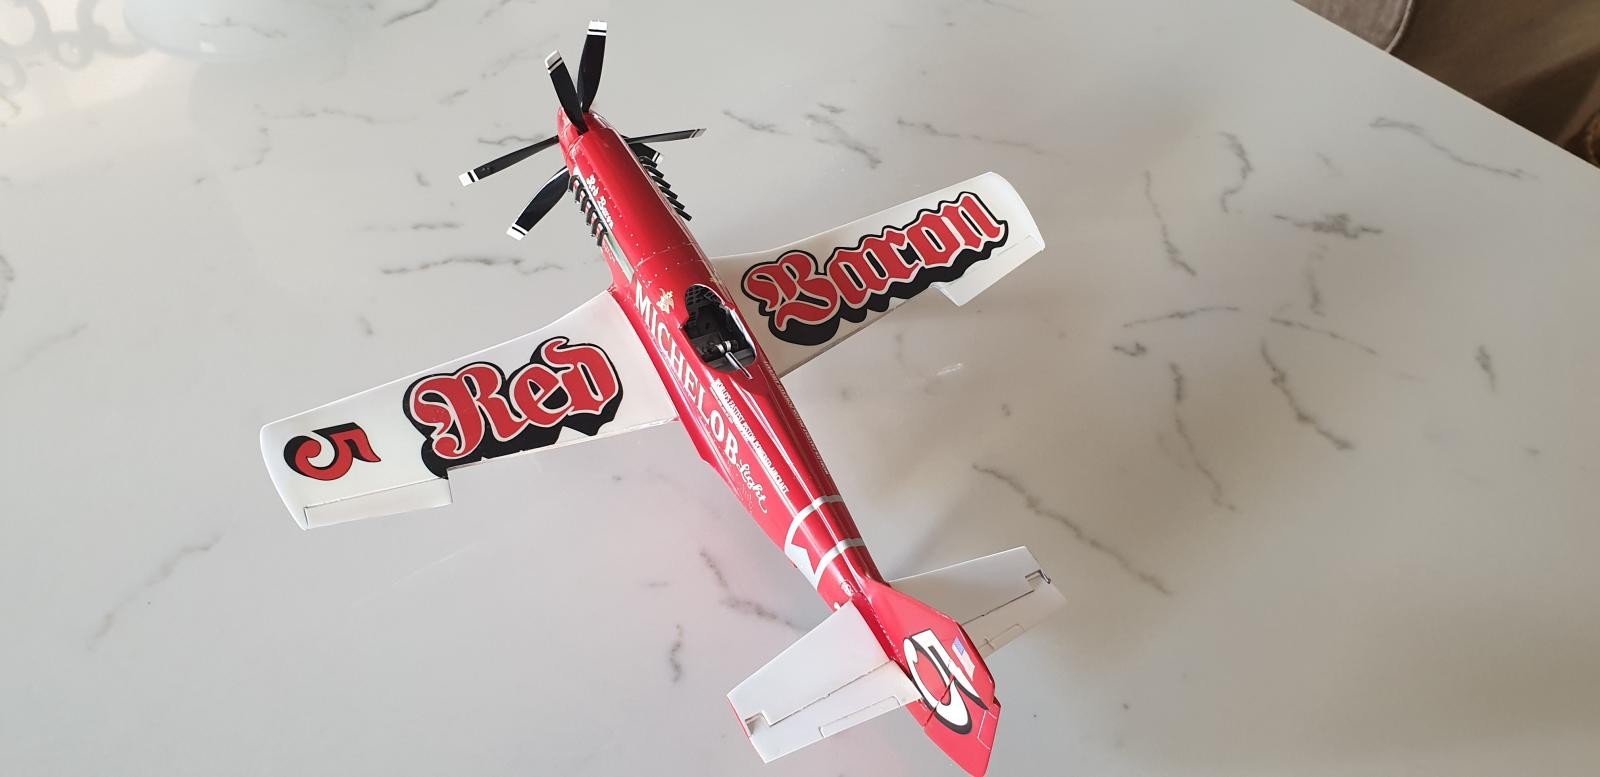
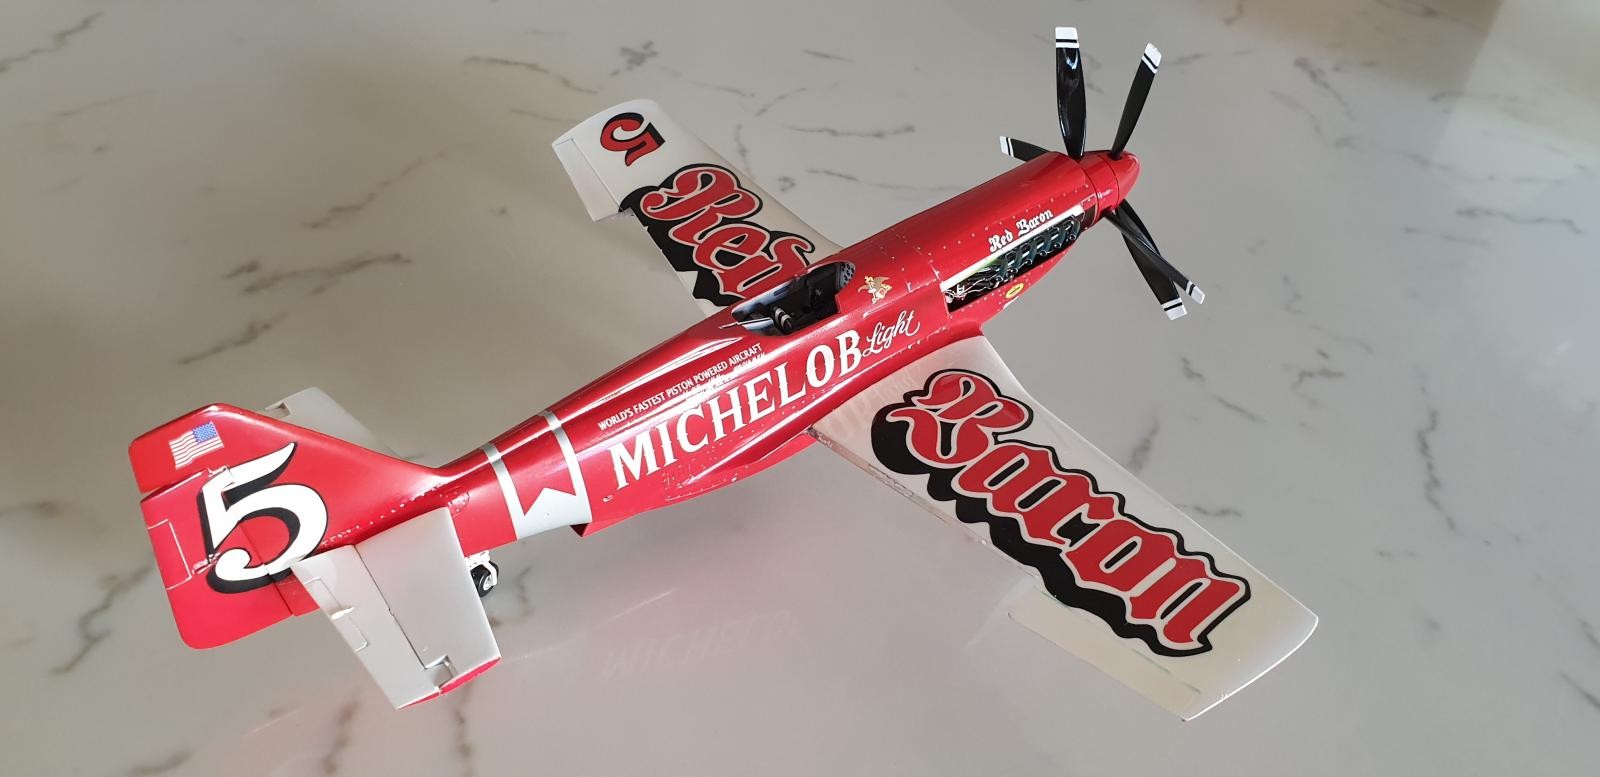
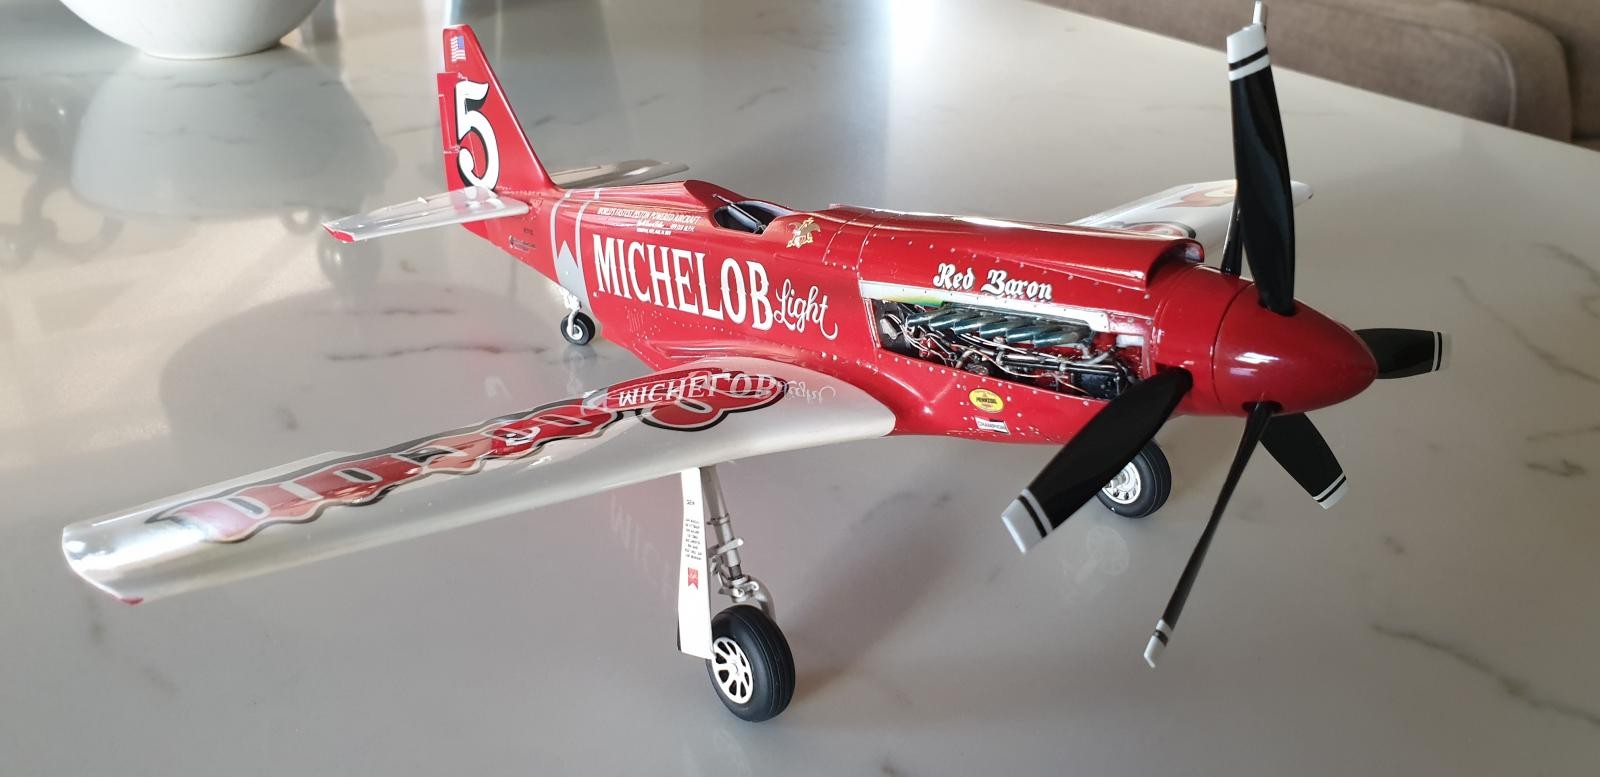
Here is a progress report on my RB 51 Mustang,
This kit fought me the whole way, everything just went wrong. I painted this kit twice, yip, TWICE. The paint was flaking and not sticking to the resin, so when I removed the masking tape, the paint came off as well, this happened after removing the mold release agent, and flatting the model with a really fine water paper and priming... What can I say... I need to start scratch building as soon as possible.
I still need to vac form the canopy and give the model a really good polish...
Hope you like it so far, a lot of sweating and swearing went into it to get it this far.
Marc

What a beautiful piece of modeling...wow.
Thanks for the kind comment Craig
Gorgeous, Marc. A marvellous work of modeling that’s better knowing the effort that went into her. Skill, patience, and determination. You have a lot of game, Marc
(Can I ask, what water paper did you use?)
‘Liked’. A lot.
Hi David, I used a P1200 water paper, and a highly thinned Tamiya enamel clear.
Thanks for the kind words.
That is absolutely stunning. To me this is the epitome of Mustang development and this really captures her. I feel your pain on paint flaking off, it really becomes a mission to get it right. What a beautiful model.
I agree, this aircraft was really modified for speed, I am still suffering with shell shock from the battle I had to get it to this stage. Thanks for the comment Jim.
Looks like it was worth the effort Marc. She's really a beauty.
Thanks you Tom
Another winner from the Barris stable. Well done Mark!
Thanks for the kind comment Morne.
Simply beautiful Mark!
Thanks Paul, much appreciated.
This one deserves a great big "well done" and two thumbs up to boot ! Just look at the mirror image reflection in the paint on the upper wing surface ... man oh man . That's extremely hard to do.
I love it Marc. Your perseverance has paid off handsomely...
"liked" too...
Hi Louis, I managed to get the mirror image by spraying multiple coats of clear lacquer and sanding down with a P1200 water paper, this managed to cover the decals properly and removed that ridge that you get with decals that are a bit thick. I ended off with a highly thinned Tamiya clear, around about a 70-30 mix, and let dry for 24 hours. I still need to give it a bit of a polish just to shine it up. Thanks for the comment.
Stunning work. We all know the frustrations. Some kits just refuse to cooperate.
Thanks Matt.
I think that the sweating and swearing paid off Marc - she looks superb!
Lots and Lots of swearing David, thank you for your comment.
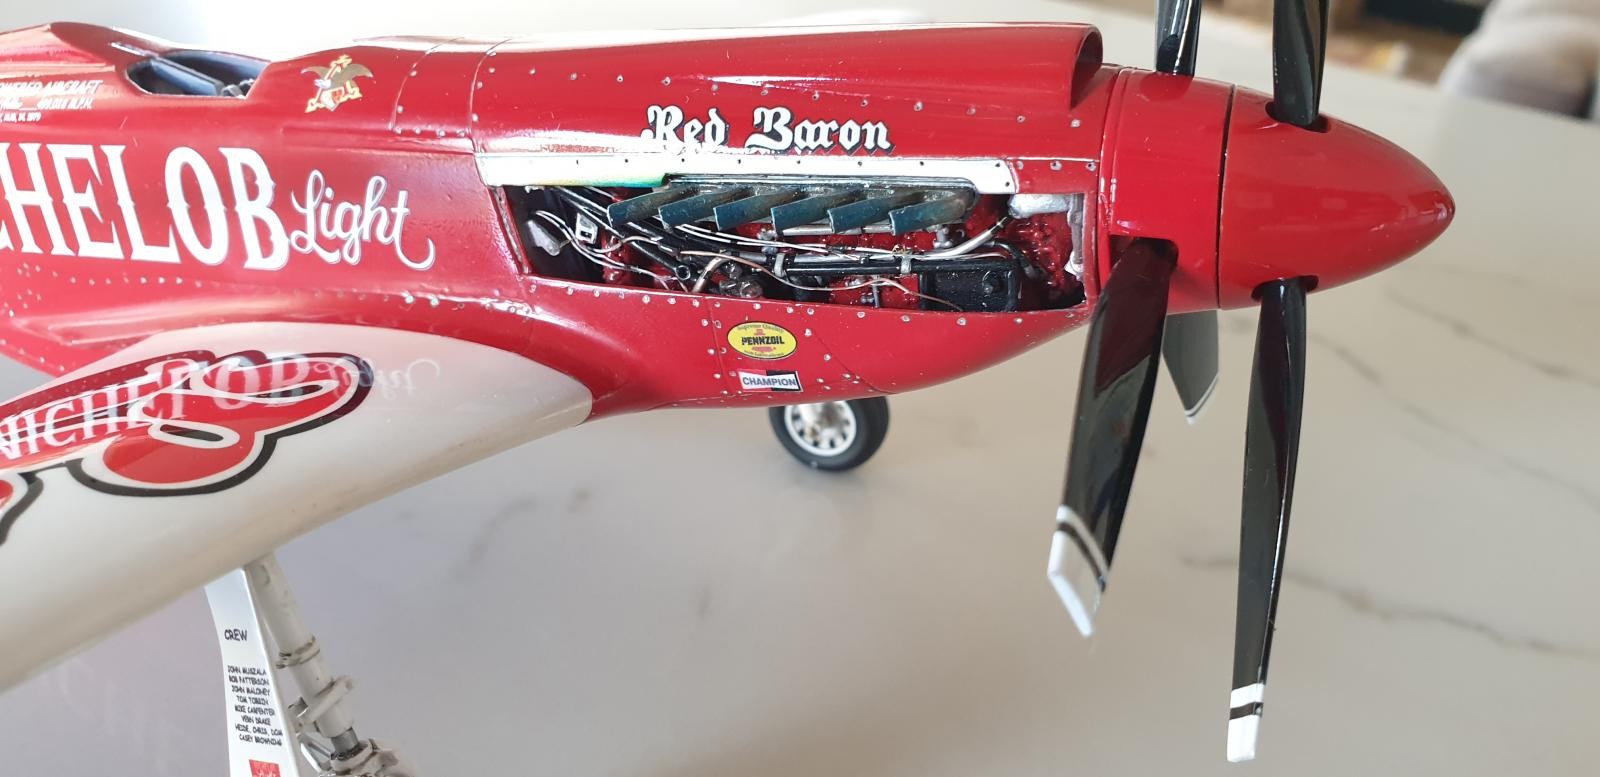
Great job in getting that to submit. It all looks great, but that engine... man, that looks really good!
Thanks for the comment, yes the nose was cut off the model, and then hollowed out, I scratch built the mountings and the engine, and then glued the nose back on, a bit of a job, but worth it in the end.
It may have fought you, Marc @marc ... but YOU won !
Good point well made, Mr. Bailey.
Battered and bruised Jeff... Thanks for the comment.
Marc - Don't know how you have the time for this sort of labour intensive stuff with everything else going on with your life and an unfulfilled hankering to reboot the scratch build odyssey. As everyone has pointed out already, your perseverence and unparalleled skill set has paid off hansomely with this sparkler. Another racer off the wish list! Paul
thanks a mill Paul, thought about putting it in a box and hiding it away, I just did not have the heart, especially a Paul Fisher Kit, Thanks for the comment though. Check you e mail next week, nearly finished with the project.
Looks wonderful Marc - my prescription is "build something OOB!" (like the rest of us styrene grunts!)
Love your work as always. Look forward to your next scratch building adventure, whatever it may be!
Hi Greg, the next project will be a Mirage F1 AZ. SAAF. Got all the materials and plans. Thanks for the comment.