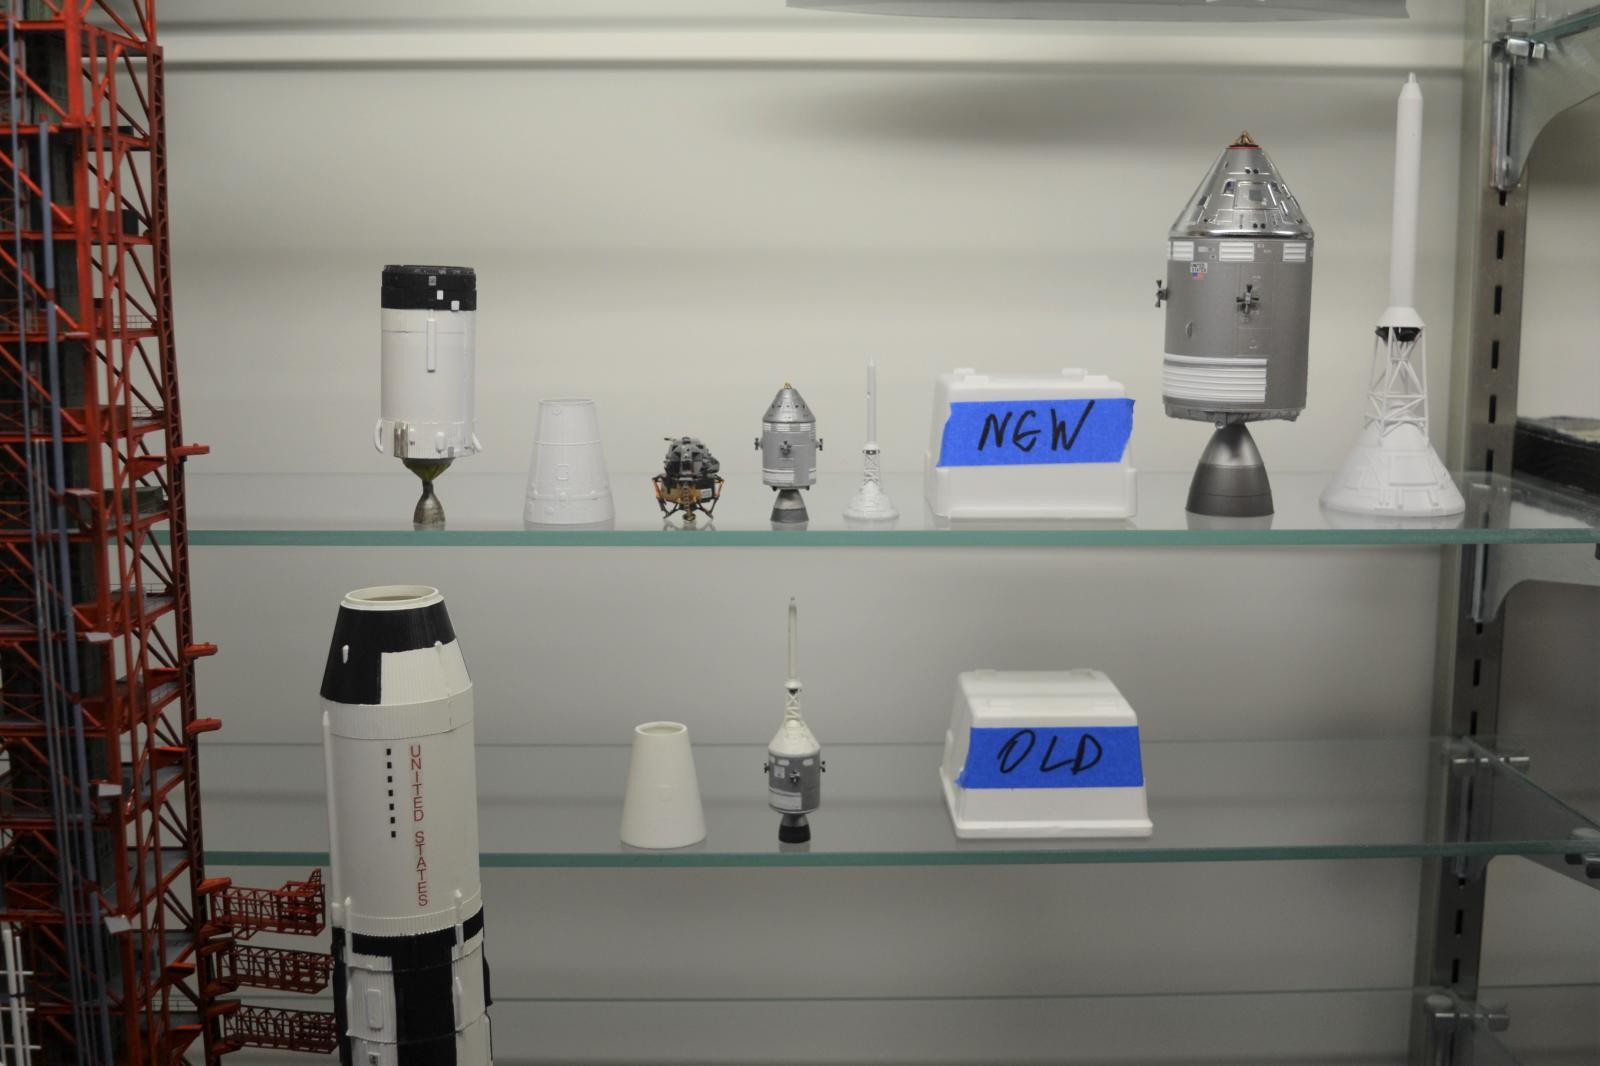
New CSM, LM and S-IVB parts for 1/200 Apollo 11 LUT project
For the past few weeks I've usually gotten one more swing arm for the LUT up each weekend, with corresponding work to the pad base. But for the past several days the pad and the mobile launcher have taken a back seat to improvements to the AMT 1/200 Saturn V.
AMT debuted the model as part of its "Man in Space" collection of U.S. manned rockets in 1967, and it is a generally accurate model, although the CSM is of the Block I type which never flew. I reviewed my build of the kit athttps://mcsmith.blogs.com/general/2016/08/amt-1200-man-in-space-collection-1.html in April of 2016.
As I built the launch tower I have been checking the Internet for any useful 1/200 accessories, from railings and ladders to vehicles and personnel. I finally got around to ordering the 3D printed Mercury and Gemini spacecraft and Apollo service modules that are available, and another set of the Indycals decals. By the time I did that, also available from Shapeways was a 3D printed instrument unit and shroud for the third stage of the Saturn V in 1/200, so I got those well.
S-IVB detailing
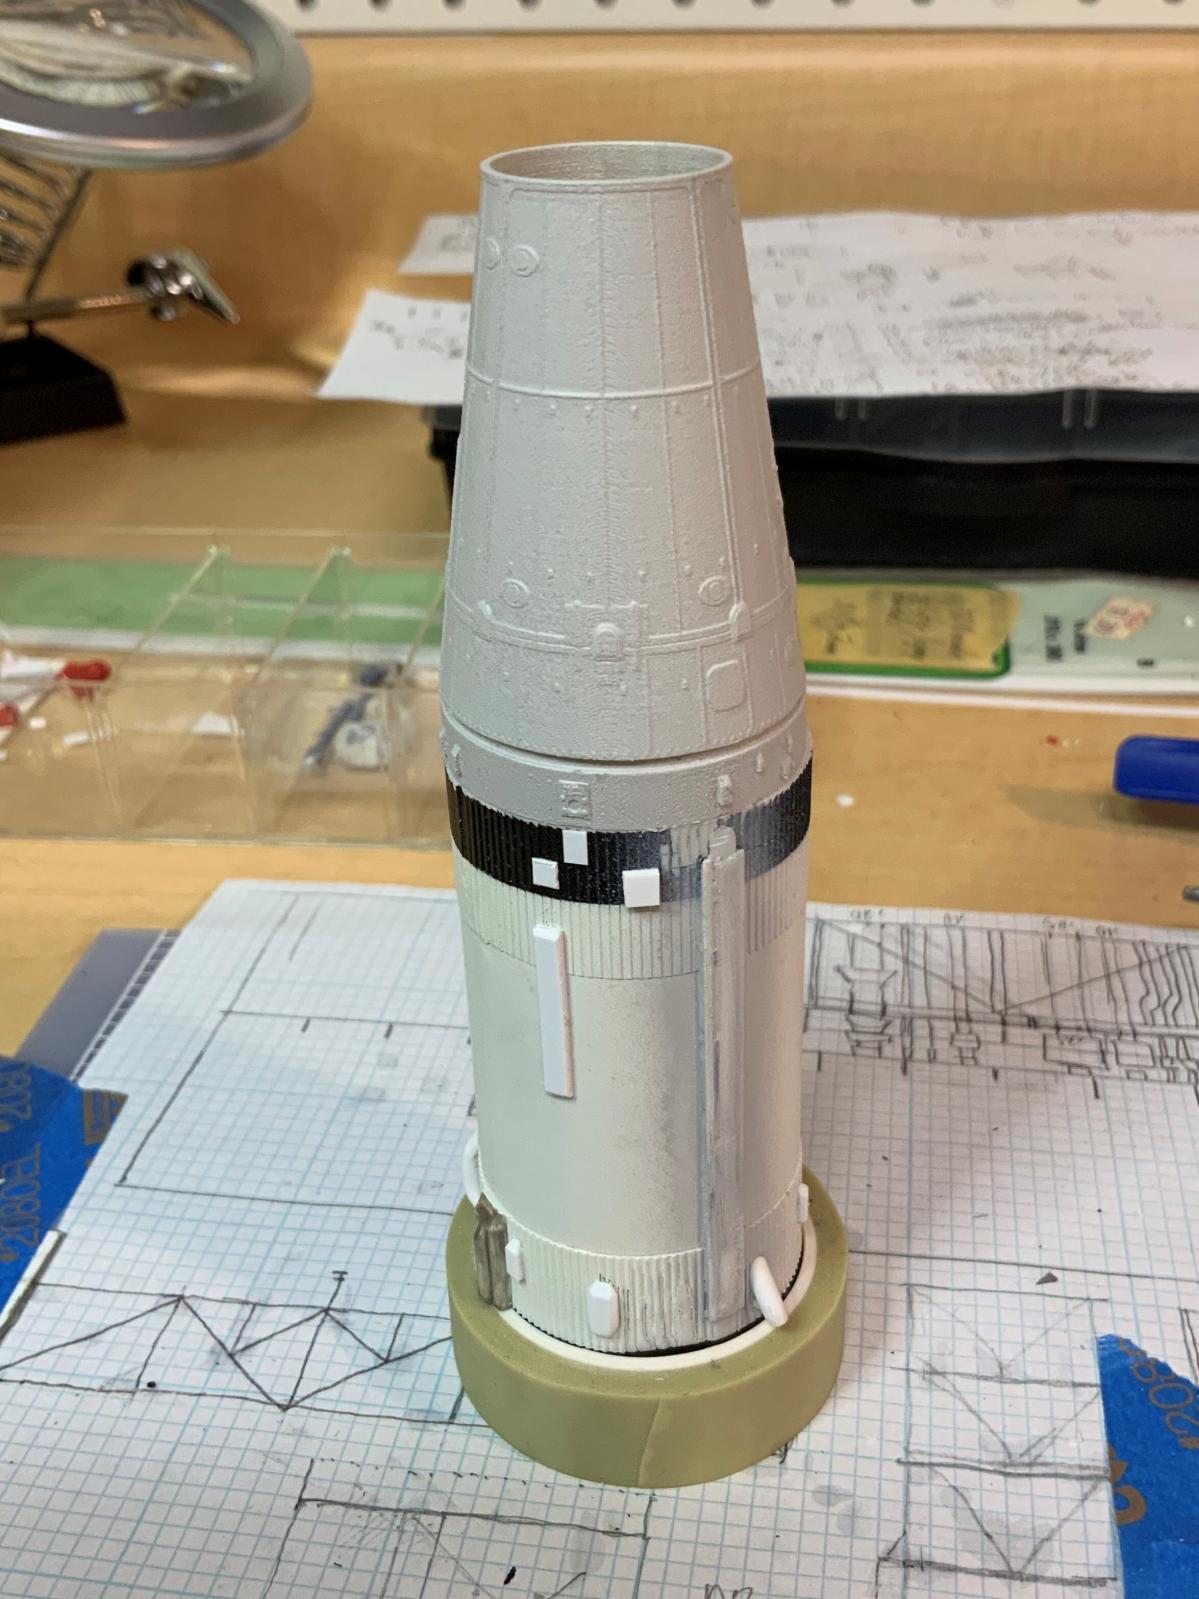
The first stage of the project was detailing the third stage S-IVB. I flattened and enlarged the principal systems tunnel, added the auxiliary tunnel, clipped off all the other details except the auxiliary propulsion system fairings, and scratchbuilt new ones. My best source for these was the Apollo Maniacs page, which shows rotated versions of all the Saturn V segments. I then added the 3D instrumentation ring and shroud. The printing isn't perfect, but it's significantly better than the original that came with the kit. While I did correct the primer color at the base of the stage, I didn't add detailing there, as it wouldn't show on the assembled model.
Service Module
One of the two SMs that came with the kit printed with odd striping that made it unusable, but the other was acceptable, although it still had a sandpapery finish. I primed it, sprayed it aluminum and detail painted the white radiators. While the Indycals set has SM decals, they're for the Block I spacecraft that comes with the kit. Another issue with the Indycals decals is that the SM decals include a white background for the SM flag, when on the spacecraft only the letters had a white background, not the flag. But not hard to fix.
The SM is noticeably longer than the AMT kit part, but I haven't checked the dimensions yet. It also has the umbilical in the wrong place, but given that I'm being a bit forgiving about that on the Saturn V overall, these are acceptable errors.
Launch Escape Tower
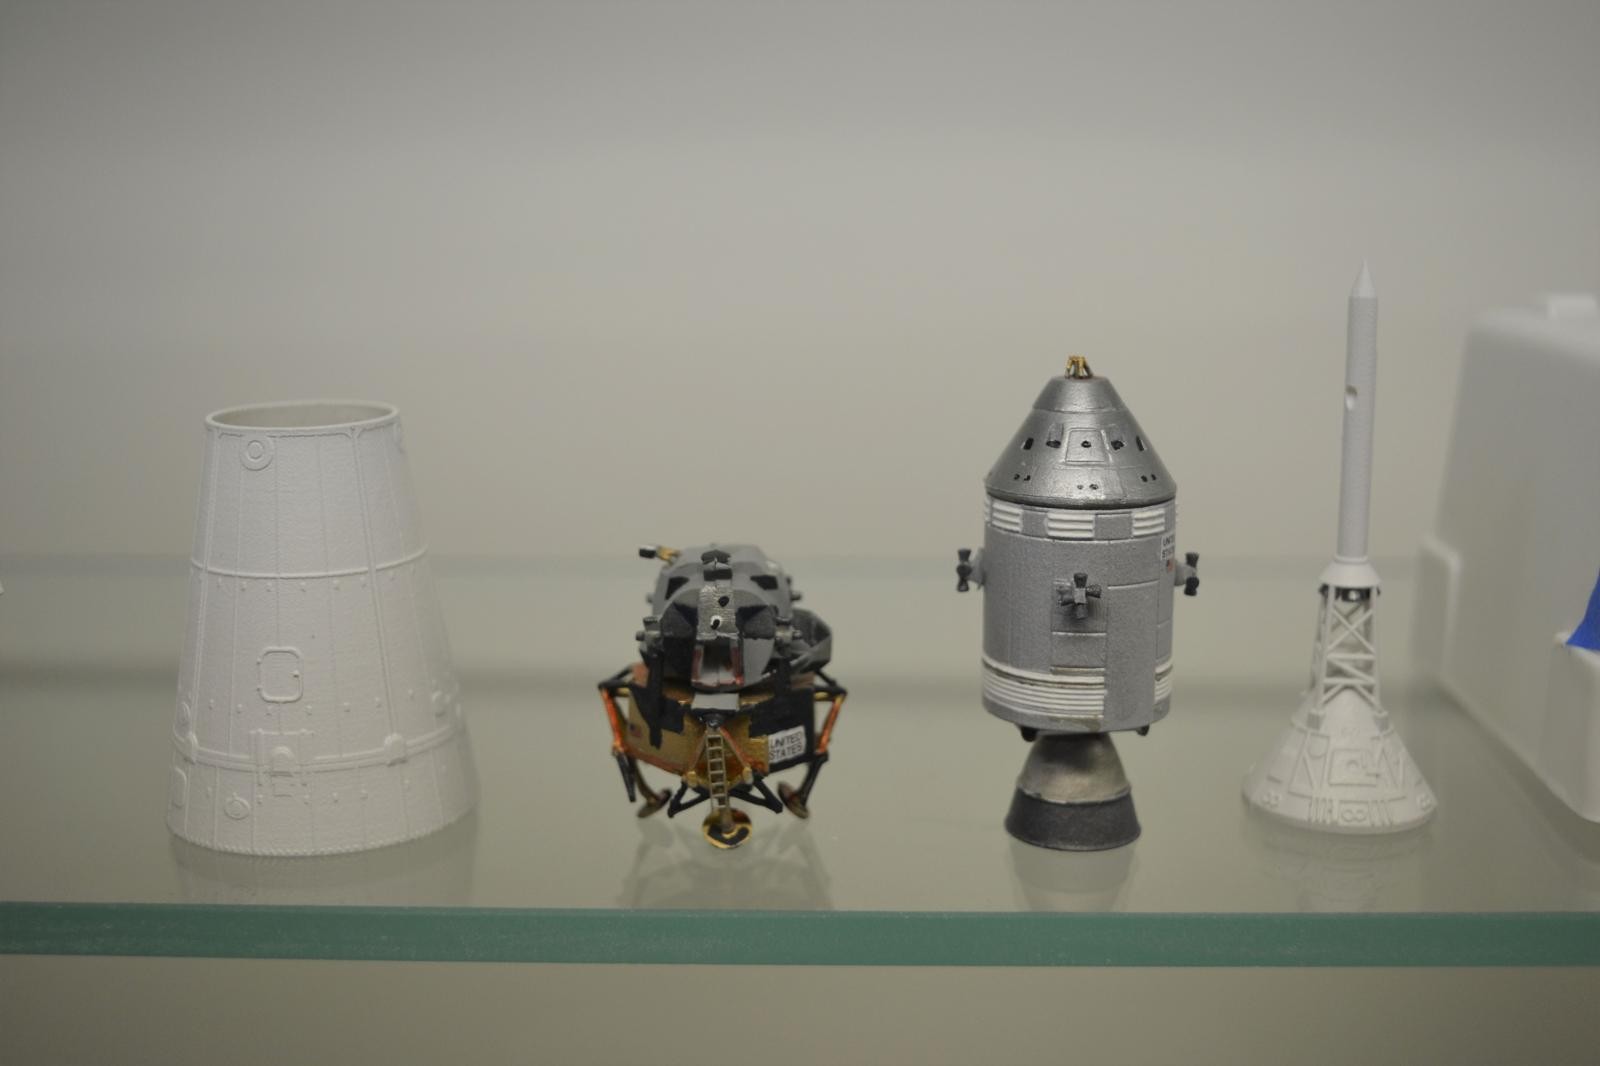
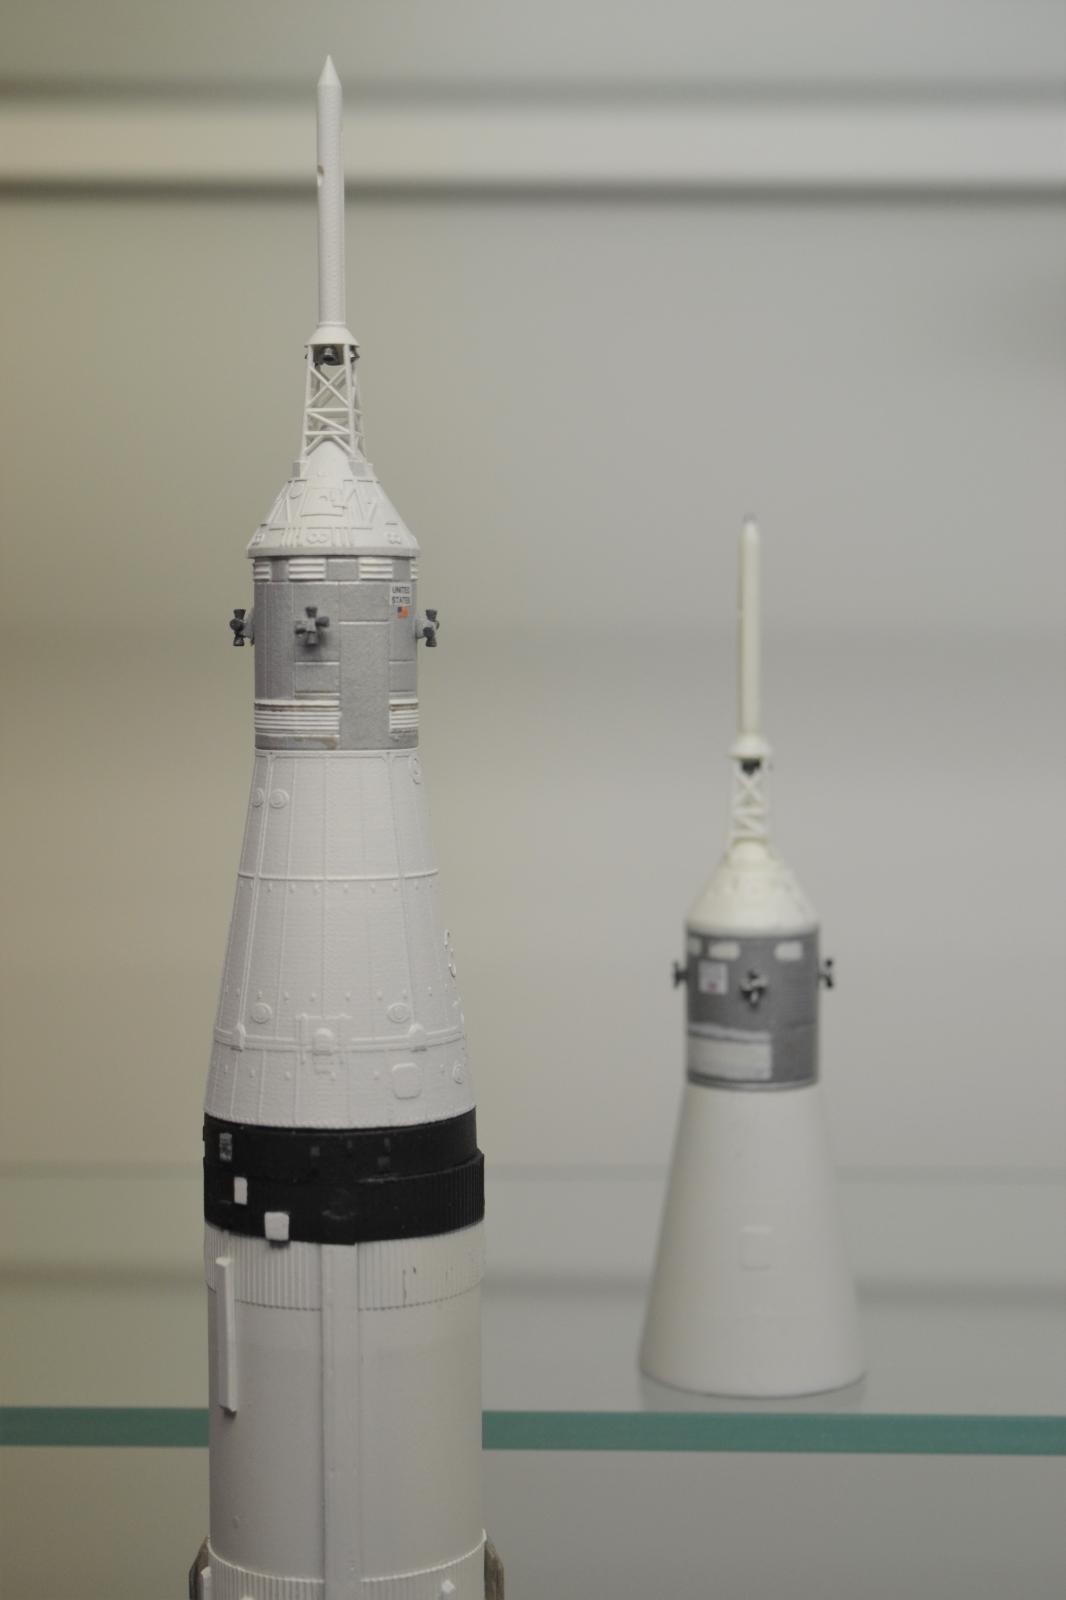
The launch escape tower is beatifully modelled in 3D printing, with crisp detail on the boost protective cover, and delicate work for the tower itself, as well as the rocket nozzles. But an unexpected benefit of adding it was that it requires the kit CM under it. This meant that I could rebuild the kit's CM, which had been standing in for the boost protective cover, as a true command module.
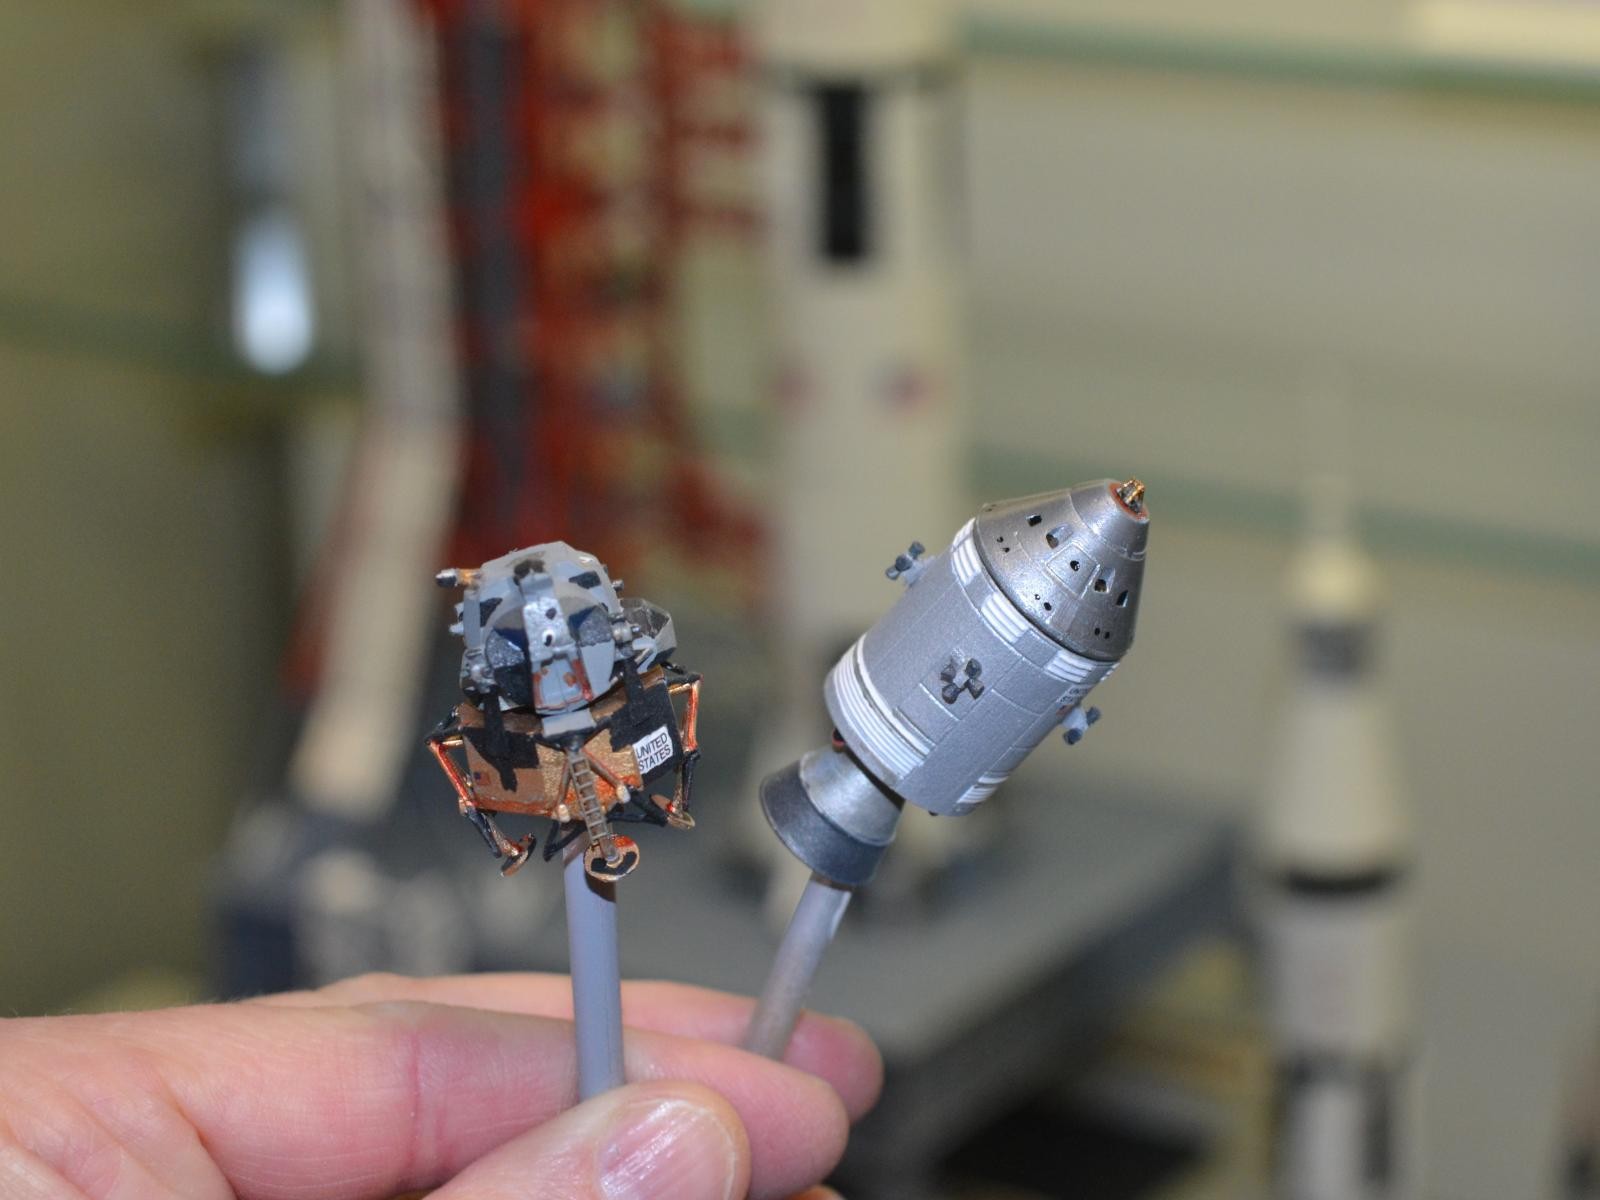
The problem with CMs from a modeling perspective is that they're covered with reflective tape, so it can't just be painted aluminum like the SM. I snipped off the tip of the CM to make a flat surface for the docking adapter and sprayed the CM with Testors Metalizer Steel. After buffing, it was sealed, which gave me a much shinier and slightly darker finish than the SM - just enough of a difference to get the effect I needed.
I finished it off by scratchbuilding the docking adapter, and tacking it to the SM with glue. In the photos I've shown a 1/72 CM and LES w/BPC to provide a model for what the finished product should look like.
Lunar Module
Completely unrelated to all of this was the decision to finish the 1/96 lunar module that's been sitting in my giant Revell Saturn V for 20 years. It's serving as something of a paint mule to try to compile research on the appearance on Apollo LMs and try out some modeling techniques. I have a second Revell 1/96 LM on the shelf if I decide to build a good one later - although it's more likely I'd go with a better 1/72 scale model. After spending a couple of hours on it I accidentally knocked the refinished S-IVB stage over, and the shroud - which wasn't glued on yet - came off. Which then gave me an idea - why not go ahead and finish one of the LMs that came with the AMT kit and install it in the rebuilt S-IVB. By this point I had done the basic painting on the LM mule well enough to know what went where and with what colors. I added a 1/200 scale photoetch ladder, a front door porch, and scratchbuilt radar units and shields for the maneuvering thrusters. The paint scheme matched the larger LM, including the secret sauce for a good LM - an amber glaze for the underside of the foil-wrapped surfaces.
The S-IVB detailing too two or three days, but the LM and CSM only took a couple, enabling me to get a completely revamped upper stage and spacecraft for my LUT this evening.
Very nice work, sir...I like 'em.
Nice! A good way to celebrate Apollo 11's 50th anniversary.
🙂 … Greetings … 🙂 :
Very nice work on those models Michael. A very much welcomed sight to see these models.