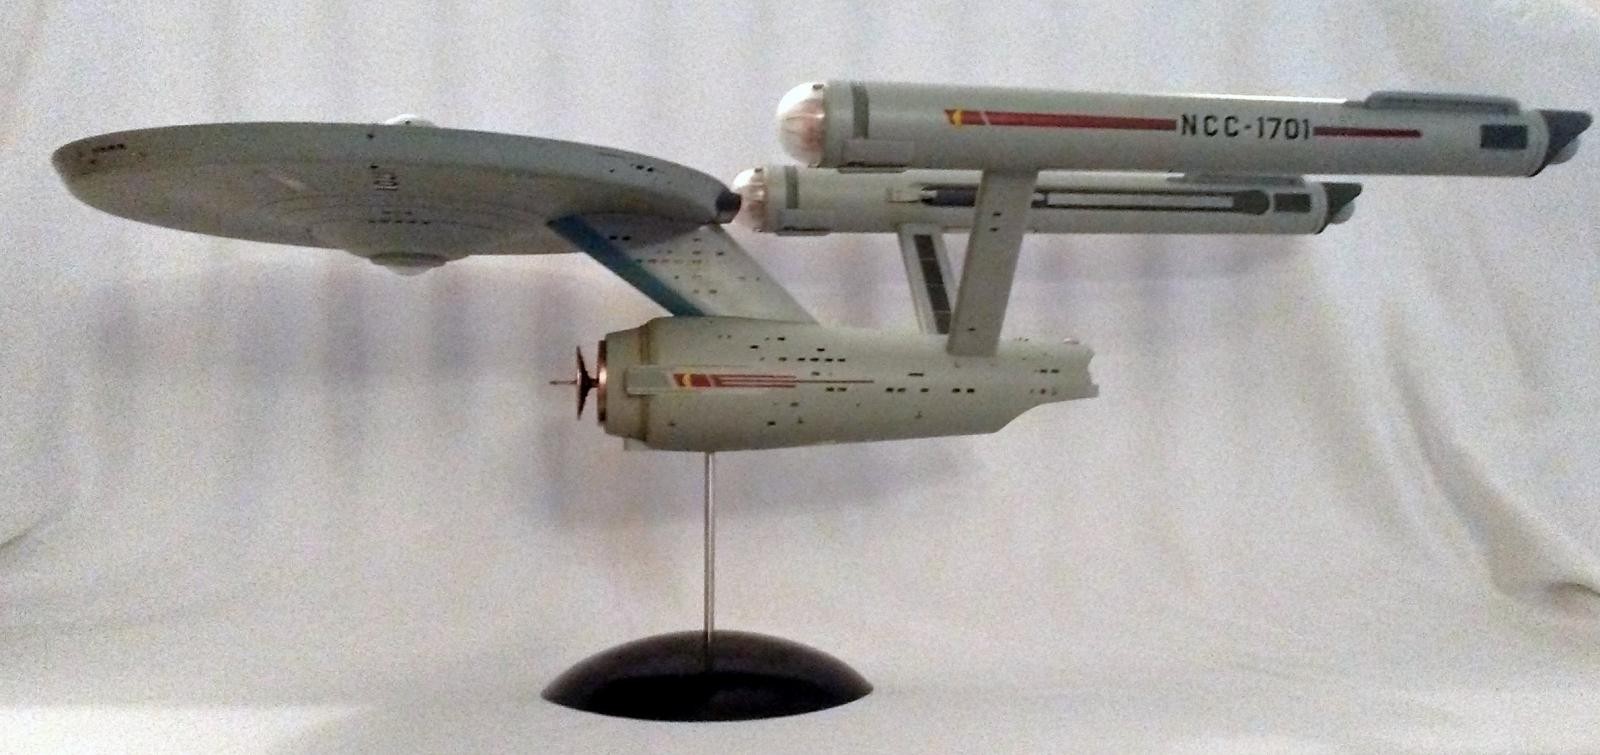
Polar Lights Starship Enterprise 1/350th scale
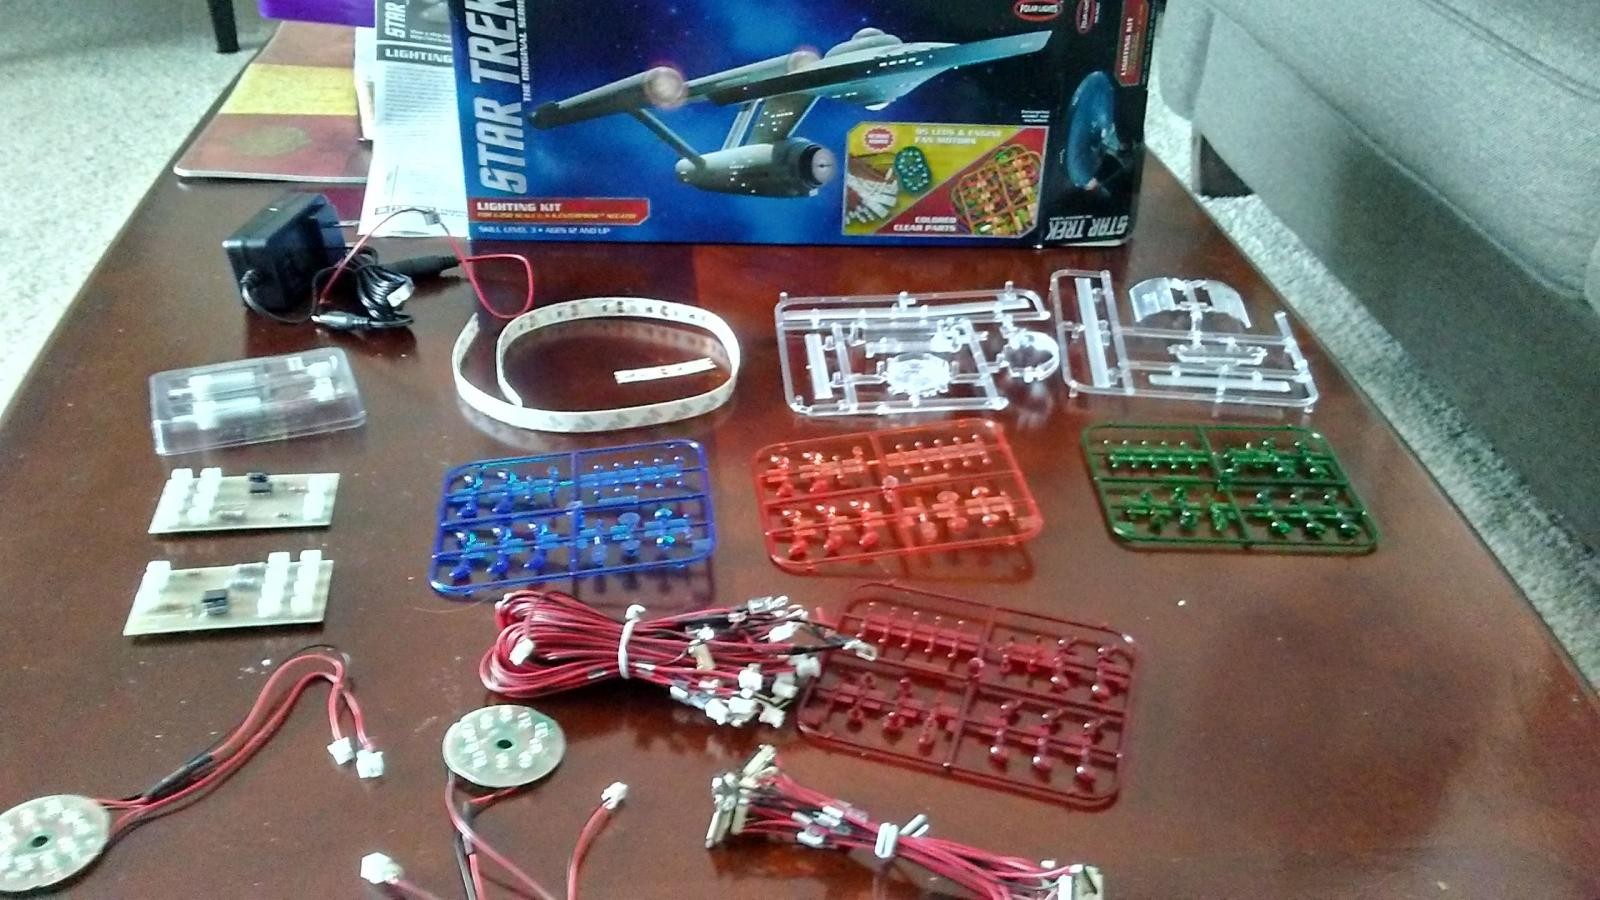
Last October or so, I casually mentioned to my son that I had an interest in building an Enterprise model, thinking someday I would build one of the AMT 18" models. My son, however, went right out and bought me the gigantic Polar Lights kit (he didn't actually give it to me until Christmas)! Since he went to the trouble of buying me a rather pricey model, I felt I owed it to him to put do it up right, so I bought the Polar Lights lighting kit and the photo-etch kit.
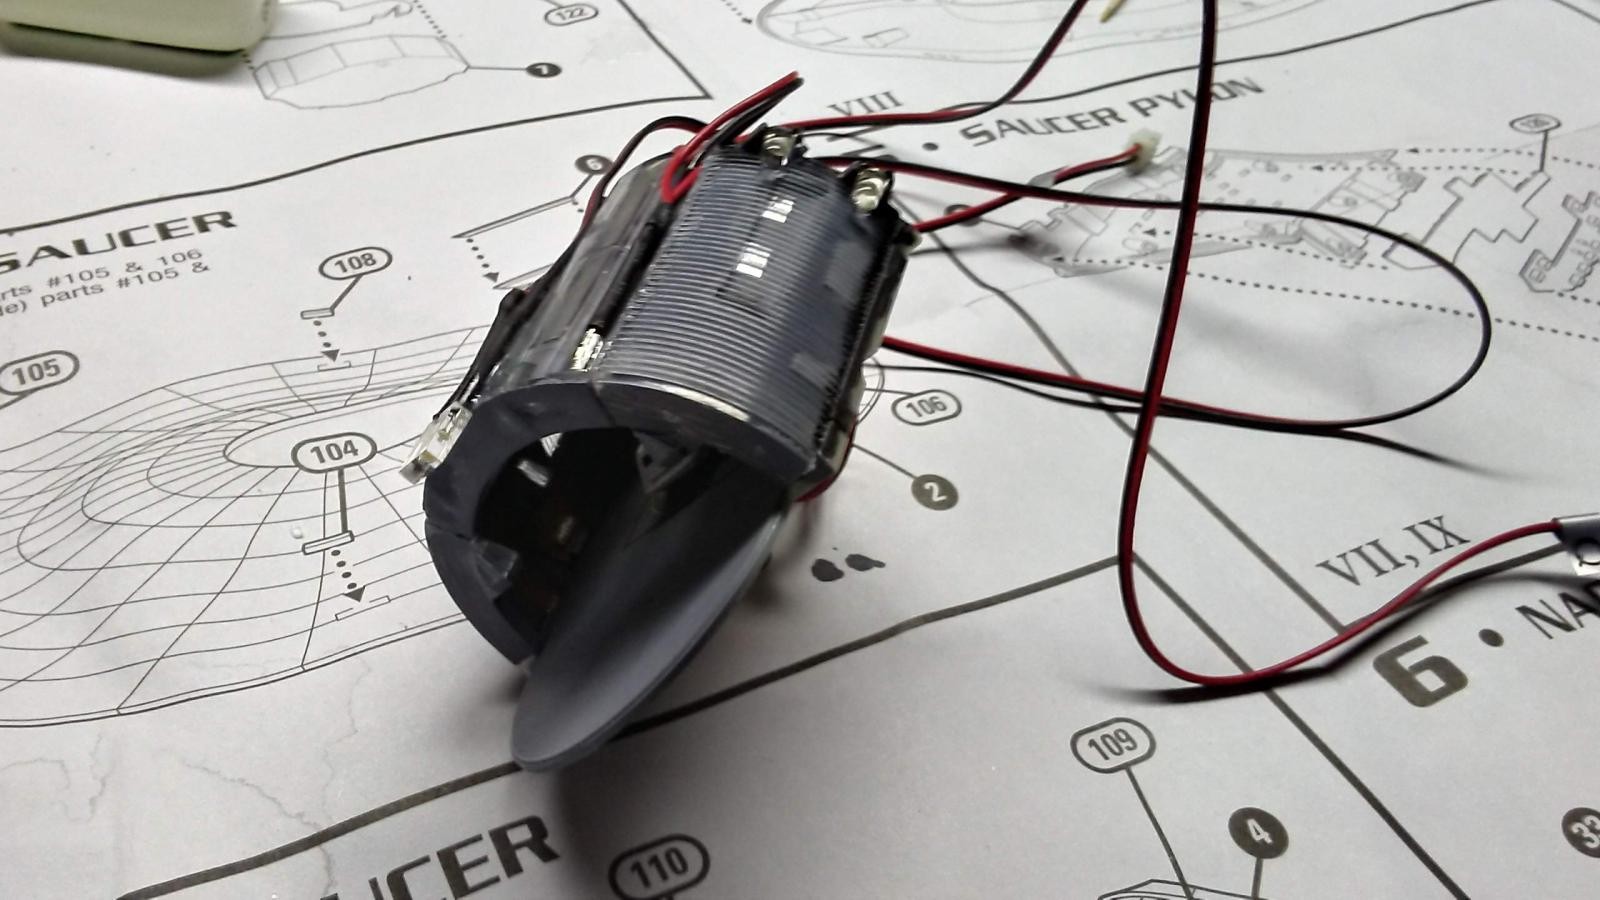
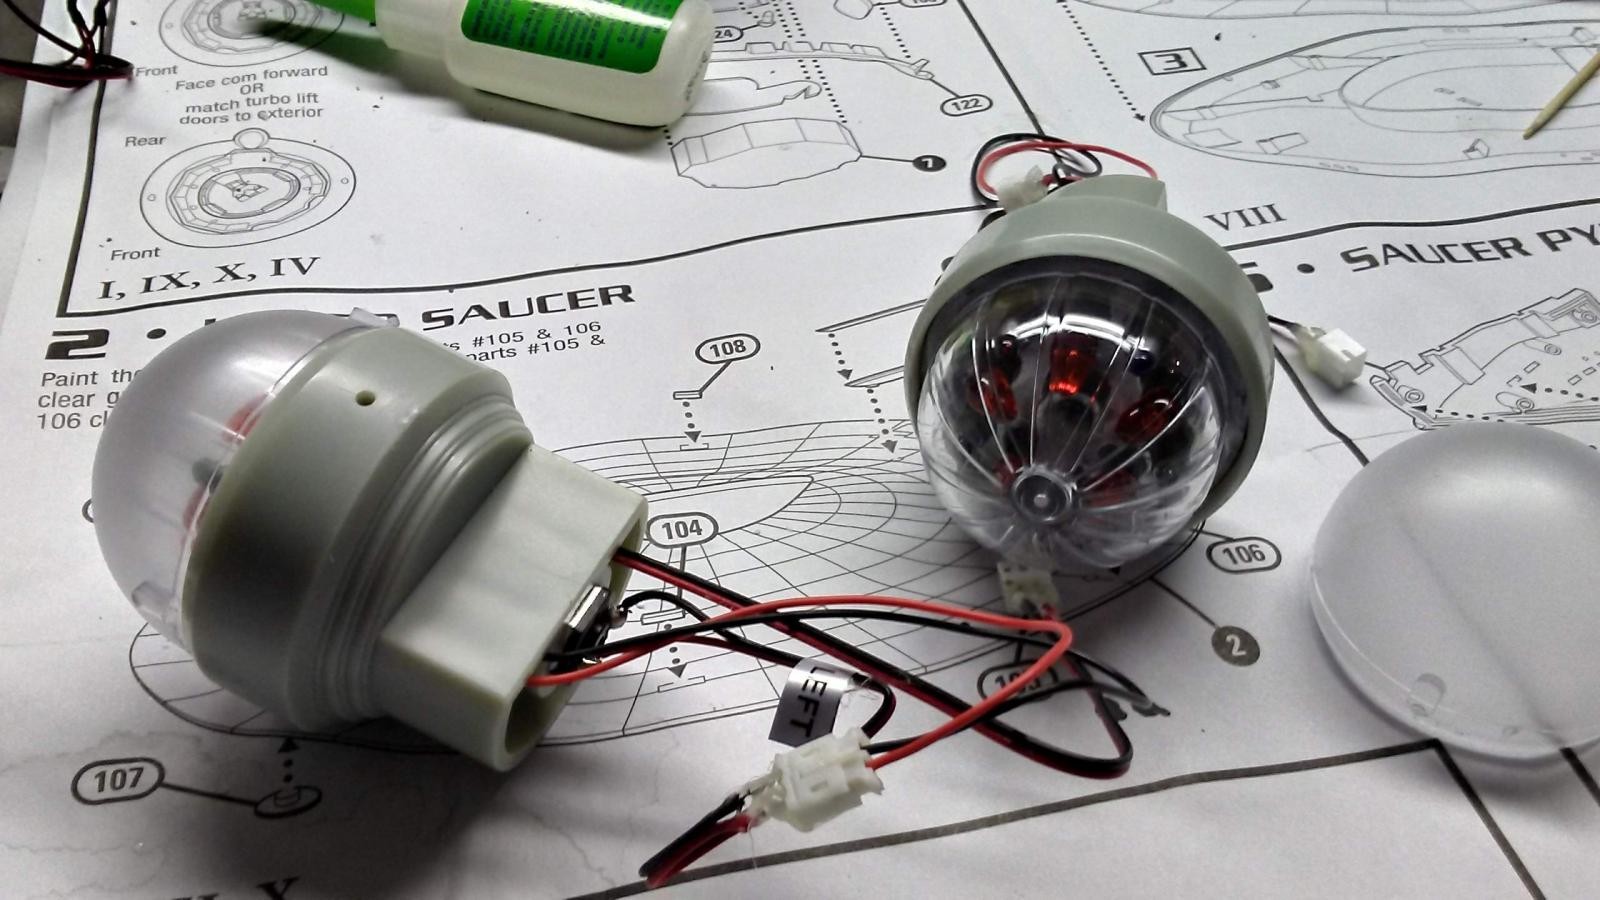
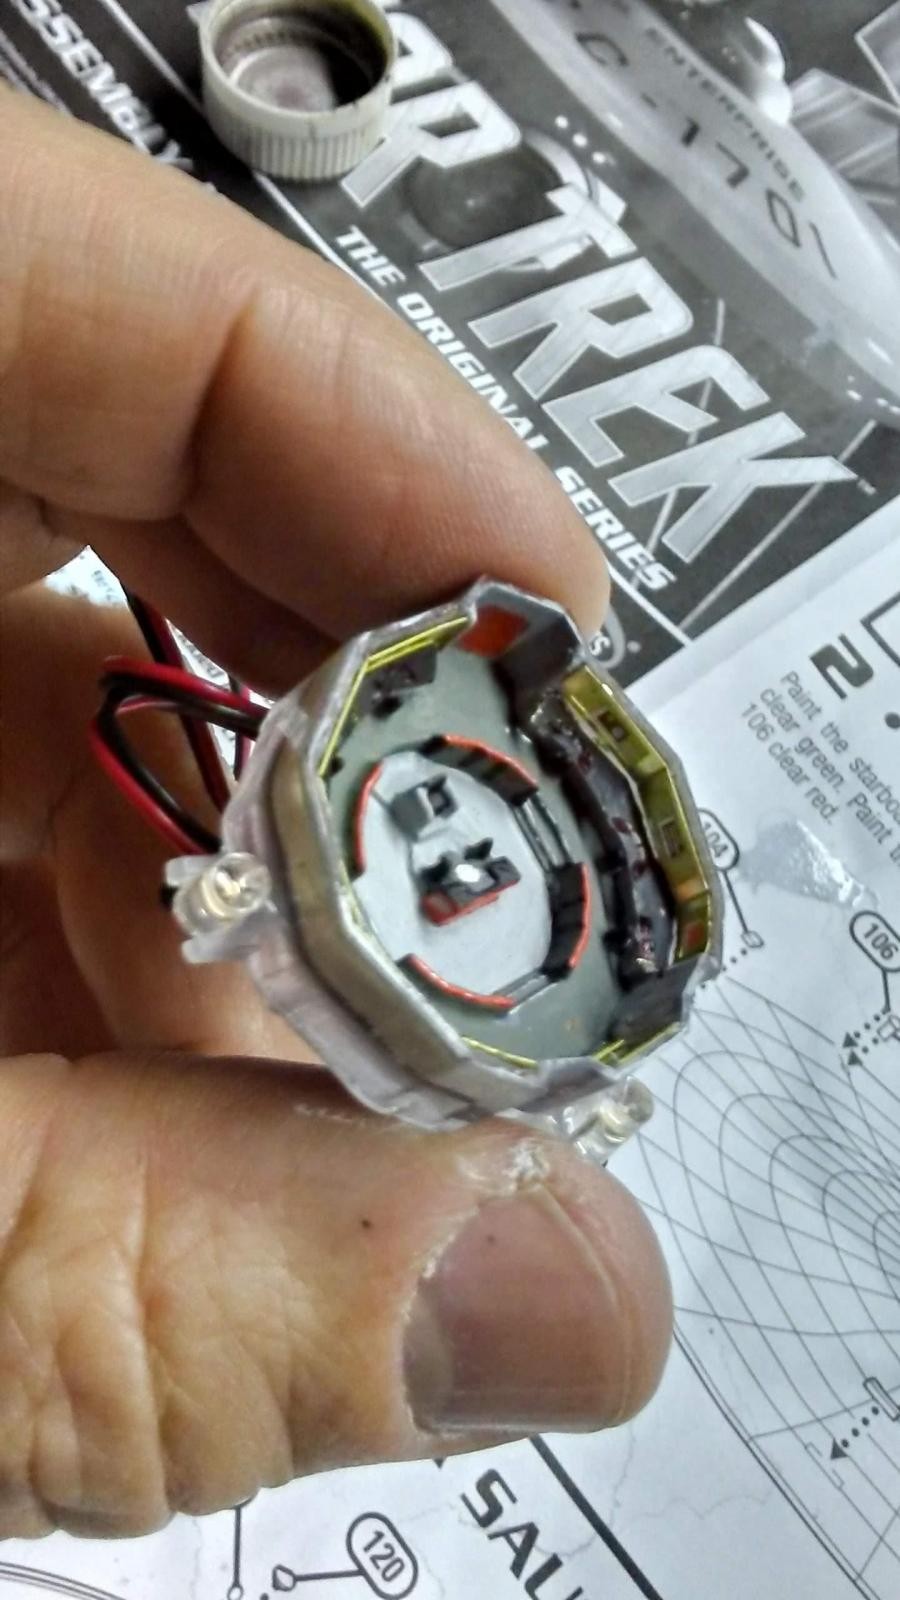
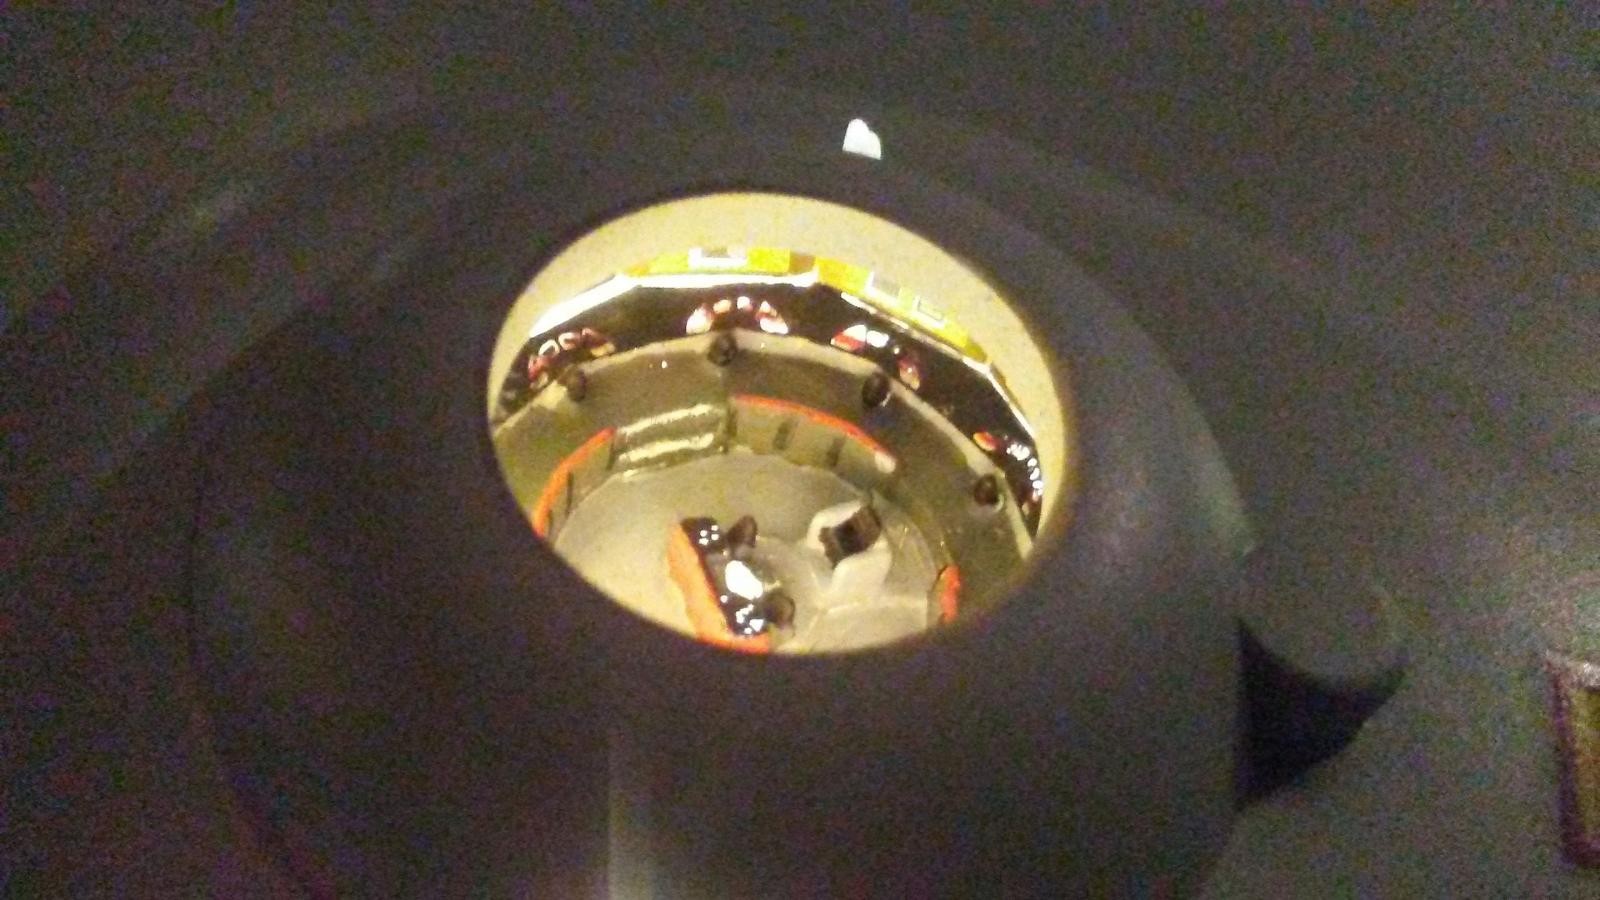
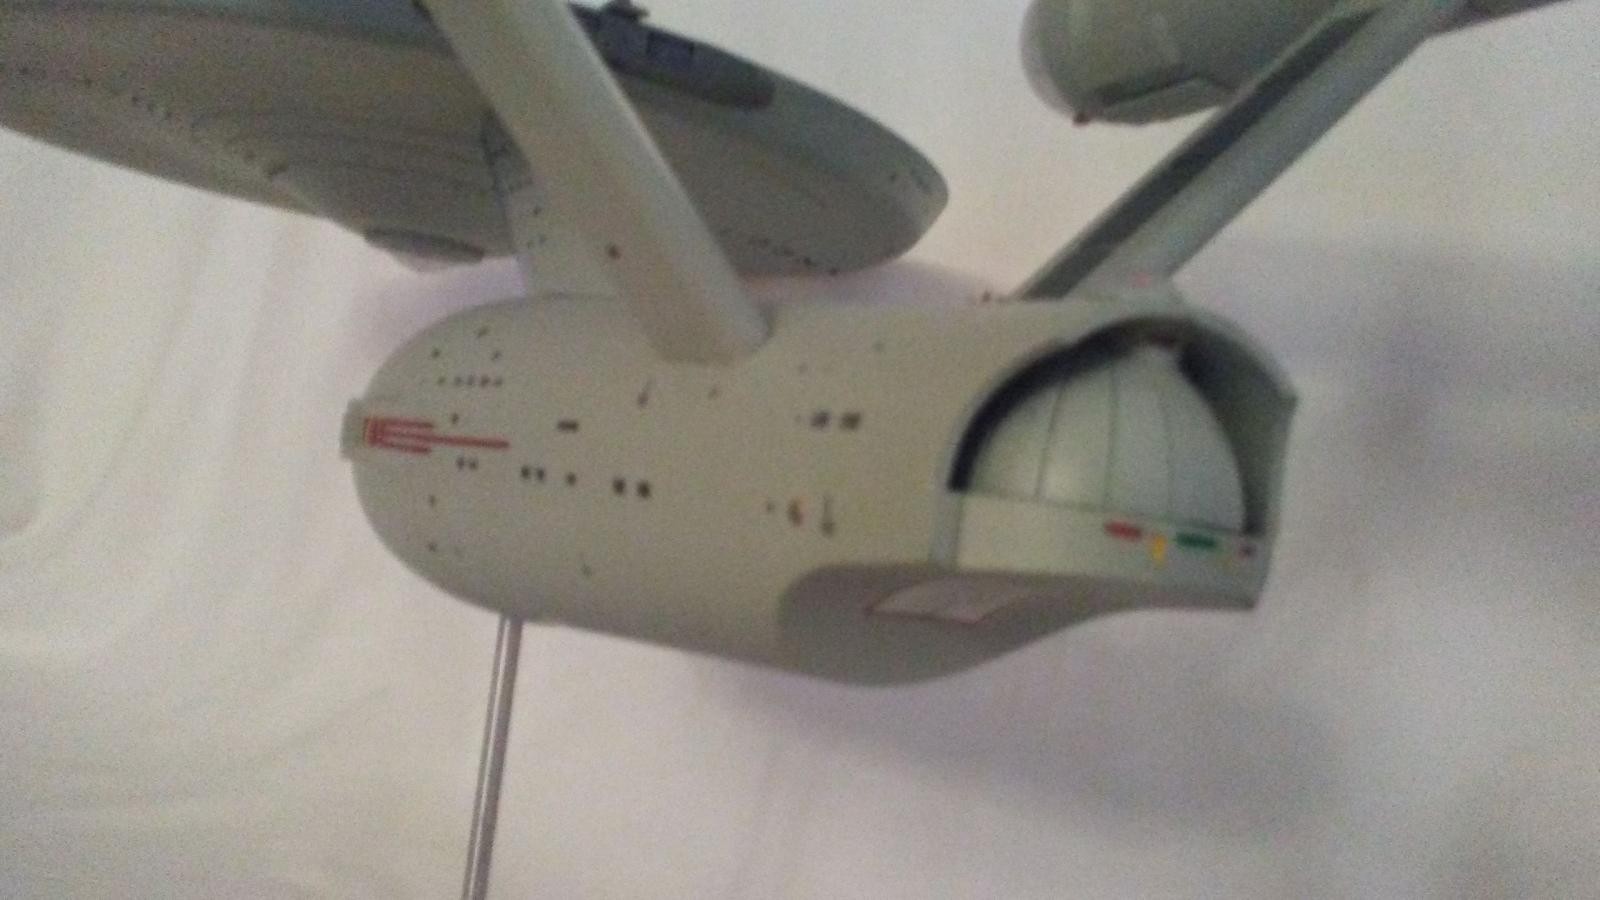
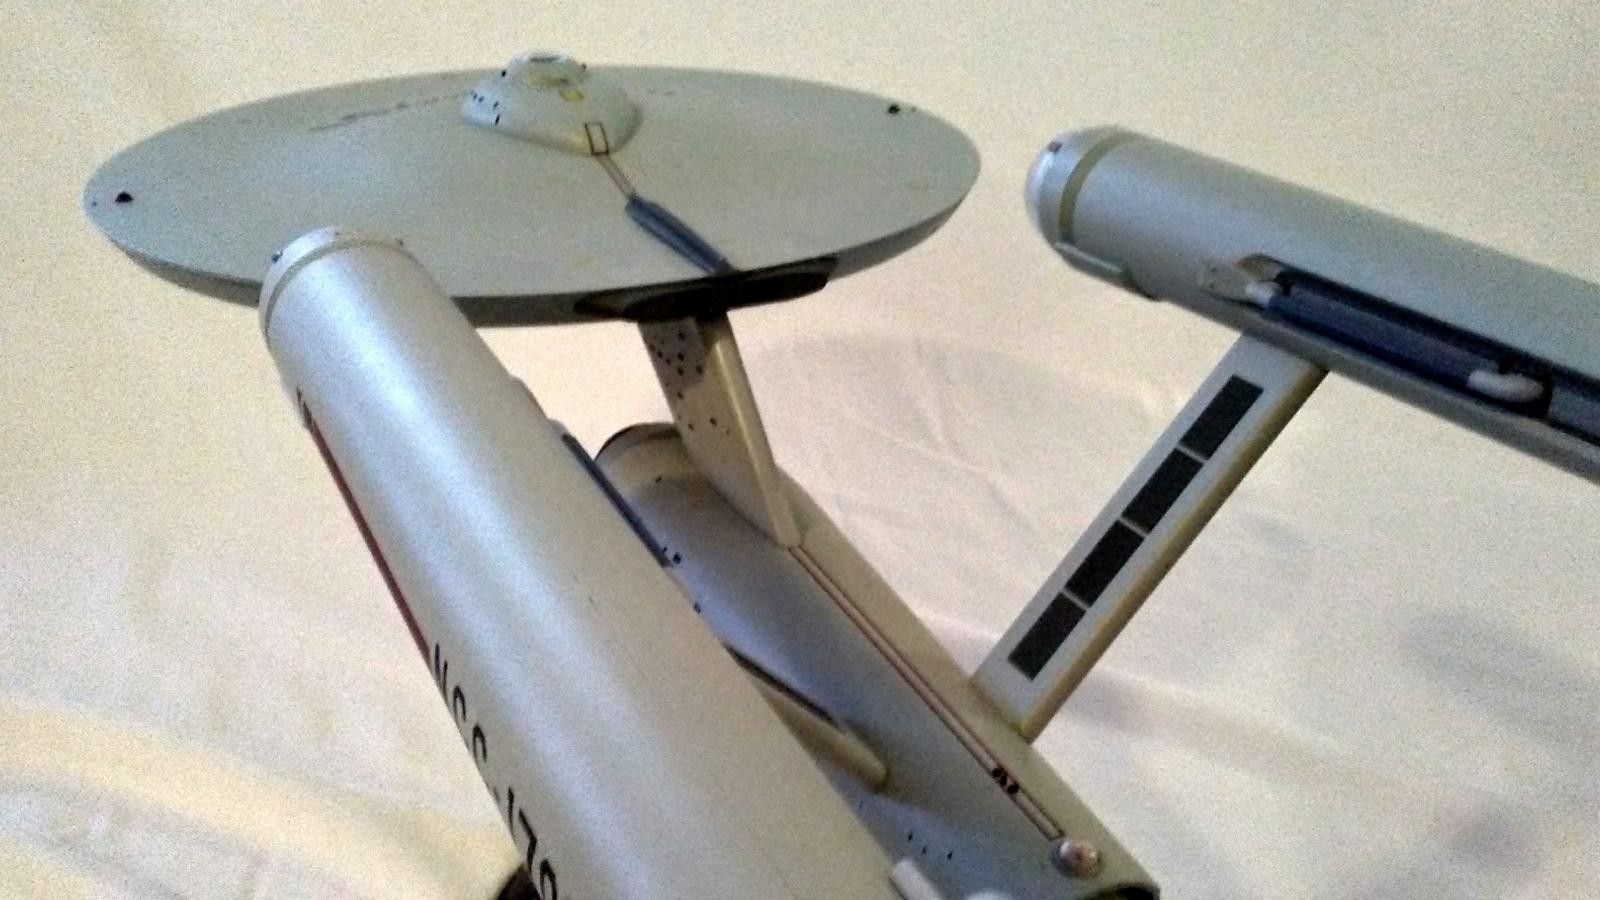
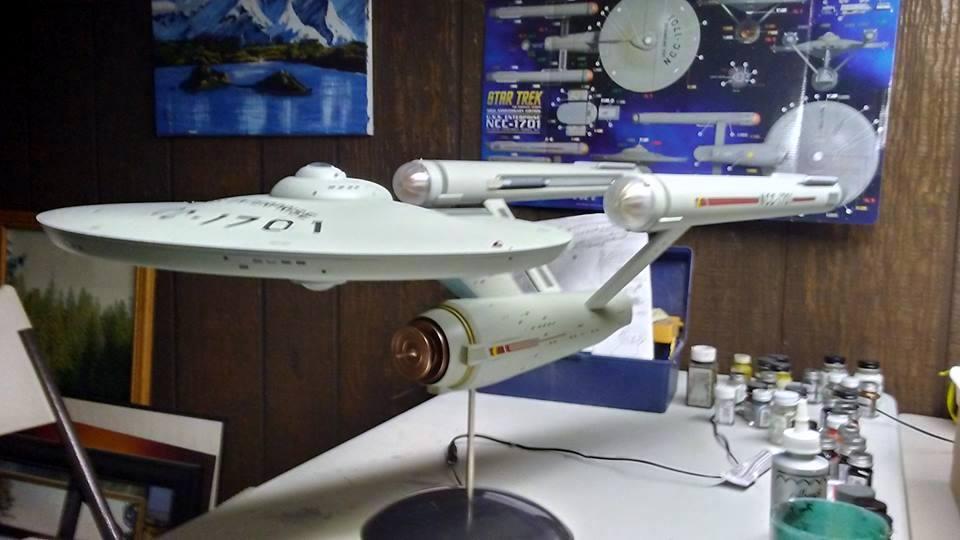
Knowing my limitations as a modeler, I figured I needed lots of input, so I googled and youtubed a bunch of other builds to get some ideas. The main thing I learned was that light leakage was an issue to be aware of, so I figured lots of layers of paint were the ticket. To that end, I first painted the interior dark gray, and covered over that with white, to provide reflectivity for the lights inside. I painted the bridge, added the photo-etch parts, and affixed the lights. I next built the shuttle bay attached the lights to it.
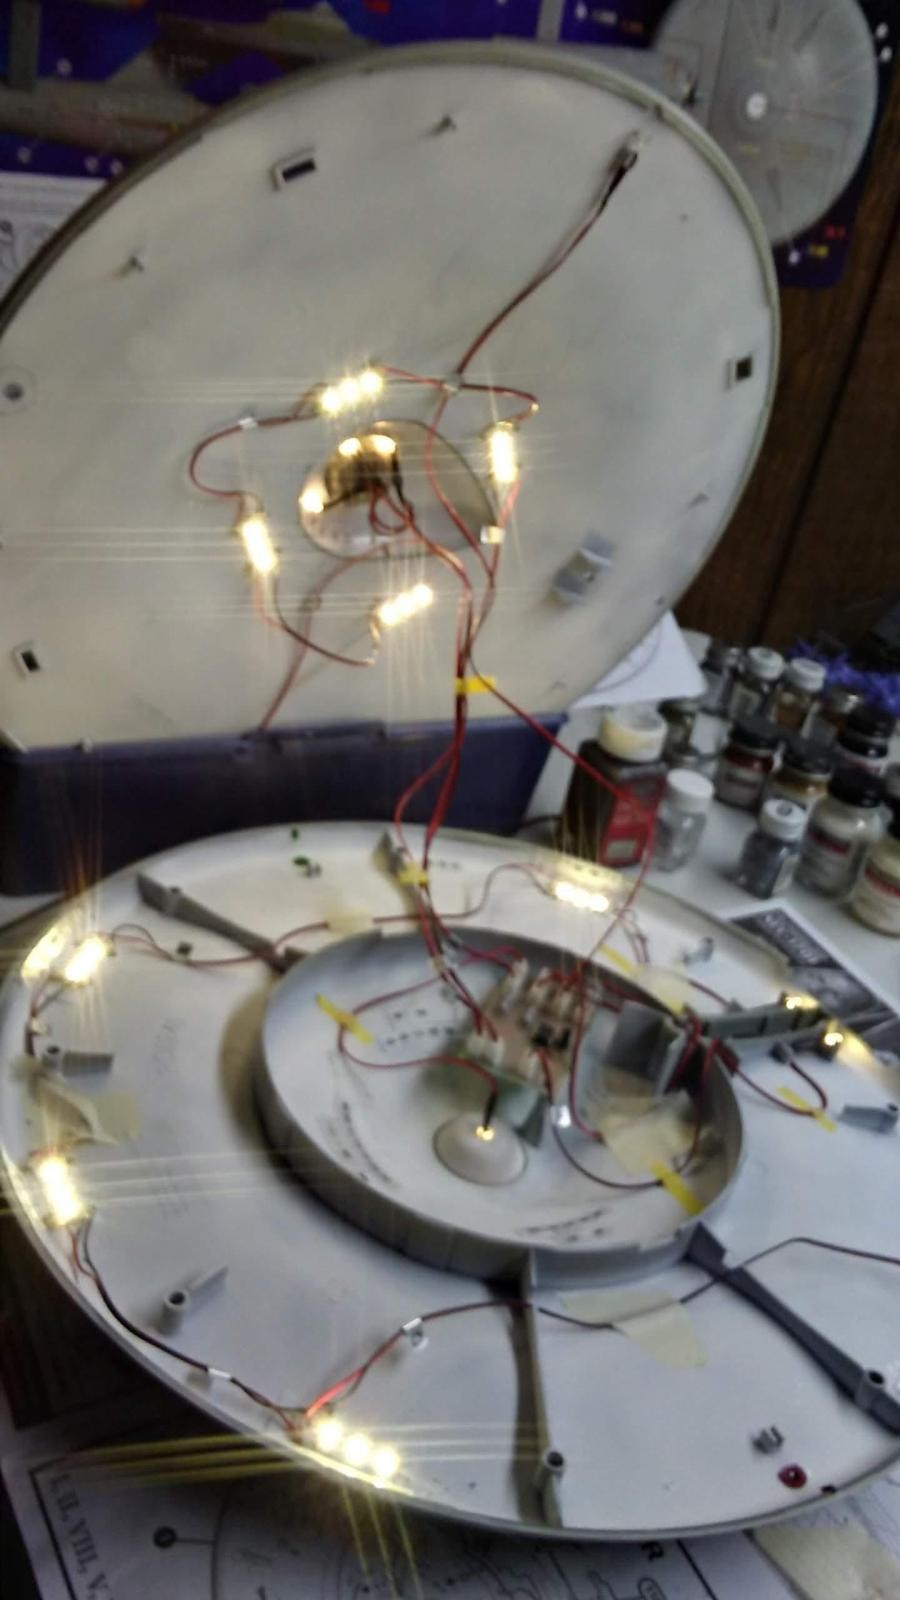
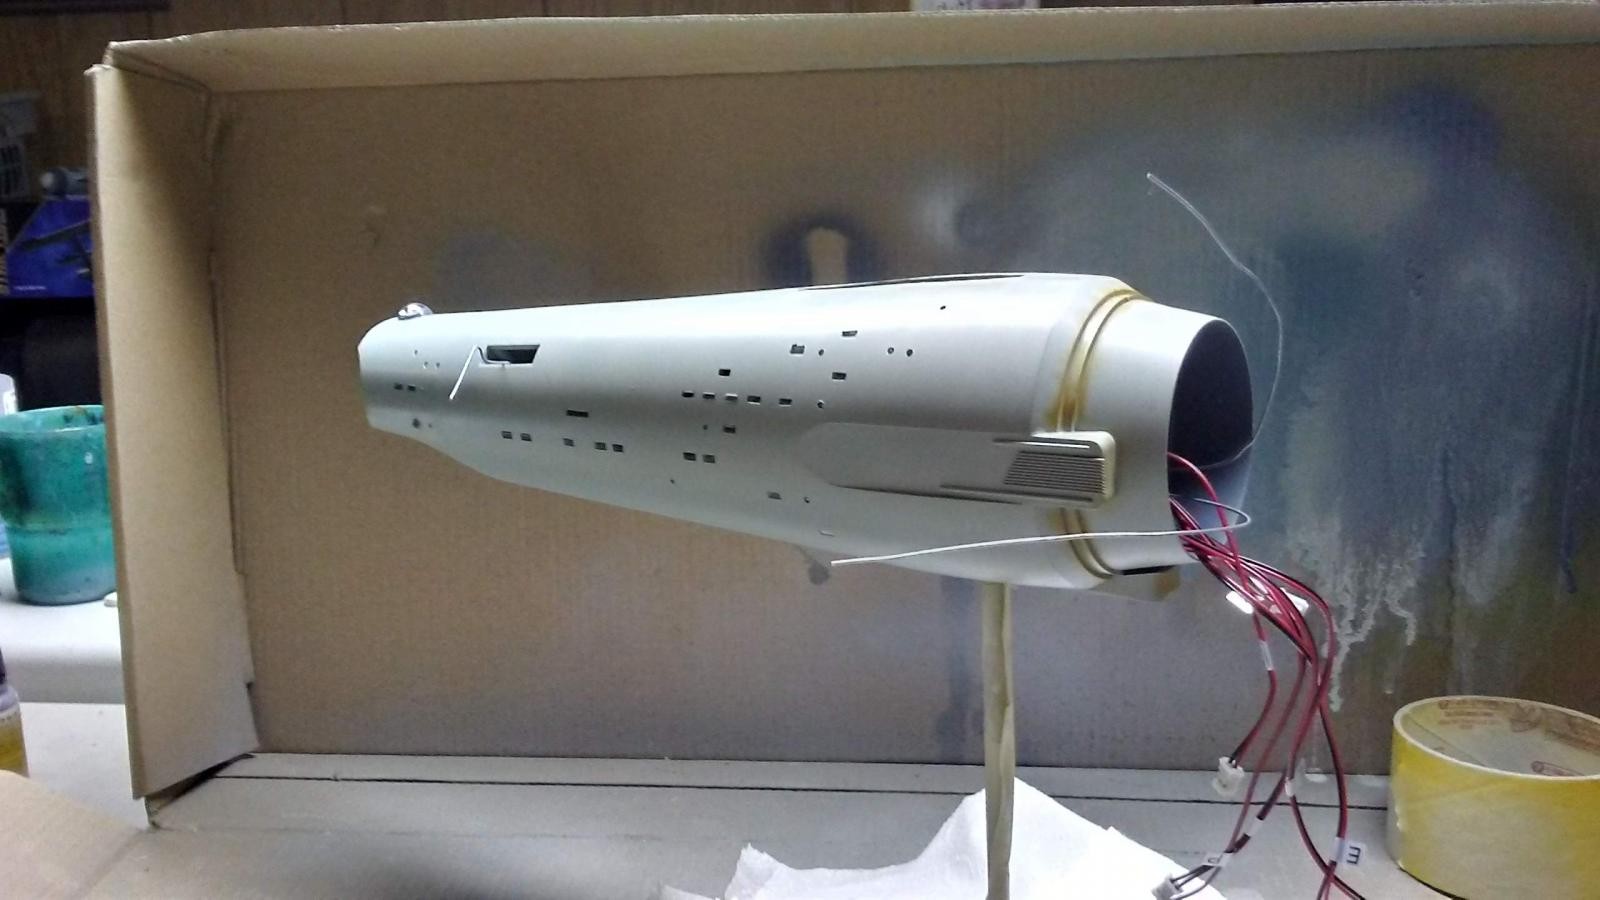
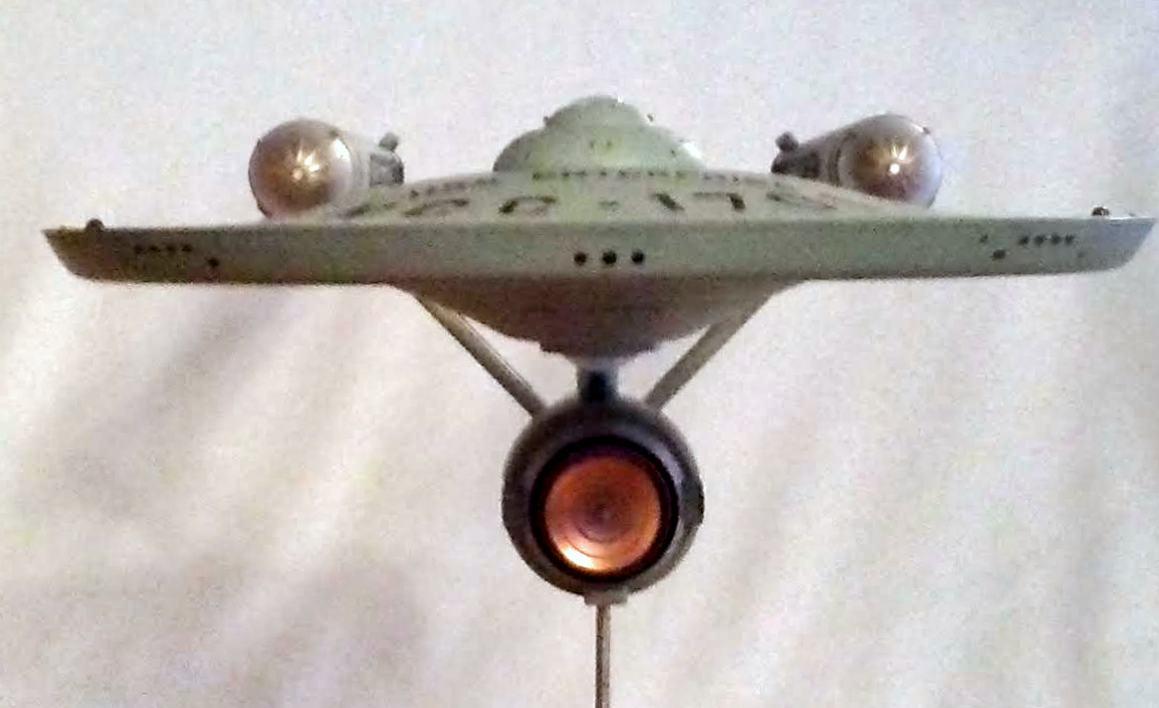
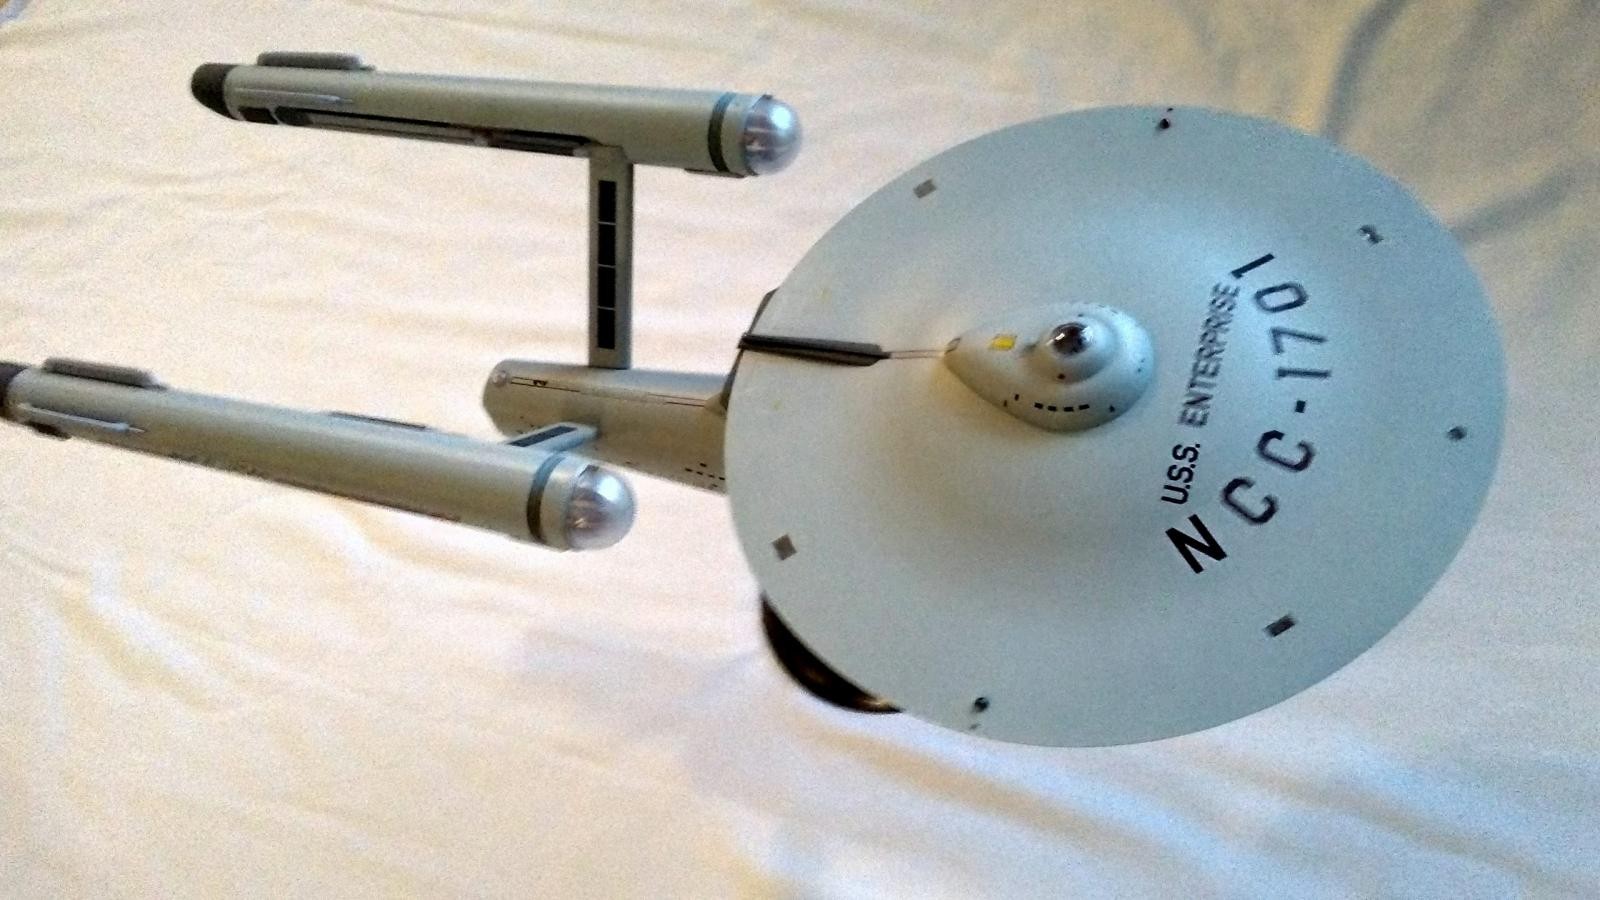
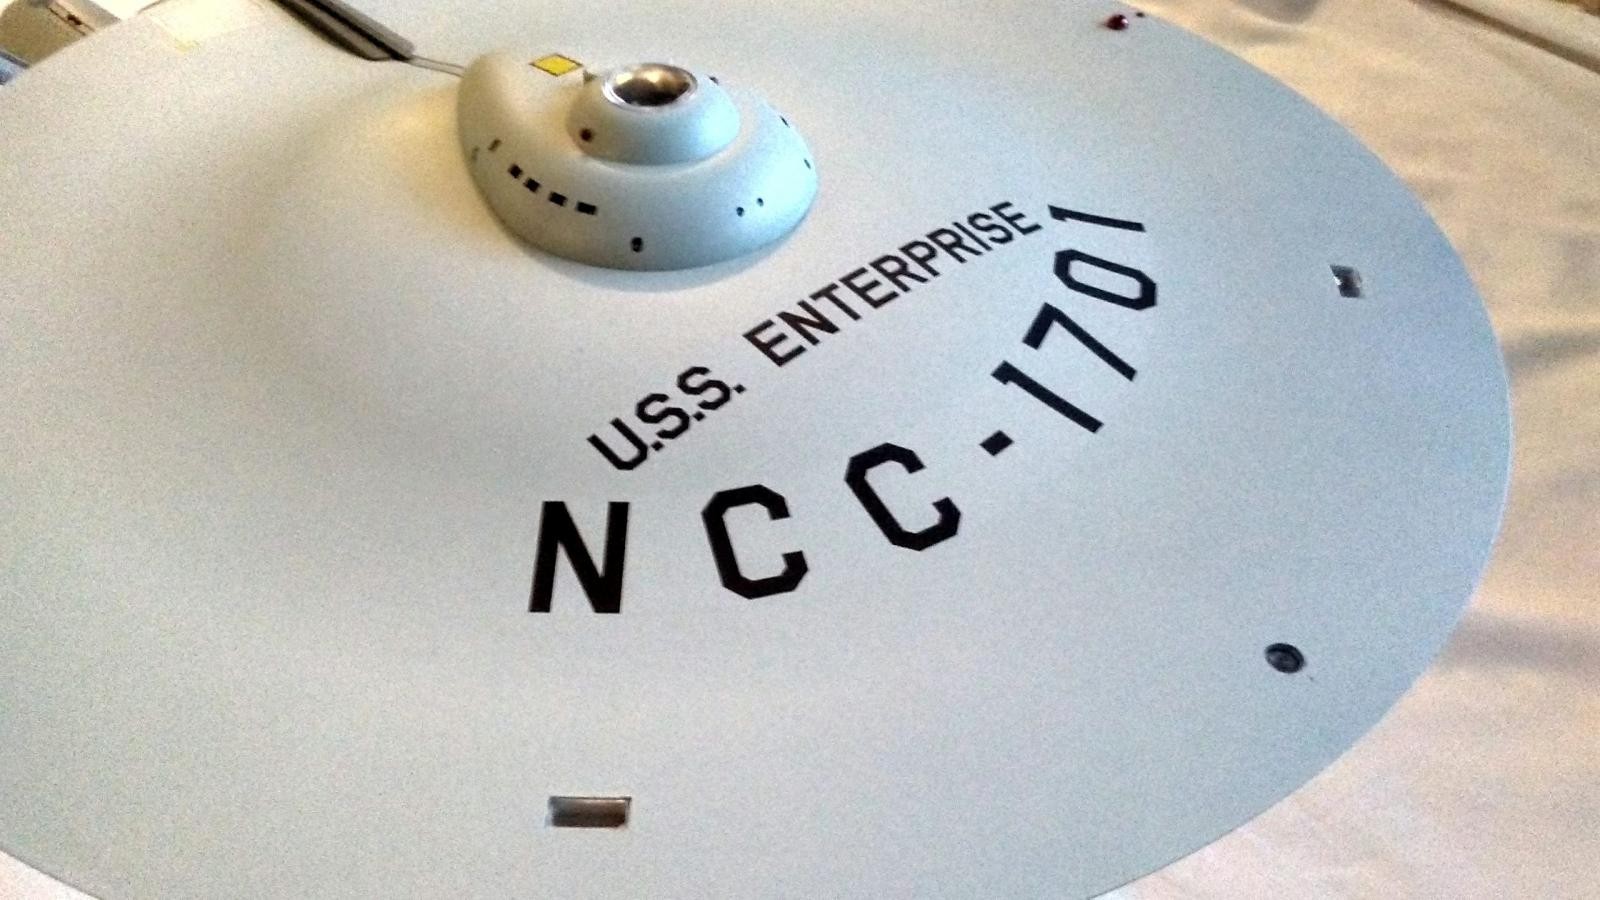
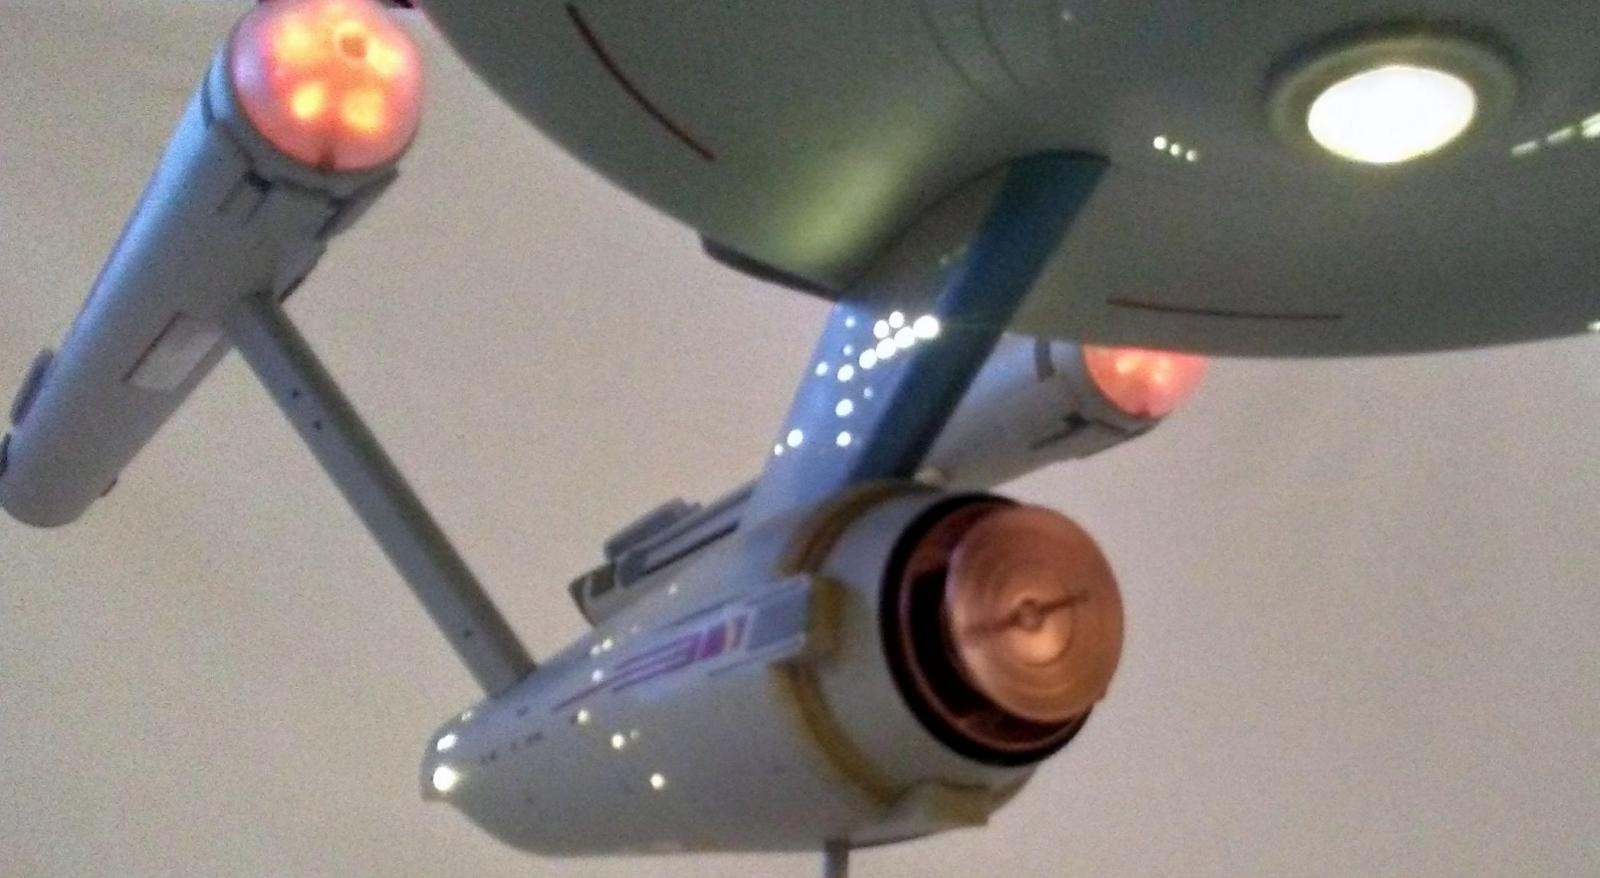
I made a decision to paint first, then assemble, because the thought of masking all those many windows wasn't a pleasant one. I first coated the outer surfaces with medium sea blue, then, relying on Gary Kerr's research, I airbrushed the hull with a mixture of Model Master Flat Gull Gray and Imperial Japanese Light Army Gray. The ratio for the saucer is different than the ration for the rest of the ship. With the lights installed, I test fit and check for light leakages. It was mainly the seams, which I was saving for last, but did find some thin spots in the paint that I re-coated.
Trying to install the shuttle bay is where the troubles began. It turns out adding the lights makes the shuttle bay too large, and you have to shave out parts of the hull to make it fit. Try as I might, I couldn't make that darn shuttle bay fit into the hull! While messing around with that, I mistakenly plugged the 3 volt lights into the 12 volt socket on the circuit board and poof! - seven LEDs burnt out. Lesson learned! I messed around with replacing the LEDs, but in the end, just decided to close the shuttle bay up. I was also getting fed up with super glue, finding that it likes to stick to my fingers better than just about anything else. If I never use super glue again, it'll be too soon!
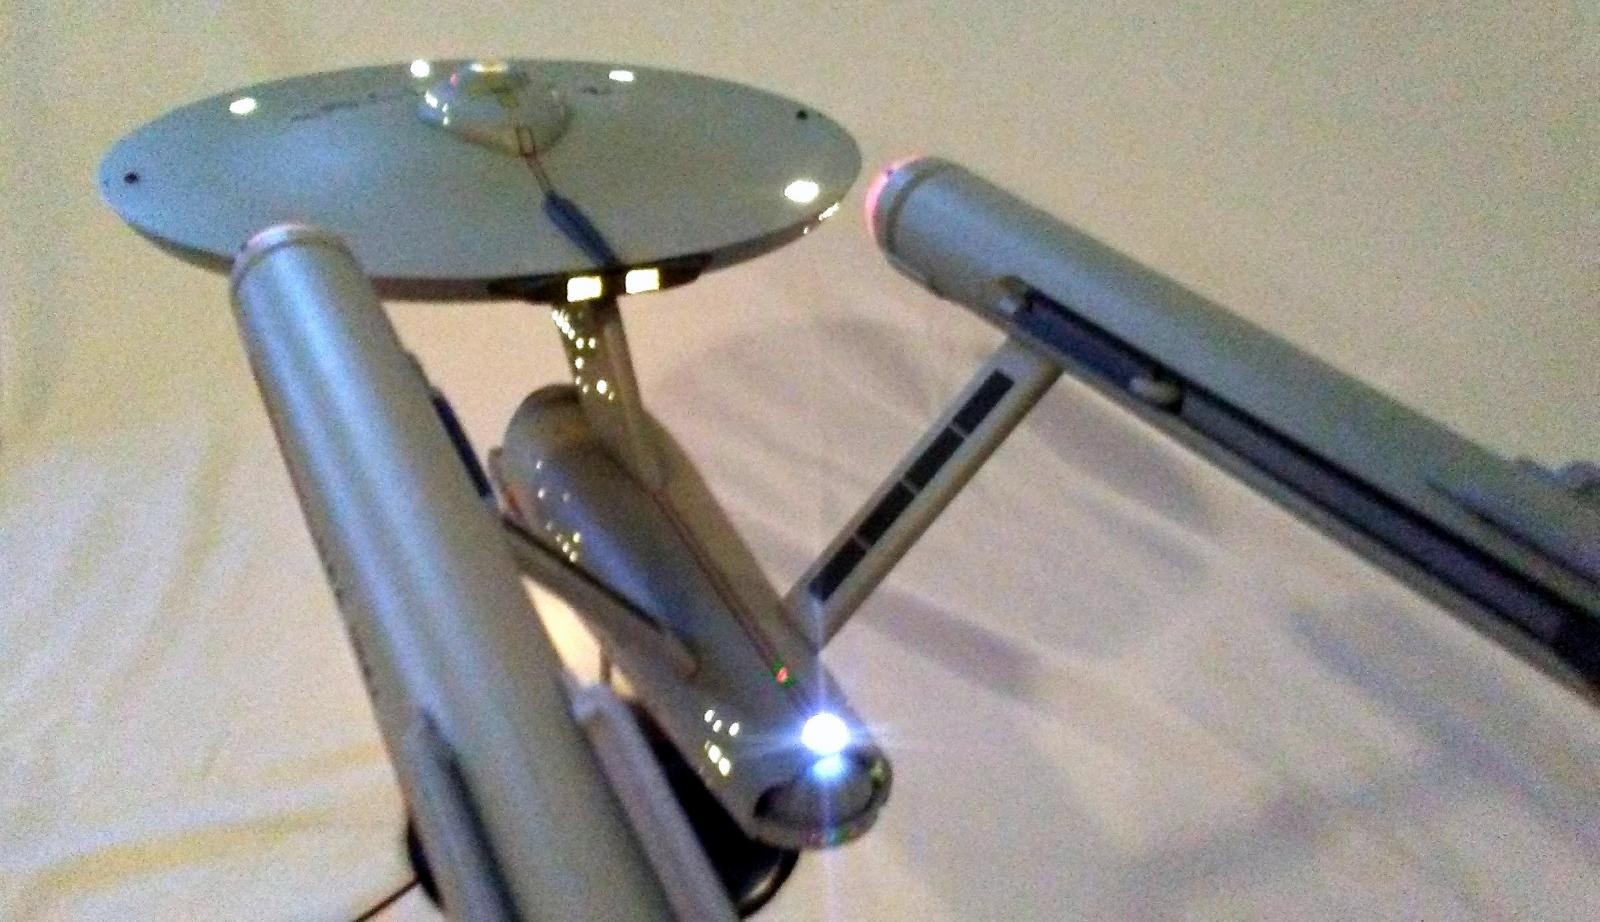
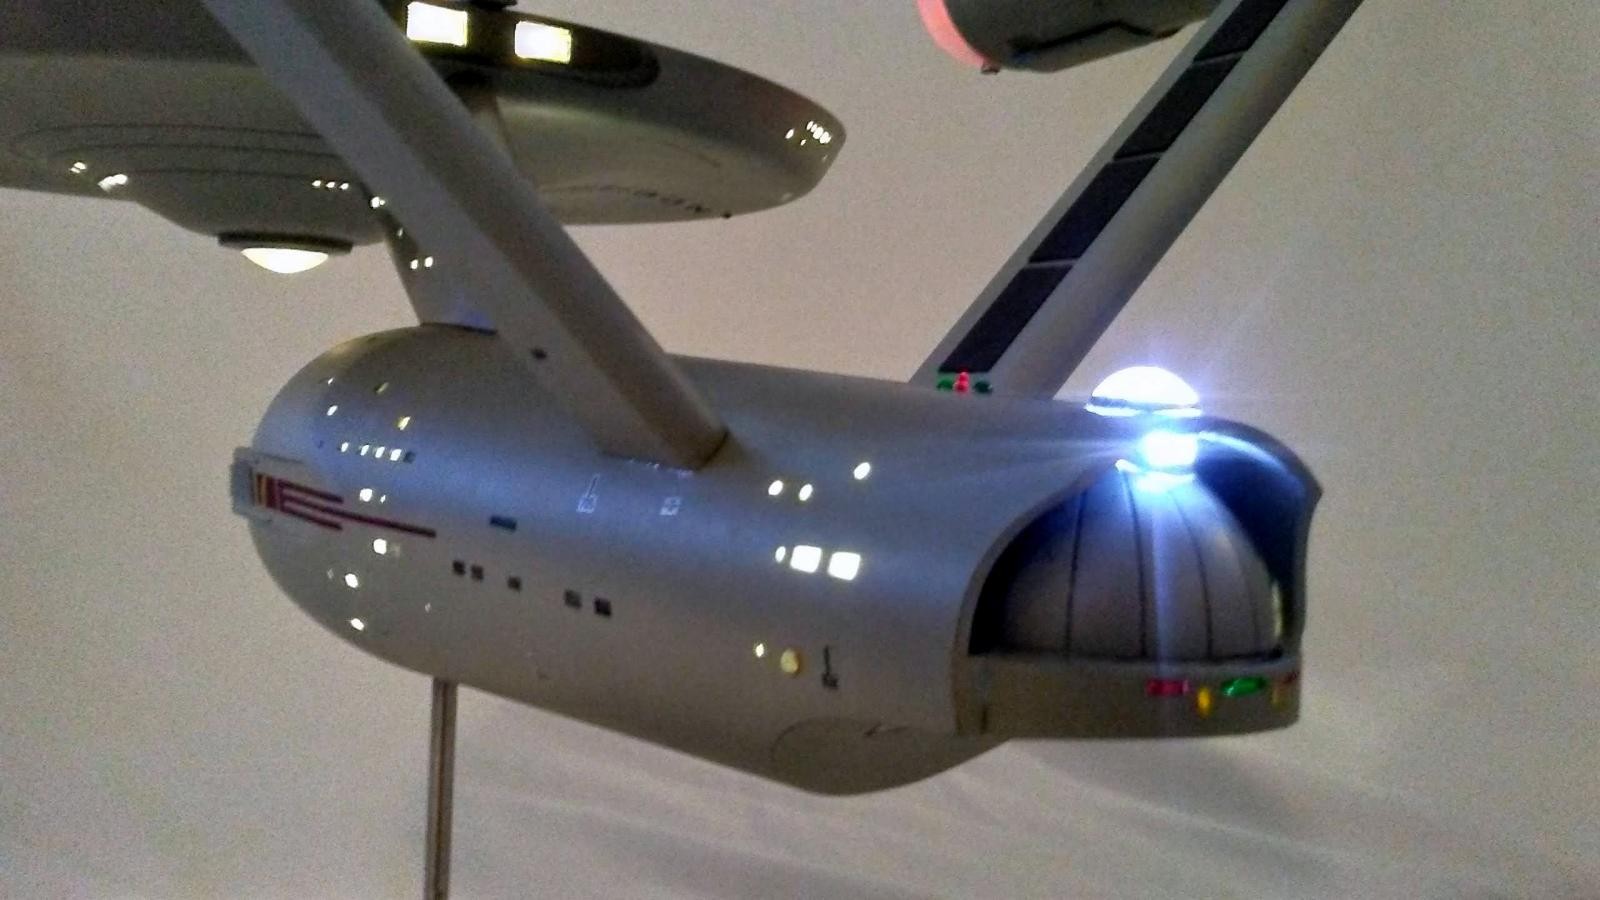
Once I made the closed-shuttle decision, it went together pretty quickly. I had to do some custom wiring to light the shuttle bay windows and the lights in the fantail, but I had some extra ribbon lights, and bought some LEDs off of the 'net.
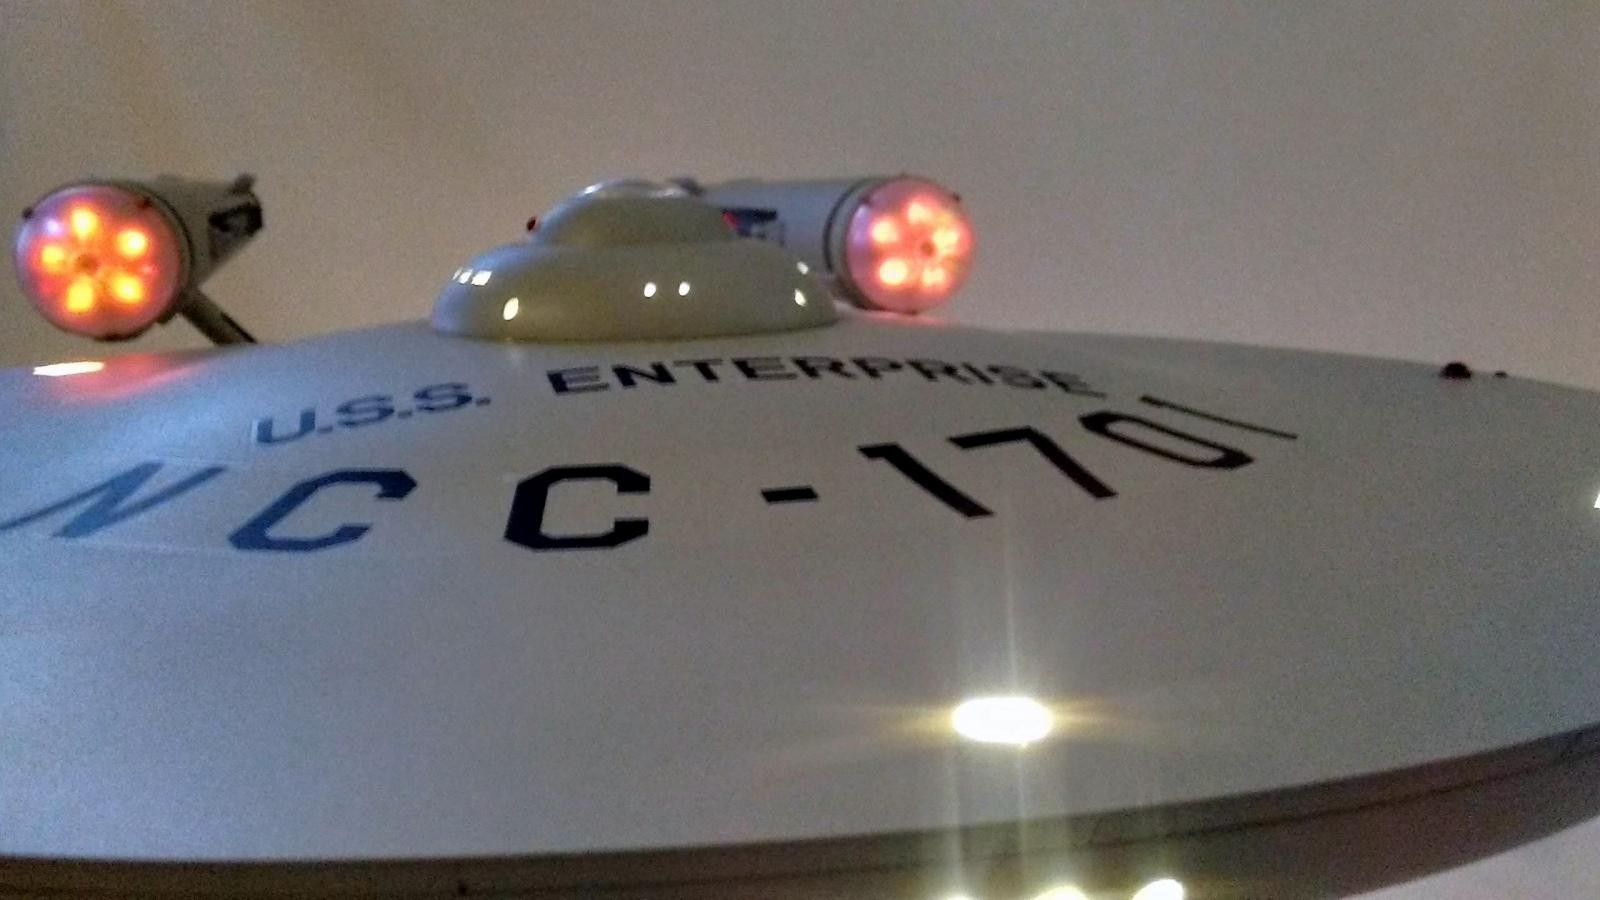
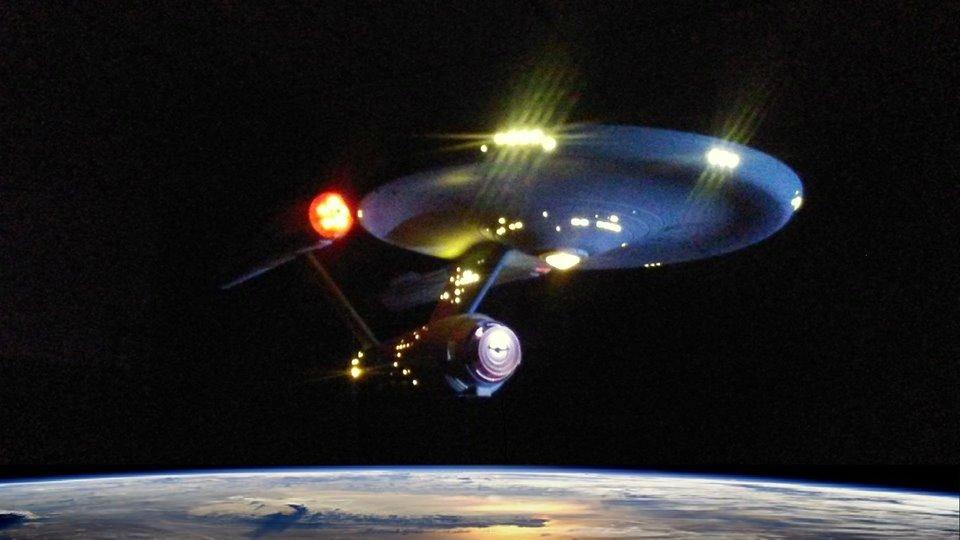
Putting it all together was a bit of a challenge because of it's size and weight, and everything seemed to be more snug that when I first test-fitted everything. But I got the lights all plugged in, got the wires all (gently) shoved into the hull, plugged it in and JOILA! - the Enterprise lit up like a christmas tree.
So it was at times a frustrating build, and a bit of a stretch for my skills, but I am very happy with the end result.


A great build! I don't that I would be to a challenging build like this.
Excellent result(s), sir...great job!
Now that’s cool! Woberful jod on a classic icon.
Nice! A different subject, and some different problems 🙂 never tried to iluminate a model since the 80's with a Chinnok. One of this days...
Thks to bring this to us
"Live Long and Prosper" as a Vulcan would say,
M
Fine work on the Big E!
Out of this world!
John
I have one of these - with a light kit - sitting on the shelf. You’ve inspired me to think harder about getting going on it!
‘MajQa’
‘Liked’