Silhouette Portrait 2 cutting plotter for scale modelers
Some time ago there was an article on iModeler regarding use of a cutter (or cutting plotter) for our hobby. At that moment, I was thinking about this for a while, especially because of my previous experience – I saw cutters in the late 90's when I was working in an advertisement. The idea of having a tool for making custom masks was attractive, also taking into account how much I "like" doing this type of job. And finally, after I've again got issues with accuracy and dimensions of a painting mask I've bought, I've decided to buy a small desktop cutter. Honestly speaking, I didn't spend much time searching, reading, and comparing. I've just bought the cheapest cutter from a well-known brand – Portrait 2 by Silhouette. I've got some Oramask 810 masking film, also used by some manufacturers like Montex or Pmask, and my first successful try out was with Swiss crosses for my Bf 109G. So it works.
-
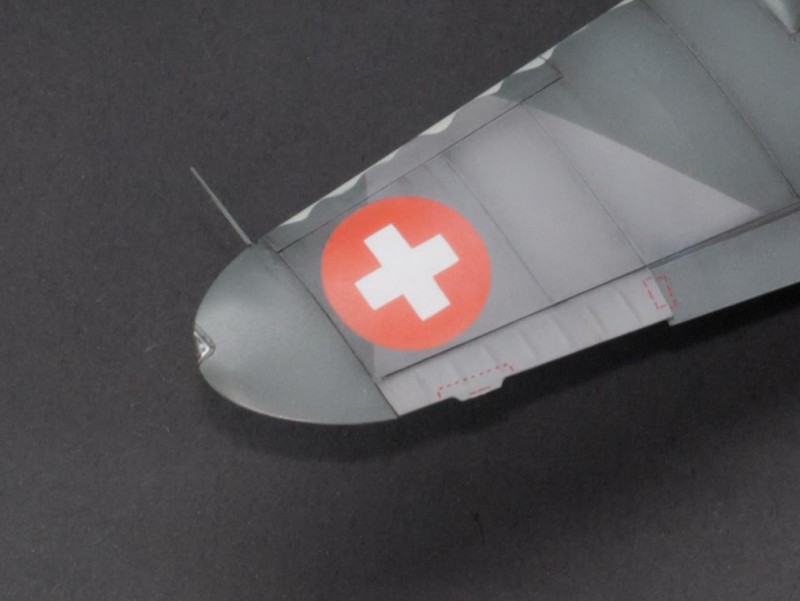
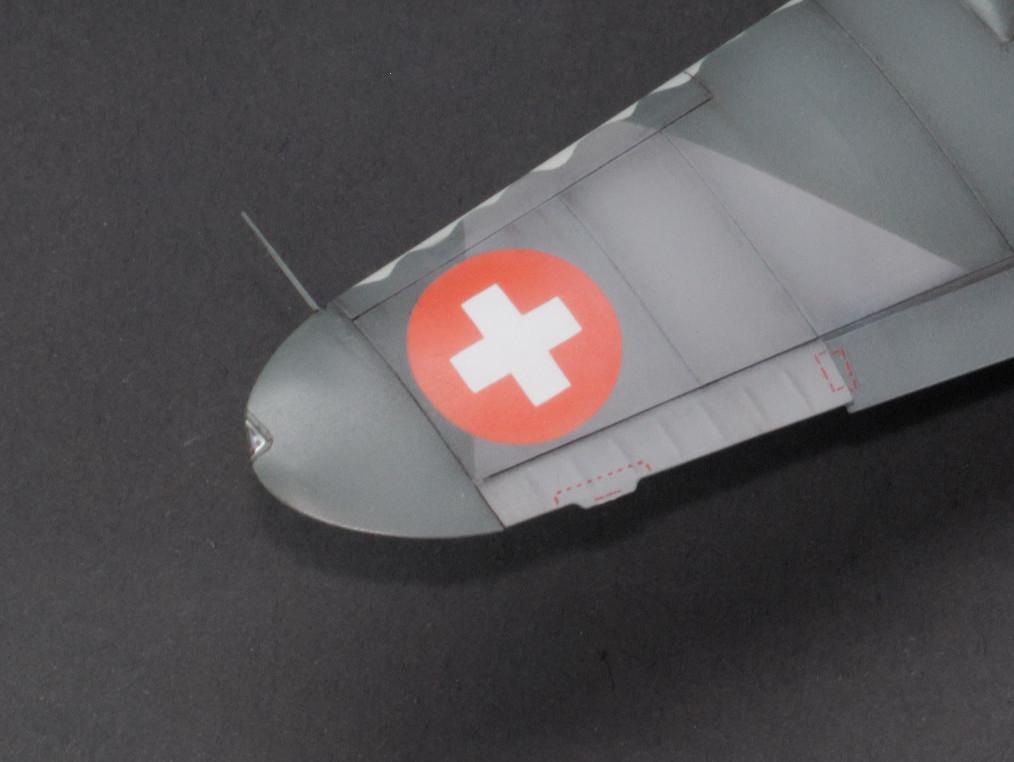
- 1. This cross was painted with a custom mask
As you can see, this is really a desktop cutter, with a size of a full-sized keyboard. It comes with one blade, and an adhesive cutting mat – it's not needed for a vinyl masking film, but for a paper or fabric, it would be useful. There is an option to connect it via Bluetooth, but I didn't try it yet – USB cable is OK for me.

Portrait 2 is a quite noisy tool – if you remember matrix printers, you know what I mean. The principle is the same – the paper sheet is rolling back and forth, while the blade is sliding in a perpendicular direction. Bundled software contains not only hardware drivers but also a visual design tool for creating your own shapes – Silhouette Studio. Unfortunately, the free version has some limitations, but I will talk about this later.

Masking tape or film. Maybe, the most famous one masks, which is made by Eduard, are done with a Kabuki tape. I think it's the best choice for masks because it's a very flexible and soft material, so it's good for curved surfaces. If you've ever used masks made of thick black vinyl tape, you know the difference. But the issue with Kabuki – the price and availability. In the opposite, it's really easy to buy a special masking film by Oramask (I believe, it's a subdivision of Oracal), designed for hobbyists – Oramask 810. This is a thin semi-transparent self-adhesive vinyl film. It's much cheaper than Kabuki but still good enough for our hobby. But anyway – there is a choice.
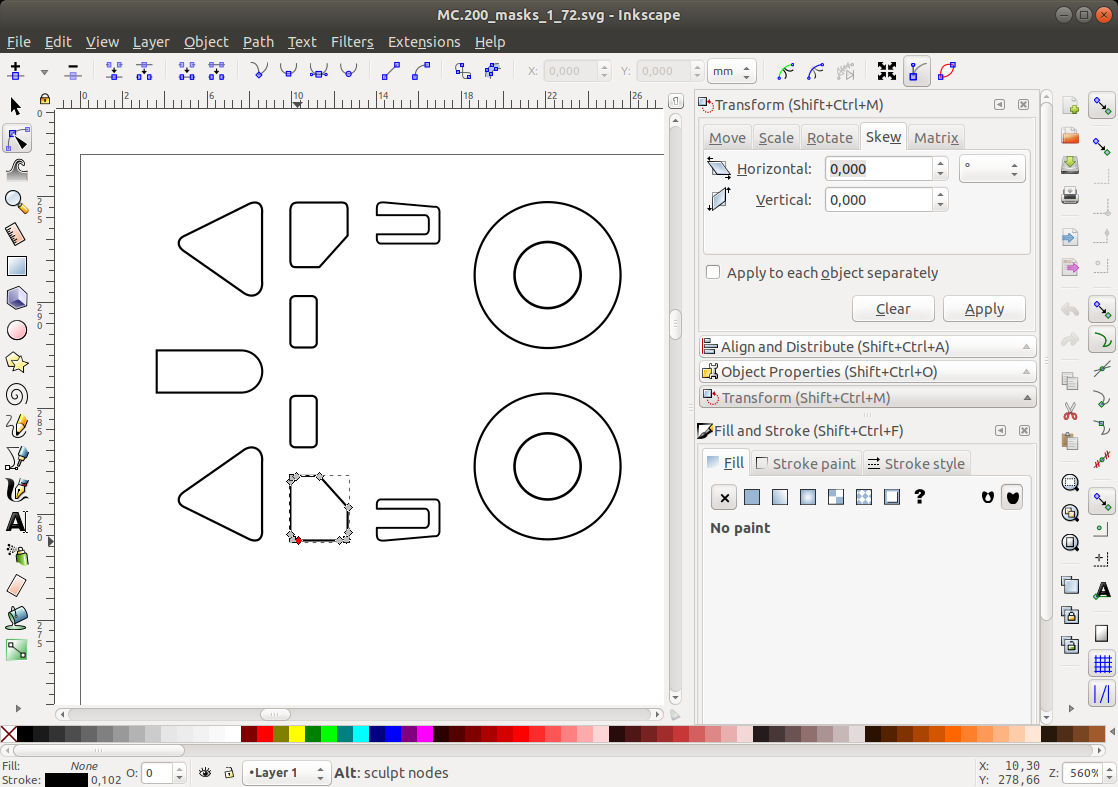
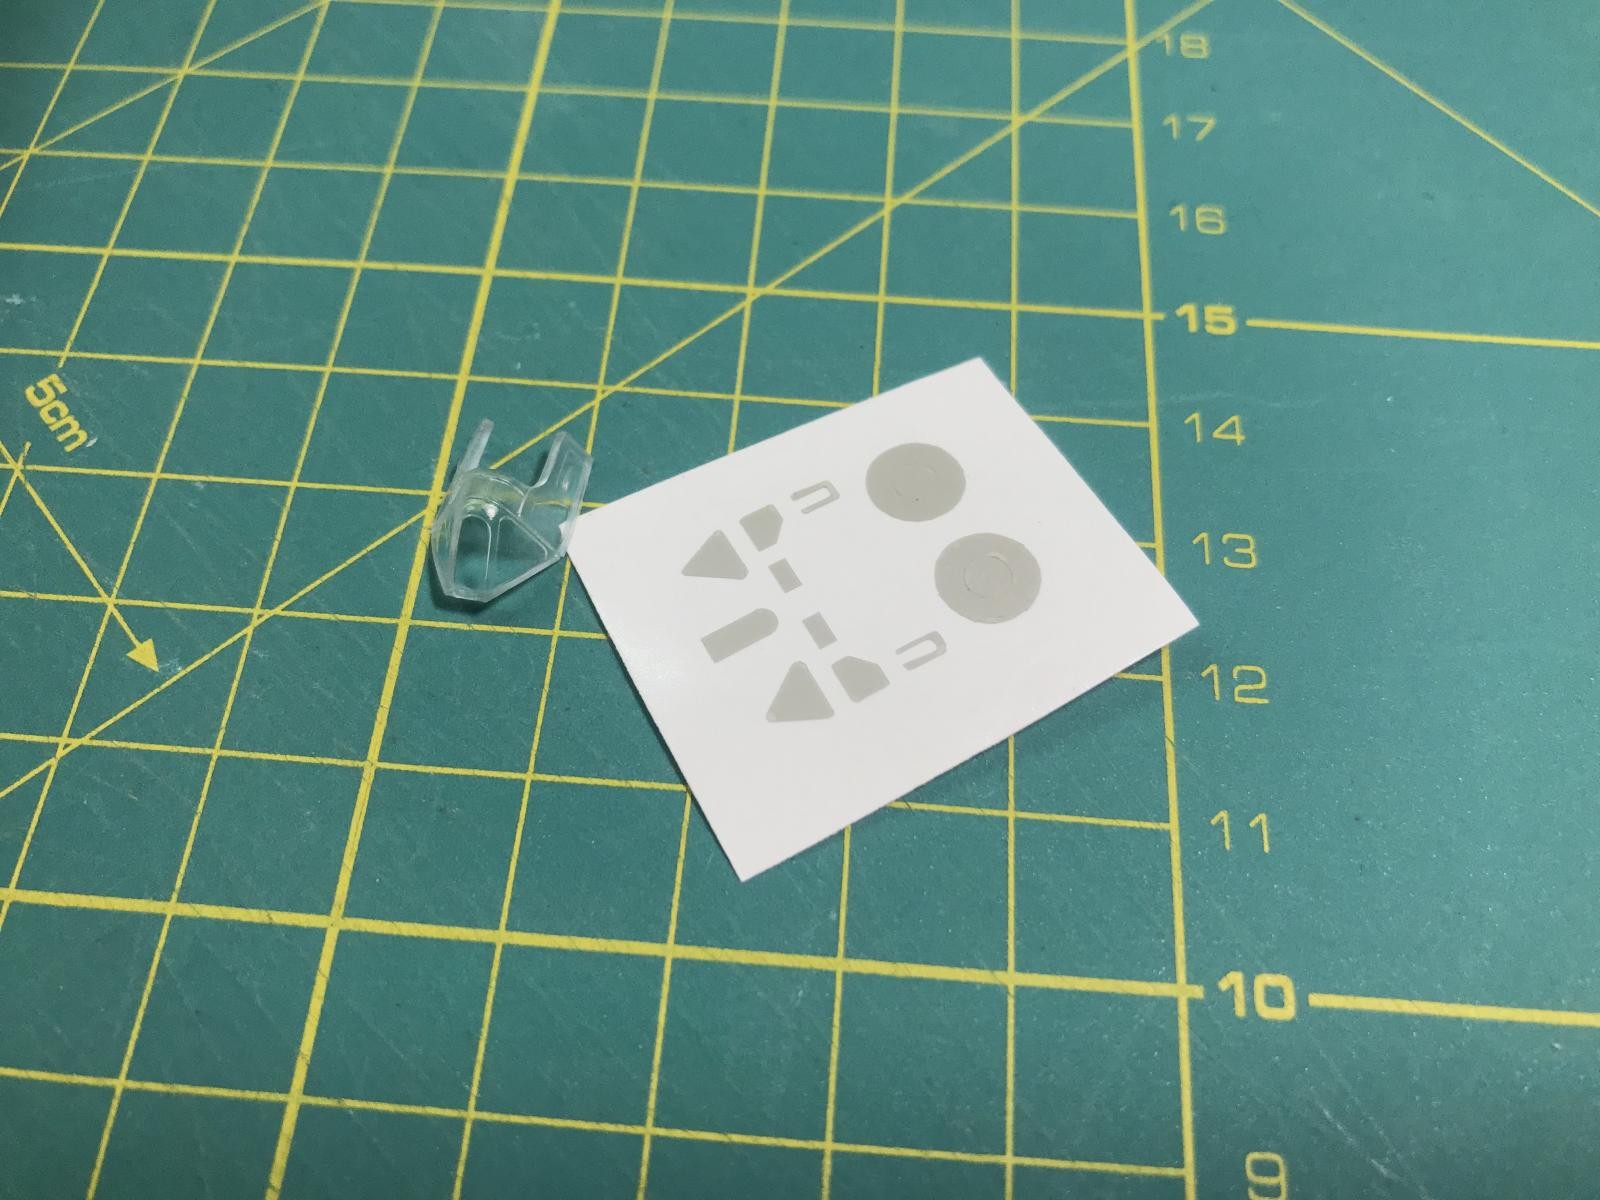
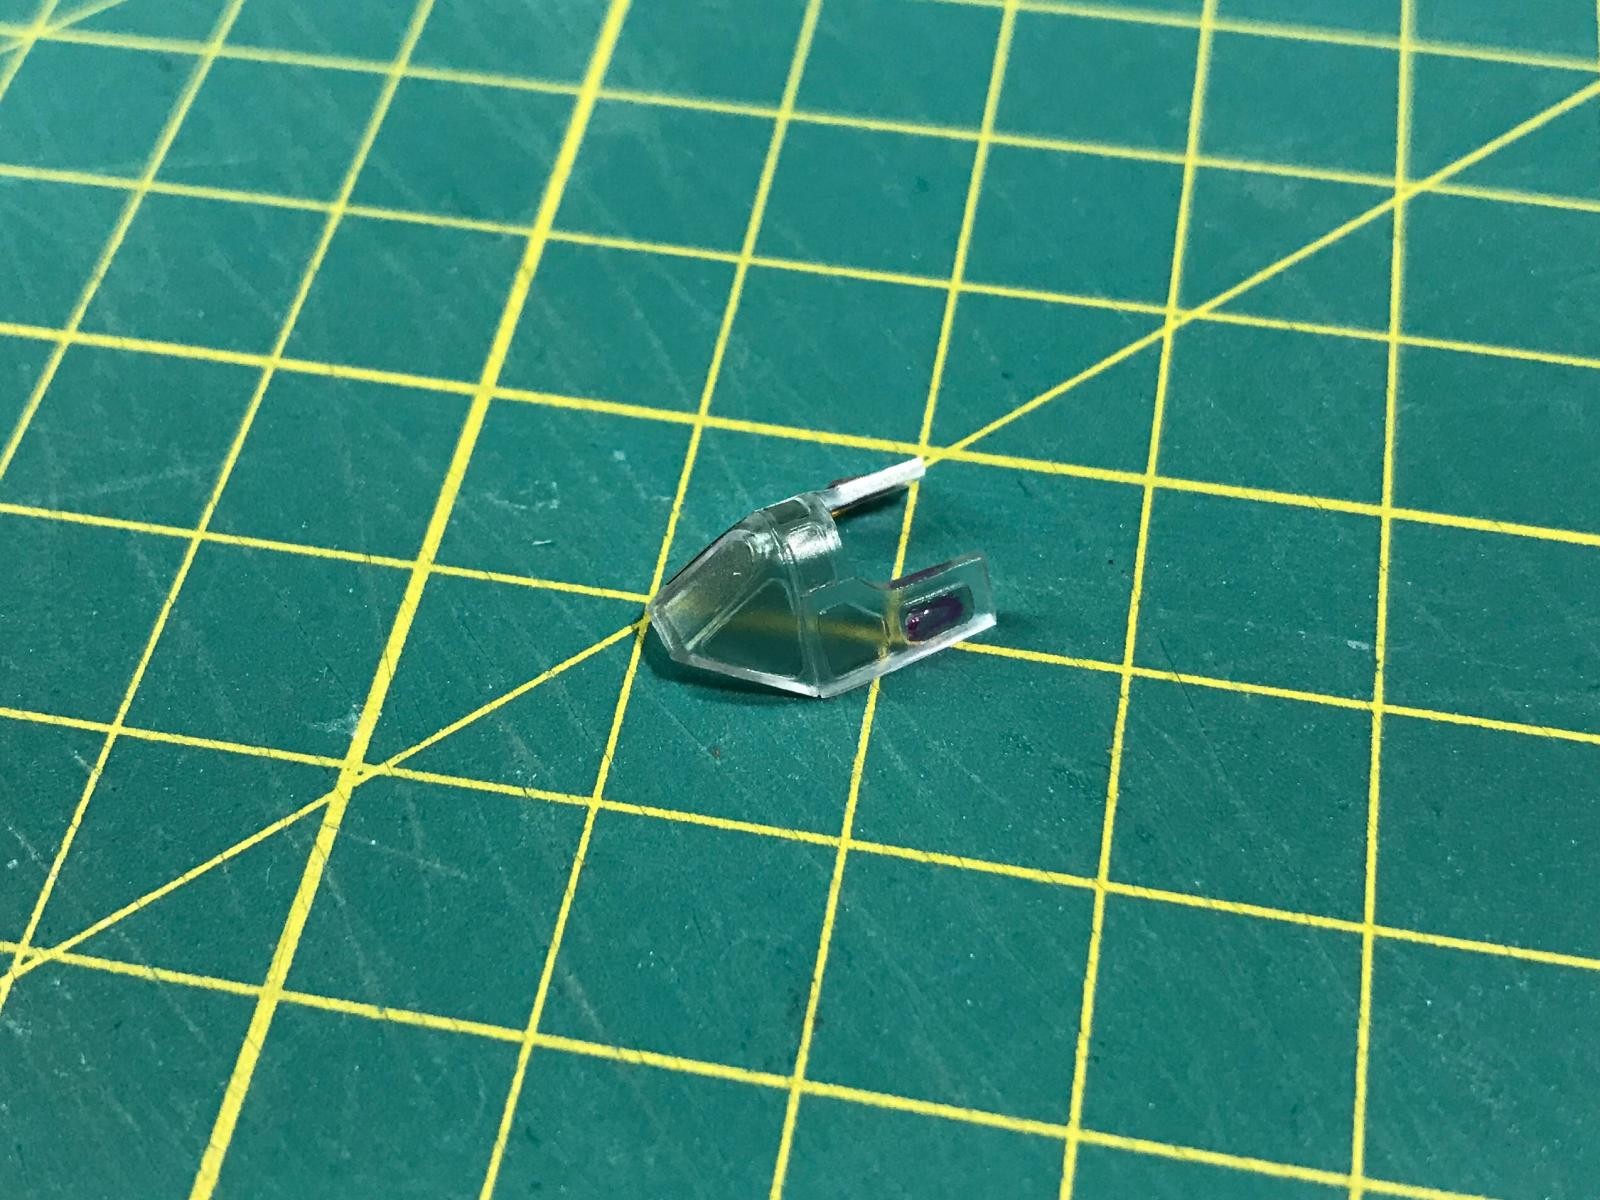
After the first try out, which was an easy one – just circles and crosses, I did want to try some more complex design – masks for canopy. For experiments, I've taken an HobbyBoss MC.200 Saetta canopy in 1/72 scale. I've tried to make this design with a bundled version of Silhouette Studio, and I've failed because of several reasons – the editor lacks some functionality, needed for this, like tools for fillets, chamfers, and other special drawing features. So, you need some other editor, but the next issue here is that free version of Silhouette Studio doesn't have an import/export feature enabled – no way to import an SVG or DXF file. That's a real issue because Silhouette Studio is not only a drawing software but also an interface for a cutter itself. Portrait 2 will not work as a regular printer.
You need to buy an extended version of a software or use some alternatives. One of them is a special export plugin for Silhouette cutters made for an open source vector graphics editor Inkscape. I was using Inkscape both for designing the masks, and for the cutting process. Please note, that use of a 3rd party software is totally under your own risk.
As you can see here, you can control the pressure, speed, and some other parameters.

And the final result.

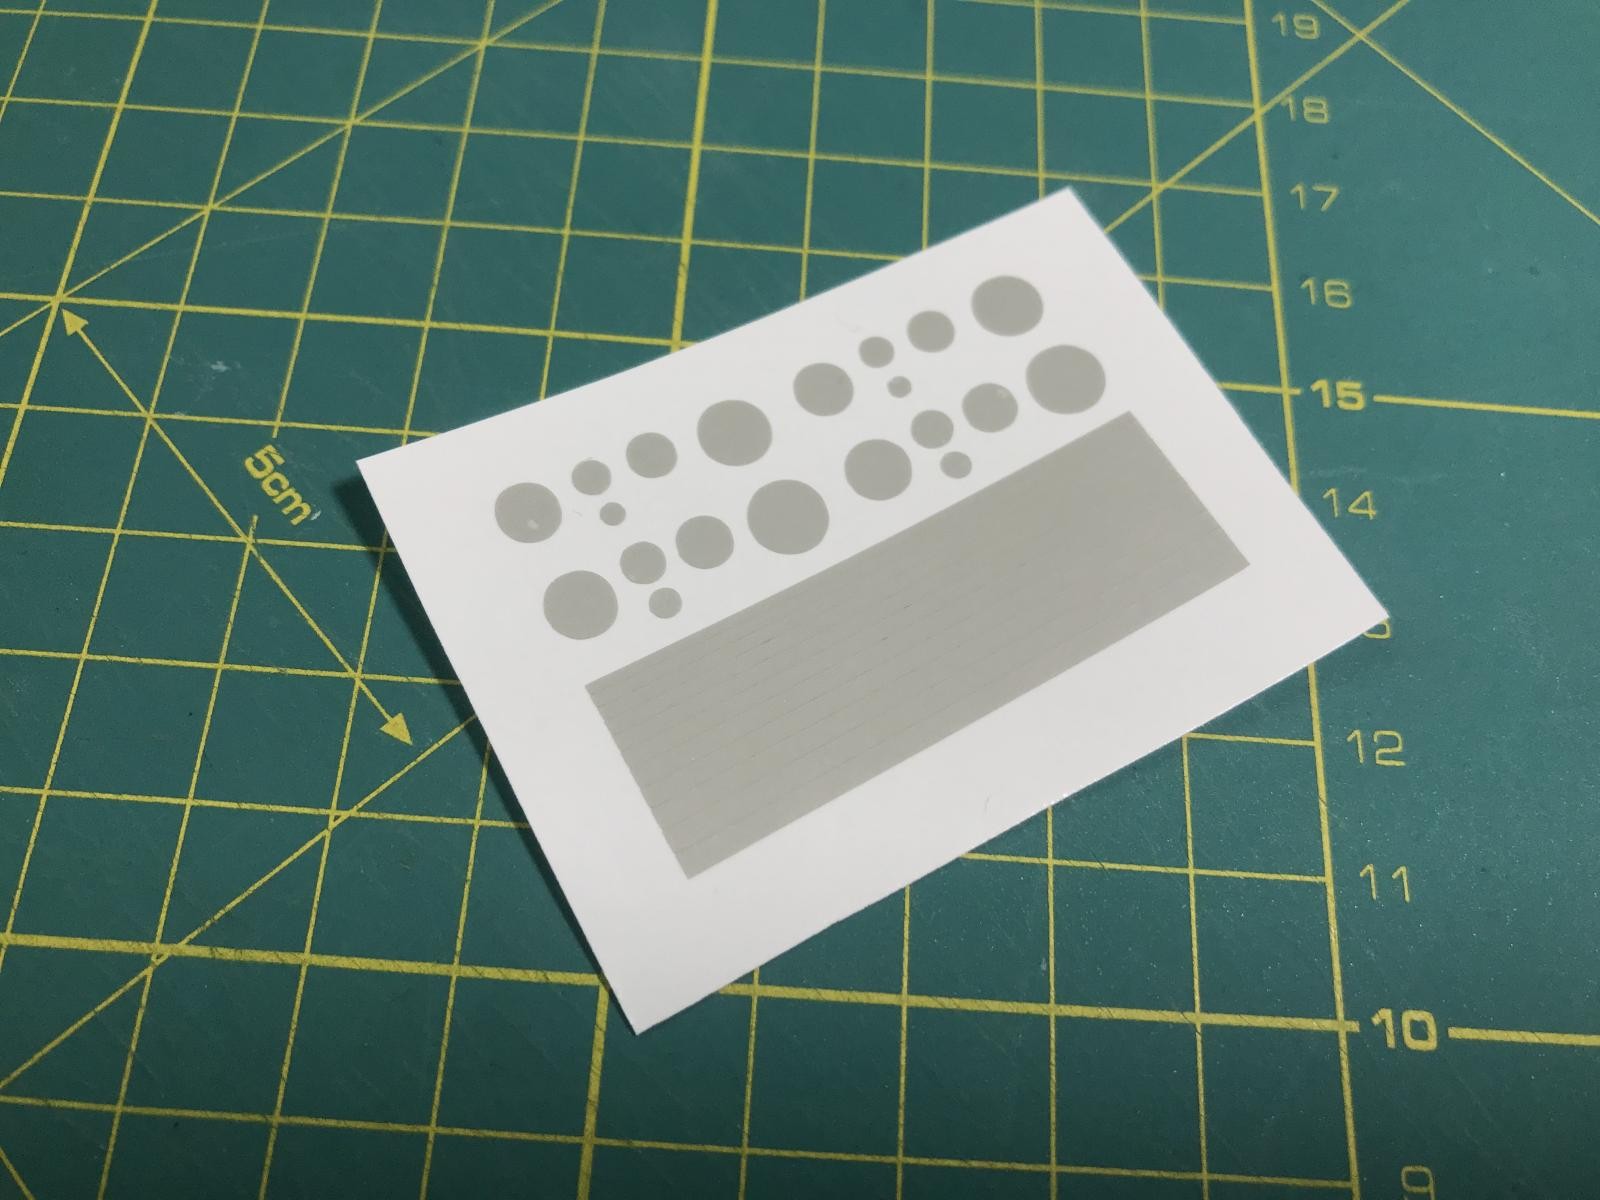
But even without additional software, it's possible to cut some general shapes, like circles, stripes, ellipses, etc. The smallest circle on a photo has 2mm in diameter, and stripes start from 1mm.
The funny thing is that I've spent more time doing the design and test cuts, compared to just doing masking in a regular way with Tamiya tape, knife, and templates. But the final result is more precise, and the best thing here is that you can easily share designs with other people. Because it's not only about canopy masks but also about national insignias, numbers, lettering, camouflage patterns, and it would be great if the community will create and share such things – it's a digital era, we should all benefit of it even more than today.
PS. Next big thing is a 3D printer 🙂
PPS. If you need this MC.200 masks design – you can write me here and I'll send you the file, because it's not possible to attach SVG file to a post. It's licensed under the CC Non Commercial license, so it's free.
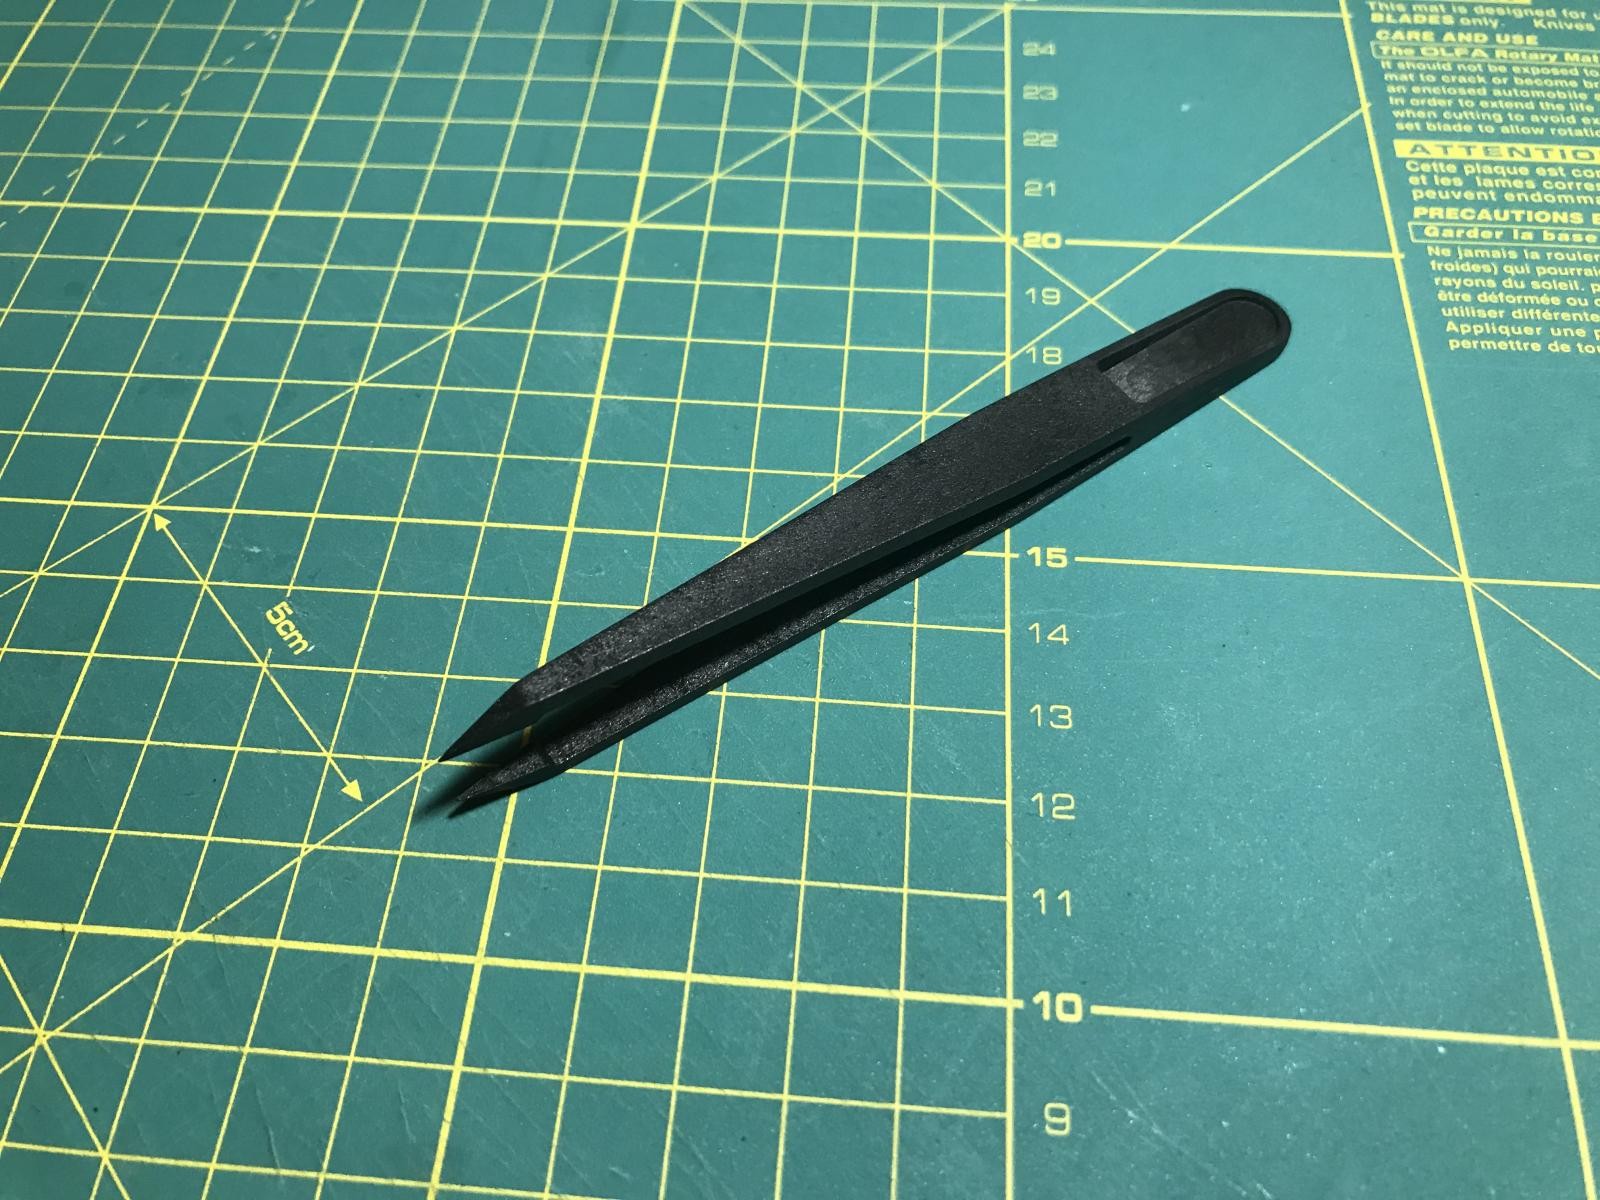
PPPS. Just a side note – I use plastic tweezers for microelectronics to not damage the clear and plastic parts. I've found this very useful.


Very interesting. For me the main use would be for oddly dimensioned 1:48 code letters and numbers
Comes under the heading, "...what'll they think of next..." ? 🙂
Interesting article, informative and helpful - and I like the idea of sharing resources.
Thanks.
‘Liked’
Dmitry @starfar, nice review. I've been looking into it for future projects. On the idea of sharing, there is a Facebook group for modellers that allows members to share files. Not sure if they have files that would be of use to you, I have not gotten that far into the research yet. https://www.facebook.com/groups/TheCuttingEdgeModelersGroup/
Keep us posted as your progress with this.
Regards,
James B
@jamesb Wow, thanks for the information about that group, James!
Great review. It gives me ideas. Thanks.
Fascinating! I have a question: for your 1/72 canopy masks, which are amazingly precise, how did you "input" the measurements to create the masks? I mean, did you measure and draw every part of the canopy to be masked yourself, or was there an online site with the mask dimensions already available? The "U" shaped masks themselves look extremely complicated to get right!
Thanks, from a very 21st Century challenged person!
@dammodeus The answer is – digital caliper 🙂 And then – a test cut, fix, repeat.
Thanks for the info Dmitry!
I've been lucky enough to own Silhouette portrait cutter and It is really great. The only drawback is, that due to the knife and not conical blade (as most professional plotters have) it really can't cut really small curves (im talking 1mm circle for example). But for anything larger than that, it performs really well.
I use 3rd party software (illustrator) to draw my designs, then export the design as dxf to Silhouette, resize it to my needs and send it to cutter.
I am using low tack Frisket film for mask material, and once you find out the right cut settings (speed of the cut, thickness of the selected material and depth of the blade) it is an easy job.
The only drawback i experienced is the cutting mat. It is way to sticky so i usually just tape the frisket film on the cutting mat with selotape.
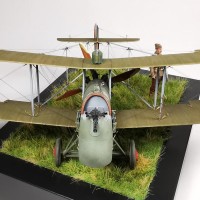
Markings on my Bf109 (besides the emblem and of course stencils) were made by using masks made with Silhouette.
3 attached images. Click to enlarge.
@gregax Yes, small curves is an issue, that's true. With the Oramask film I'm not using mat at all – I directly insert sheet into the cutter.
Hey! this is really a desktop cutter, with a size of a full-sized keyboard ( hp support assistant). It comes with one blade, and an adhesive cutting mat, it’s not needed for a vinyl masking film, but for a paper or fabric, it would be useful.
Very useful information. Thank you for sharing this!