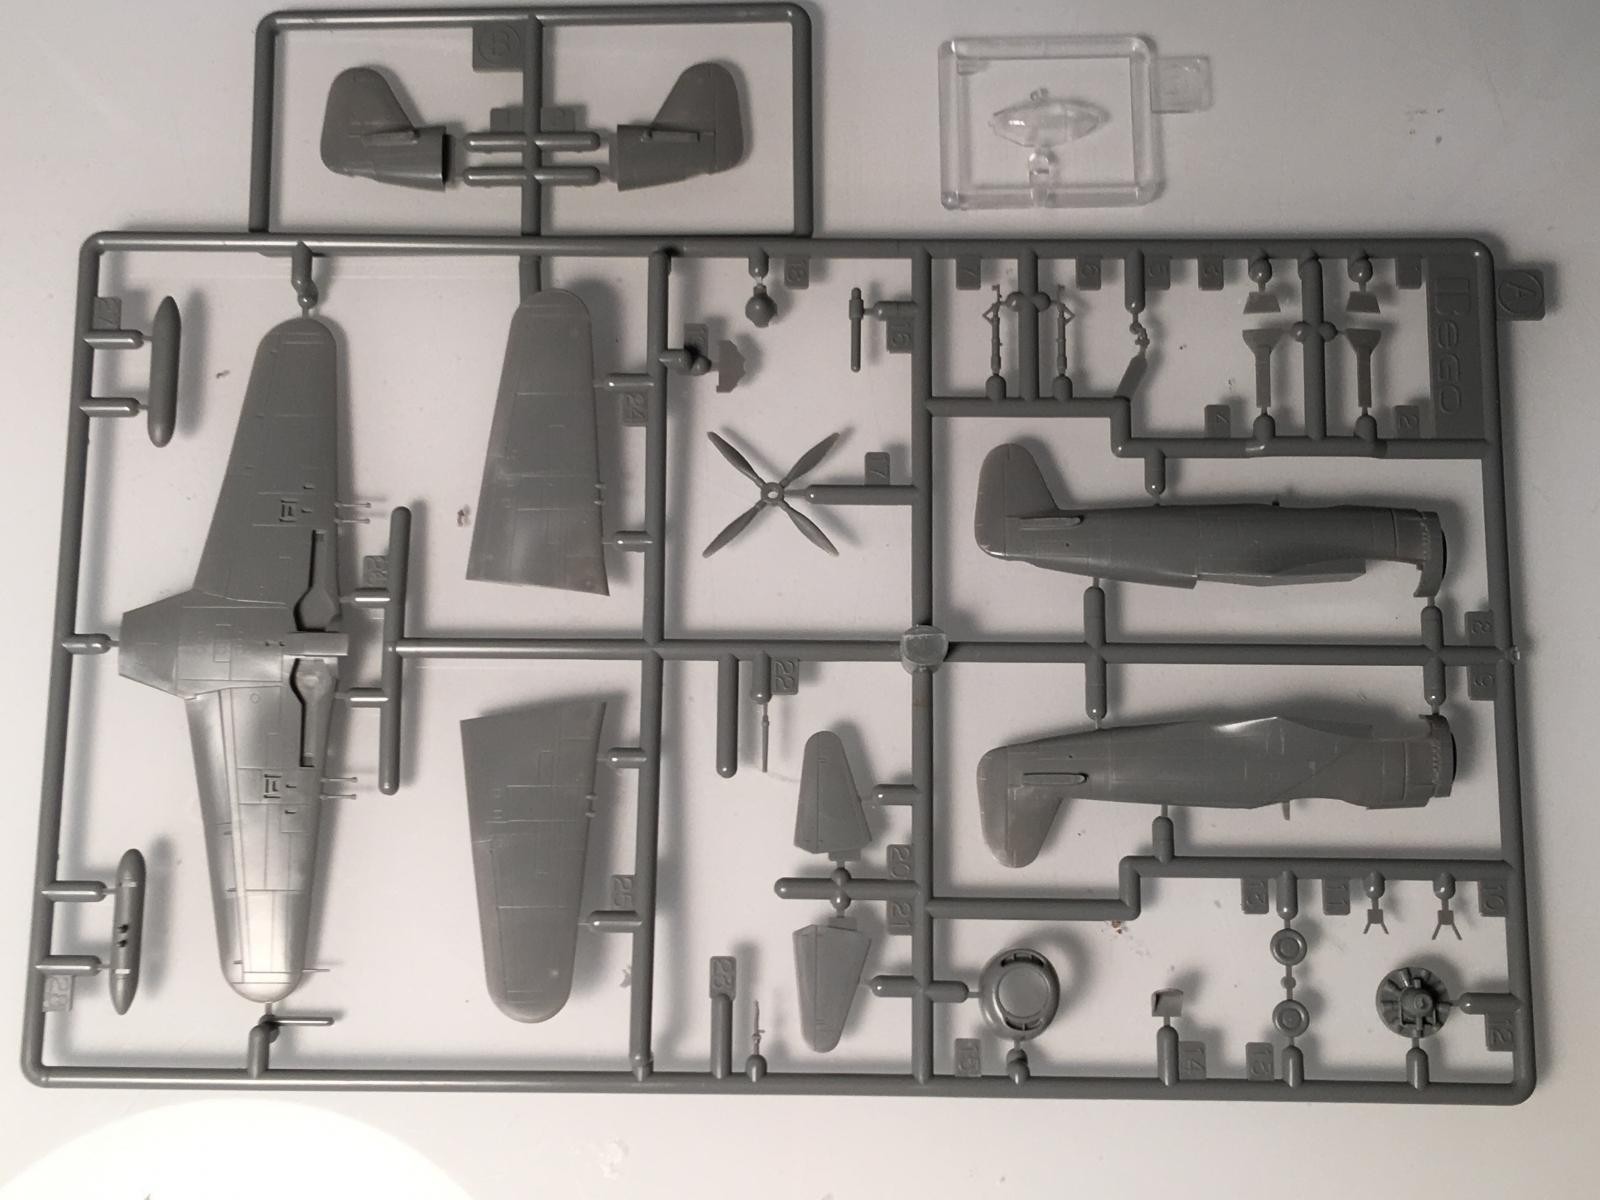
Building the Platz 1/144th N1K2-J Shinden-Kai “Early Version”

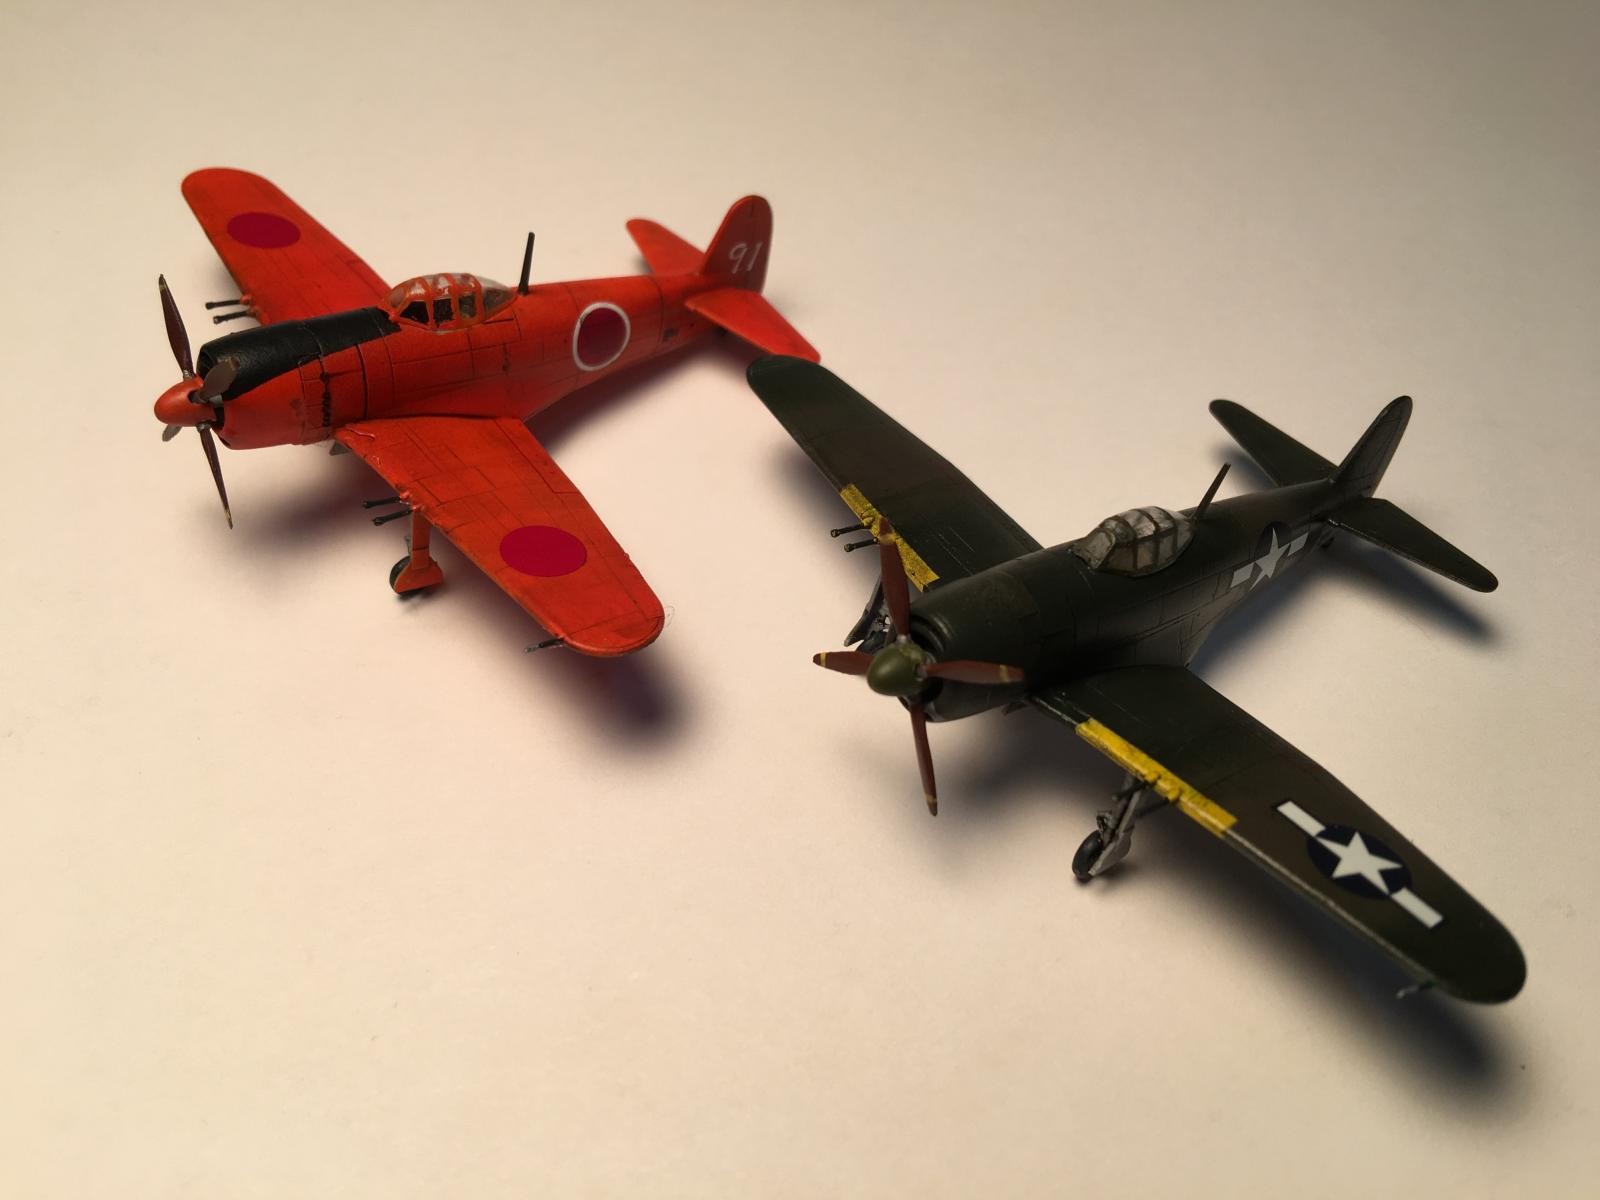
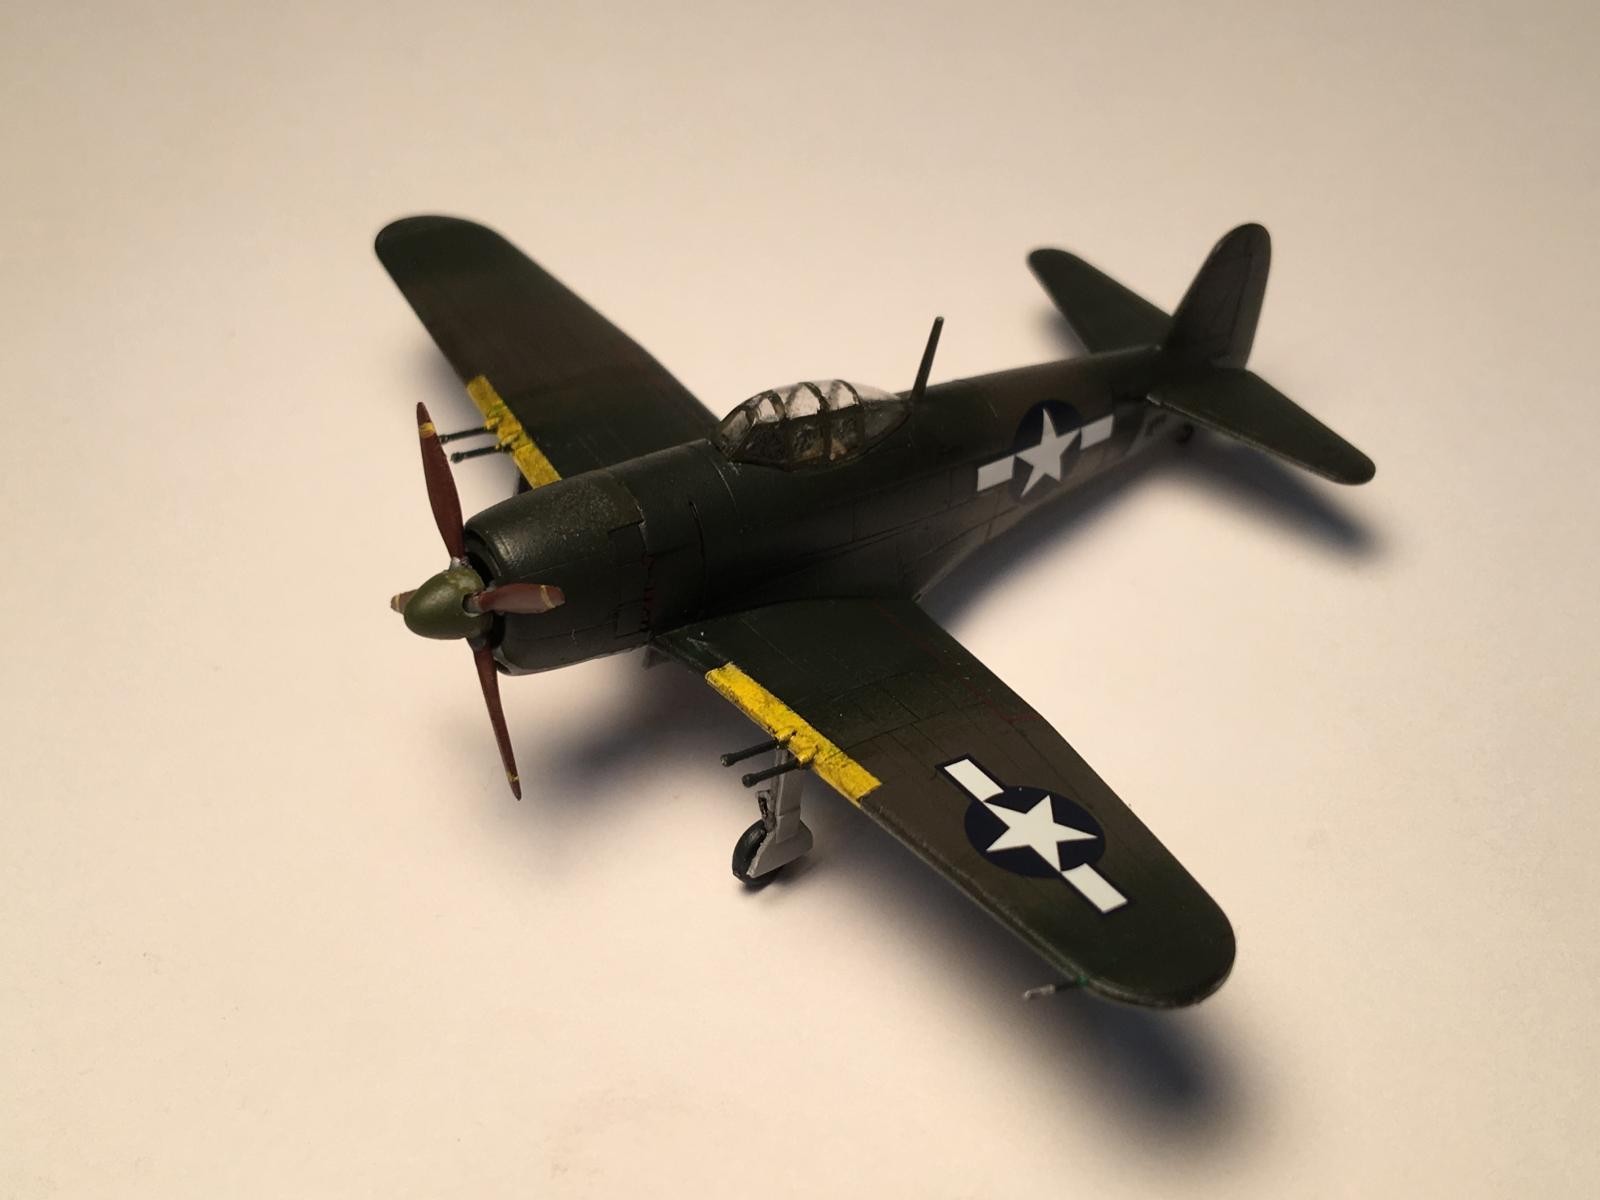
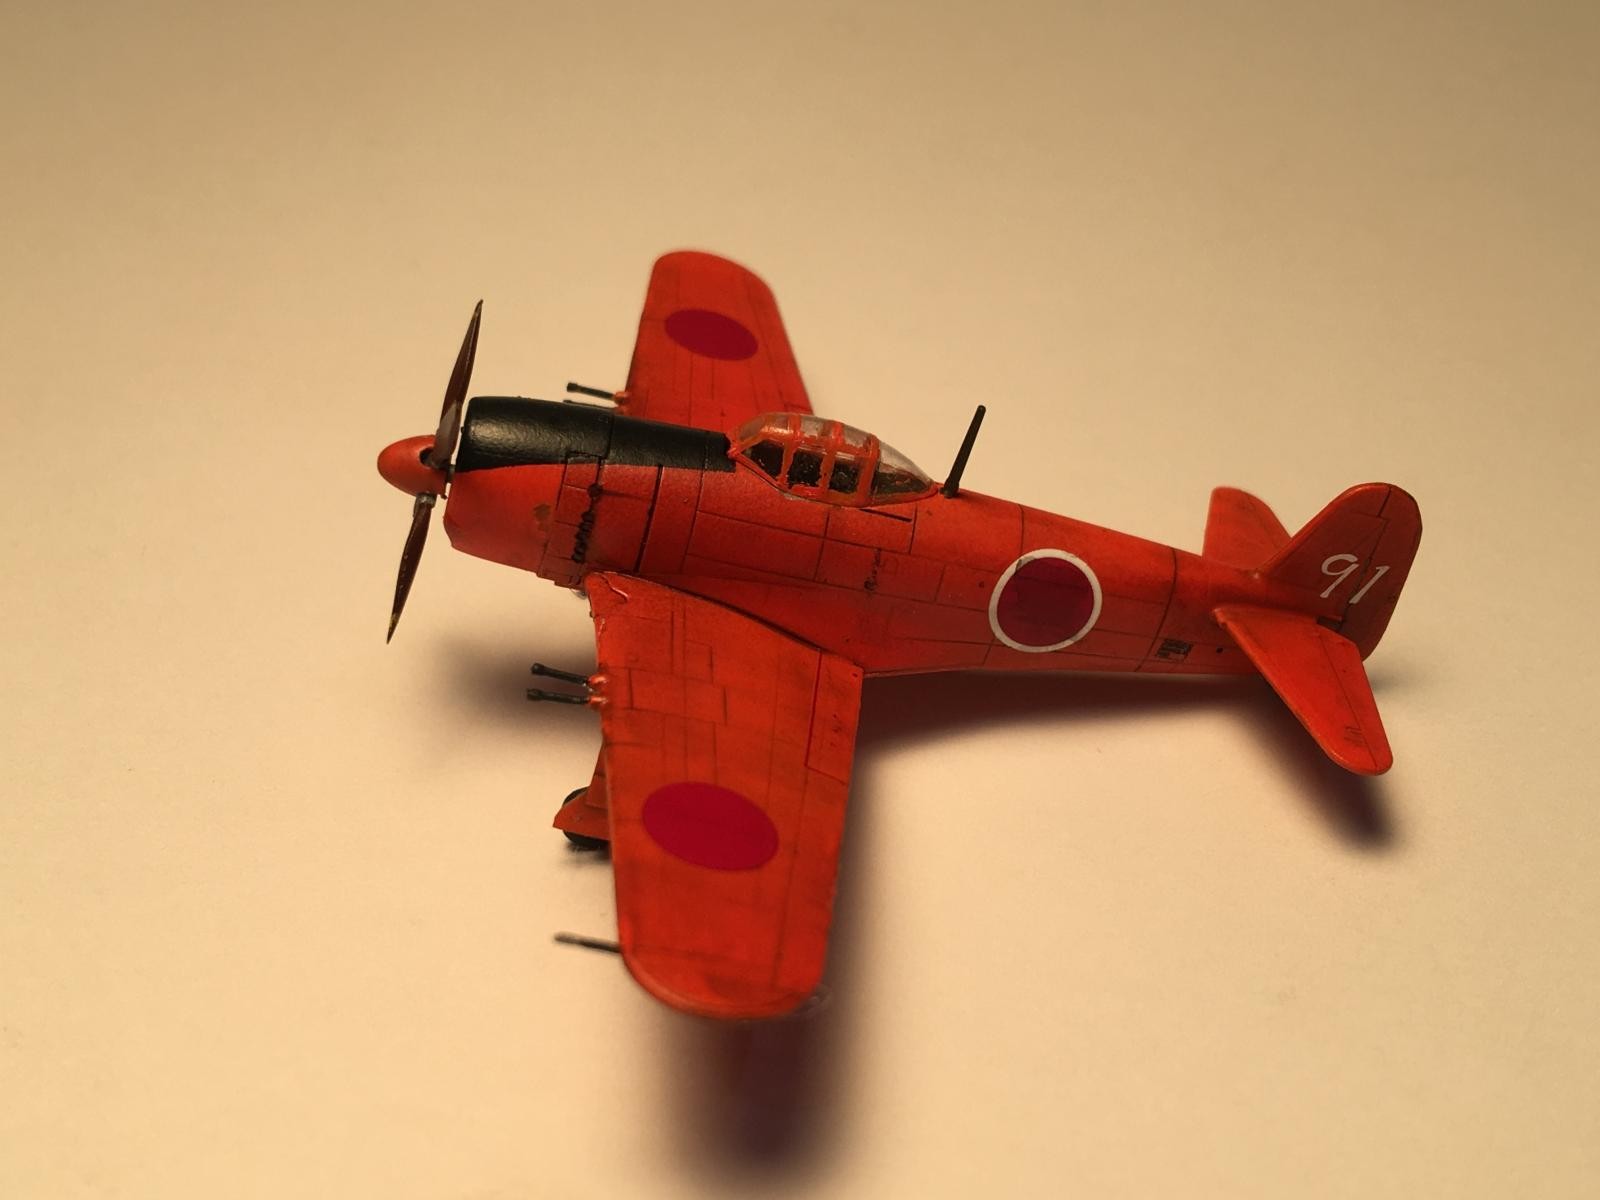
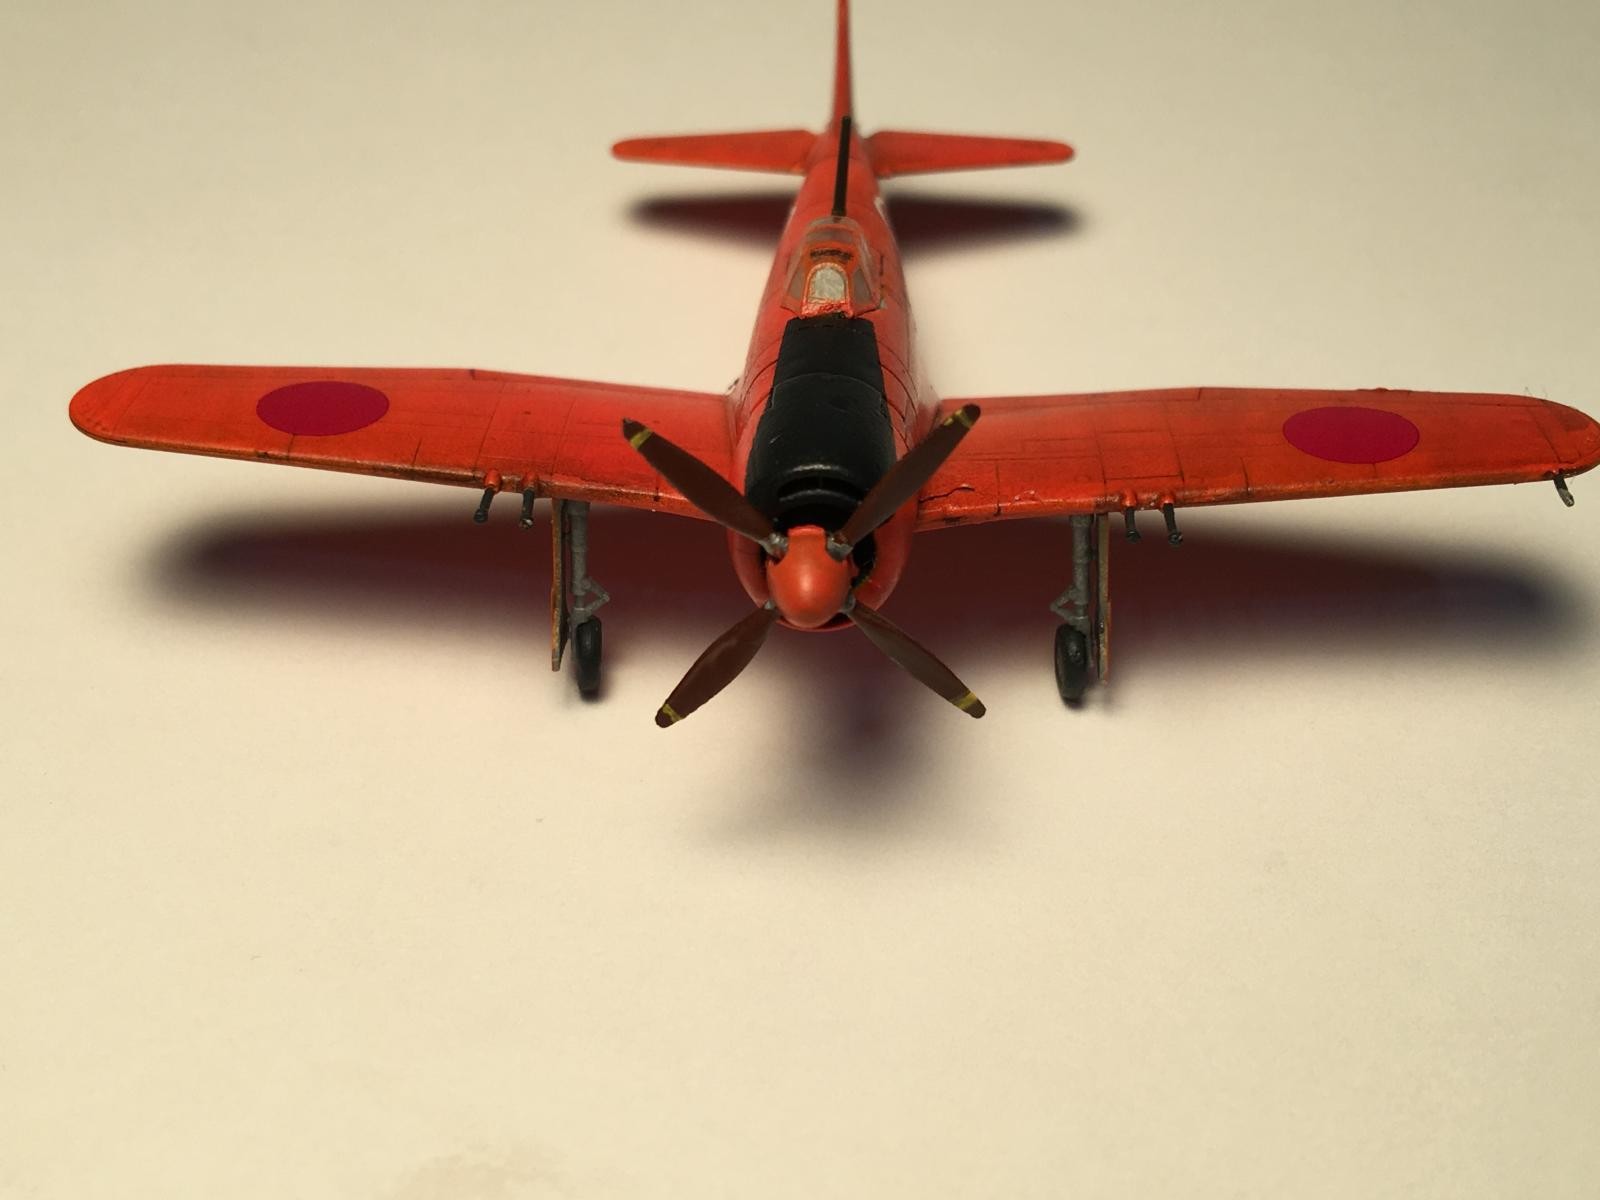
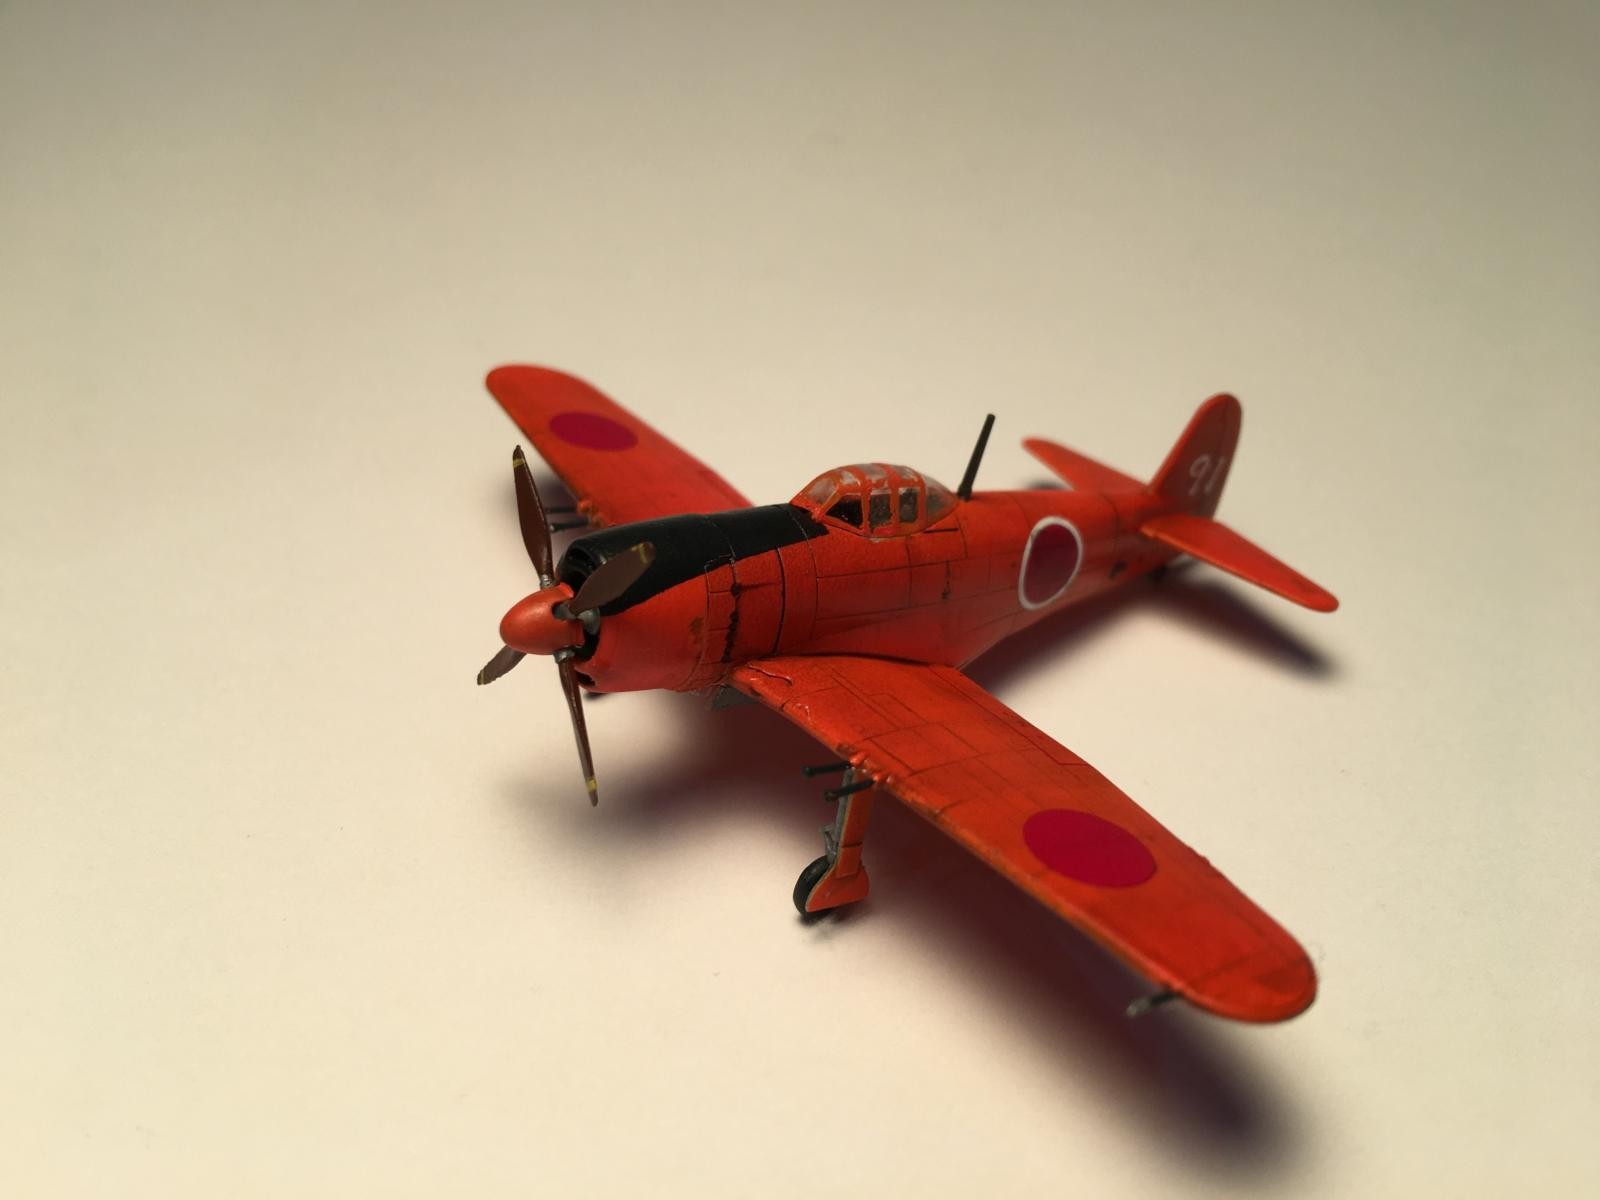
Every once in a while I stray from my "keep it simple" path and travel down the less-traveled road. Bear in mind that I have reached an age where I got rid of most of my 1/72d scale kits because I could neither see or accurately manipulate the small parts. So it was that I was walking through my garage when I heard a low voice coming from the shelves, it was quietly saying "build me". When I finally found the source of the voice, it turned out to be a Platz 1/144th kit for the N1K2-J Shinden-Kai "Early Version". This was a little surprising because I thought I had purged all of the 1/144th kits in my stash long ago. I had never built a Platz kit before, but I had heard good things about them. Platz puts two full kits in each box, with enough decals to build a number of versions. I really liked the overall orange version, and I had just seen an online photo of a Shinden in U.S. markings. For the US version, the Japanese marking had been over-painted and the American marking placed over the mismatched paint. I had second thoughts when I saw the size of the parts, but I had built several 1/144th Minicraft kits several years ago and they turned out fine.
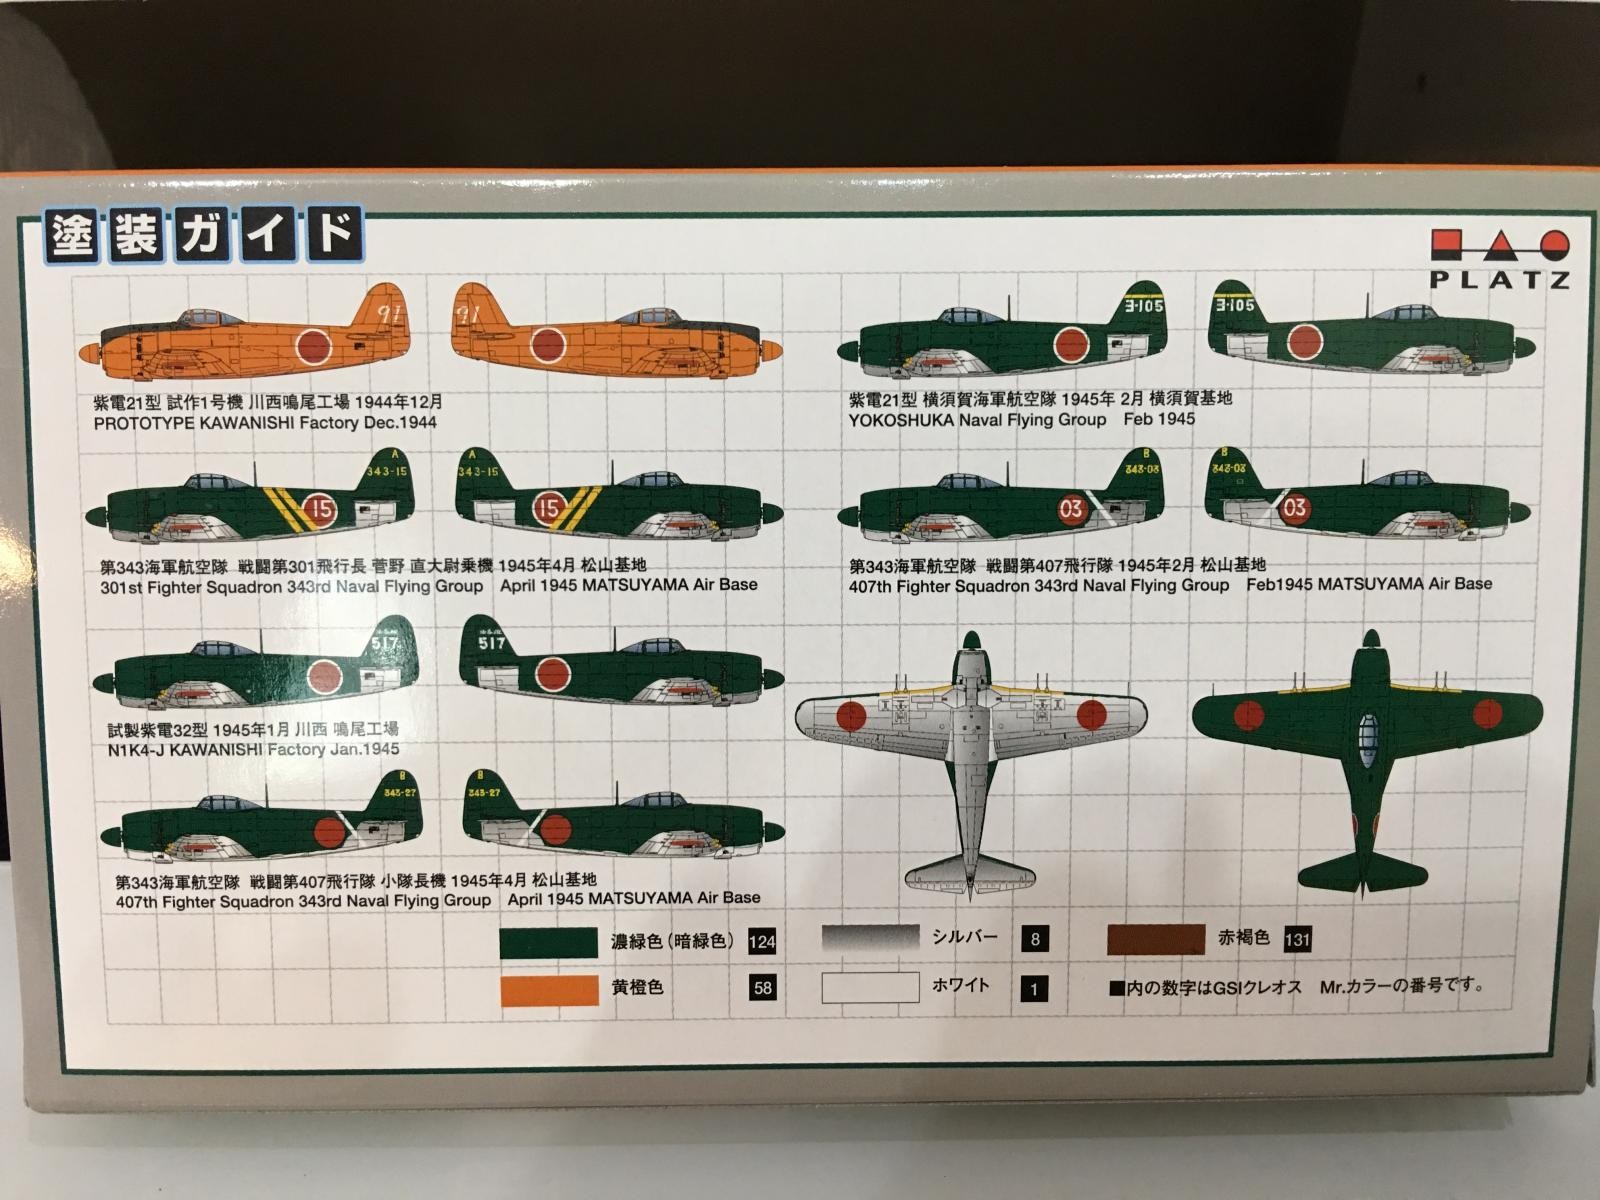
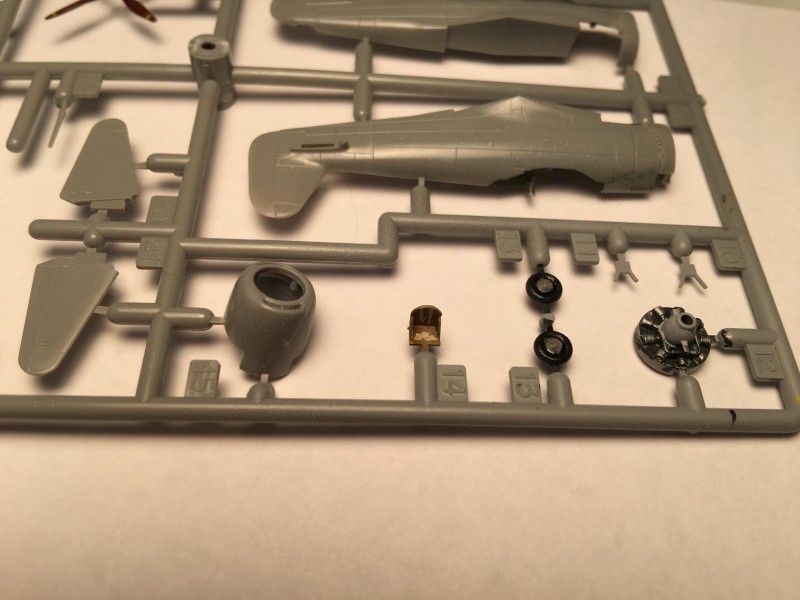
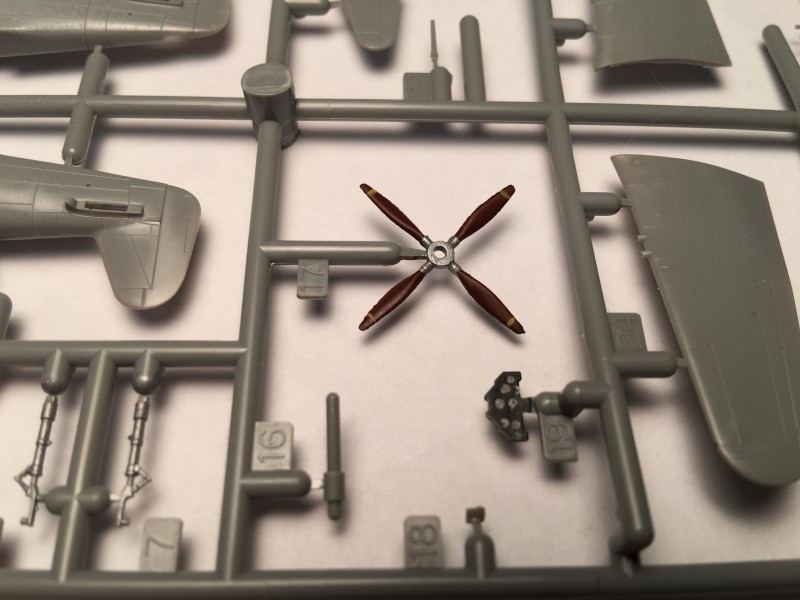
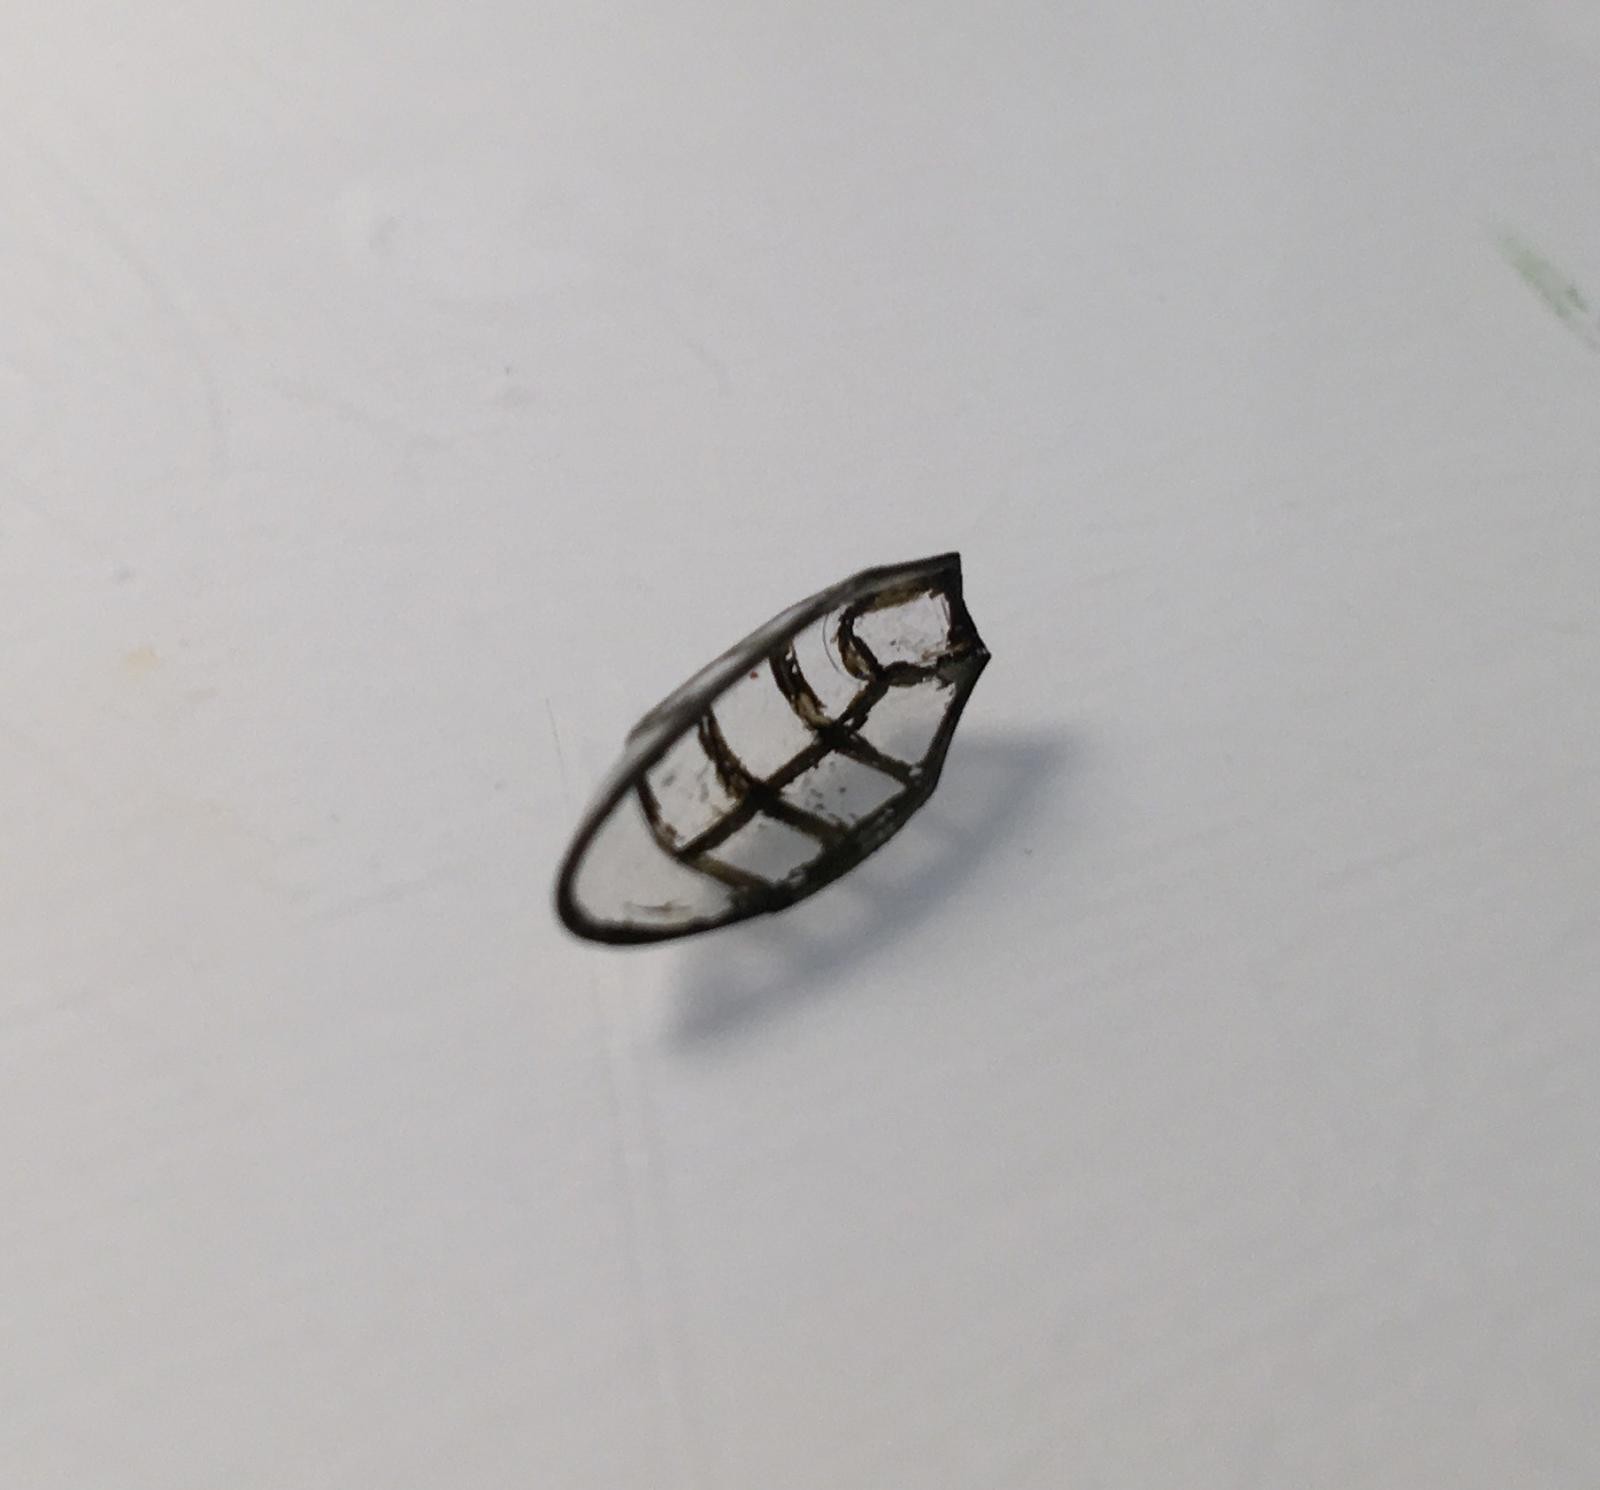
Upon closer examination, I found that the Platz kits were a whole different dog than the Minicraft models. The plastic is molded in very thin plastic featuring extremely fine panel lines and detail. When I examined the canopies, I found that they were extremely clear and the canopy walls were about as thick as a #11 Xacto blade. I should have been more concerned about the thinness of the plastic, but more on this later. Also included in the kit are two alternate tails that would be used for a different version of the aircraft. The cockpit was fairly simple, consisting of a separate pilot's seat, the control stick, and an instrument panel. The decal sheet was very comprehensive, including all of the major insignia, but also many of the smaller markings. There were two problems with the smaller markings, first they were very tiny, and second, the instructions did not really indicate where these smaller markings were to be placed.
[pci16]
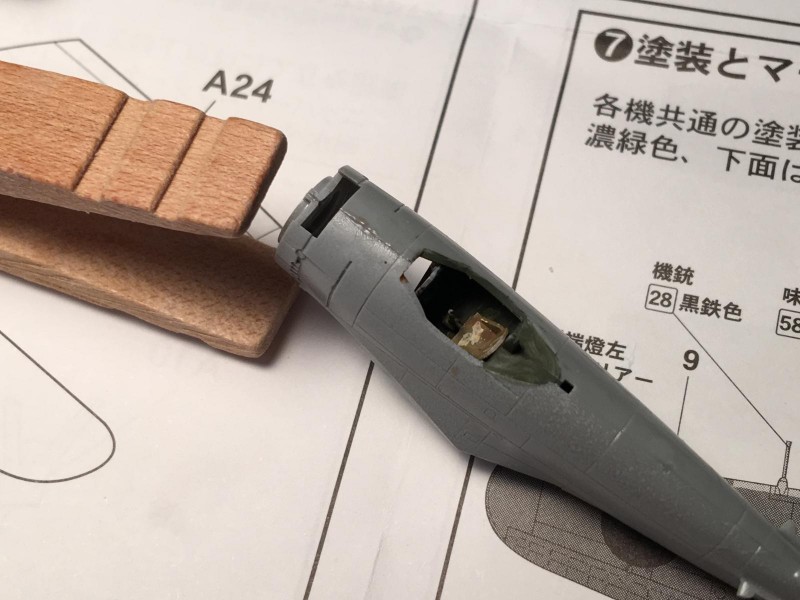
I started the build by painting everything I could on their sprues. This solved the problem of holding very small parts while you paint them, as well as losing them as they dry. For the cockpit, I hand-painted some seatbelts on the seat, and then painted the instrument panel using simple white dots applied with a toothpick. I didn't really think much of this would be visible once I put on the canopy, but I was completely wrong. The canopy was so thin and clear that you can readily see my generic white dots and plain off-white seatbelts. As usual, things would have been easier and neater if I had discovered that several of the decal sets from Mark 1 Models contain seatbelts.
-
- 1. Some crude handpainted seatbelts added

-
- 1. Pre-paint what you can
- 2. Instrument panel with instruments added with a toothpick and paint
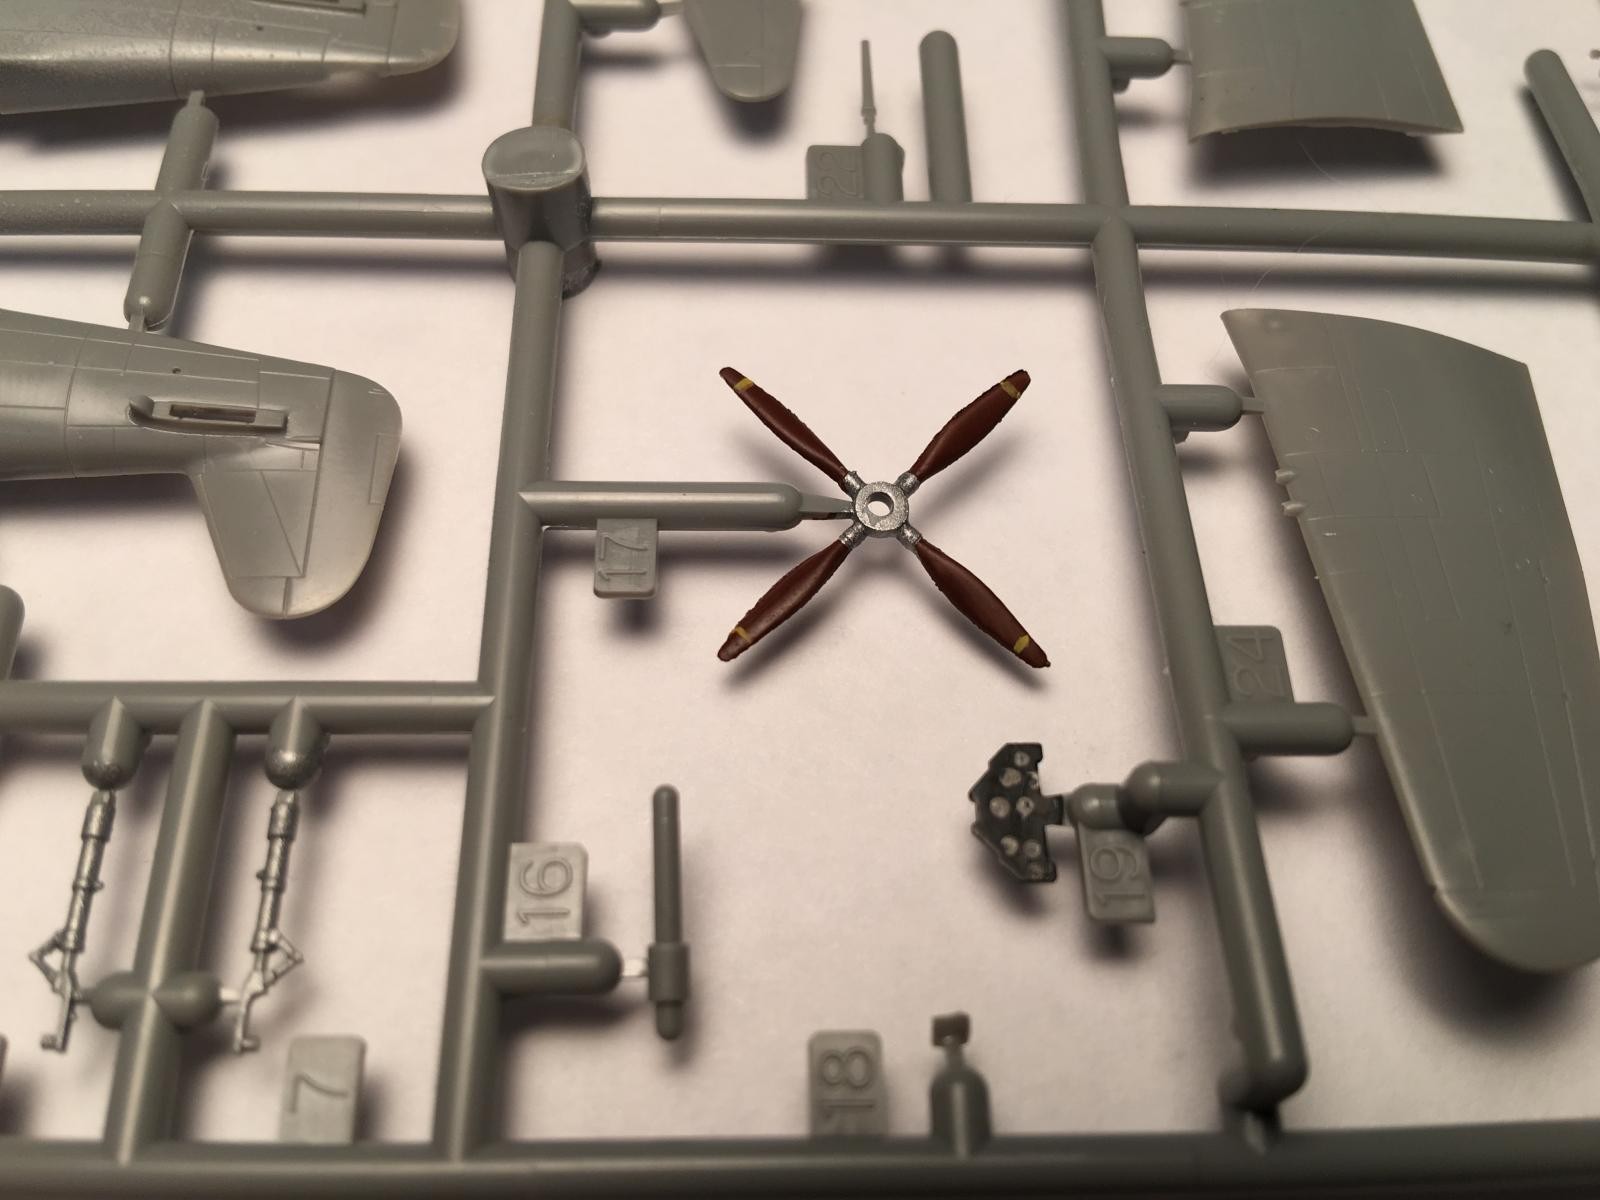
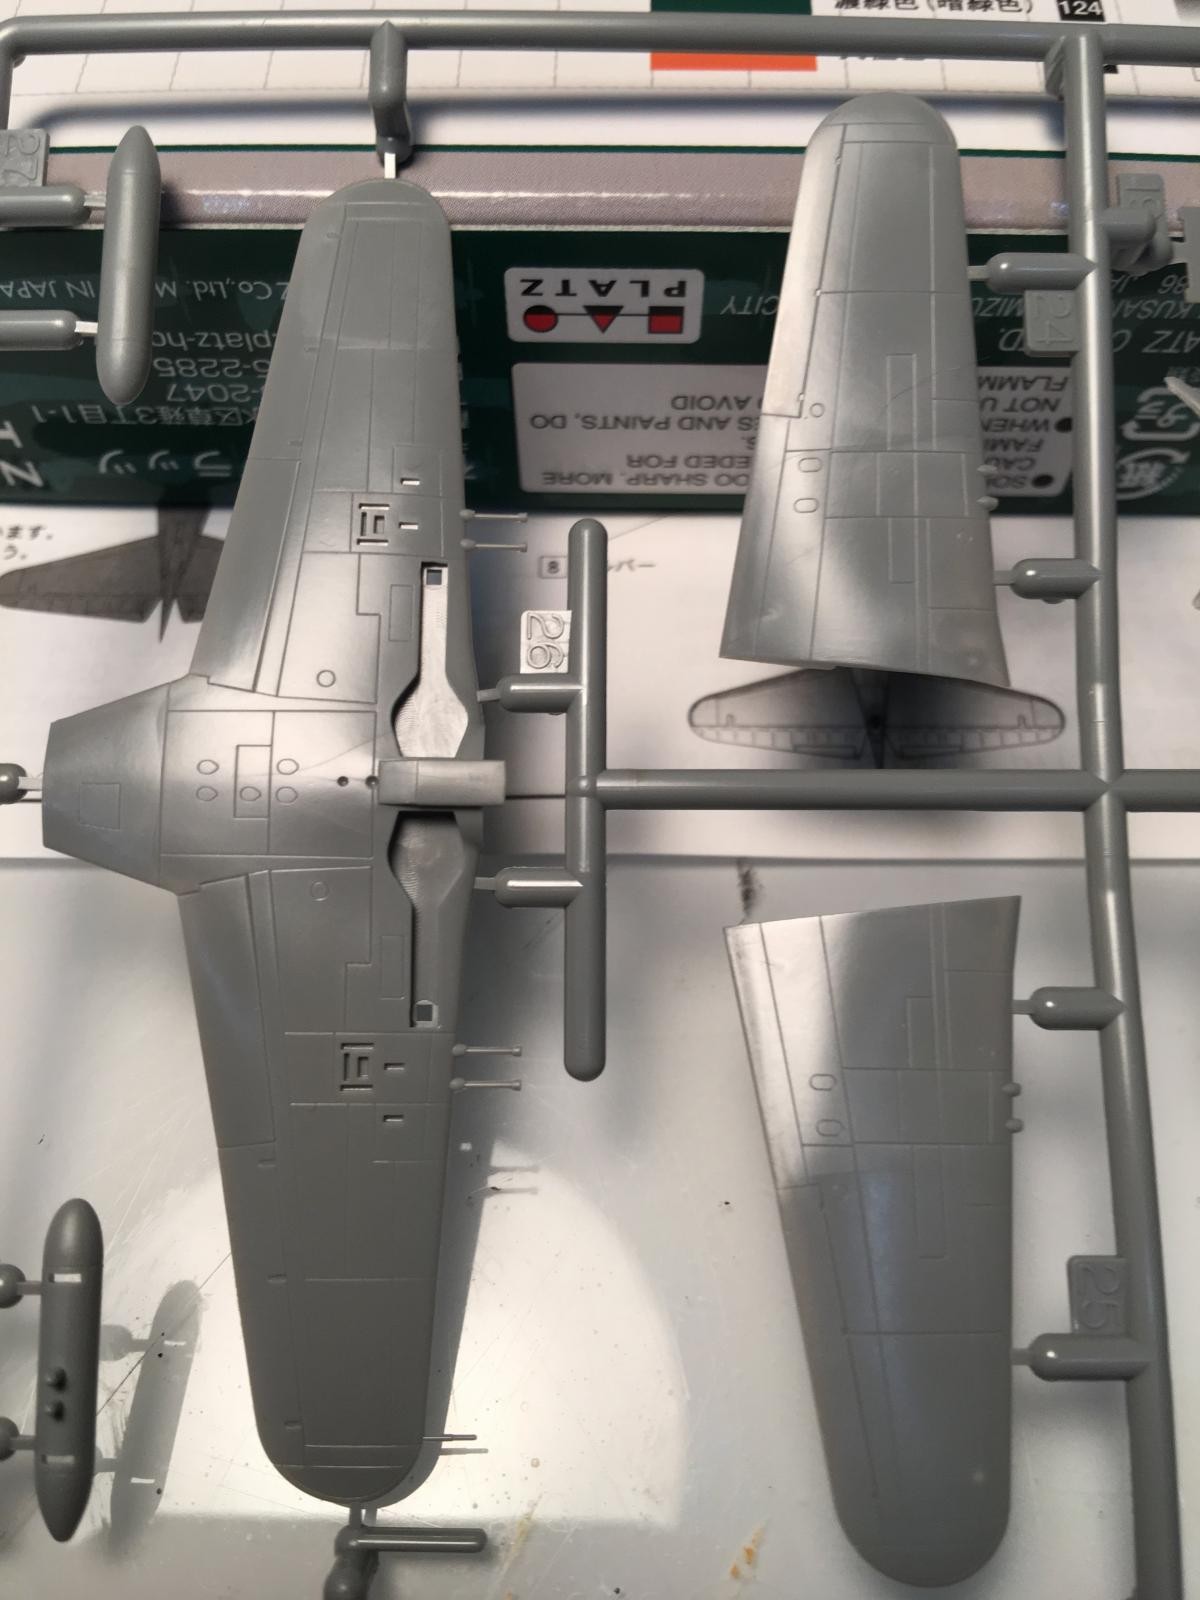
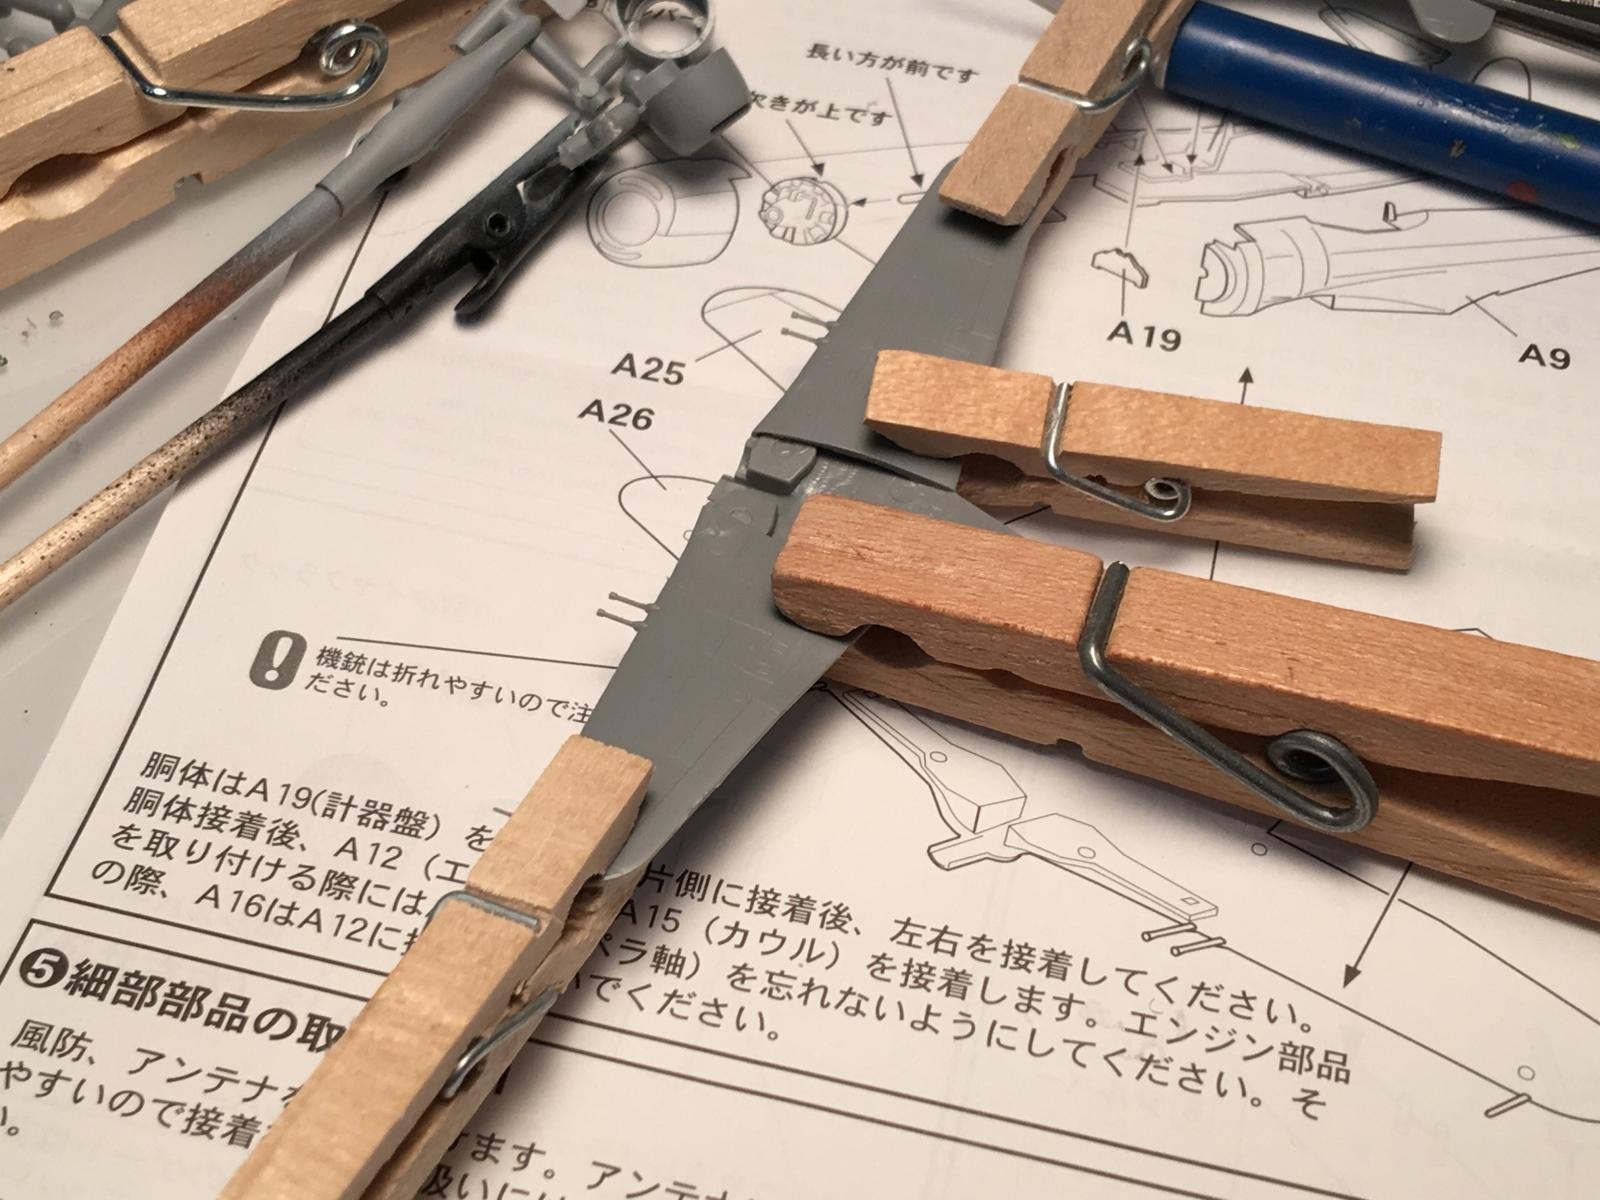
My first thought when I assembled the wings and fuselage was how well they fit together, but I made a basic mistake during the assembly. I was used the the thicker plastic on the Minicraft kits, so I thought nothing about using some Testors thick liquid glue. I clamped everything together and waited for it to dry. When I unclamped everything, I discovered that the thin plastic has melted in a couple of places on the wings. This probably would have been easy to fill and sand, but I was very conscious of the very tiny machine guns and pitot tube that were molded as part of the wings. So, I chose not to do anything near these tiny parts. Luckily the wings went together perfectly and required no sanding on the leading edge. Surprisingly, the machine guns and pitot tubes survived the entire building process. Kicking myself for ham-fisting these parts, I decided to use superglue to assemble the rest of the plane. This kit is so well engineered that I needed no filler anywhere, and only very light sanding was required. The panel lines are so finely cut that just one swipe of sandpaper will remove the panel line, so I tried to use a light touch with the sandpaper.
-

- 1. This is where my gluing technique melted part of the wing
-
- 1. Thanks to copious use of my glue, some light sanding needed
- 2. Very light sanding also needed here
- 3. 1:1 scale clothespin

I had to do a little soul-searching when it came time to decide how to paint the canopy. I usually try to mask the canopy, attach it to the fuselage, and then paint them together. I had planned to cut my own masks for the canopy and then attach it to the plane. The glass parts on the canopy were so small that my attempts to cut infinitely small pieces of masking tape ended with me crashing and burning. So I went with Plan 2: Paint the plane without the canopy, paint the canopy off the plane, and then bring the two together. Many of you have probably already seen the flaw in this plan: I would have to hand-paint canopy frames that I could just barely see. There was absolutely no way this was going to happen, but one of the cool properties of acrylic paints came to my rescue. I hand-painted the frames as best as my 68 year old hands could accomplish, let it dry for a few minutes, and then used a toothpick to remove the extra paint and neaten the lines on the canopy. Upon looking at the closeups of the canopies I still need to do a little cleanup, but they will eventually look pretty good.
-
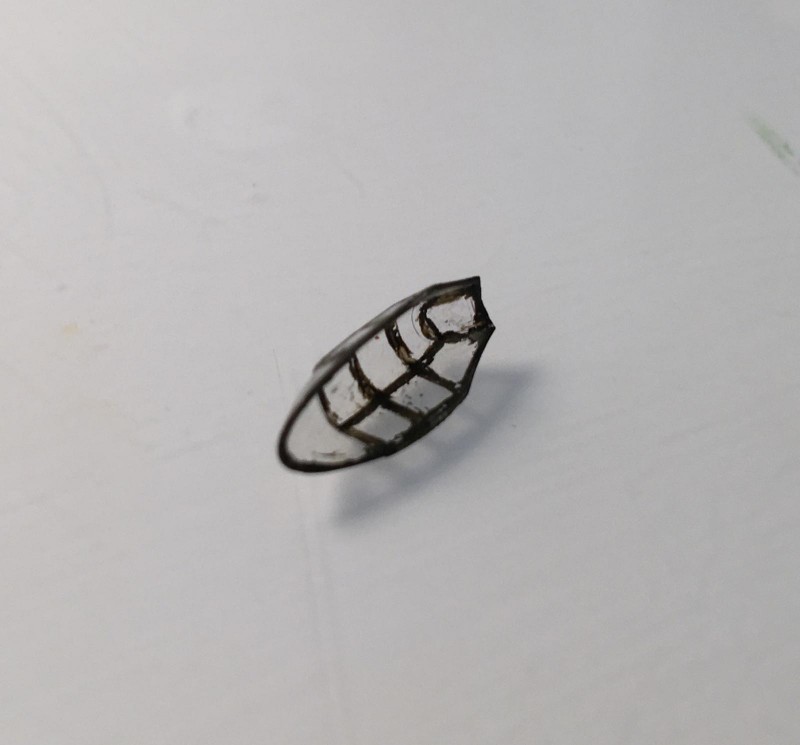
- 1. Note how thin the walls are here
- 2. I still have some cleaning to do
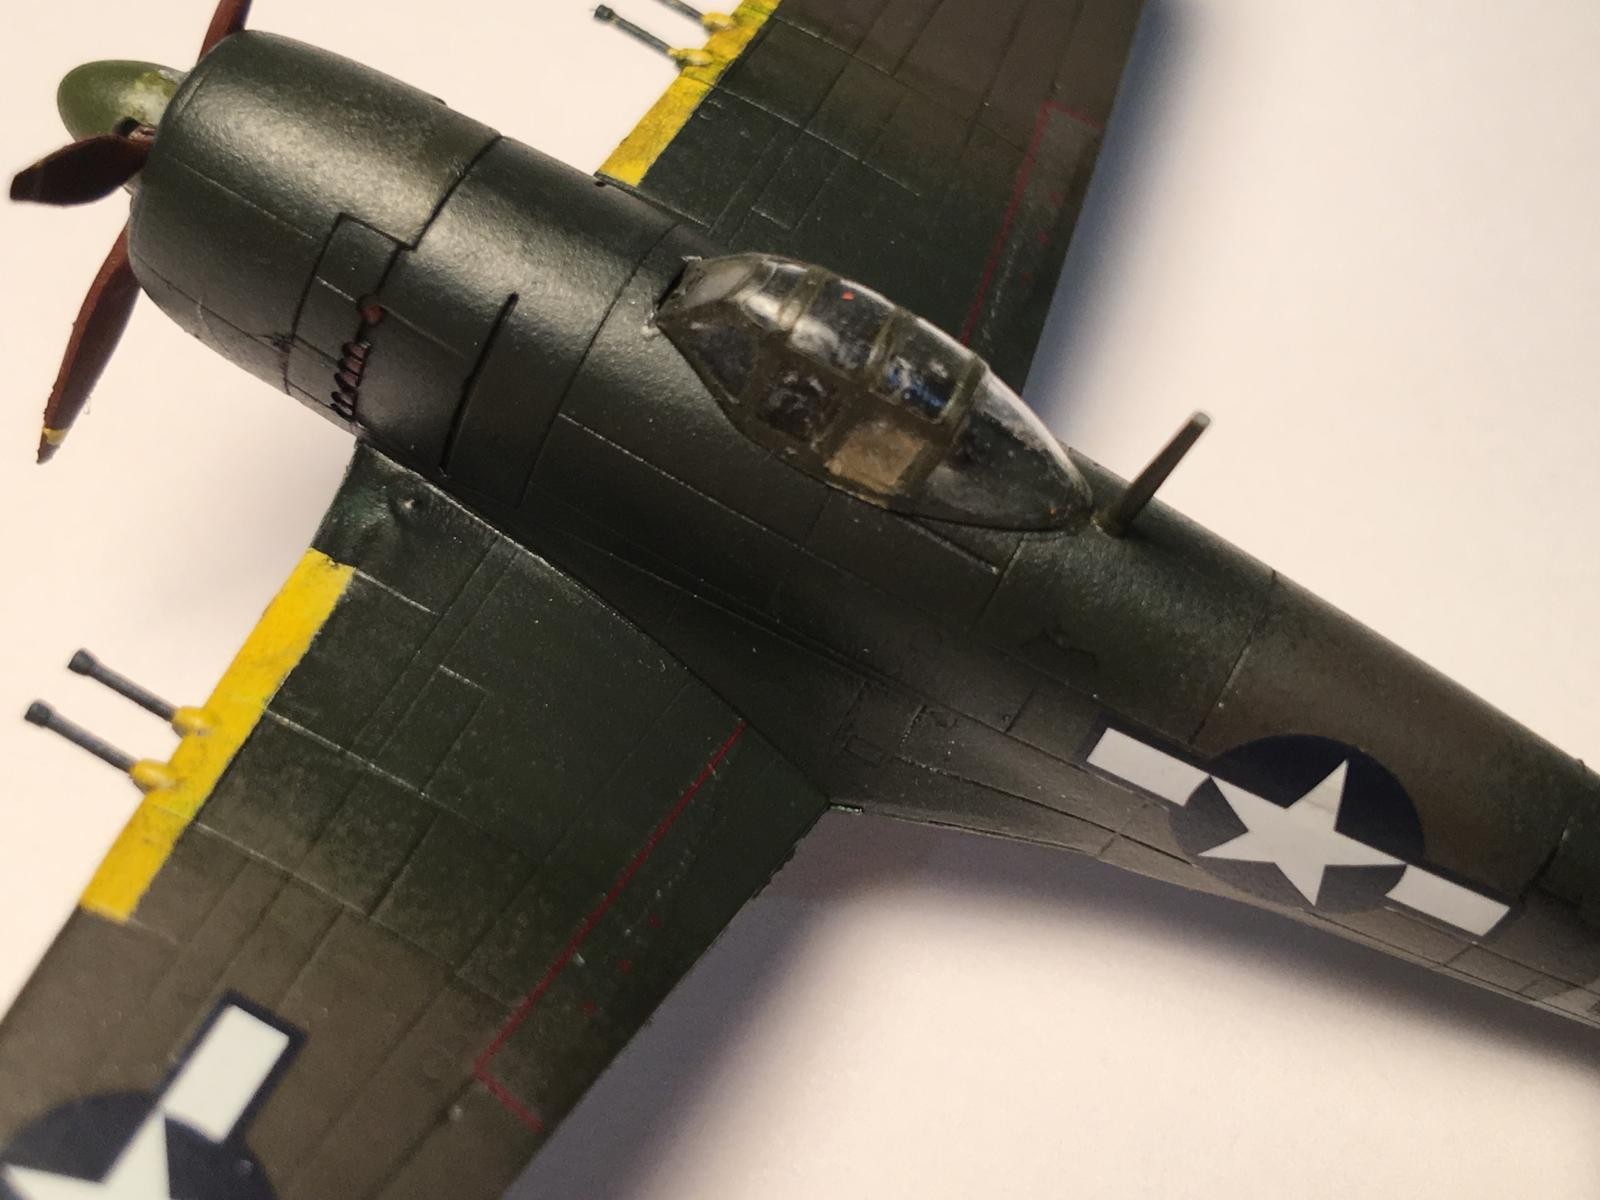
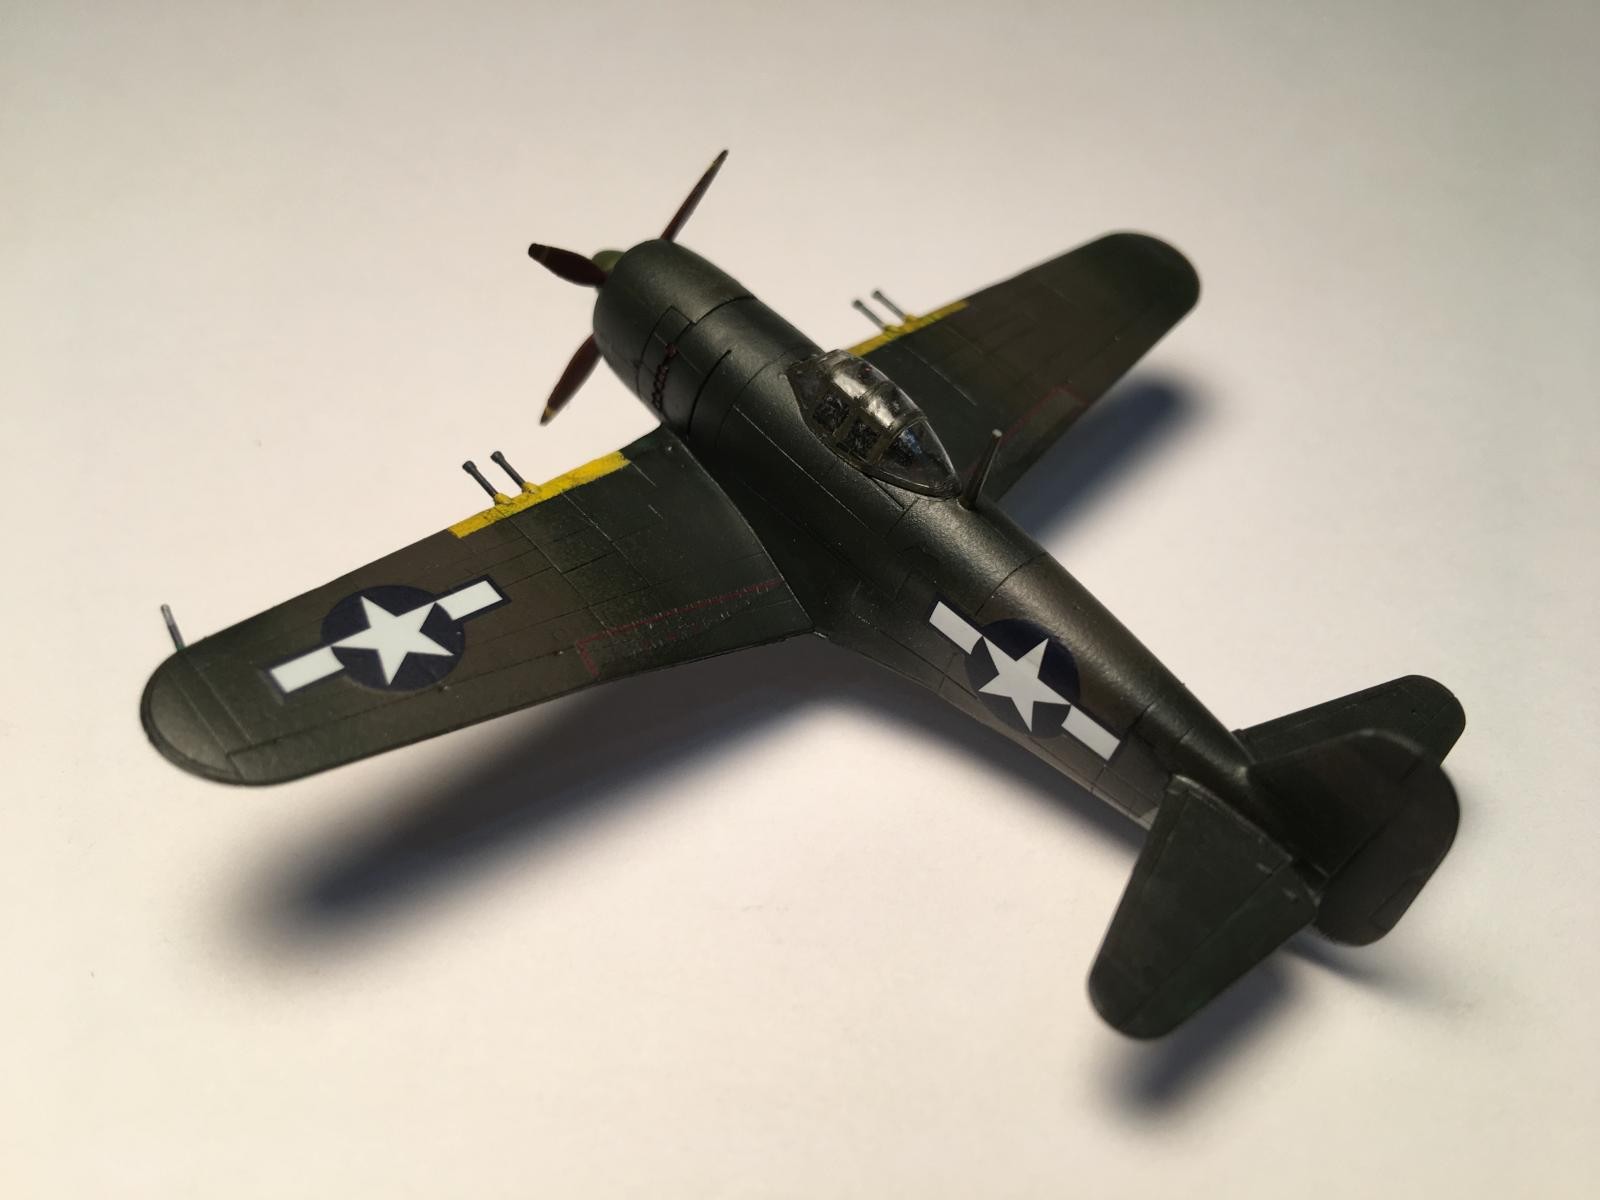
I painted both planes with Tamiya acrylics. I really like how the orange aircraft came out, but the Dark Green that I used on the other planes looks much darker than Japanese green. I used Tamiya Olive Drab to paint the color used to blot out the Japanese markings, but the color difference between the Dark Green and Olive Drab was almost non-existent. I probably should have repainted the plane in different colors, but I took a vote and decided to leave it like it was.

The decals were very nicely printed, but were a little thick. I got the US markings from a 1/144th set from Mark 1 decals. I used a little Microsol and Microset on the decals which helped snug them down. After a final flat clear coat, I used Tamiya Black Panel Line wash on both planes. I sprayed some Tamiya Flat Clear on the planes to seal the washes, and then called them complete.
-

- 1. Color difference between plane color & olive drab used to cover Japanese markings is very slight
-

- 1. Uncorrected melted wing
- 2. Small moldings I managed not to knock off during the build
- 3. No filler needed anywhere
- 4. Only very light sanding needed here
So, what did I learn here? First, you can't ham-fist these Platz kits. Their plastic is so thin that it is really easy to mess it up. Second, I should have tested my colors before I committed completely to the paint on the plane. And last, the canopies on these micro-kits are always going to be a problem for me. Maybe some of you have canopy masking or painting techniques that would make painting these micro-canopies possible, but for now I am sticking to 1/48th, or maybe 1/32d would be even better... I can tell you that the Platz kits will make up into a fantastic model in the hands of a younger (steadier hands) or more skilled builder than I am. The fact that this kit needed no filler and very little sanding is enough to set it above many other kits.
Nice builds !
nice...cool project...
Pretty amazing detail for a kit that size...turned out nicely.
Hi George,
You have... courage. At 50 I'm already find it challenging to build 1/72's... I can't imagine 1/144!
Regarding lessons learned (glue and colors) , they are a valuable treasure for next projects. Or as someone said: 'experience is what you get after you need it' 😀
nevertheless, congrats on your builds!
Manuel
Thanks, Manuel. Your observation about experience is right on! If you think building kits at 50 is exciting, wait till you get to your late 60s. I'll turn 69 in a few months. My hands occasionally shake, but it turns out that is due to hypoglycemia rather than age. It usually isn't a problem as long as I watch what I eat.
Nice looking models! Turned out well.