1/72nd Hasegawa Ki-43 II Oscar
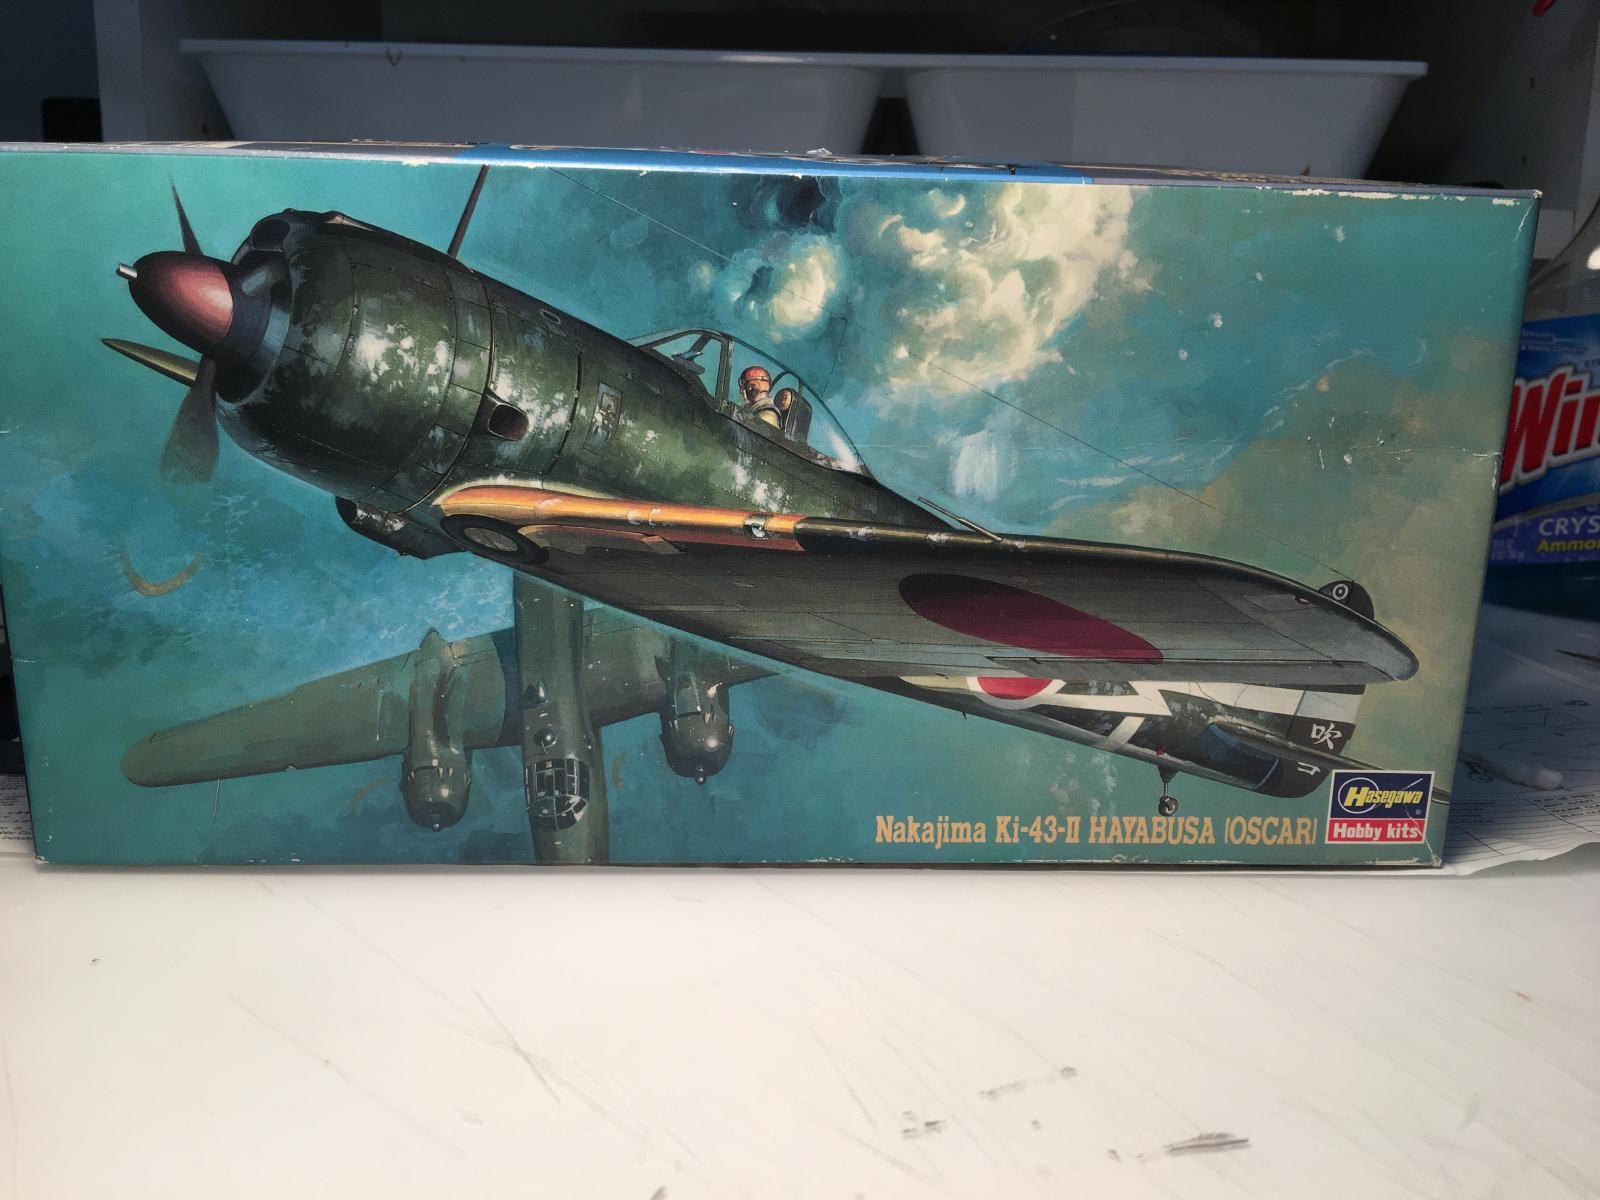
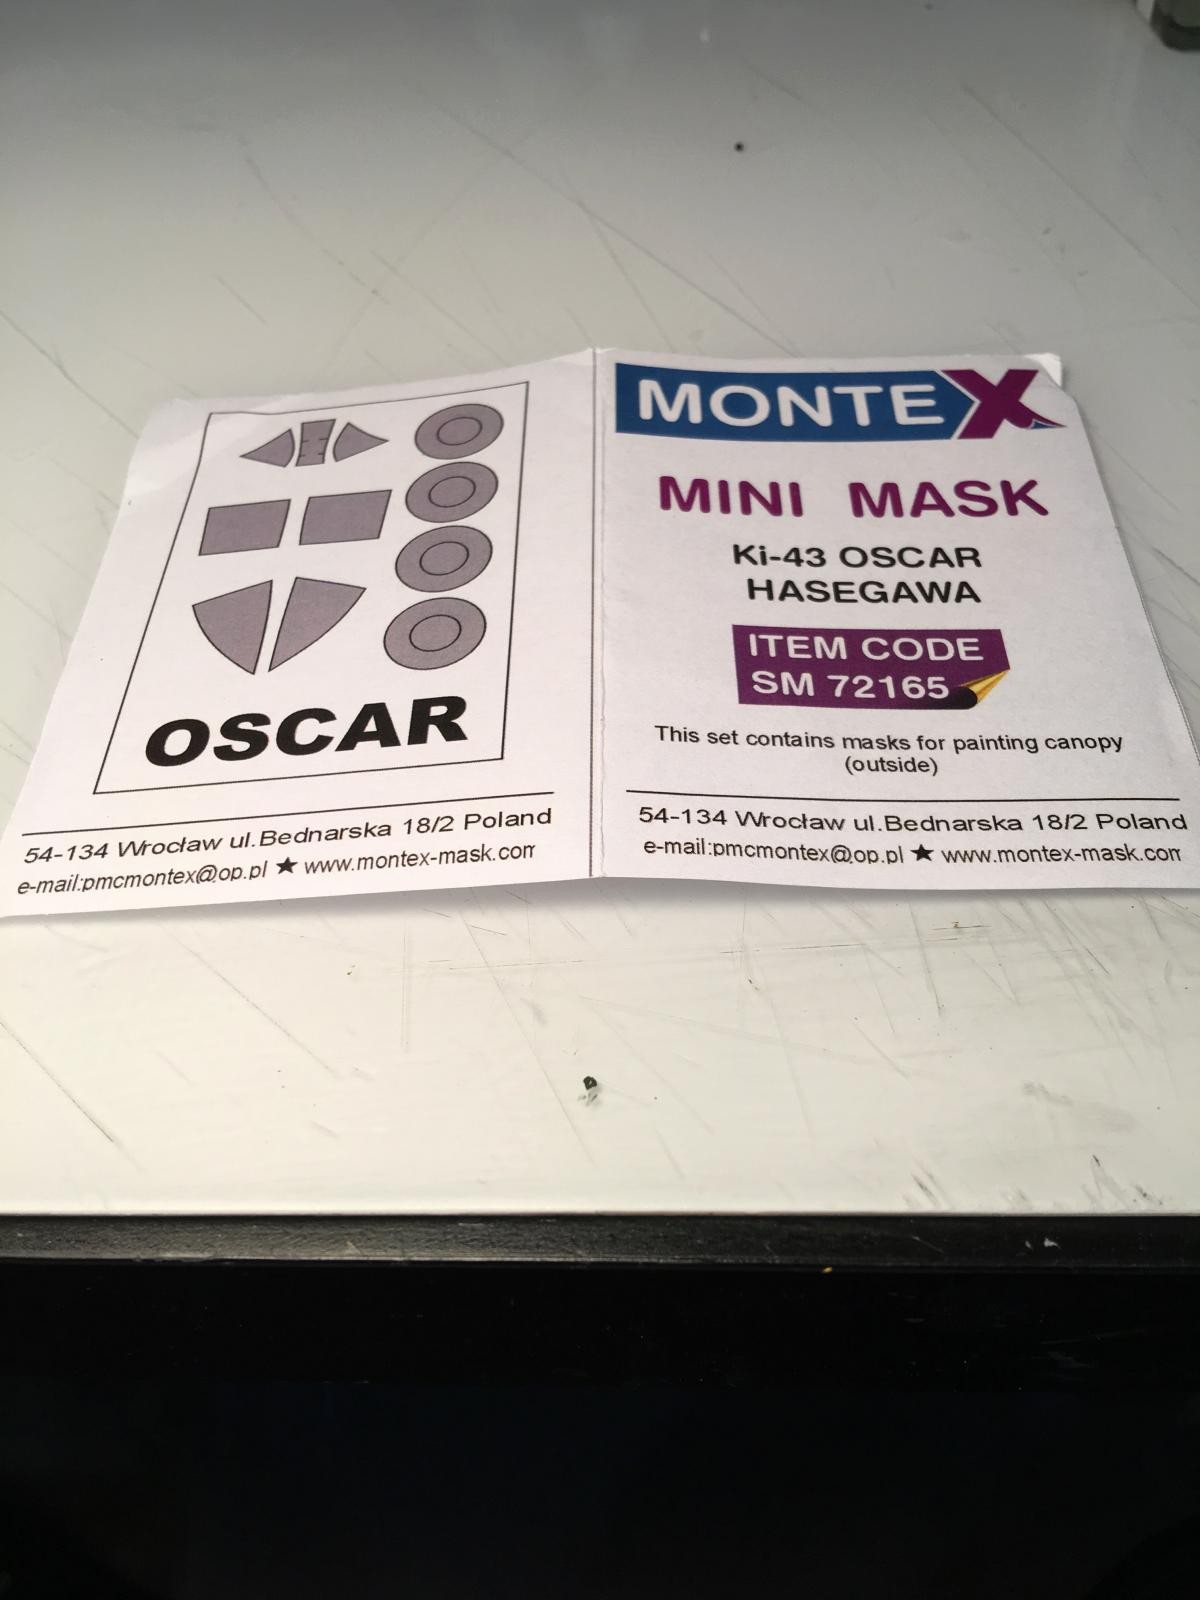
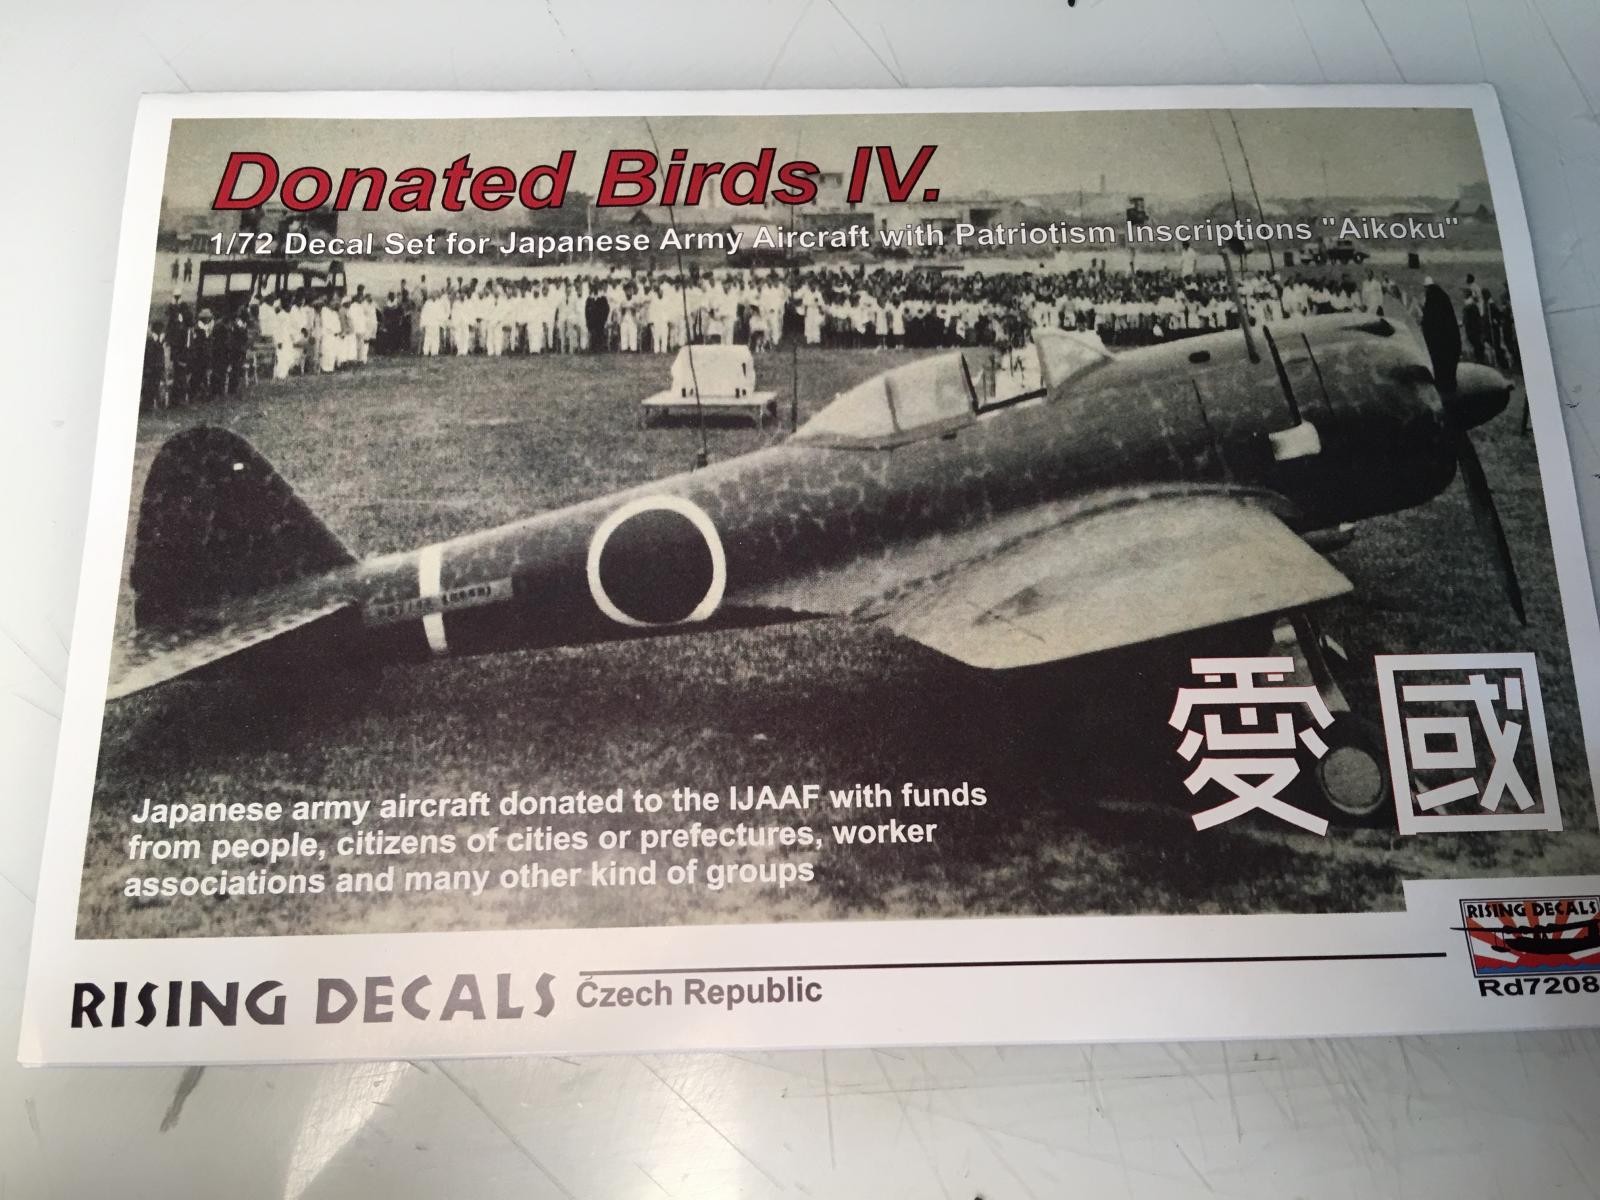
Well, there I was waiting for decals to arrive from Hannant's for my Monogram Fw-190 when I came across an old Hasegawa Ki-43 sitting in the consignment section at my local hobby store. I remember these early Hasegawa kits were simple to build and turn out a nice model. The price was right, so I decided to build this kit while I was waiting for my decals to arrive. By coincidence, I read an article on an easy method to reveal natural metal by chipping the paint, so this was added to the simple goals for this kit. I checked my stash, and found I had a set of Montex masks for this kit, as well as a set of decals that would also work. This was somewhat interesting, since I didn't have a Ki-43 until I bought this one, so another mystery of modern science. So off I go on this build.
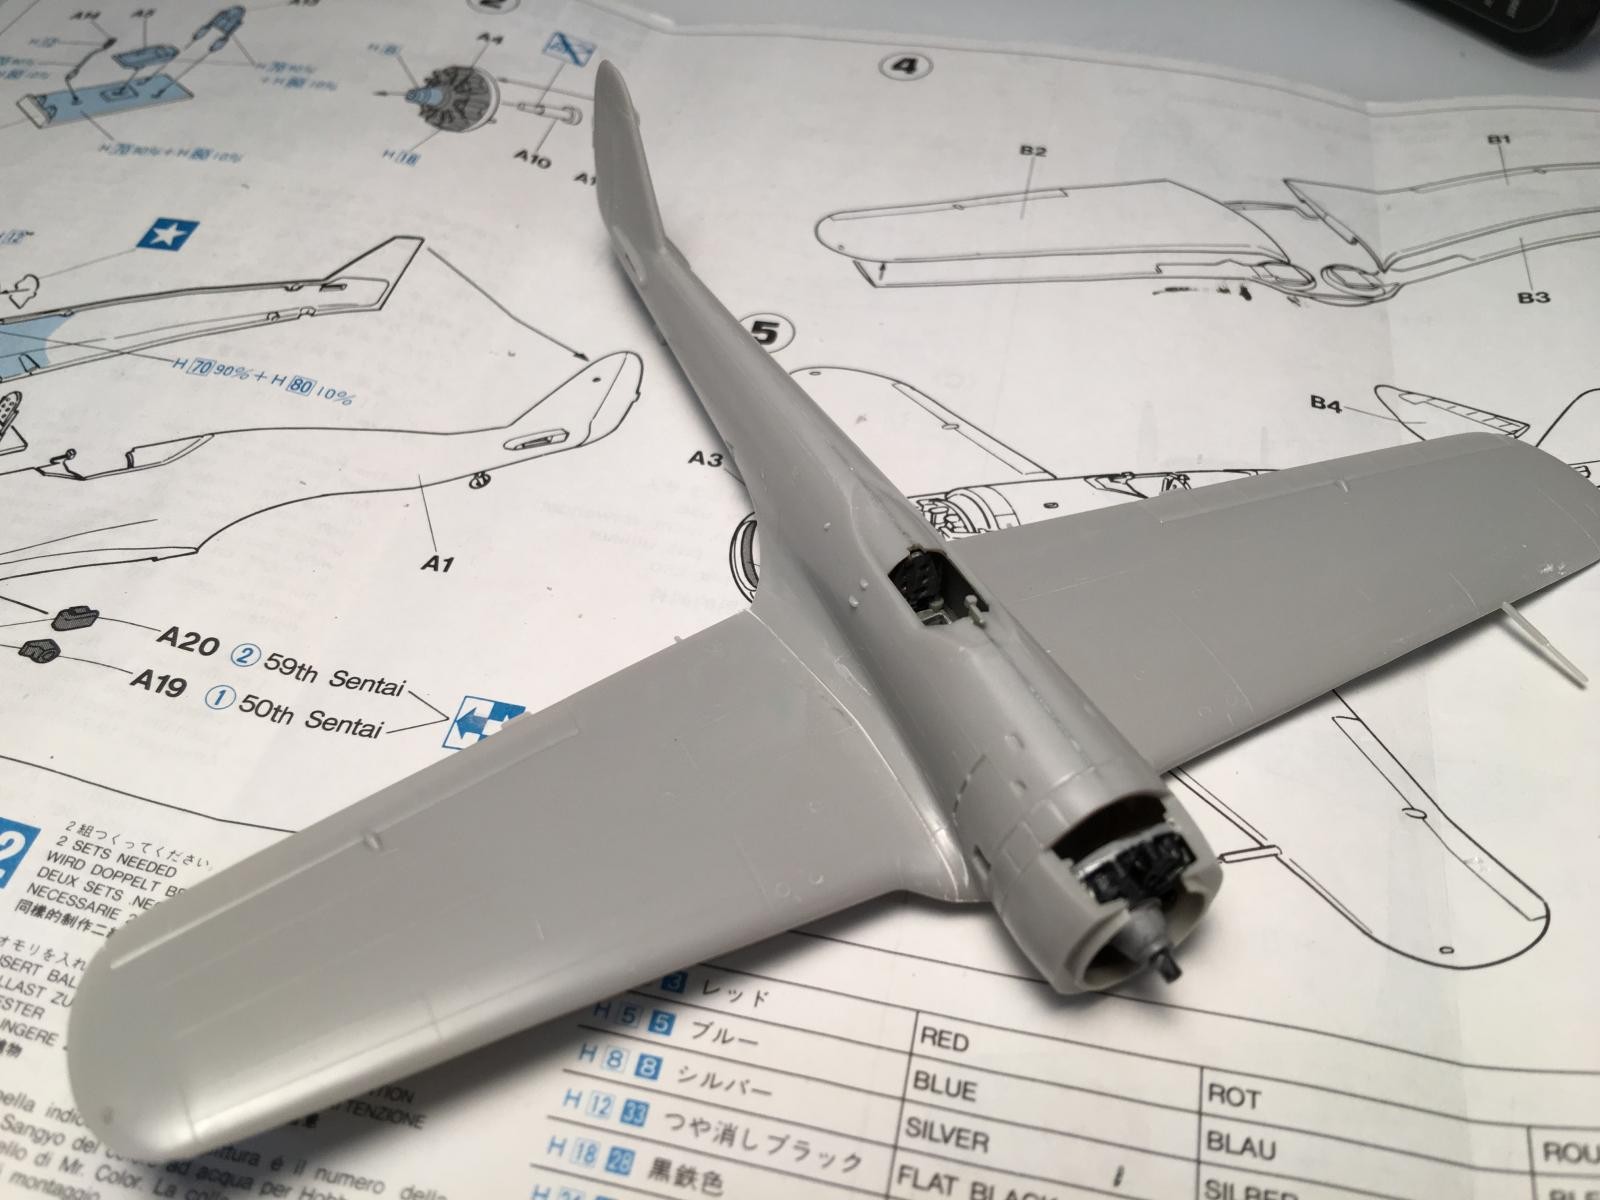
In case you haven't built one of these kits, they are fairly simple affairs. The instructions all fit on one page.
-
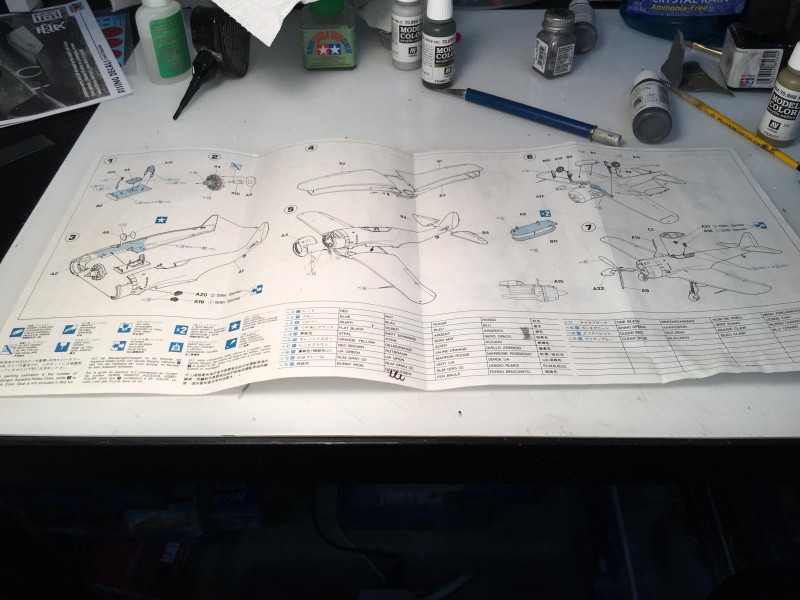
- 1. Just one page of instructions.

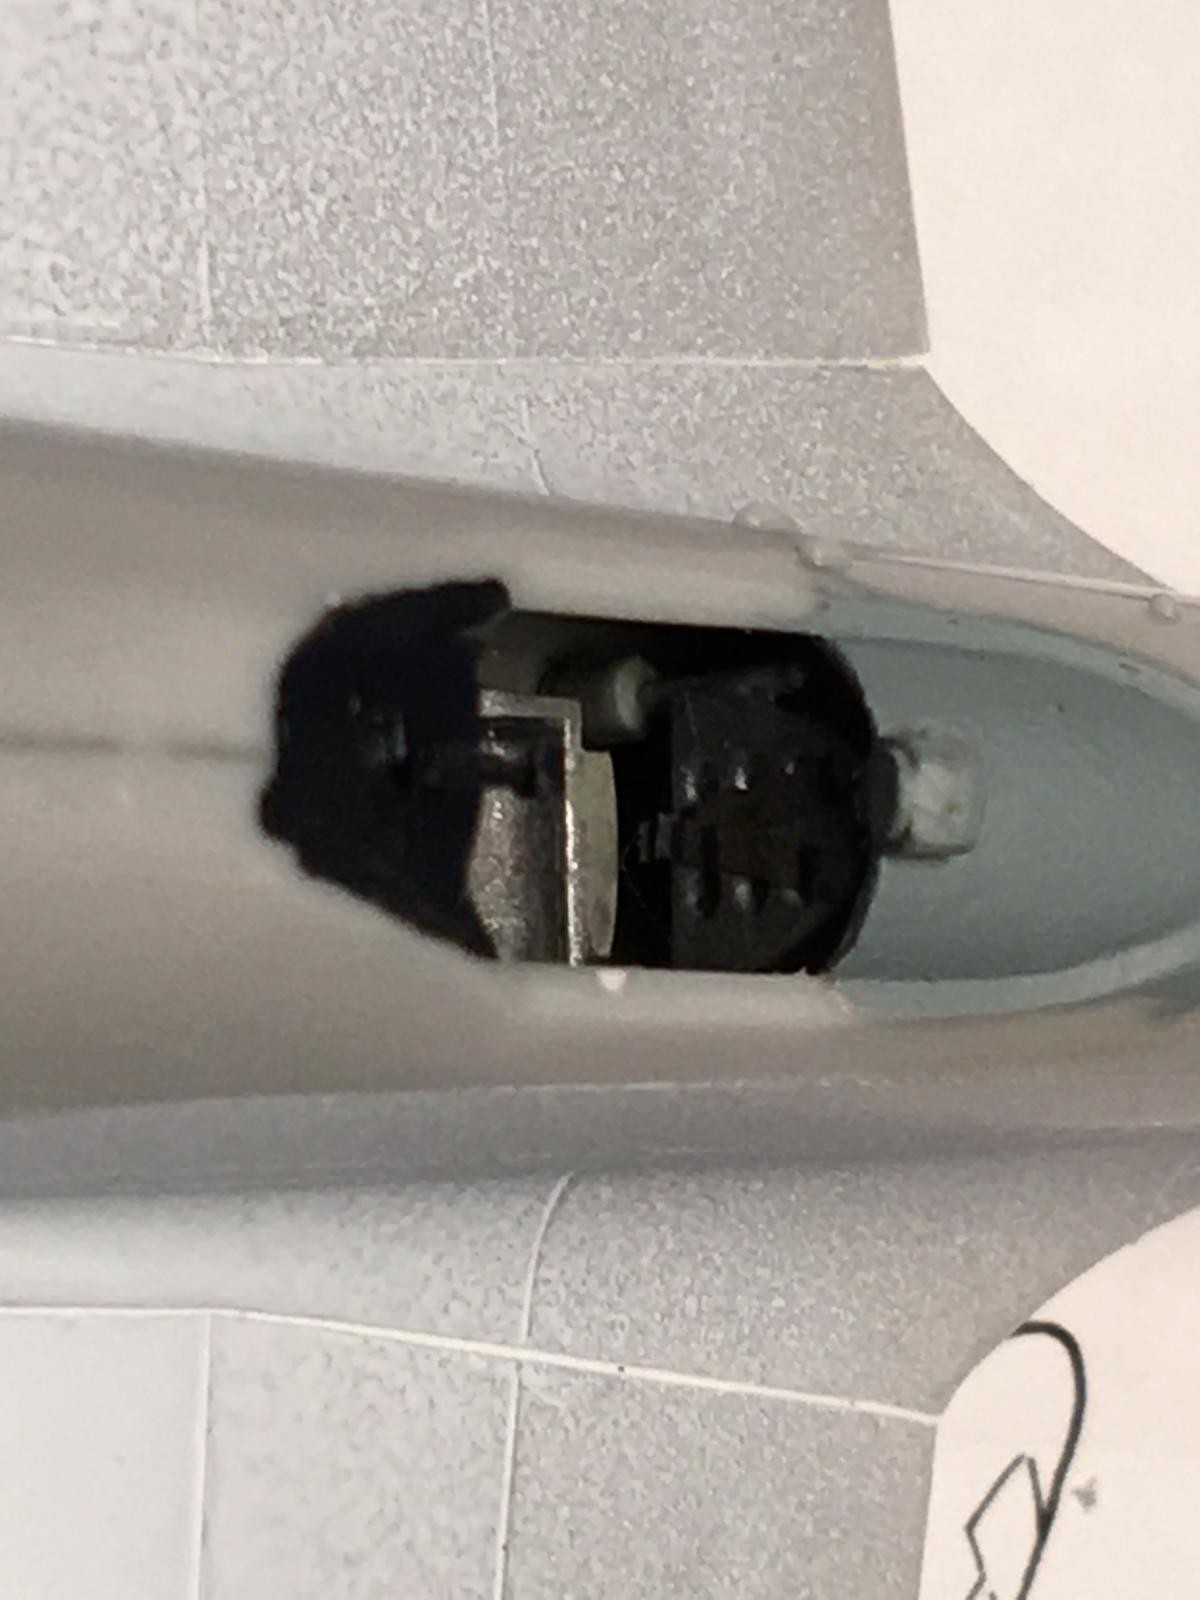
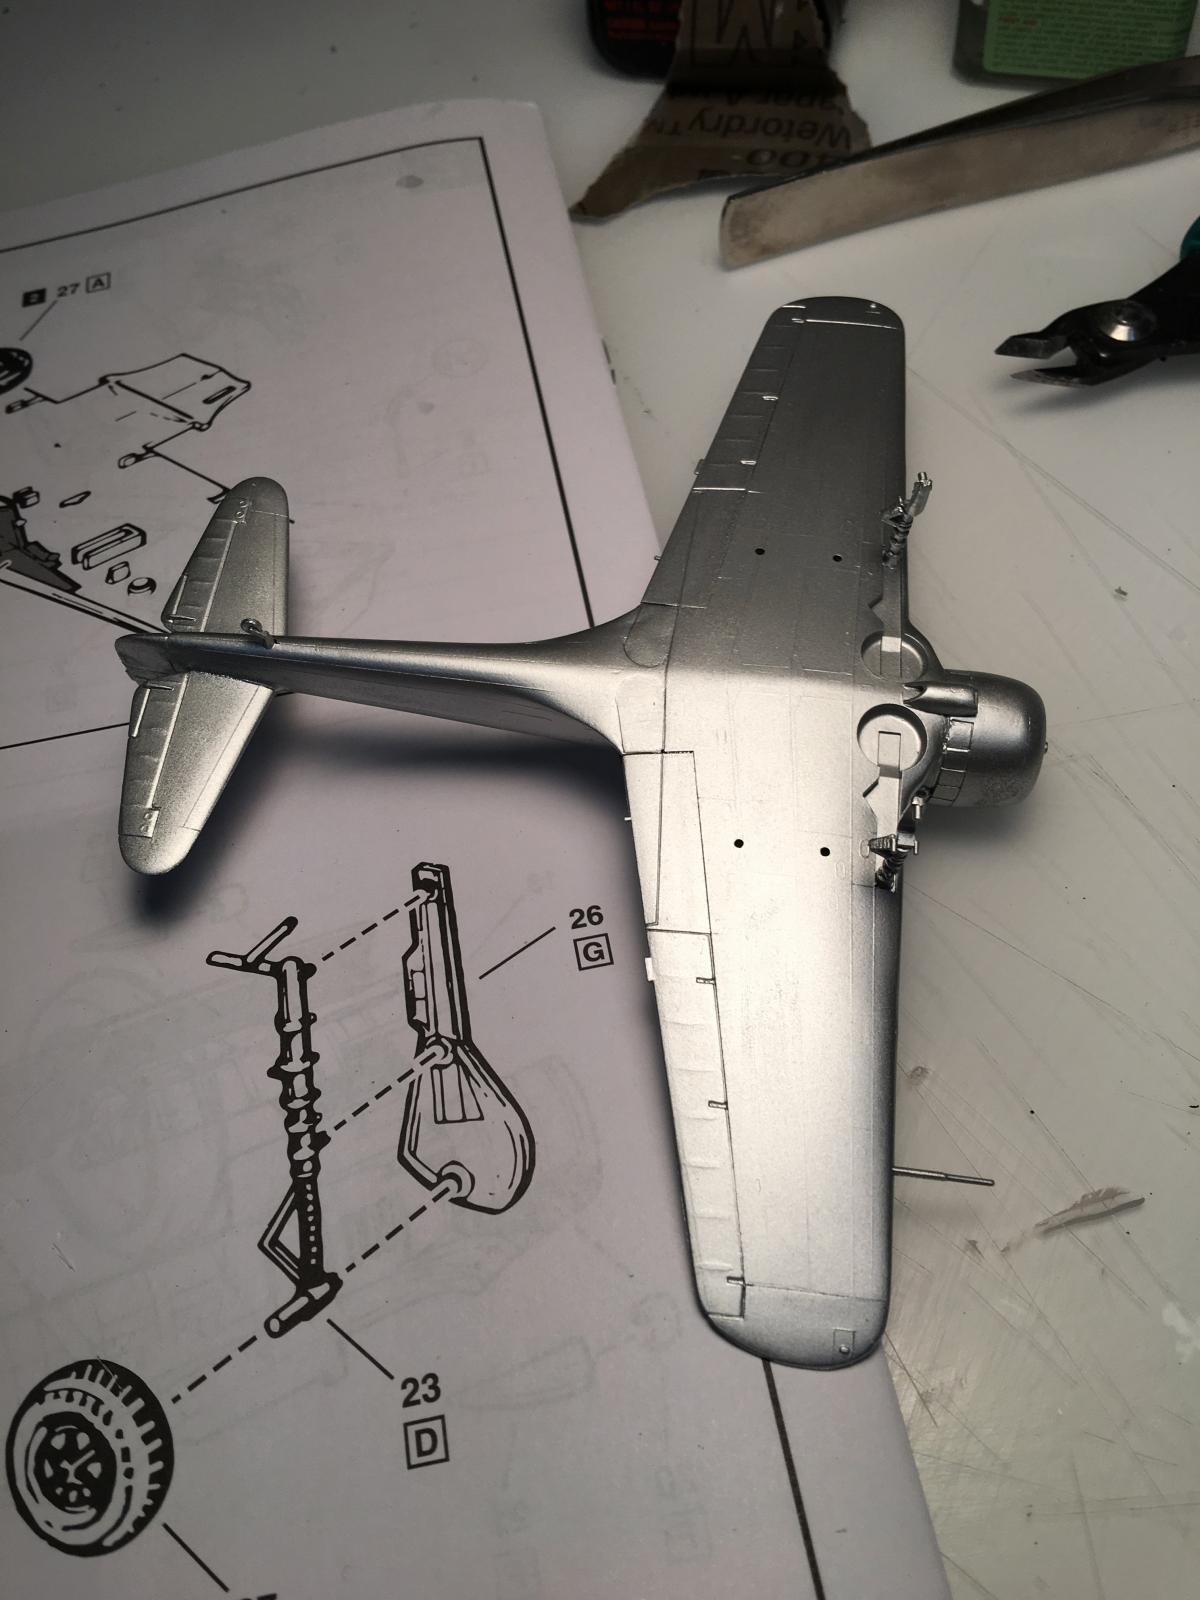
The parts count is very low and historically fit together so well that very little putty was needed. I pre-painted everything that I could and then built the cockpit using all four required pieces.
-
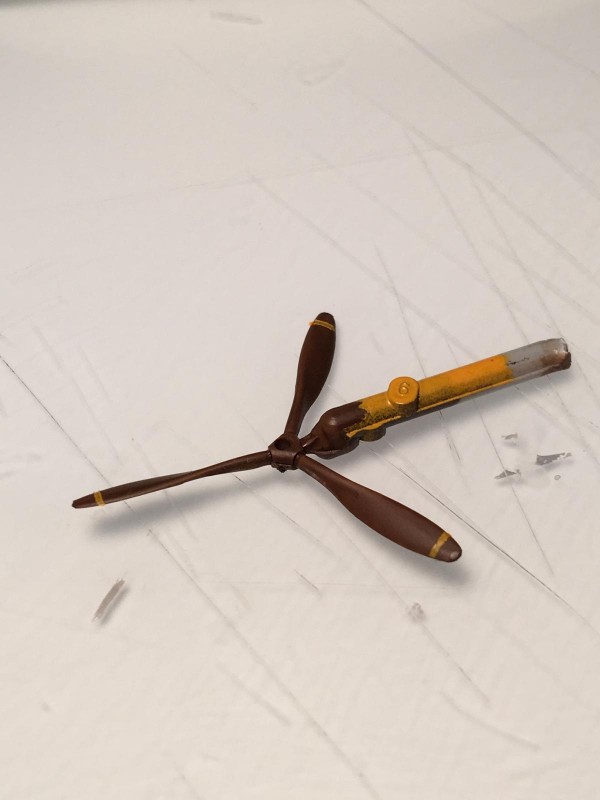
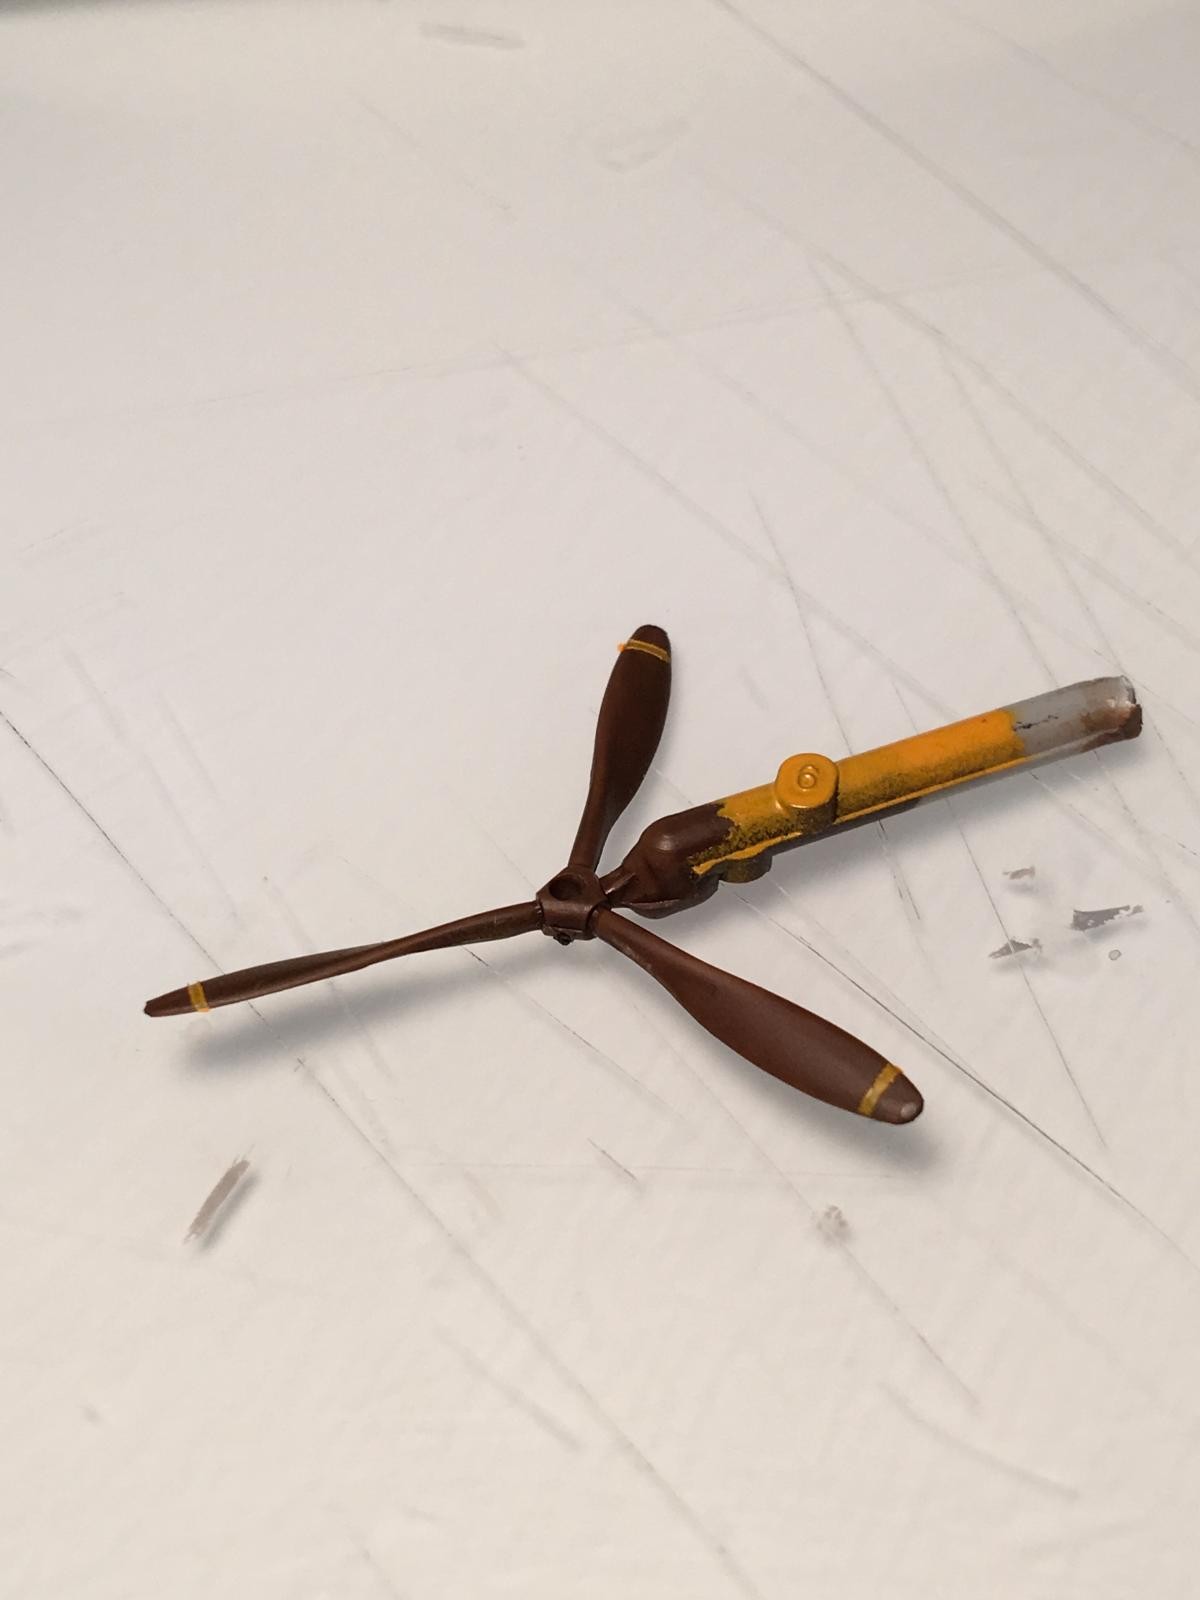
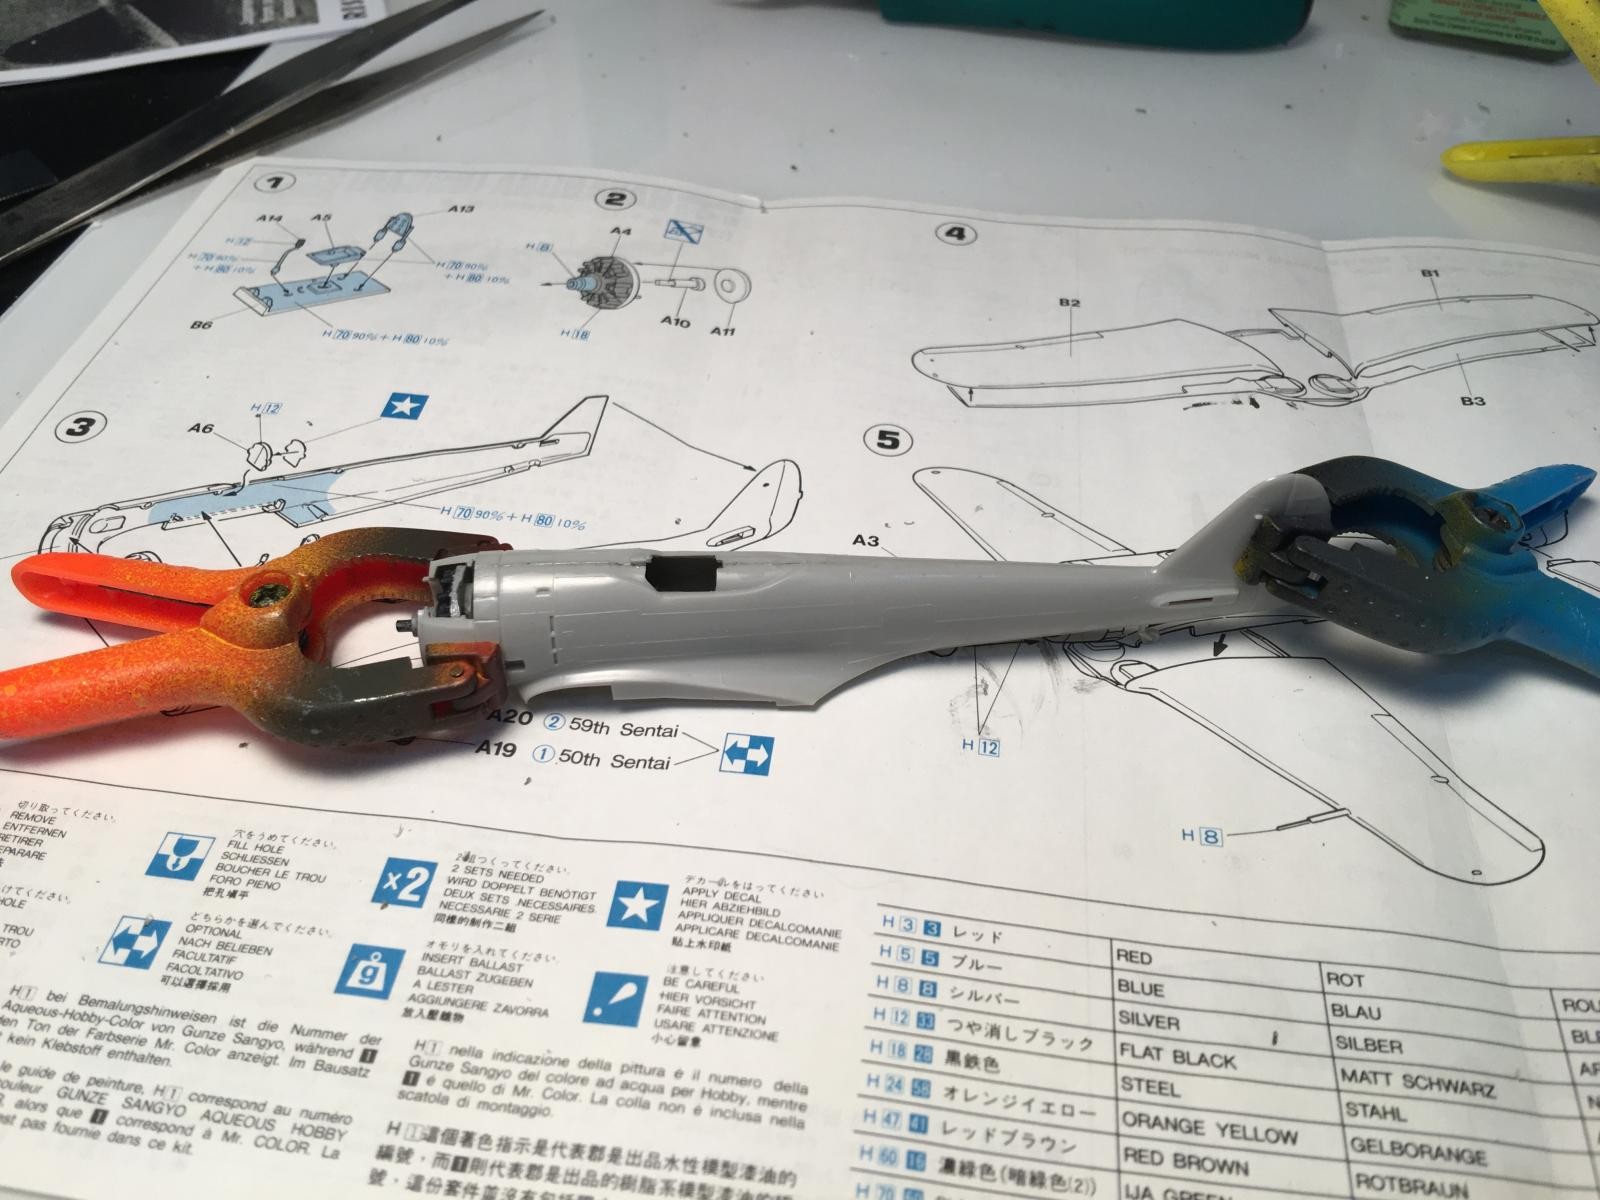
- 1. I chose to mask and paint the stripes rather than use the kit decal.
-

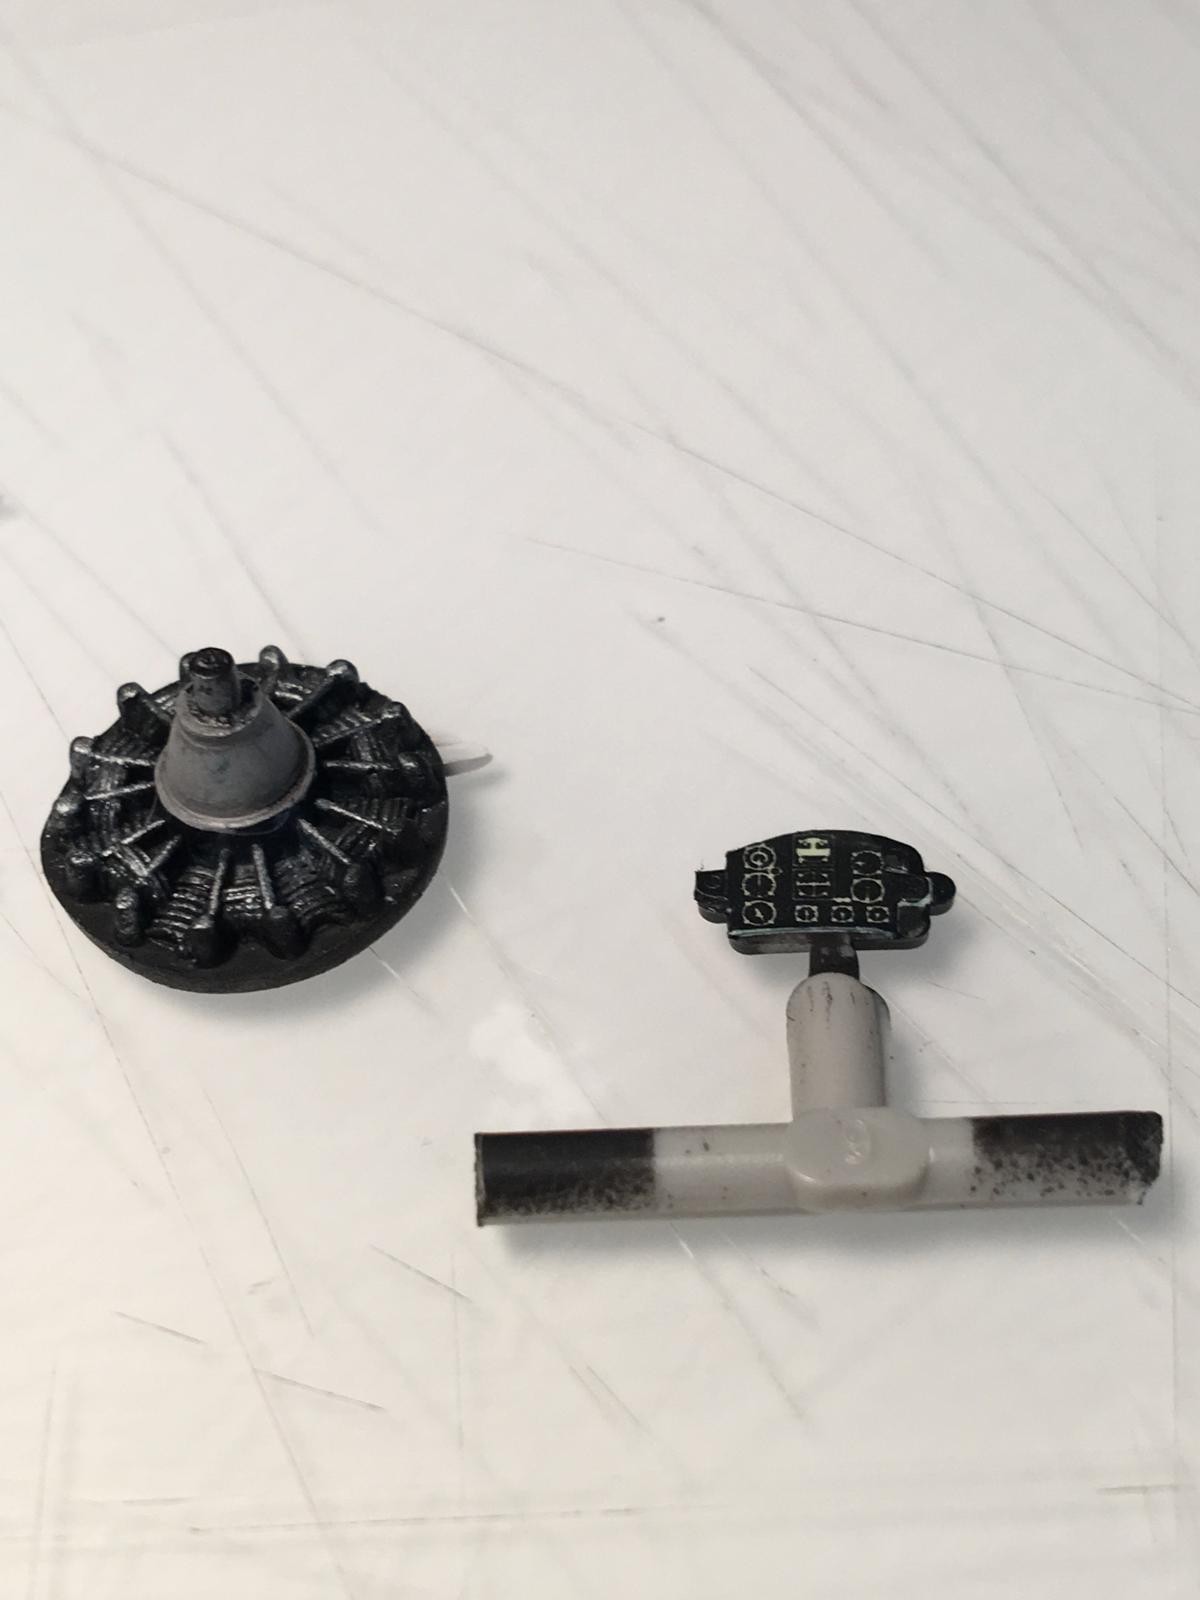
- 1. kit decal for instruments
-

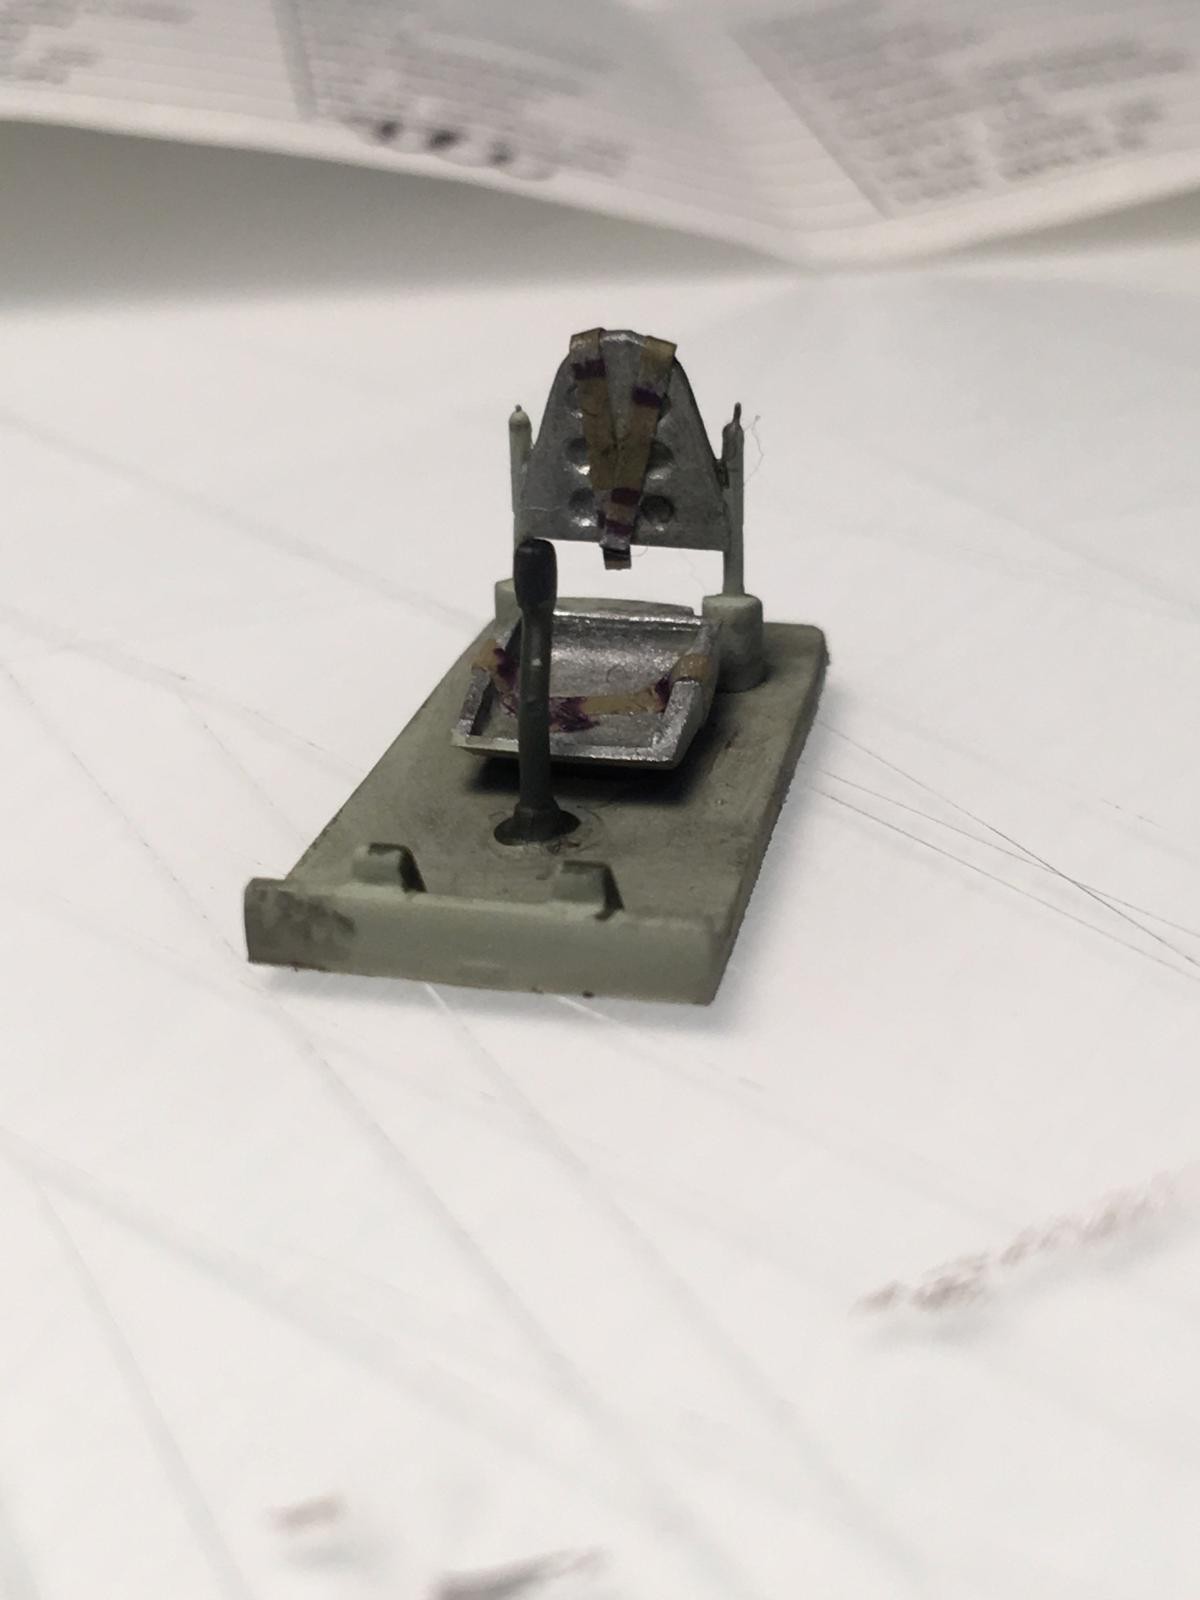
- 1. Tamiya tape belts
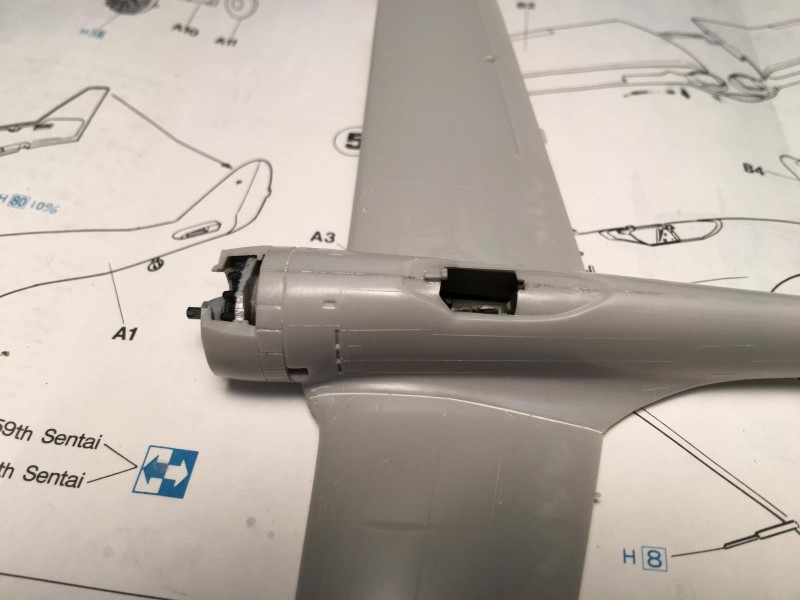
I didn't spend much time on the cockpit since there isn't much to be seen once the fuselage is closed up. The wings attached to the fuselage with just a smear of putty.
-

- 1. Not much can be seen
-
- 1. This is the only putty needed

The first step in painting was to add a coat of metallic paint that will lurk underneath the green aircraft color waiting for the chipping process. I used a rattle can of Model Master Metalizer (Aluminum Plate Buffing) to add the natural metal finish. I really don't like natural metal finishes, but this paint went on thin and smooth.
-

- 1. I hate natural metal, but Metalizer from the can came out OK
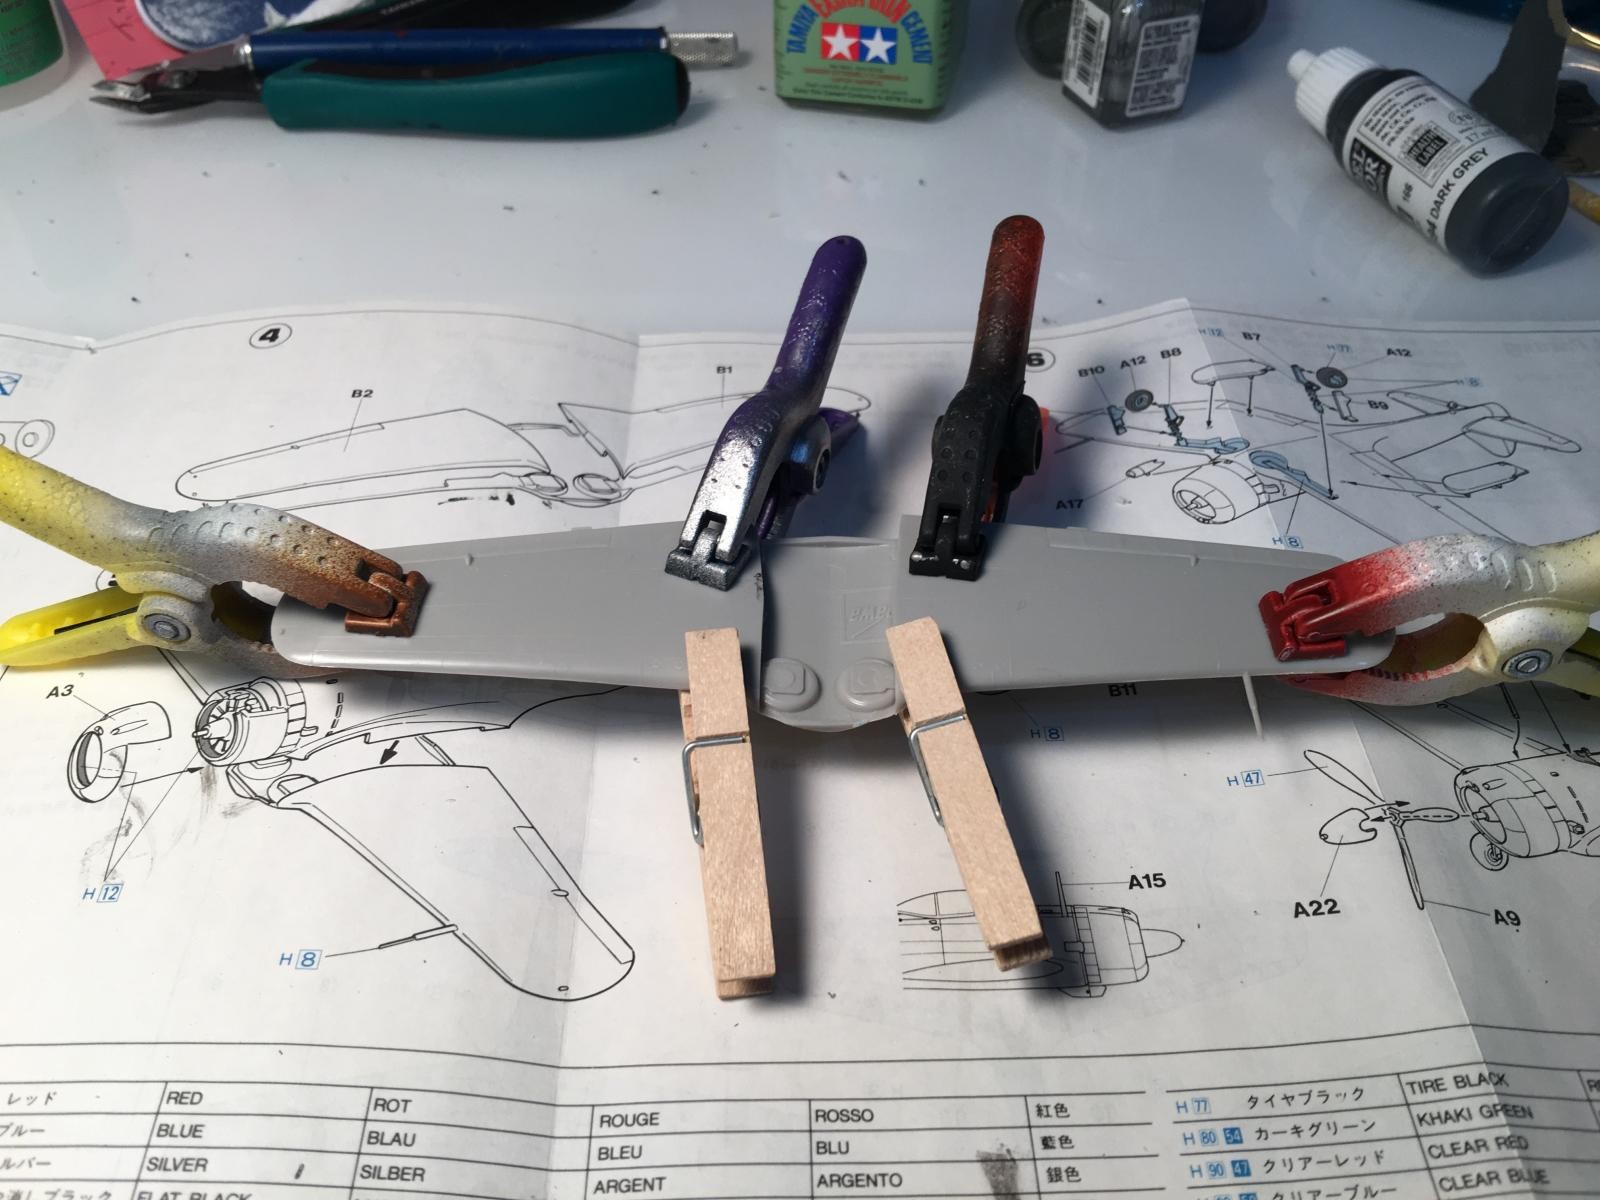
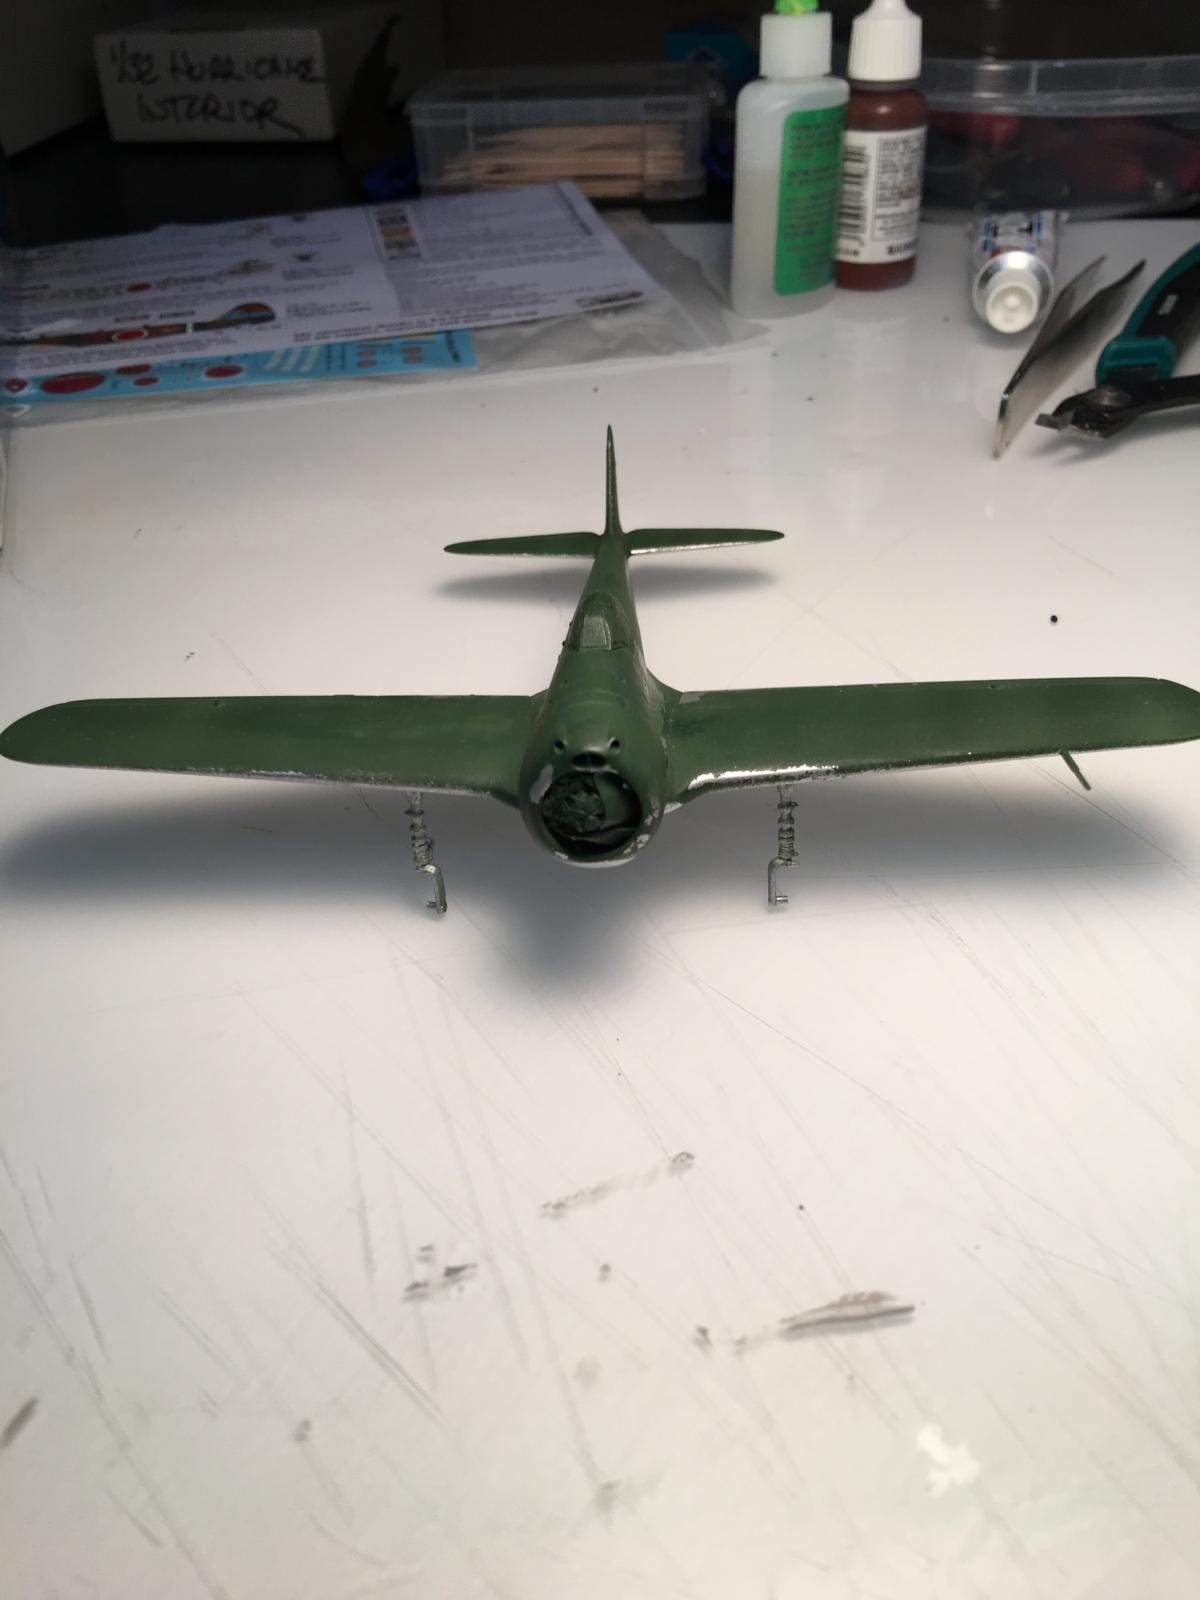
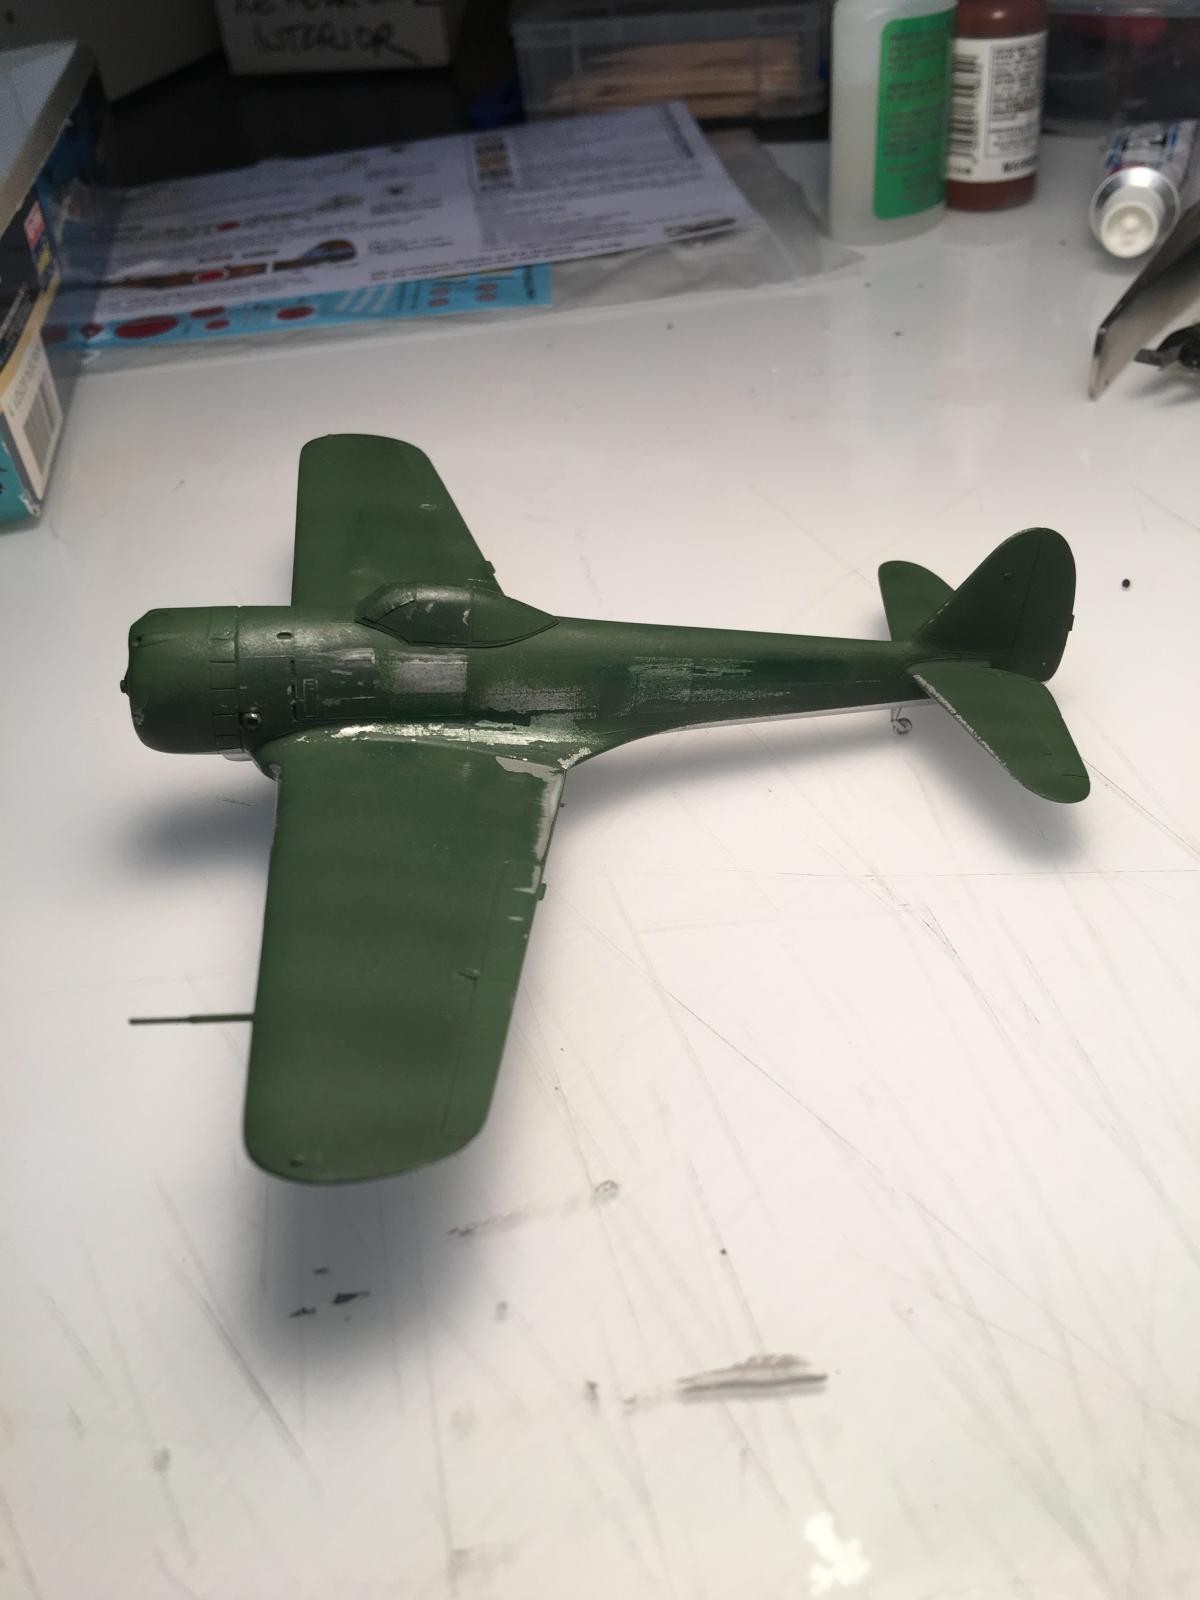
After drying for a full day, I sprayed Tamiya dark green over the top of the natural metal. This is the point that the magic chipping takes place, I hoped. This chipping technique, which I had never tried before, seems a little uncontrollable. Just as soon as you finish painting the top layer of paint, you take masking tape, stick it to an area you want to be chipped, and then pull it off. I first used Tamiya tape and couldn't get any of the green paint to pull up. So I switched to heavy duty masking tape from my local big box home improvement store. The good news was that I did get chips this time. The bad news was that the first chip stretched from the engine nacelle all the way back to the horizontal stabilizer. Oops! Well, in for a penny, in for a pound. So I worked on the rest of the plane using much smaller pieces of tape and obtained a result that looked OK. The last event of the day was to break out the airbrush and green paint again to see if I could make my giant chip look reasonable. So, time to take a break and let everything dry.
-
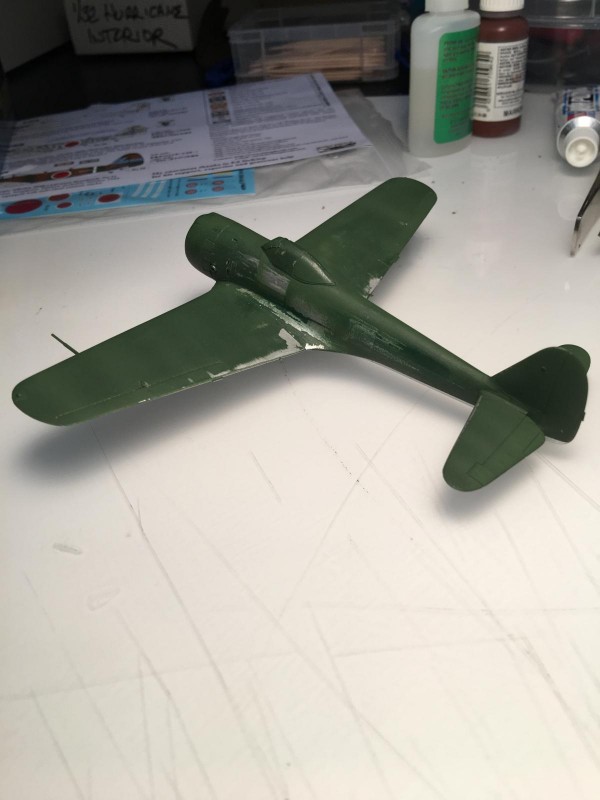
- 1. Chips are a little large, but I'll take them.
- 2. Chip originally covered the entire side, but touch-up with green helped.

Sometimes I like to step away from a build and look at it with fresh eyes tomorrow. Assuming everything is OK, then I will add the gloss coat, followed by the decals, clear flat, weathering, and then done.
I am painfully aware that many of you are much more expert on both Japanese WW2 aircraft and using various building techniques, so hopefully you will remember that I have taken the "keep it simple" pledge and really don't do a lot of research before I build most of my models. So please forgive the use of TLAR (That Looks About Right) colors and building techniques. My primary goal is having fun with a low stress build, and this kit has certainly done that, so far. When I get my Oscar completed I will add the photographs of the final product.
I like your style, George.
The TLAR school of building has some really good ideas ... unless you're building for a museum display. You're having fun, so you have everything as it should be.
'Nuff said!
I must admit that I use the same chipping technique obtaining quite satisfactory results, as you did (at least in my point of view - but I'm not an "expert").
I also use heavy duty masking tape for chipping, but first I weaken randomly its "chipping power" by sticking it on an irregular surface and pulling it off.
If applied with the right sense of proportion, I do not see why it shouldn't work: it is a strict reproduction of the "real world process" we want to depict in the model after all!
That's my problem: if a little tape is good, then a lot must be better. I think I would have better (more scale-like) results if I had used smaller pieces of tape. I initially used Tamiya tape because I figured it would have less tack, but it wouldn't pull any paint up, so I switched to something more sticky. I know the results I get are directly proportional to how much practice I do, so I think I just need some more practice.
Very nice! I'm right in the middle of building a Hasegawa Tony (also 1/72), and used the same metallizer for the base coat. I'm going to do some chipping to the glare panel and yellow ID stripes like you did, but using toothpick instead (more control, a bit less chipping), and then apply a set of Tamiya mottle decals I picked up somewhere. Still keeping my fingers crossed! Looking forward to seeing your end result.
Looking forward to seeing how your plane comes out. I dove in to my chipping attempt without really thinking it through. I am encouraged enough to try chipping again on another 1/72 plane, but I need to do something more controllable. This is where your build comes in. Please post the results so I can refine my caveman approach.
The Ki-43 is complete. Kit went together without any issues. I tried a few techniques I hadn't used before and plan to use them again. Using tape to pull the green paint off to expose the natural metal underneath was easy, but I jumped in without really giving the method a lot of thought. Using smaller bits of tape will prevent pulling such large portions of the green paint off the model. I did a little airbrush work to make the exposed areas smaller. Although I had never used Rising Decals before, I found them to be very thin and fairly easy to use. I discovered that they tend to adhere in the first place they land if you use anything other than water as you apply them. Using Micro Sol & Micro Set after they are in place worked fine. I planned to use the yellow leading edge strips from the kit decals, but no amount of Micro Sol/Set would make them conform to the curve of the leading edge of the wing. I ended up painting the yellow strips after I had finished all of the other painting. I added a little weathering using Tamiya black wash and some pastel chalk. I discovered one error as I was finishing the kit. I managed to rotate one of the main landing gear struts so that the wheel wouldn't quite face forward. How is it that you can check the alignment 1000 times while the glue is still fresh, but don't discover the problem until the glue is rock solid? This kit fit perfectly in my "Keep It Simple" philosophy. It was a fun and quick build and I plan to build some more of the older Hasegawa kits.
6 attached images. Click to enlarge.
“primary goal is having fun with a low stress build“.
Amen, George.
Amen.
‘Liked’