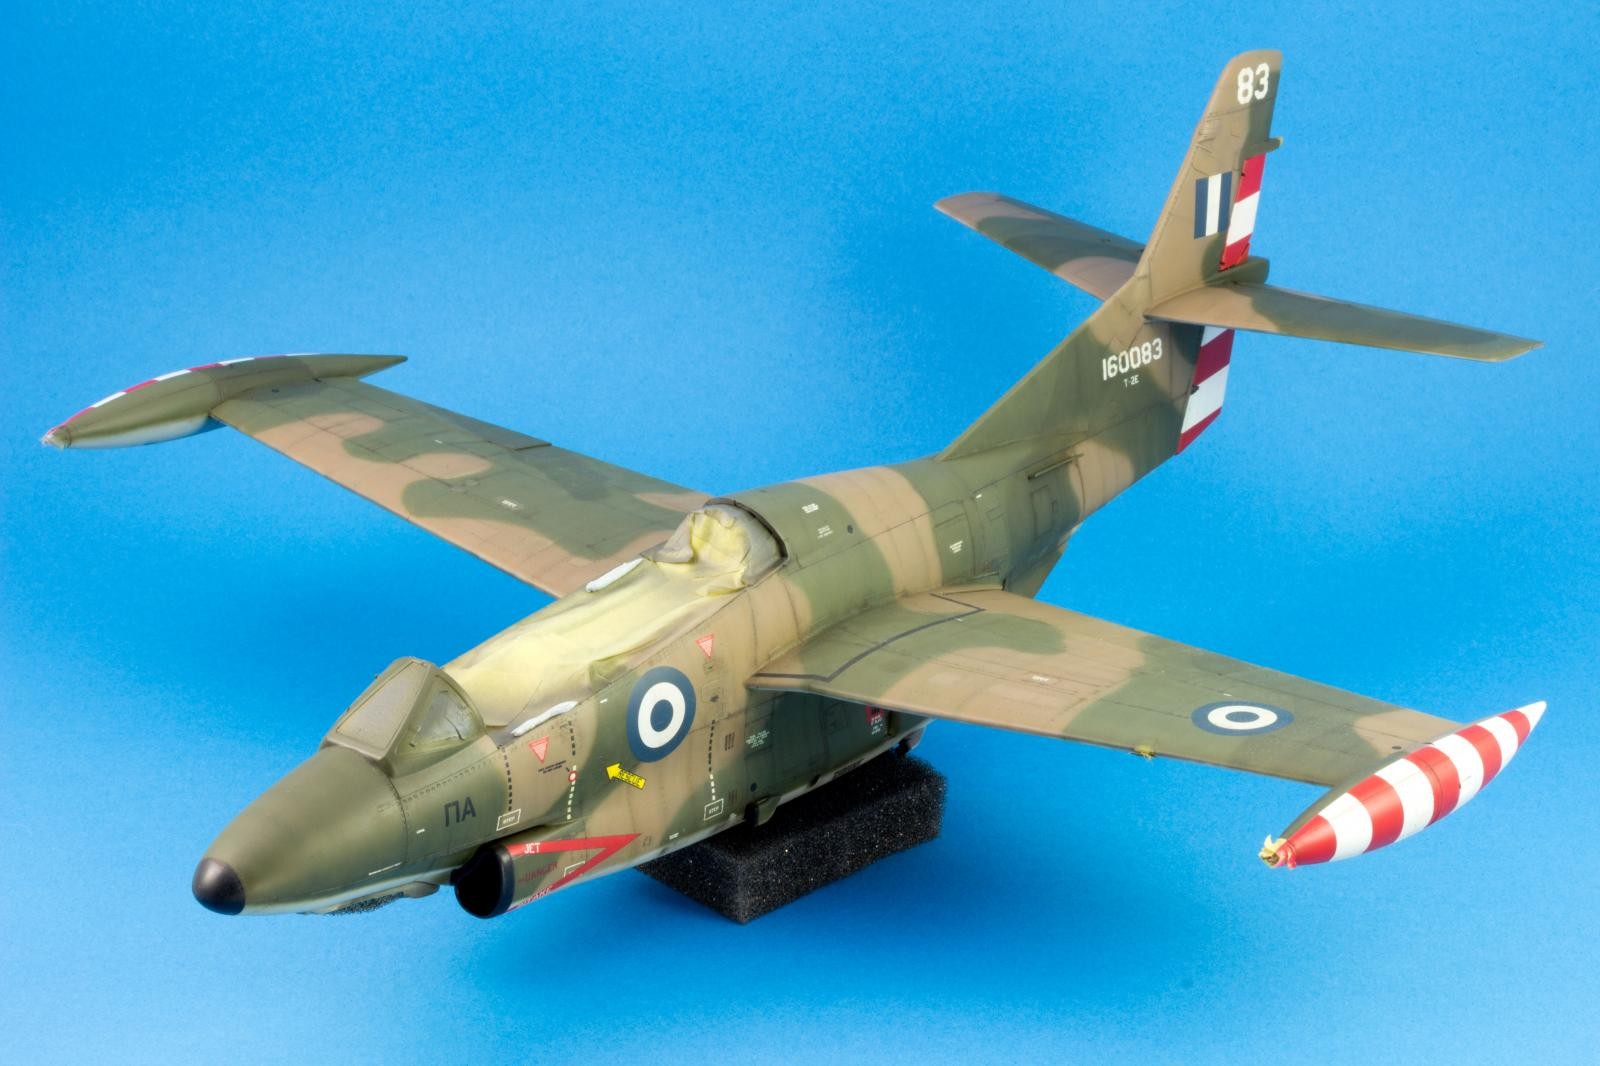
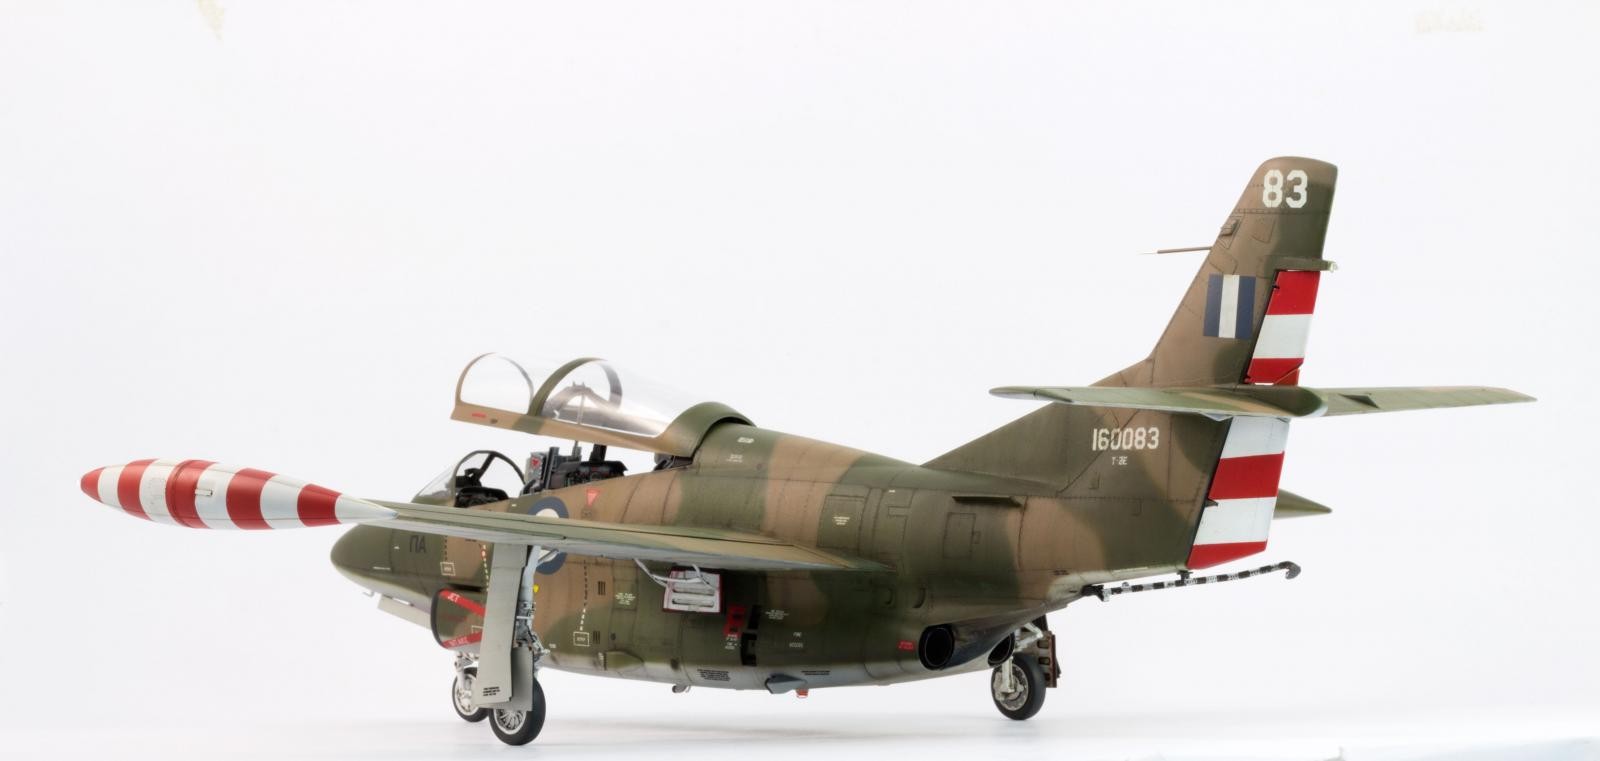
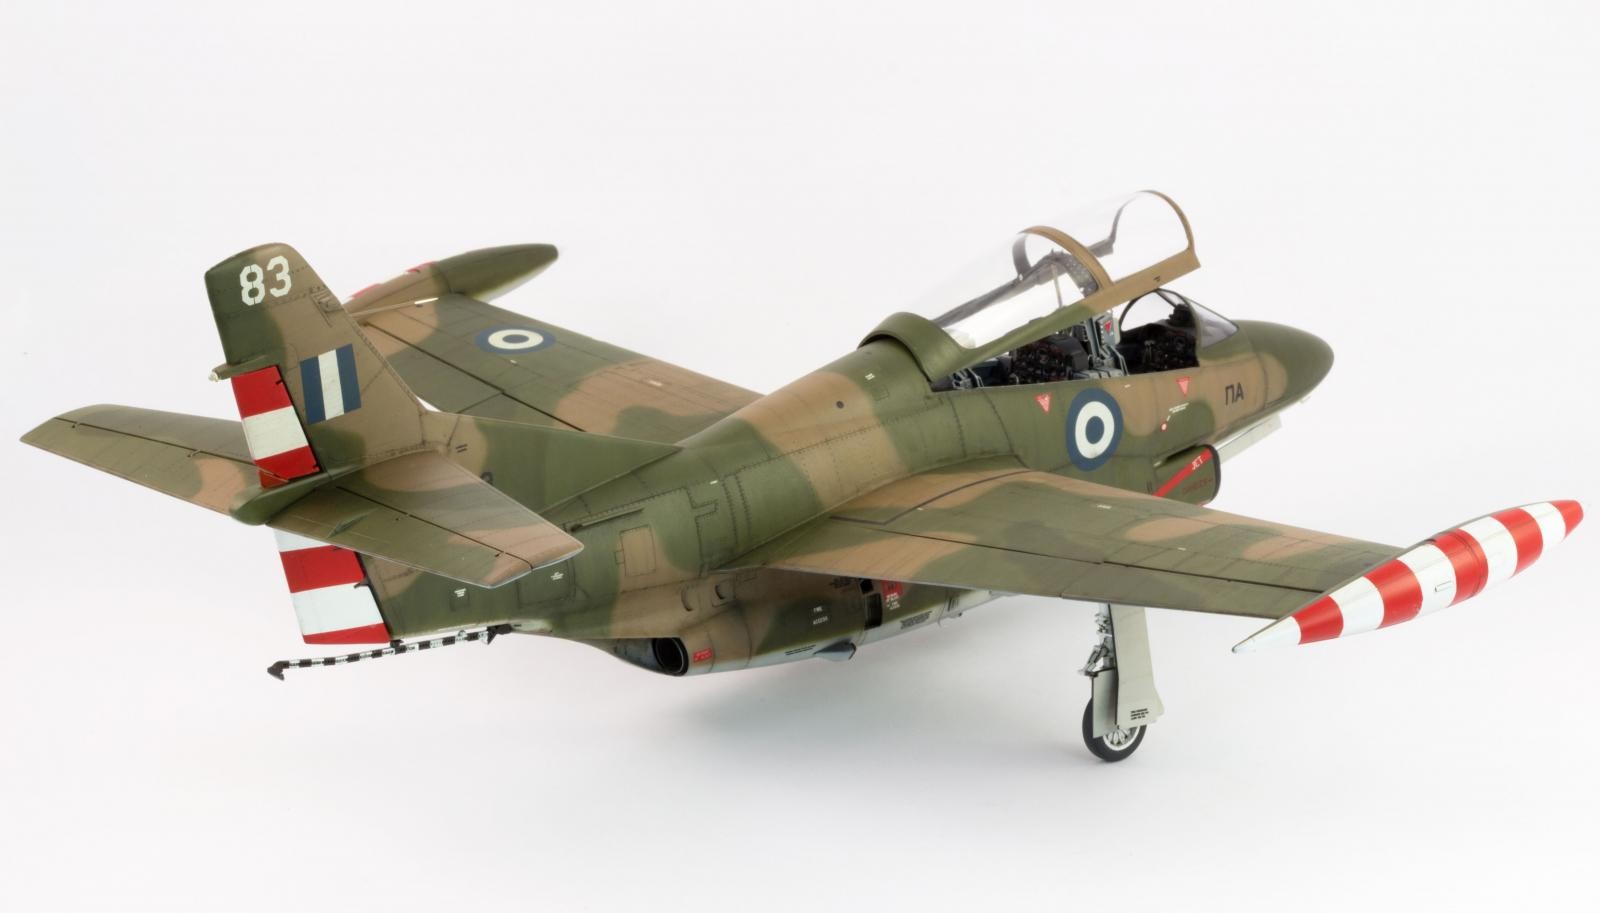
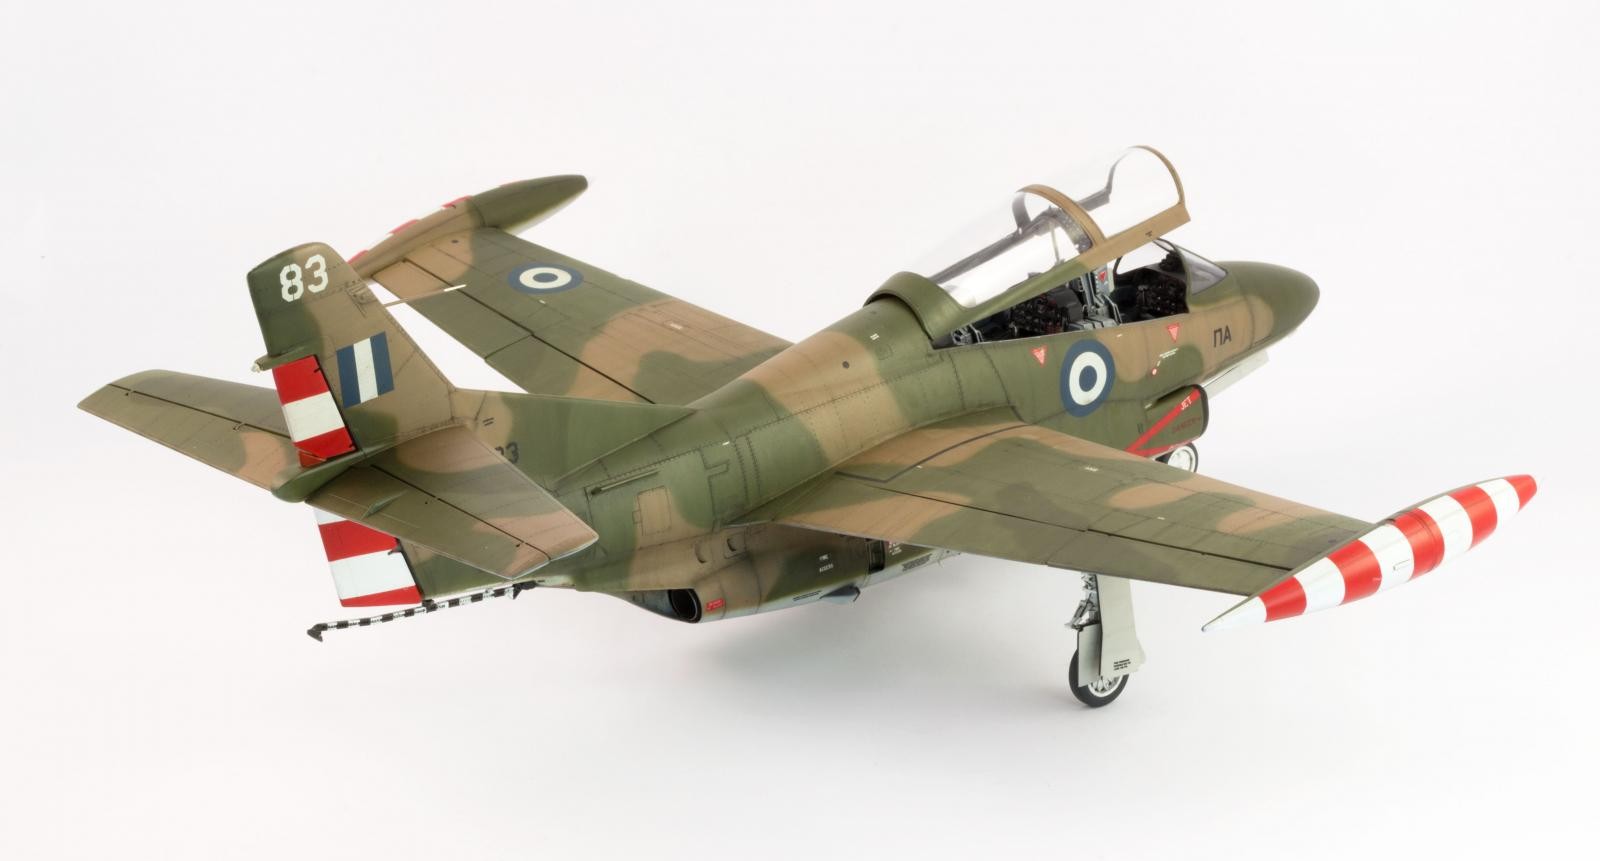
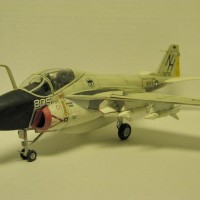
Greek Master – Special Hobby`s 1/32 T-2 Buckeye
The operational story of the Buckeye started in 1959. Since then, and until 2004, this North American Corporation design was the trainer that introduced all the Naval Aviators and Naval Flight Officers. In 1976, The Hellenic Air Force received the first T-2E`s. Rugged, reliable, ergonomic and with fine handling and flight characteristics, it has served as the trainer for the Hellenic jet pilots from the Basic jet trainer right to the advanced combat training.
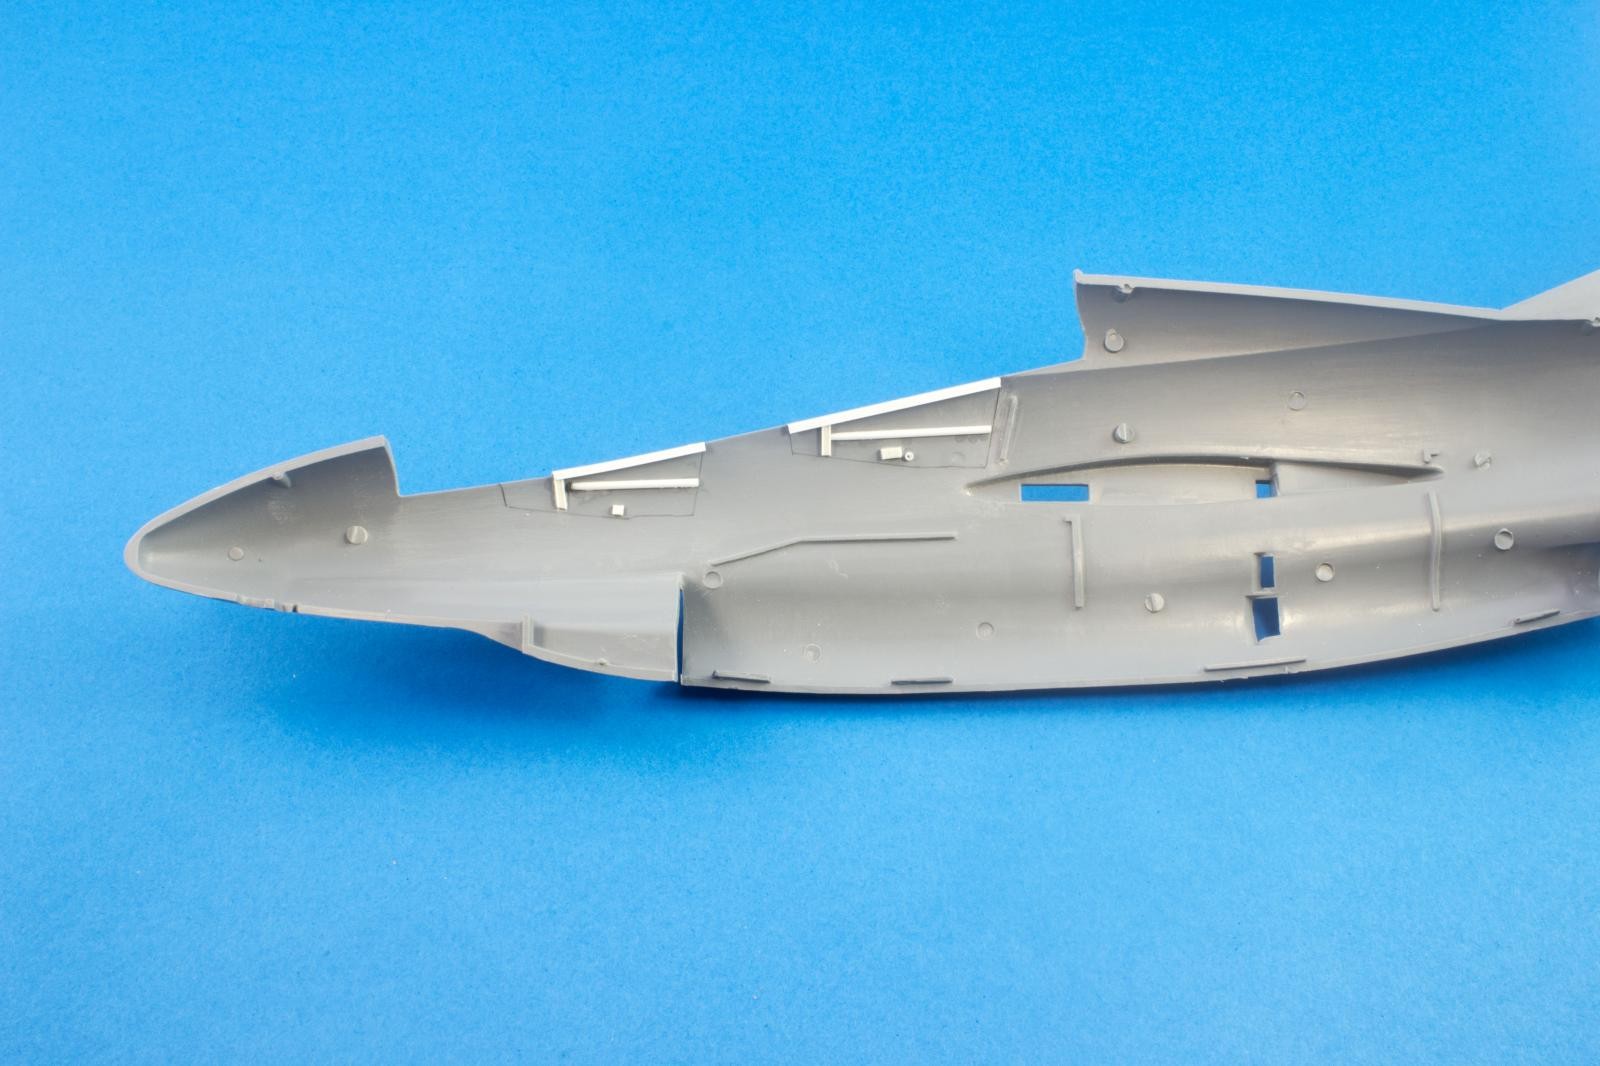
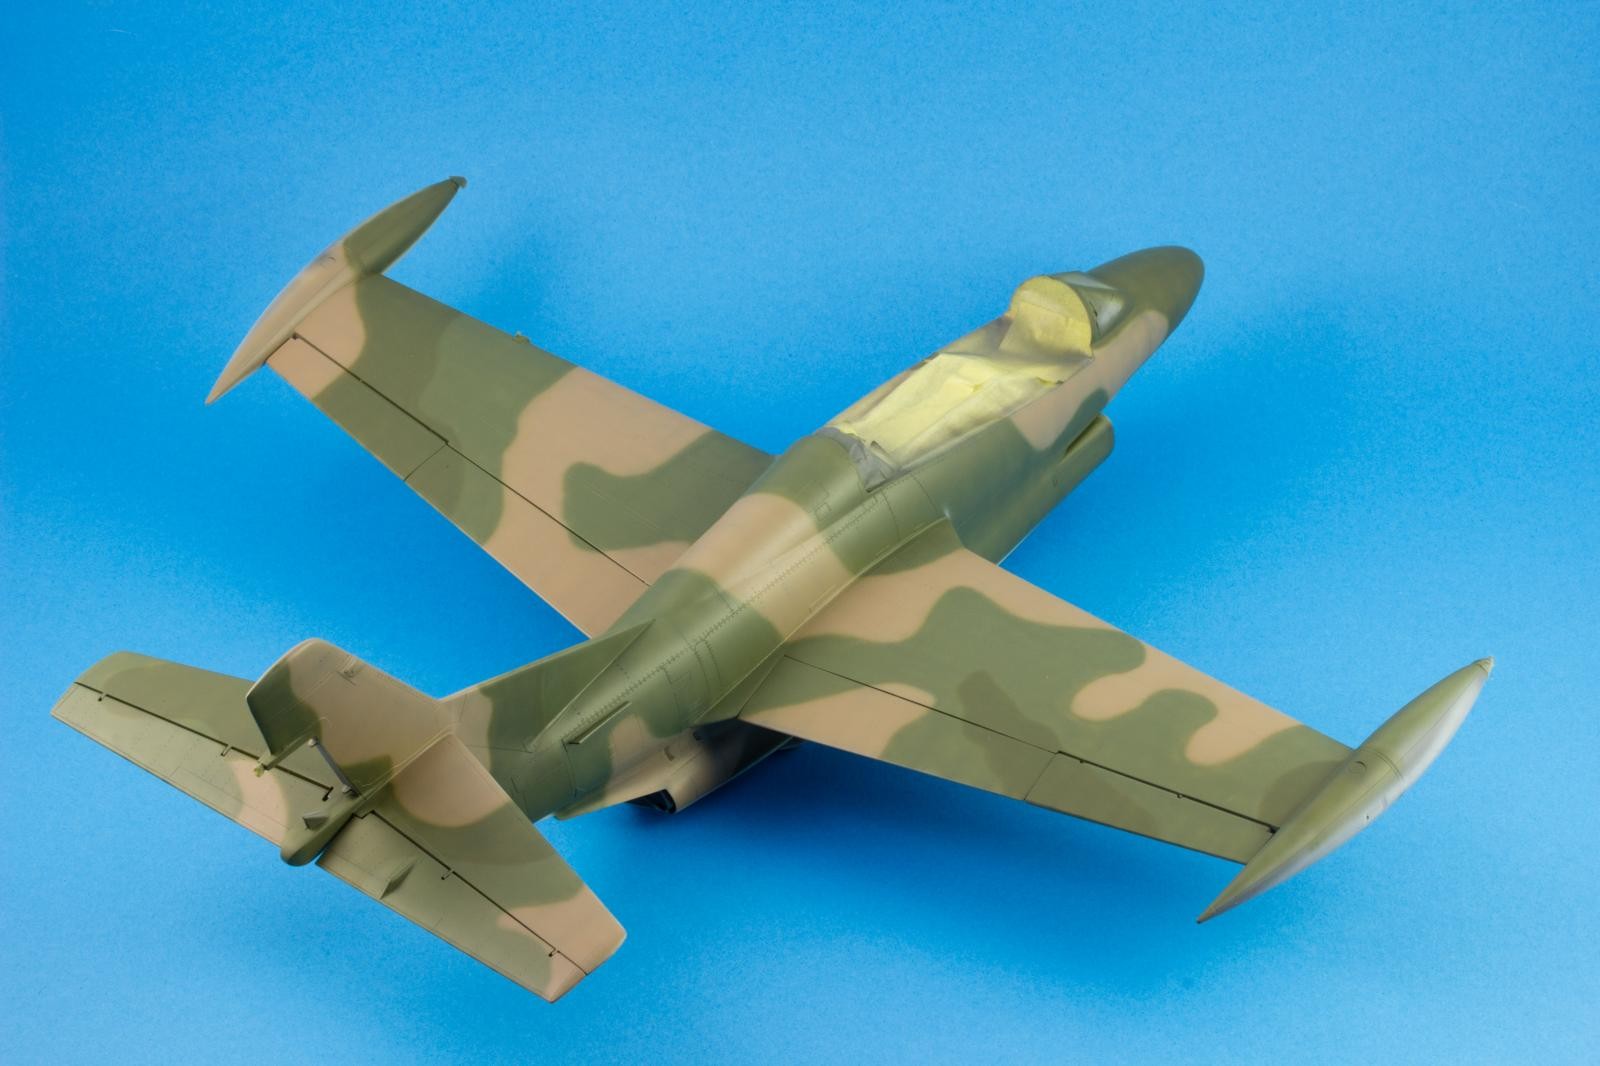
Due to the short-run nature of this kit, the construction process didn`t started with the cockpit. Instead of this common approach, this modeller chose to perform the major clean-up of the parts that were constituted by two halves. Armed with both sanding sticks and paper, several sessions were devoted to this task. The contact surfaces were fine-tuned and Tamiya Extra-Thin Cement was run into the joints which produced a generally clean seam. When this was not attainable, the different control surfaces had their trailing edge refined with the application of superglue mixed with talc powder. This medium allowed the edge to be sanded to scale thickness while maintaining its shape.
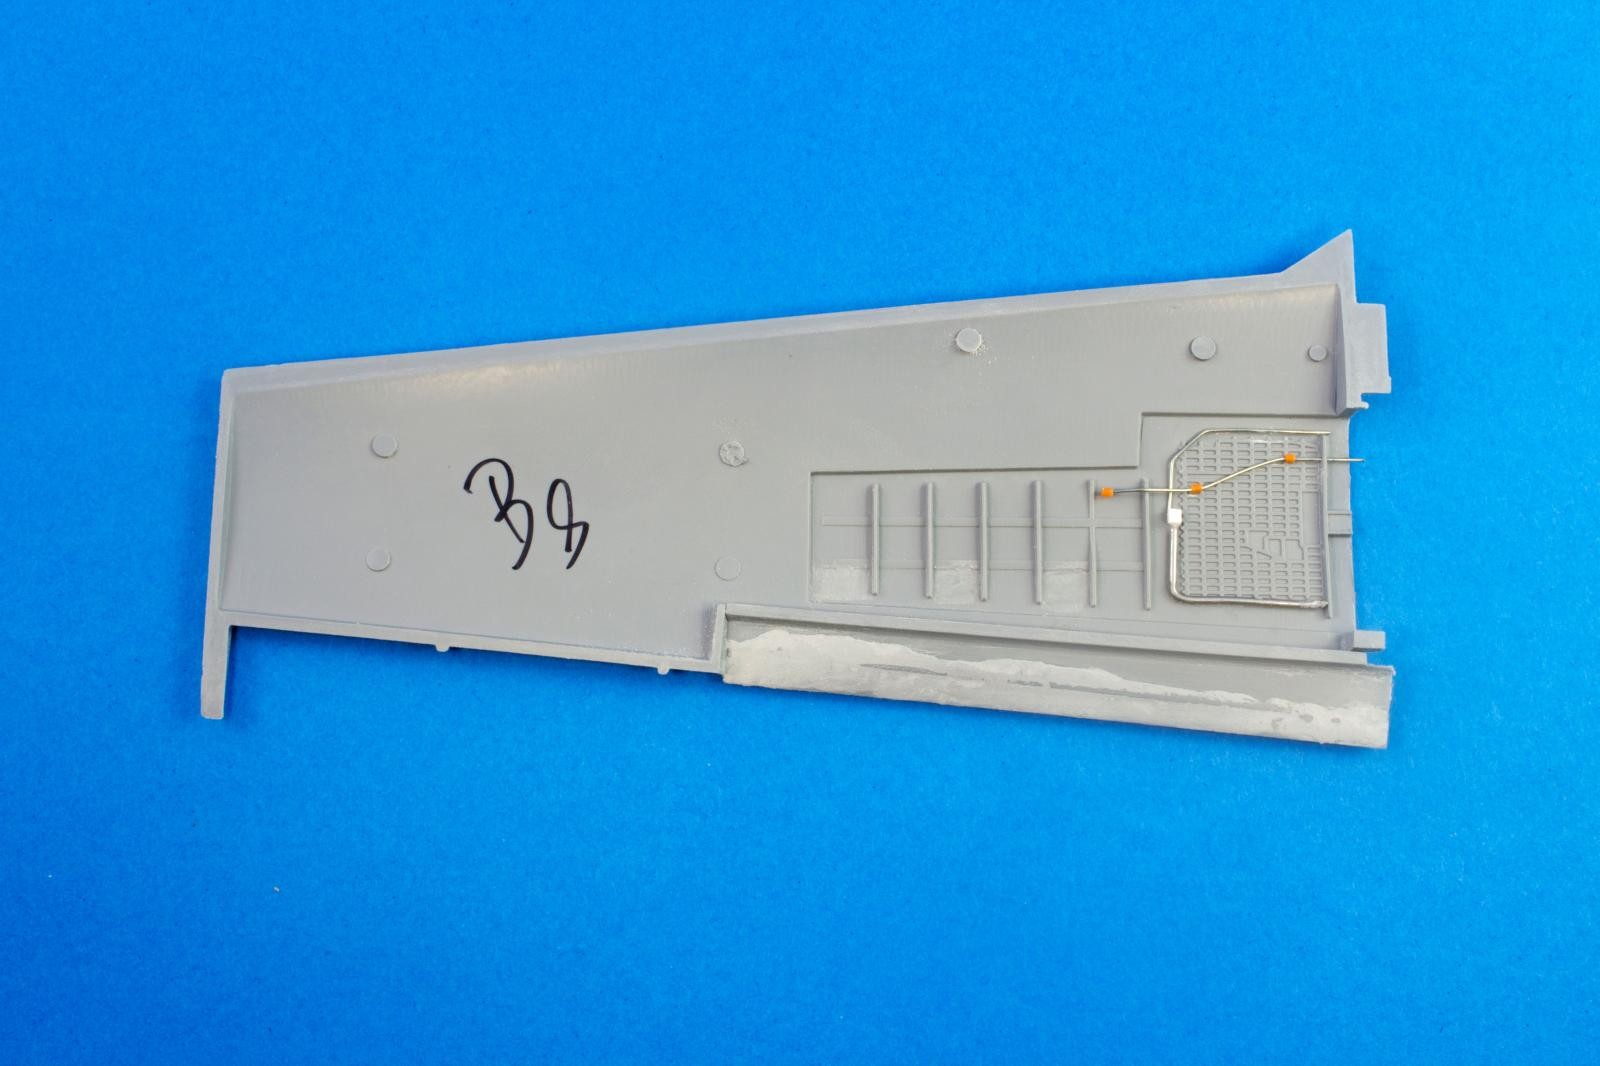
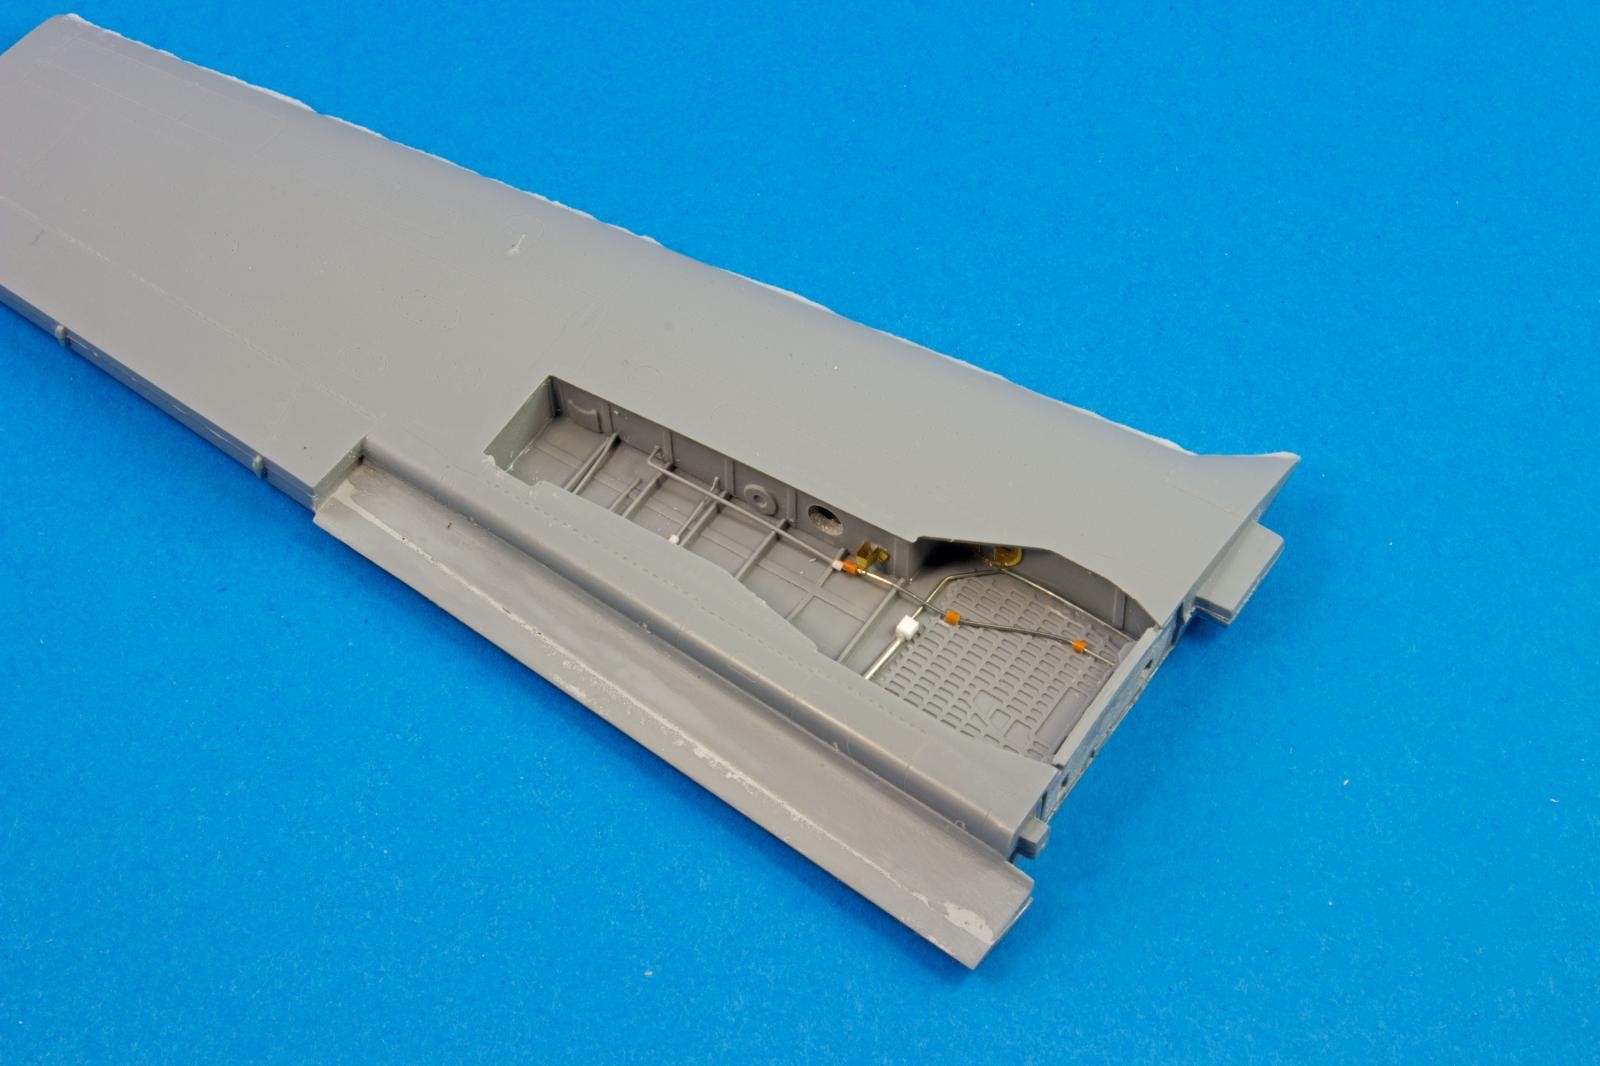
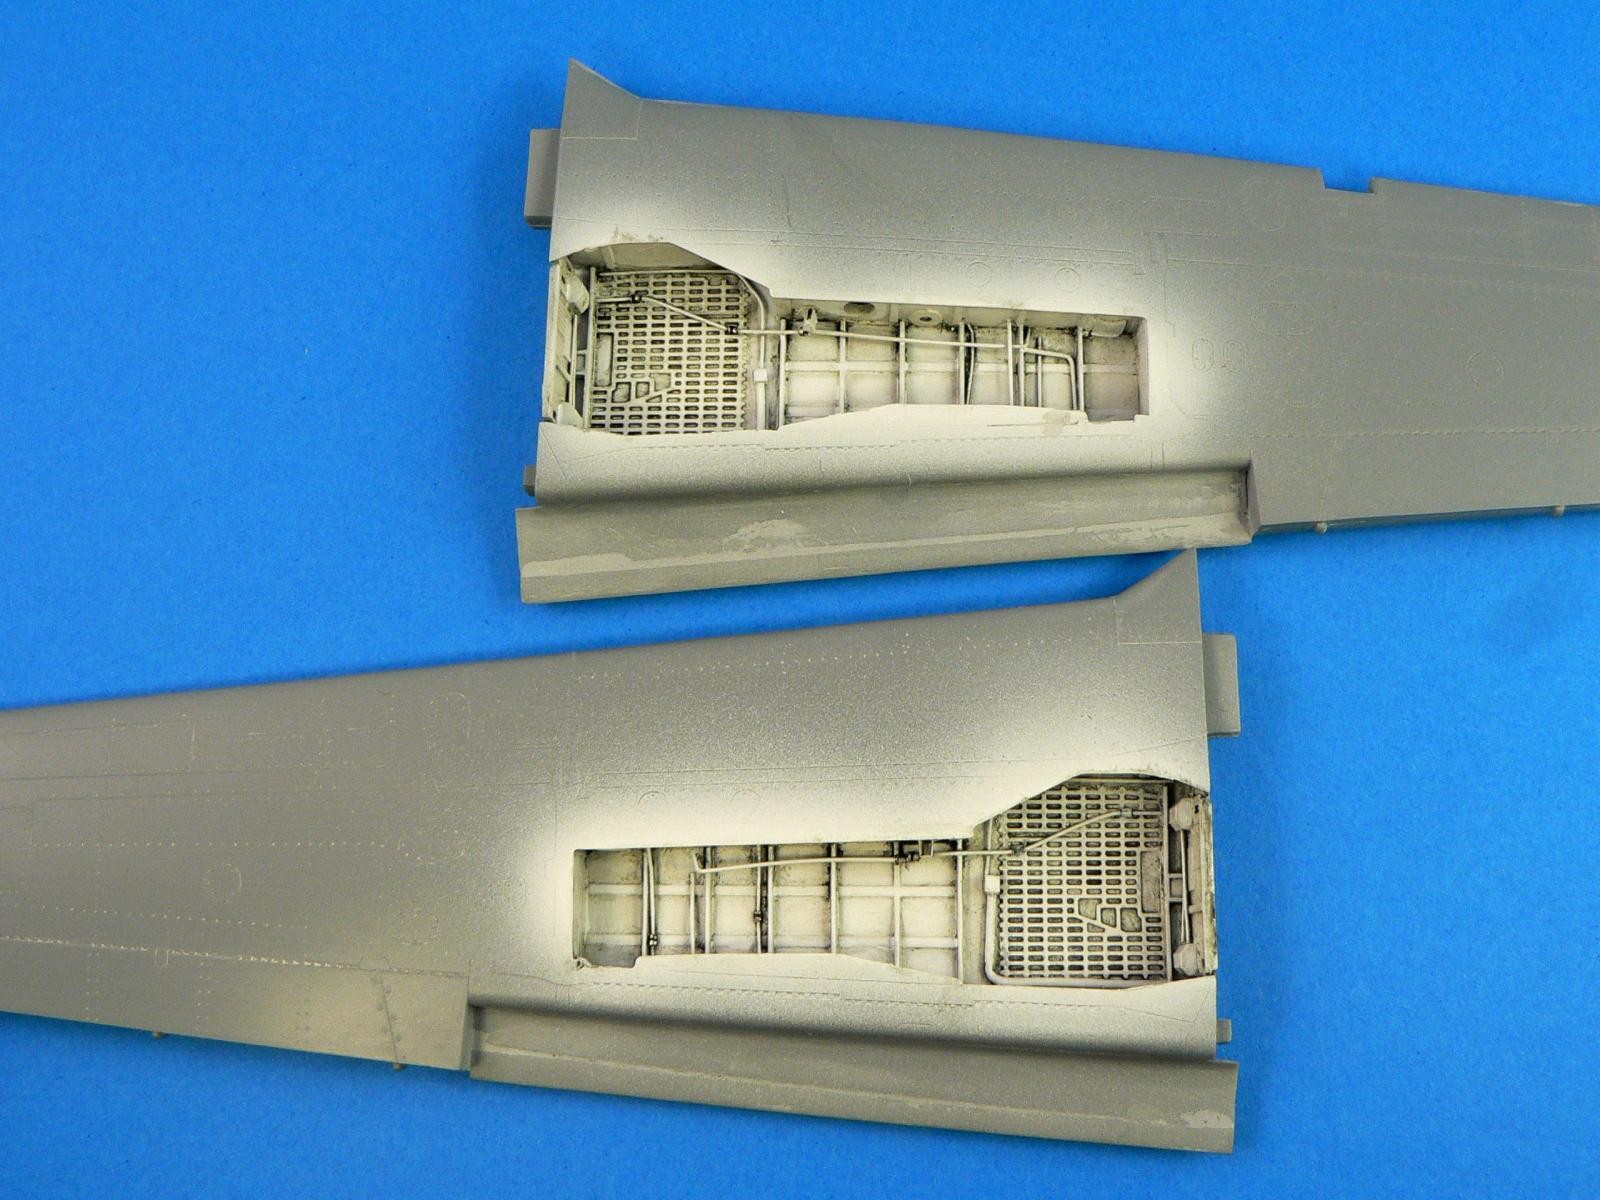
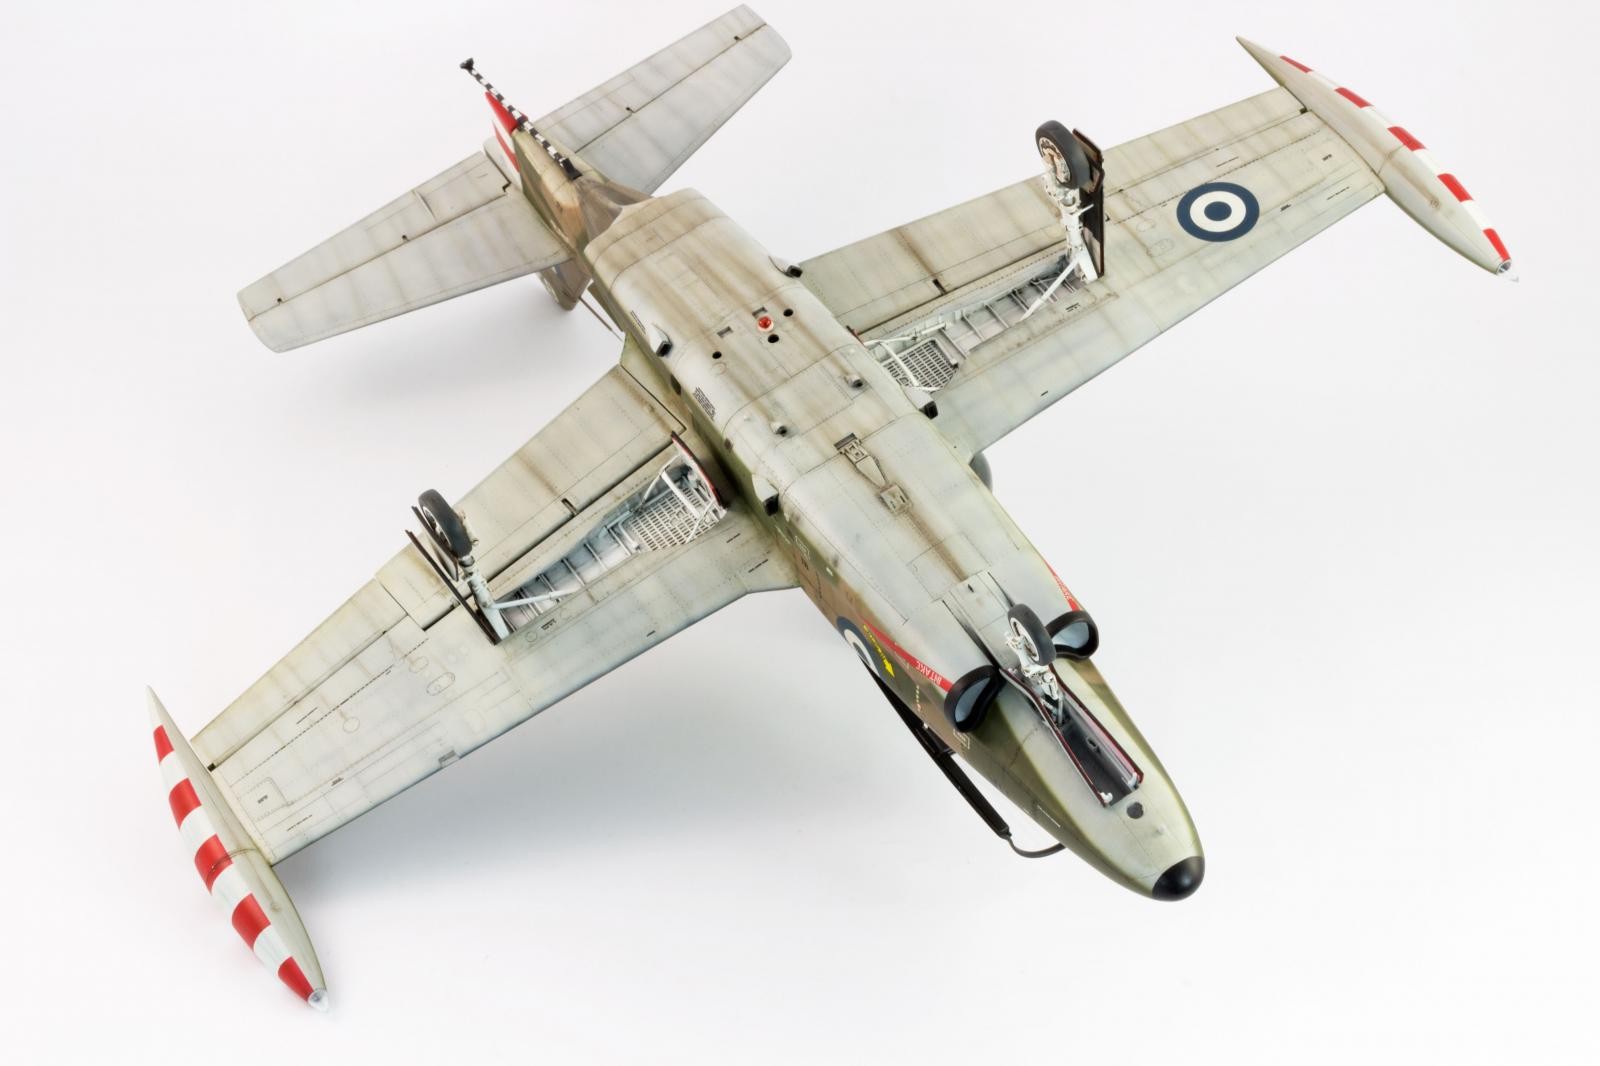
Final aspect of the landing gear pits with details added from copper wire and stretched sprue.
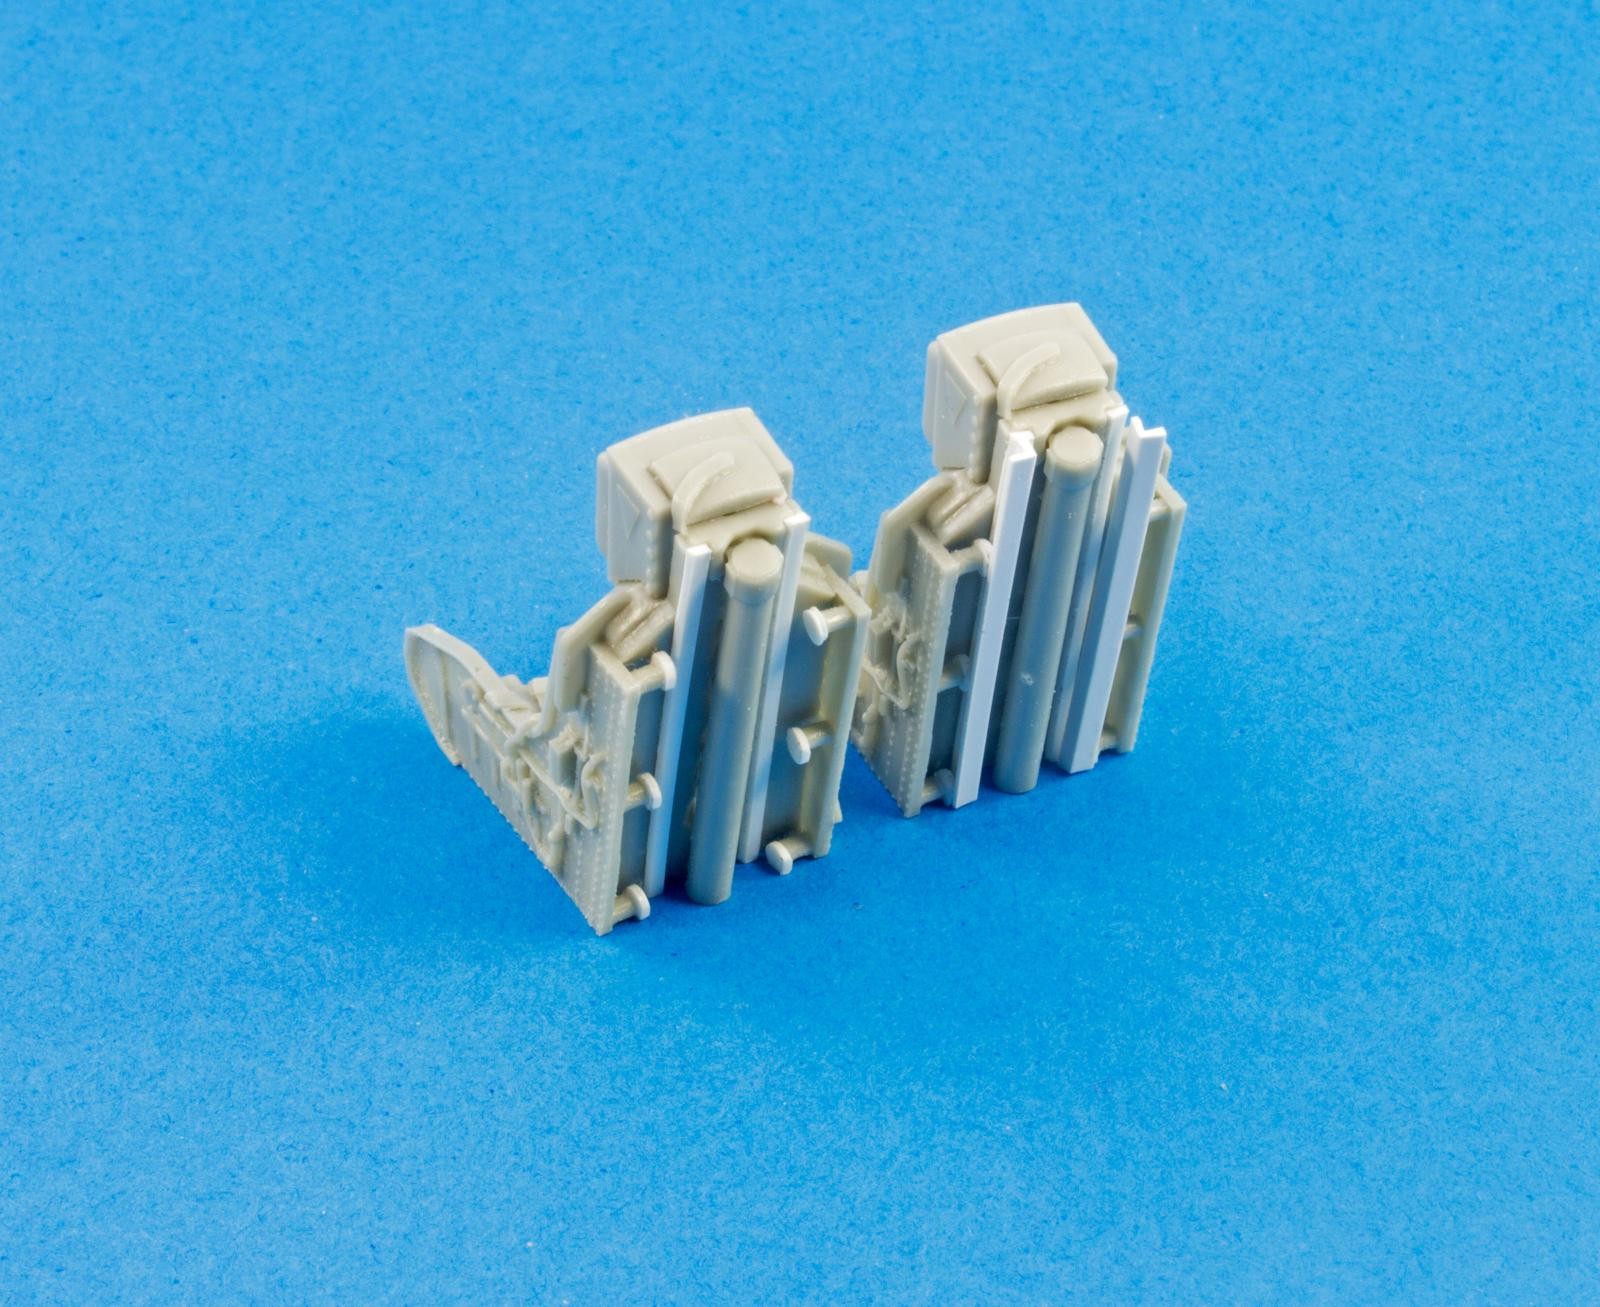
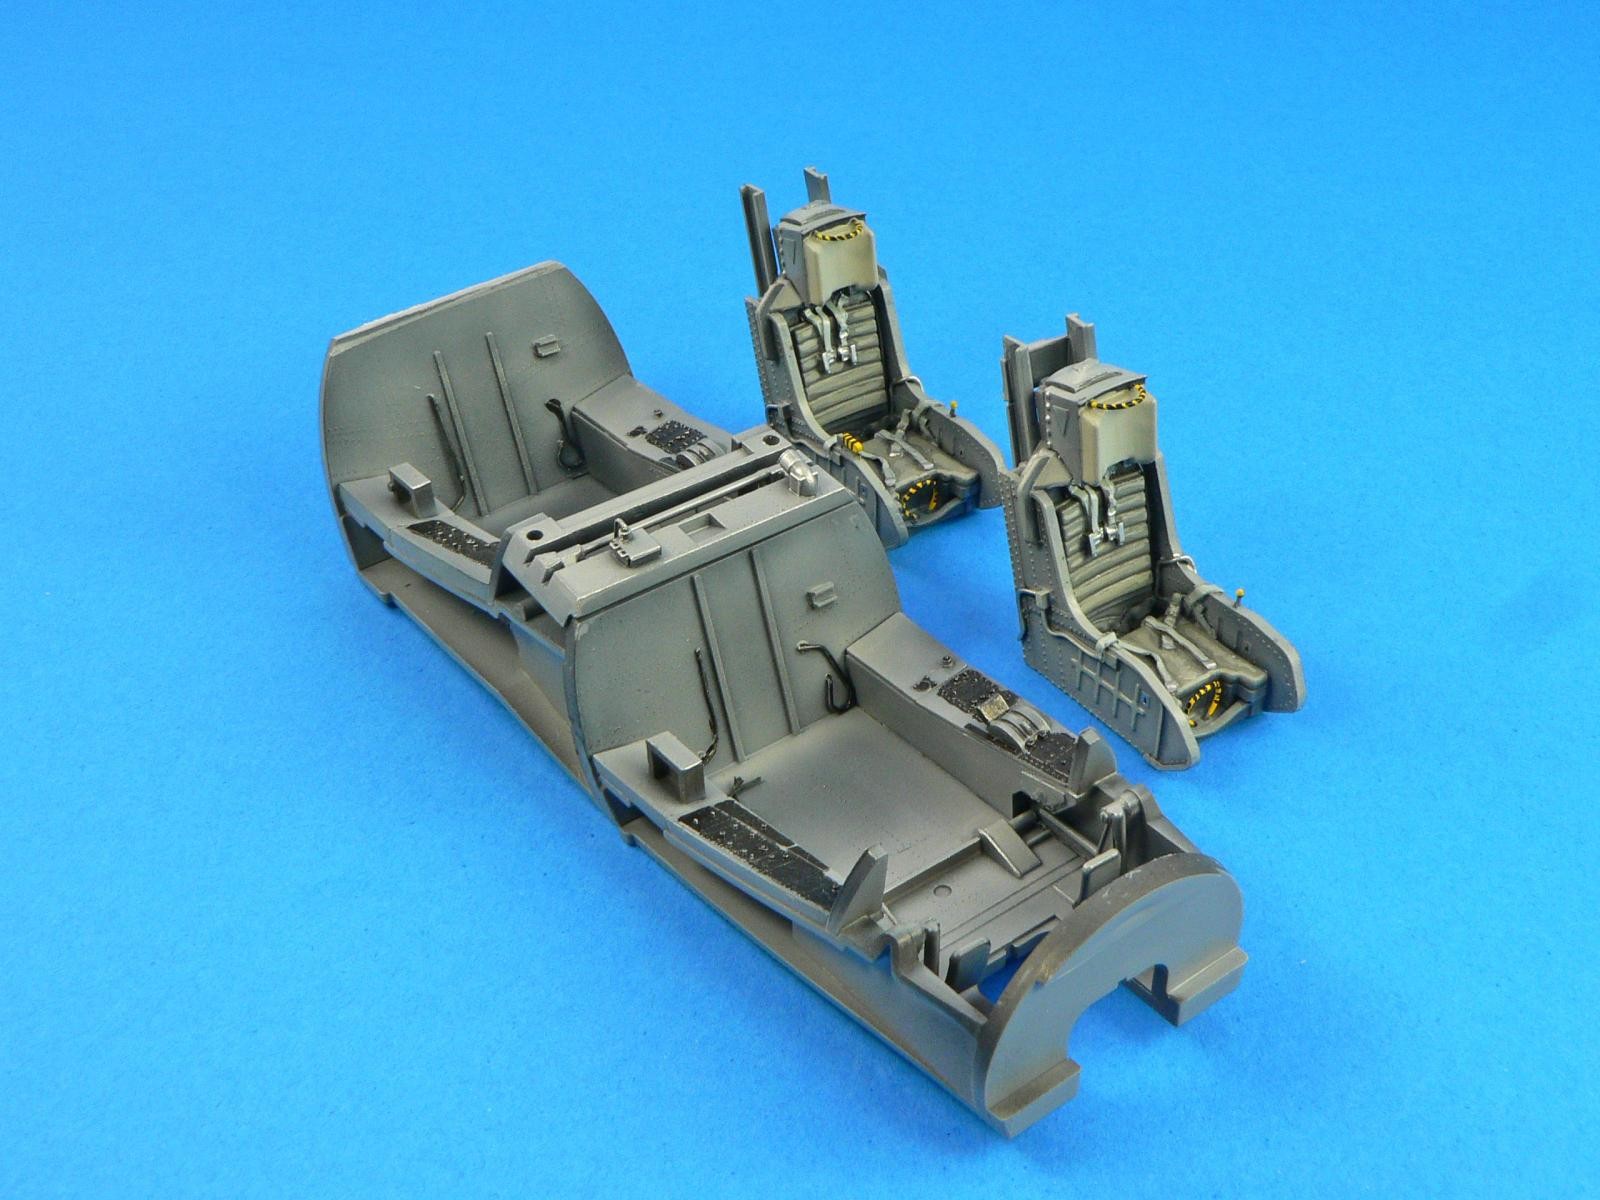
The ejection seats were a great add-on by Special Hobby. They also received several homemade details fashioned out of plastic.
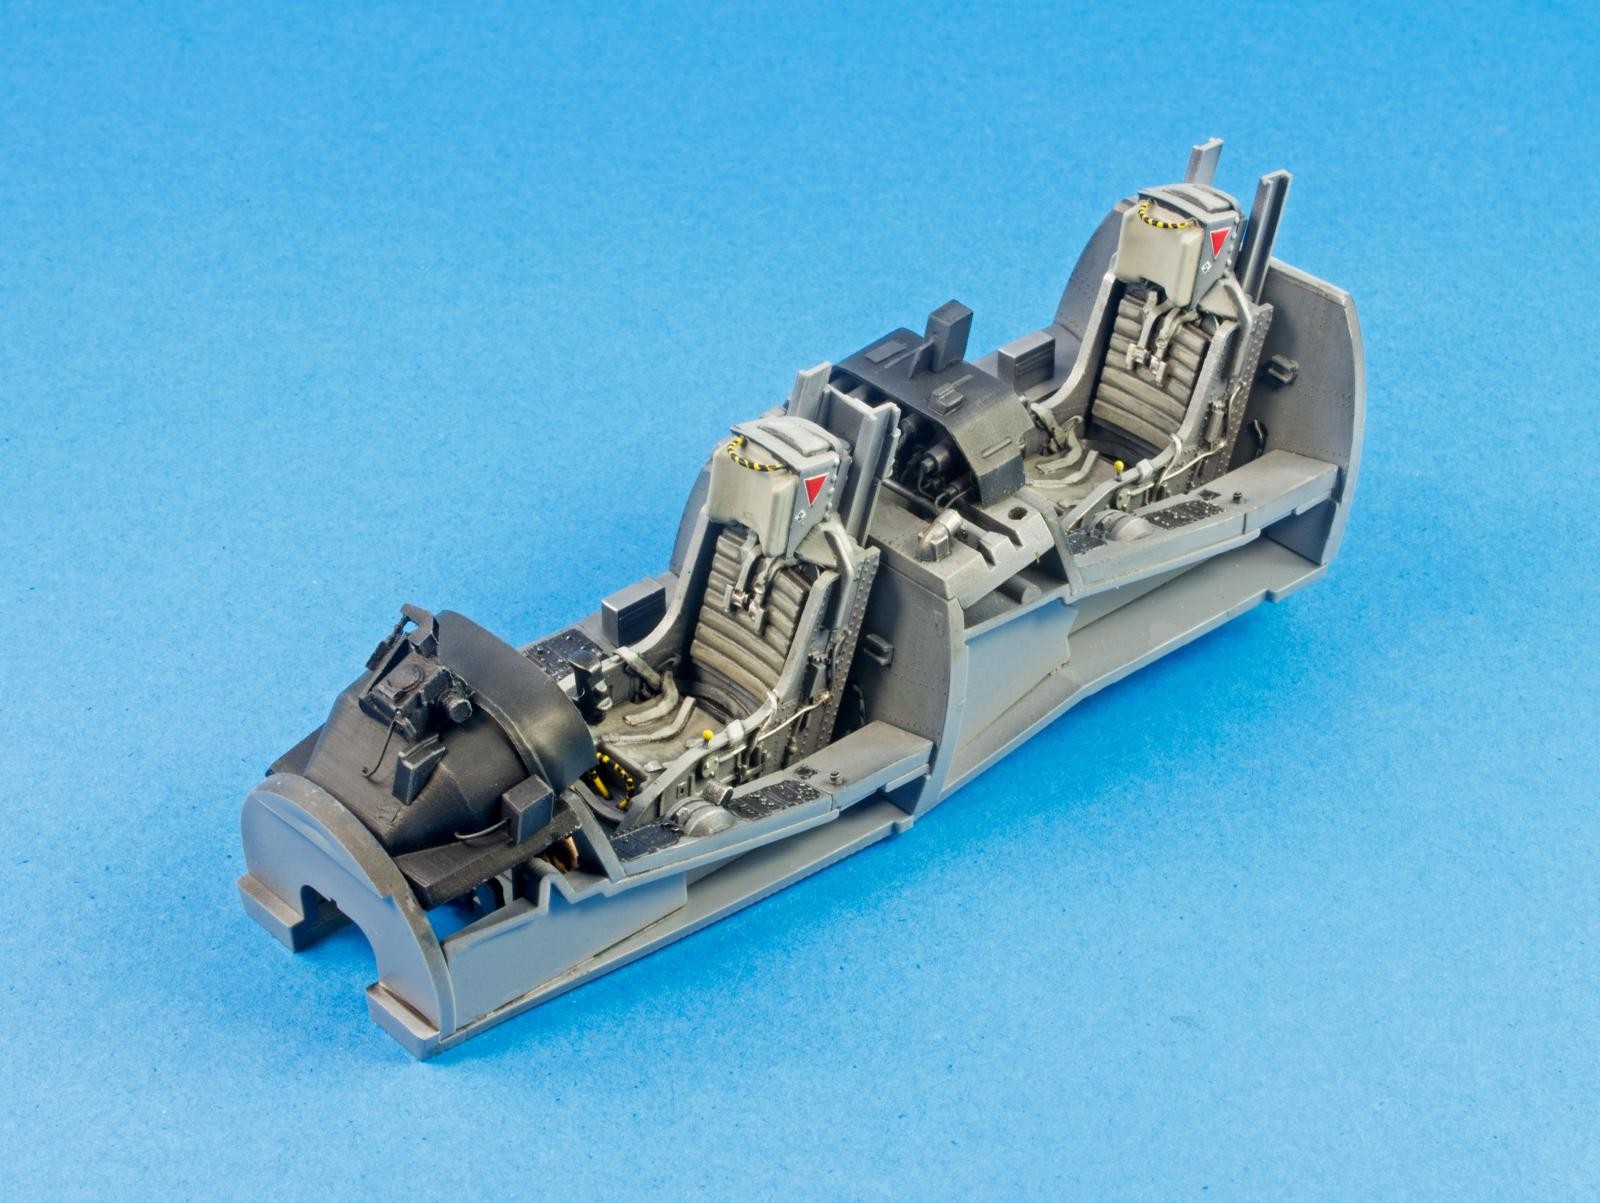
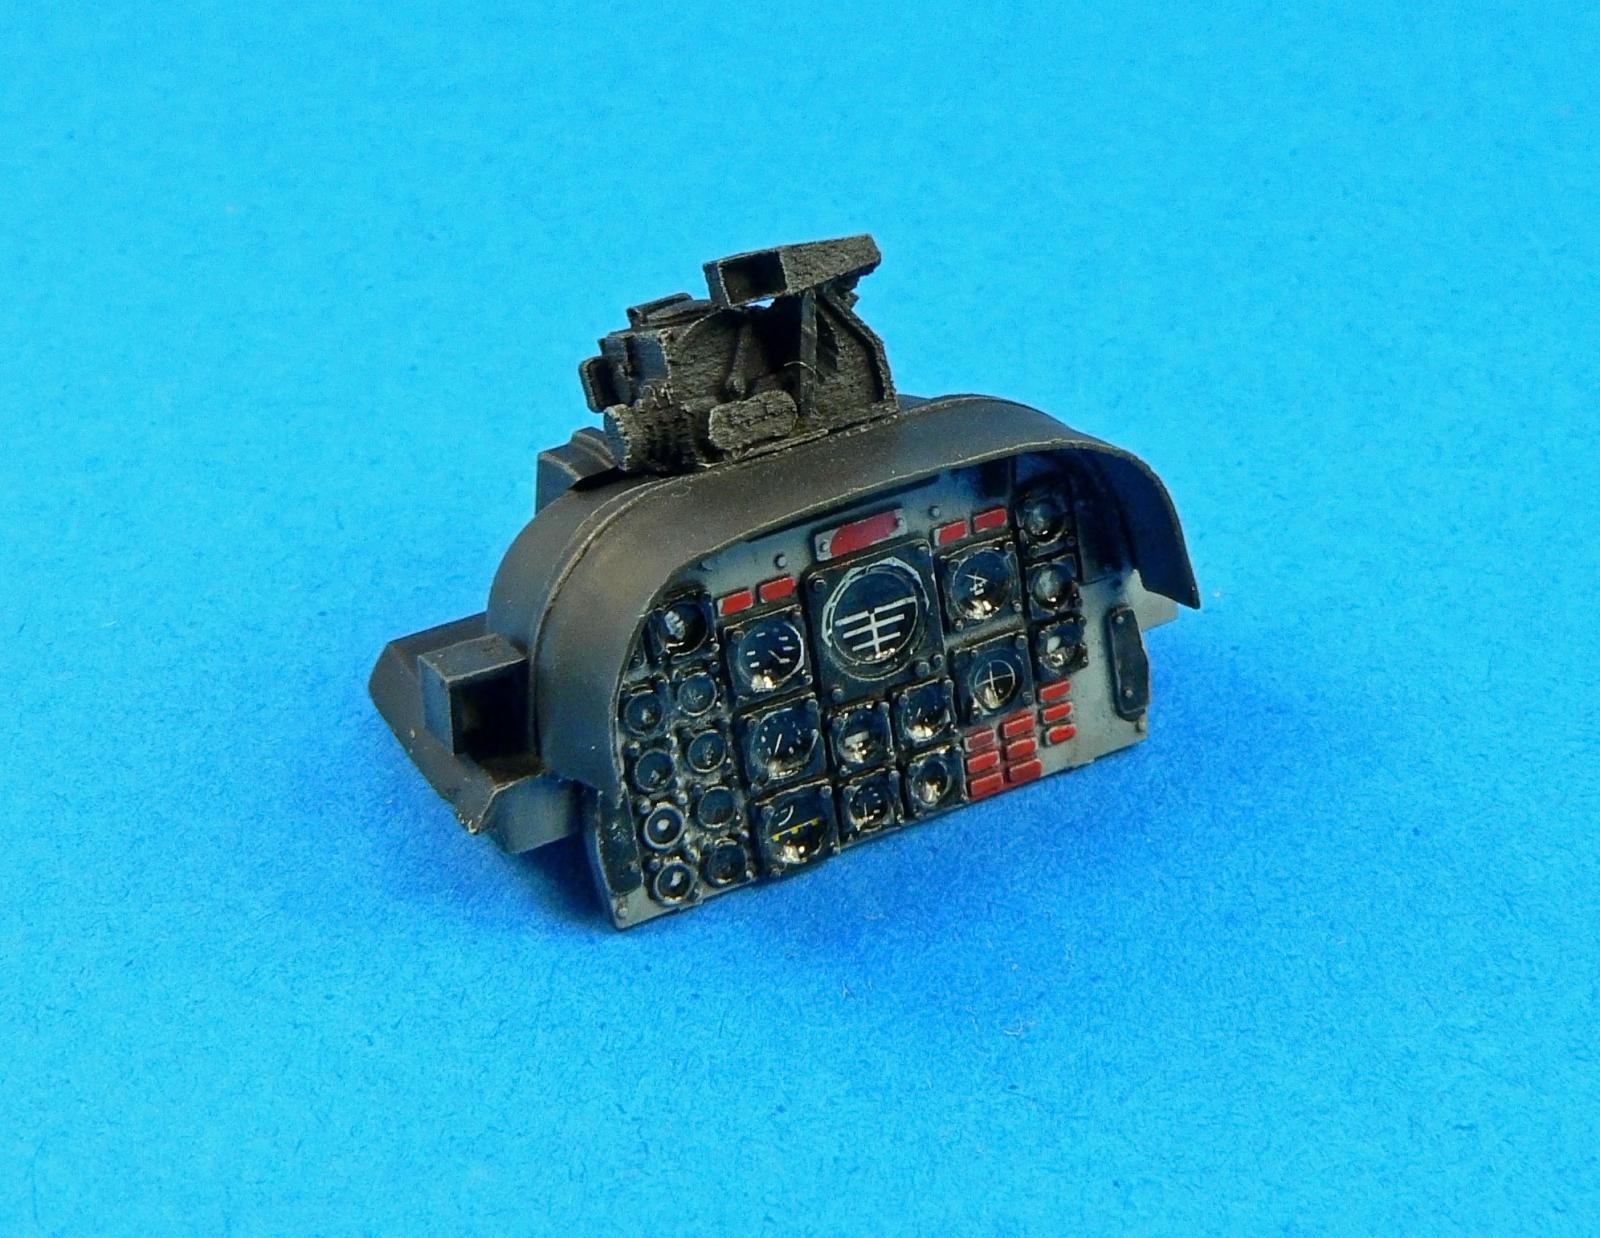
The front instrument panel received a sun protector made of tin sheet. Note the wiring on the instruments for the rear panel as well as the refinement on the central division console.

The cockpit tub was also detailed throughout the usage of scrap plastic and tin bits. This added interest to a highly visible area on the model.
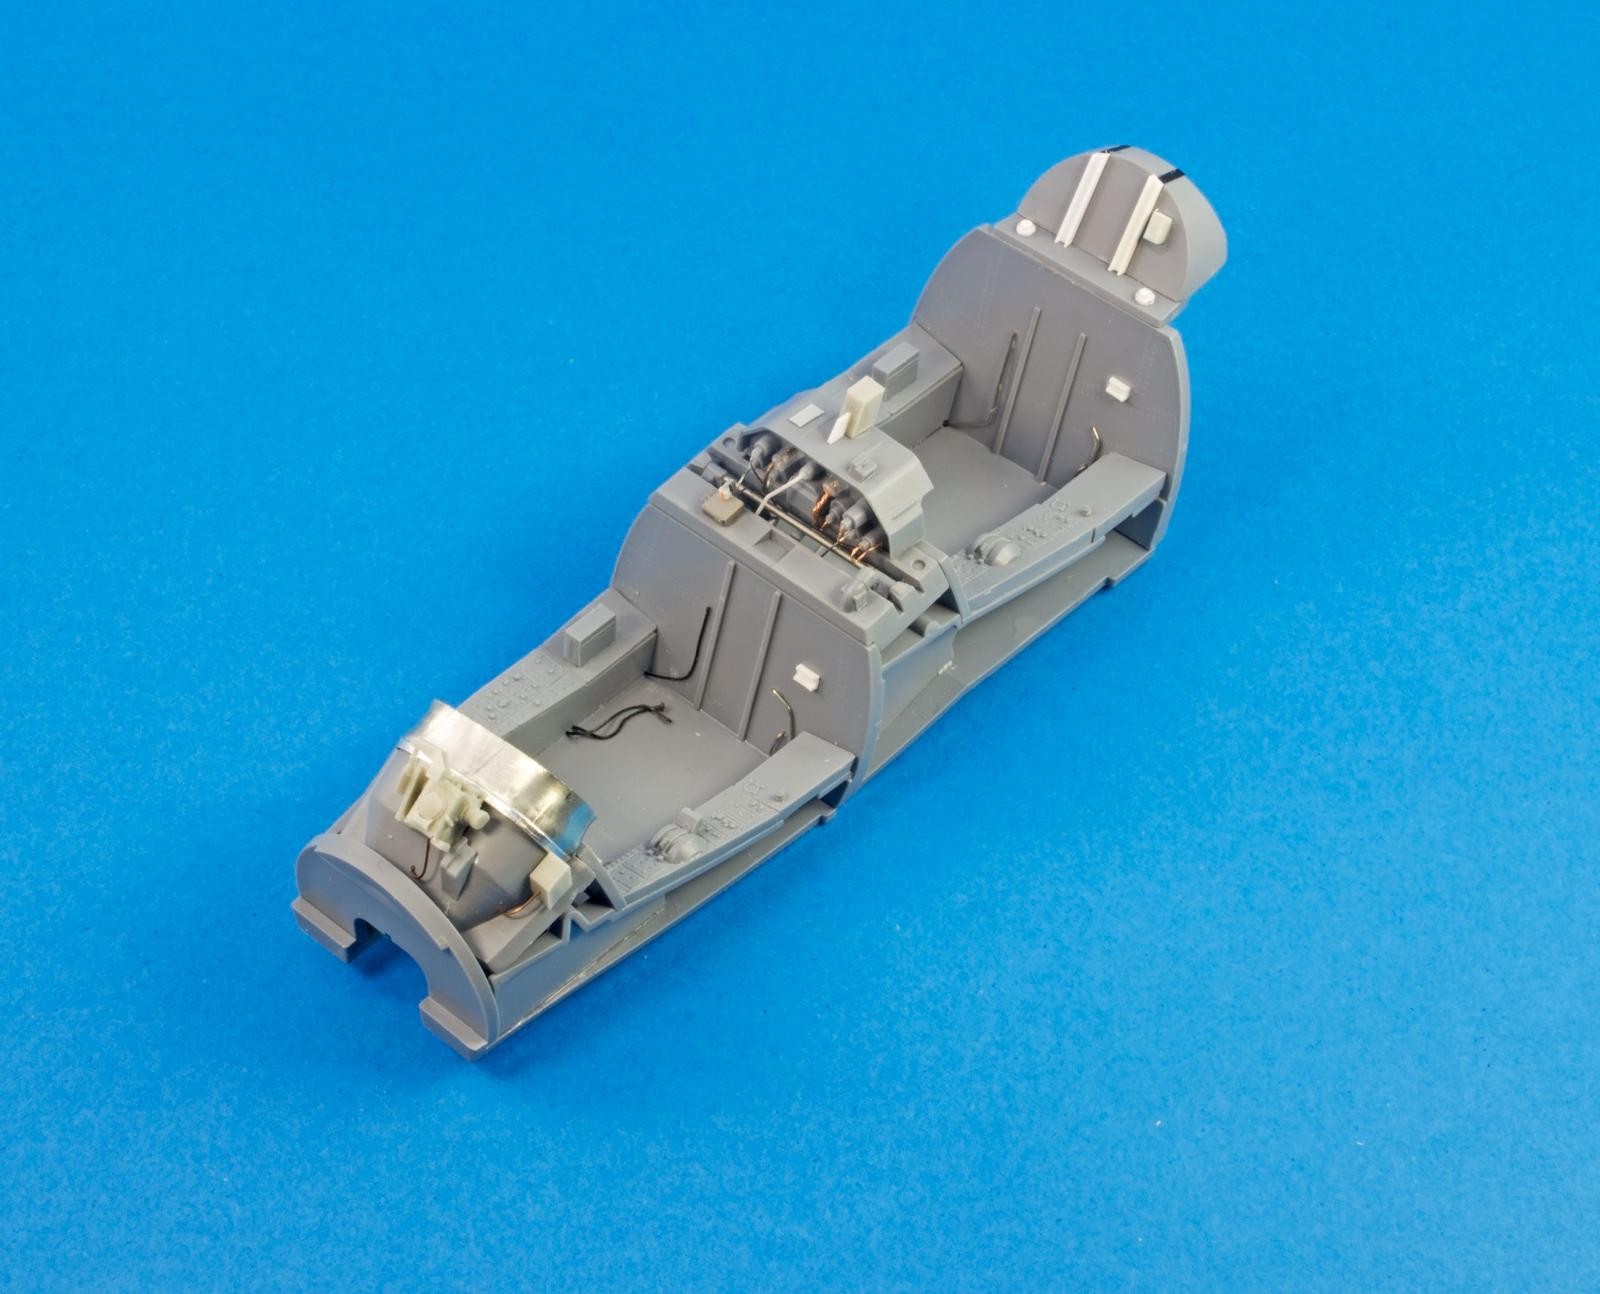
The cockpit sill positions were marked on the fuselage sidewalls and detailed with plastic strips and tube.
The cockpit tub was primed in black and Gunze H335 Grey was applied in thin layers. When dry, a filter was applied followed by a pin wash to enhance the depth and contrast of the parts.
Lacking on the plastic parts was the pronounced canvas cover on the control column. This was replicated with tissue paper soaked in white glue and painted with acrylics.

Final aspect of the cockpit subassembly with all the lighting effects applied.

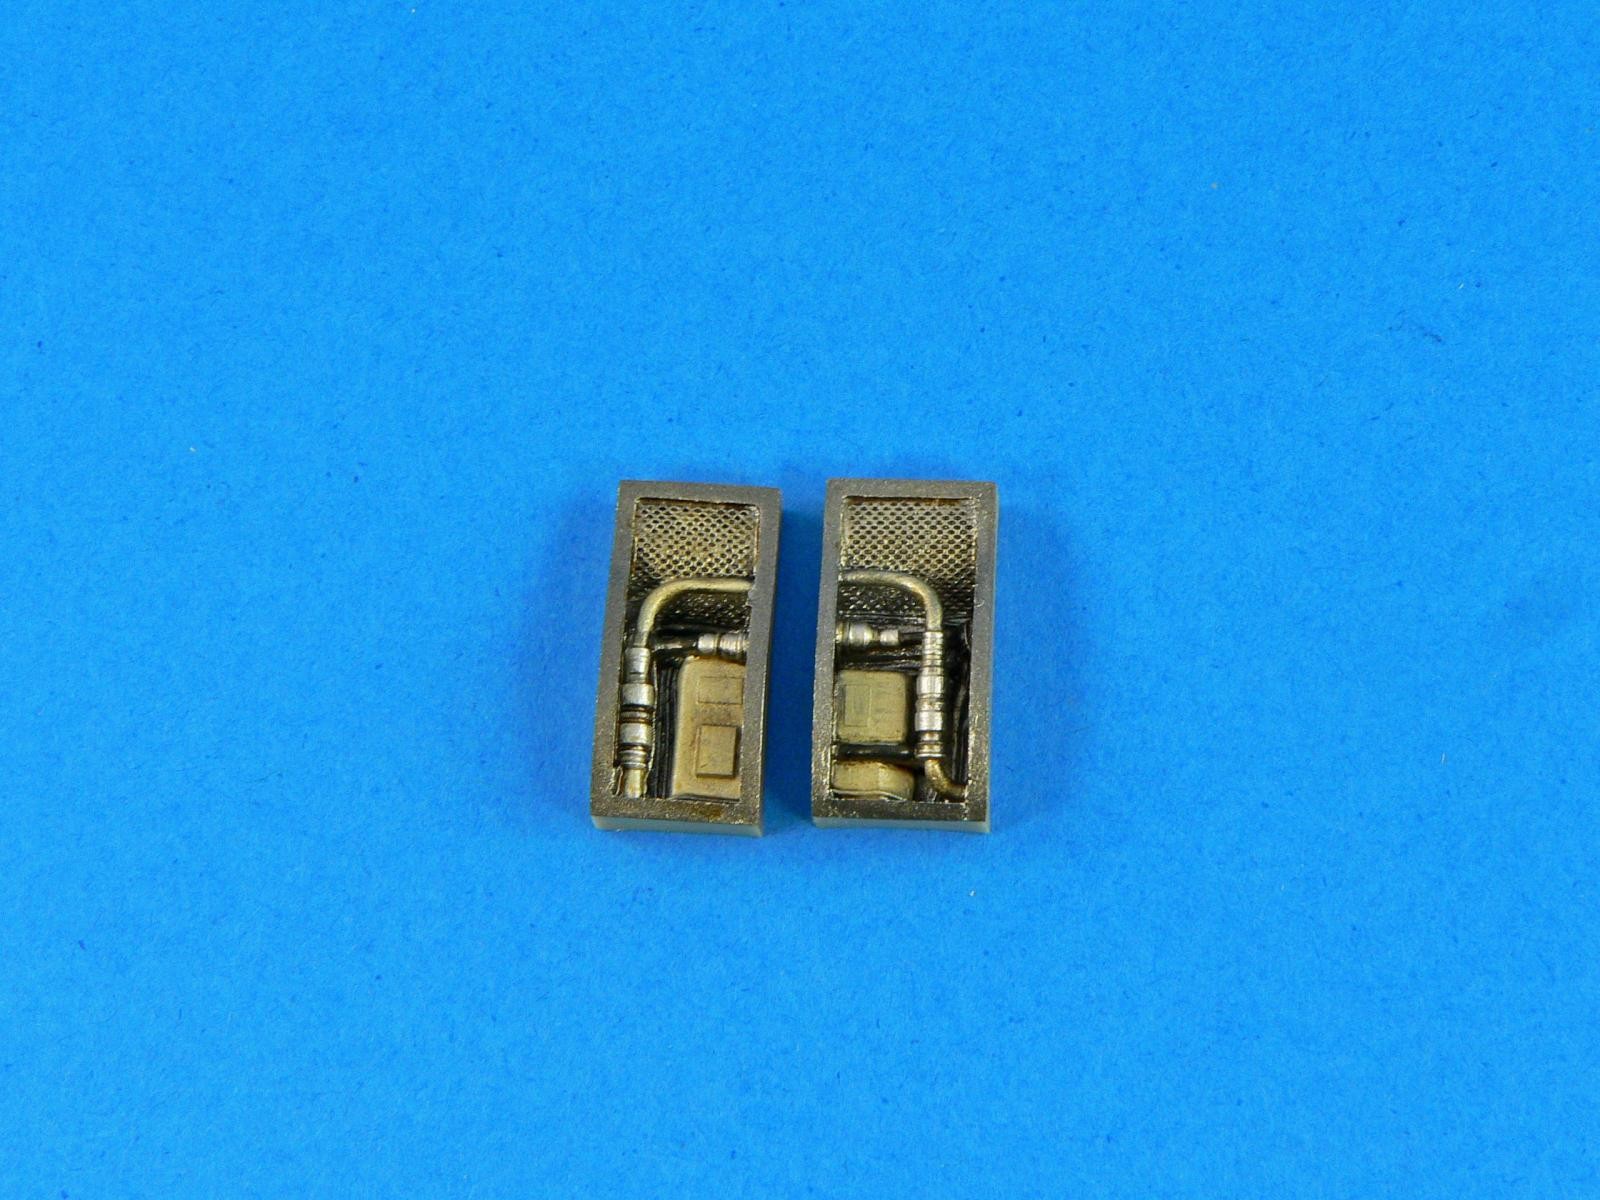
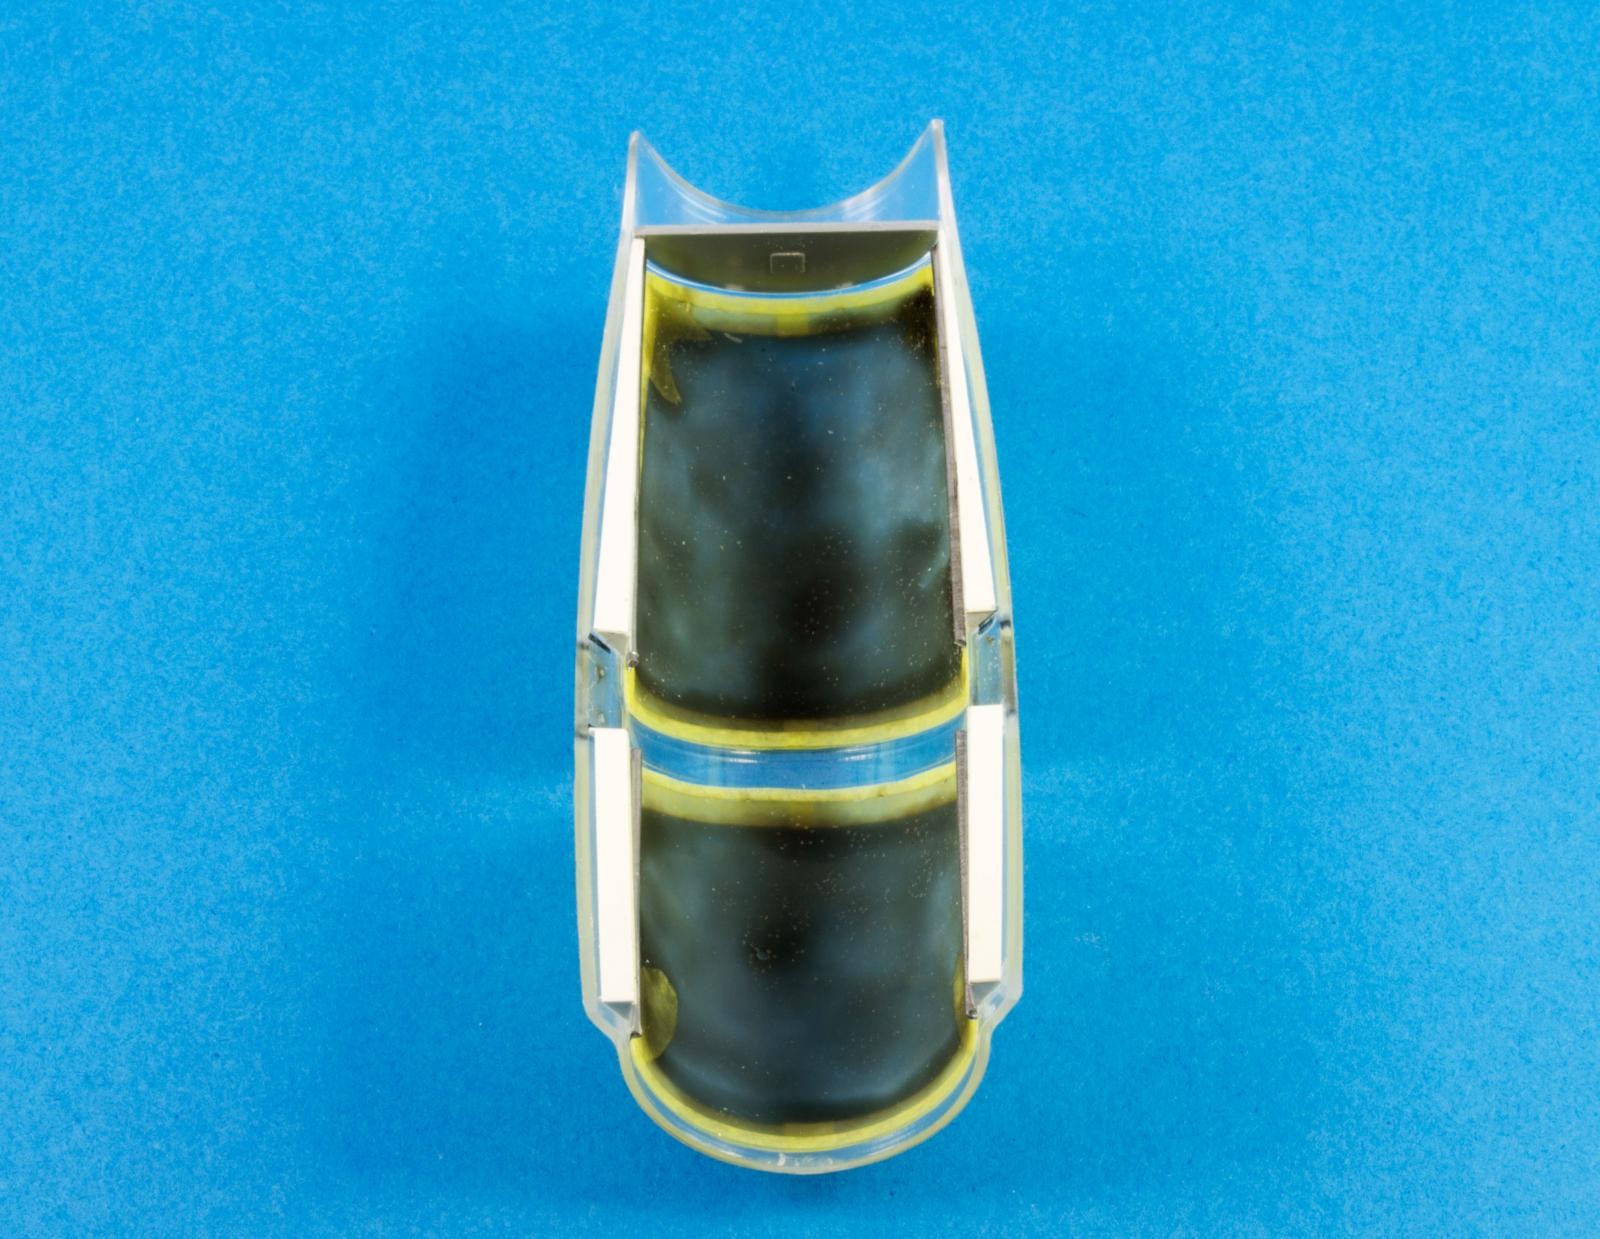
The Buckeye sported two windows for internal inspection. Special Hobby supplied the internal detail casted as two resin plugs which were painted with acrylics.
The instrument panel was detailed with tin foil and copper wire and painted with black-grey. The instrument faces were adorned with the kit decals cut to shape and with a drop of clear varnish which simulated glass.
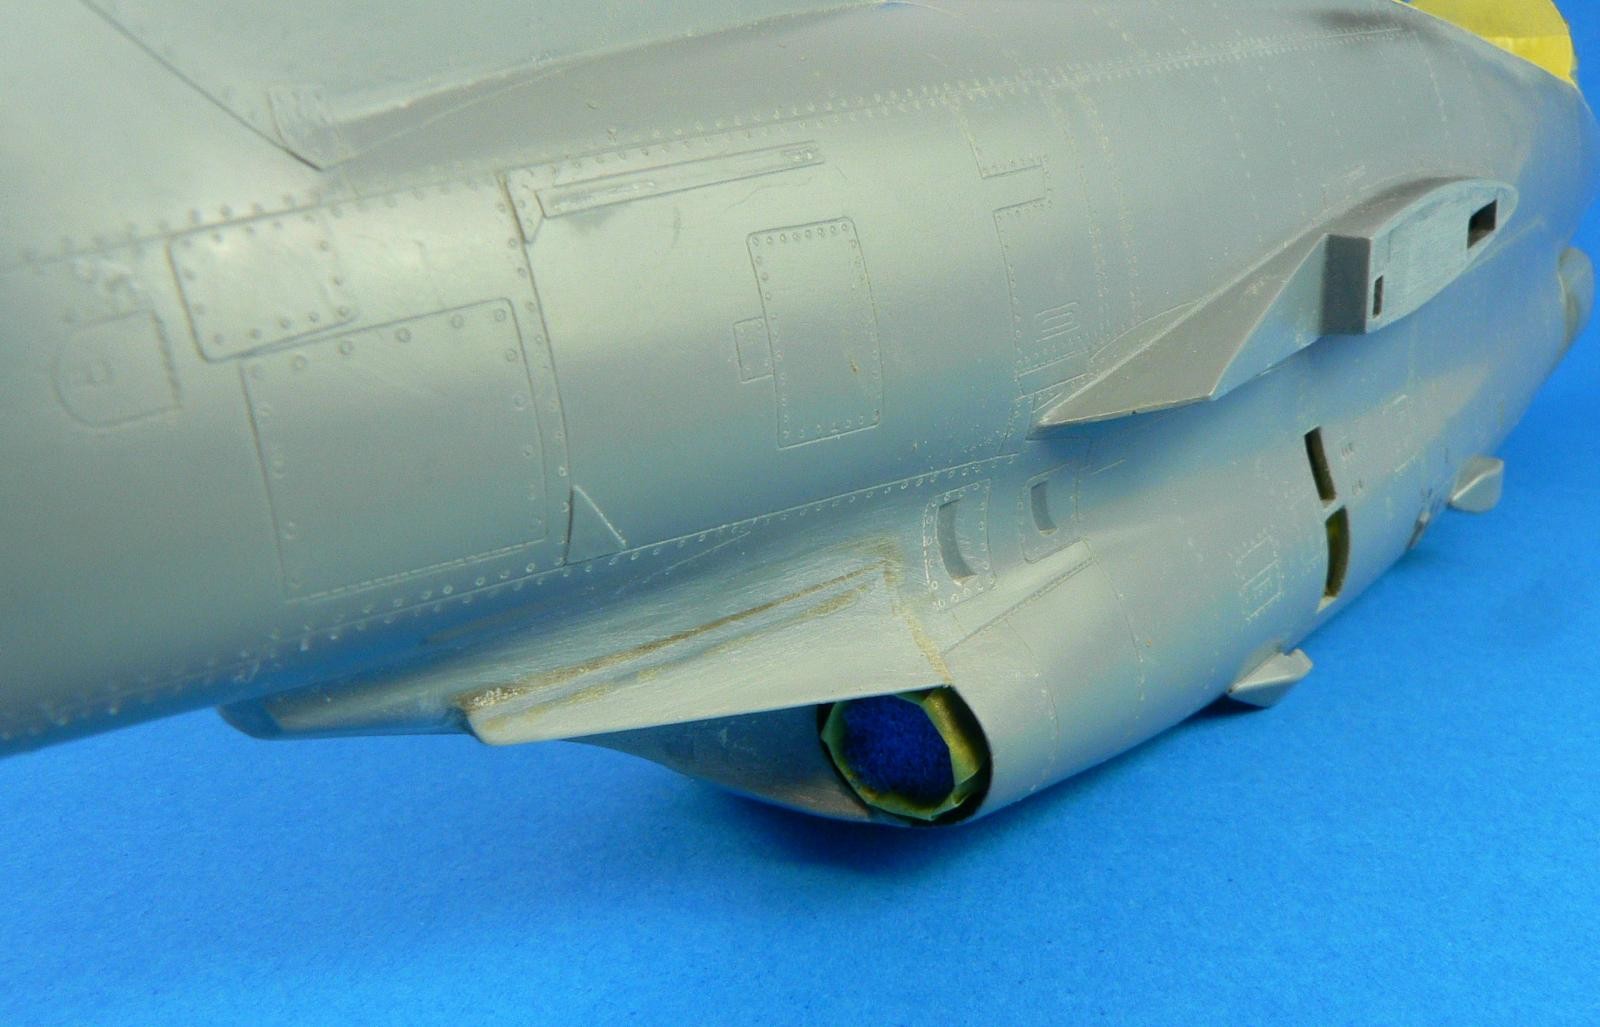
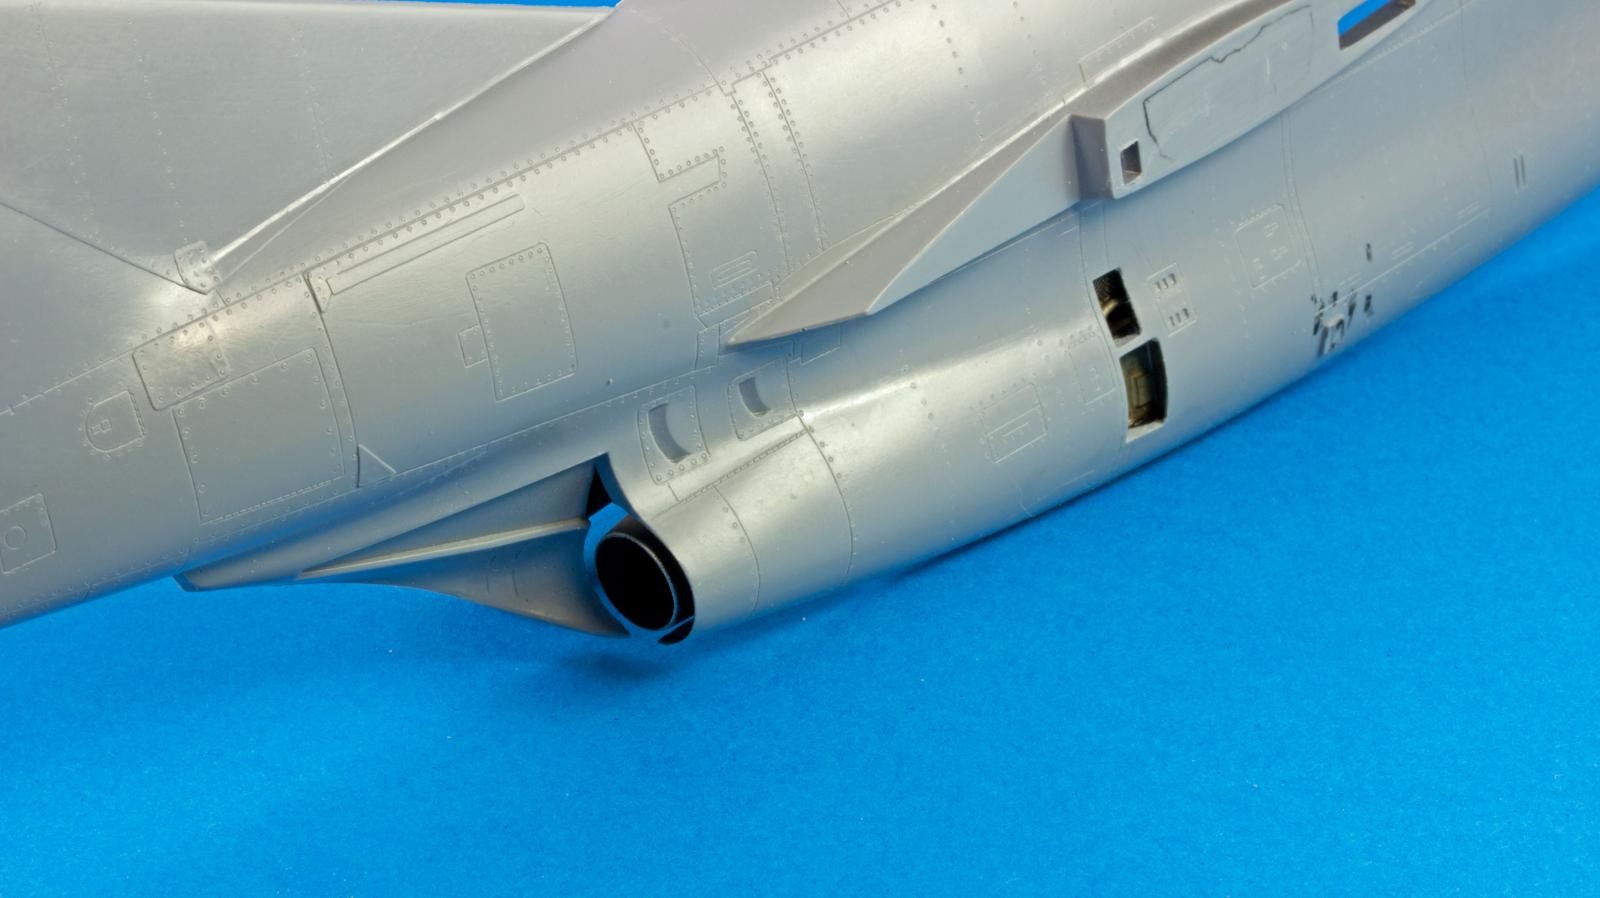
The exhaust tube shrouds were thinned down to enhance the scale effect of the plastic parts. Note the appearance of the thinned fuselage against the exhaust tube.

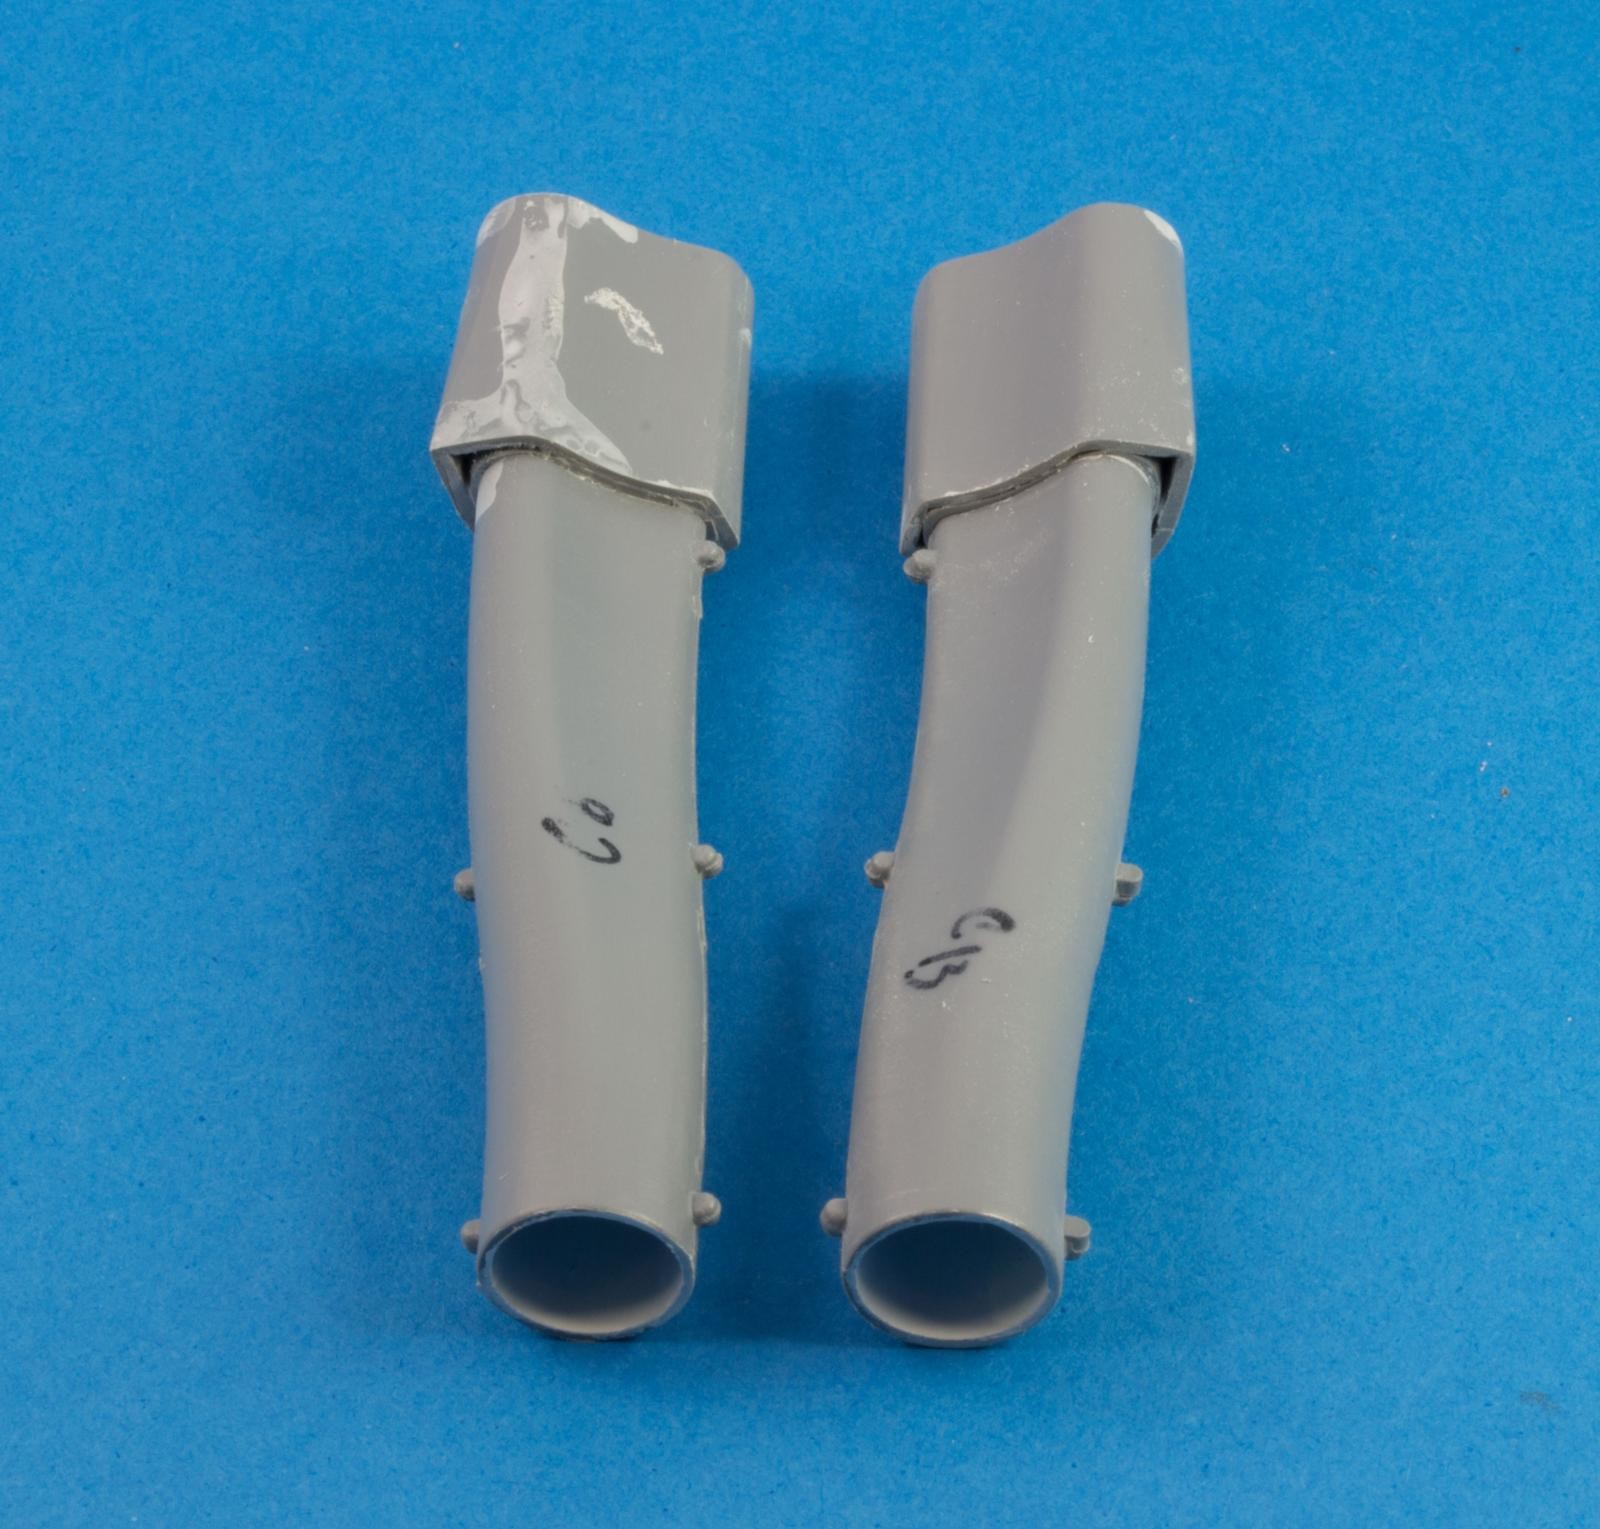
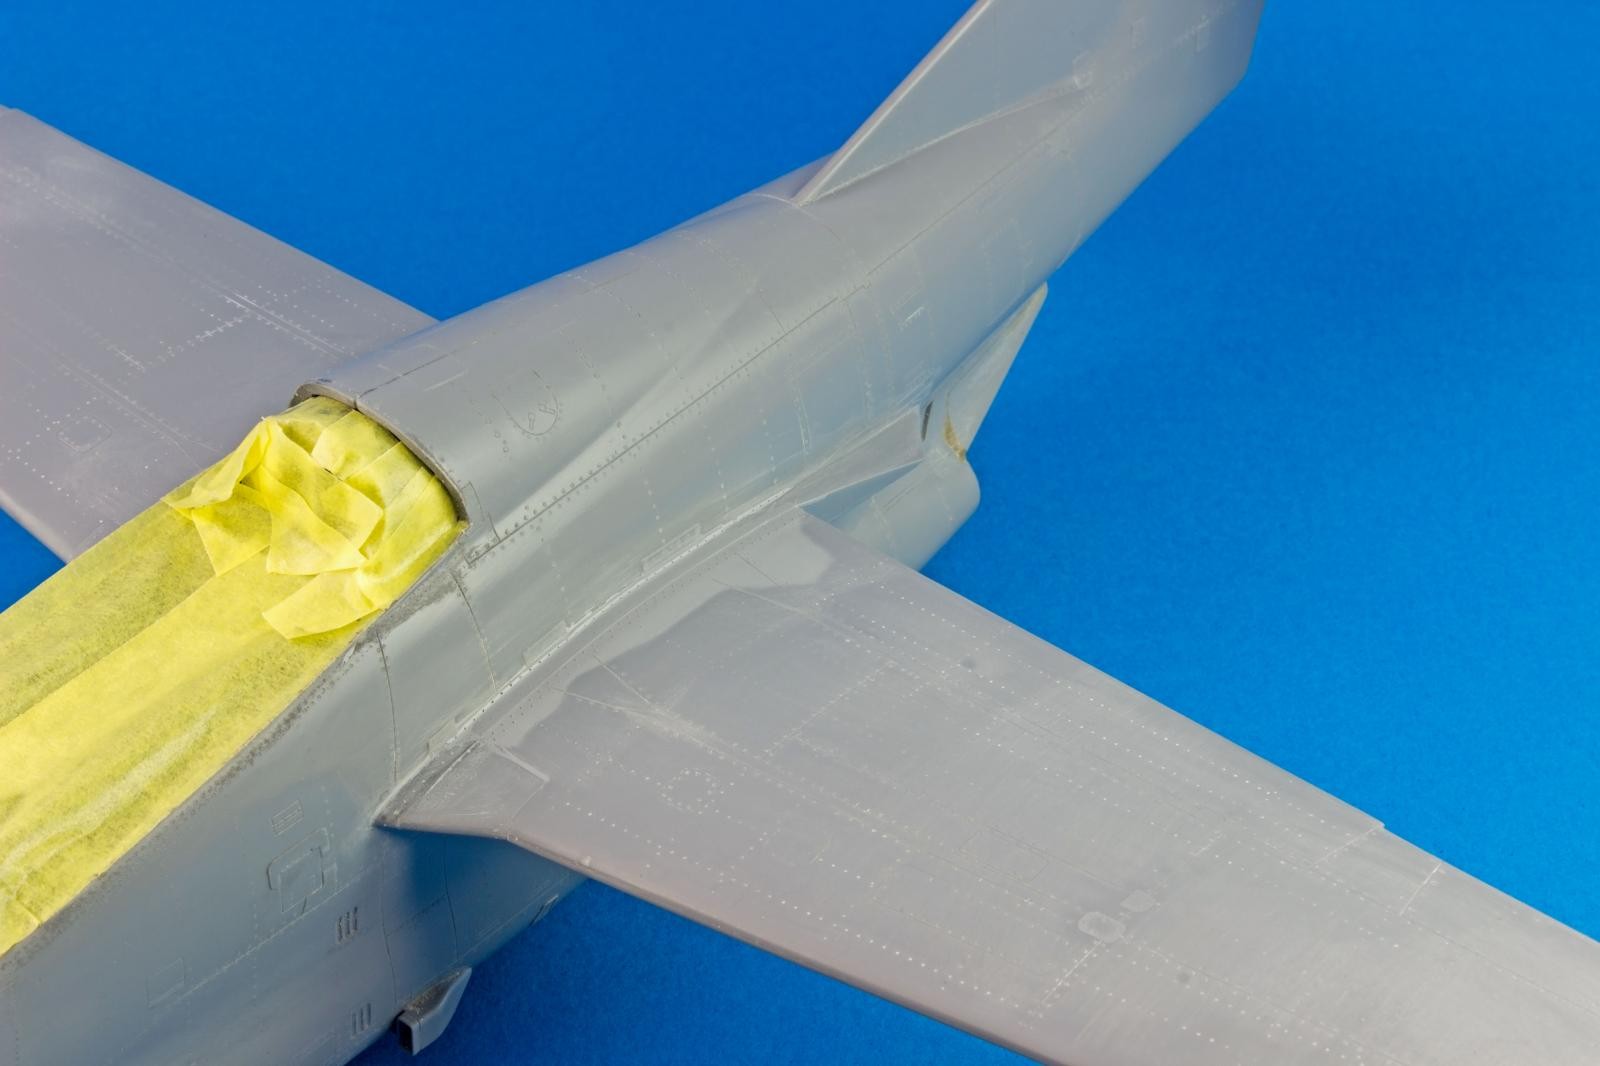
The intake trunks were assembled and glued together before being attached to the fans. This allowed for a better seam between the intake lips and the fuselage.
The cockpit tub was test fitted several times before glue was applied. Unfortunately, the fit of the windshield was to the instrument panel was not secured, which proved a problem later on the build.
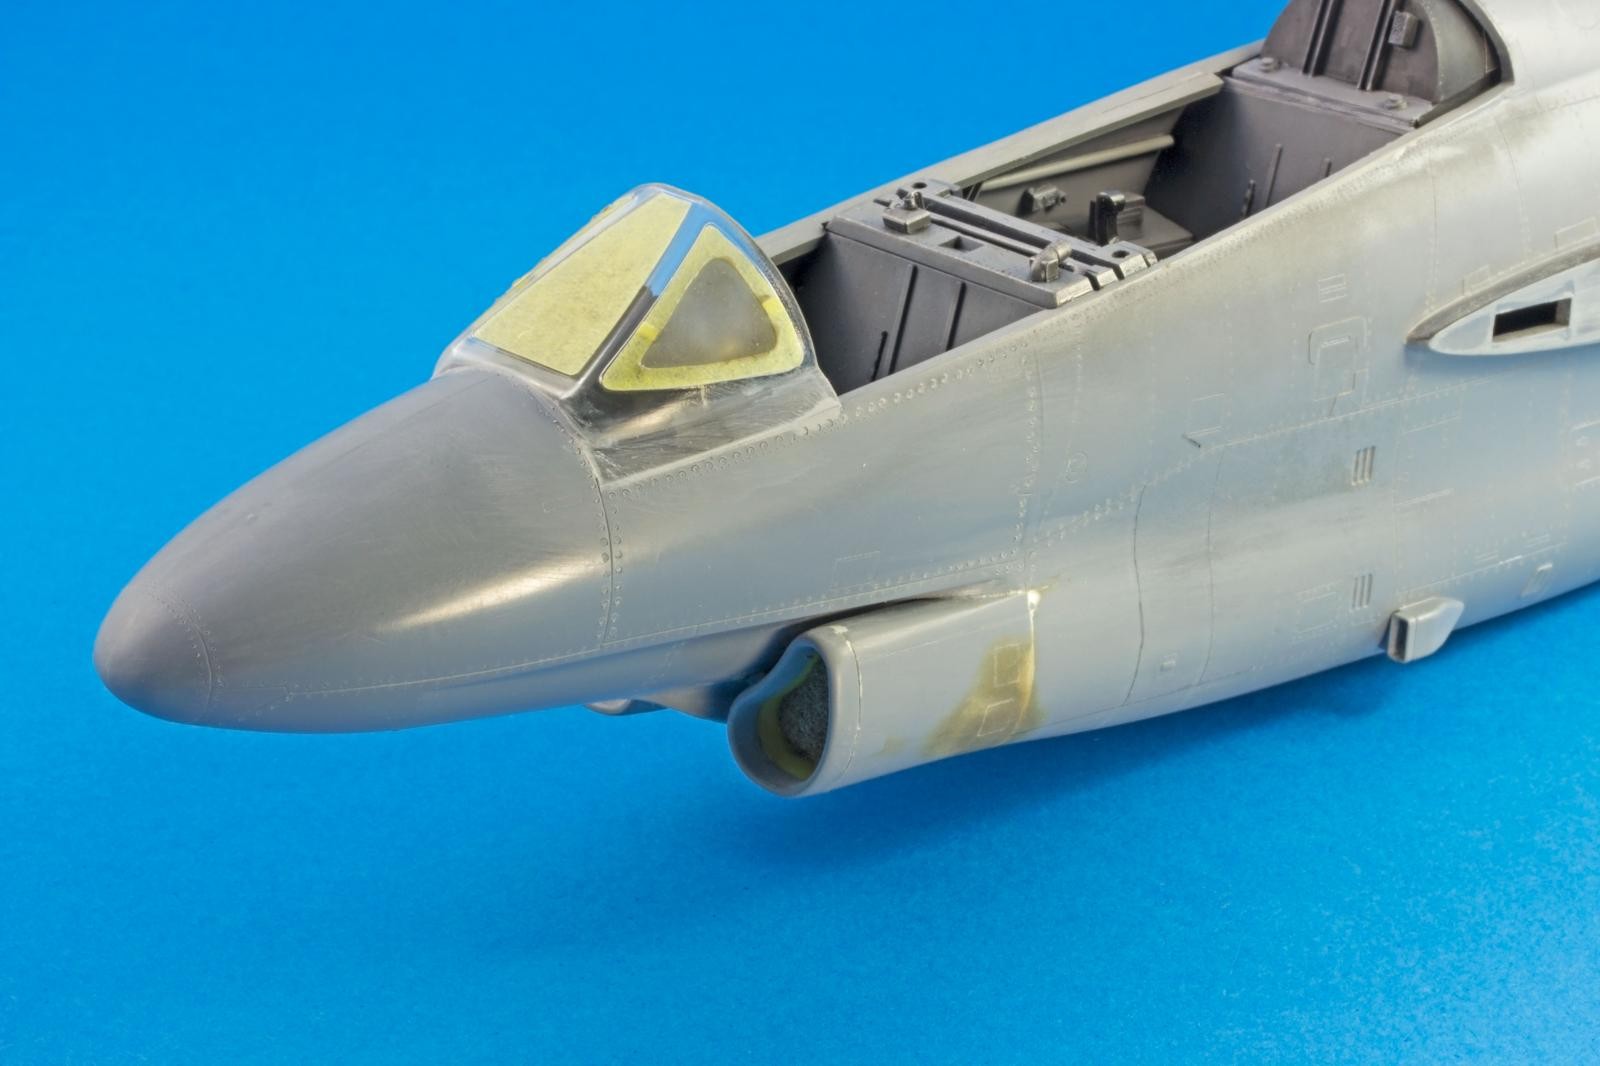
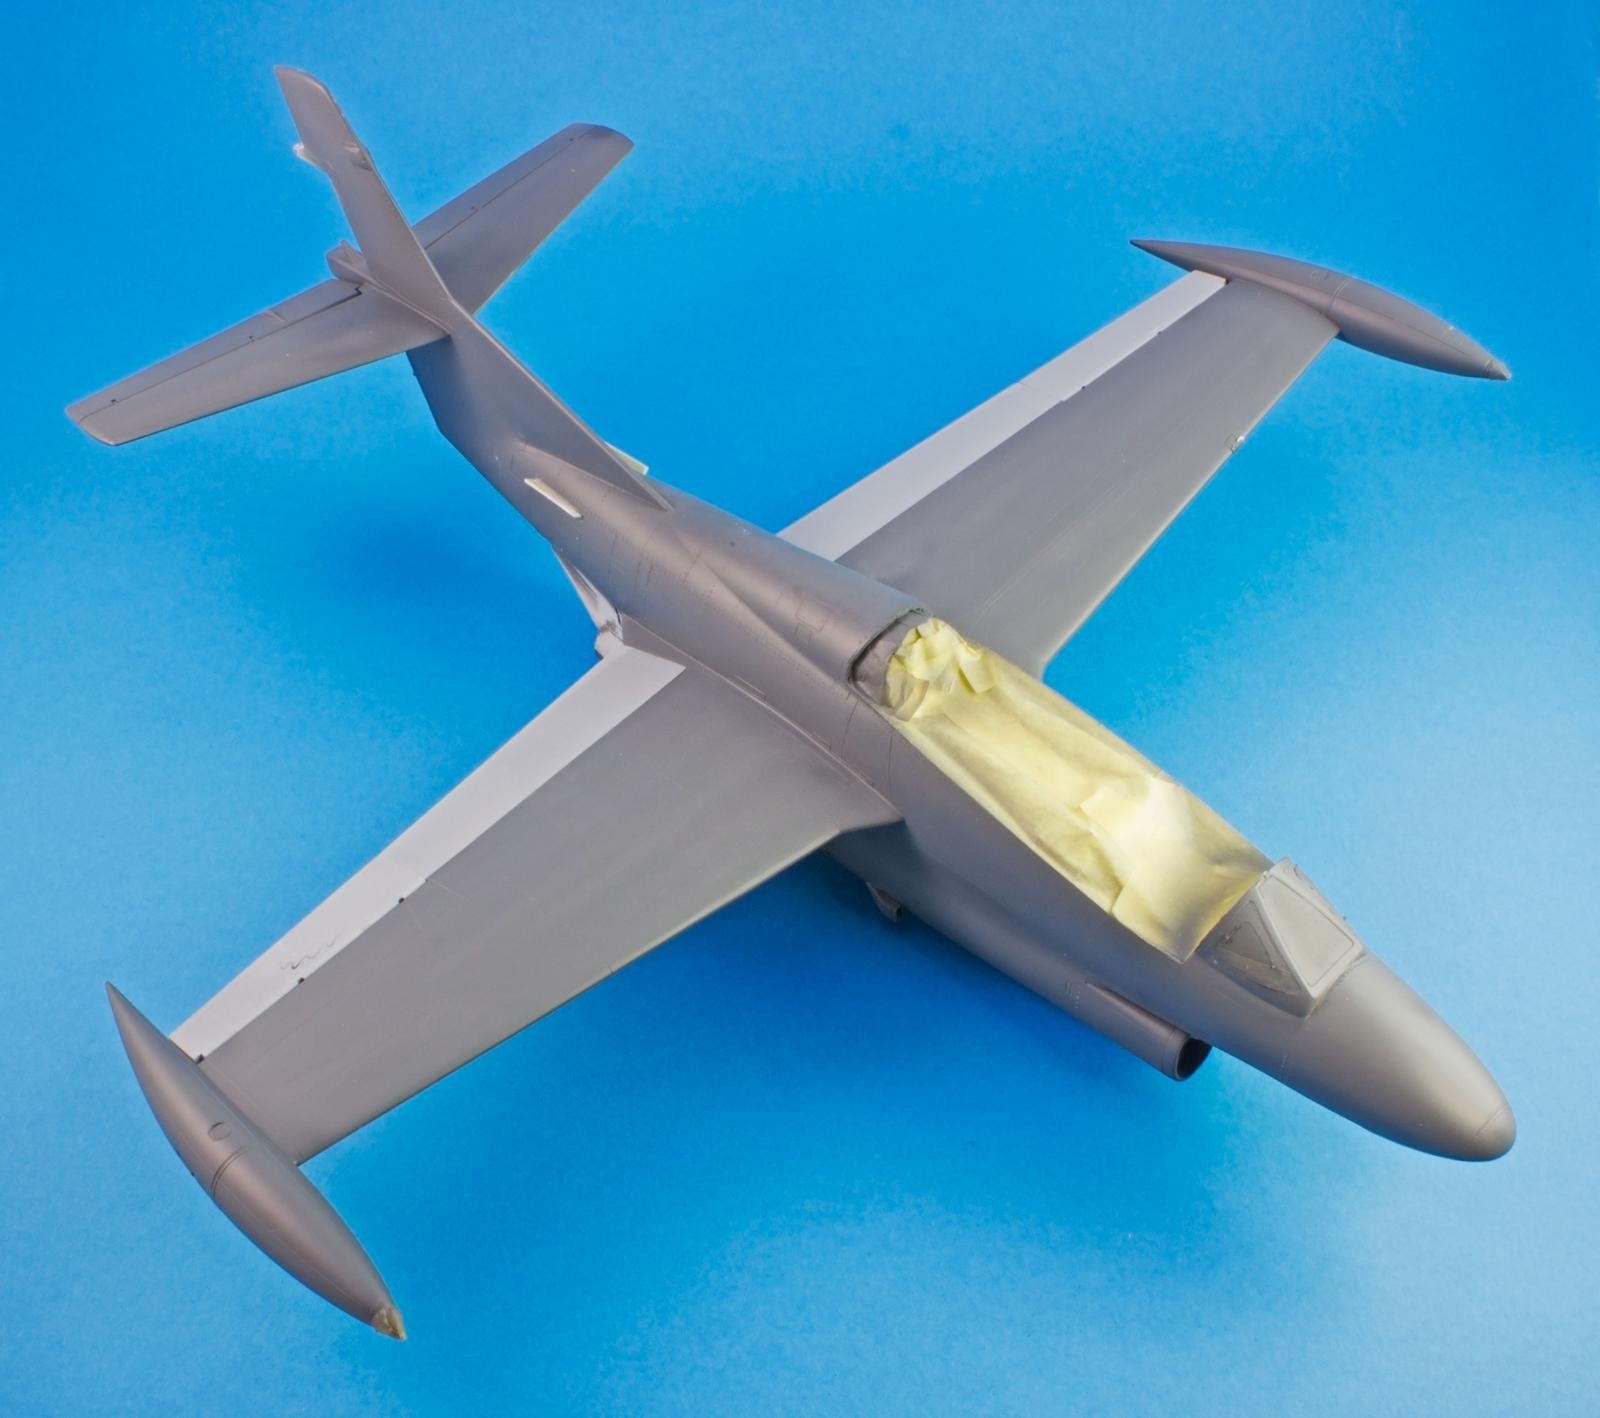
The interior of the canopy was detailed with plastic card and masked up in preparation for paint.
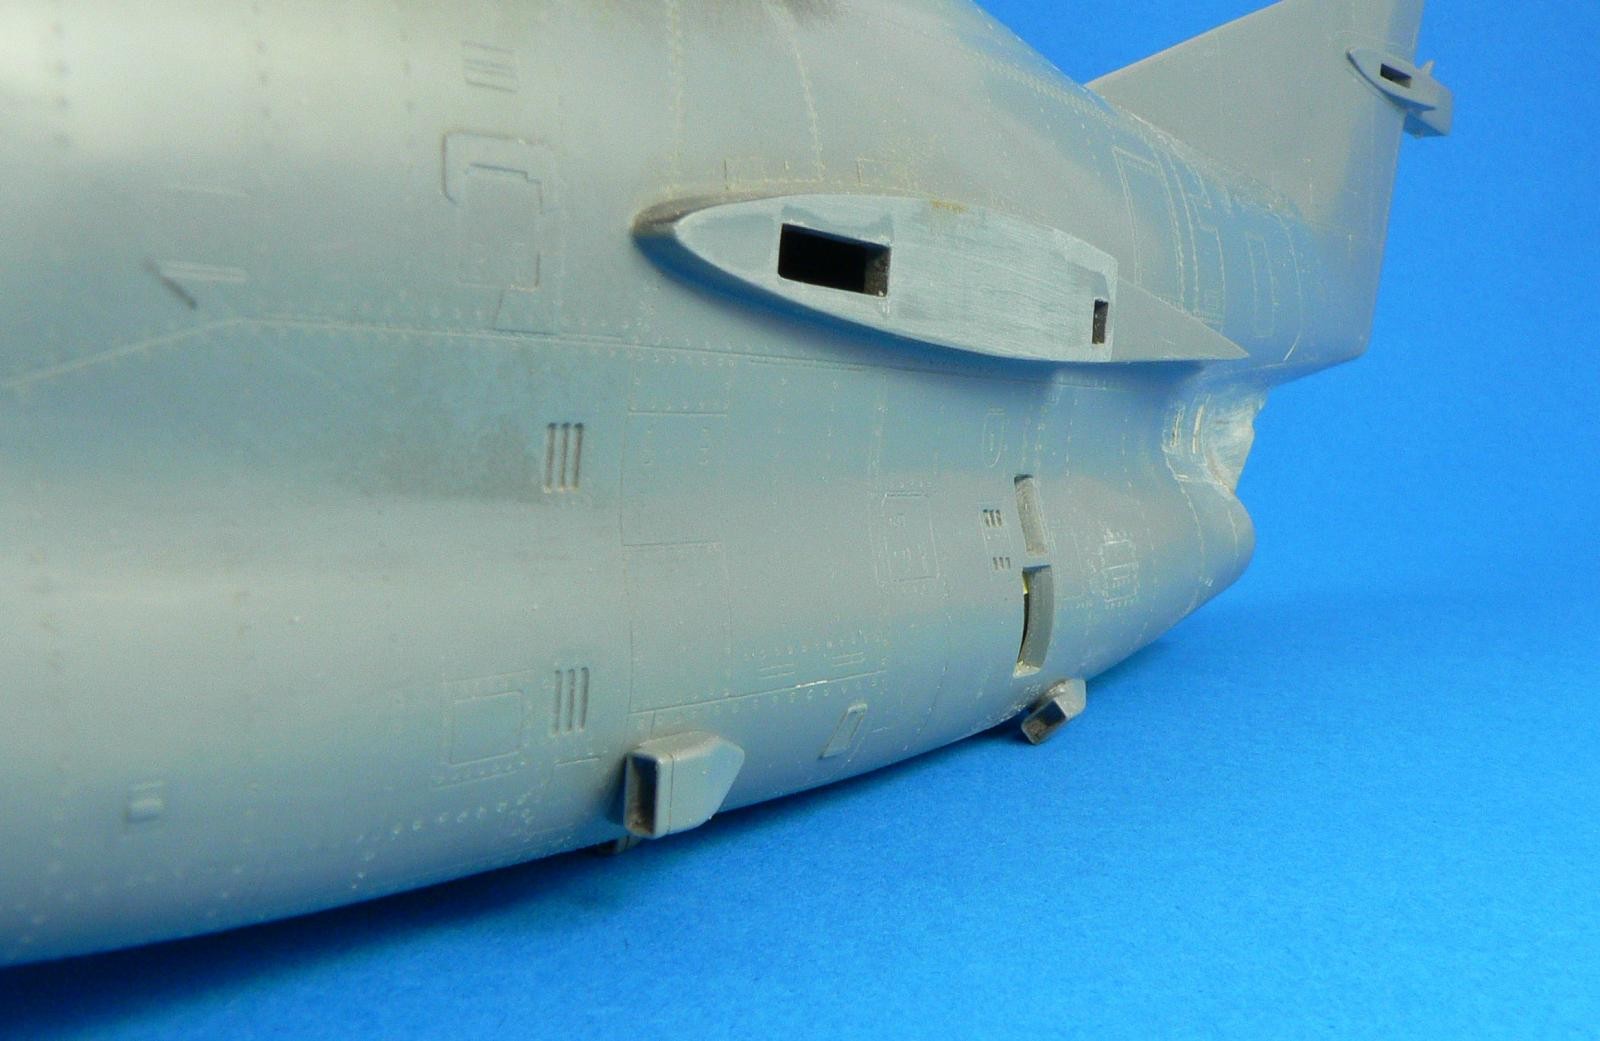
Several files and drills were used to open the various air intakes present on the fuselage. This simple procedure helps to create a scale effect.
The exhaust fairing was a problematic area on the kit. Epoxy filler was used and blended in first with water and, when dry, with files and sandpaper.
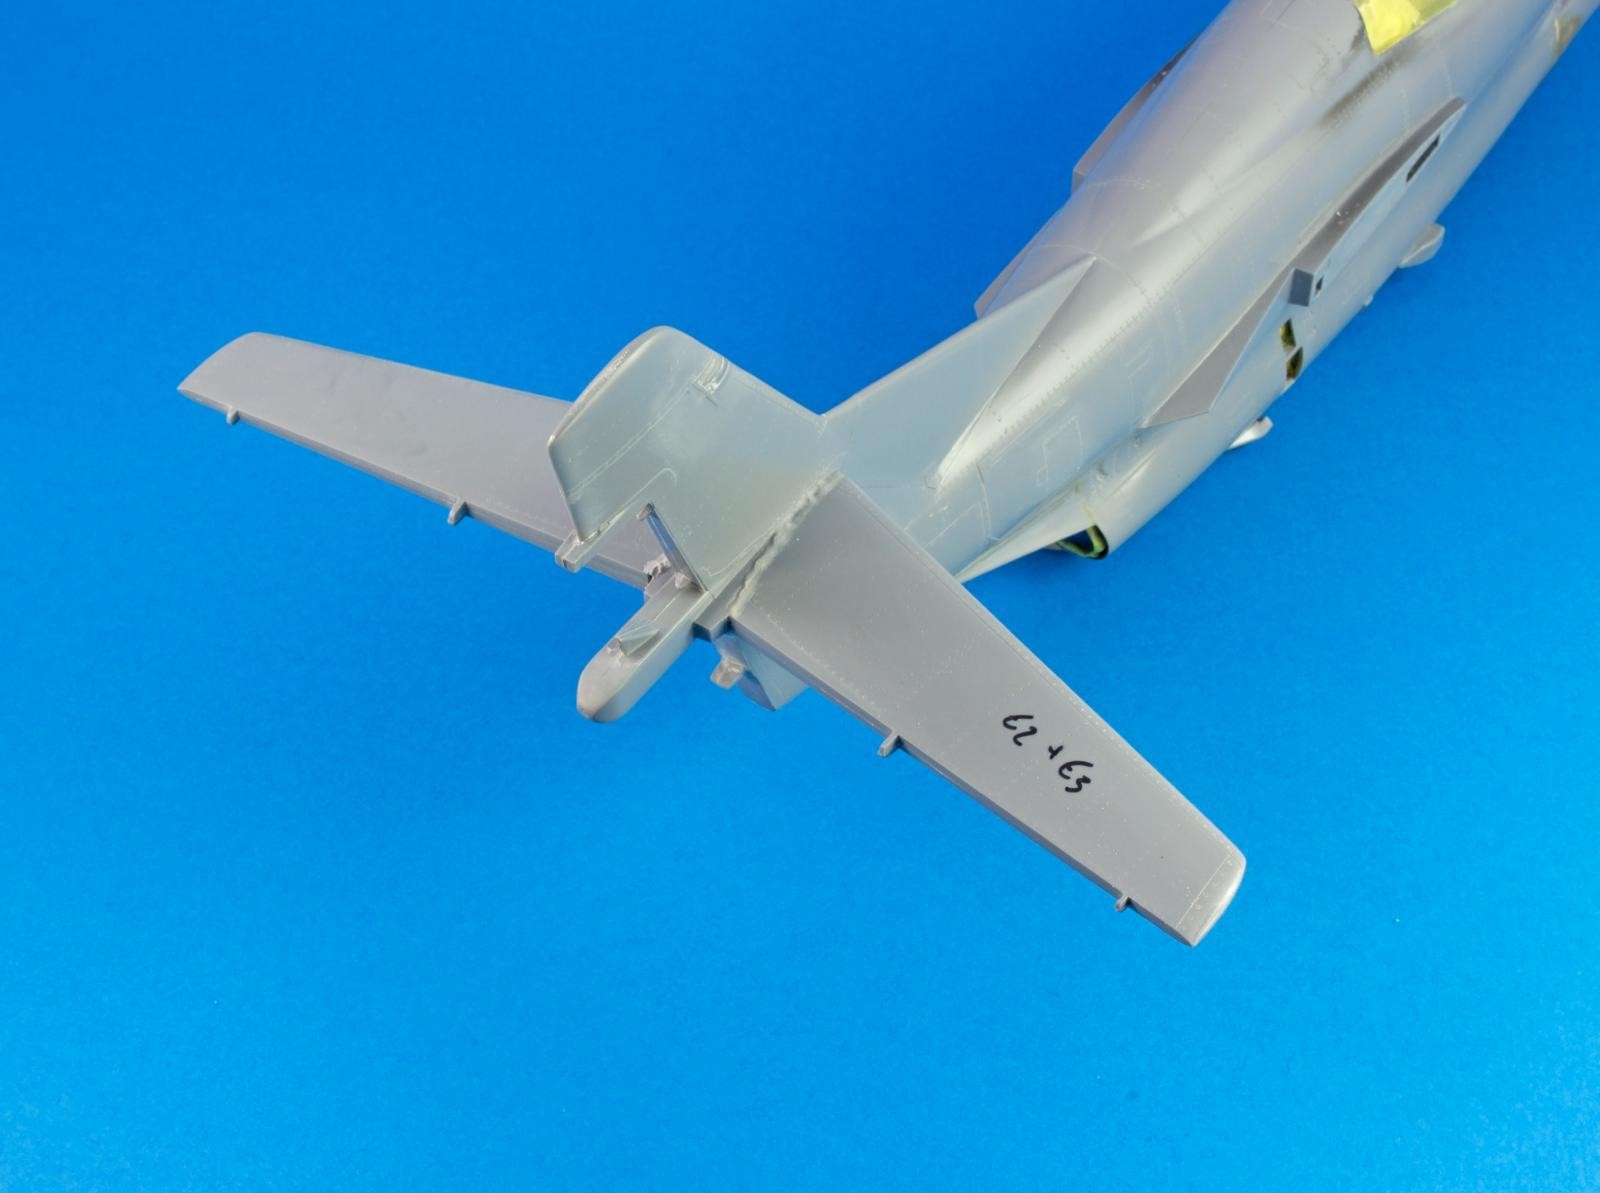
The tail hook is a prominent feature on the Buckeye reminiscent from its naval background. The lightening holes were drilled open with a 0.3mm drill bit.

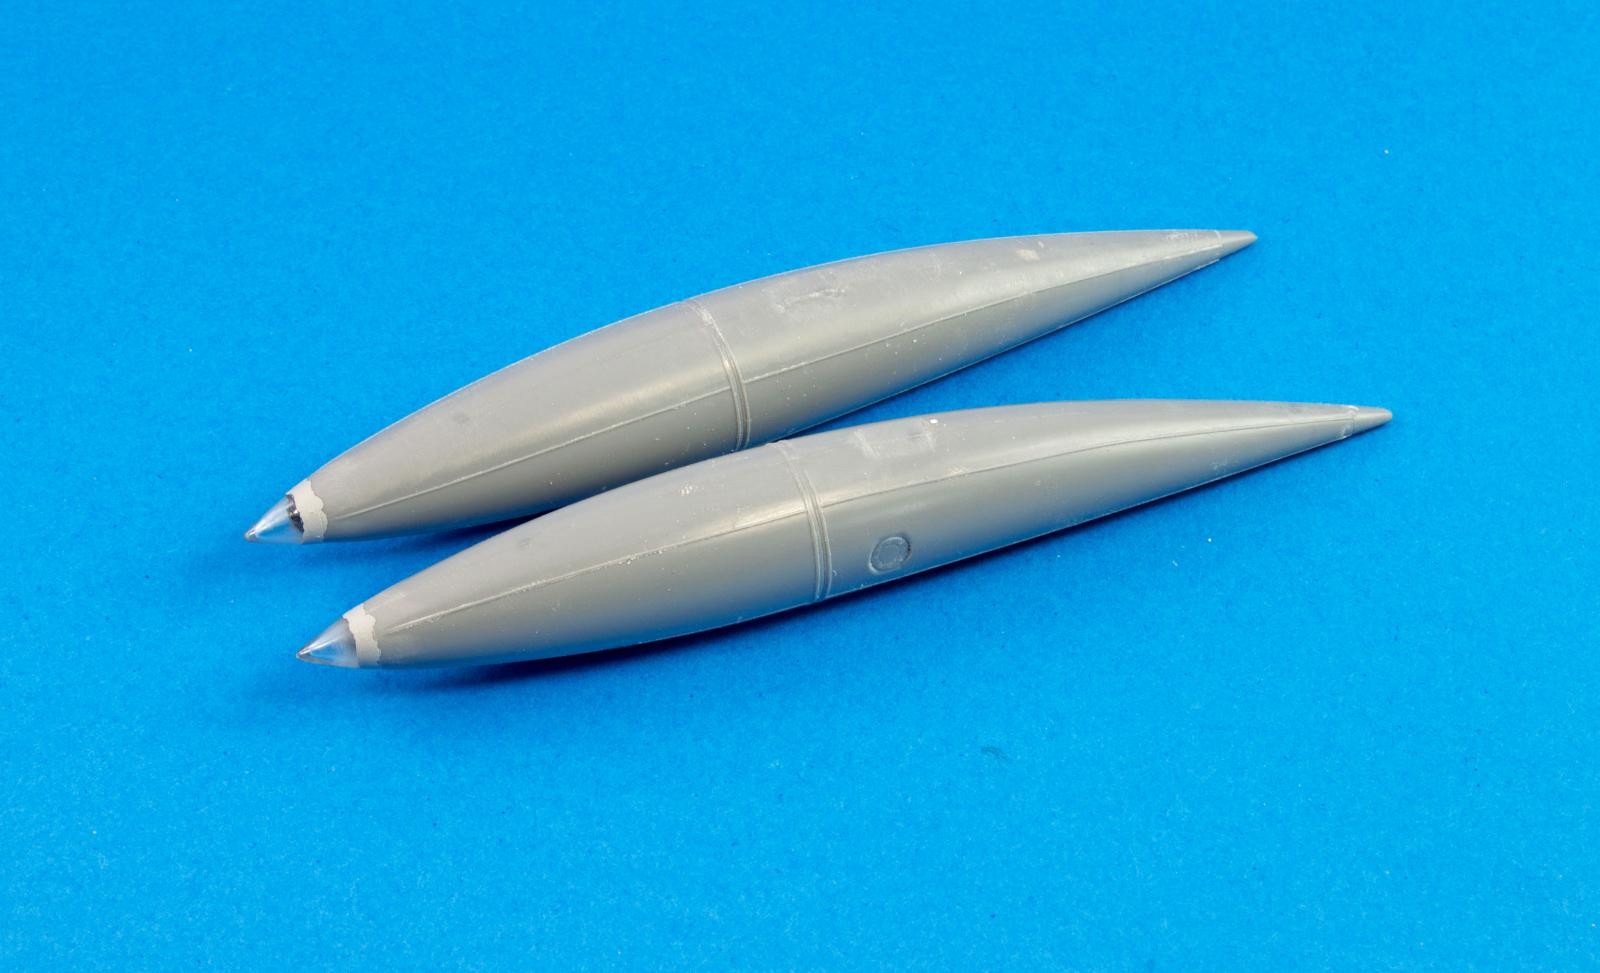
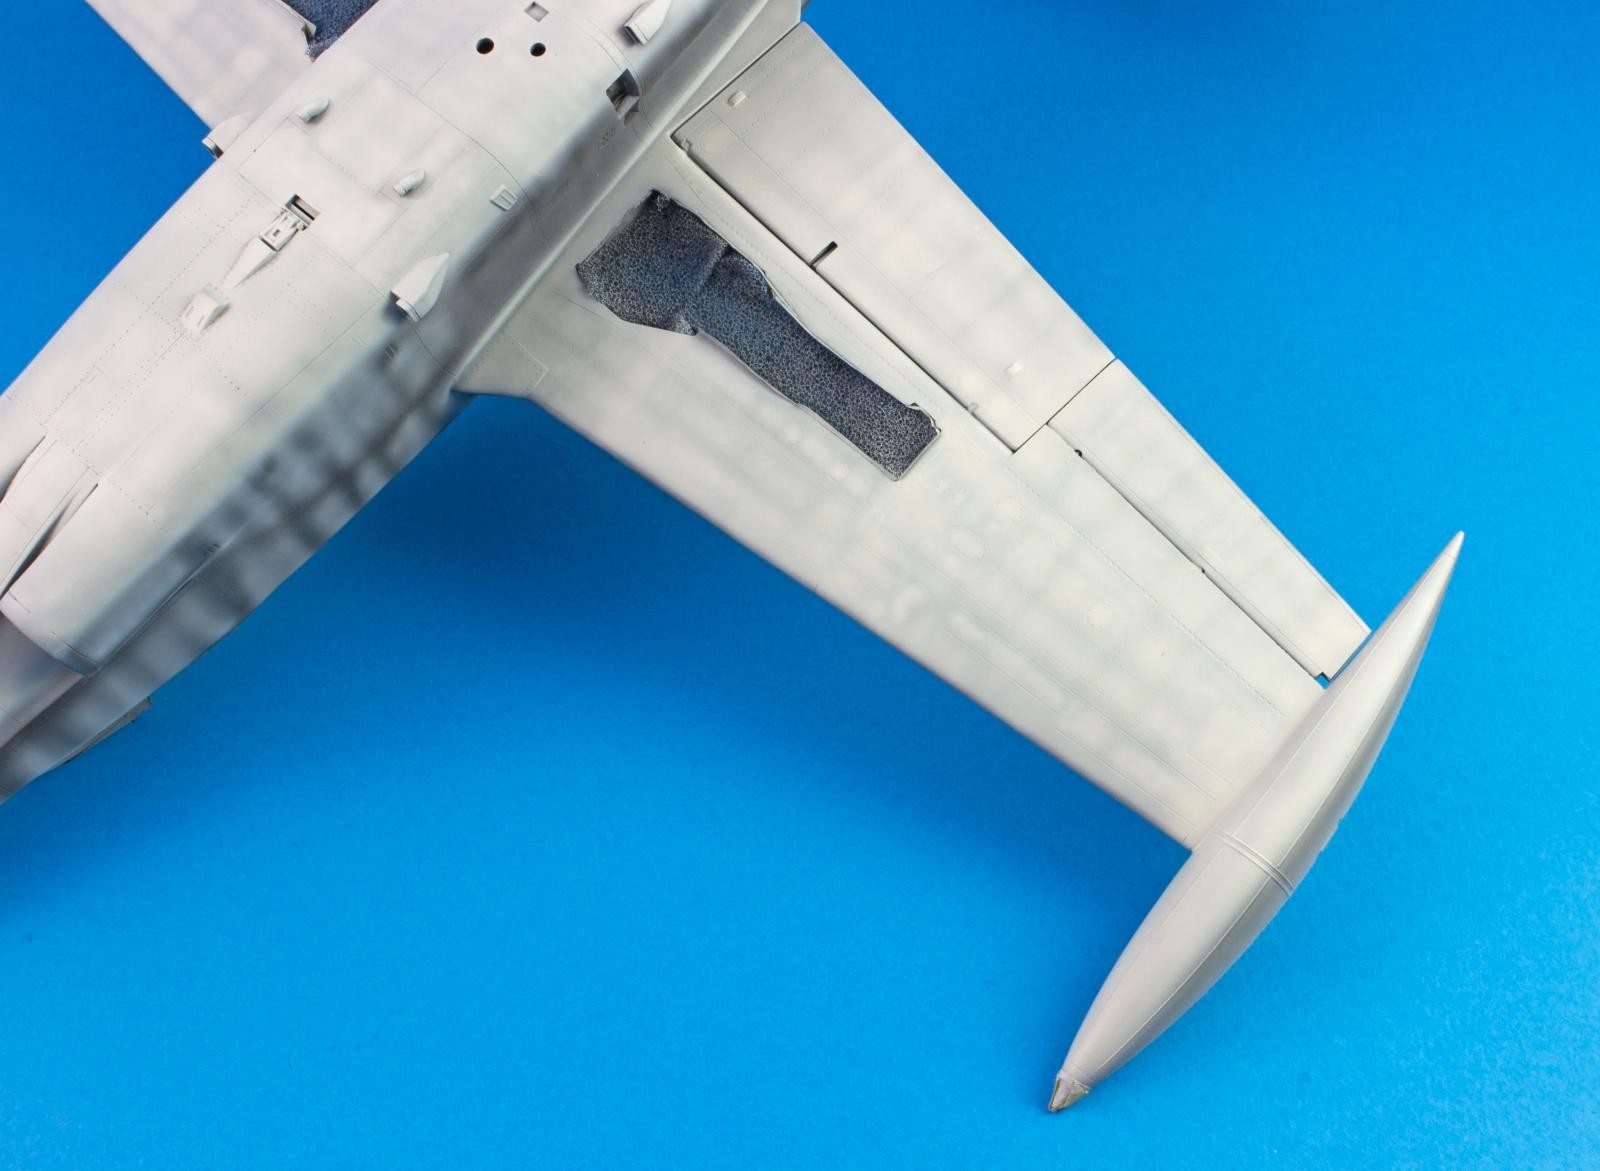
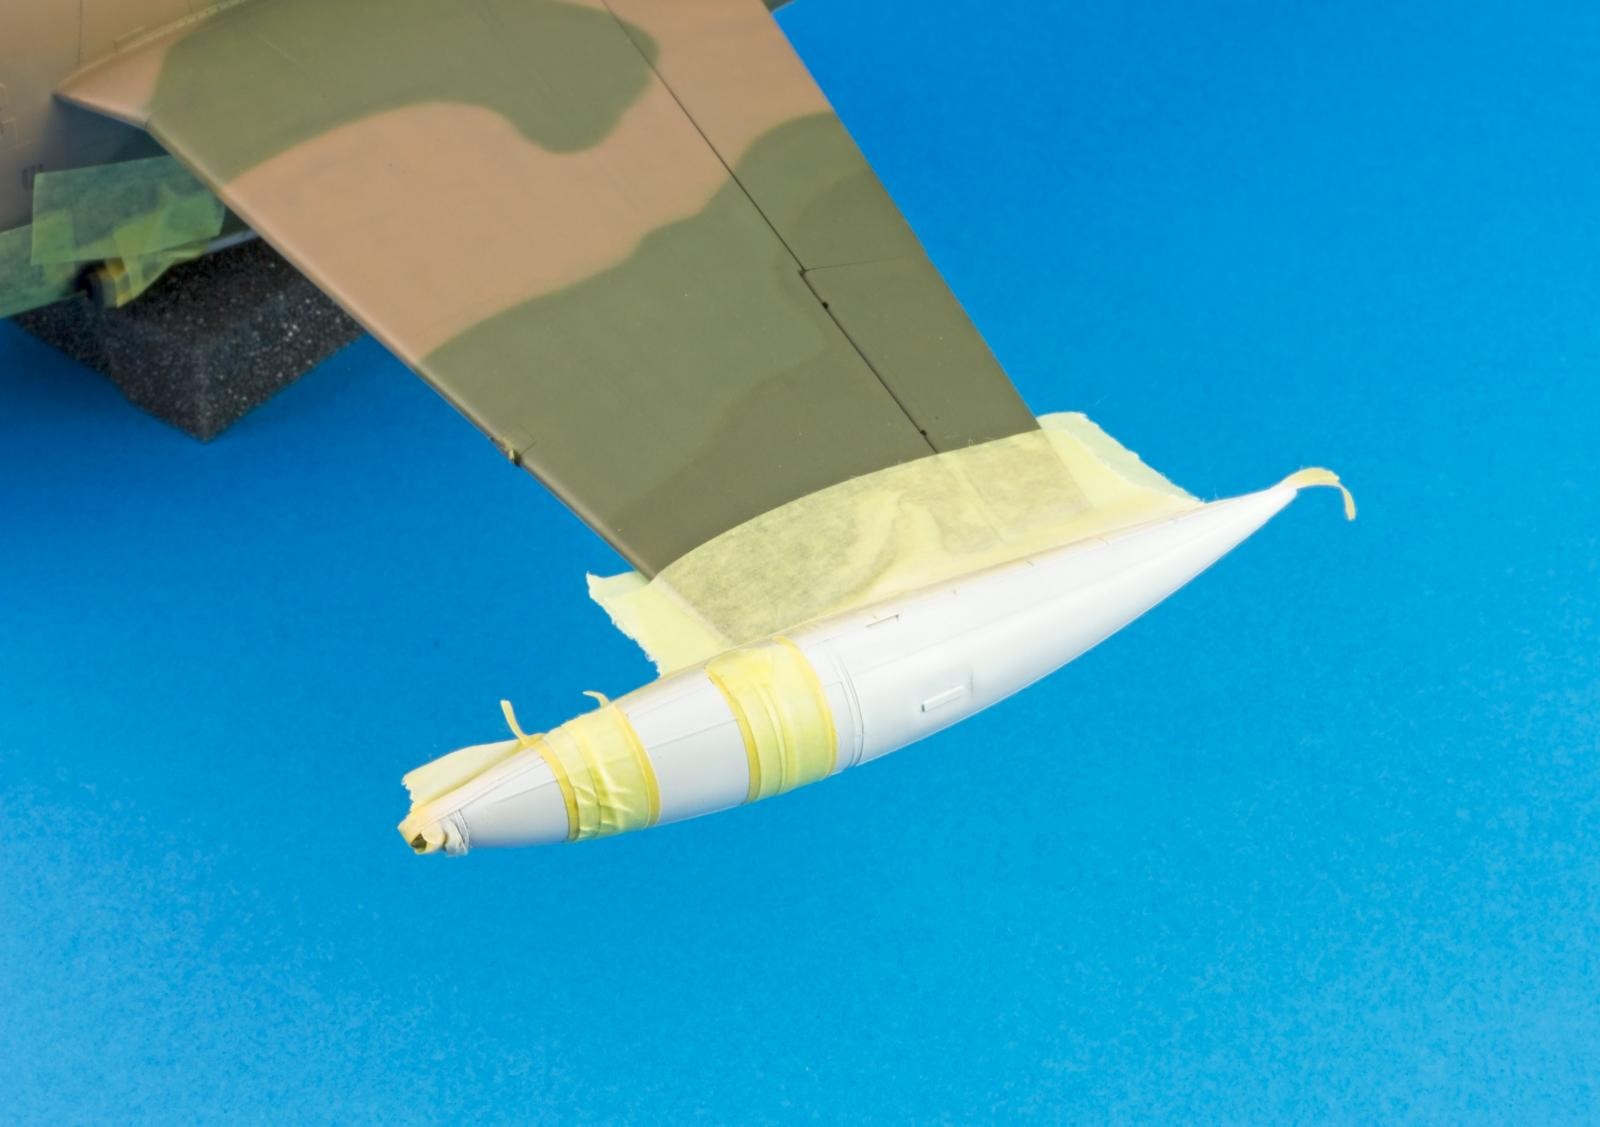
The clear parts on the wing tip tanks were first blended in with Mr. Surfacer 500 and then sanded and polished into shape.
The fit of the wings and tail planes was perfected but, nevertheless, filler in both the form of Mr. Surfacer 500 and super glue mixed with talc powder was order of the day. This was later sanded and smoothed with wet and dry fine sandpaper.
The entire fuselage received a dark grey primer coat mixed from Vallejo 600 white and 602 Black polyurethane primers. This was applied in light coats and allowed several days to fully dry.
The panel lines were pre-shaded with diluted black. To enhance the contrast, the spaces between the panel lines and all the raised fuselage filters were painted white.
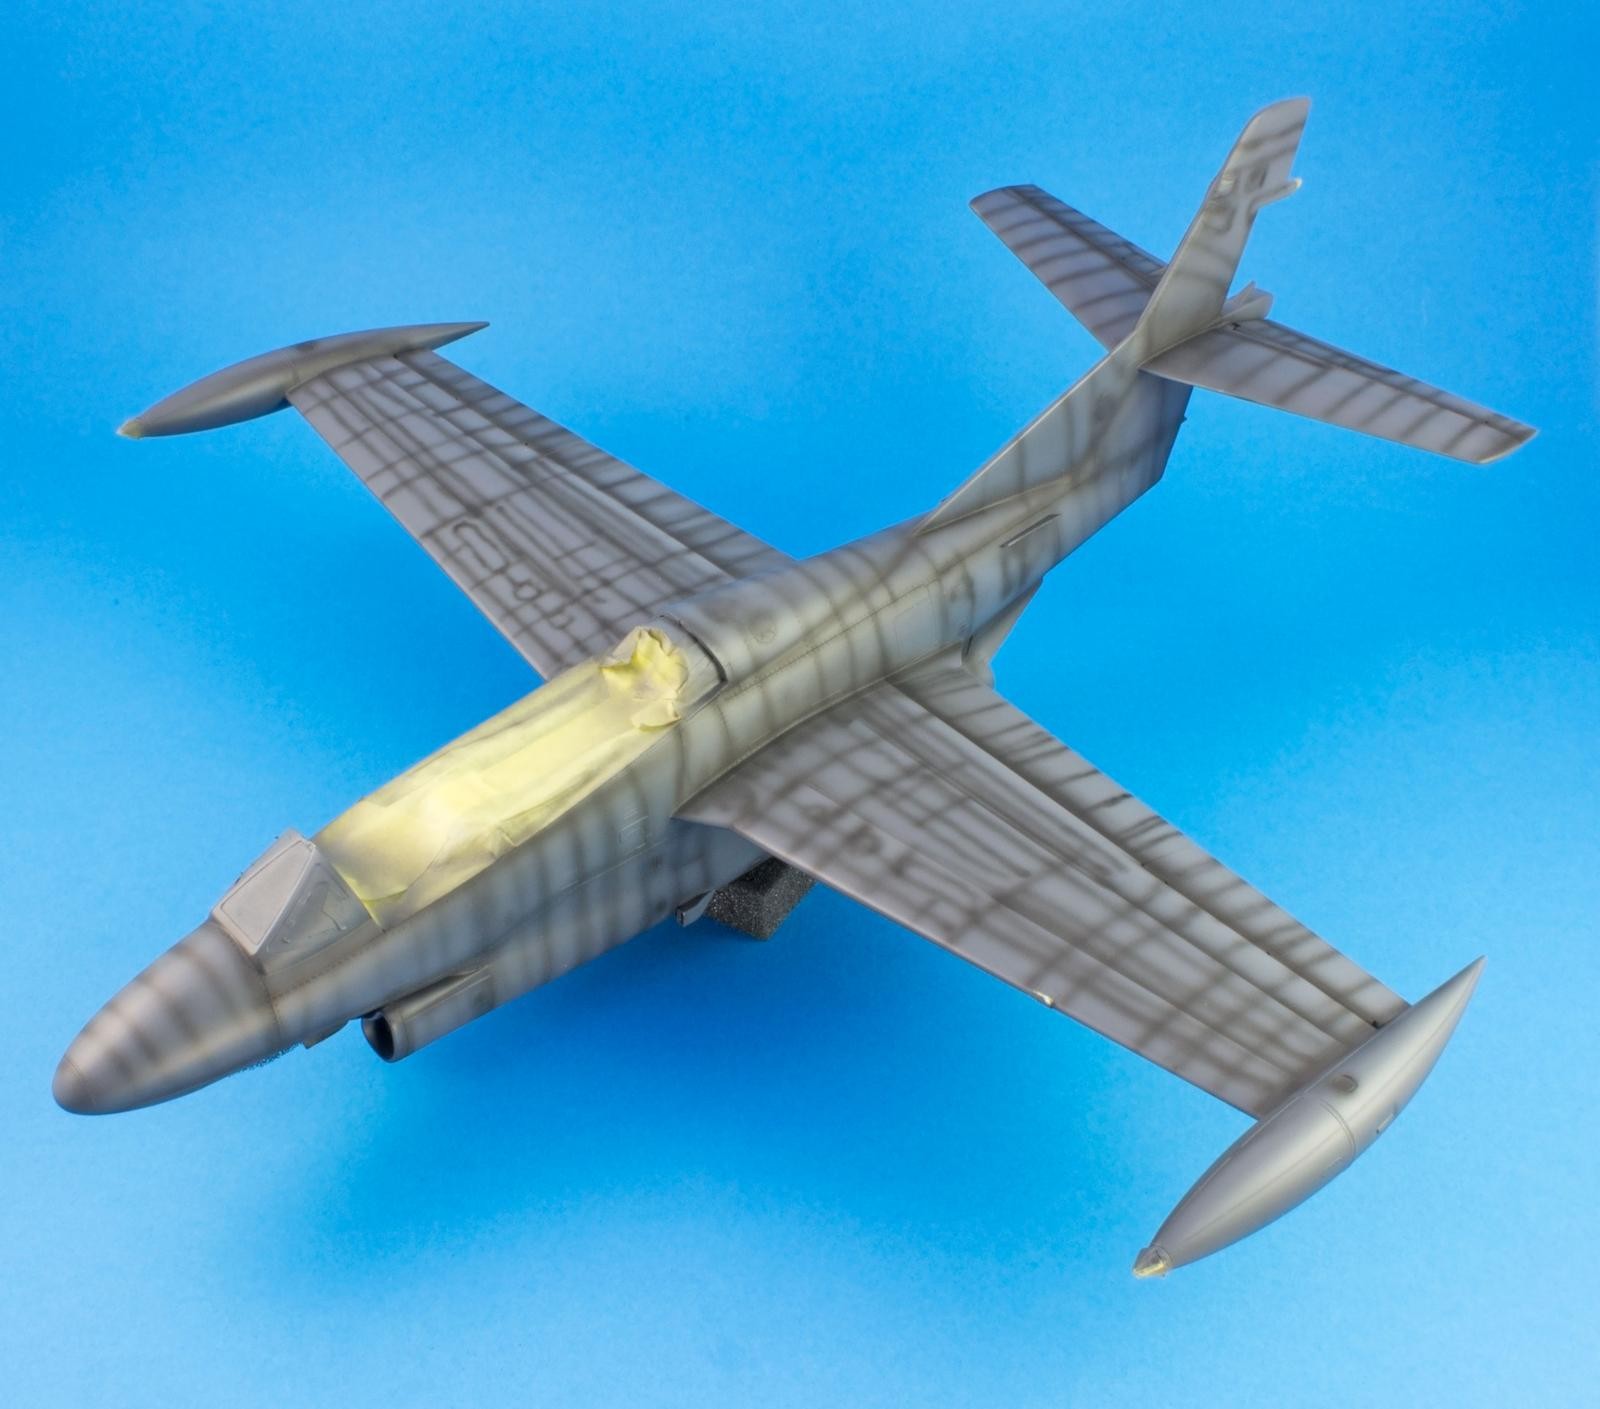
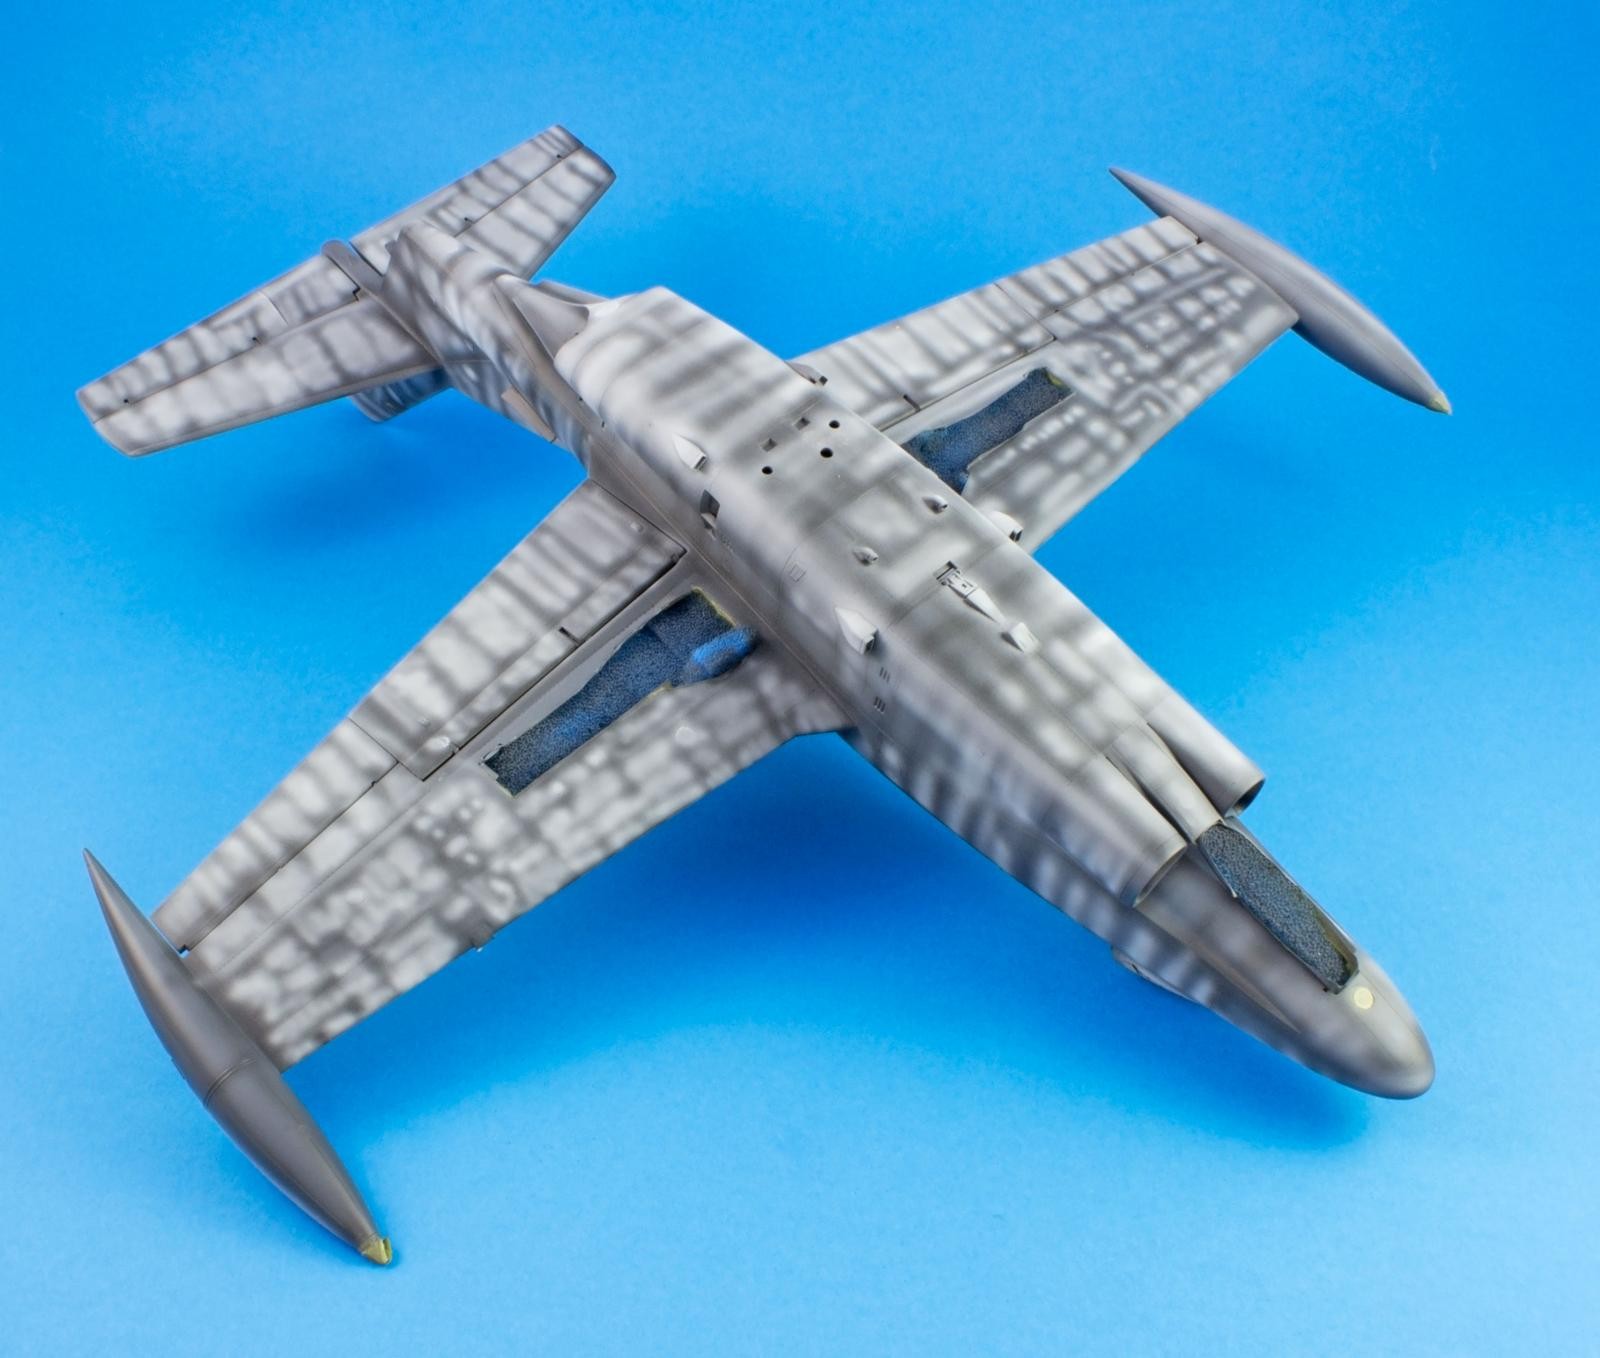
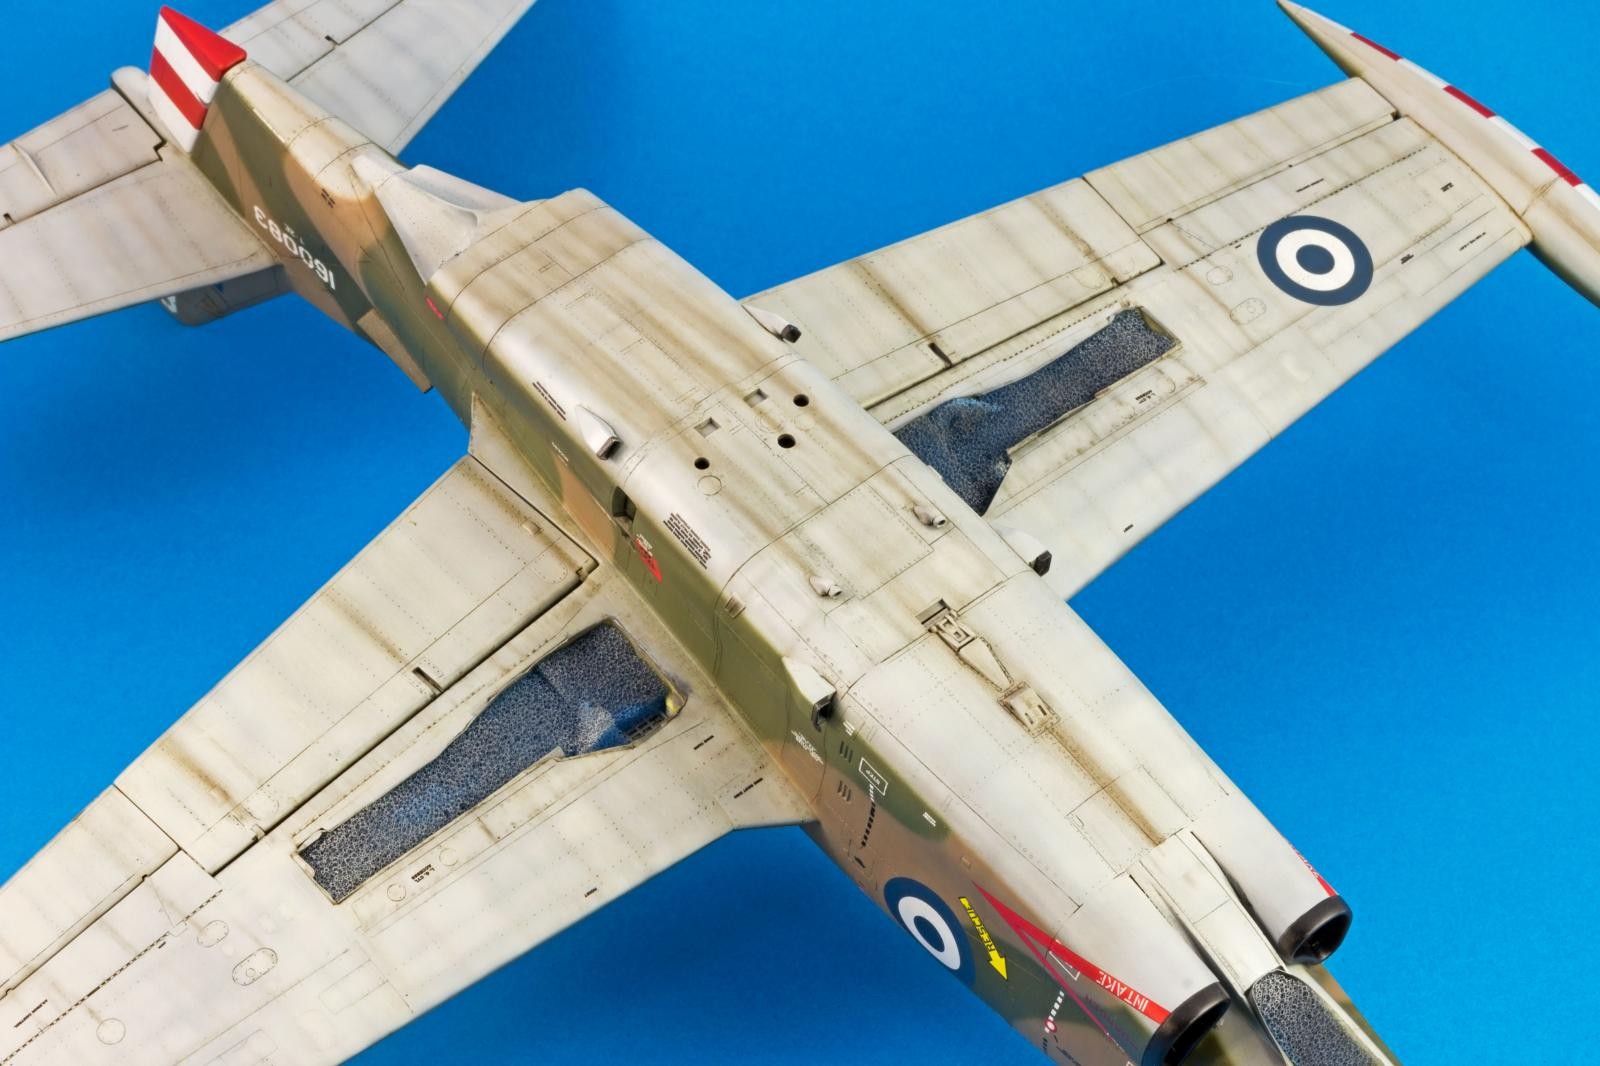
The fuselage and wing undersides were painted with Mission Models 095 US camouflage grey FS 36622. Please note the contrast imparted by the pre-shading technique.
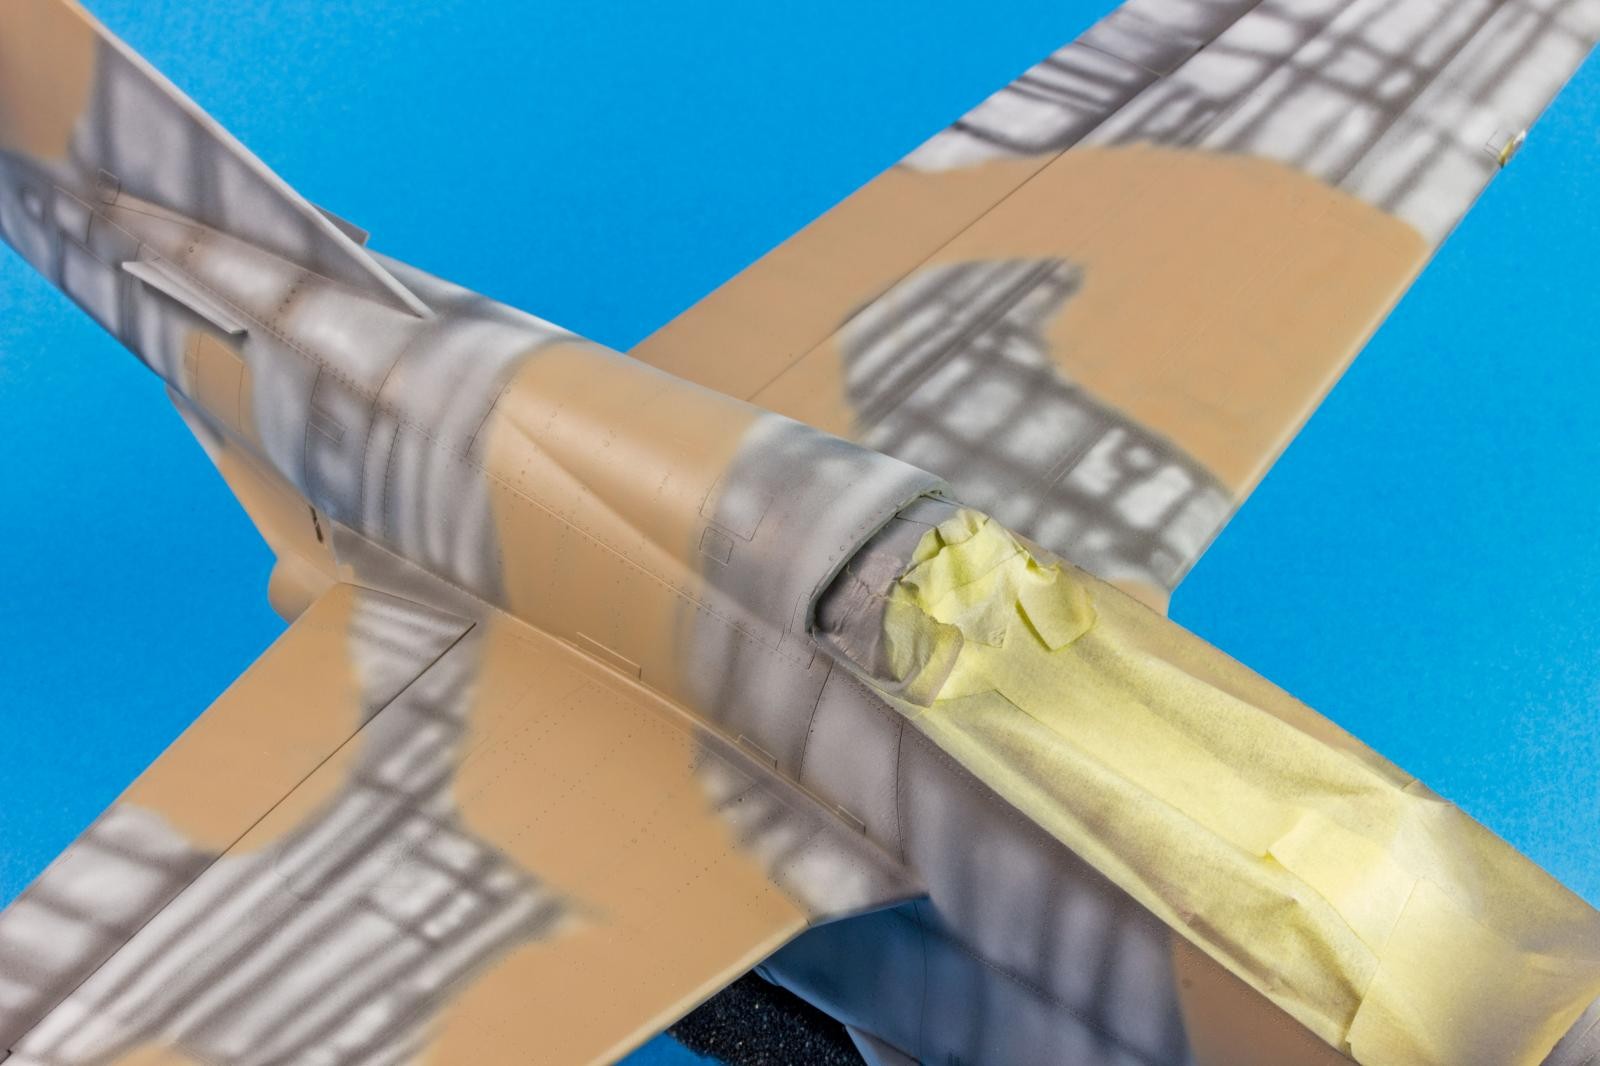
Vallejo Model Air 71125 Brown USAF was used to depict FS 30219 Dark Tan. This colour was diluted as usual with their proprietary thinner but, this time around, two drops of MMP MMA-001 Polyurethane Mix Additive were added.
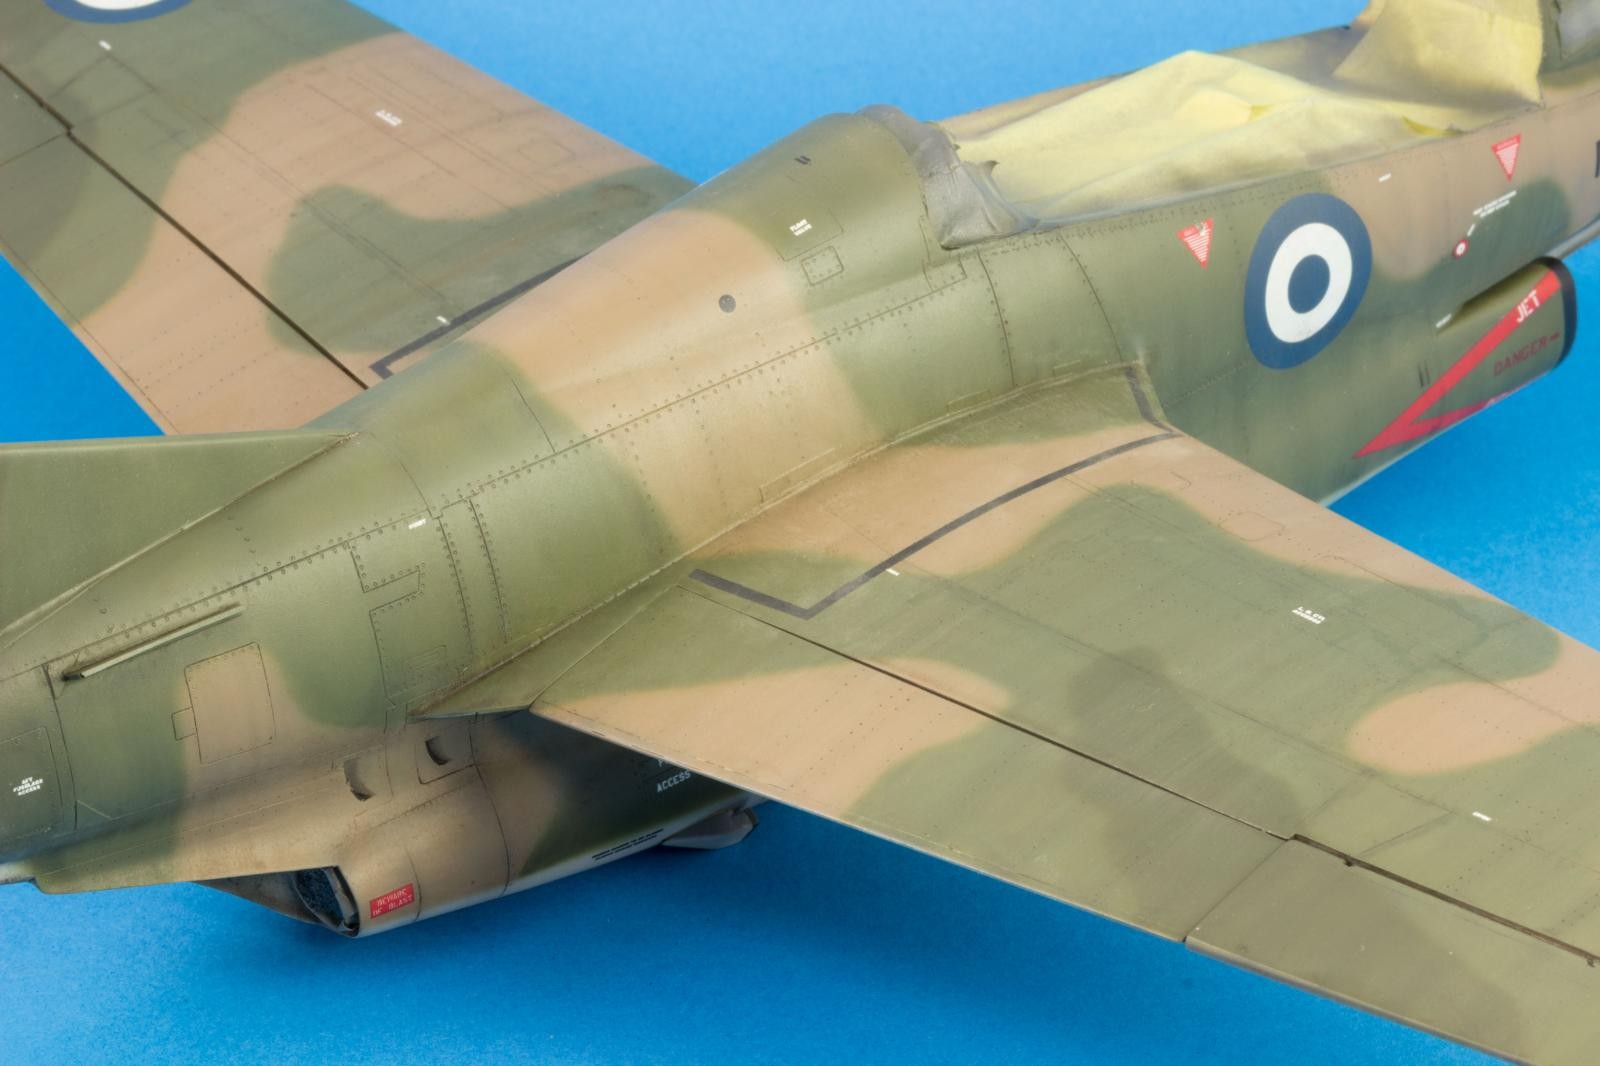
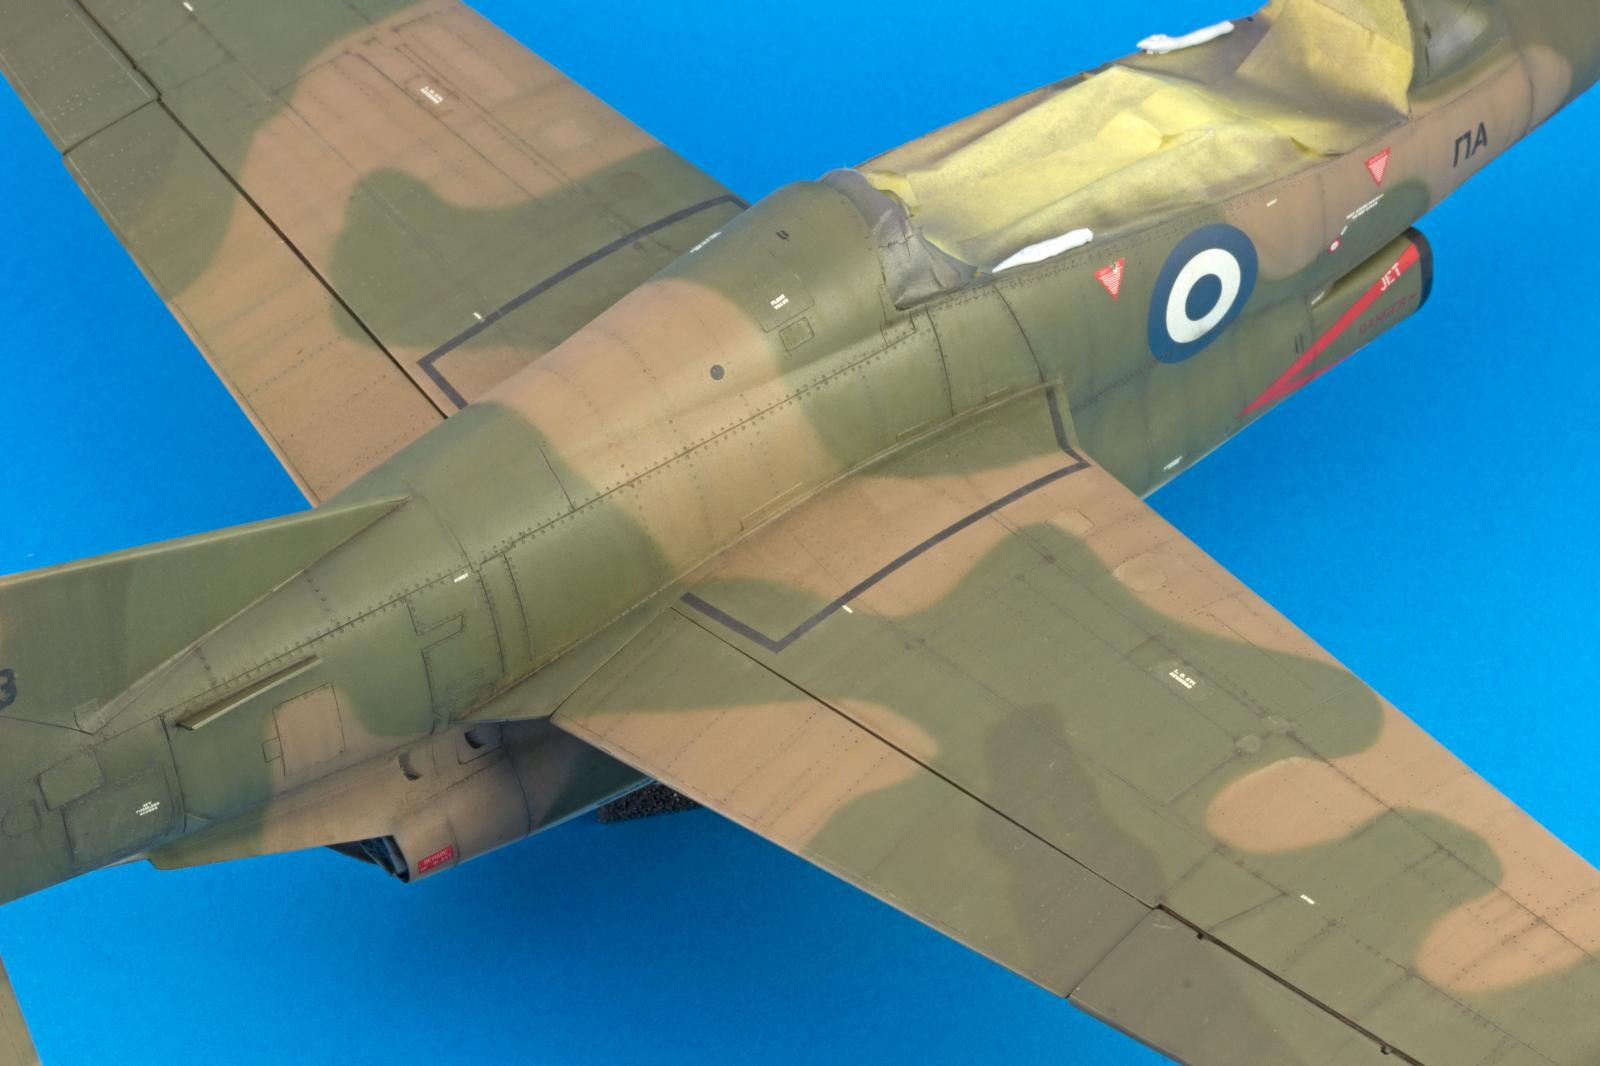
FS 34102 Medium Green was applied via Vallejo Model Air 71289. The border traces between colours were carefully sprayed and the inner areas comprehensively filled.
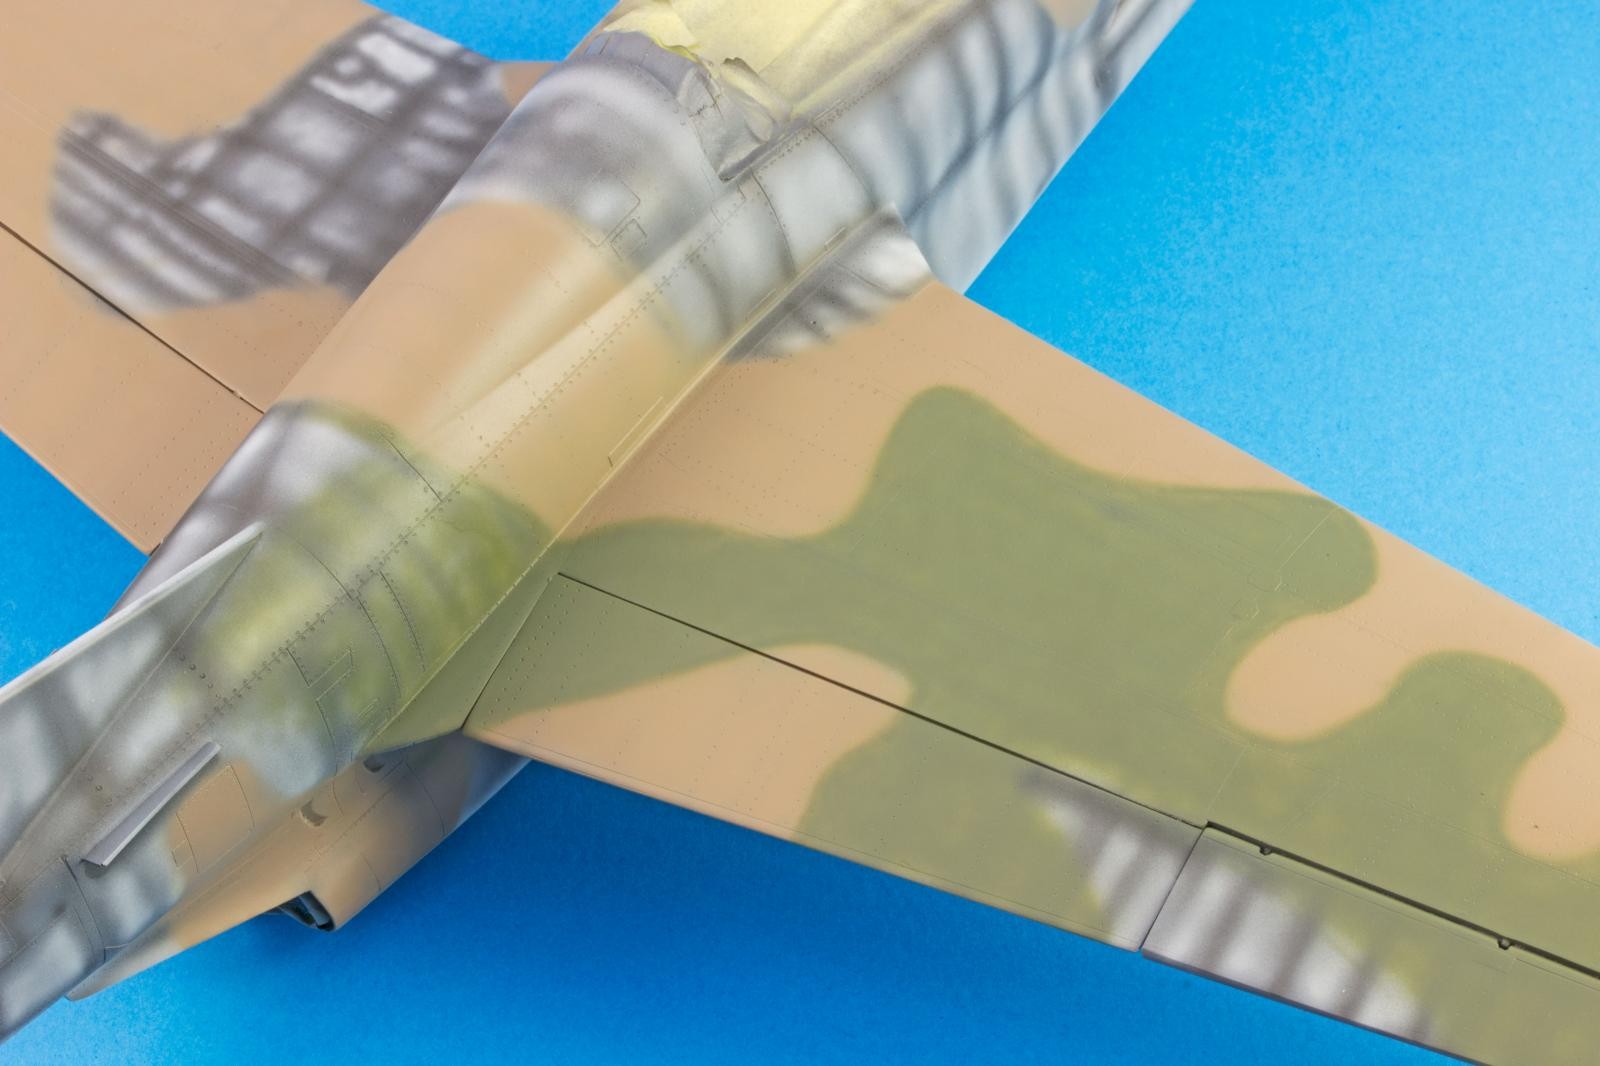

For the darker green, FS 34079 Green, Mission Models MMP – 058 US Dark Green was airbrushed at low pressure, respecting the thinning ratios prescribed by the producer.
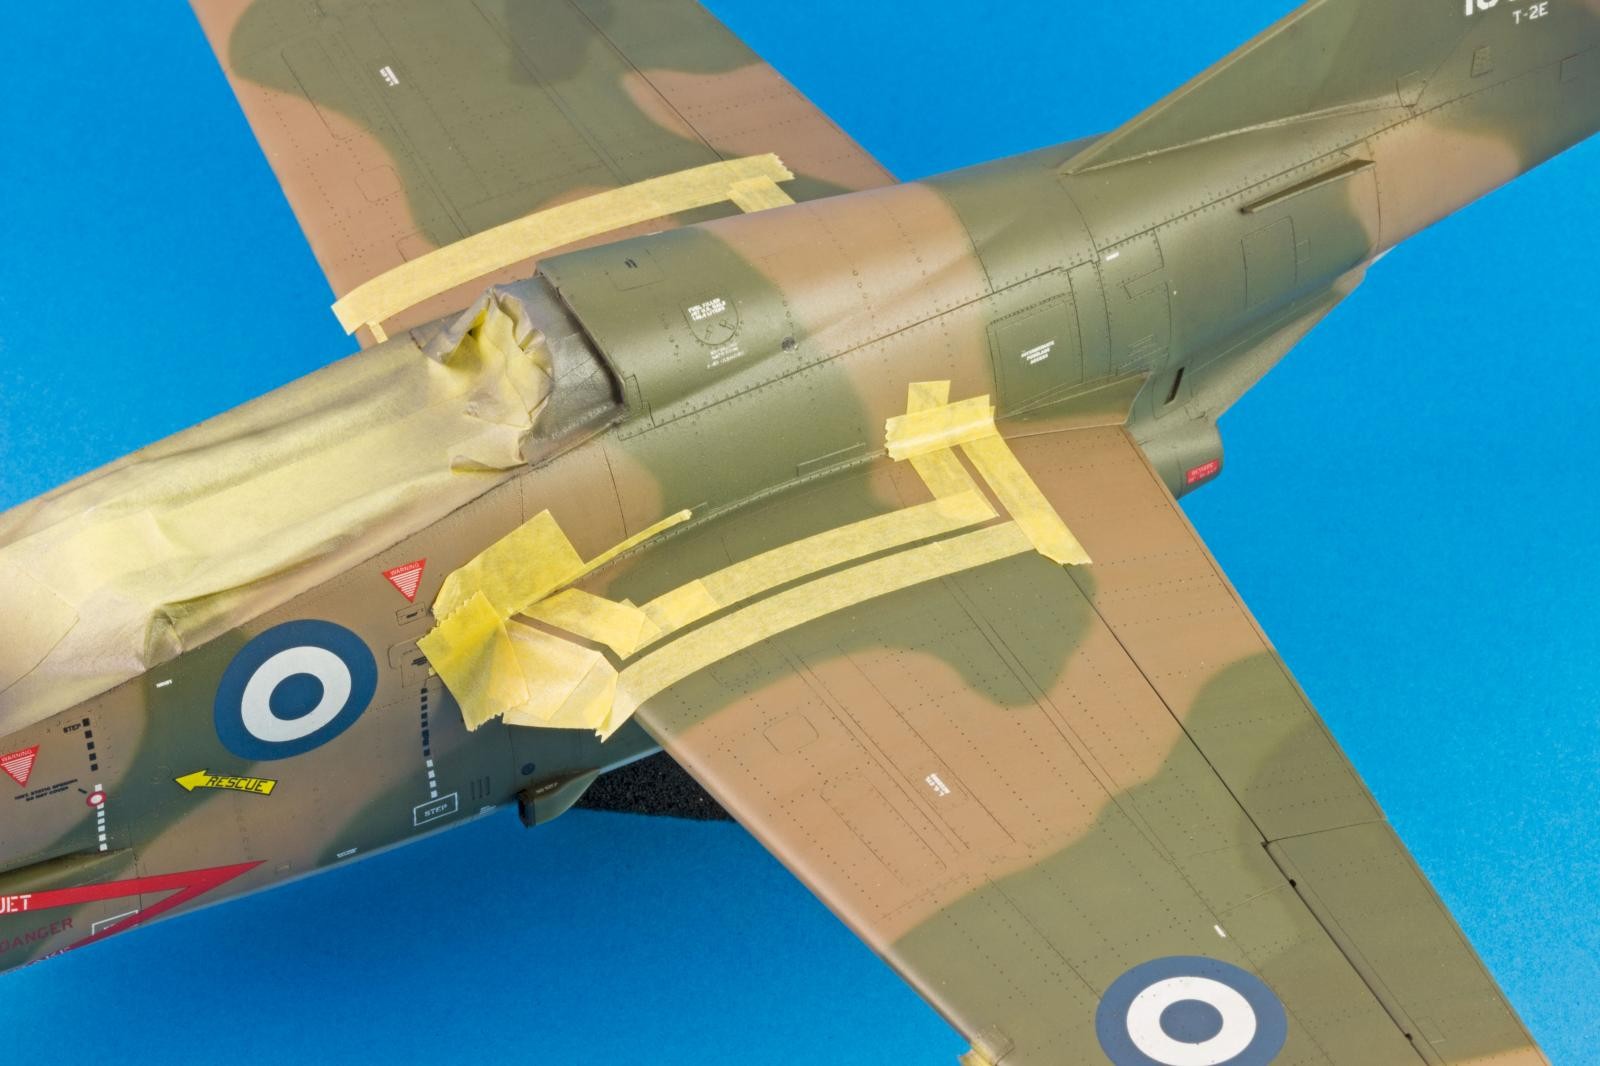
The wing tip tanks and the intake lips were detail masked and painted with the relevant primary colours.

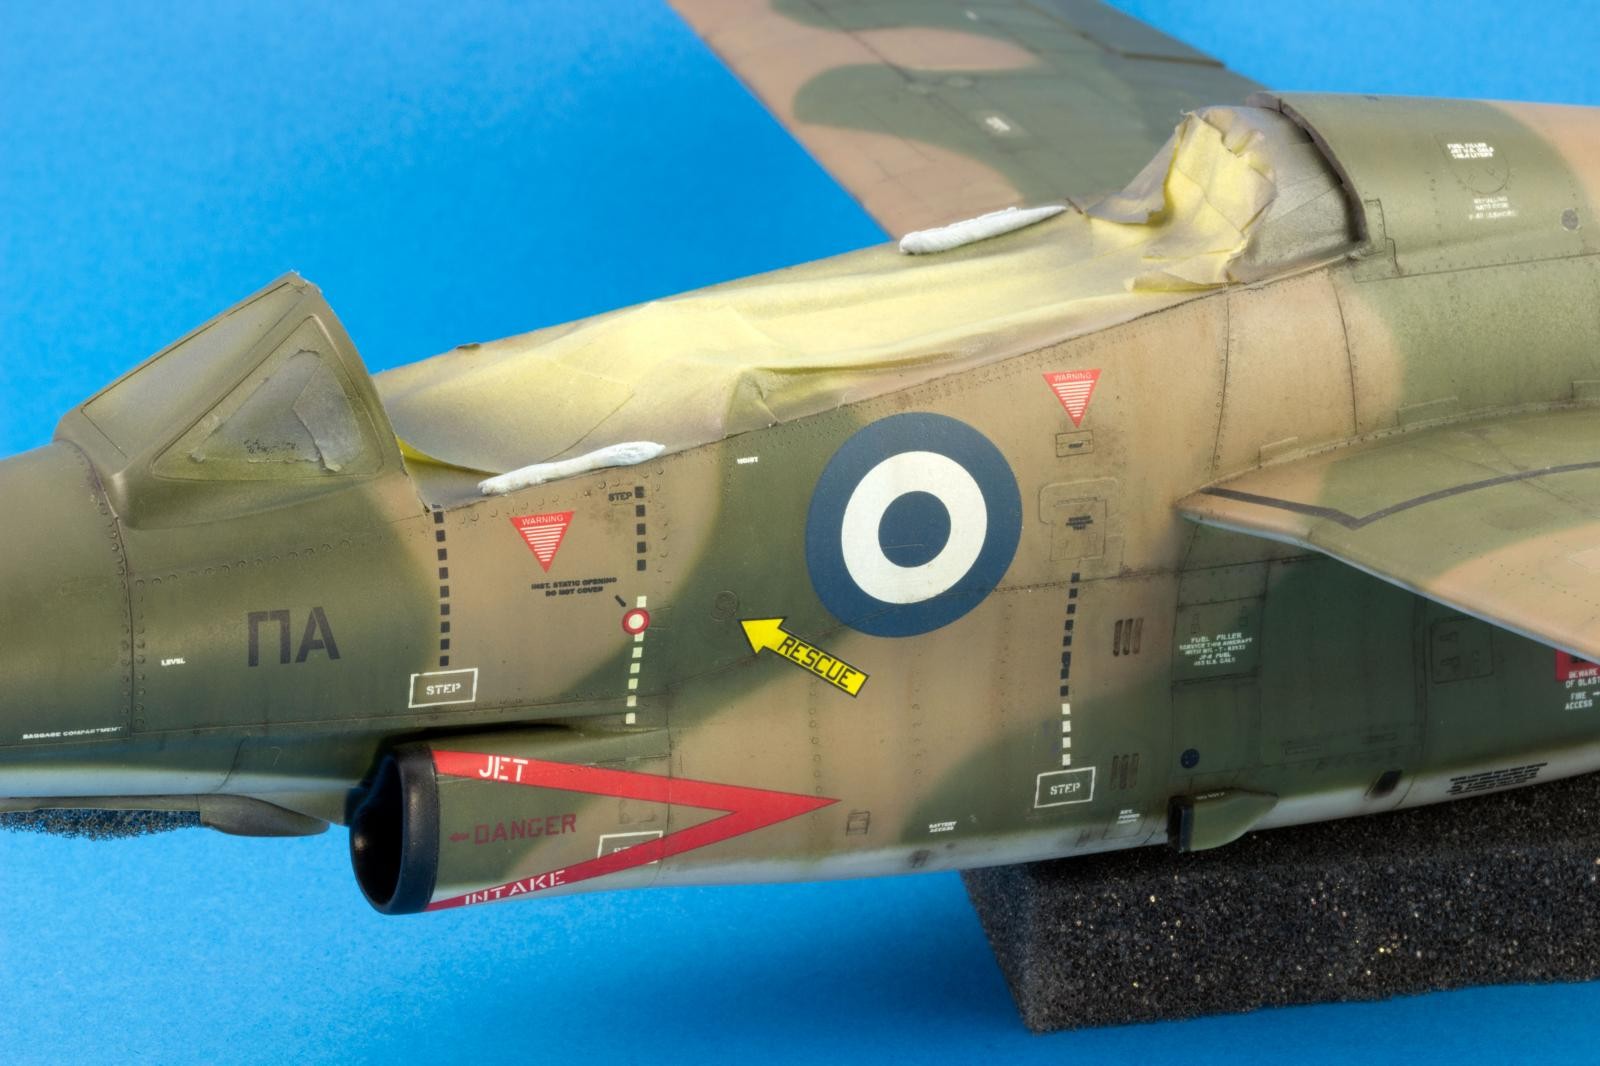
The decals performed flawlessly with the help of the Micro Set and Sol system. The exception was the walkways which were masked and painted.

The undersides received a pin wash with A.Mig - 1602 Deep Grey, and the excess cleaned in order to form a patina. The streaks were created with airbrushed Com-Art inks.
To alter the base colours, several enamel filters were applied on the entire model surface.
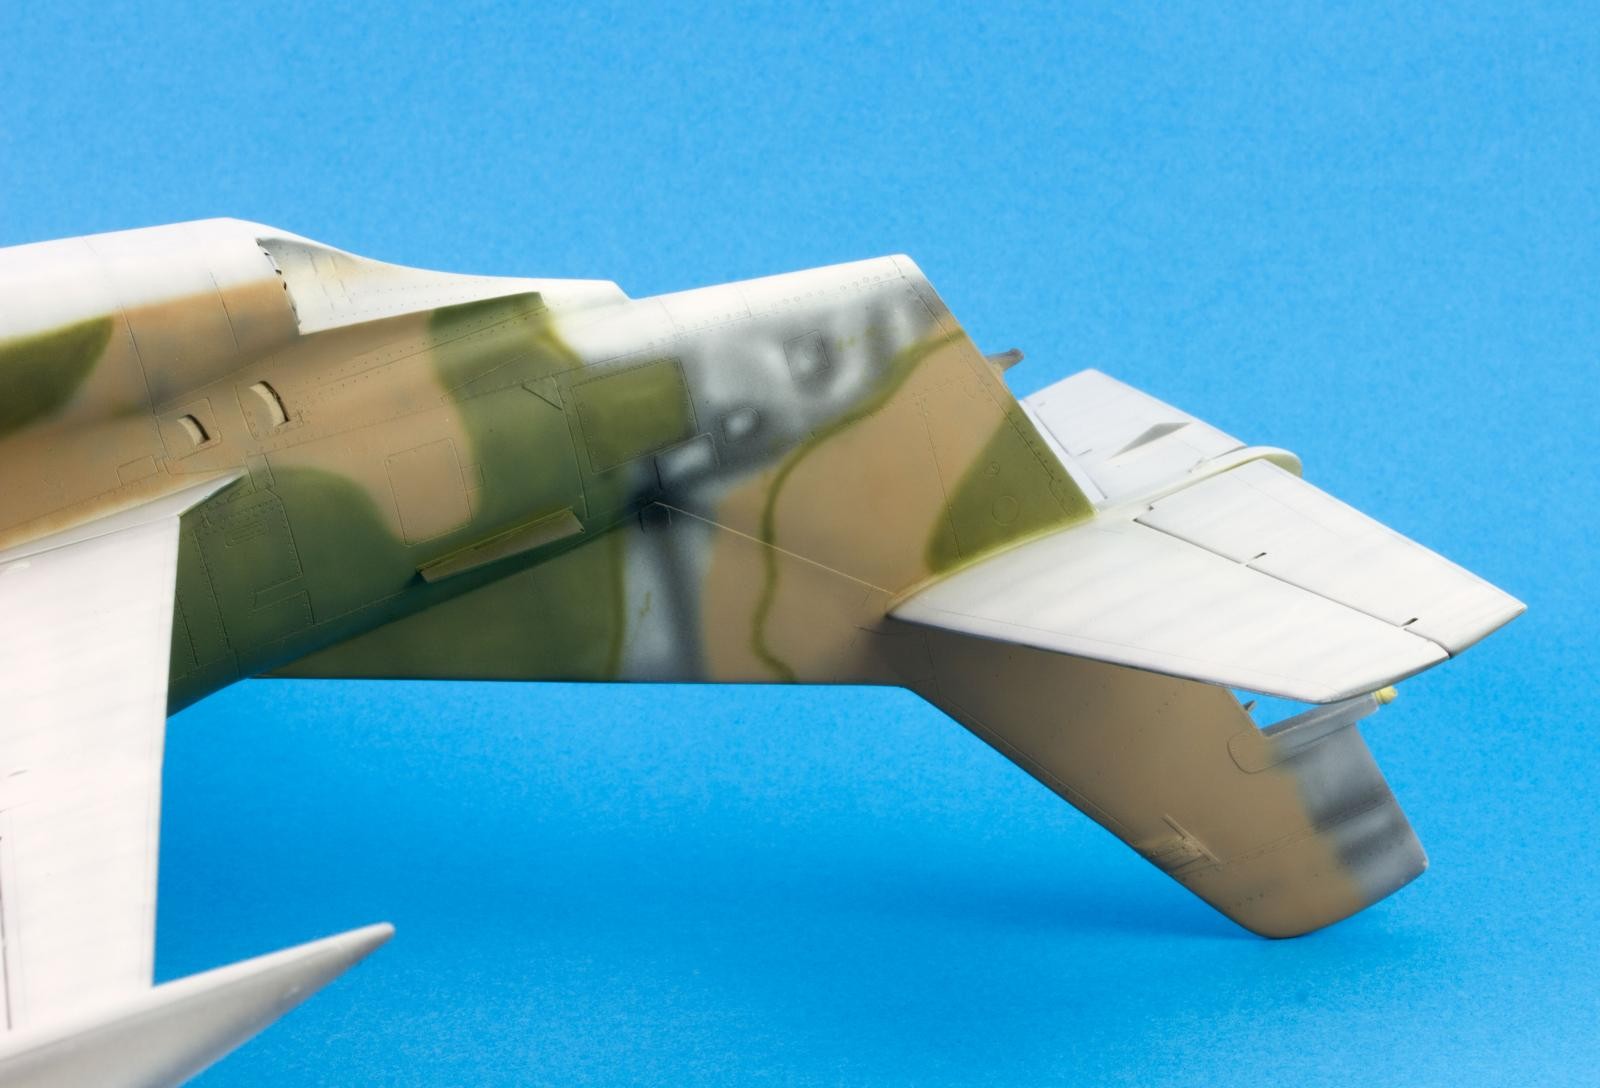
The oil dot filtering technique was employed on the upper surface of the fuselage. Note the interesting modulation achieved on the camouflage.

The enamel panel line washes were very effective creating a worn and faded look. It was very important to leave a patina around the detail when cleaning up the excess wash.
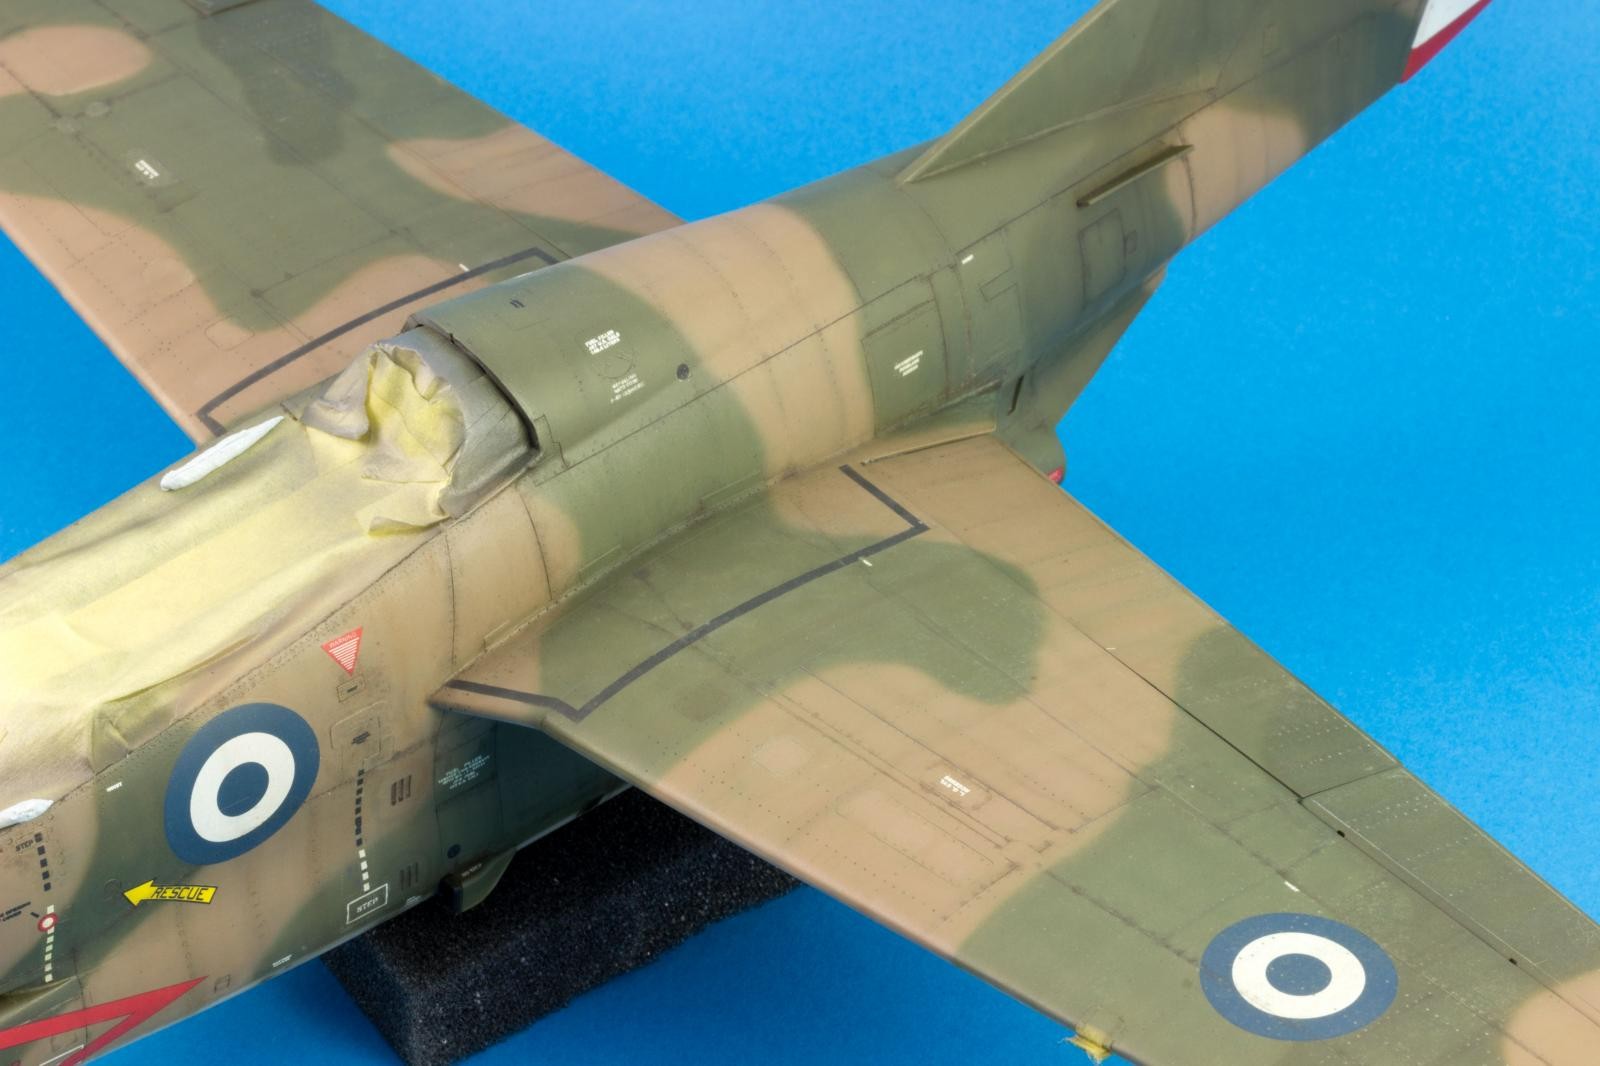
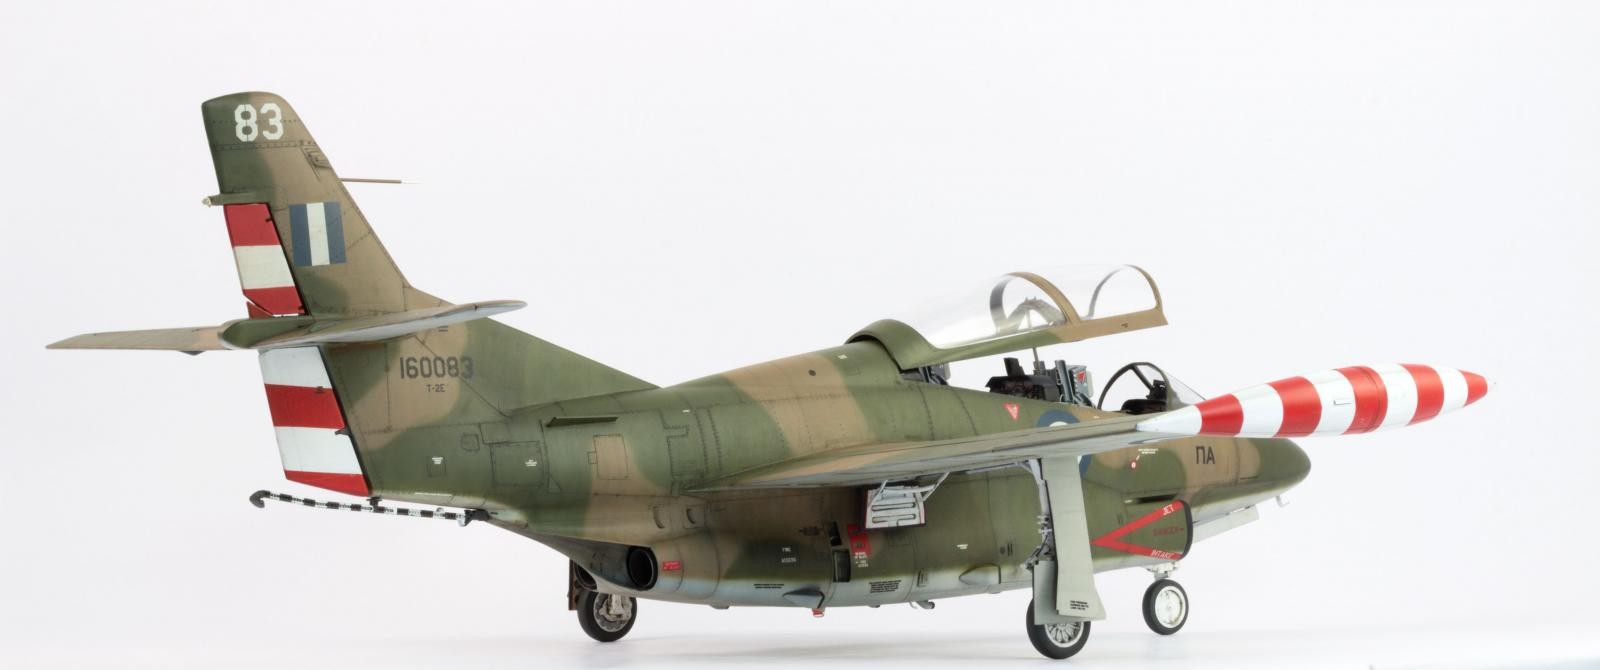
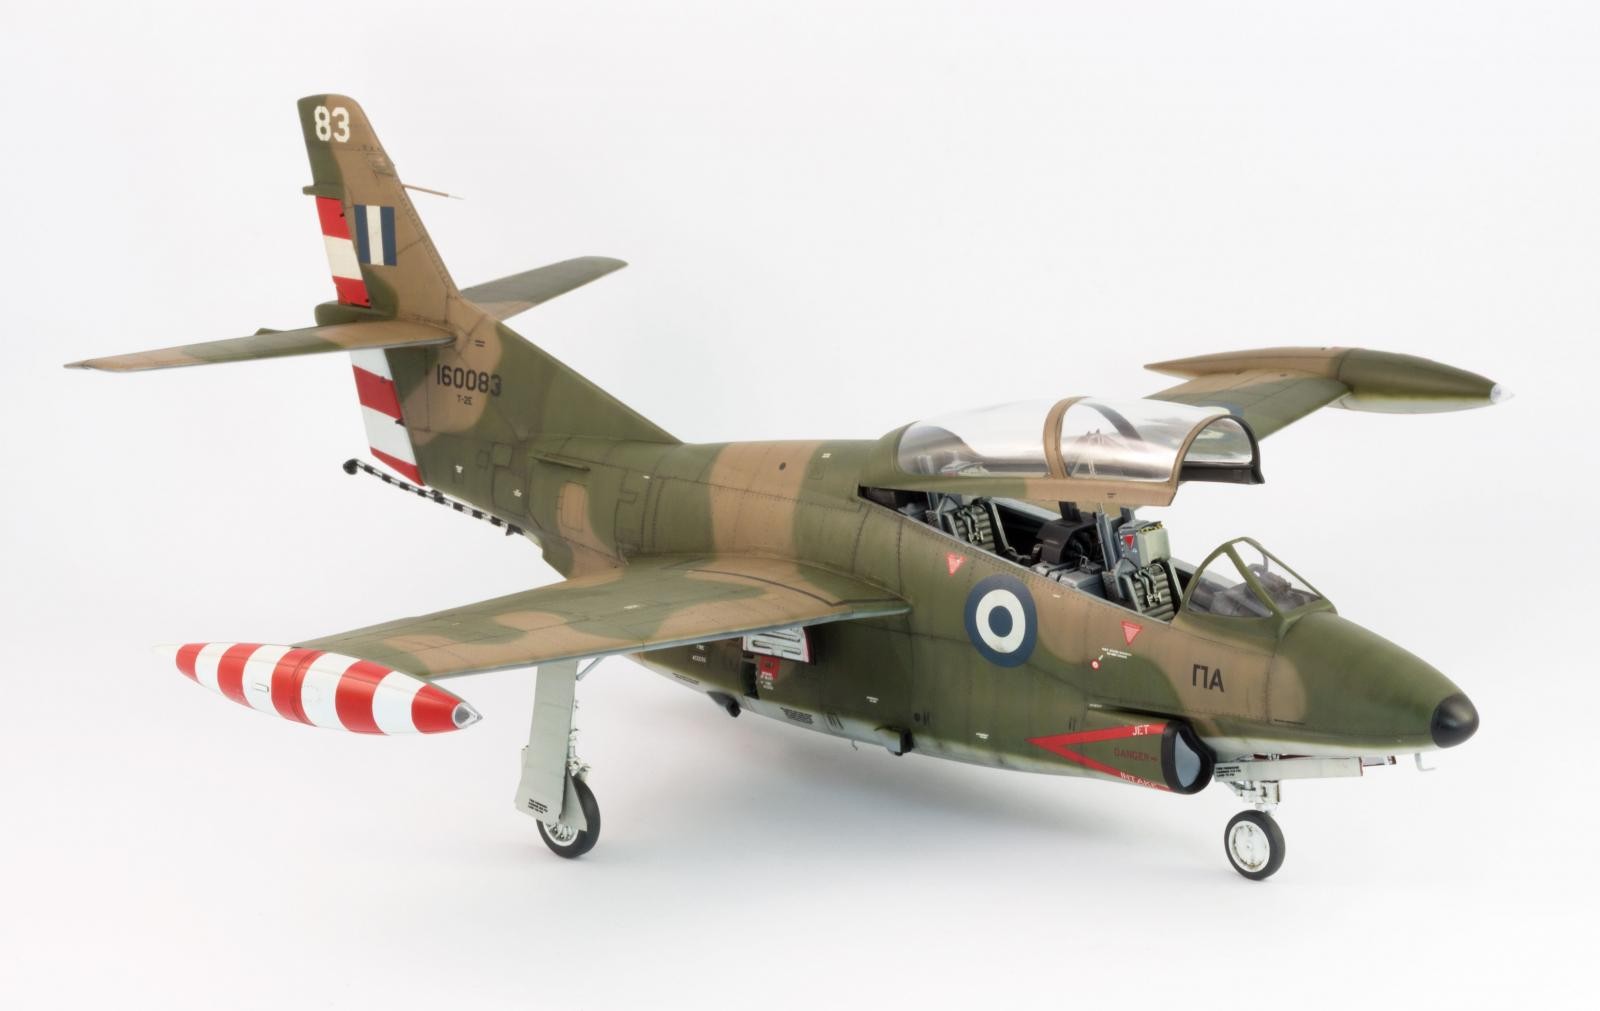
General look of the weathered airframe before the final assembly run.

Looking back, although complex on several moments, this was a very enjoyable build. It is always great to tackle this “shortish”-run kits, and in the process, the modeller really exercises the modelling skills on their portfolio while modelling an extremely interesting subject.


Really outstanding work on all phases of the build!
That right there is an excellent build and presentation, sir...exemplary work !
Some strong work that looks like it came out of a hard copy magazine. Definitely, a strong contender for "Model of the Month" and worthy of thinning the hair of the judges...
Two thumbs up on a Professional build Jose'.
Thanks a lot for the feedback, and please take my apologizes for the long time editing the message. I´m still on the learning curve with imodeler.
Thanks again!
The learning curve is a great place to be - hope you might consider posting your next projects in the "Work in progress - aircraft" group for us all to follow and enjoy your progress.
Oh - and they all said it, but it is a great looking plane you have got there!
+1
Thanks for comment!
Exceptional work. Really admire your attention to detail and shading work.
‘Liked’
Thanks for the reply!
Cheers!
you have incredible skill
Thanks a lot!
Cheers!
Basically this is a masterpiece! Superb work as usual my friend. Um abraço deste lado do país
Olá Pedro!
Thanks a lot for the comment!
Um grande abraço!
José Pedro
Excellent build, José. Just excellent.
Thanks for the reply!
Cheers!
Amazing detailed work! Looks great.
Hi Robert!
Thanks for the feedback!
Cheers!
I am in awe of the detailing work you did on this plane, as well as the great paint job. Greek airplanes have some really cool camouflage.
Hi George!
Thanks for the comment!
Indeed, Greek subjects provide excellent inspiration for weathered looks!
Cheers!
This is master-class modelling work!
Fantastic result and a really cool subject. Well done!
Hi Tommy!
Thanks a lot for the compliment!
Cheers!
Hello José,
Master Modeler is appropriate to hang on the standard of this model and the maker.
I would like to include the photography accompanying this model. Regards, Dirk
Just awesome. Congratulations!
Nice work! I’ve always liked the T-2 and miss seeing them flying out of Pensacola and over the Alabama beaches.
Fantastic work.
A real beauty! I appreciate all the preshading, pin washes, oil filtering, etc. to give it such a realistic finish. Wonderful details all around.