1/144 SCALE REVELL DC-10/30 ARROW CARGO - Last Part
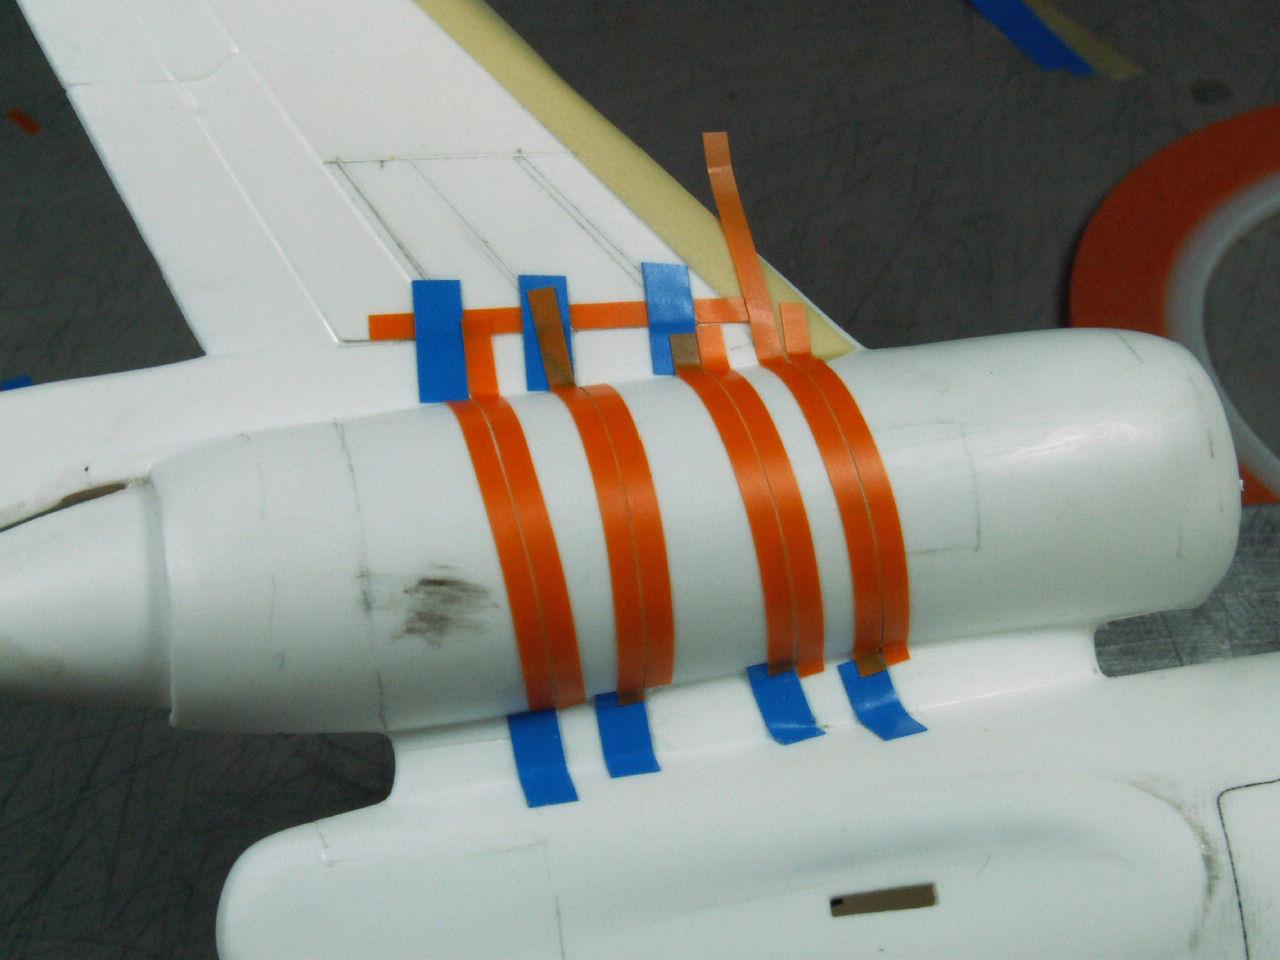
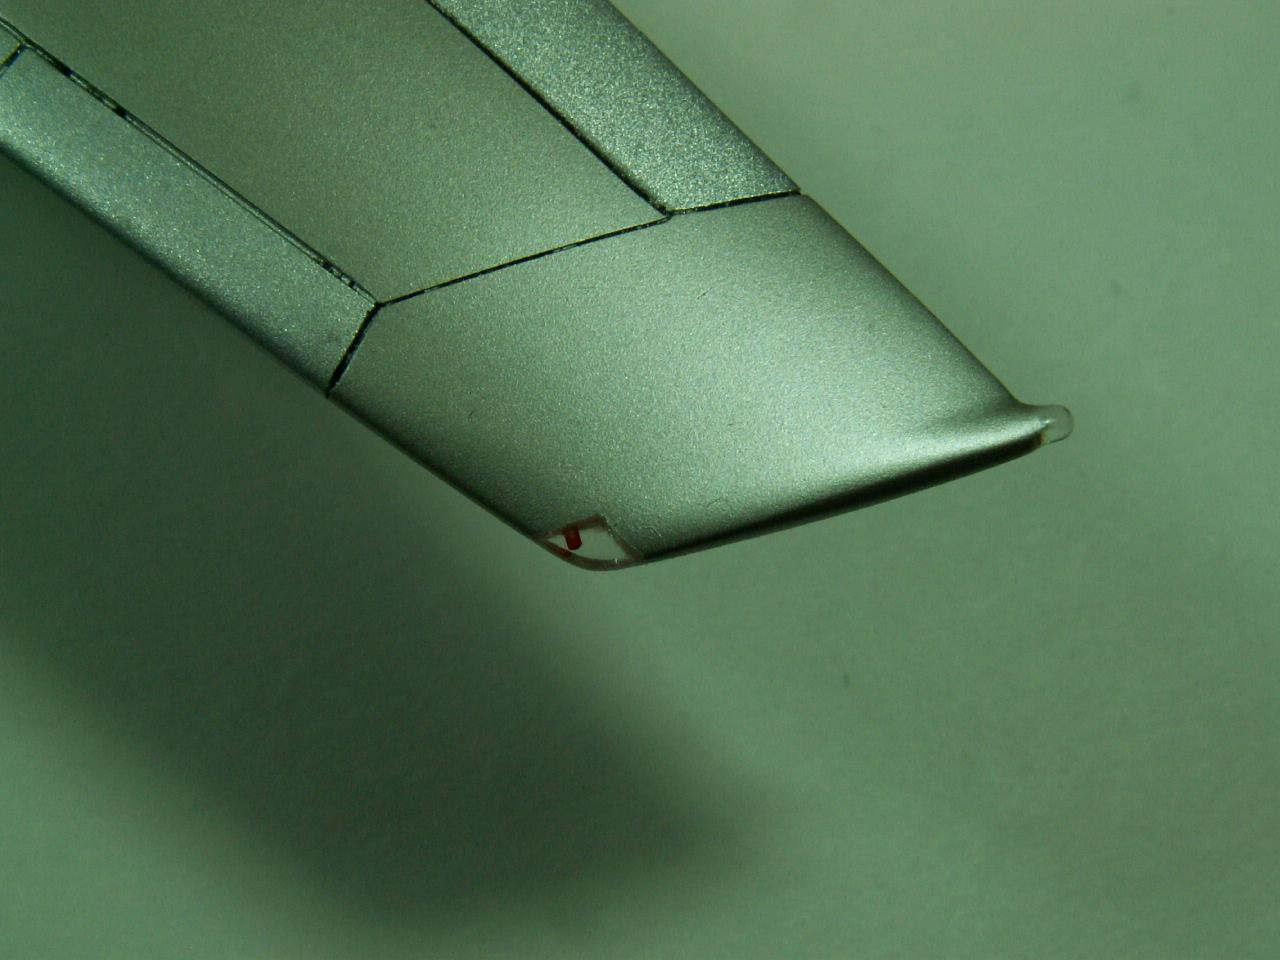
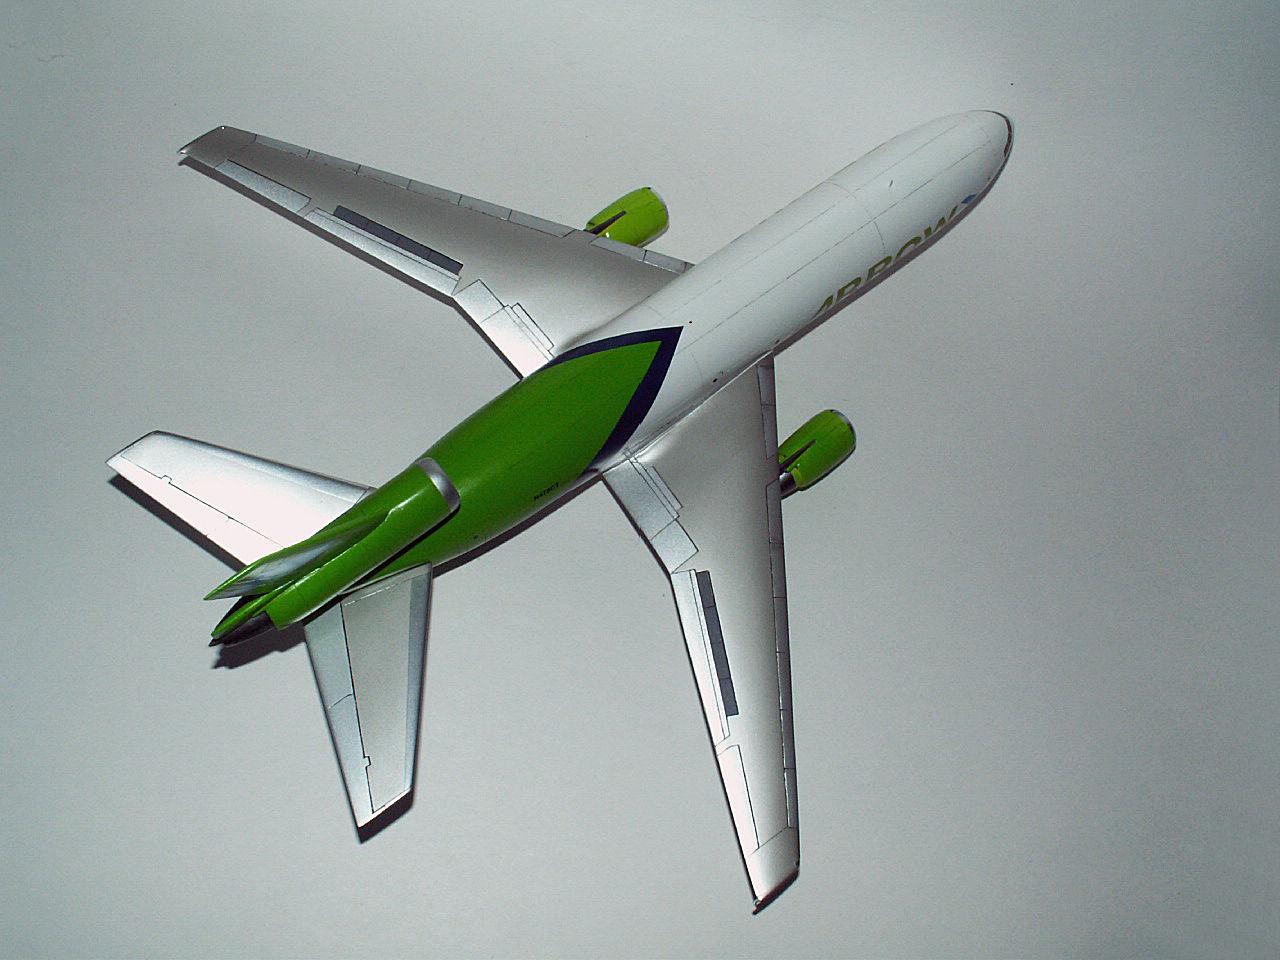
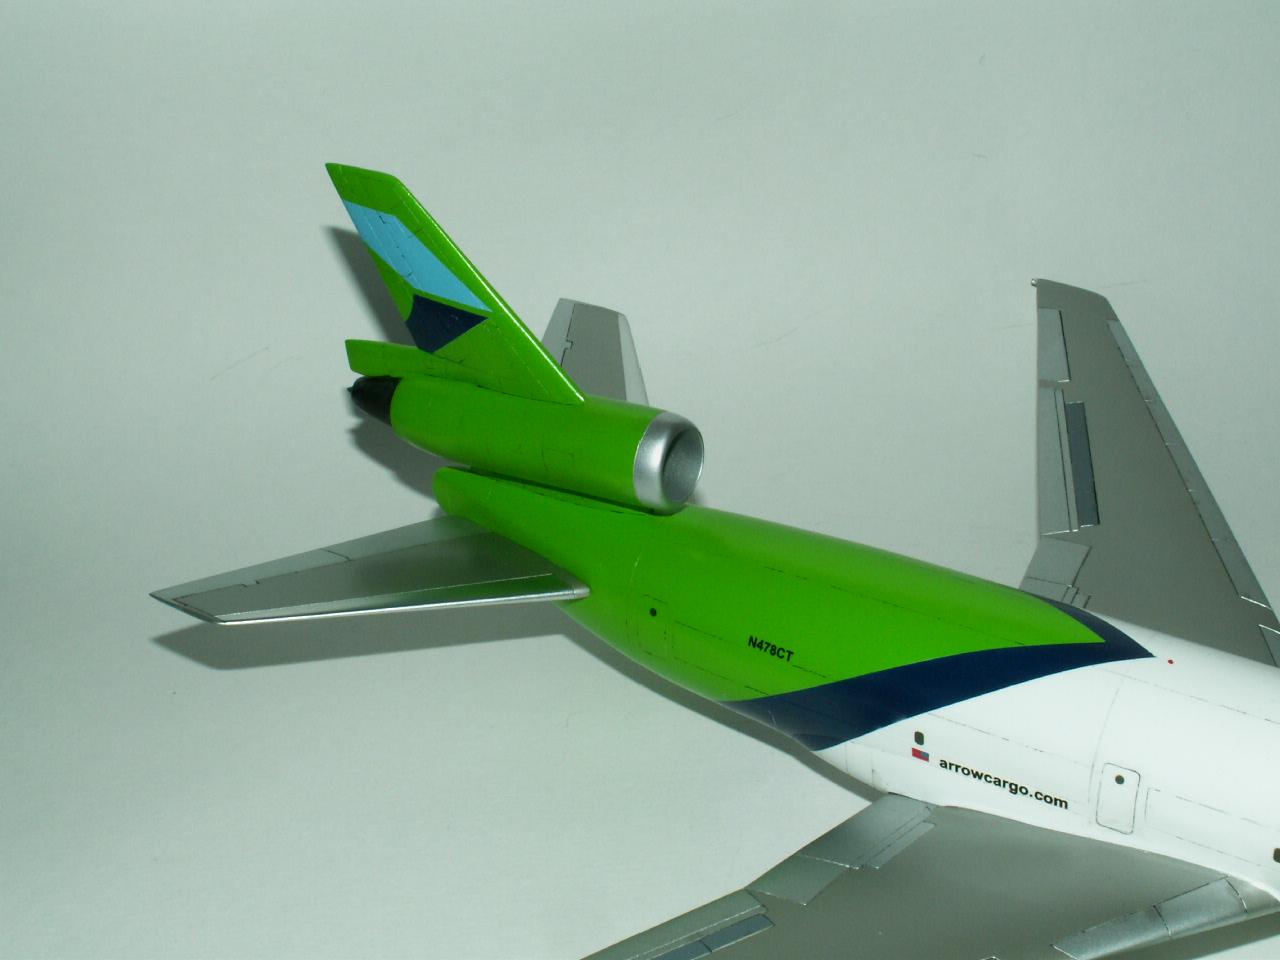
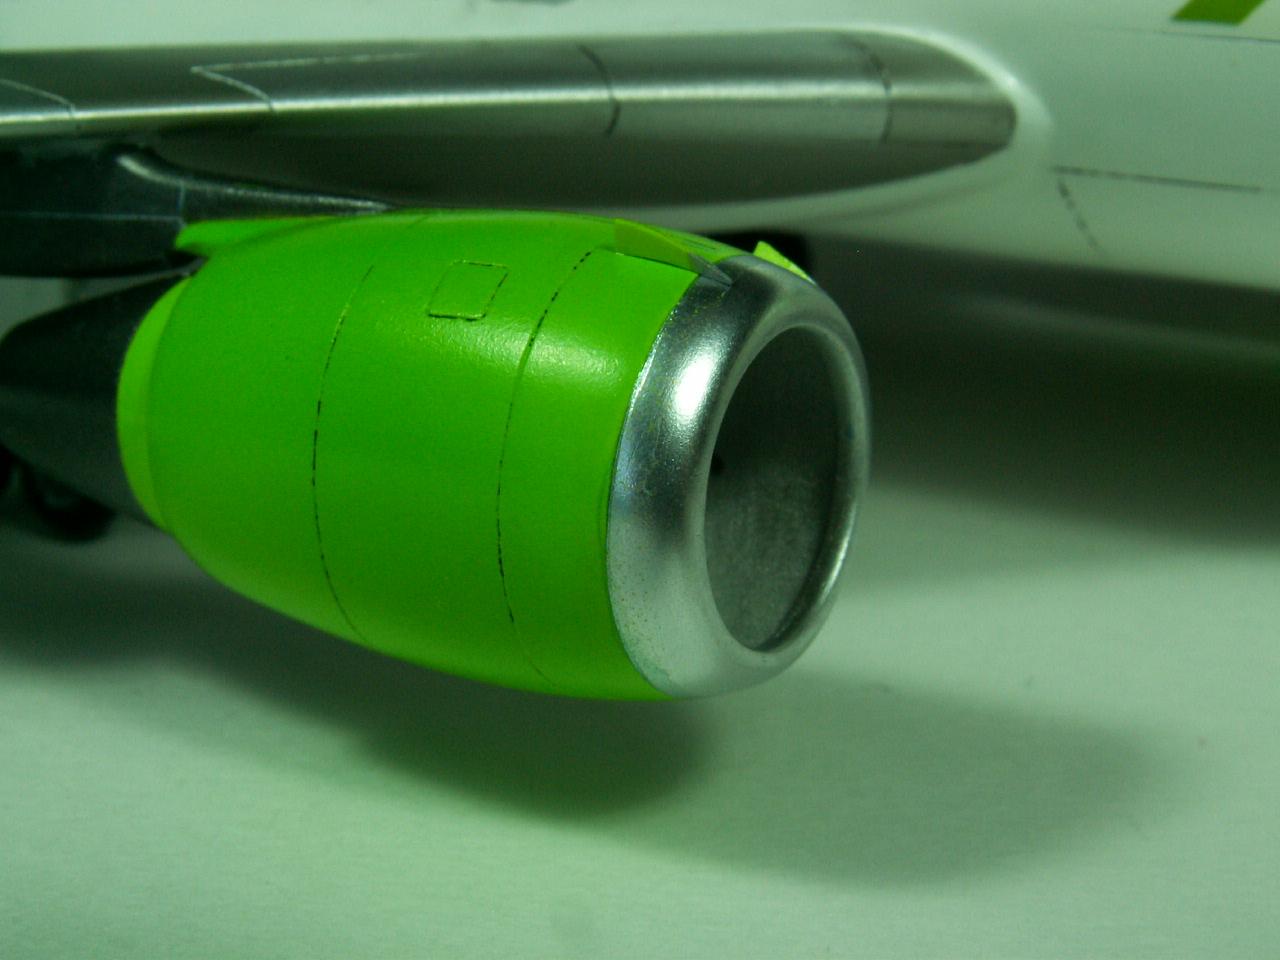
The last part of this model build deals with finishing the panel line's on the aft top section of the model which incorporates the 3rd engine and tail plane. Since I have to roll my masking tape around the engine housing I choose to use my "orange" plastic tape, which works wonders on models. Several different color rolls of the plastic tape was sent to me free by a special type of company that makes masking tape for the auto industry. Right now...I can not remember the tape company's name. At 88 years old, you can forget anything, I know as I'm there at 88+.
My scribing tools are nothing more than a couple of 7' long steel dental pics, including a home made unit made by slipping in a sharp pointed needle into one of my 4" long "pin-vise" tools.
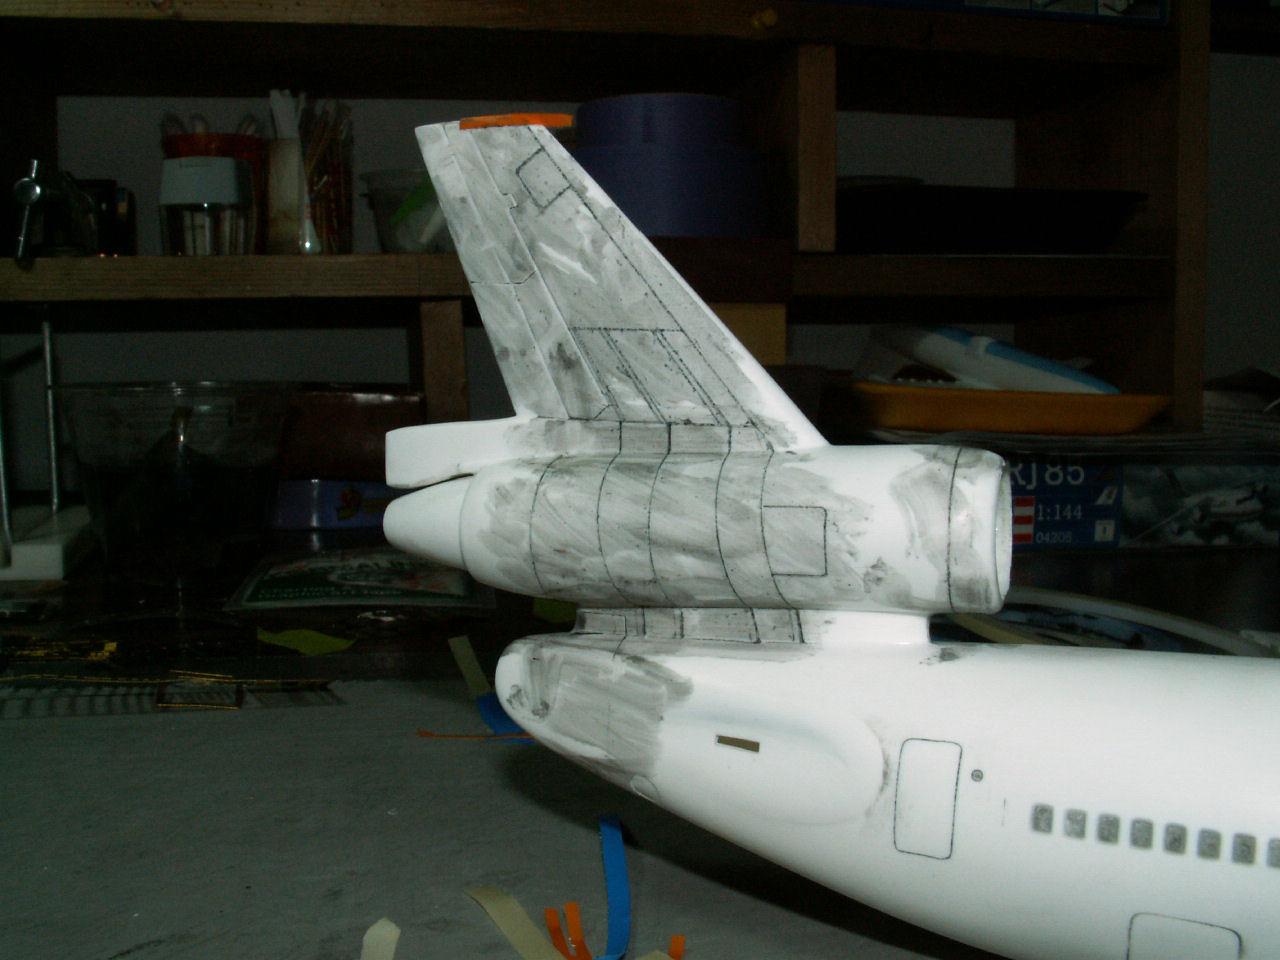
I have used some thin down black Tamiya paint and applied it all over the model then I wet sand the entire model to find any flaws in my panel line's. If a line is bad, I wash out the paint and fill the area with super glue, then sand and re-scribe.
I'm 100% satisfied with all of my panel lines so I finished sanding the model down to 800 to 1000 grit 3M wet/dry sandpaper. The model is washed down with "Denatured Alcohol" then wiped dry with a section of ordinary kitchen paper towel.
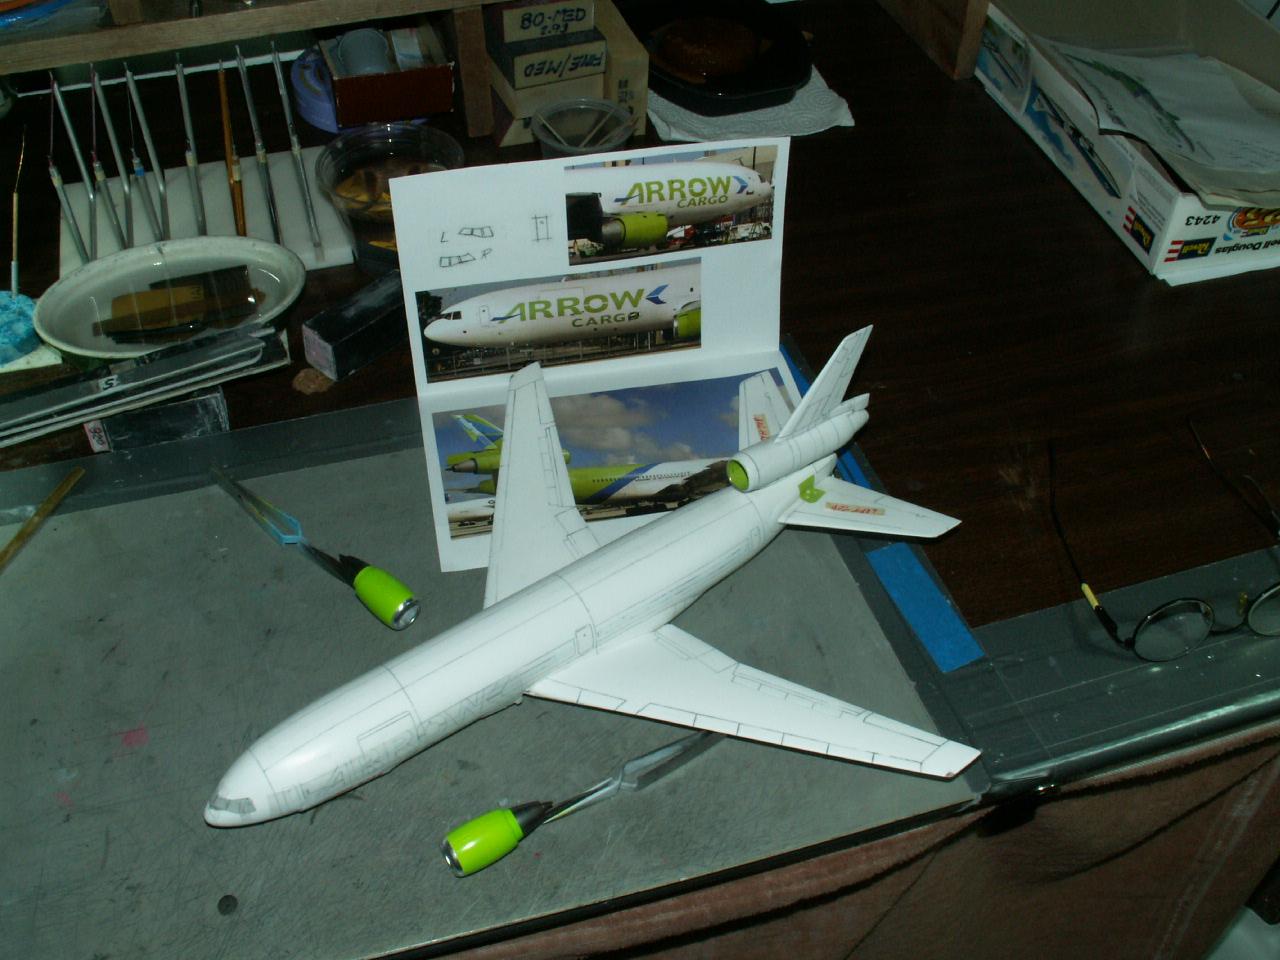
I'm now ready to paint so I take my model from my work bench that is in one of our spare bedrooms out to our "open-air" garage where I have done all my painting on the models. I have a small 3'x2' wooden table which gives me plenty of room to keep paint bottles on with other stuff, and of course to hold any model while I paint it with one of my three Badger-200 airbrushes. The small compressor sits on a separate table.
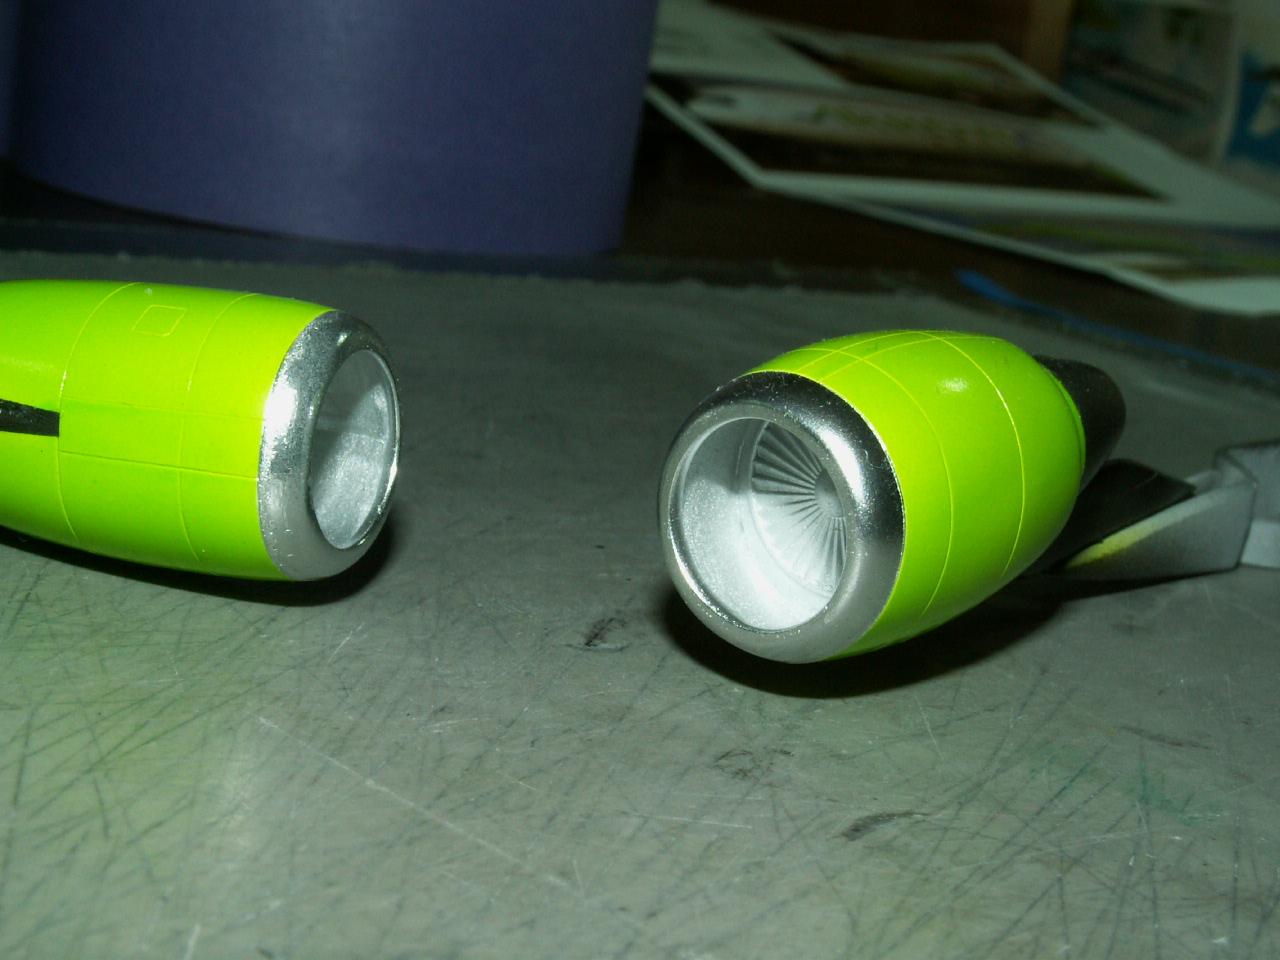
I have used Tamiya paints since the mid 1980 and I always mix it with 4 parts of "Denatured Alcohol;" (DA) to one part paint. I select Tamiya's X-2 Gloss White and gently cover the entire model with several "misted on" coats of paint. The "DA" dry's to the touch in about 10-15 minutes. In about 2 hours you can attach low tack masking tape and spray on other color's.
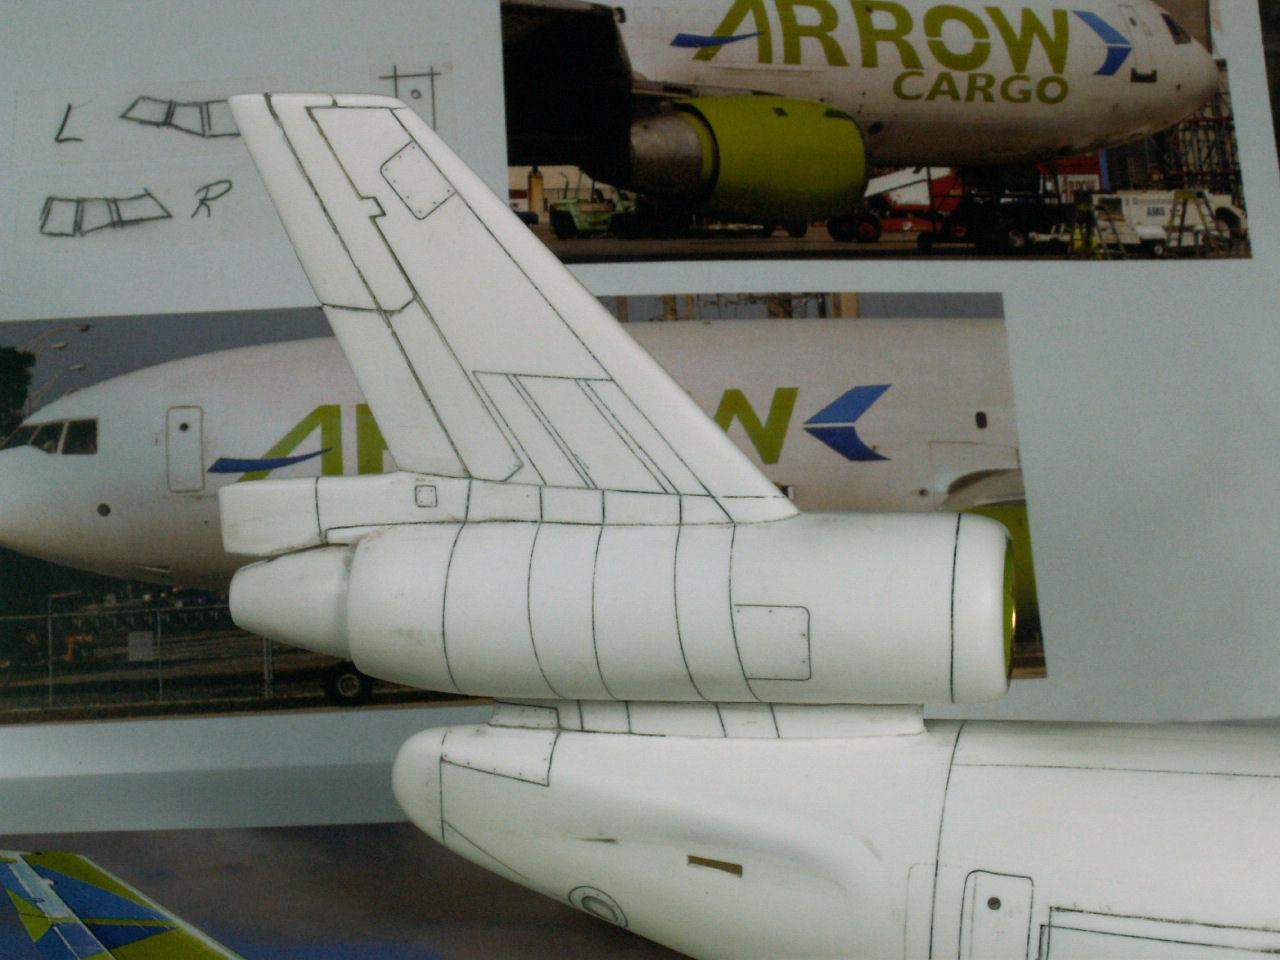
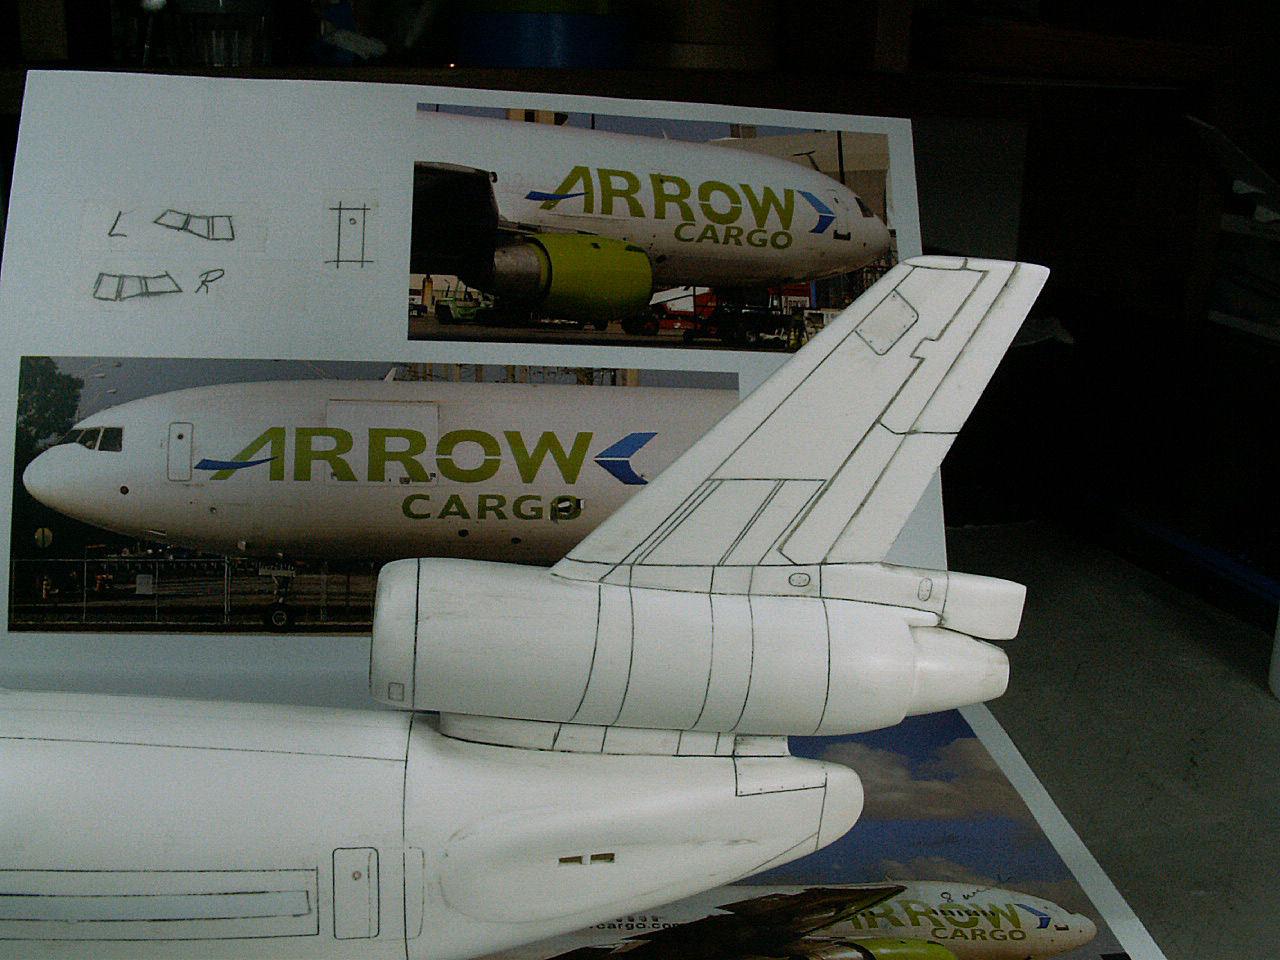
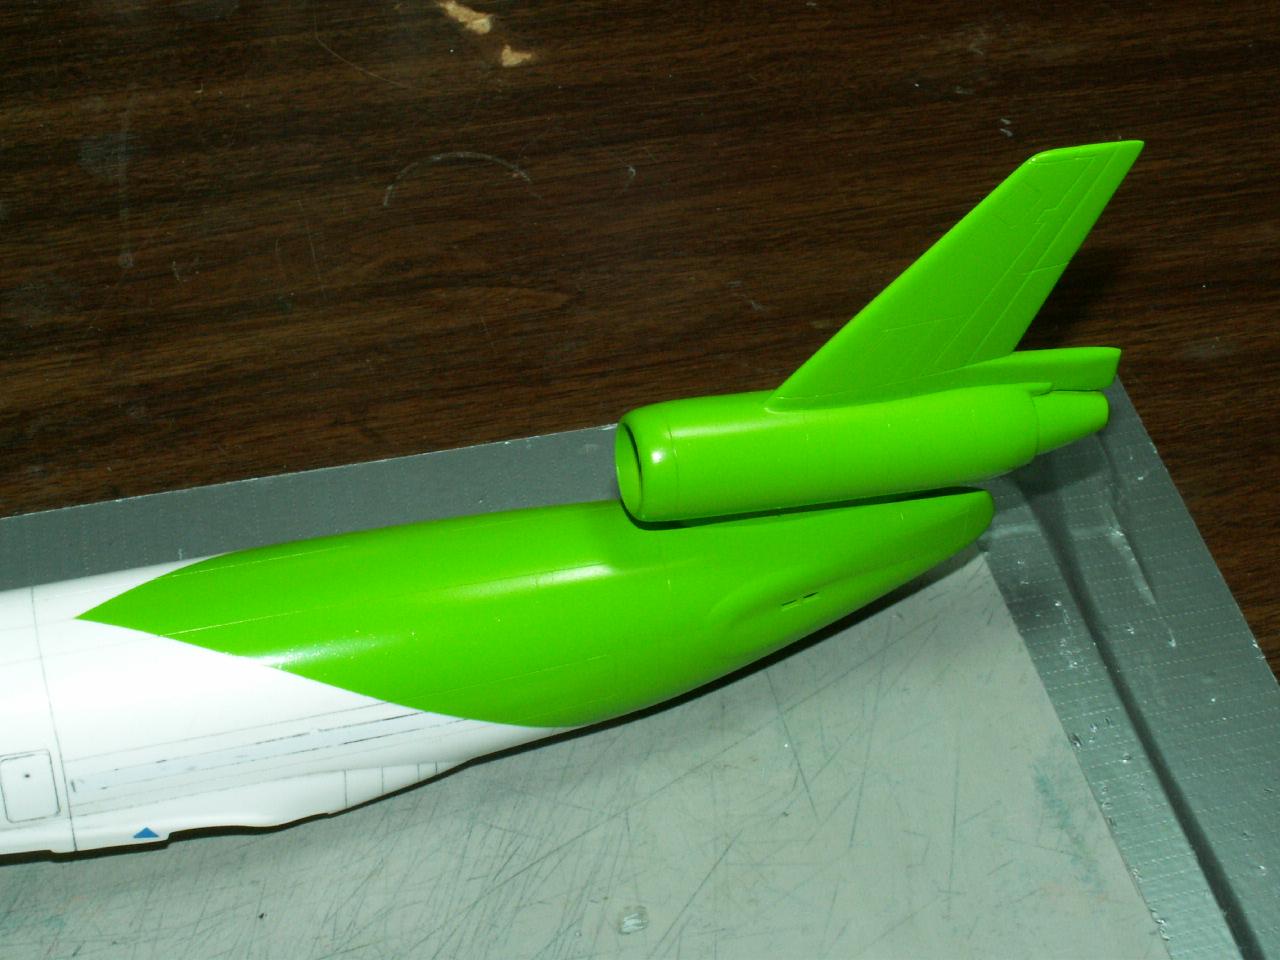
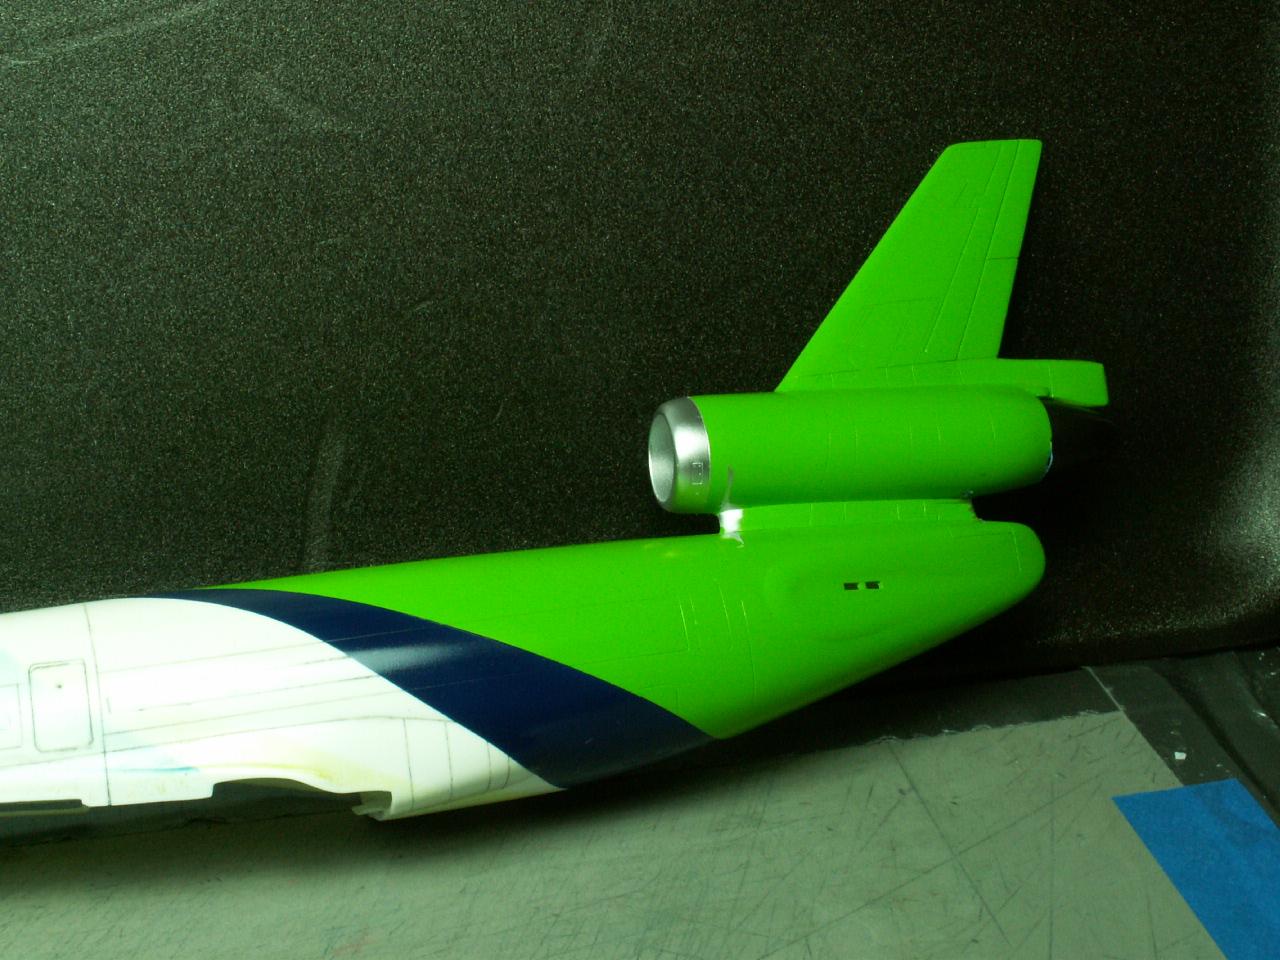
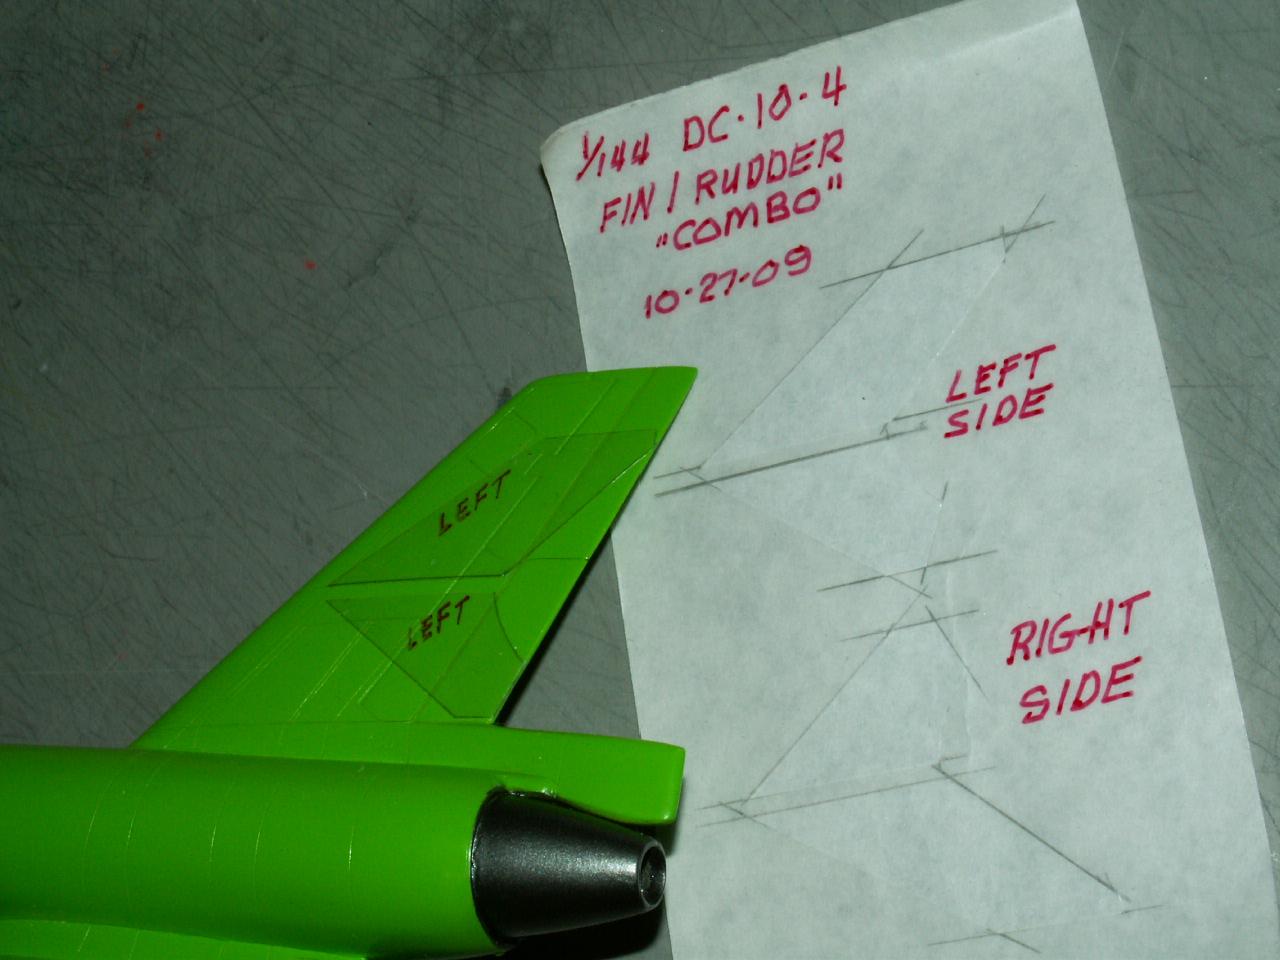
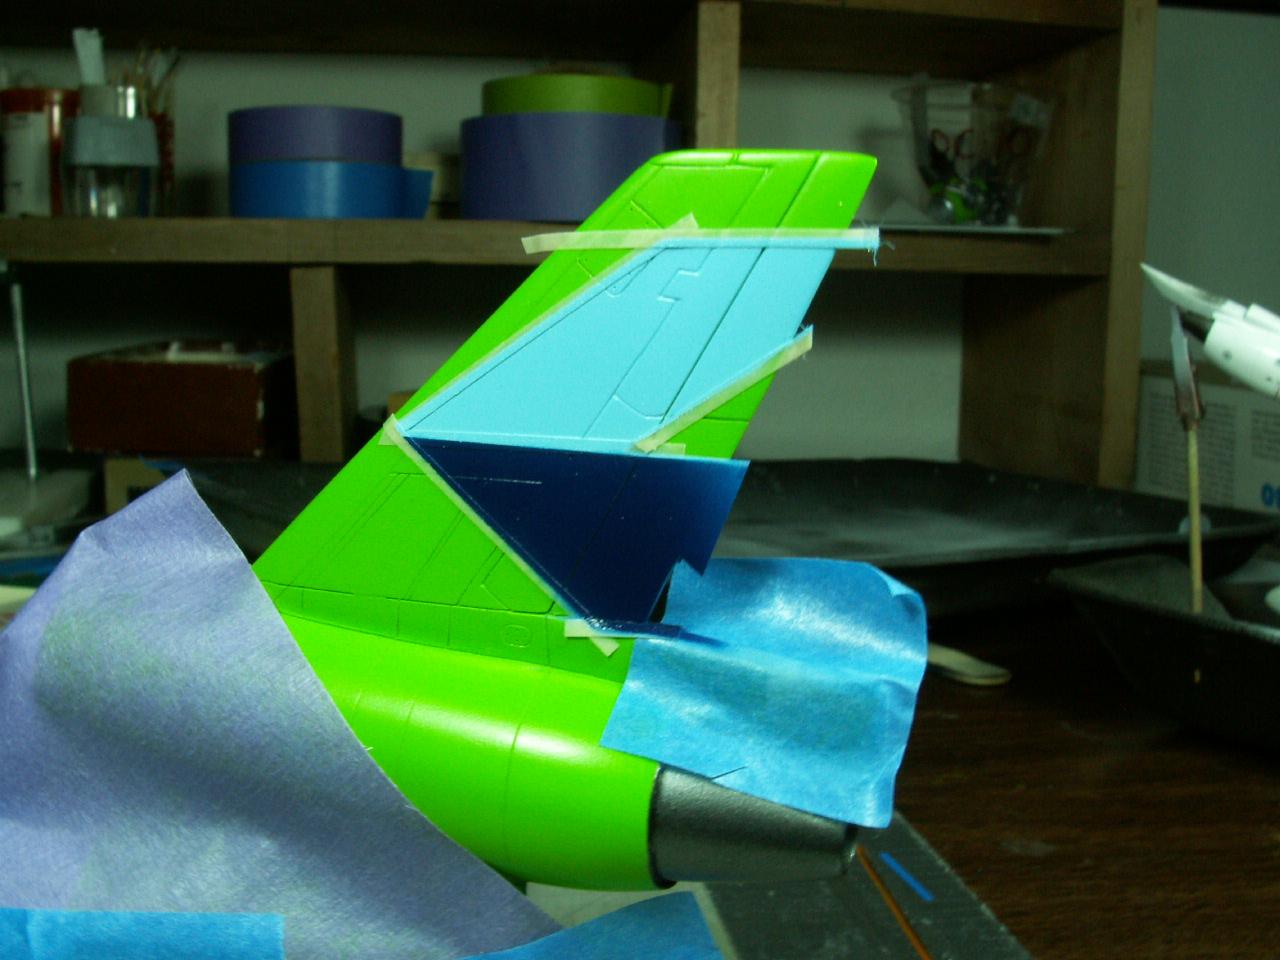
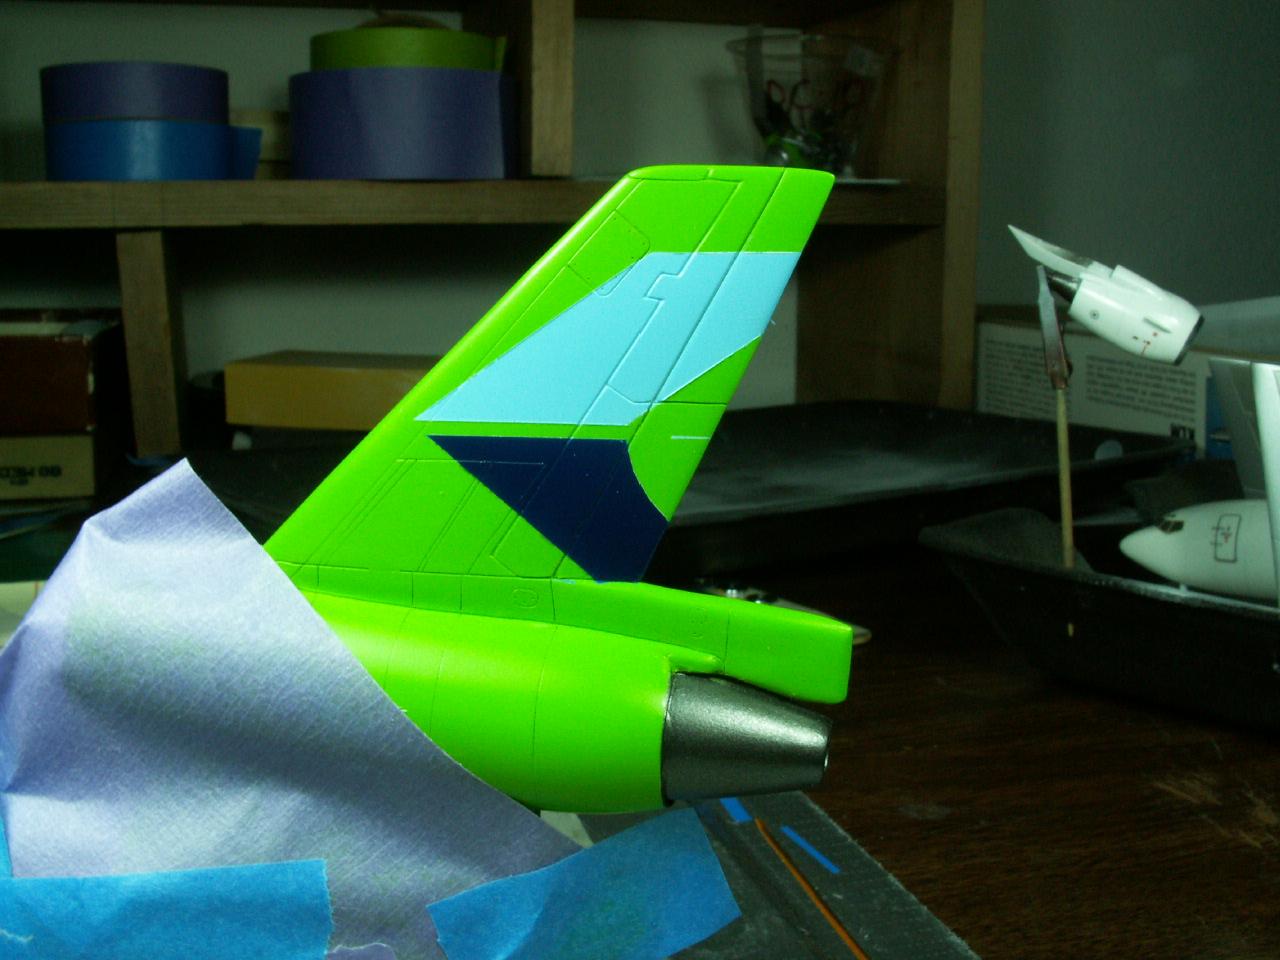
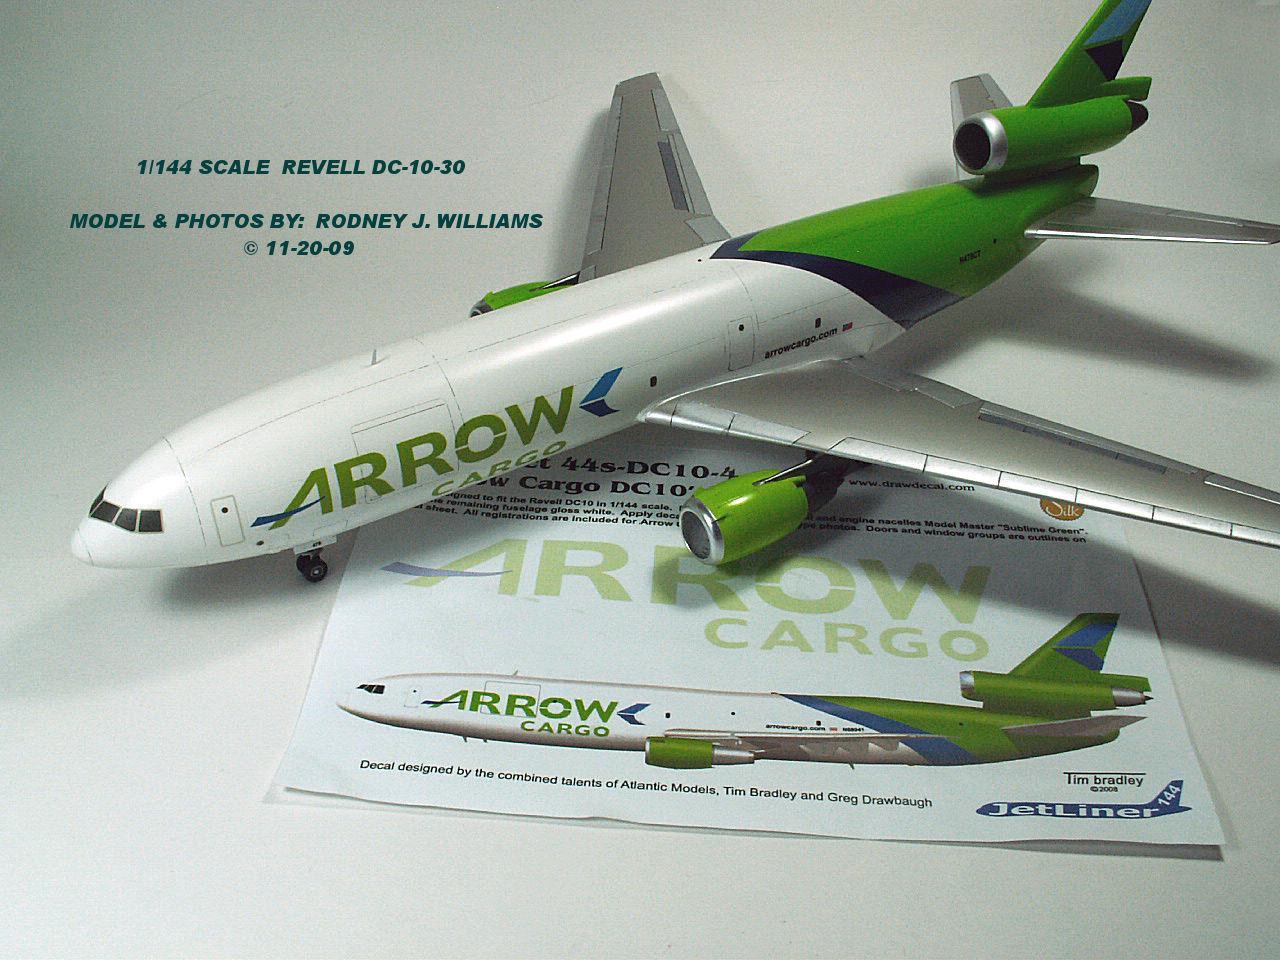
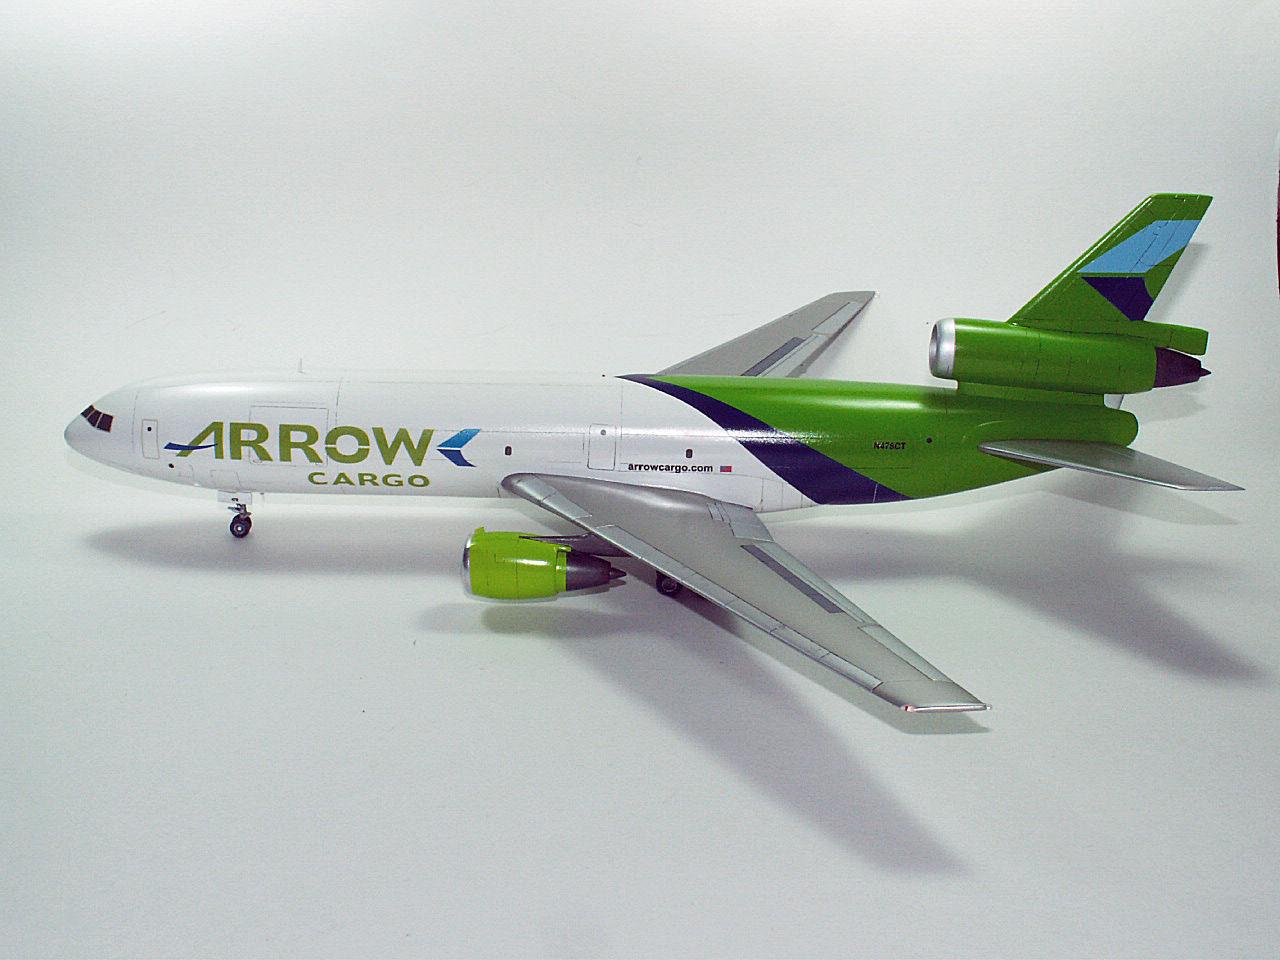
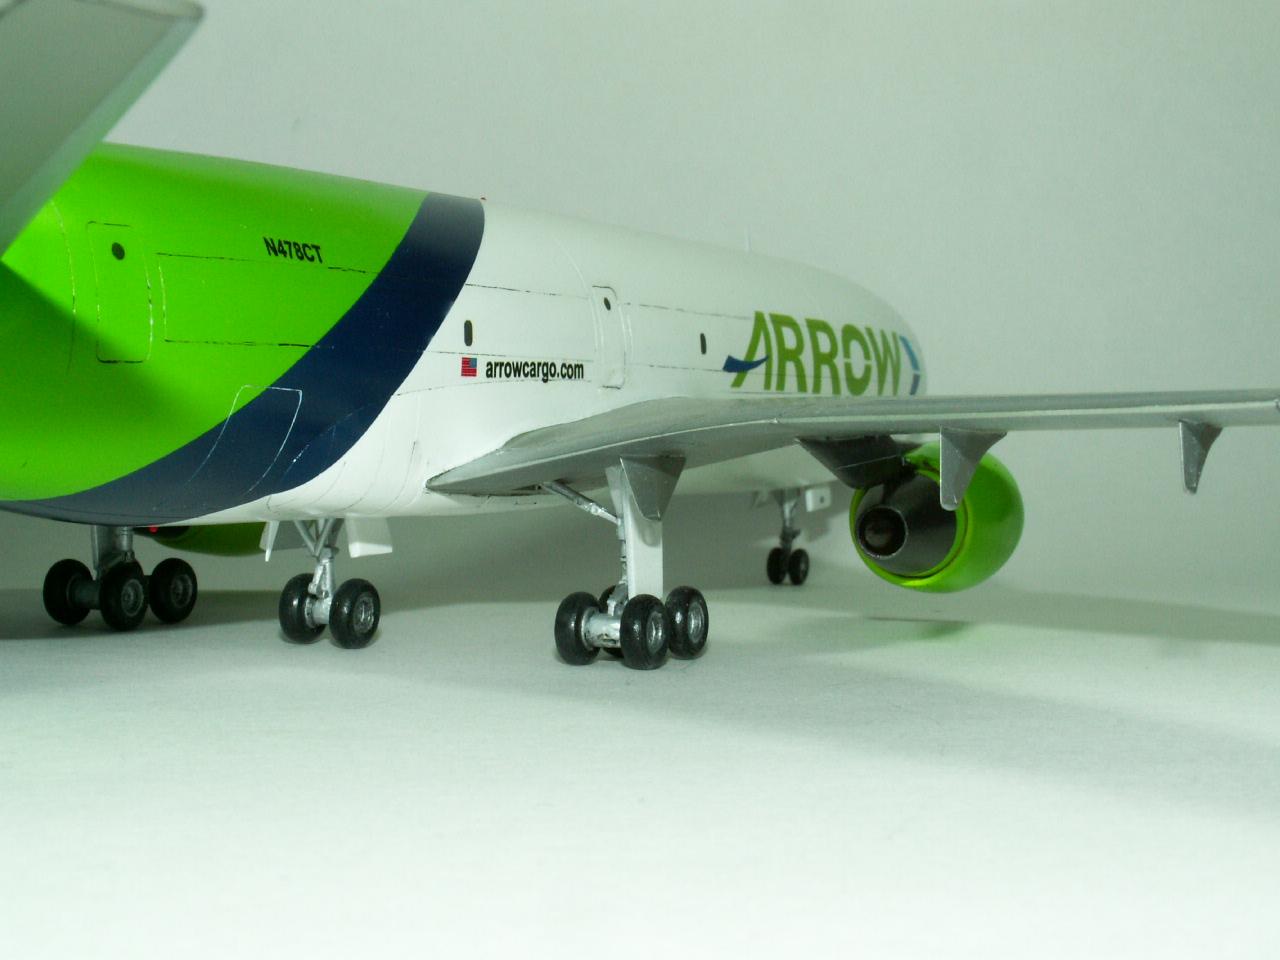
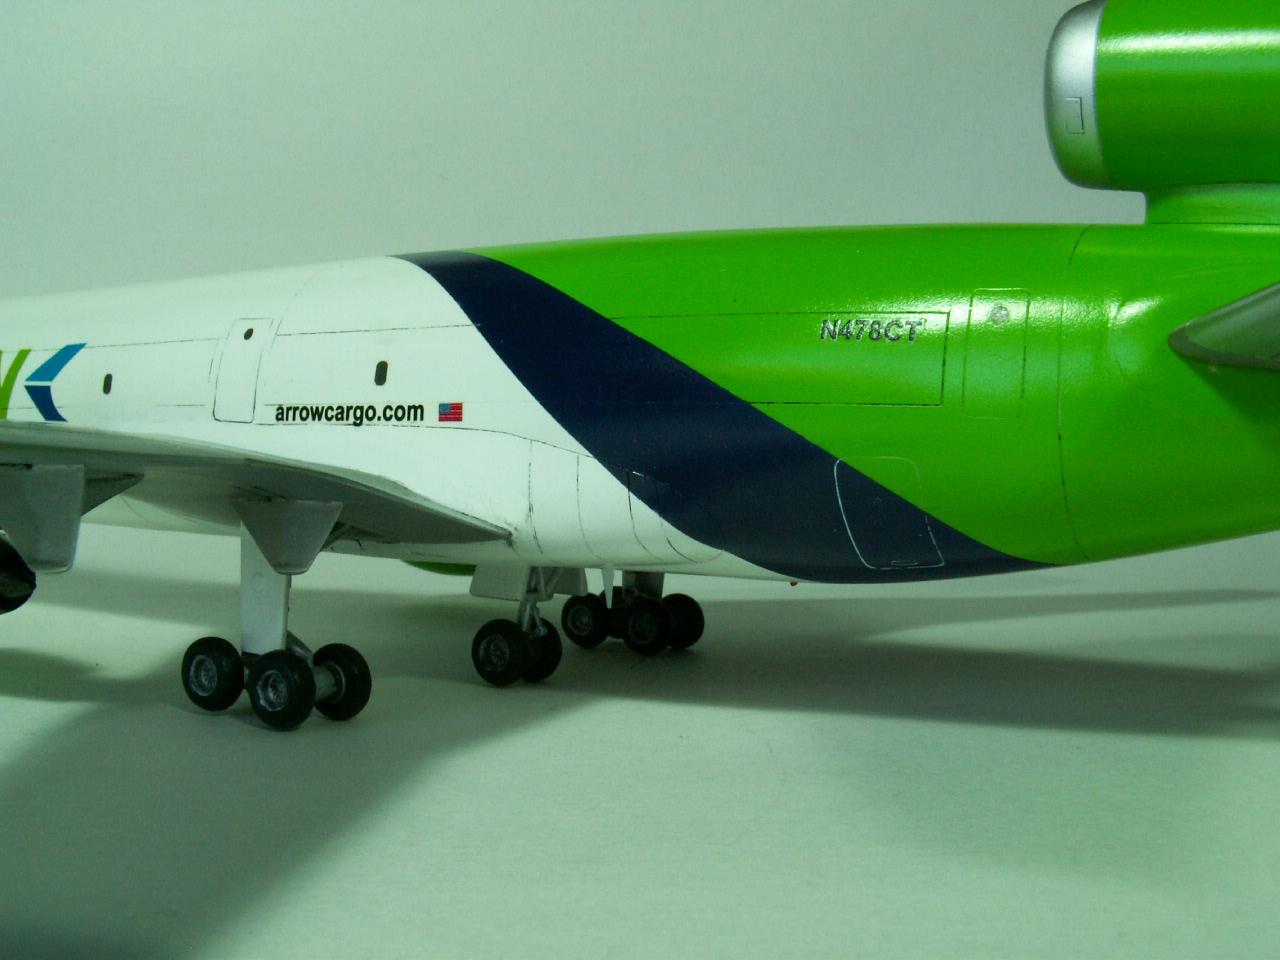
I look at my color photos of the DC-10 and then look at the Draw decals I bought and their colors match the photos. Decals don't go around curve's very good so I select Tamiya's green and 2 blue paints to apply on the aft section of the model. The model look's ok, so I just add the decals I got on line. I clear coated the model with a mix ratio of 4-DA to one part Future.
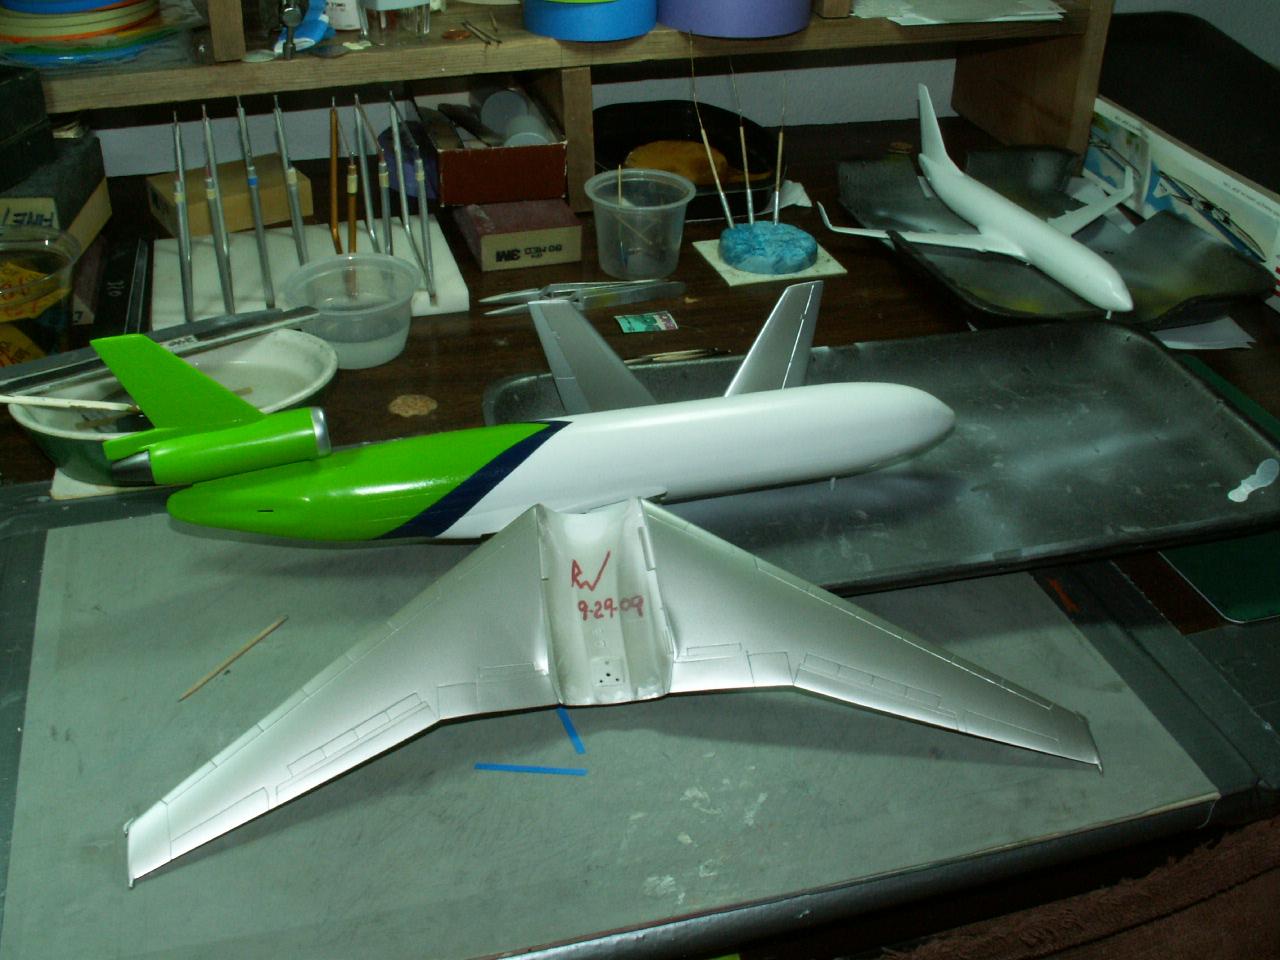
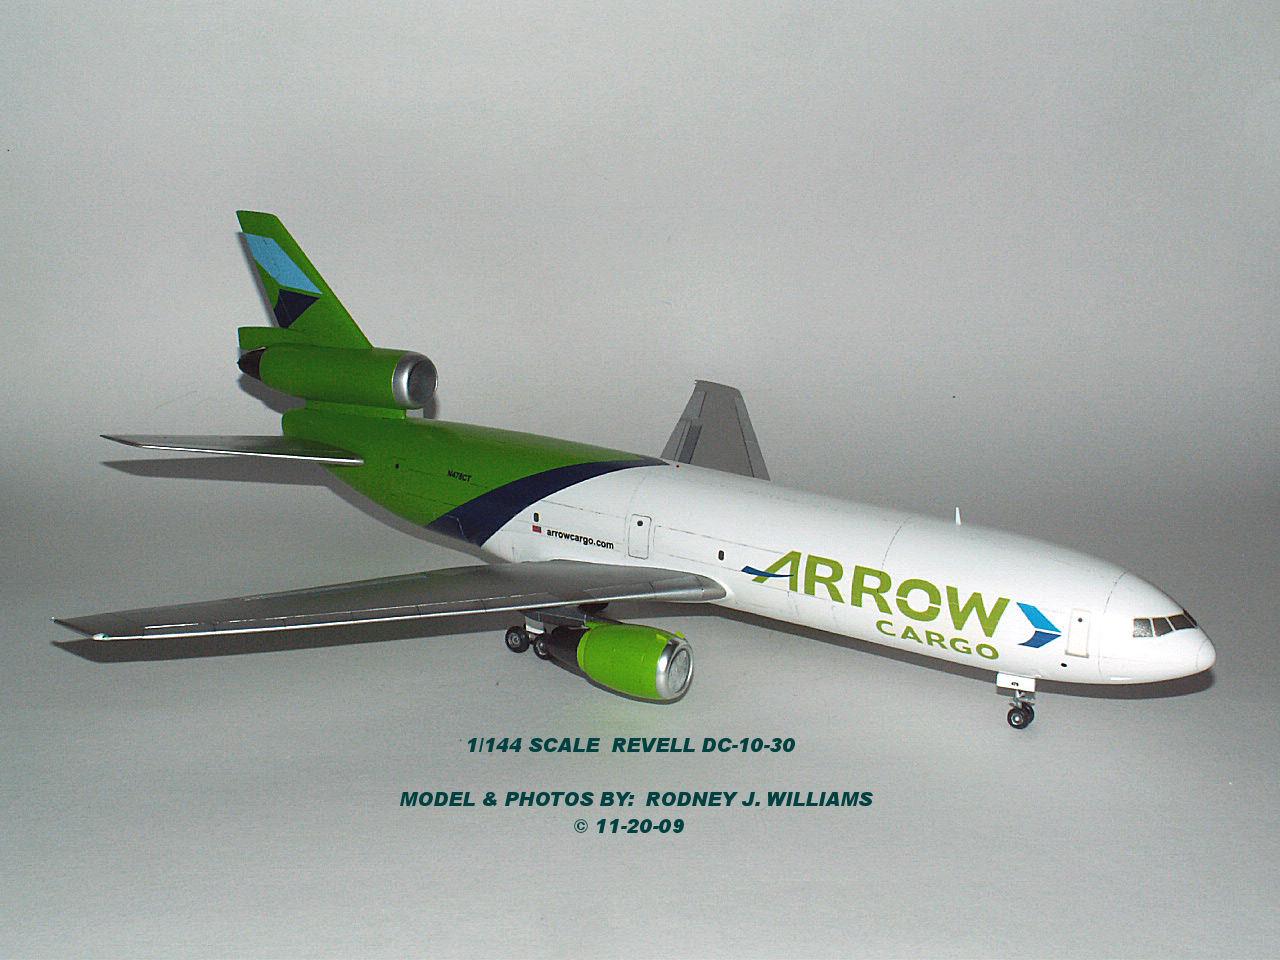
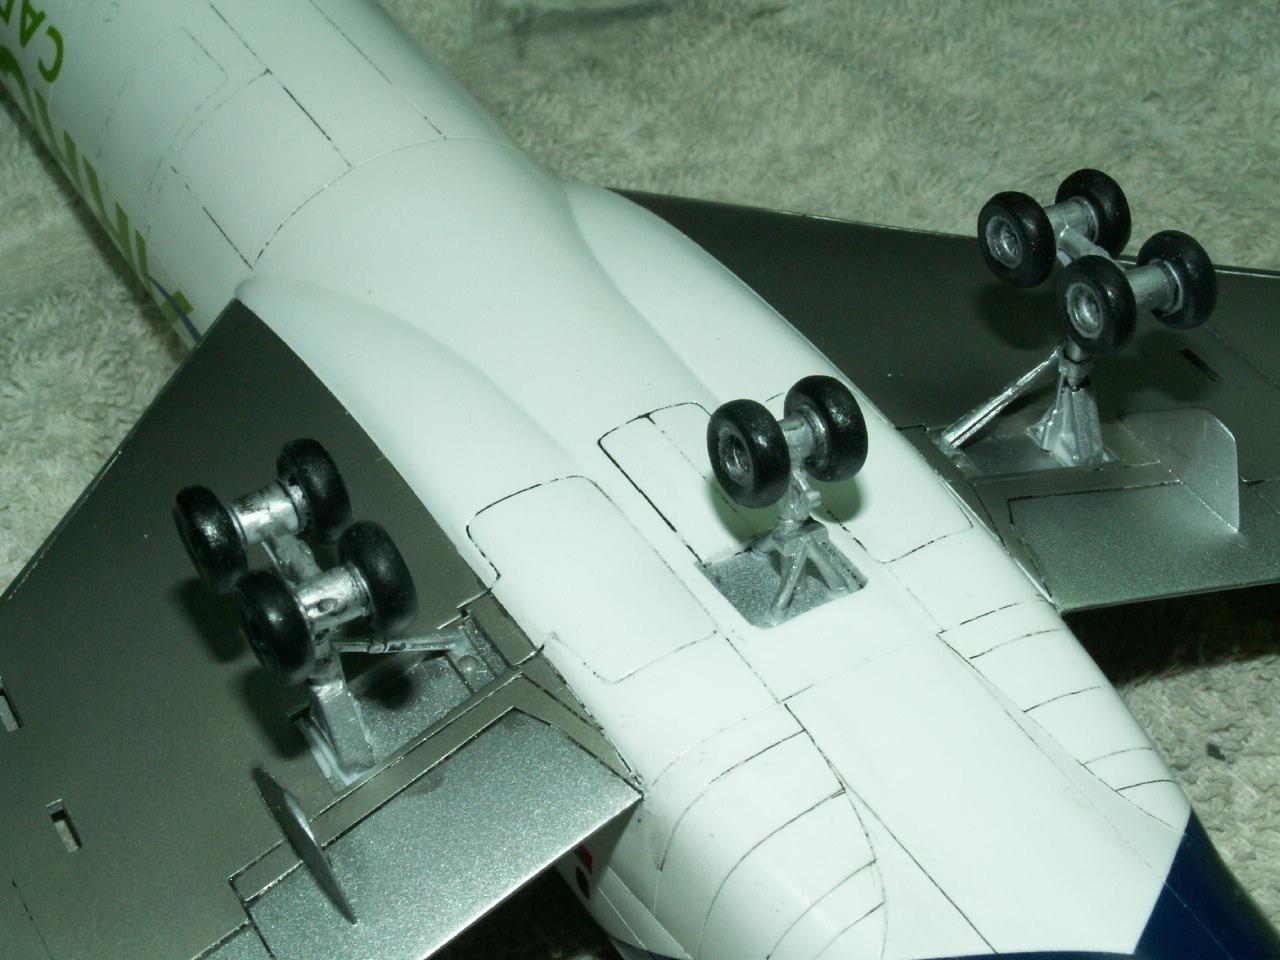
Next, I install the 4 landing gears and make sure they are in good alignment.
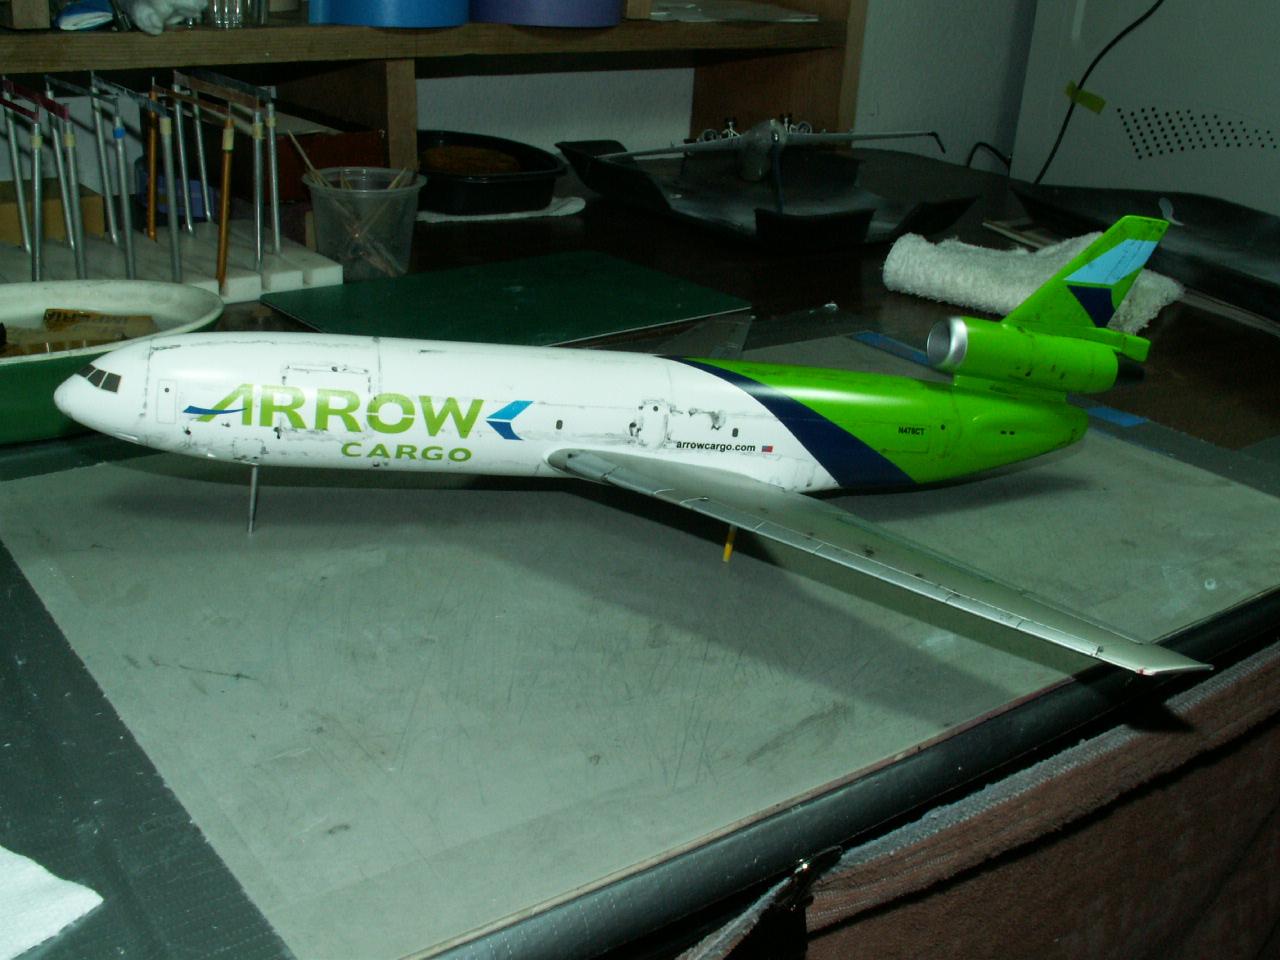
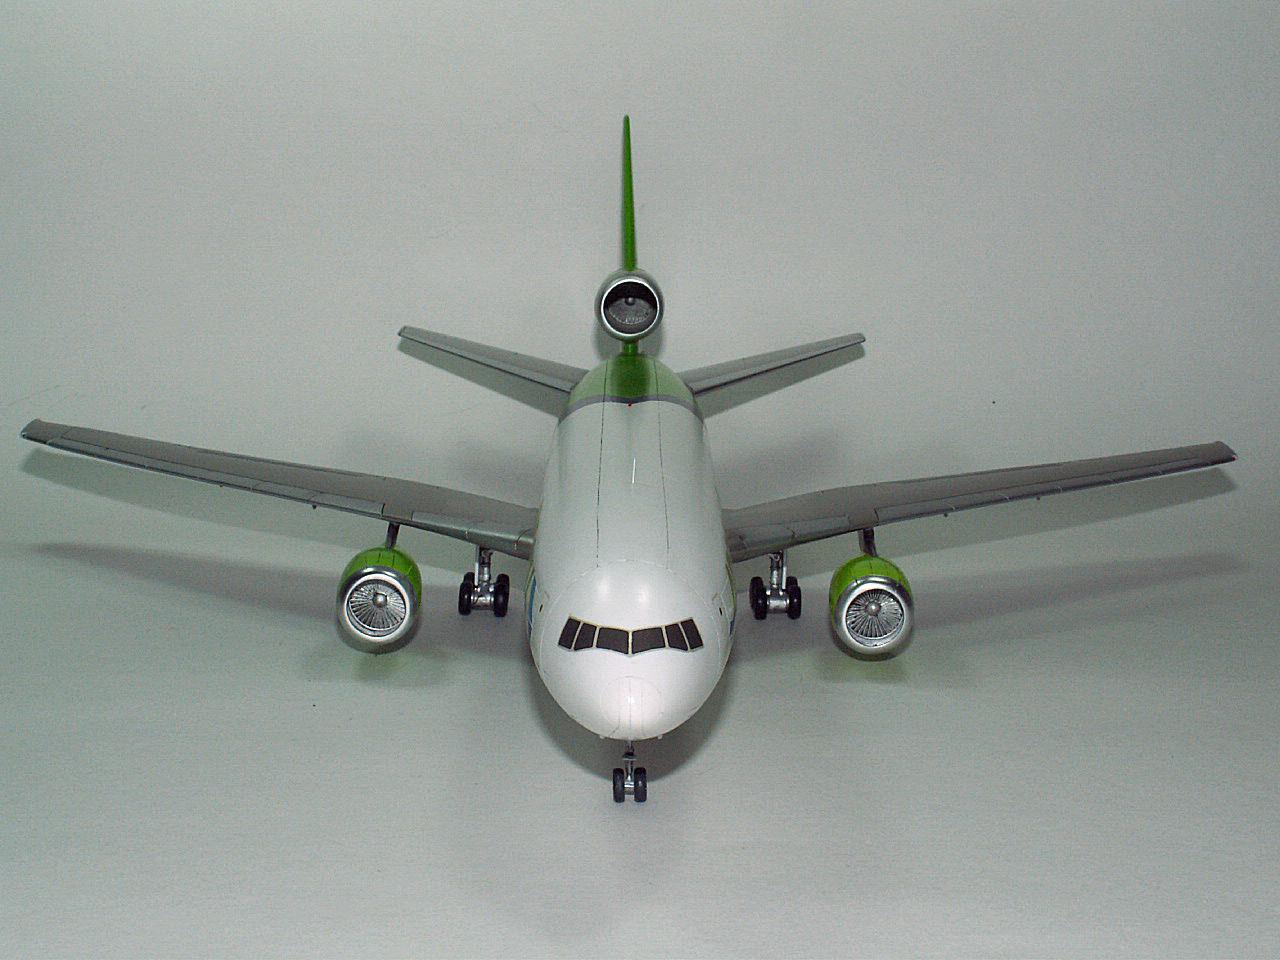
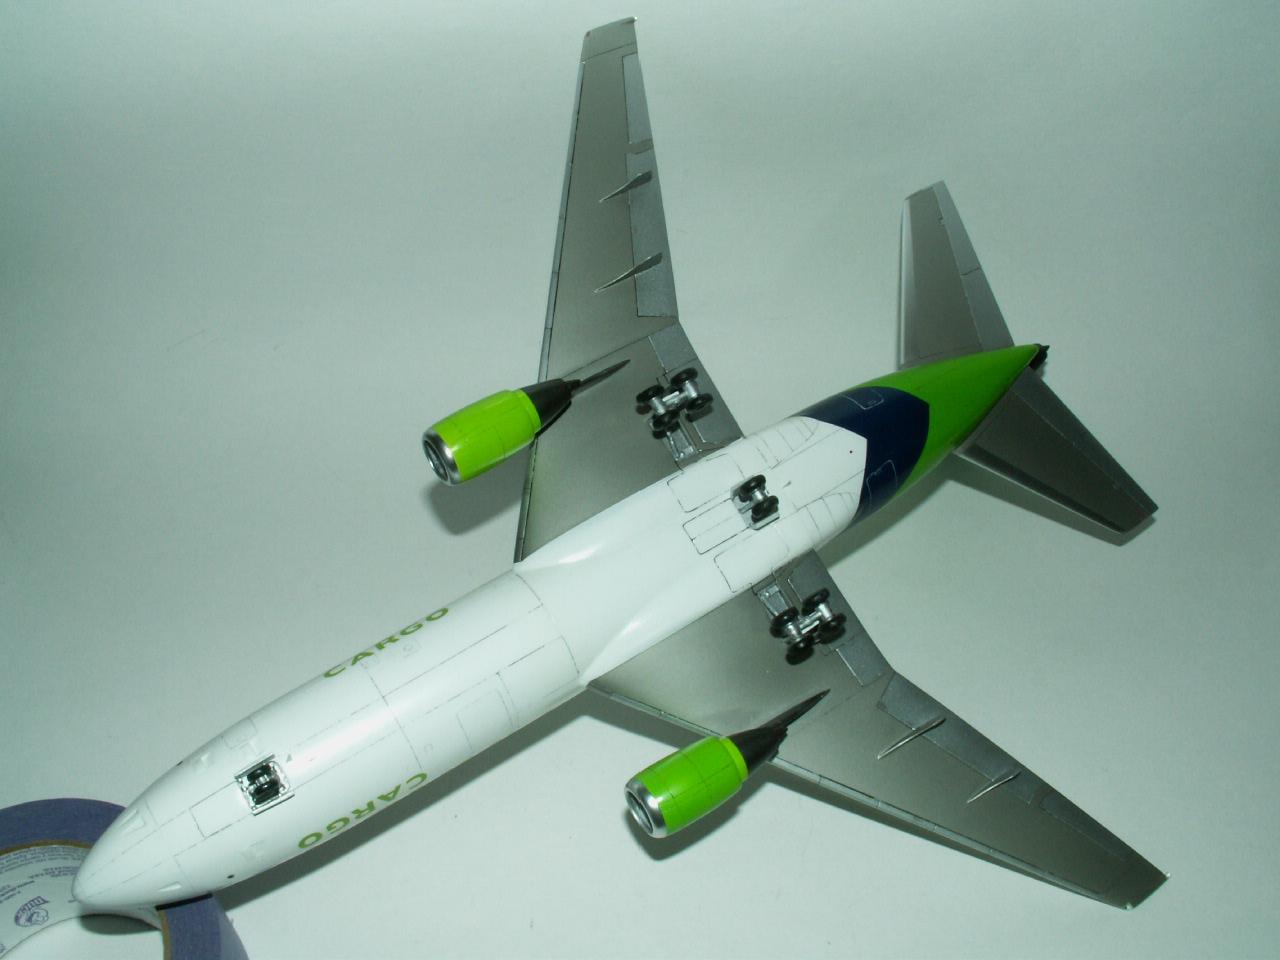
Inspection time! It passes my requirements so the model is ready for photography. I just used some different colored paper and put it on my work bench, then place my model on it. I use a Canon digital camera and do my best to take good photos. OH! I spent about 70 years as a professional documentary film producer and still photographer. I goof up sometimes while taking my still photos.
Take note: This DC-10-30 has a 3rd main landing gear in the center of the fuselage.
Maybe I'll select my "YB-17 Flying Fortress" for my next project...
Hope you enjoy my model.
Rodney


Another RW masterpiece.
i admire your work! you are a good example to us all
Thanks guys!...much appreciated. When I was ask to write a story back in the 1980's for our clubs newsletter, they wanted lots of photos which I had. The editor mostly wanted what he called "In-Progress" photos; (from concept to the finished product). As time progressed, so did I by taking more photos of my work.
My first models in the late 1970's were: Take the kit out of the box Friday night and glue it together with tube glue. I had no paint because all the Navy models were made in a dark blue plastic and the Army models had brown looking plastic called "Olive Drab." On Saturday's, I just cut out the decals and applied them on the bare plastic and the models were done. I built a couple of shelve's on one wall above a desk I had in our living room. The models were placed on those shelves. Again, as time went by, I was forced to buy sandpaper, paint, brushes and finally a compressor with a Badger-200 airbrush. Time-wise, a model went from maybe 2-3 hours to build up to 3,500 hours for client models. Most of my O.O.B. models for me took around 100-150 hours to build. I got better at building by experimentation and I never dreamed that a client would offer me 5 to 10 thousand American Dollars to build just "One Model." I was forced to quit building back in late 2016, due to "shaky-hands." So my time for building is over and all I do is look at other models and write a story now and then. I'm going to get a story together for my 1/72 scale "YB-17G Flying Fortress. This "17" is my 3rd one and it will blow your socks off as we say here in the U.S.A.
Thank you, Rodney. Your tutorials are always great to read. We really miss you here in California...
Marvin: Come down to Irvine, California, then we can spend a couple of days opening up over 85 plastic boxed and looking at my 288 models that I have here at this house we rent.
Rodney
Nice looking build, and some great blow-by-blow pics and commentary! Thanks for posting.
Great job!
Thanks to all...a private email to me last year ask me if I got any photos of my tools...yes! was the answer, so I send a bunch to him. Maybe I'll do the same on this web site, especially on the one for my "vac-u-form box."
Well done sir! - now at 88+ you rightly deserve to sit back and admire your work, and sharing it with us is just great - thank you for that.
I would like to have a look at your "vac-u-form box" - I think I might have to build one someday.
Great build and story! It is very inspiring to me that you are still in the hobby at this age. I wish the same for myself but that is still way down the road so for now, I try and learn more from people like you Rodney. Thanks for sharing!
A "tool" story will come soon and I will show my 'vac-u-form box" that I built.
Now onto the YB-17 later today.