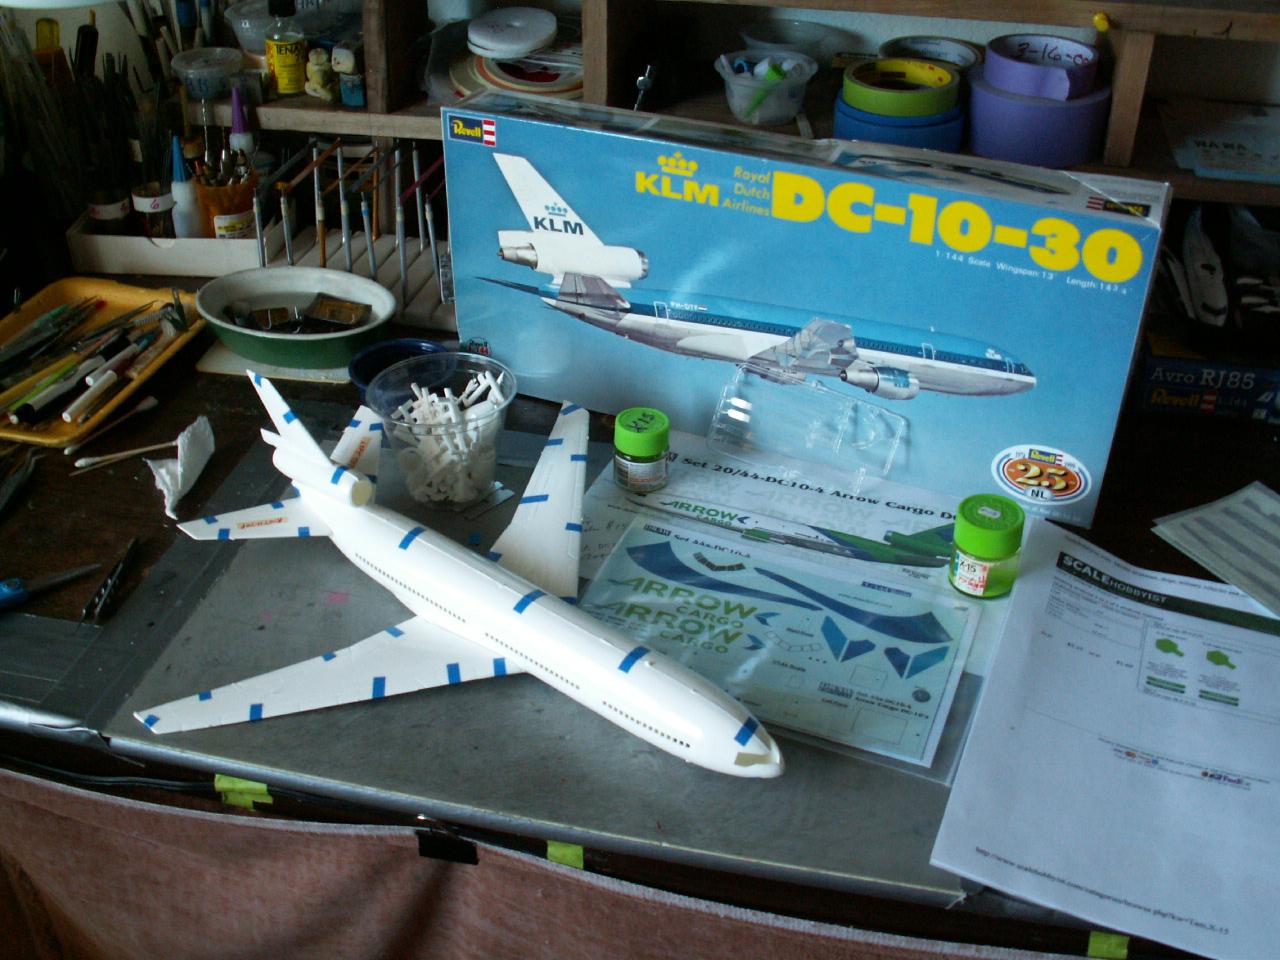
1/144 Scale Revell DC-10-30 "ARROW CARGO" part one.

I was looking around on the "Airliner's" web site and found this DC-10/30 ARROW CARGO airplane. With some more surfing I found the Arrow Cargo decals made by "Drawdecal.com." Next up was locating a DC-10/30 in 1/144 scale which was found on "Scalehobbyist;" (my one and only on line hobby shop.")
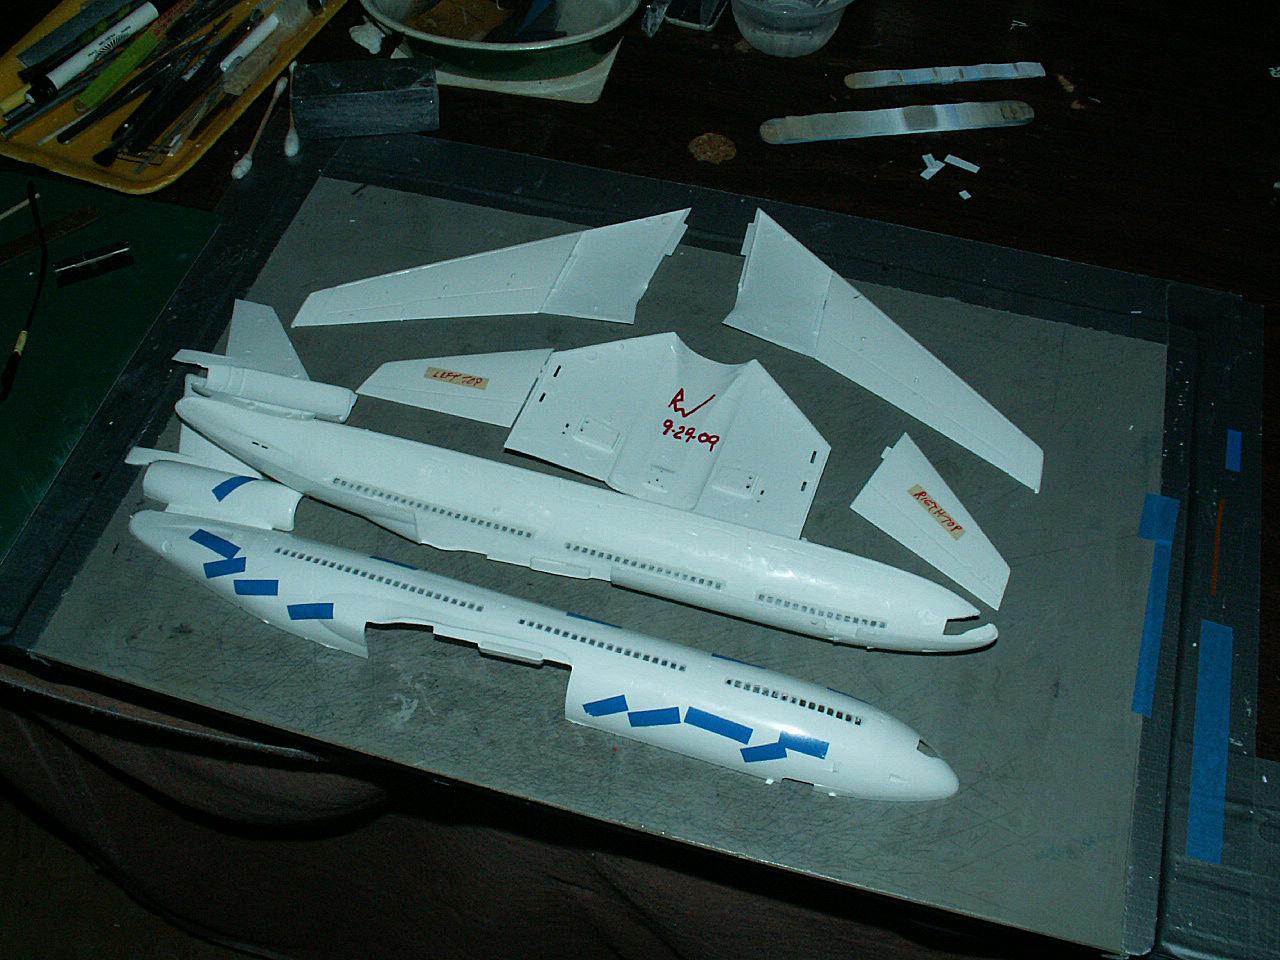
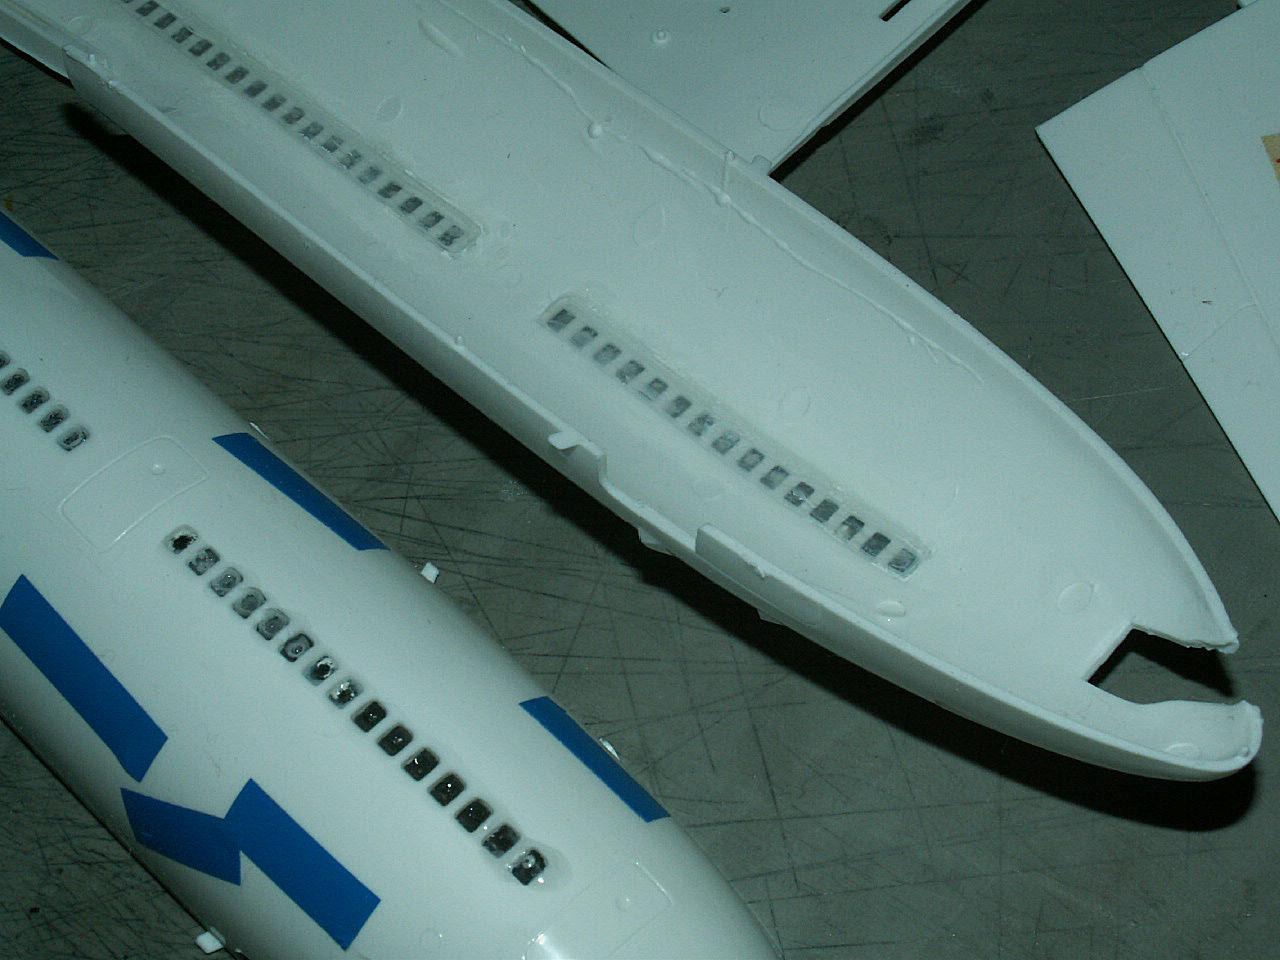
This kit was just like the Dreamliner as it had no cockpit nor other interior items to install in the fuselage except the nose wheel well and some b.b.'s. I few years before I built this kit I started to add round styrene kit sprue to one side of the fuselage and when the other fuselage side was dry fit on it lined up very good with less wobbling. It was taped together and I just added thin super glue; (s.g.) to the seam. This system was excellent and I continued to use it on all my airplane kits.
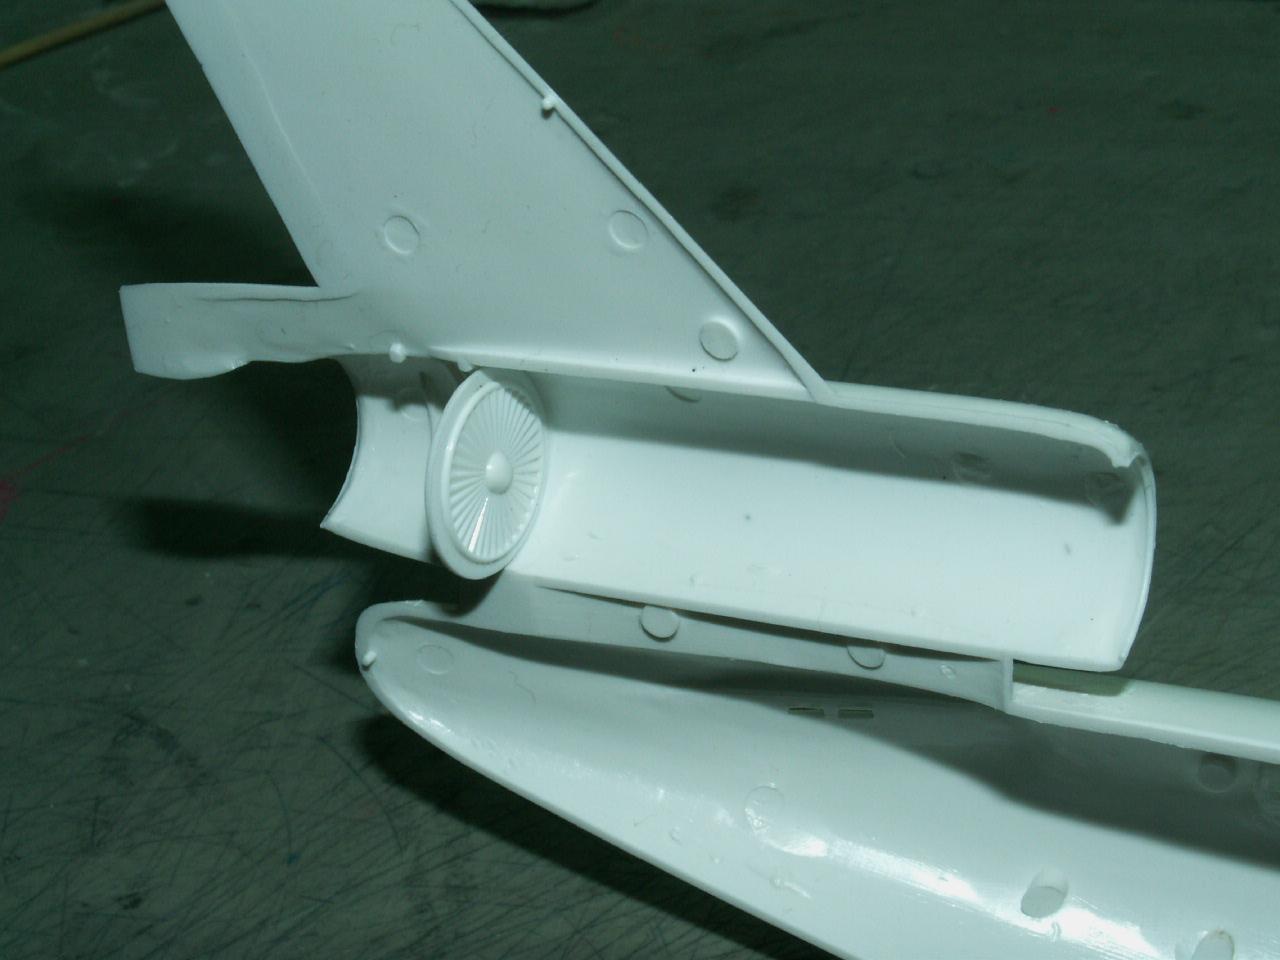
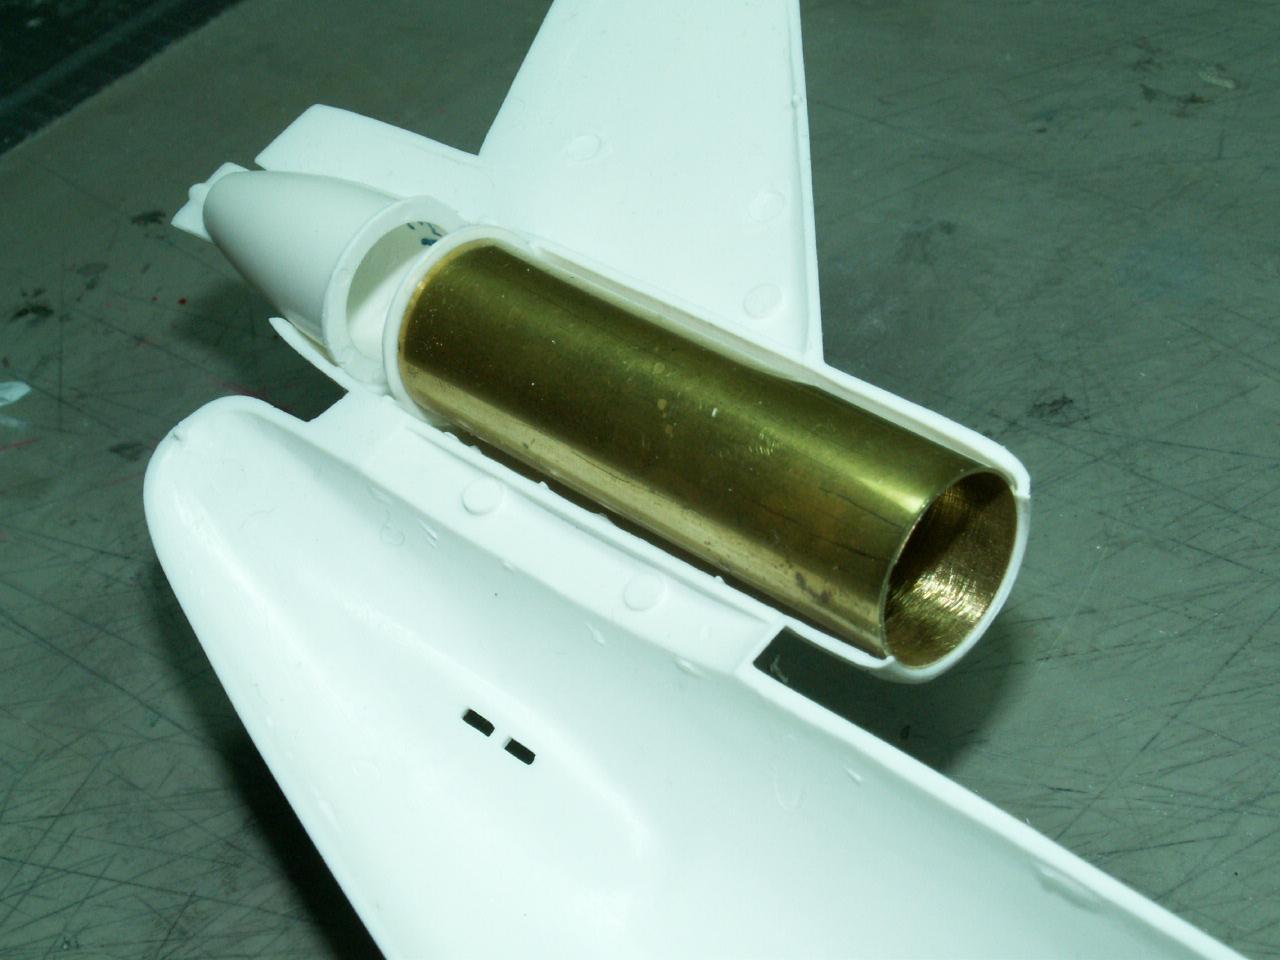
After glueing in the aft top fuselage engine with its' pre cast fan blade I dry fit the two fuselage sections together, then looked into the opening...wow! how am I going to fill and sand the top and bottom seam's ?...NO WAY! I once again got on my computer and clicked on "think" and I got a reply real fast...""Use some proper diameter styrene and/or brass tubing! I have had lots of styrene and brass stuff, so I chose a section of brass tubing and cut it to the proper length, then sanded the inside with 3M's 2000 grit sandpaper with lots of water.
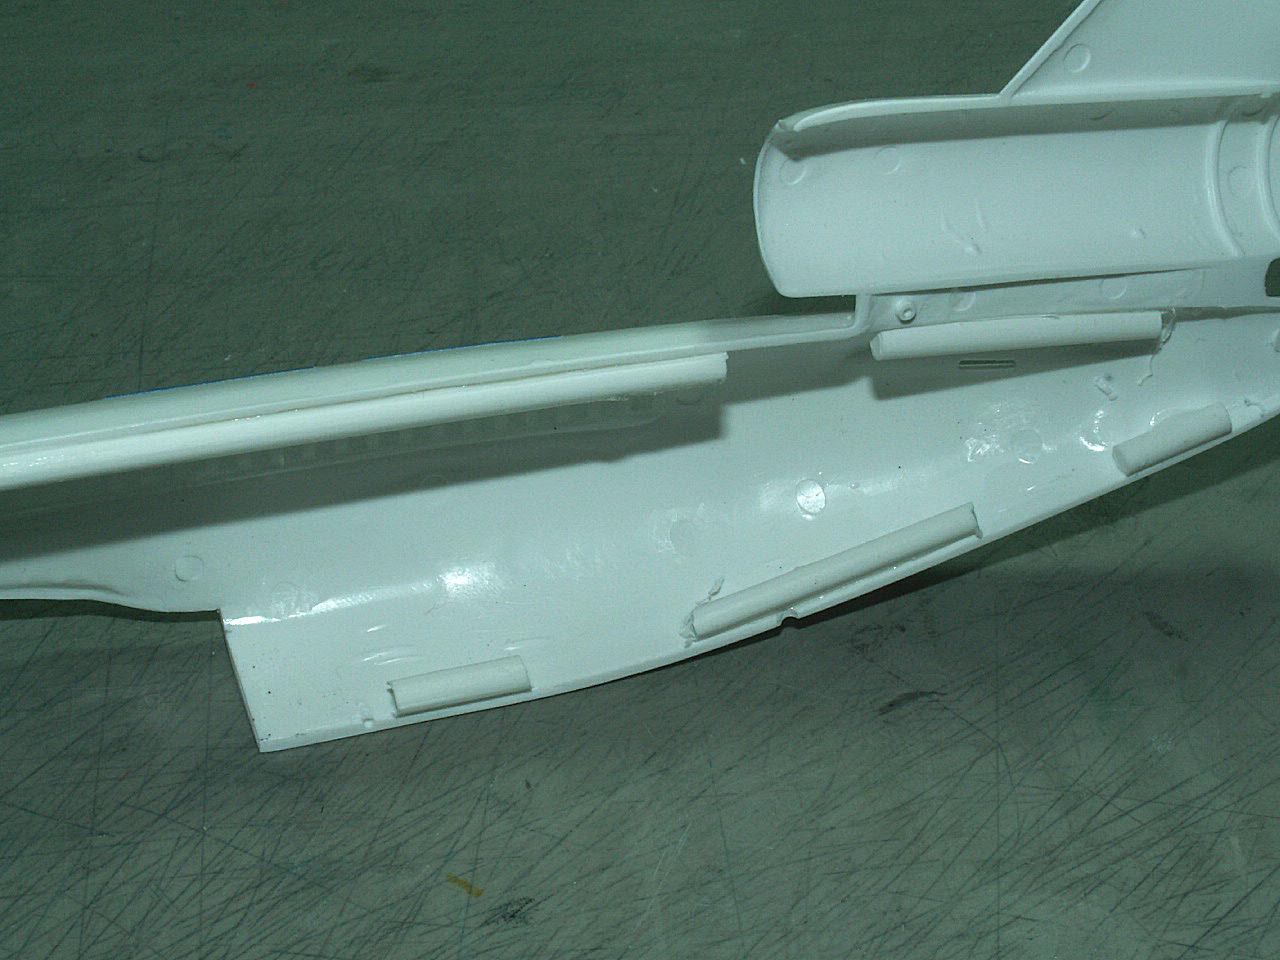
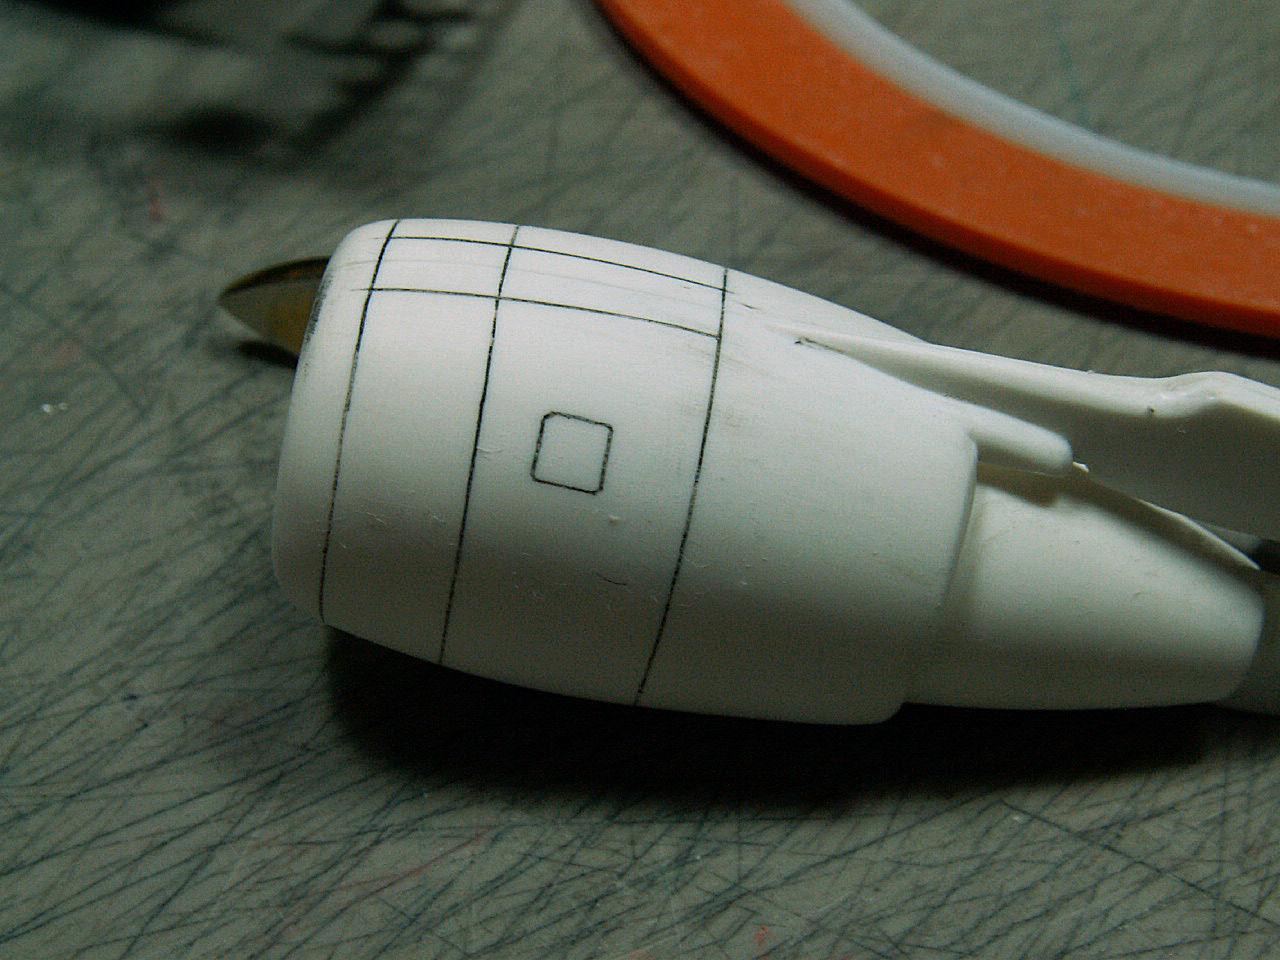
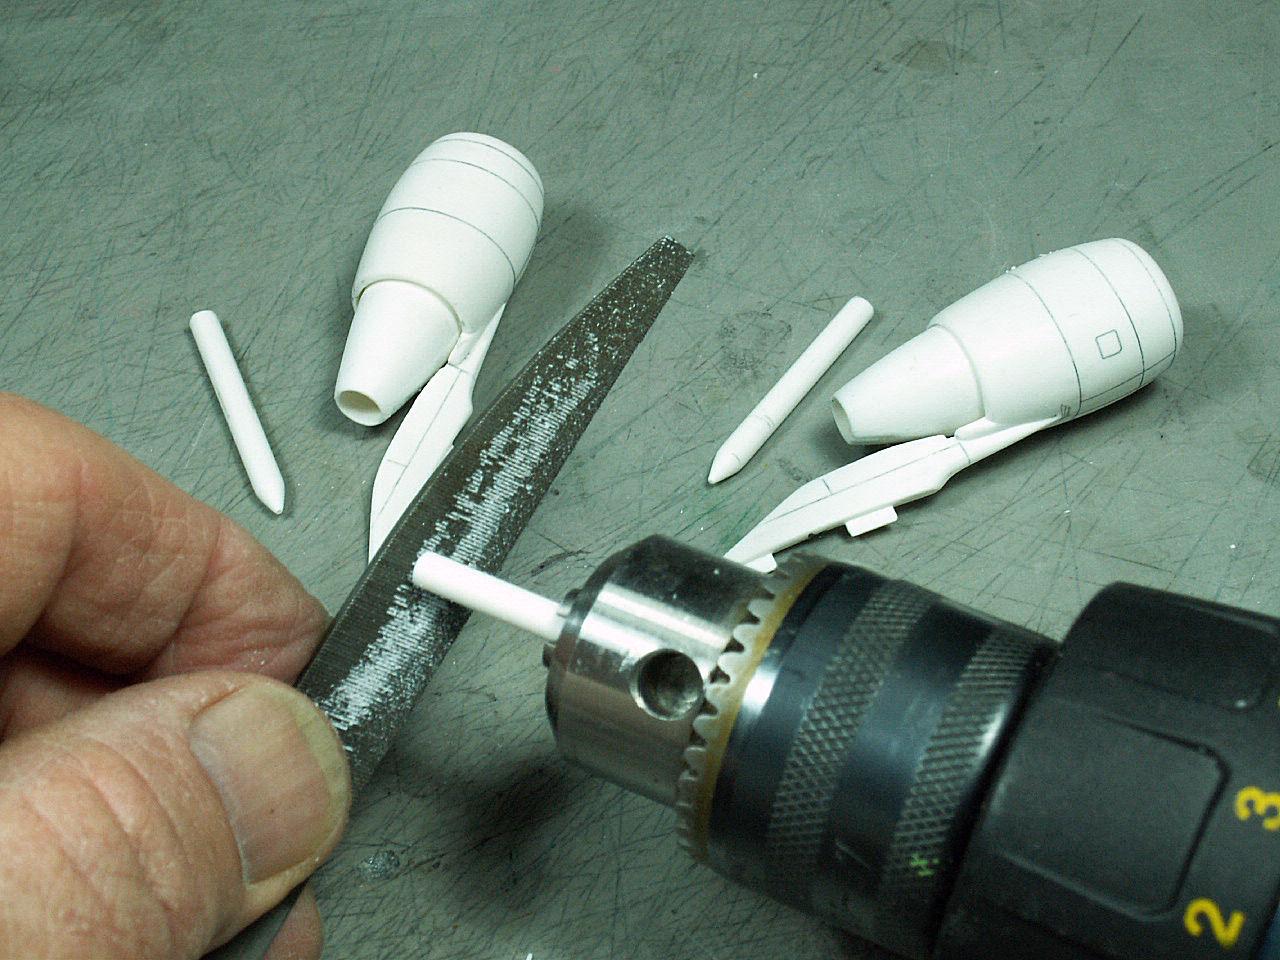
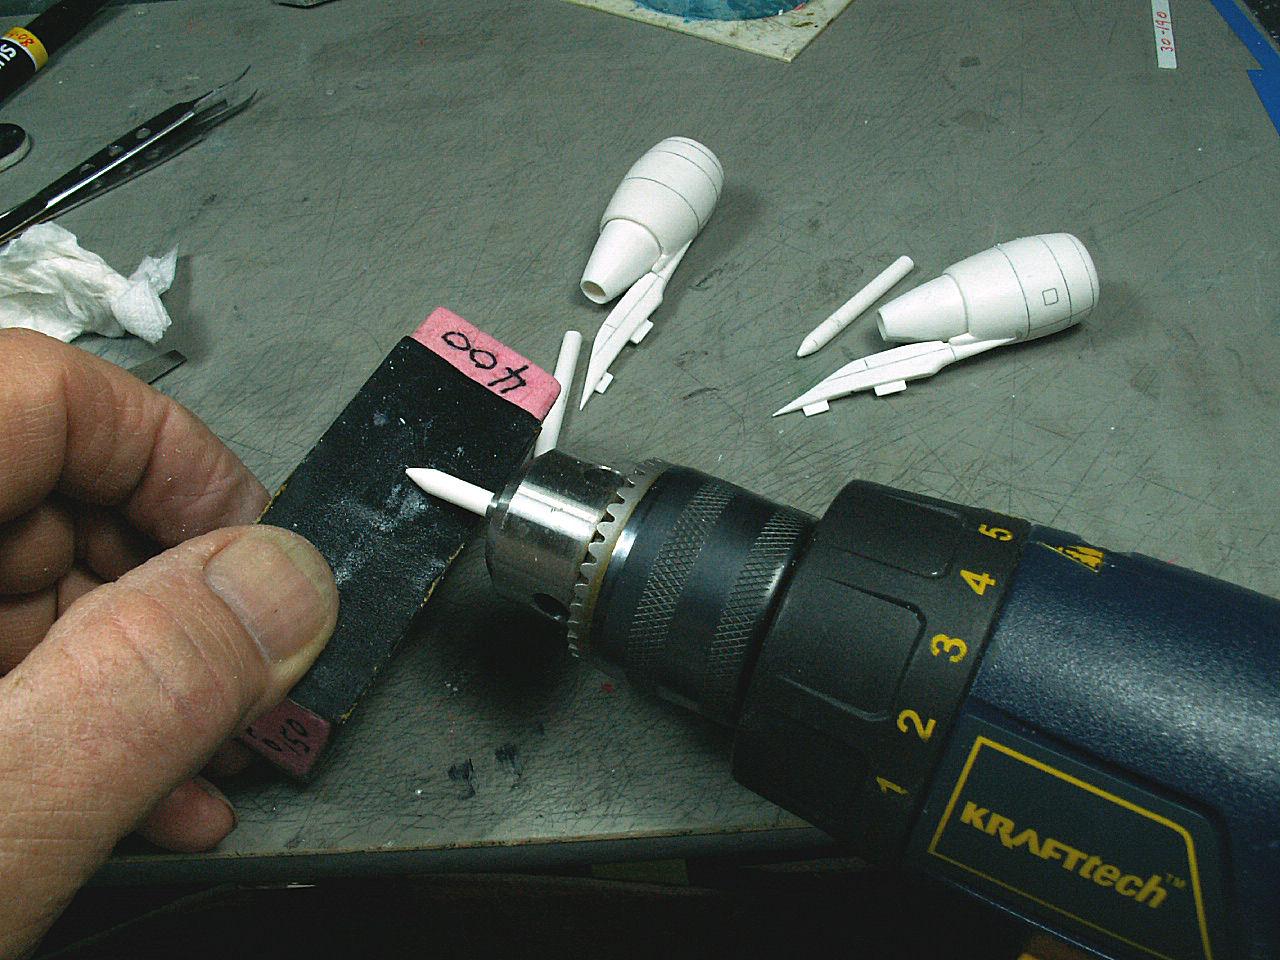
The kit engines just had a solid fan-like inlet and exit exhaust cone, but no point on its' end. I got on my computer again and made the cones using my drill, file and some sandpaper.
I have a special computer here at home and it is automatic. I just click on something and up comes some answers. At times I experiment with the computer's suggestions.
My computer is located just behind my eyeballs and between my two ear's. It's call my brain and you have one too, so just put it to work and clink on "think, experiment etc."
Part two welcome soon and it will show how I make scribing templates and a few other things.
Enjoy my Arrow Cargo model.
Rodney,
California, U.S.A.


I really enjoy looking at how you build things and scratch build parts to improve the looks (and correct things) that are presented incorrectly in some kits.
It seems that each time I learn something new. Marc Barris who is here on Imodeler also builds up some fantastic models completely from scratch.
I have been experimenting with scratching little things here and there. My last attempt was when I modified the tail wheel strut on my F4U-1. I made a square strut extension which looks like the real thing that was made by Goodyear while they were waiting on a forged unit from the Chrysler foundry.
I used my “computer” along with my Mk-1 eyeballs to check the dimensions. It looks to be the proper angle, but I didn’t do anything precise other than the initial length measurements.
I’ll be looking forward to seeing your next installment.
Thanks !
Gorgeous paint job. Any more photos?
A few more parts are coming SOON! And yes on my paint jobs, they come as good as I can make them...
Great build, and on a subject you don't see built that often!
nice work!
Again thanks. My home made scribing template's are next.
I always learn something when I read your posts. Thanks, Rodney!
Marvin: My stories and photos were always designed to help other modeler's. I wonder why/how I got so good. I got my teaching class going at the visitor's center at Reed-Hillview airport in South San Jose in 1987 to 2004. There was about ten guys that came every Friday night from 7pm until whenever. I also learned from all of them and we all had a great time. As mentioned before, clients wanted lot's of "in-progress" building photos so I kept up the photography from when I quit building for clients in 2007 until I quit modeling in 2016. I hope to post more DC-10-30 photos today.
rjw!