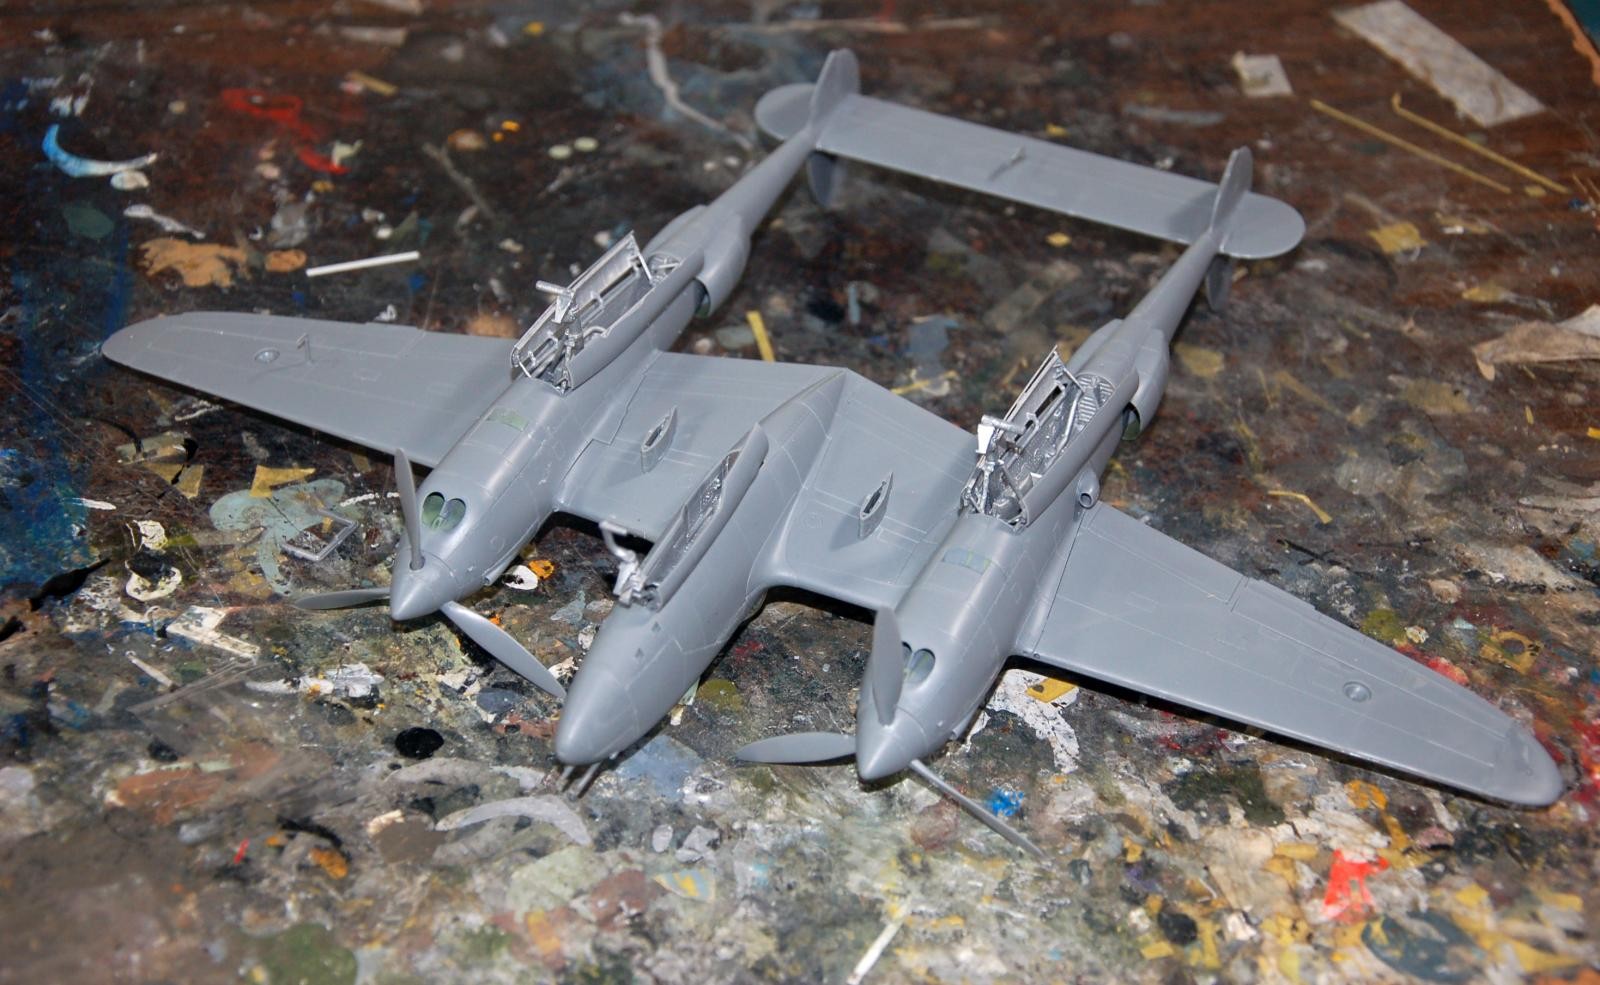
Review: Notes on assembling the Tamiya P-38
While this model will be completed over the weekend, it won't be reviewed at Modeling Madness (first place of publication) till November 7, since Scott went and played hooky and gave himself a life this week, pushing the reviews back a week (next week is the new ICM 1/48 He-111H-6 North Africa, a very nice project). So here are some construction notes. With these and the commentary on color in the other post, you should have most of what you need to get going on yours.
I note that Military Illustrated Modeler and Tamiya Model Magazine both have "Lightning Strikes!" on their covers, with two nice renditions of Rex Barber's P-38G (Just for the record - since I have seen some people who've been living on Mars the past 12 years posting about there being a "controversy" over who got Yamamoto - the Air Force officially recognized Rex Barber's claim as sole shoot-down in 2006, with Tom Lanphier's 54 years of self-serving baloney finally completely disproven, proving only that you need to pay attention to who writes the combat reports. I just wrote a book with the story of this controversy in it that will come out next year). Both models are what you get if you follow the kit's painting instructions, and both are really nice; I particularly like that James Hatch "got it right" reproducing the darker areas of tape residue along the panels from the cocooning of the airplane, which is very visible in photos. However, they both did "brown base OD" rather than "Green Base" as the photos I put up and that James Robinson added to clearly demonstrate. That's not a criticism of James or Marcus; they both did exactly what you're supposed to do with reviews for those magazines: do the kit as provided. But you all know the truth here.
Anyway, notes on construction:
-
If you follow the instructions, anyone from someone new to the hobby to a grizzled veteran can pretty much assure themselves they'll end up creating one of the best models to ever sit in their collection. The kit is designed so you really have to Put Effort Forth to not get it right. One thing to note that is counterintuitive: "Option A" in the instructions refers to the Barber P-38G, while "Option B" refers to the "White 33" P-38F, and you should make certain to pay close attention to those options or you will most definitely screweth the poocheth.
-
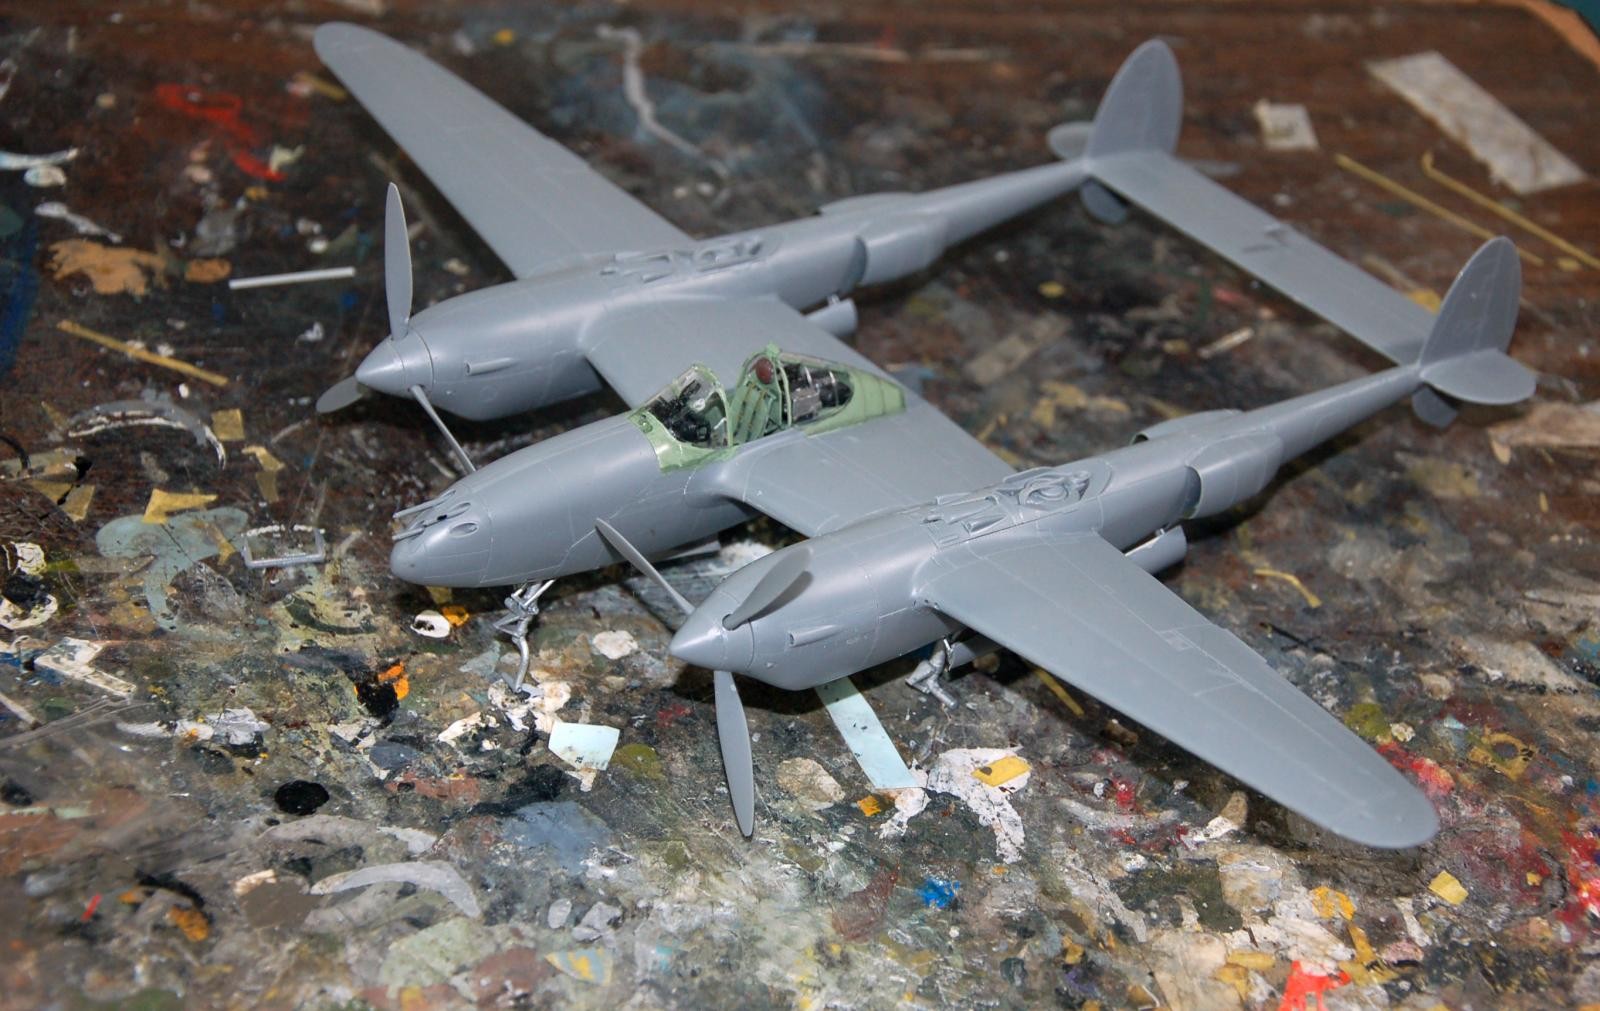
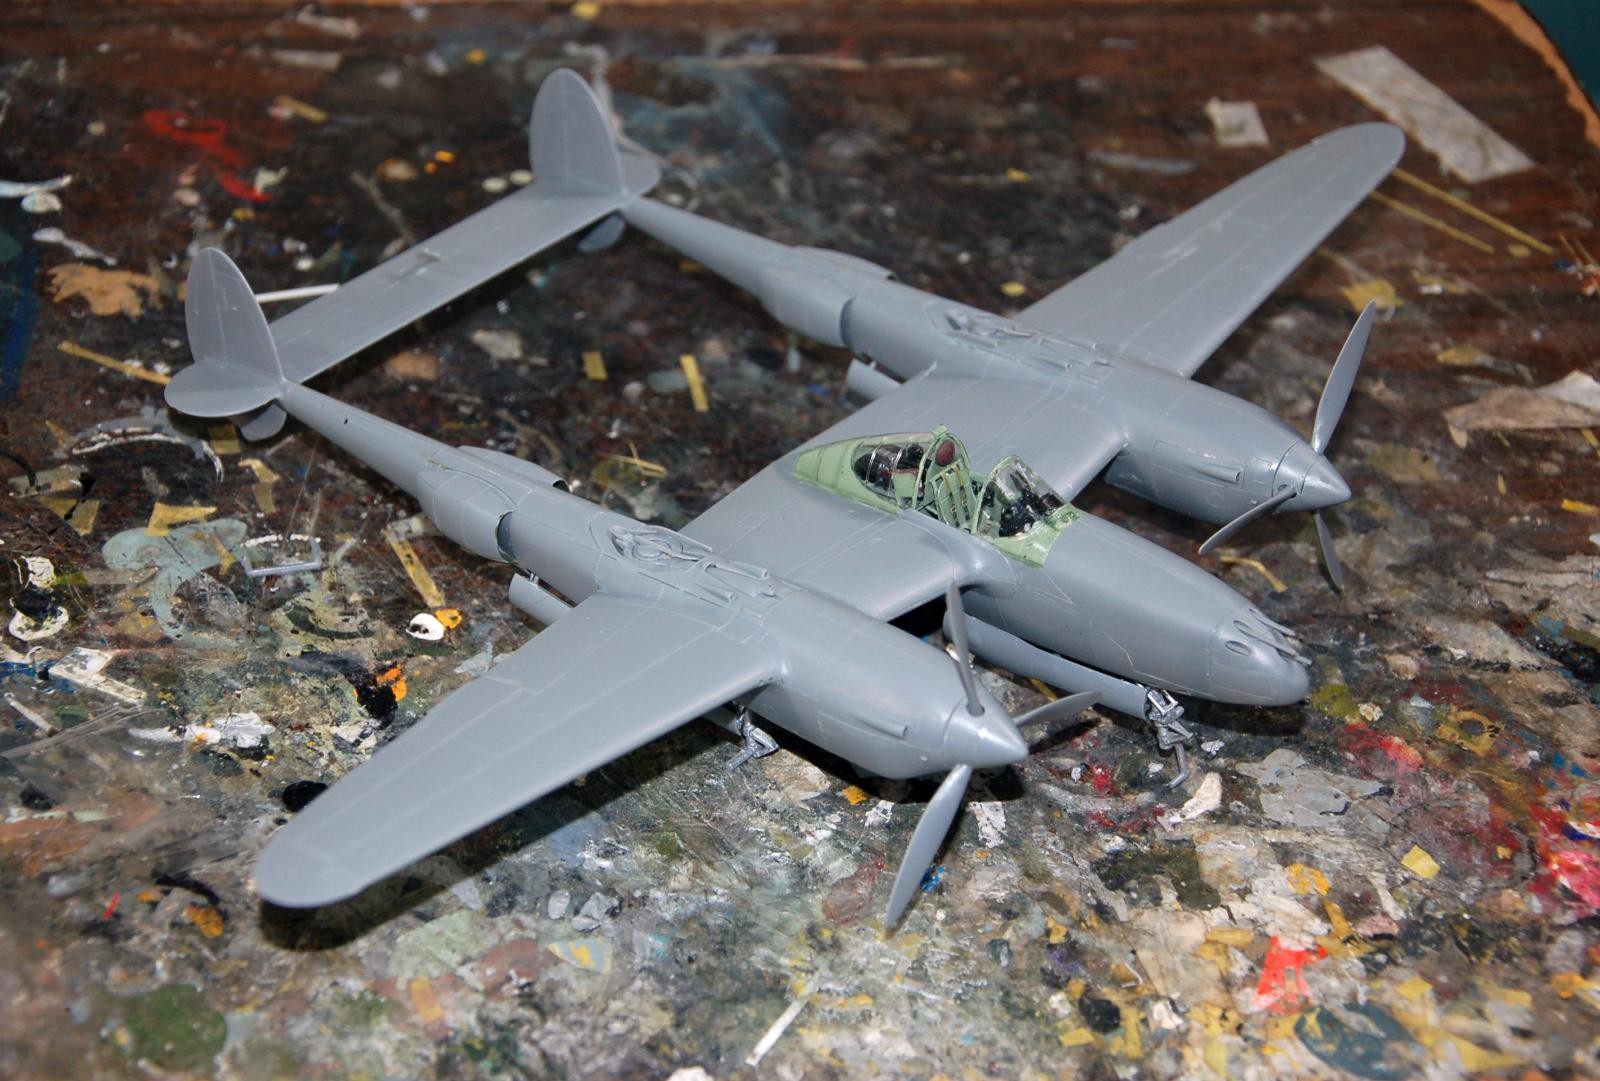
With care in assembly and making certain (by going over them all twice) to get absolutely totally completely rid of any residue from any sprue attachment nibs, the model was assembled with no resort to any kind of filler. I only lightly scraped down the centerlines of the booms and the leading edges of the wing.
-
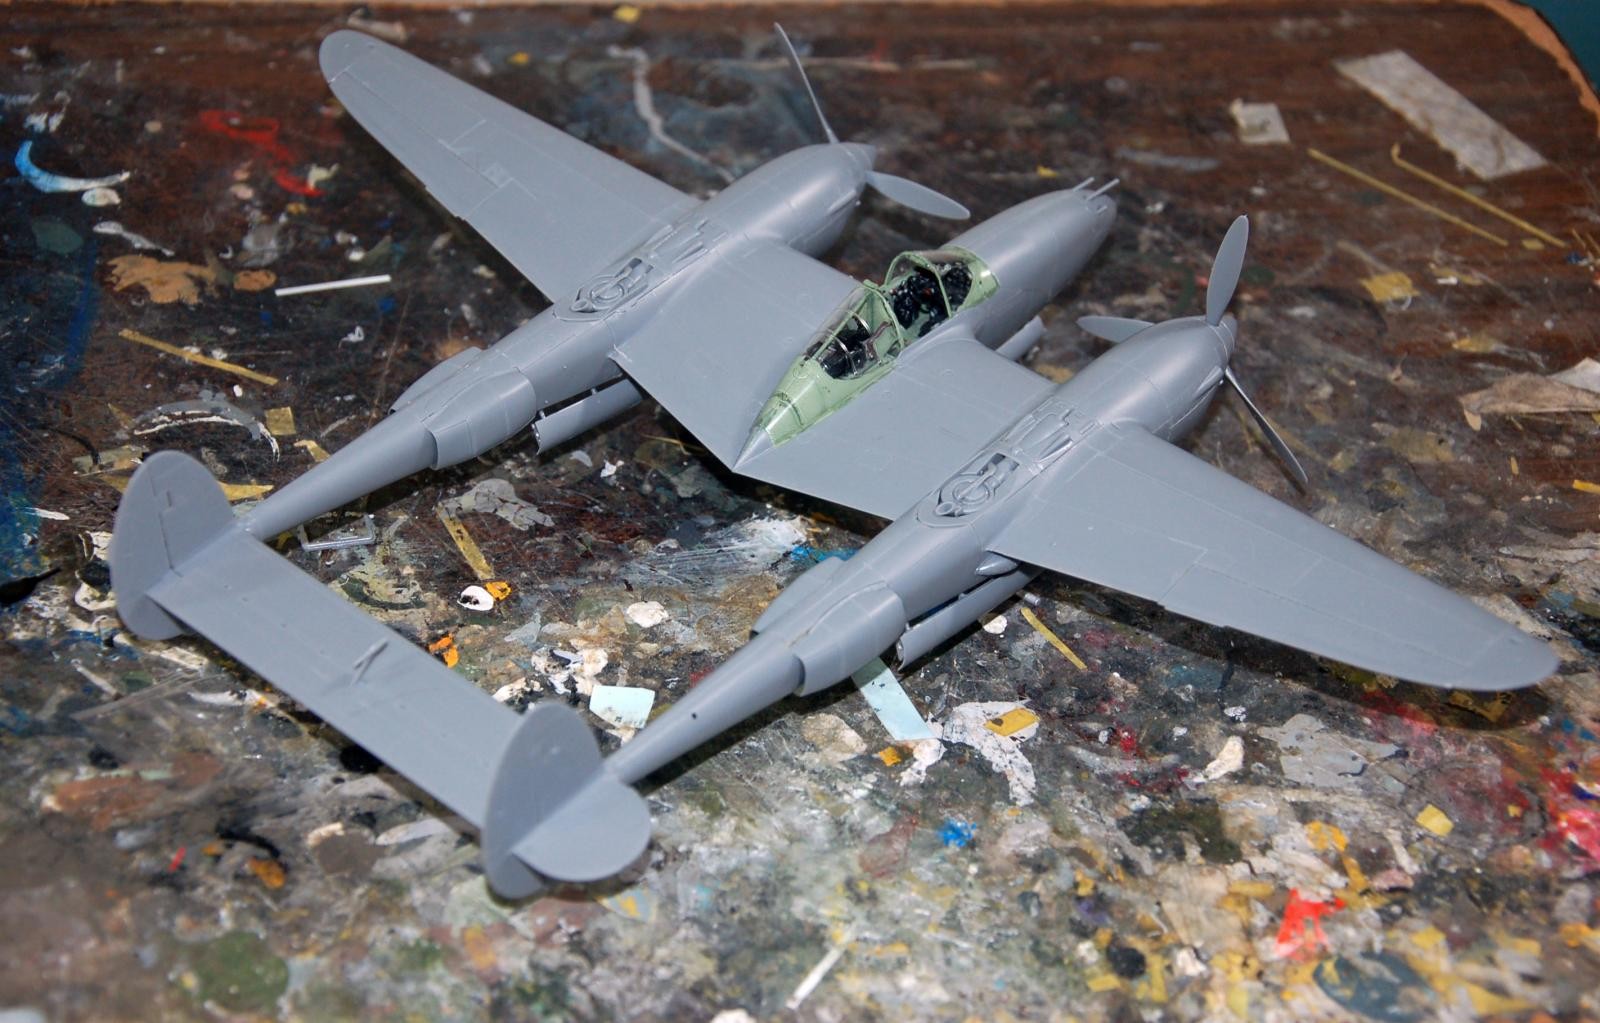
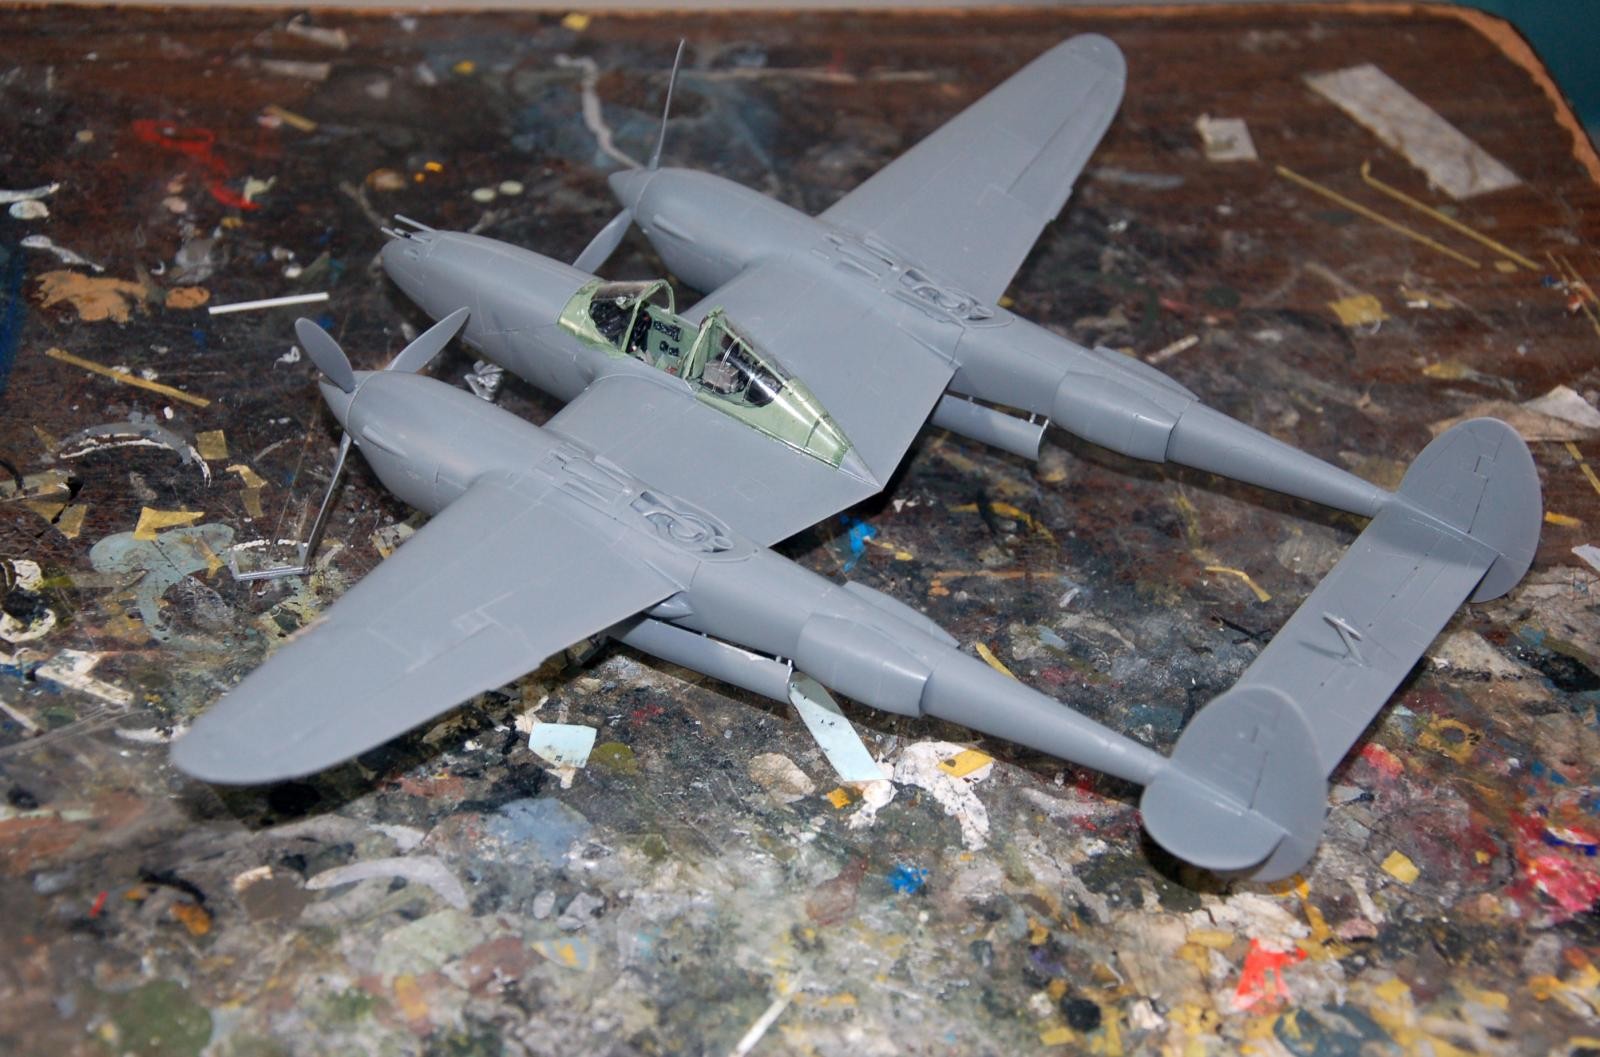
I strongly suggest you attach the armor glass to the windscreen with some sort of white glue that dries clear, otherwise you will not be able to avoid getting at least one "glue spot" on the inside of the windshield.
-
My one departure from following the instructions was to do all the cockpit assembly at one time - for some reason Tamiya divides it into two processes, one at the outset and the final assembly coming at the end. I combined them and got the windshield and rear glass on to cover everything in the cockpit, to make sure of not breaking something with the cockpit opened up (and it would have happened) during the intervening assembly.
-
I suggest you assemble the gear before proceeding to paint the airframe; you can stuff the wheel wells full of tissue and avoid spraying them. Also, knock off that little nib on the main gear axle, so the wheel will rotate; that way, you can sand a "flat spot" on the tire and rotate it to where it is properly aligned before gluing.
Overall, the kit is complex, but not complicated, providing you commit the radical act of FOLLOWING THE INSTRUCTIONS. They're not just someone's opinion of how to do things.
I think this is the best, most modeler-friendly kit Tamiya has released. I really liked the solution they came up with to attaching the gear doors, which is the one really really annoying part of the Hasegawa kits. Anyone who follows the instructions (are you seeing a trend here?) is guaranteed an outstanding result.
Good one Tom
Thanks for this detailed report, Tom. I've just received my Tamiya P-38 yesterday, and I will take in account your usueful remarks.
It seems you painted the cockpit with the RAF interior green color you recommend in another post, right?
Yes - the post on Color Notes a couple days ago.
Good to hear someone finally worked out a better attachment method for P-38 gear doors. I get sick of re-attachment after every model show. I'm eager to see the finished model.
Tom, can the landing gear, nose and main, be added in a final assembly stage after the model is painted?
It can, and that is my usual way to go, but it's a lot easier this way. If you stuff the gear wells with tissue and wield your airbrush with the skill and ability you're always displaying, there will be no problem.
I just completed my Tamiya P-38 kit. Something that I should have done, but didn't realize until later, is to use some tape or other mechanism to "wedge" the steel weights in the noses of the gondola and the booms into their brackets. If you don't, the balls will rattle around a little when you handle the model. But then again, you shouldn't be handling the model to begin with.
I glued them in with CA.