ZVEDA's 1/144th Scale Boeing 787-8 DREAMLINER - part 2.
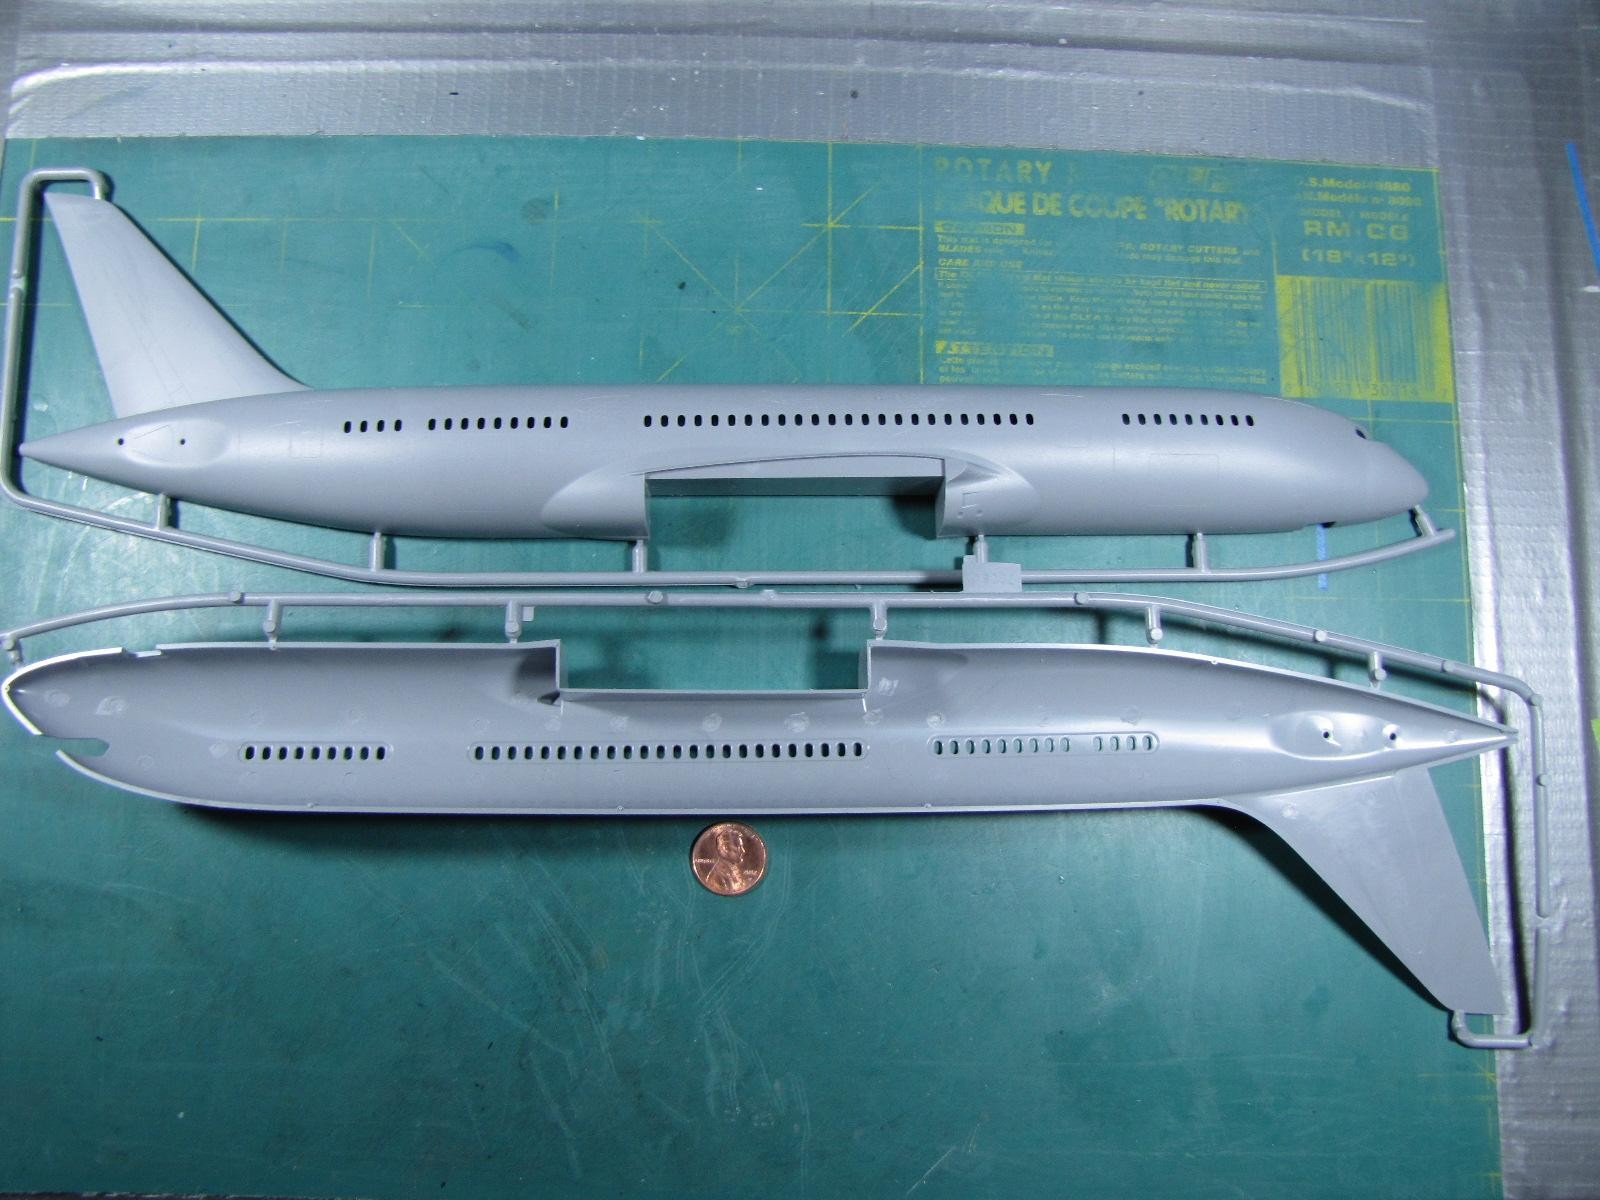
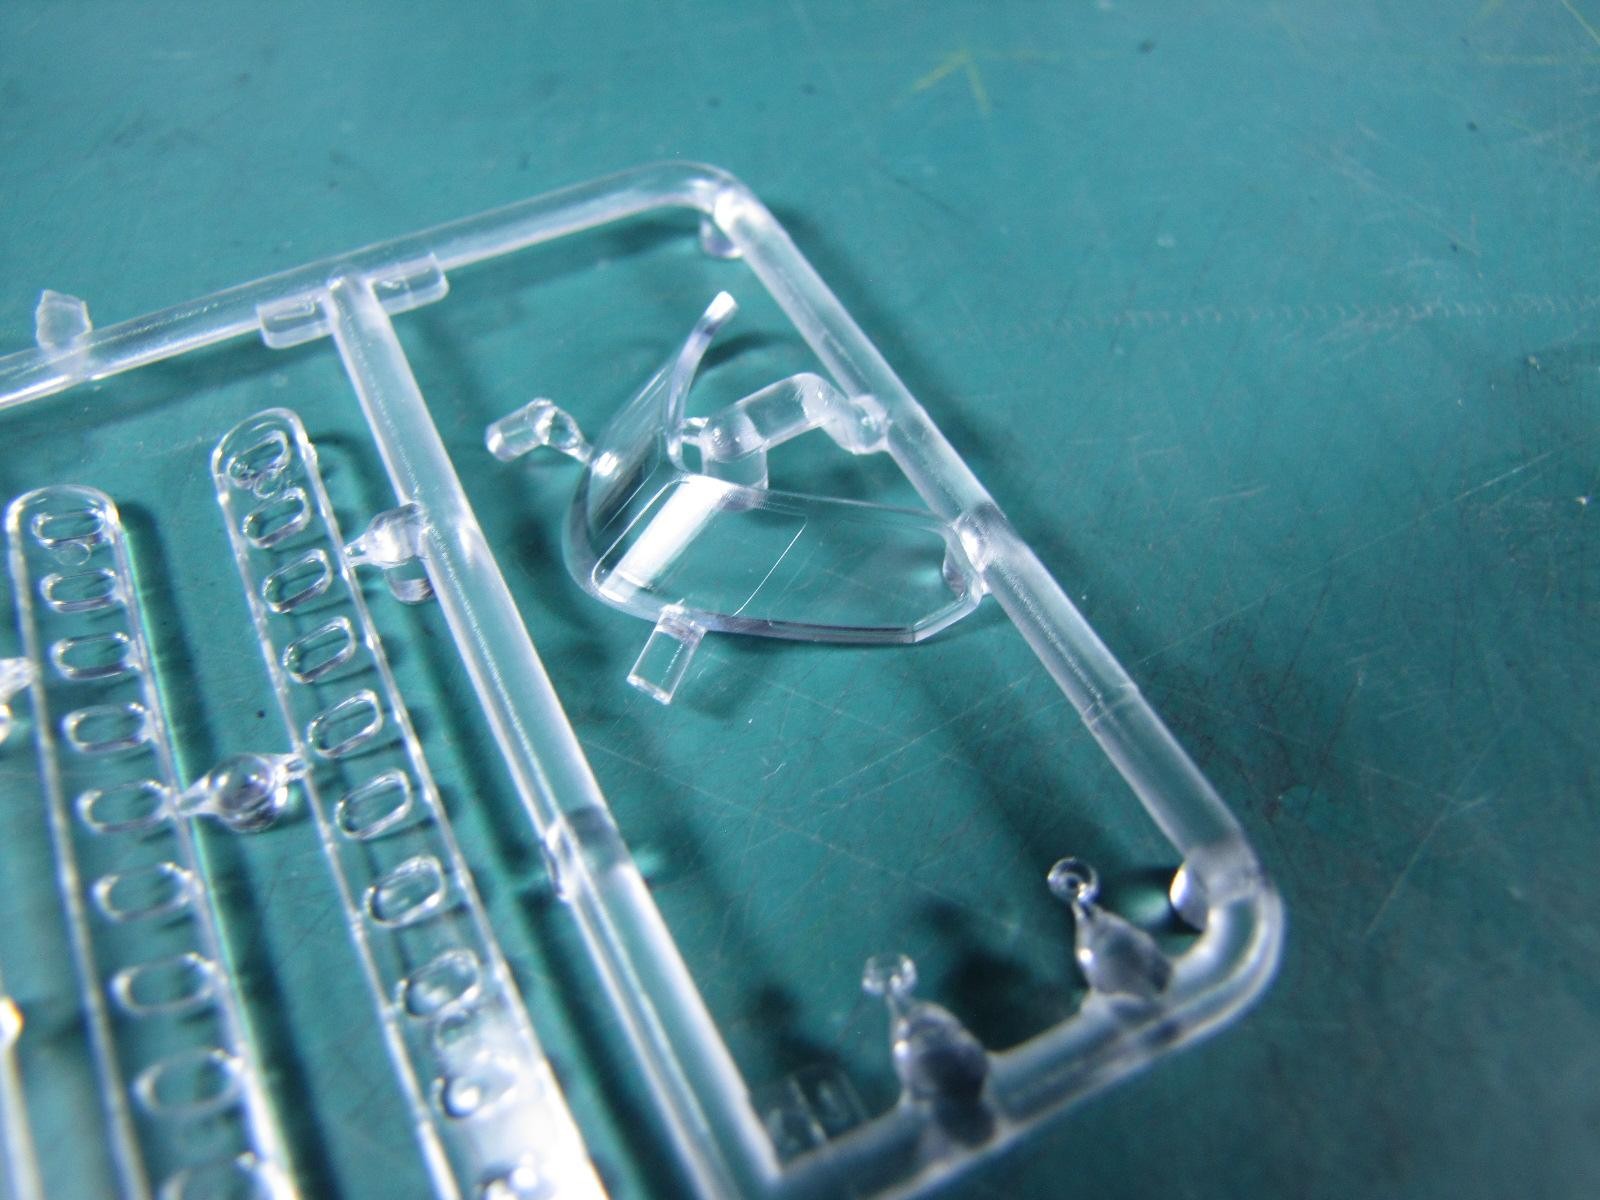
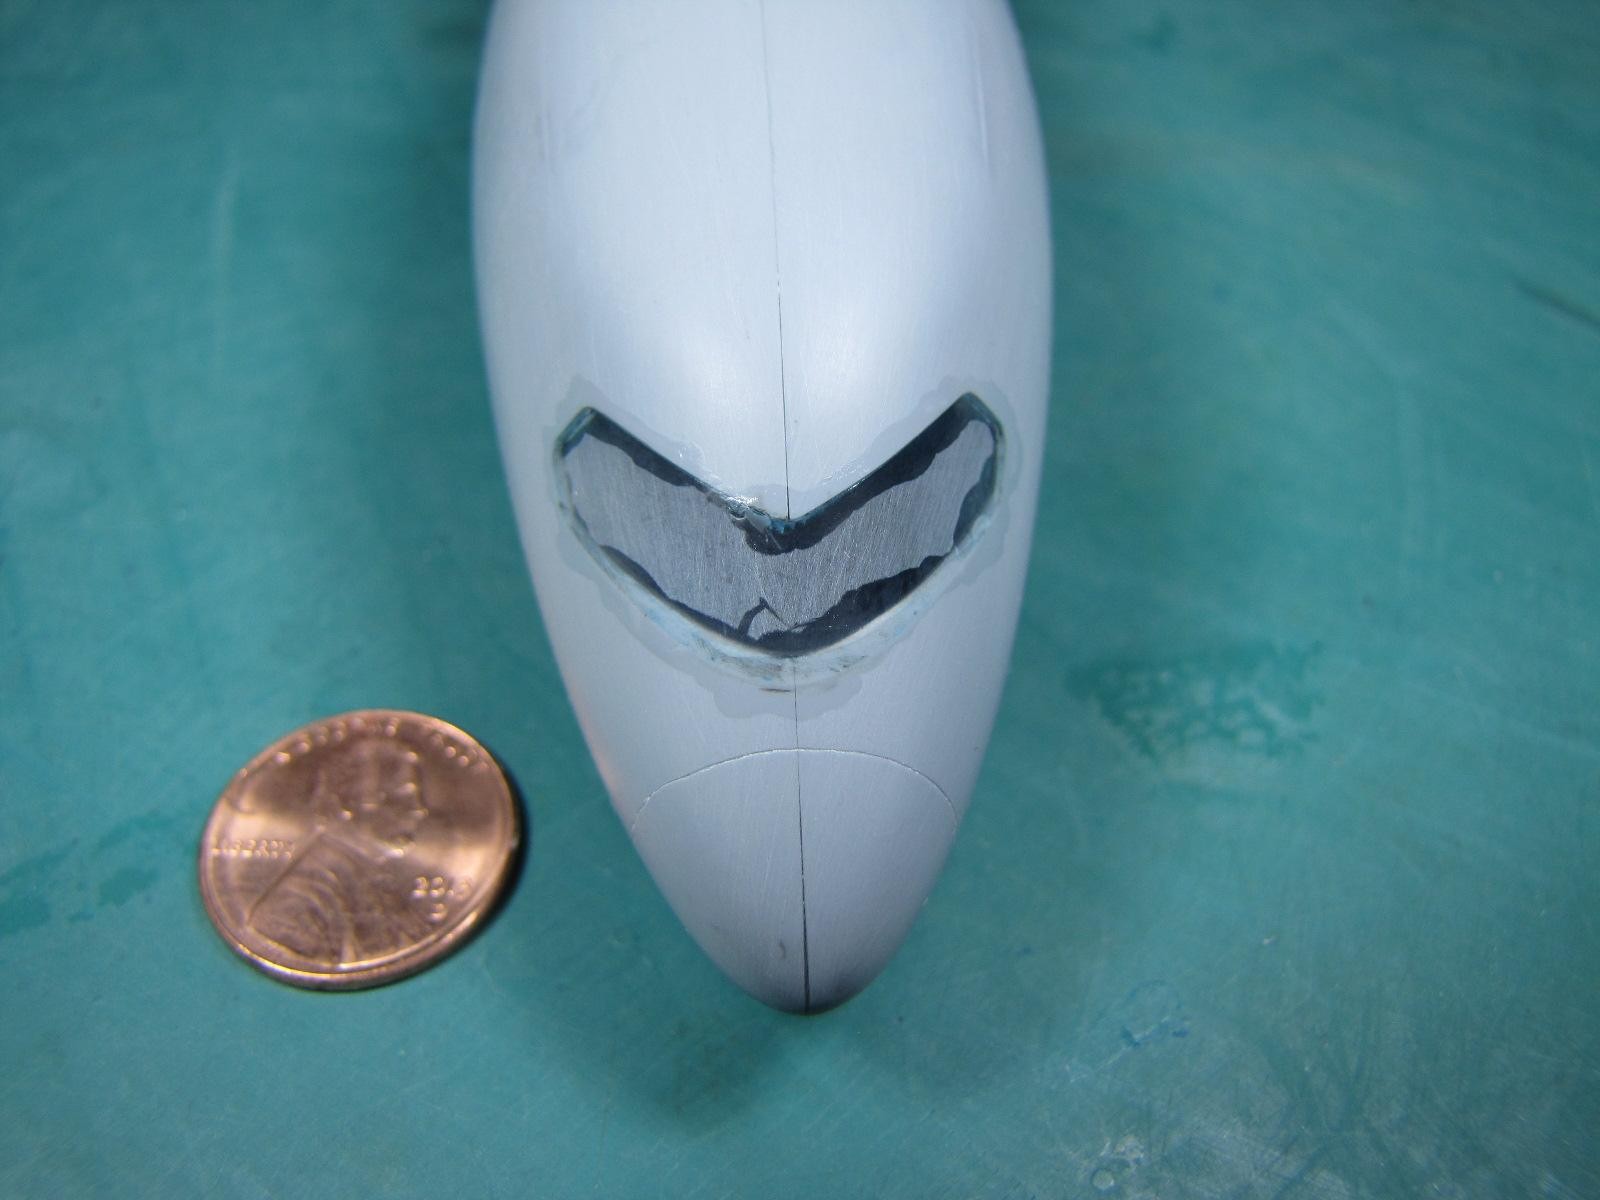
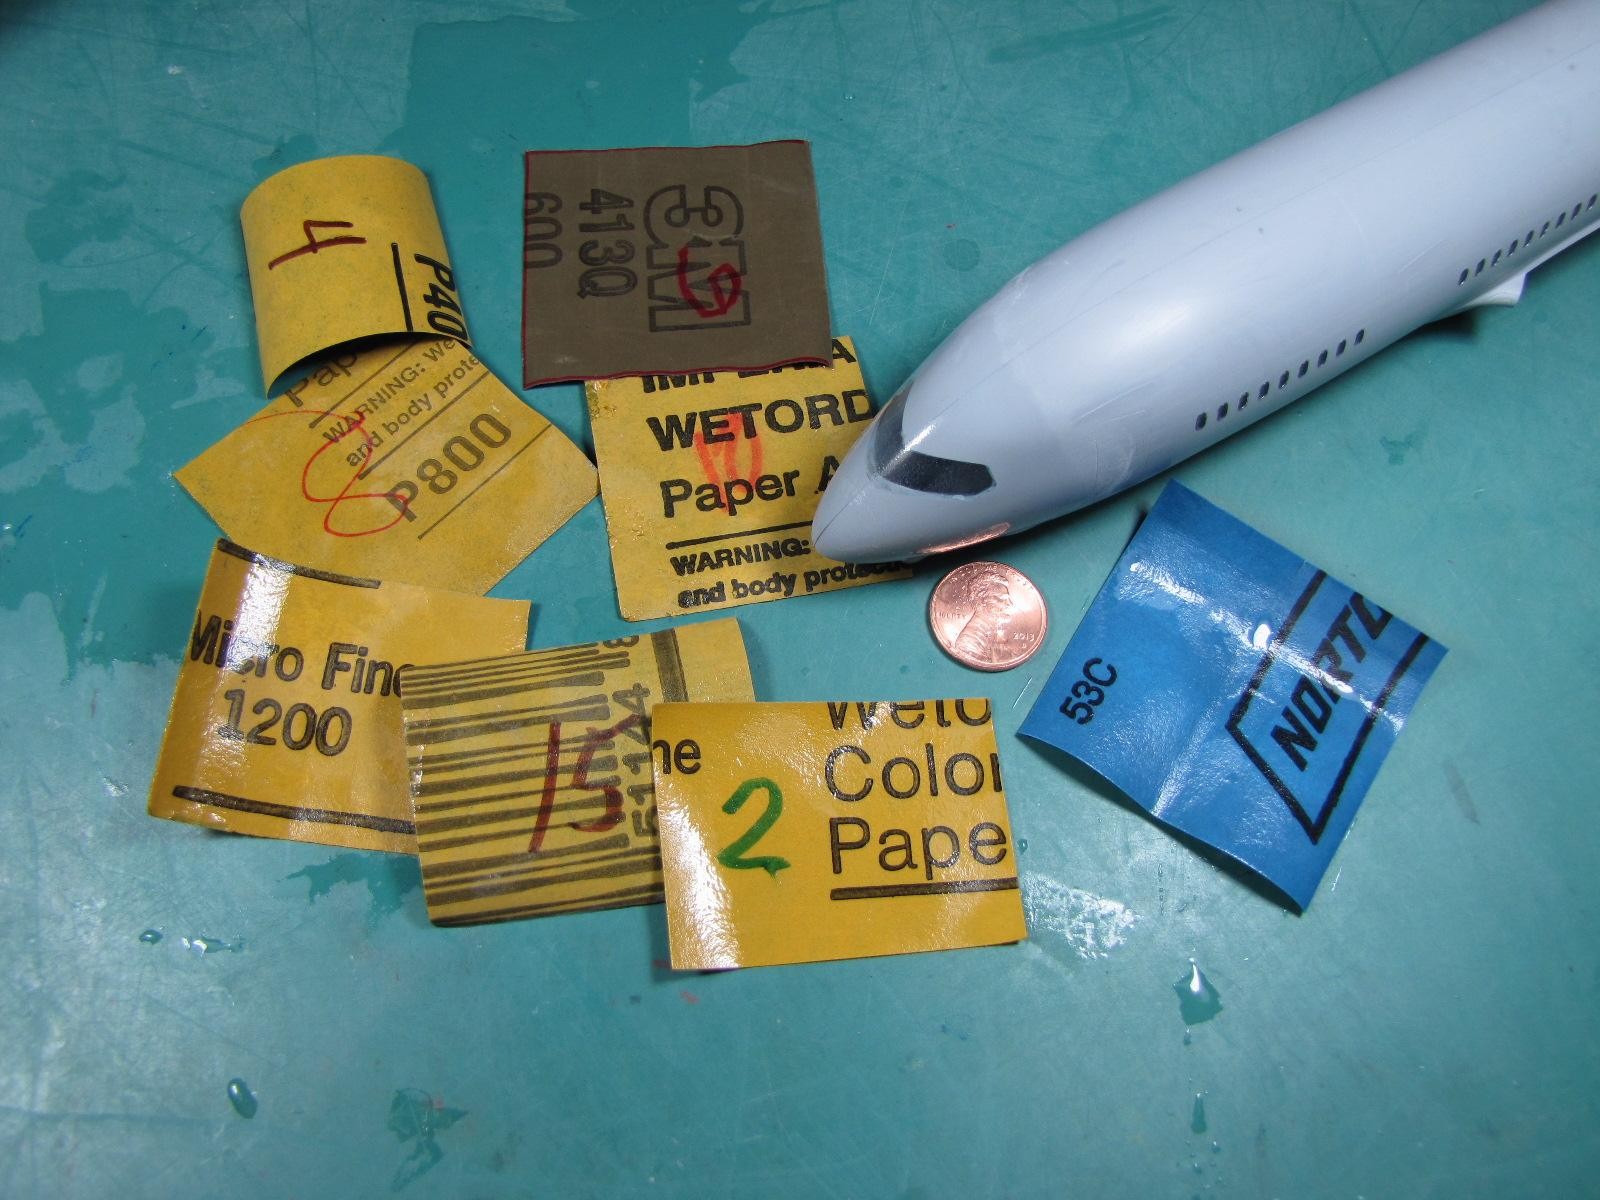
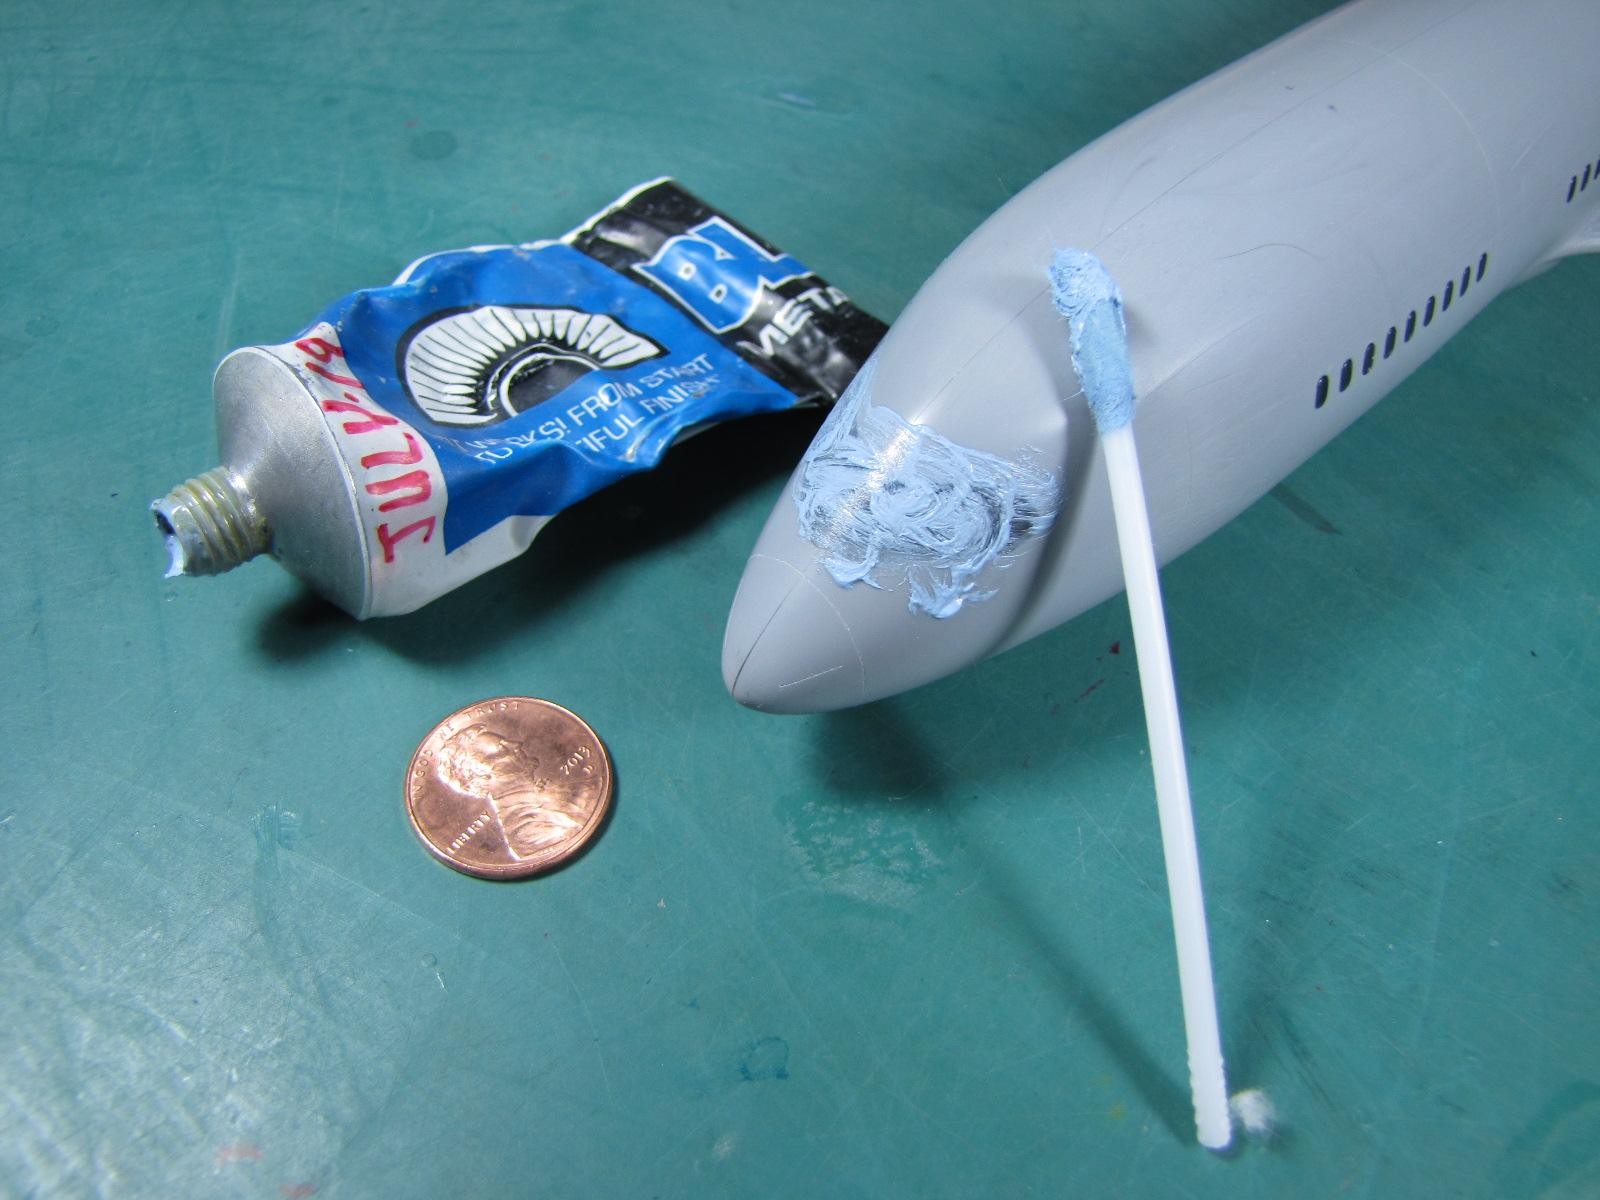
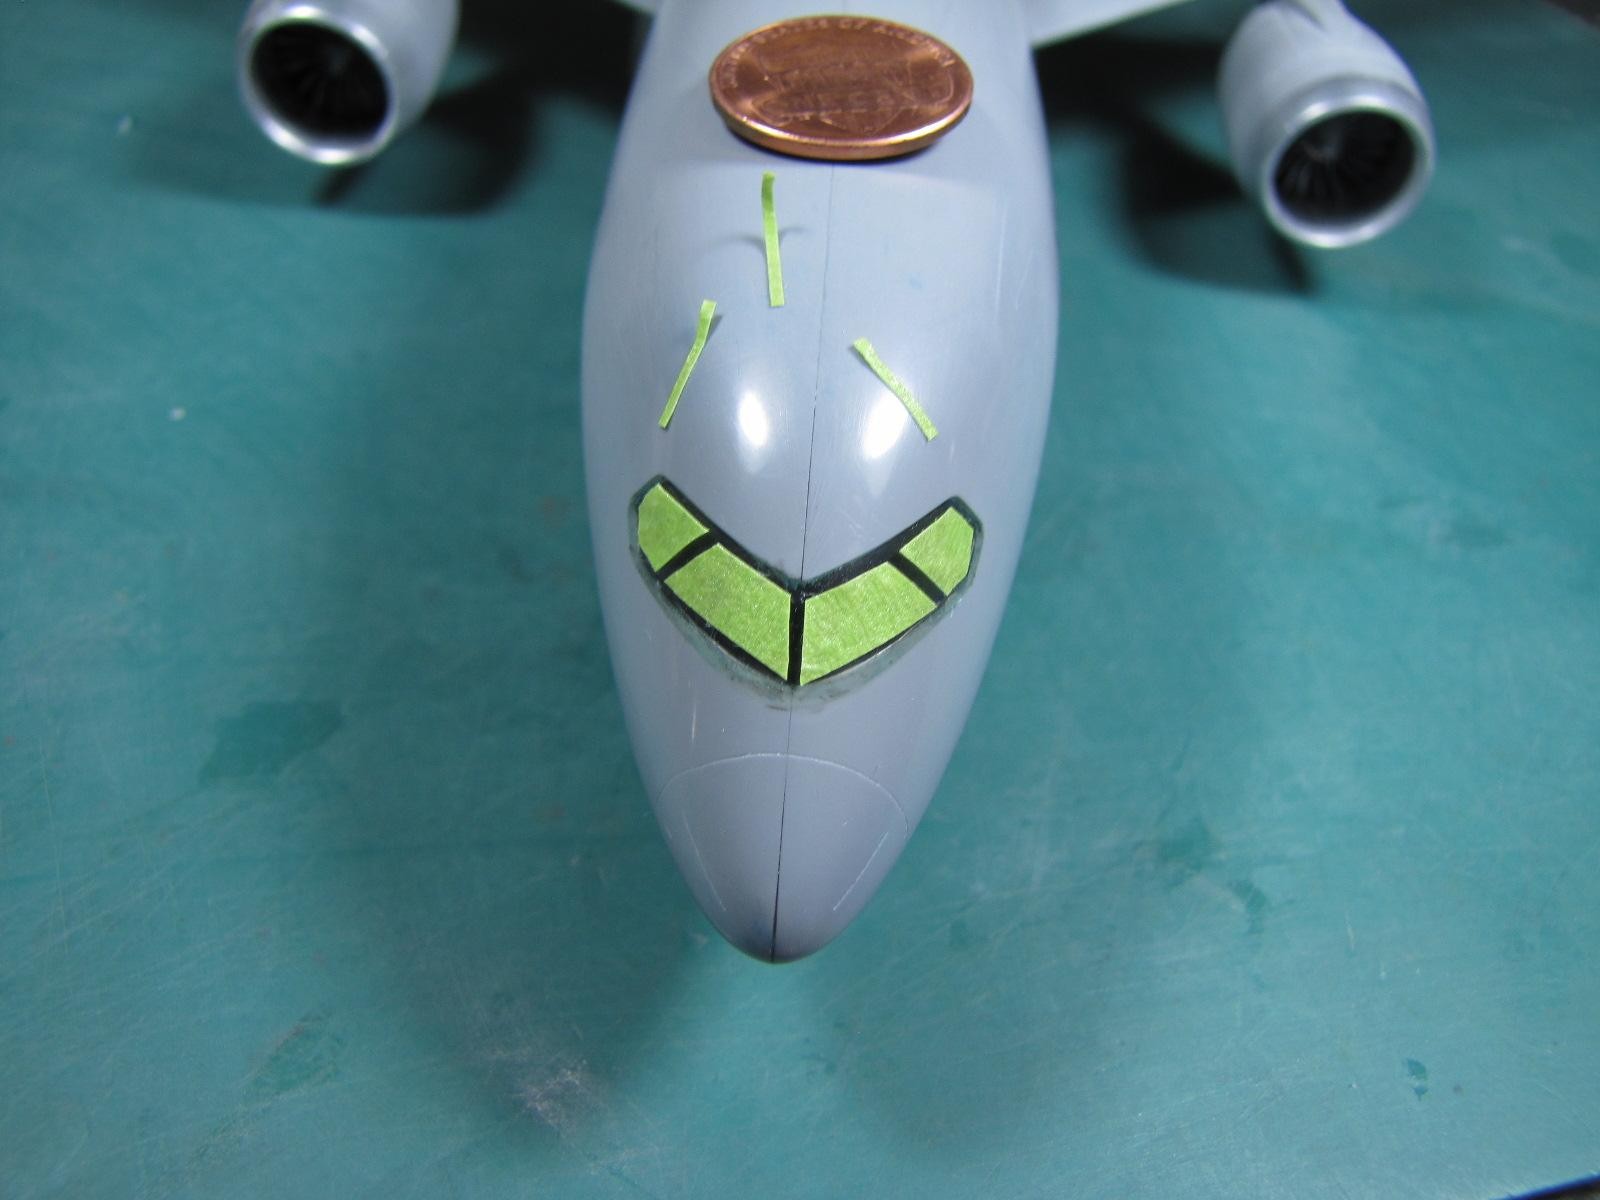
This airline model does not have any interior parts to install except the "nose-wheel" housing and some weight in the form of small lead "b-b's" that I have had since the mid 1980's. I dry fit the two fuselage halves together after I glued in the nose wheel housing with the b-b's. Since it's an excellent fit, I added thin superglue to the seams. The clean windscreen was sanded on all four sides, then I removed all of the sanding dust and aligned the w/screen in it's proper location. Once alignment was achieved I just added some small drop of thin superglue. I have used 3M's "wet/dry" sand paper for decades. I cut the s/paper into small squares and write a number on them to represent the grade. (eg: 4 for 400, 12 for 1200 etc.). I use 320, 400, 600, 800, 1000, 1200, 1500 and 2000 grit on all my clear parts then polish them with "Blue Magic" metal/plastic polishing cream I bought in the mid 1980's. The sand paper is put into clean water and left there for several days so that the backing paper becomes very soft, which let's me sand in many directions. The water is changed every time I change grits. I apply the 4 windows with pre-cut masking tape, then spray on some whit paint and remove it so I can see the final results, which meets my approval. Until next time, enjoy my digital photo images.


Very nice. I know this is going to be a real great looking model when finished.
'Liked'
I like how you have posted the pictures showing how you blended in the cockpit windows. I also learned something from you about changing out the water when you change to a finer sand paper. That makes perfect sense as the water will become contaminated with smaller particles with finer grit paper... and help prevent scratches. Good idea with marking the back of the paper too. Sometimes it can be hard to tell the grit, especially when you get into the finer numbers.
I used similar "bird shot" for nose weight in my current Panther jet build. They work great.
I remember reading your articles years ago when you were scratch building your F2G. Back then I looked at your scratch building detail work in awe.
Some things never change. Your work is impeccable.
"liked"
i remember your wonderful 1/32 hase hellcat build
Very informative!
Hi Guy's:
I build the models and take film/print photos often and send a set to my client. When I think I'm half finished building, I ask the client for more money as the photo's are proof and the client can not say no to the next payment. Once I spent $400.00 on one model for film and print's. Thank goodness for the invention to digital photography.
Another important thing about the "In Progress" photography is: I can look back on what I did, then try to improve my work on a new similar situation.
When I quit modeling in late 2016 I had accumulate nearly 40,000 photos of all 288 models that I have here at home, which were put on "back-up" CD's/DVD's.
In closing this segment, thanks for the comments guy's! I'm now going to try and post my last segment on my "DREAMLINER."
Rodney