Decal's My Way
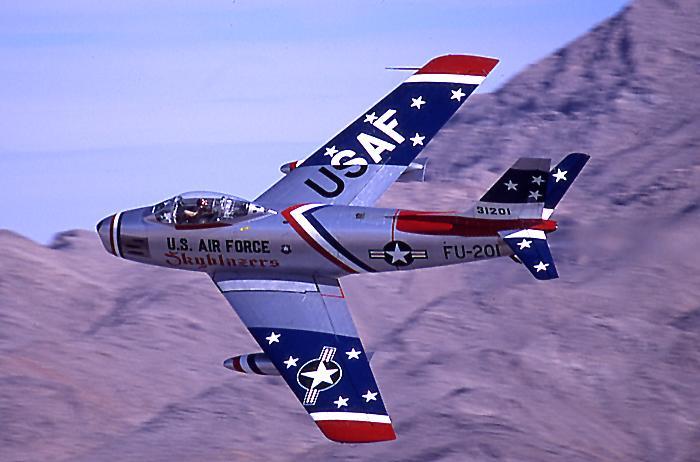
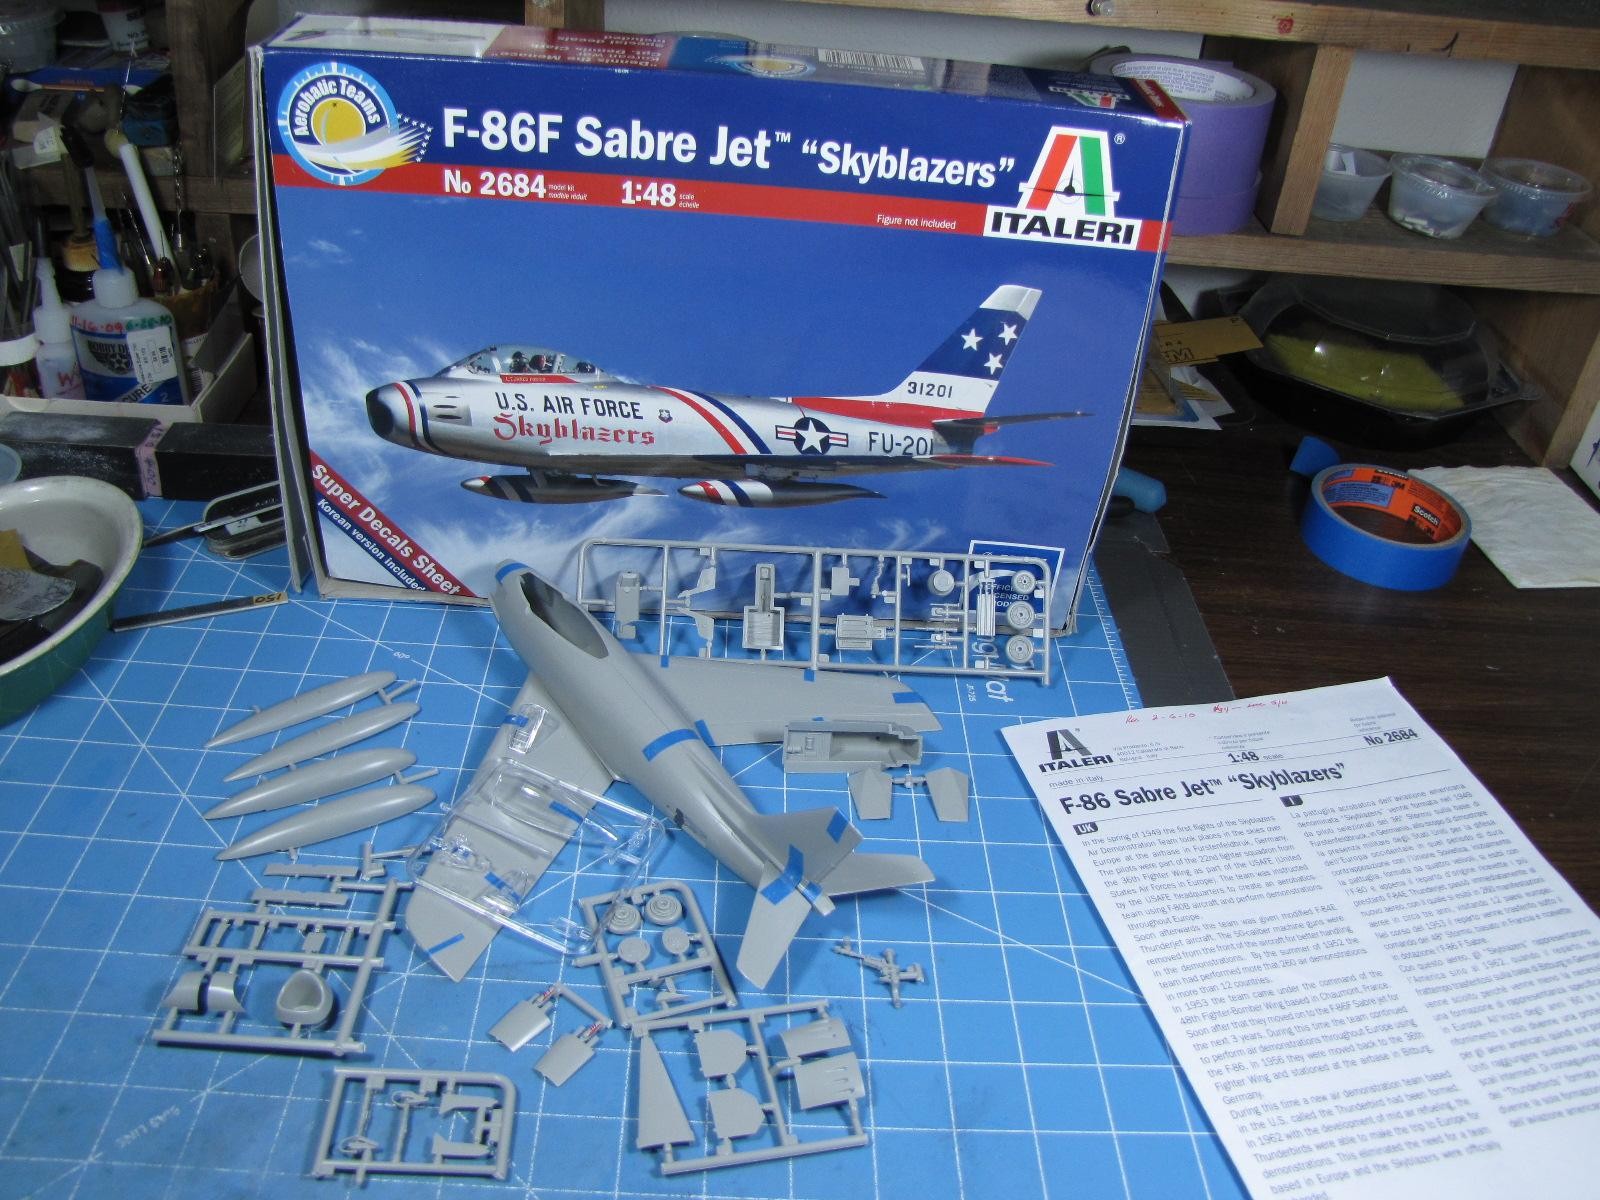
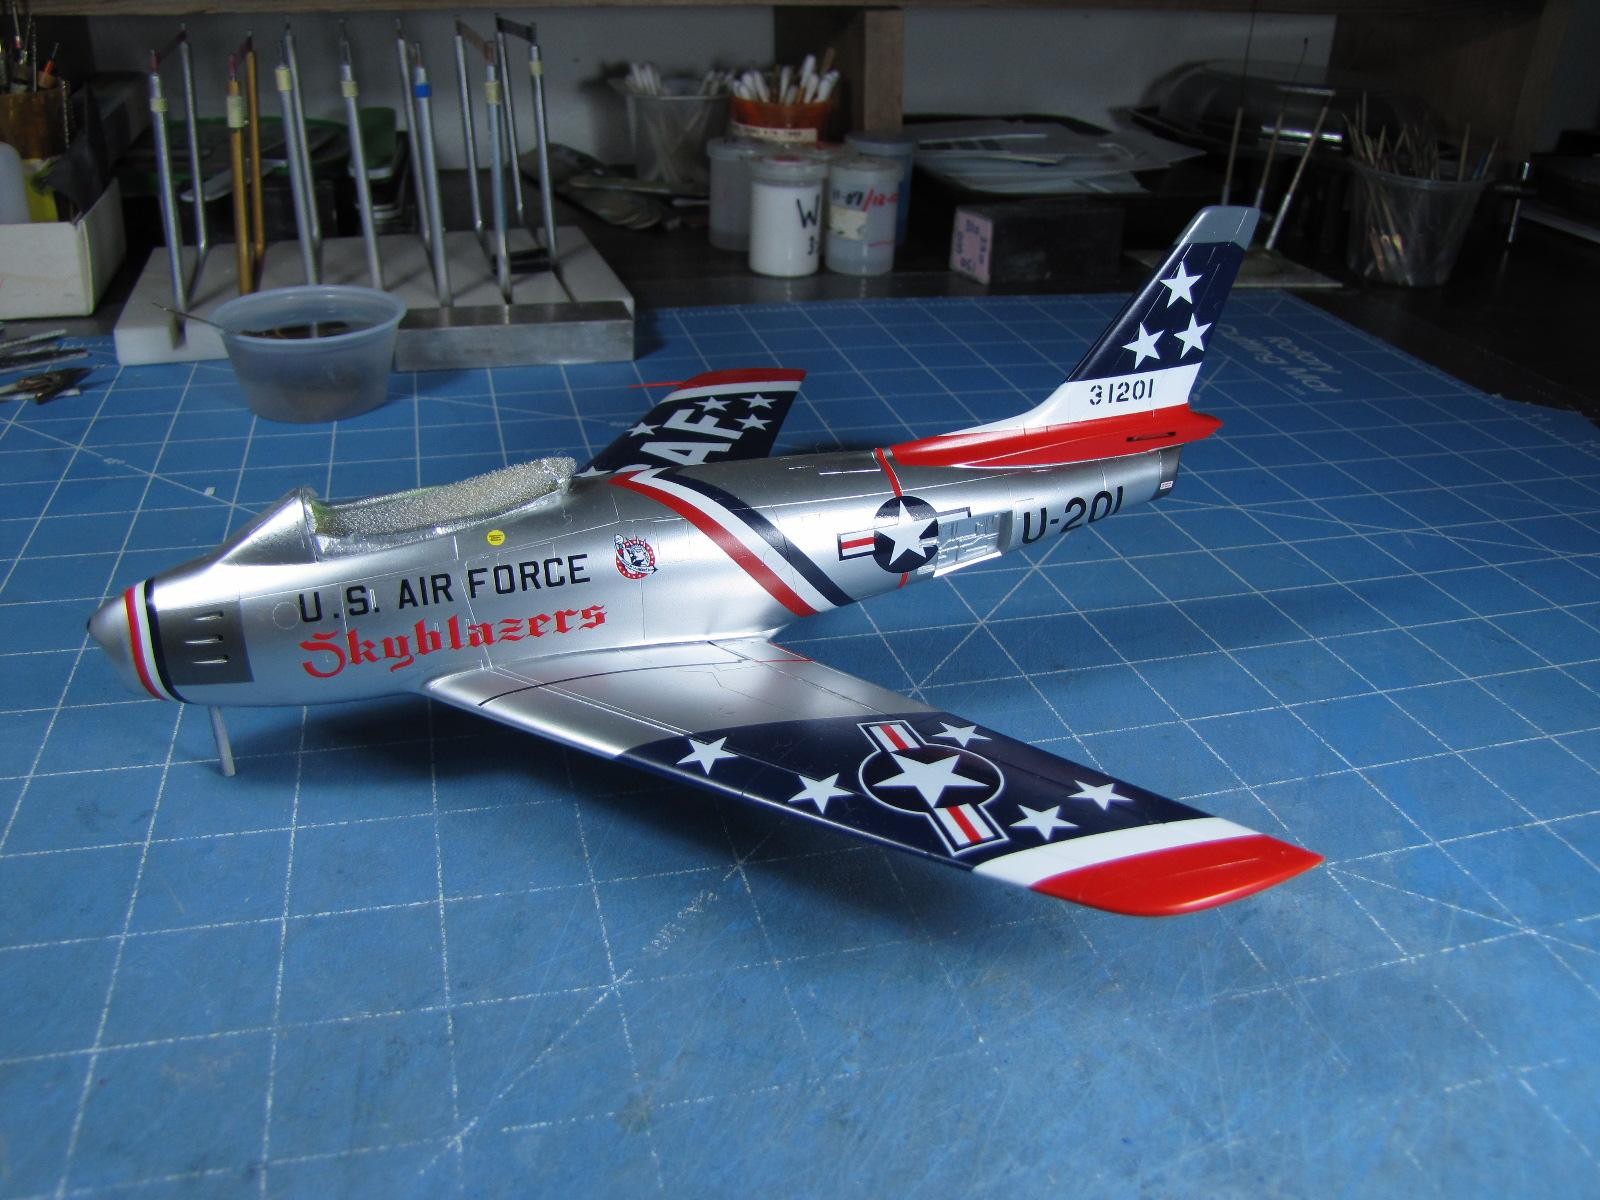
My favorite jet has always been the F-86 Sabre, thus when I saw this kit via "Scalehobbyist" I bought it for several reasons.
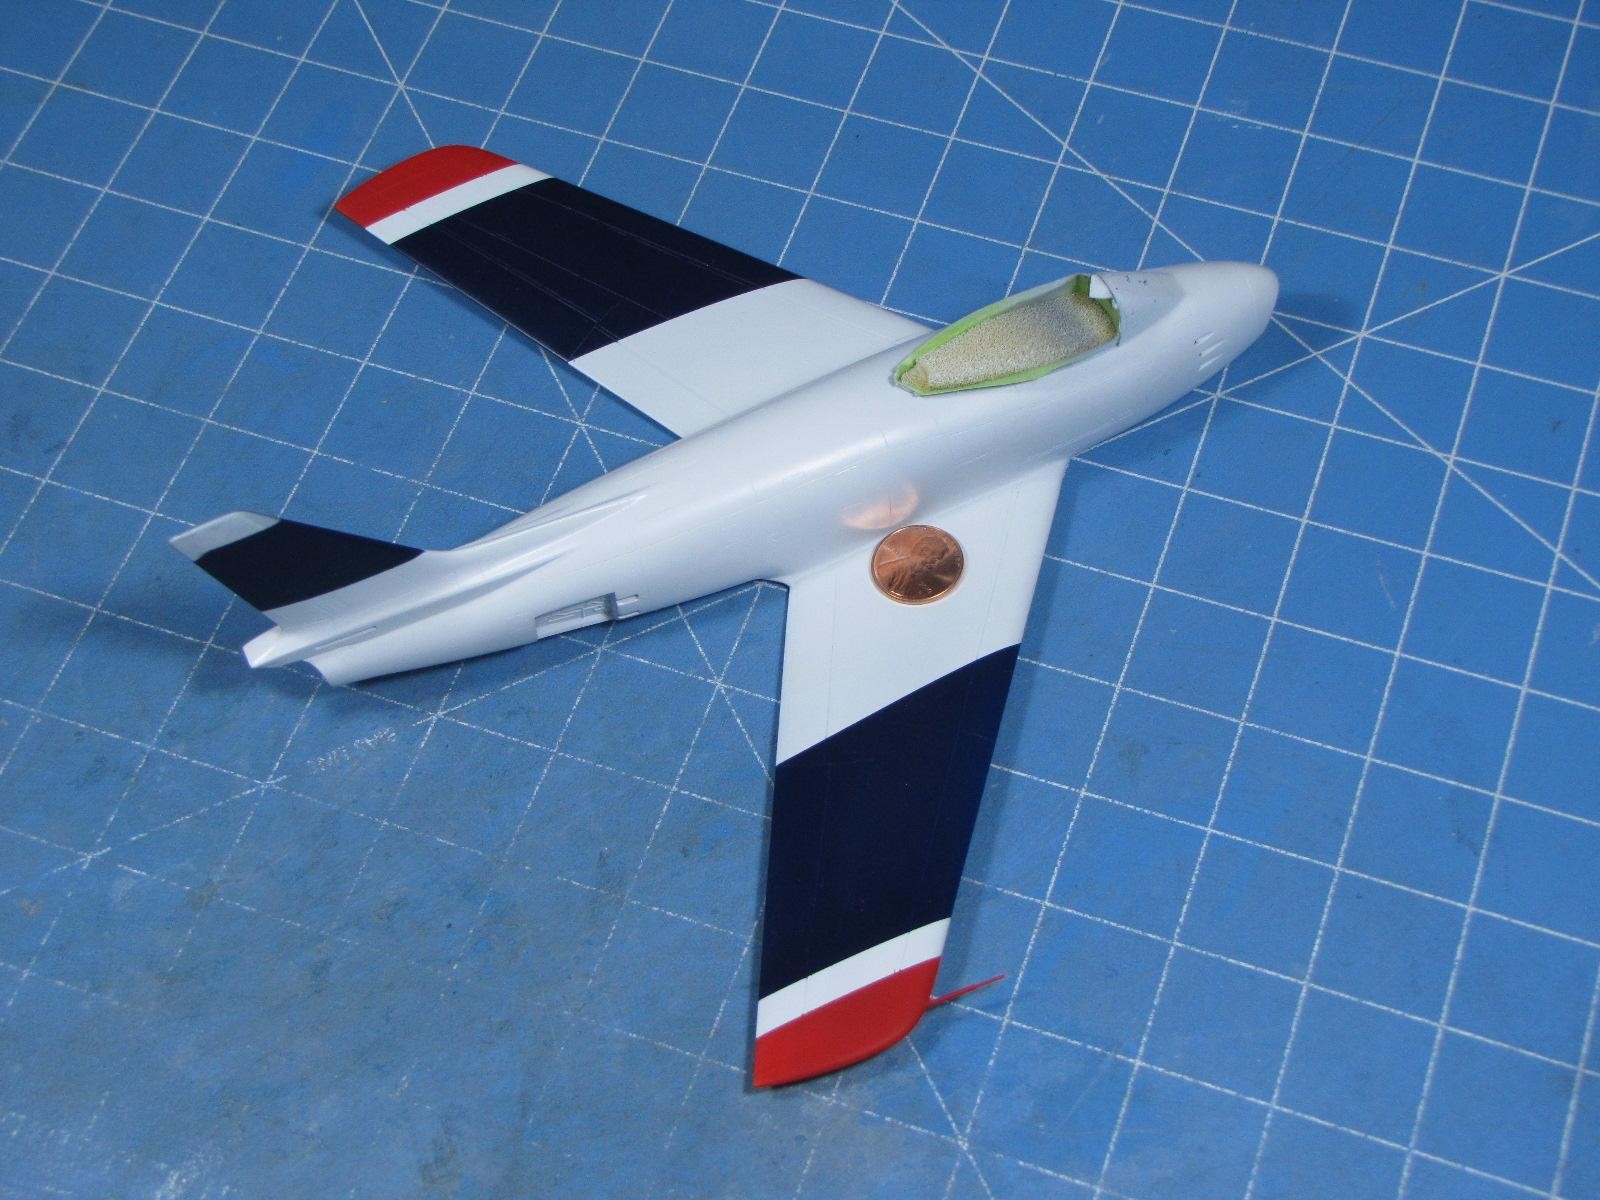
One reason is: I like what we call here in America "Flashie Things" and the paint application on this jet just made me buy the model.
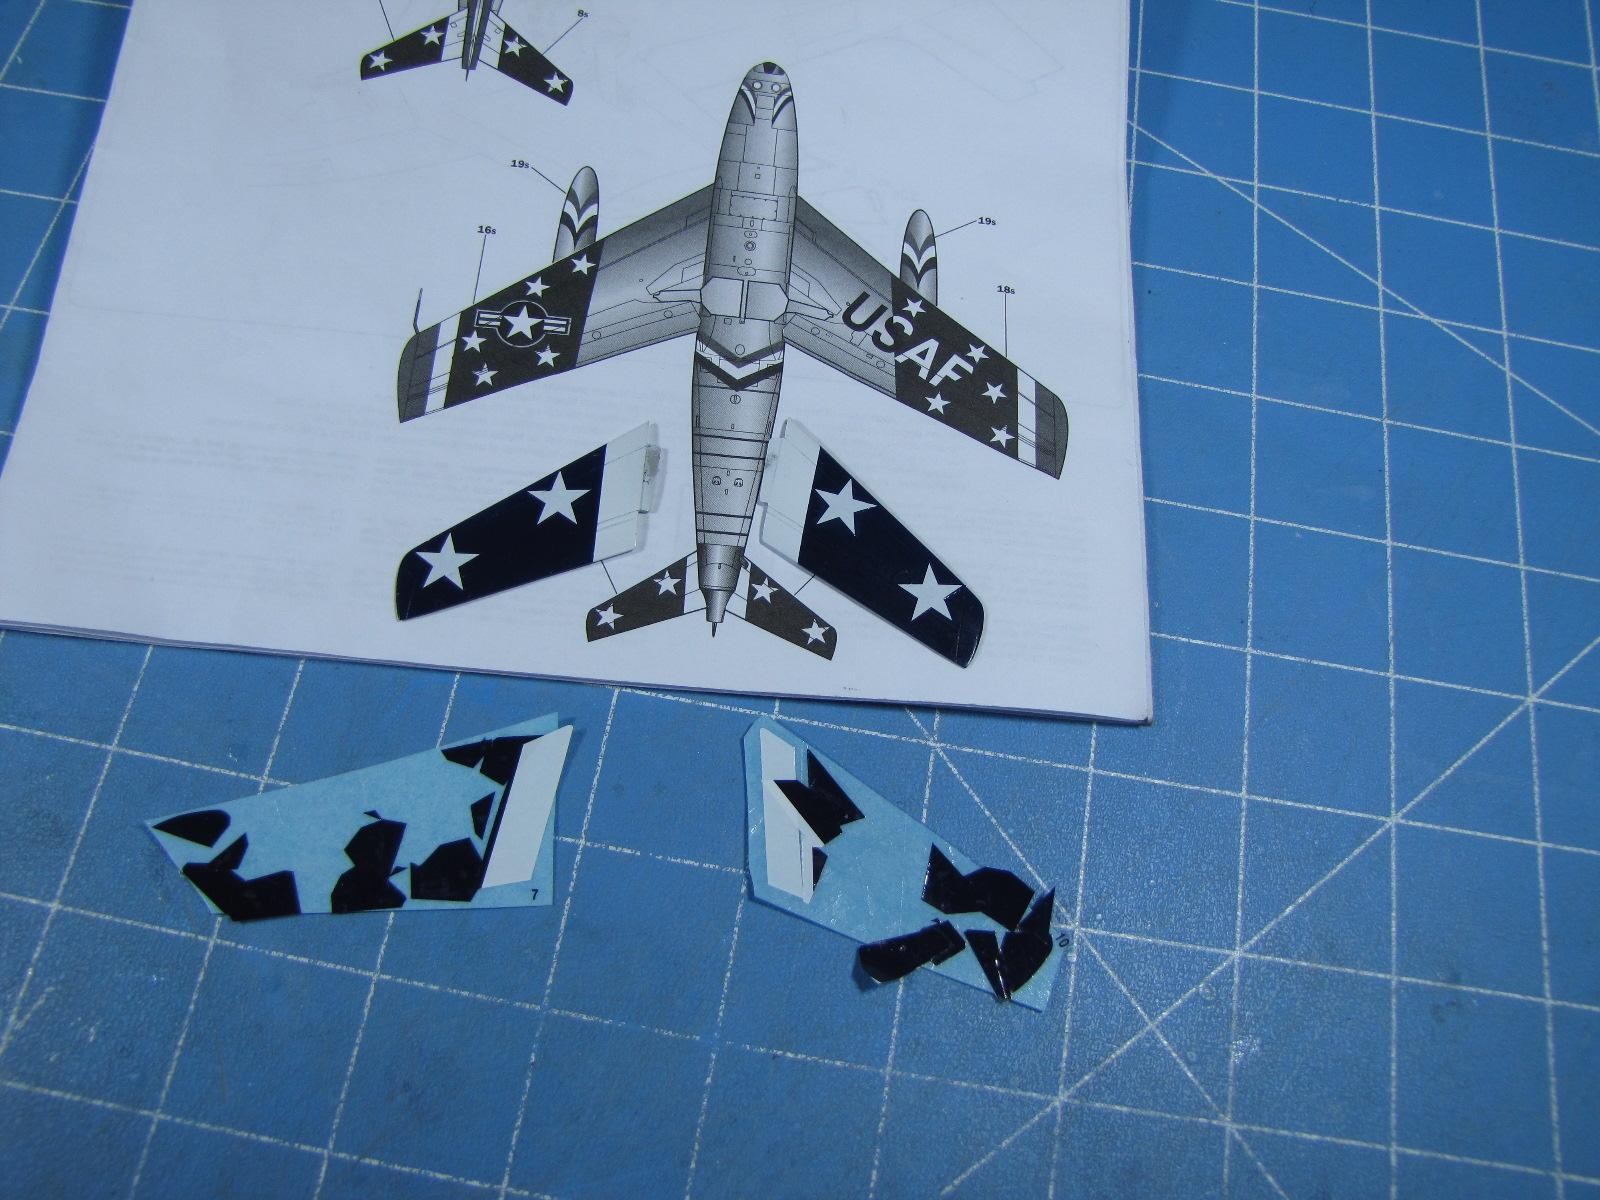
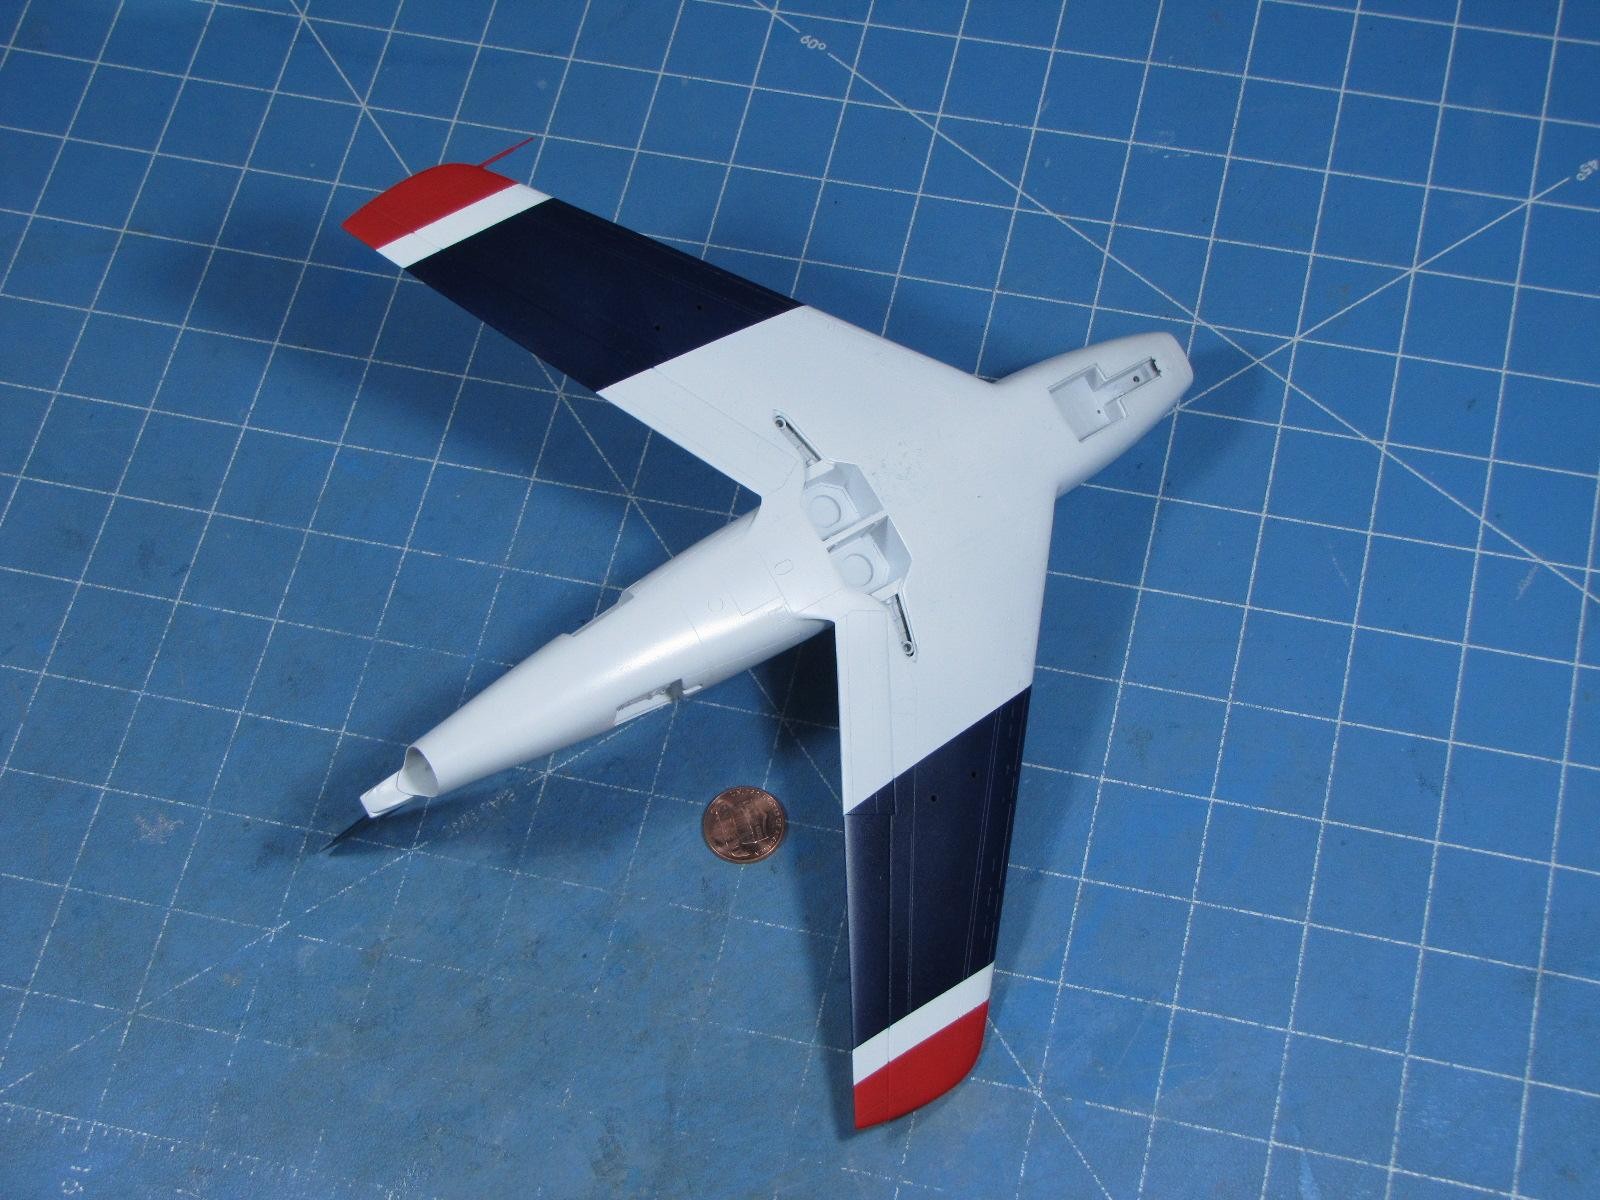
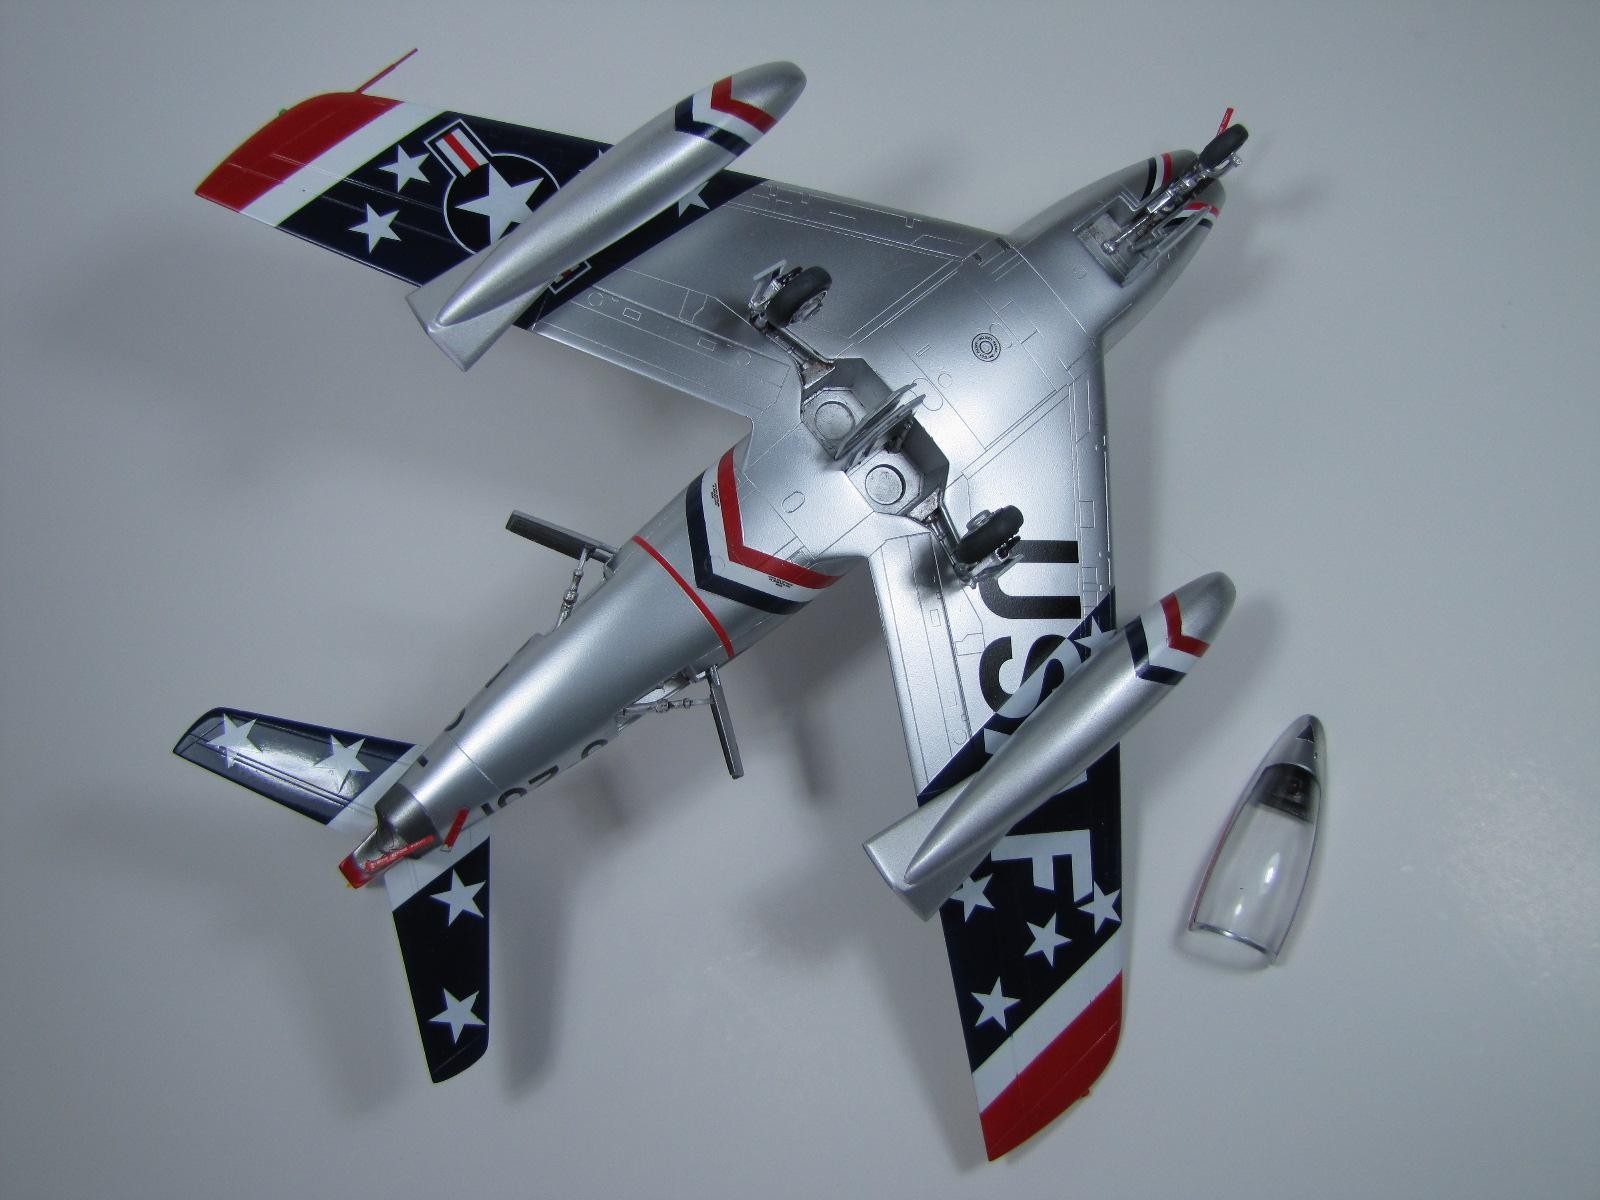
Another reason was: I wondered if I can cut out all the white stars along with the "U.S.A.F." letters and place them correctly on the tail plane and wings? Holy Cow:::: I discovered that the real aircraft's wings were painted on the bottom, just like they were painted on the top.
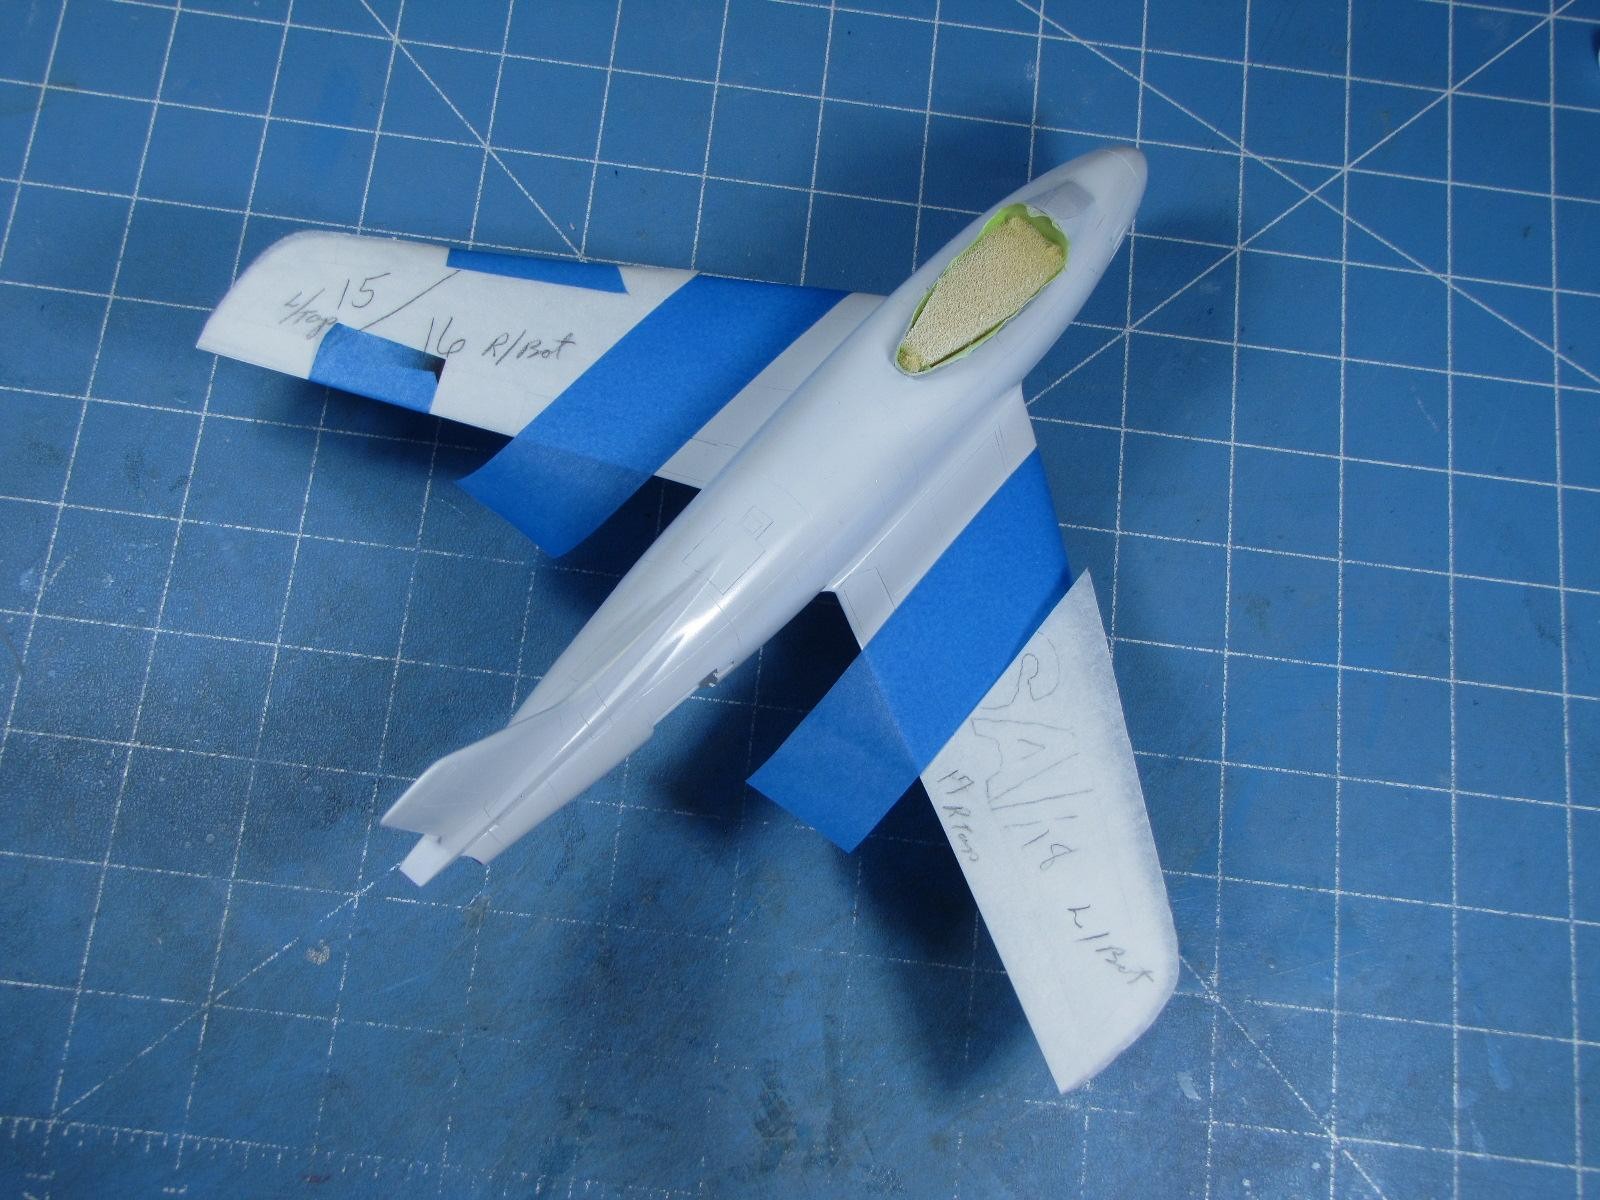
I liked those challenge's so it was build the model "o.o.b." then paint it with Tamiya's Titanium Silver along with their blue and red paints. I apply some Future on top of the final paint job and let it dry for about a week.
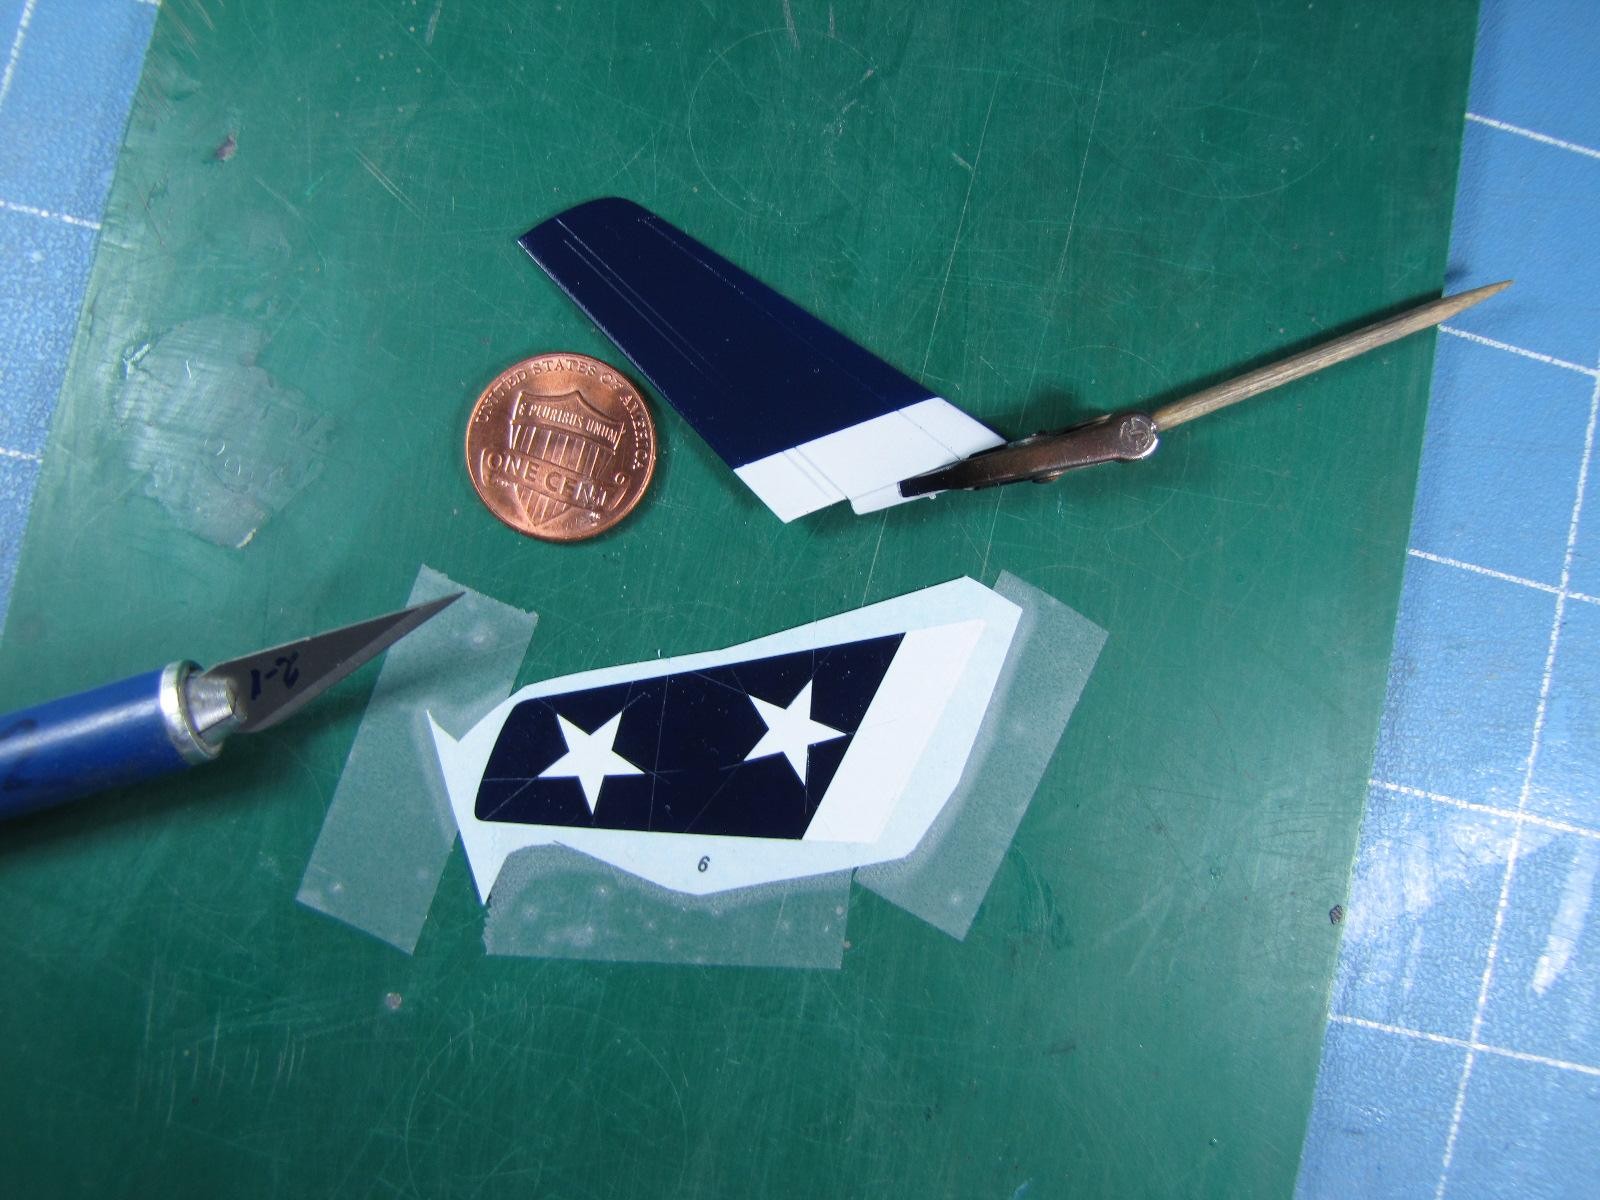
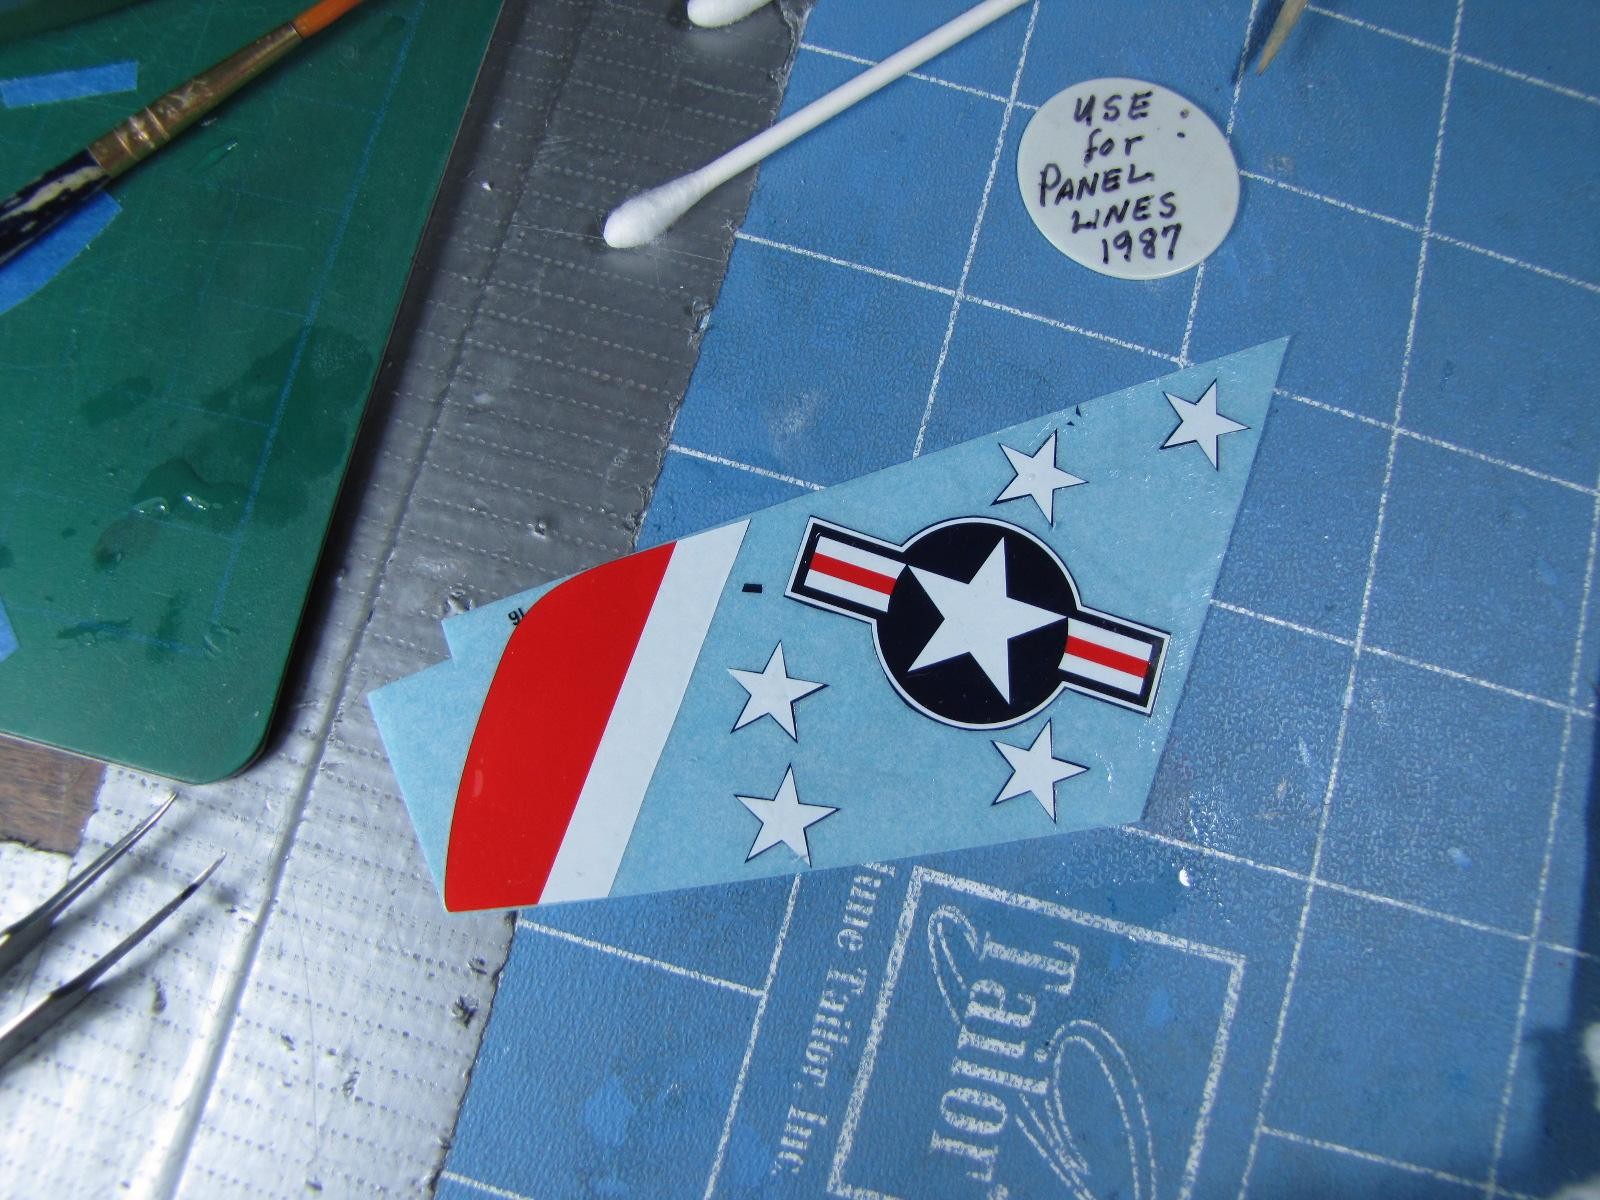
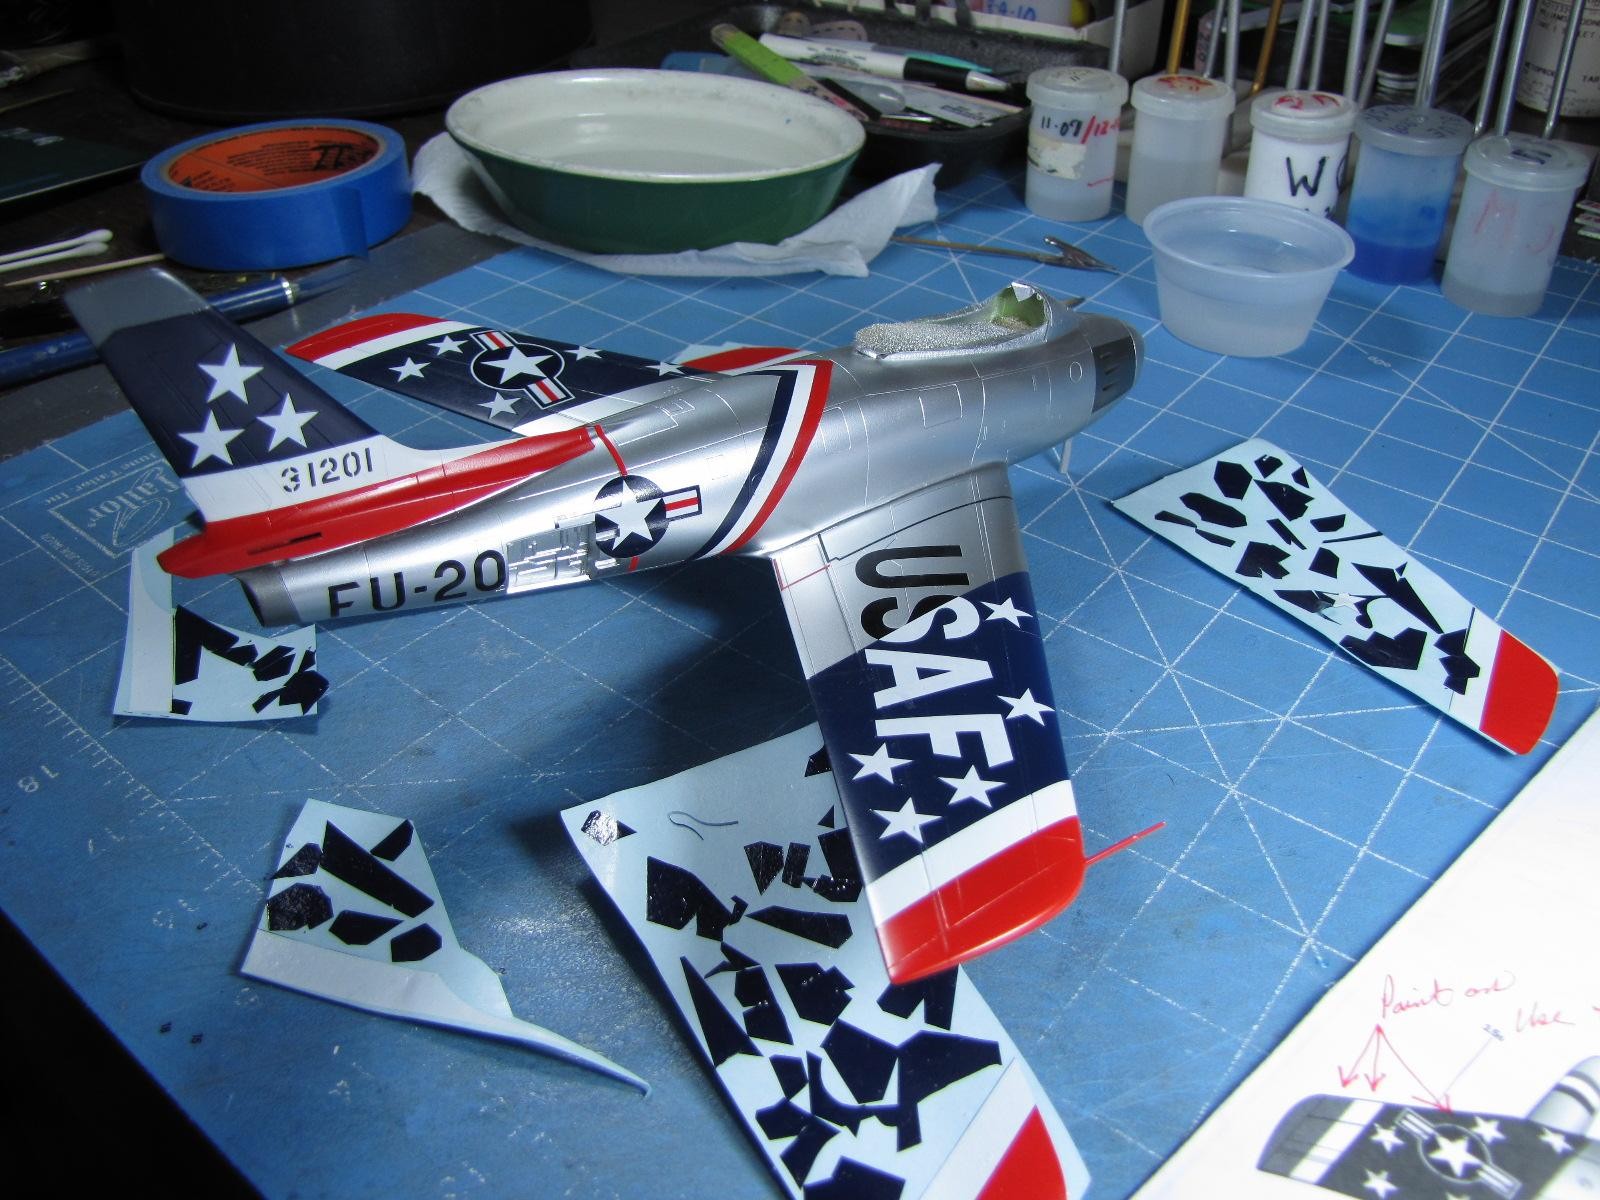
I put a new #11 blade in my Xacto knife holder and taped down sections of the decals on my clean matt thats on my work bench. I carefully cut around all of the white stars, including the two different colors of U.S.A.F. then put section's of the star decals into some clean water. After a minute or so, I placed the wet decals on my matt and carefully separated the stars from the blue decal film.
For a few decades I have taken a full bottle of "MicroSet" and poured it into a bigger bottle then I pore in a full bottle of "Micro-Sol". It is mixed up real good then I refill the original glass bottles.
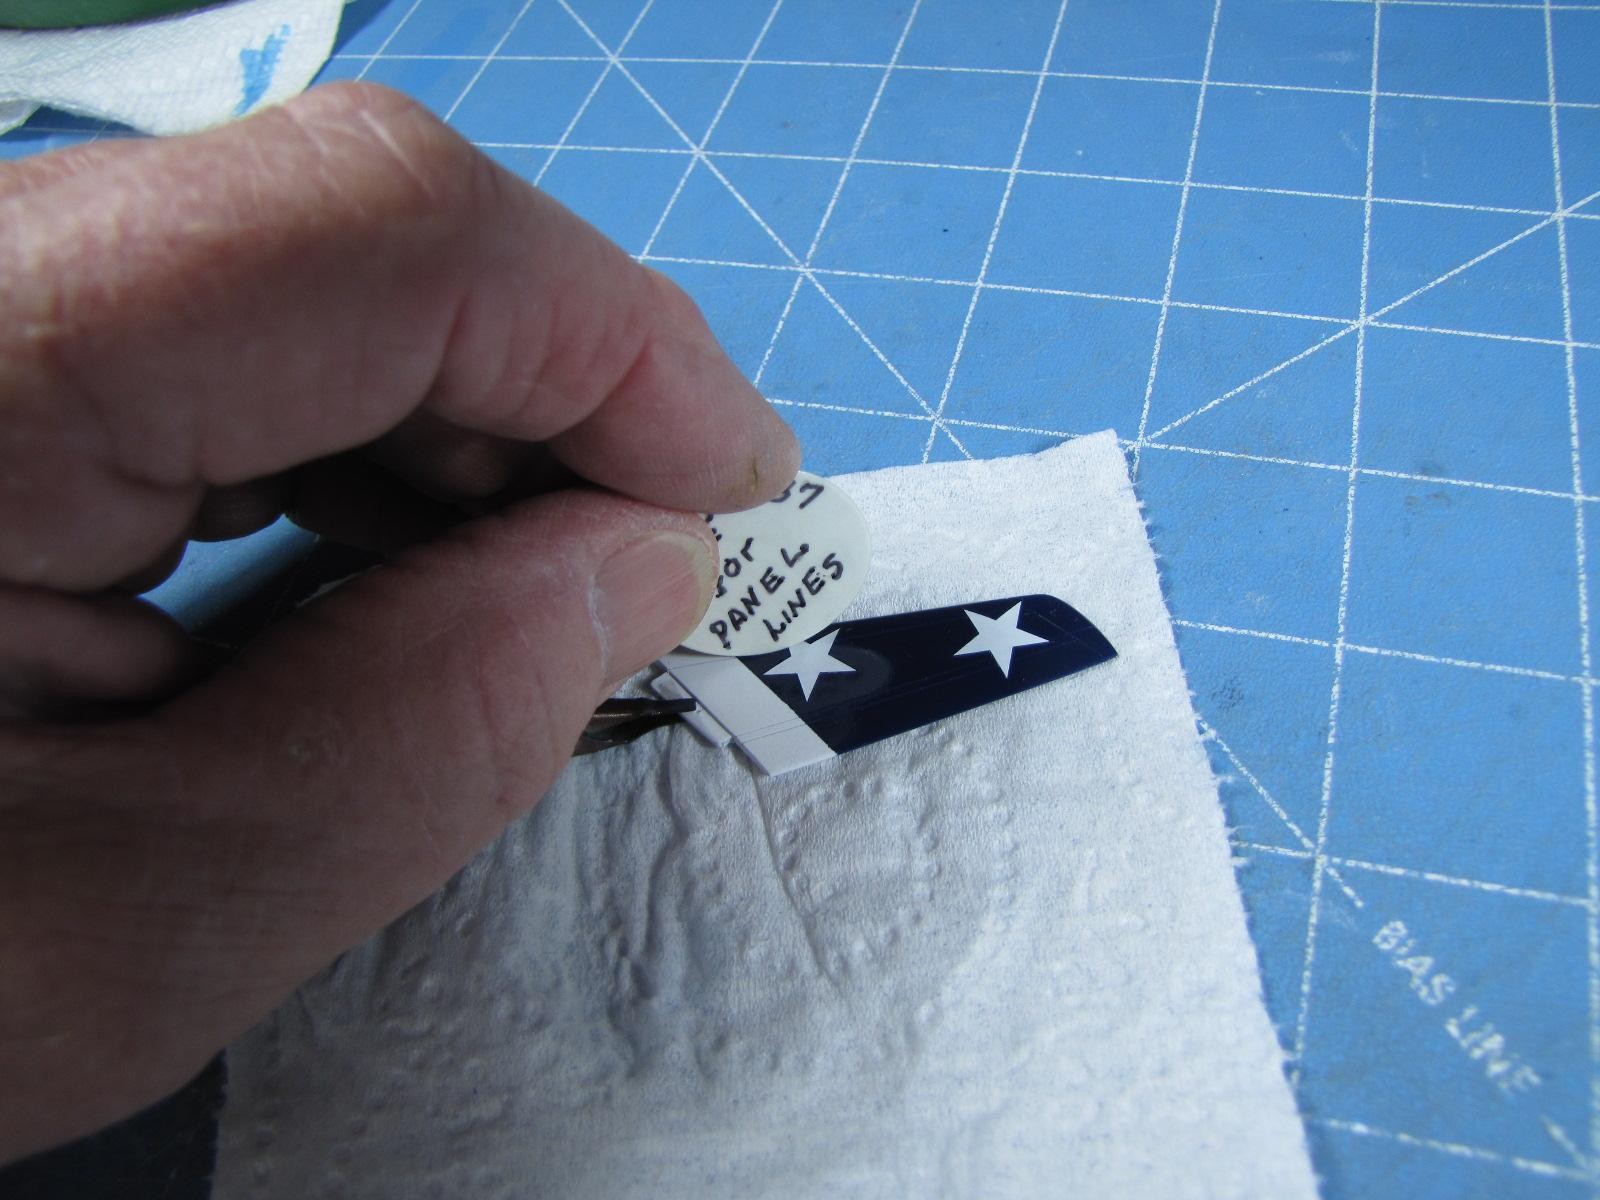
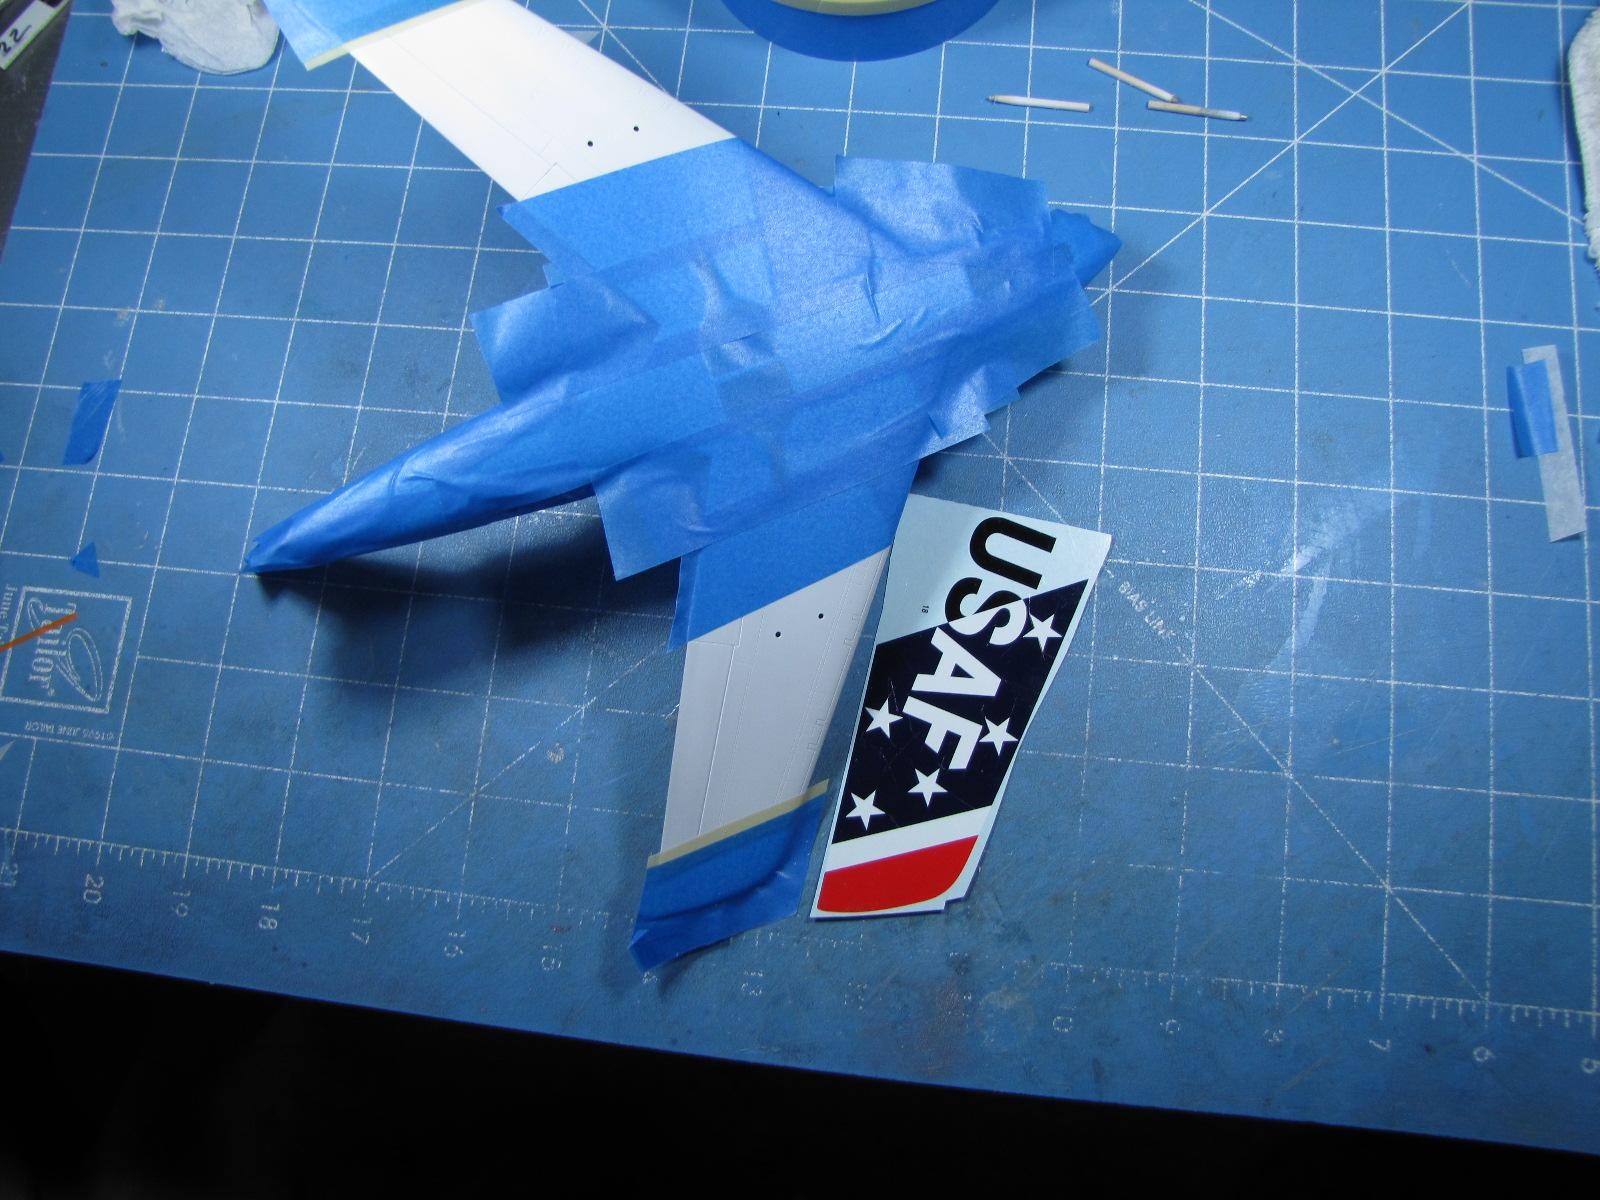
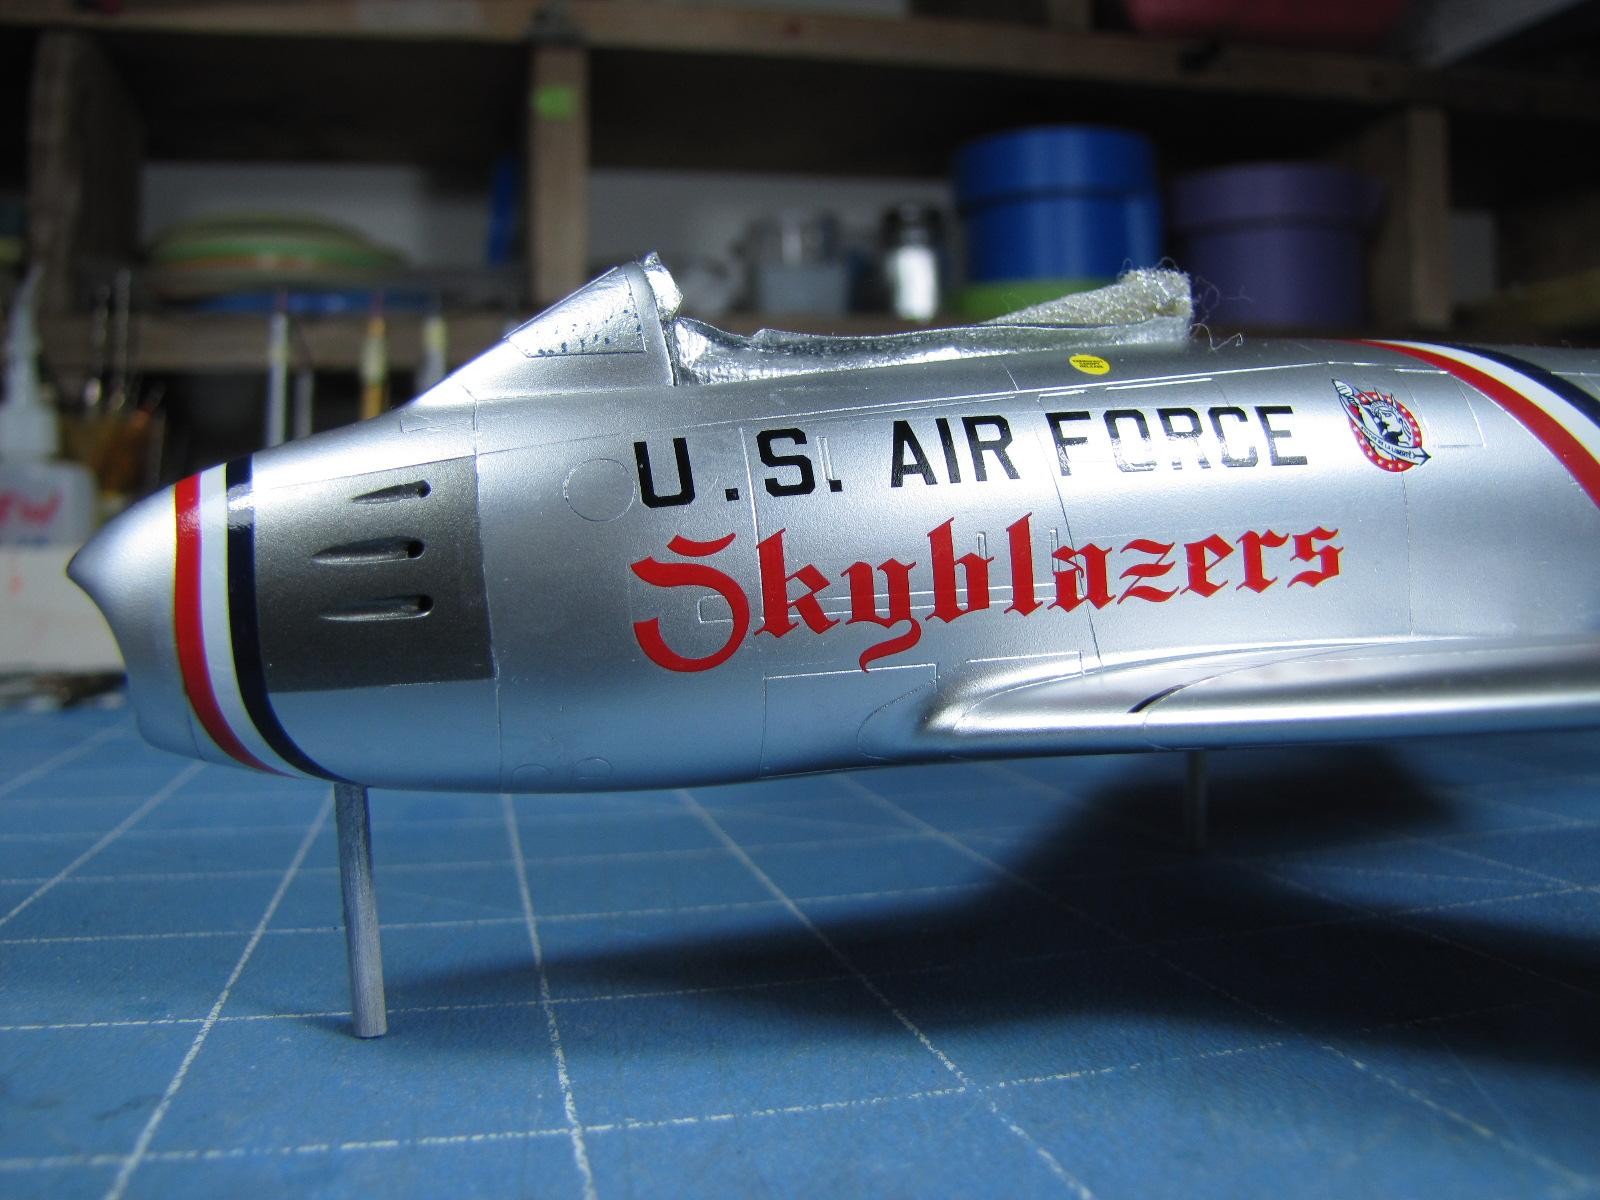
My next operation for applying my decal is: I apply a drop or two of my mixed up "set & sol" to the decal that is still on its' wet paper backing. I add a couple more drops to the watered area on the model where the decal is to go. I just applied the white star's on top of Tamiya's blue paint and carefully push/pull the star's and other decals into their proper place and gently brush them down with a very soft 1/2" model brush. I use my home made panel line tool and gently roll it down the panel lines. This method makes it look like the decals are painter on the model. I had no problem attaching the front "Skyblazer" decal once I removed all of the decal film. Remember if I could do it, you can too. Rodney!
P.S. I'm going to post some armor and car models next week.


Pretty darn impressive!
I agree with you...!
I want one!
You can buy my model. "What's in your wallet?
The model has been kept in a dust free plastic case all these year's and is still in perfect condition.
Yeah. Sometimes it is better to do a bit more work and paint the underlying surface rather than using a giant decal. I did a the same thing on my Gabreski F-100F. Painted the tail and cut all the arrows out of the decal and applied them individually. I should have also done it to the nose band as the decal is slightly lighter than the red I used! (I'll also do this to my VFAW-3 Skyray. Those are some tiny stars to cut out though!) I like your use of frisket paper to get the paint to line up just so. I'll have to remember that whenever I tackle my Hall Bulldog! The end result here is great. I've now added a Skyblazers Sabre to my list of colorful planes to do list!
2 attached images. Click to enlarge.
Have you posted all of your F-100 photos as these 2 looks A-OK! I did mask off my fuselage's mid section and the front, then painted on the red, white & blue stripes.
No. I still need to paint the red and white on the tanks, mask then hit them with Metallizer. It's only been sitting in this state for about five years now! Built it after I finally got to see Dean Cutshall's gorgeous Hun at EAA! I do have Triple Zilch and George Laven's F-100C in the works.
Well, just WOW! You, sir are a Master modeler - a fact that I have known for some time.
THANKS for the comment George!
It took a long time to get to that point in building models as I knew nothing about "scratch-building," nor "vac-u-forming", "re-scribing panel lines" and a couple dozen more things.
I got nominated to help judge at a contest in 1984, thus I learned a lot from being a judge over the next 150+ times I judged at local, regional and IPMS/USA National contest.
Then, most of all, I had the help of one of the great master builders, Mr. George Lee.
I'm going to post some car model's next!
Rodney