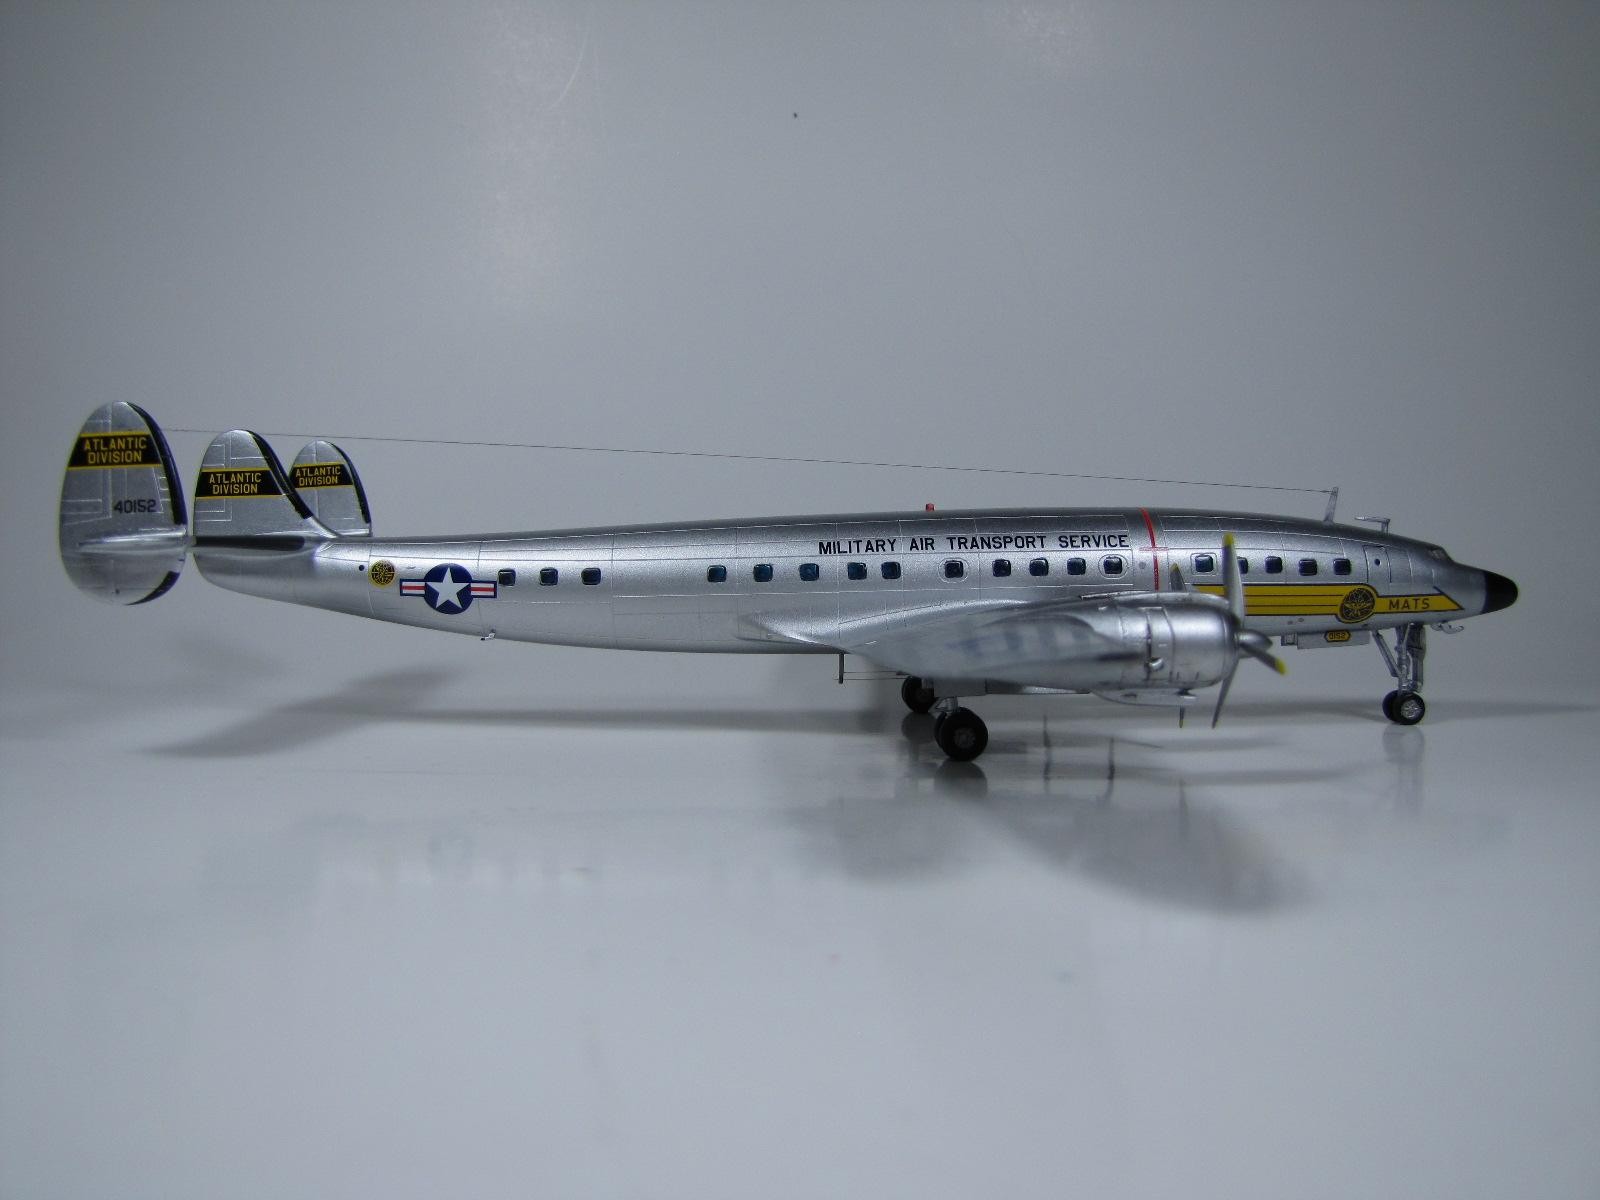
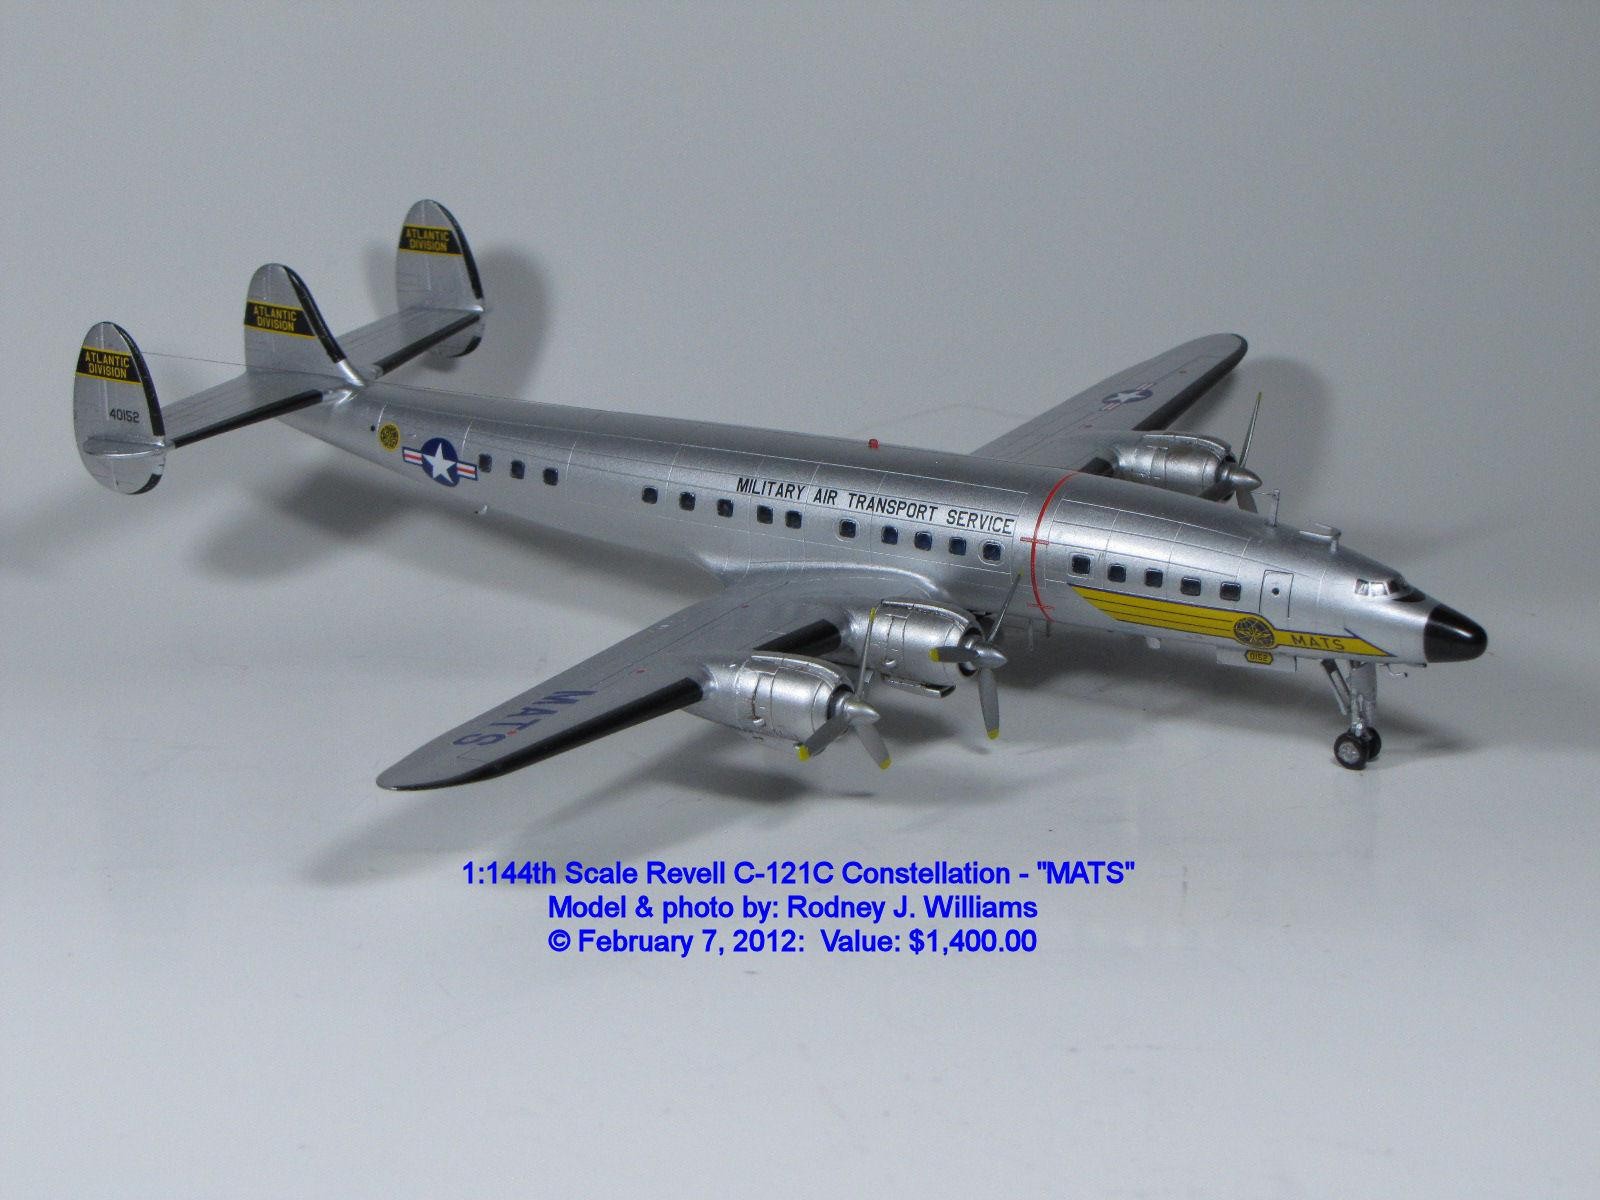
My FIST LOCKHEED SUPER CONSETALLATION.
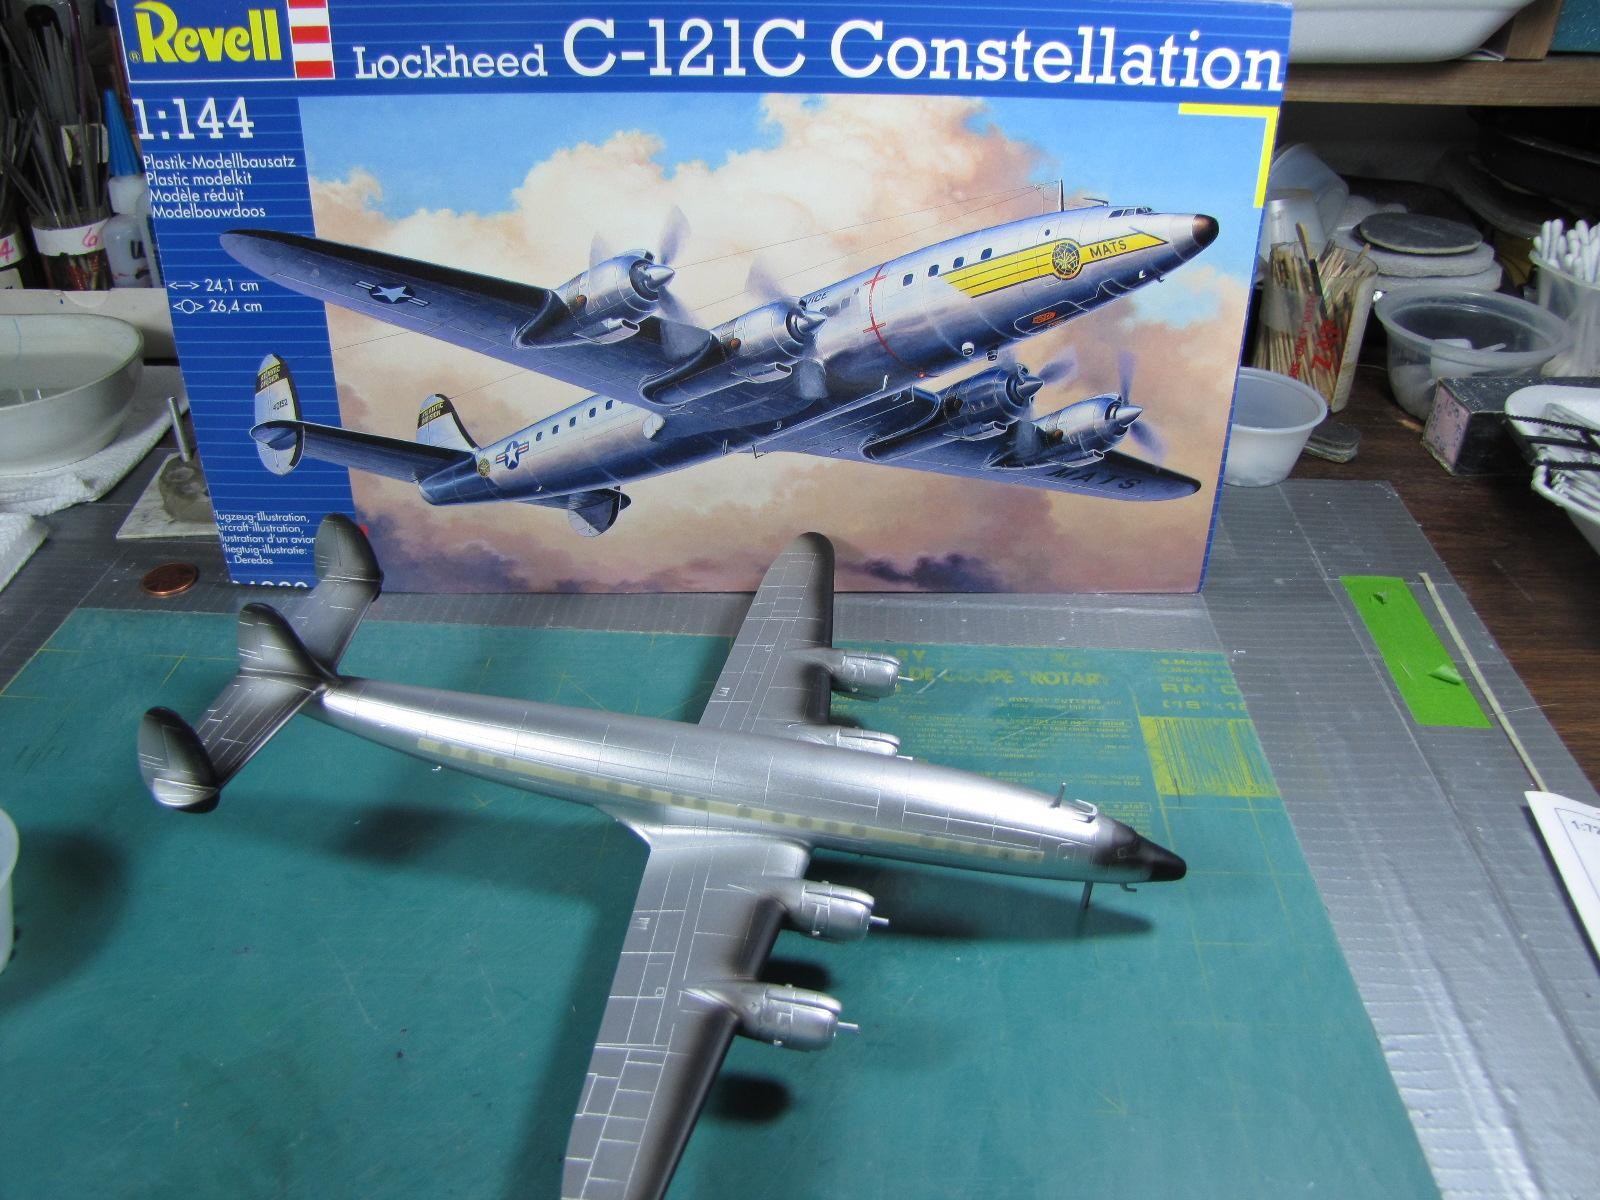
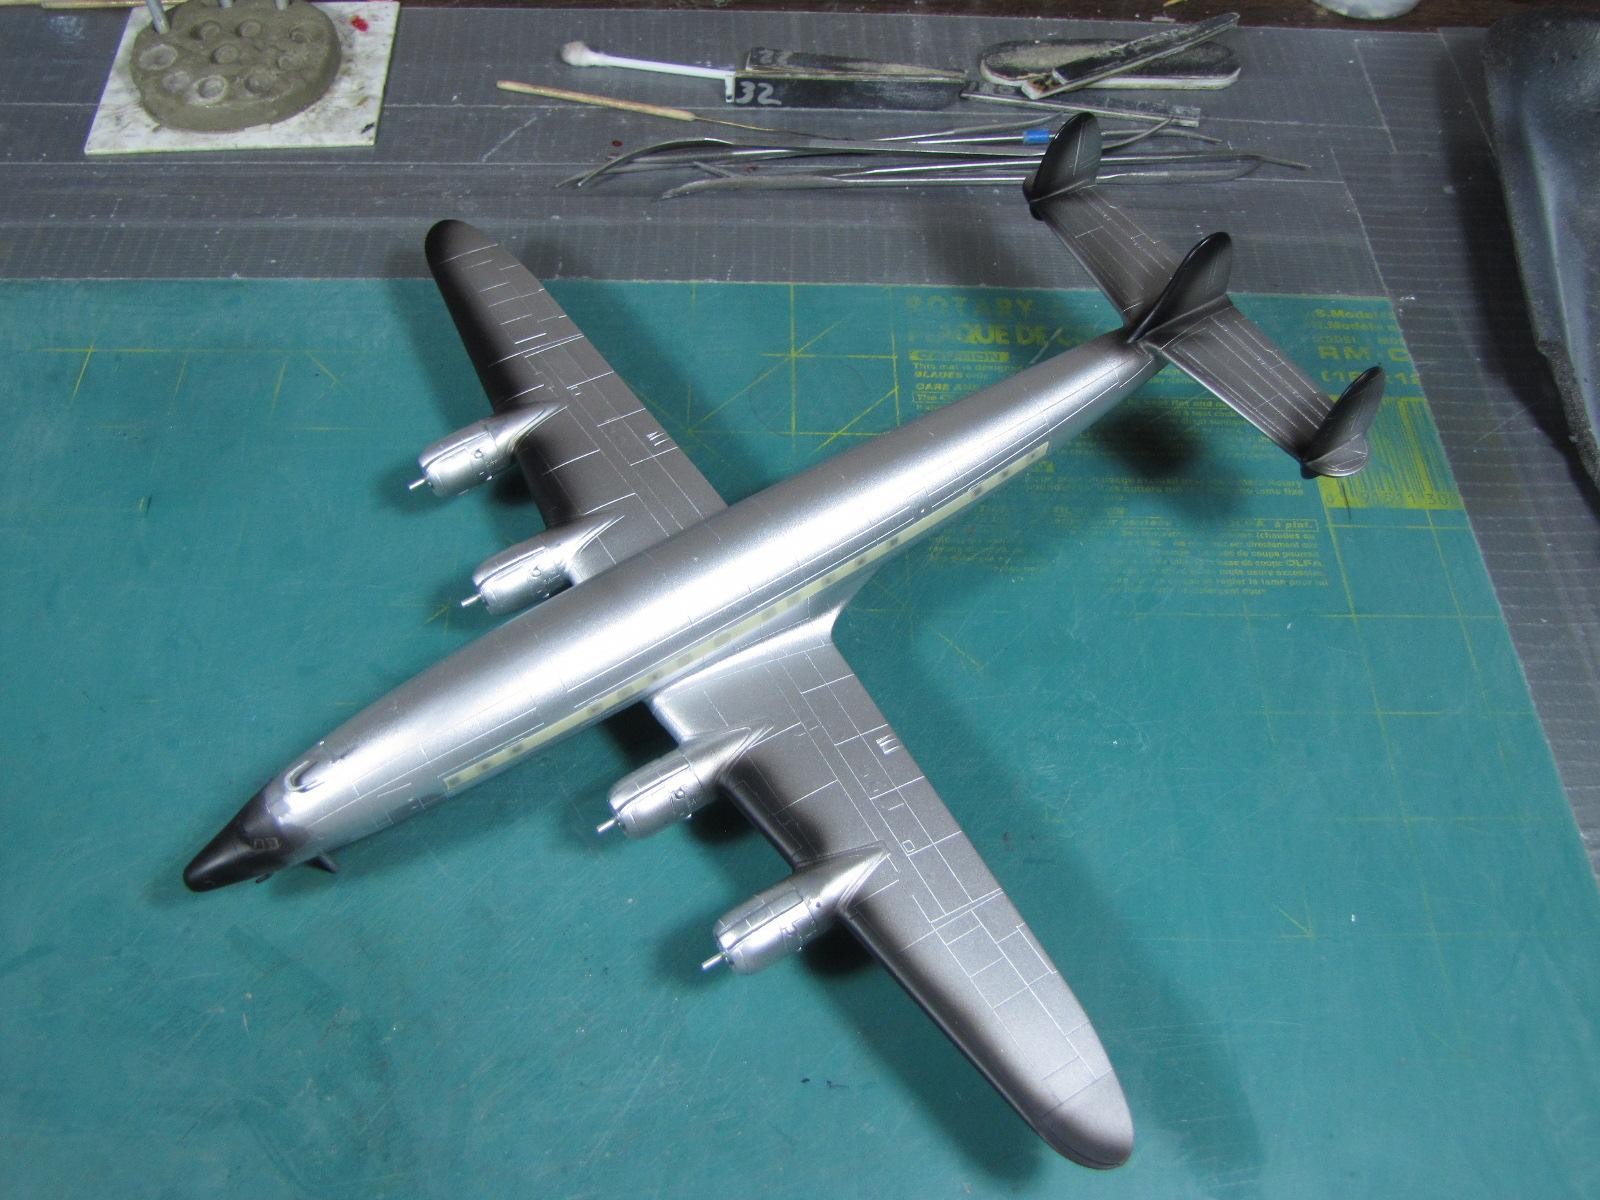
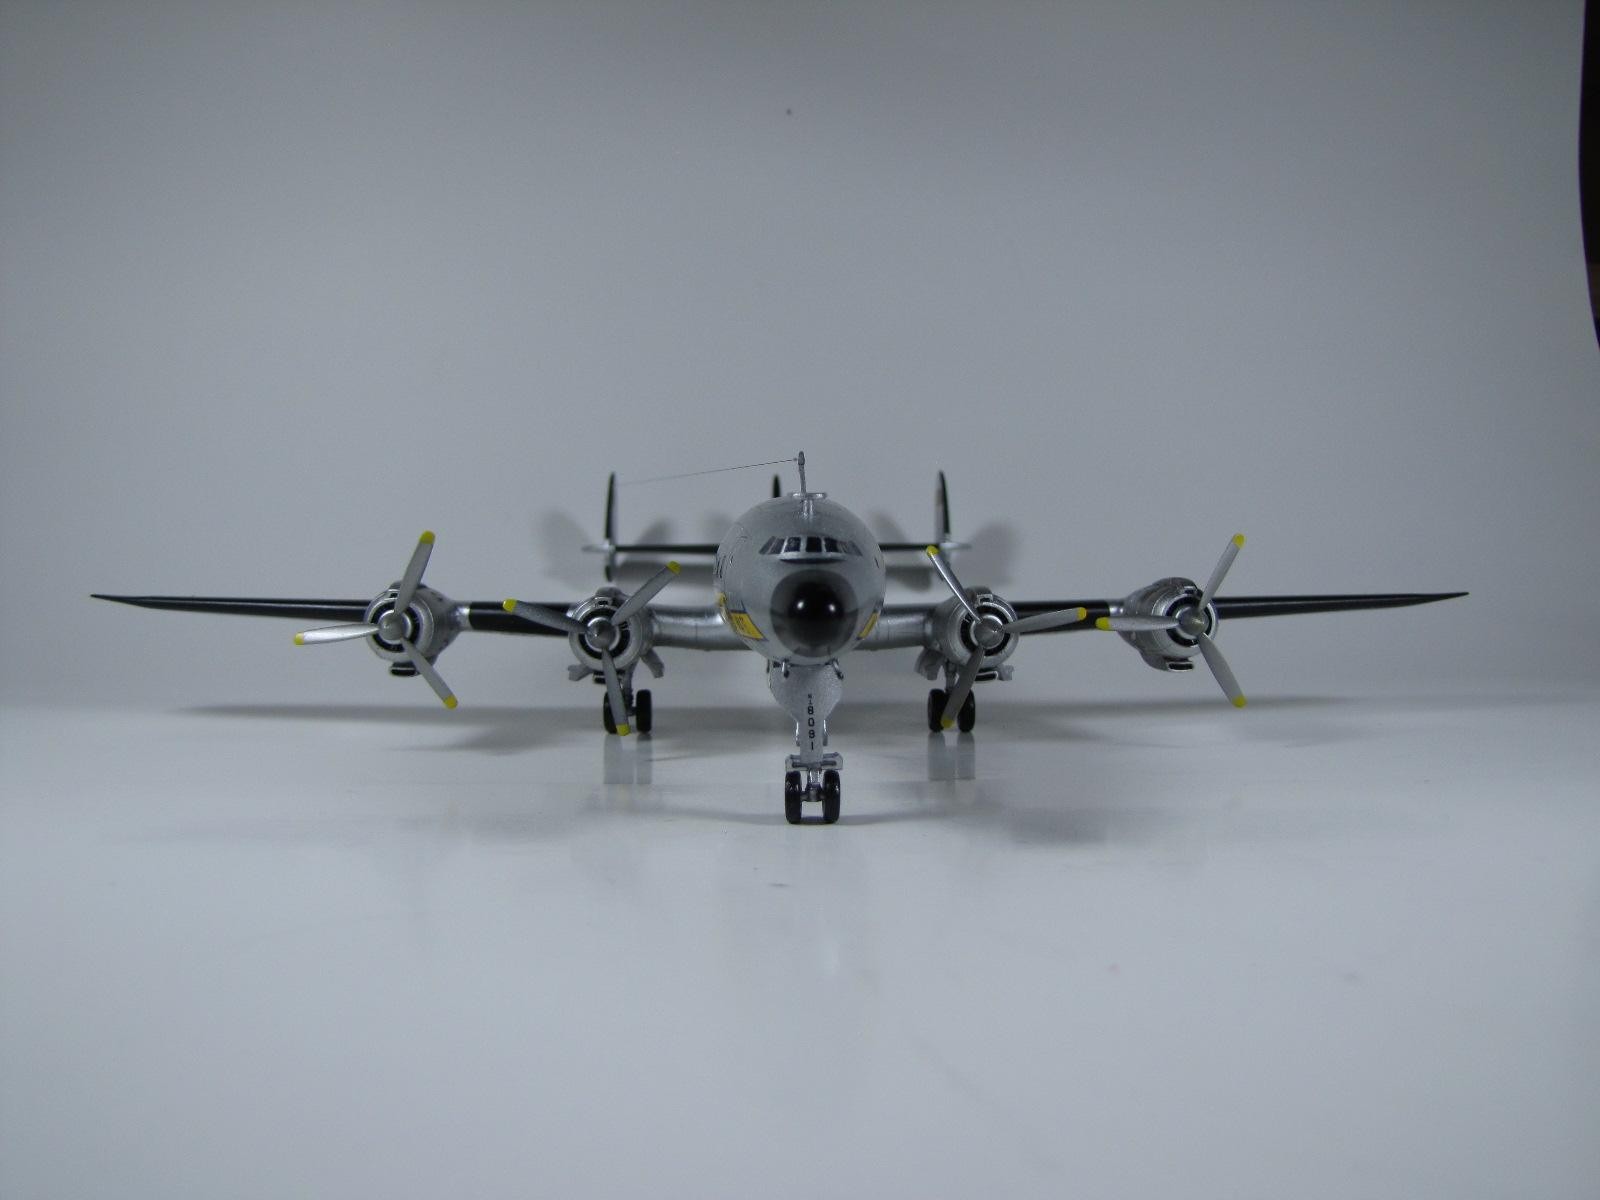
Revell made a very nice 1/144th scale kit of this big 4 engine airplane so I bought two different kits. One kit was made to represent an "USAF-MATS" plane while the other kit represented a commercial airline, namely "TWA."
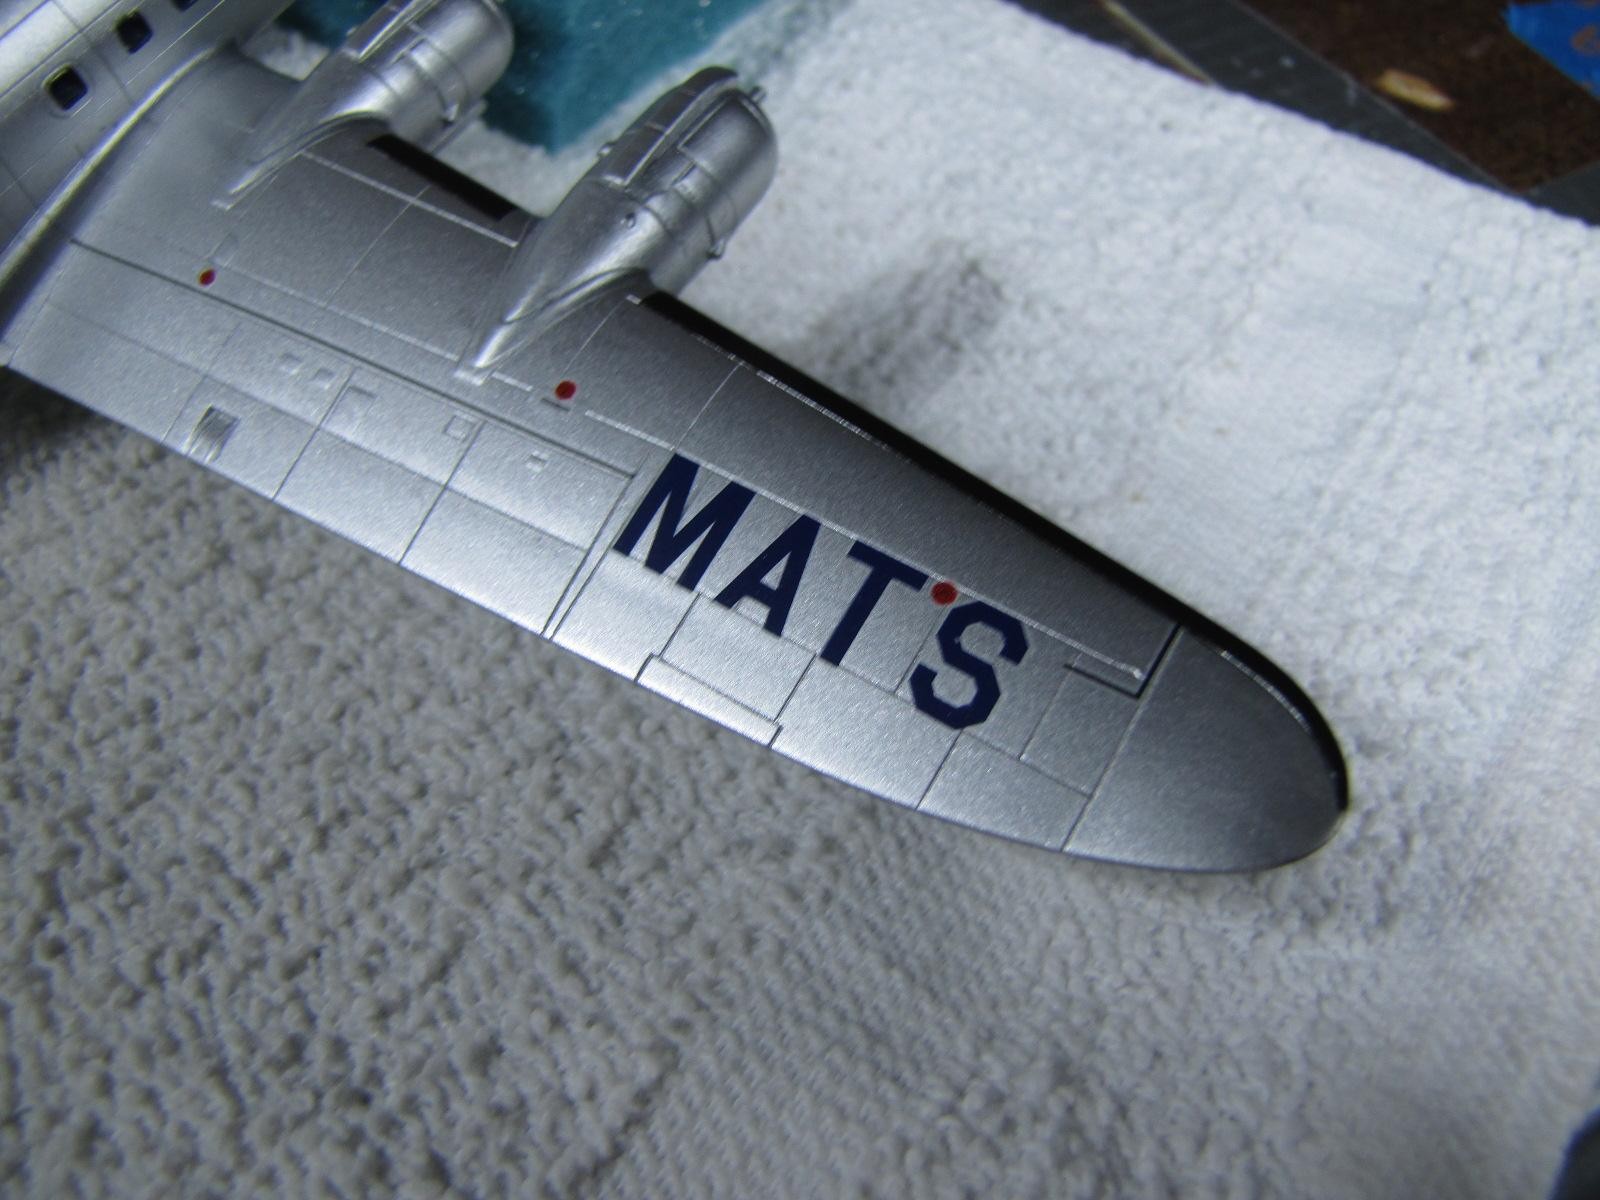
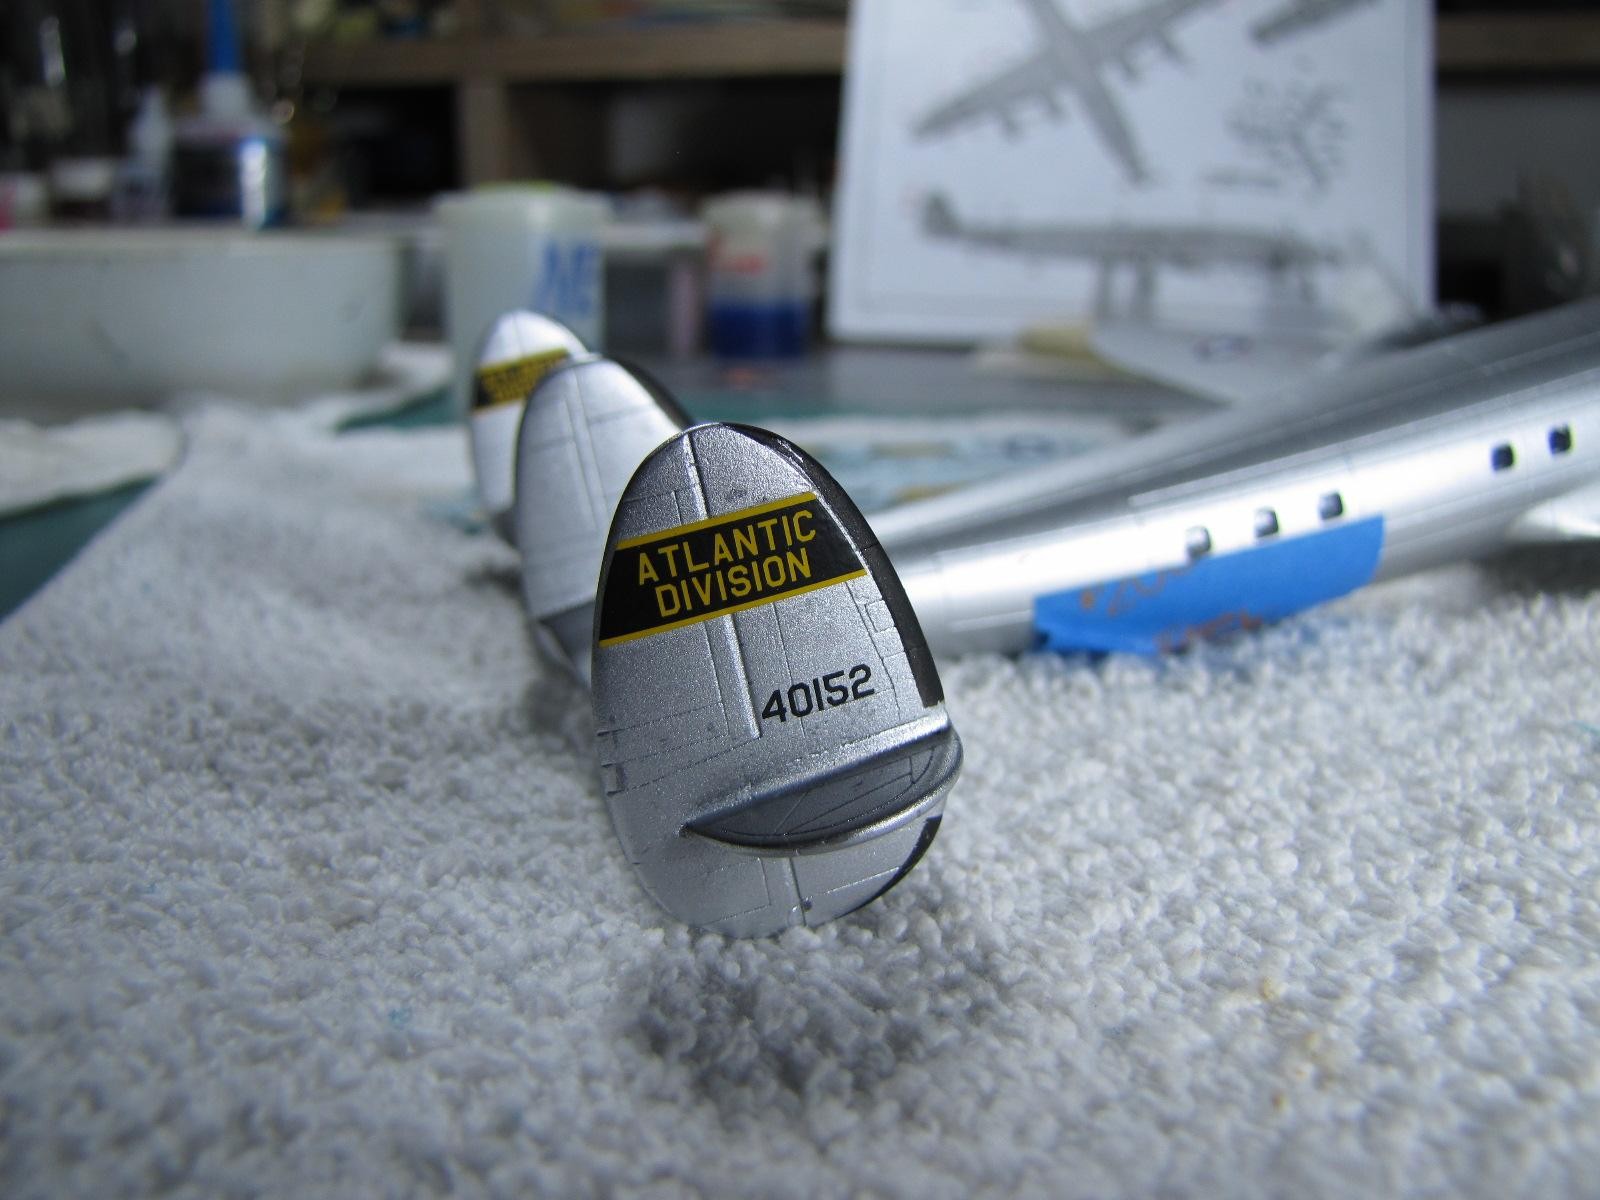
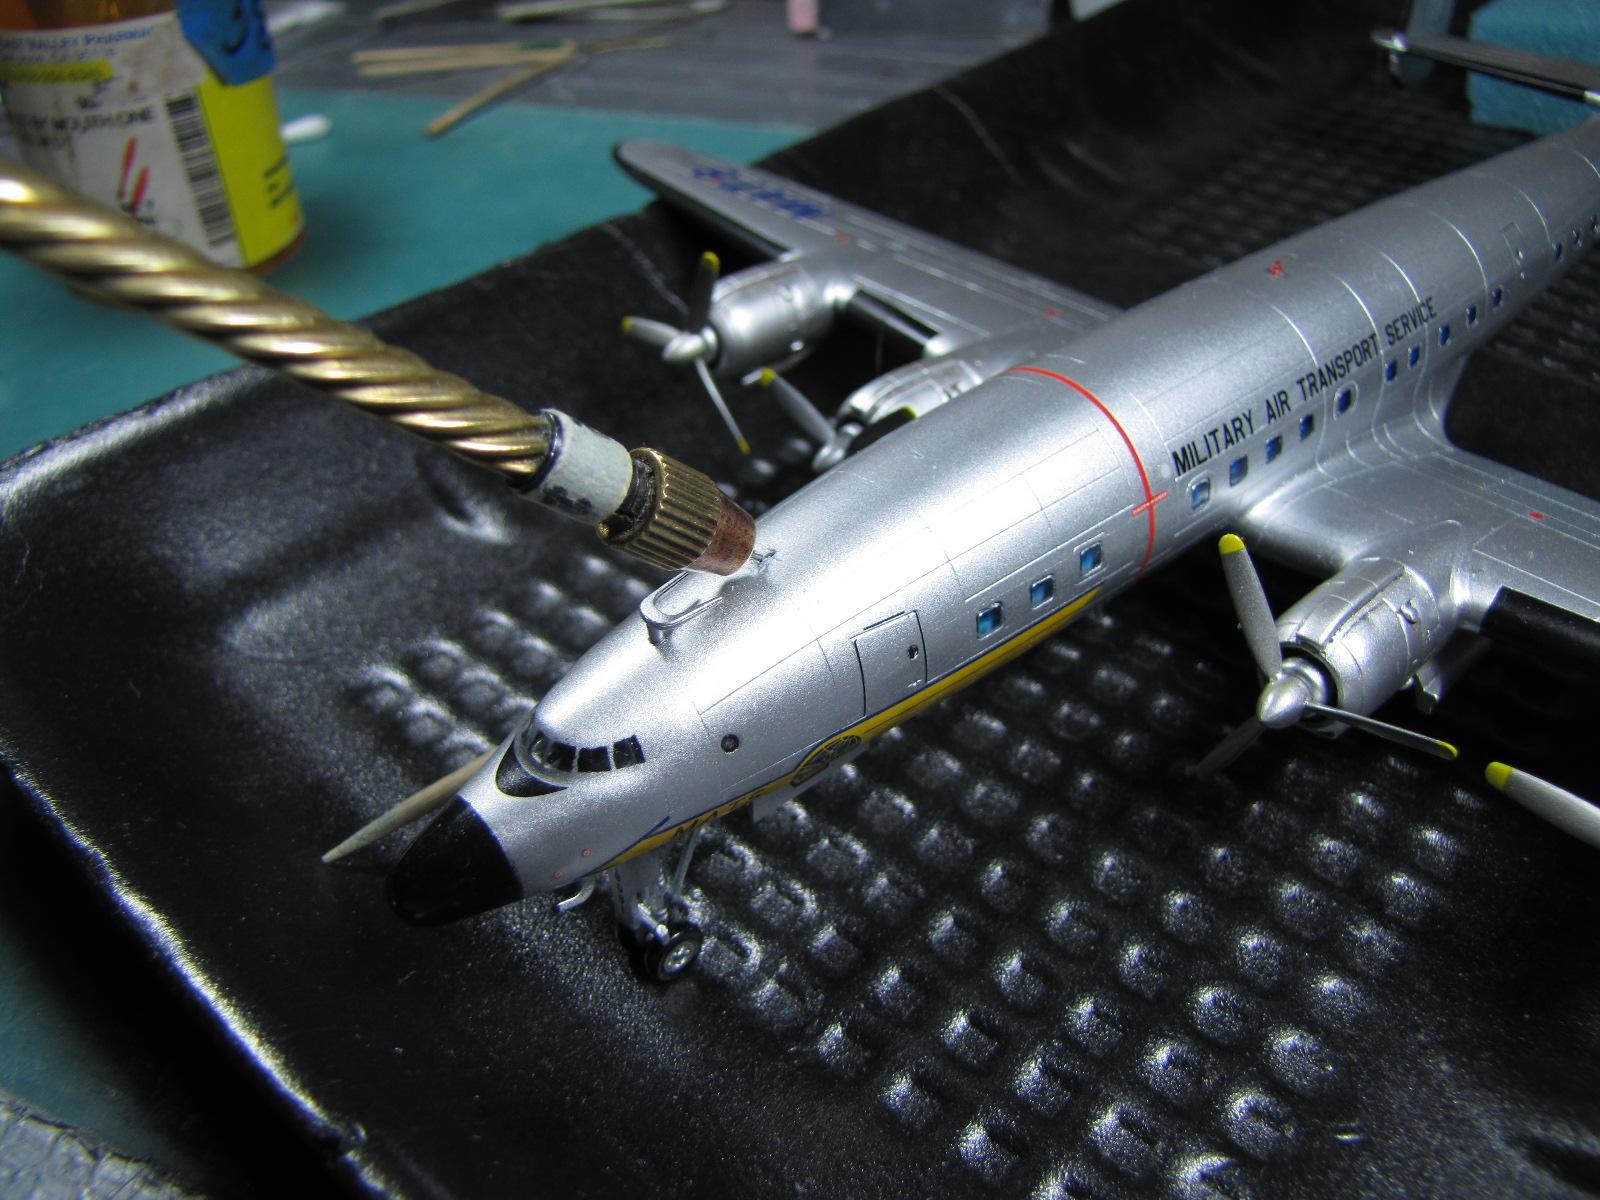
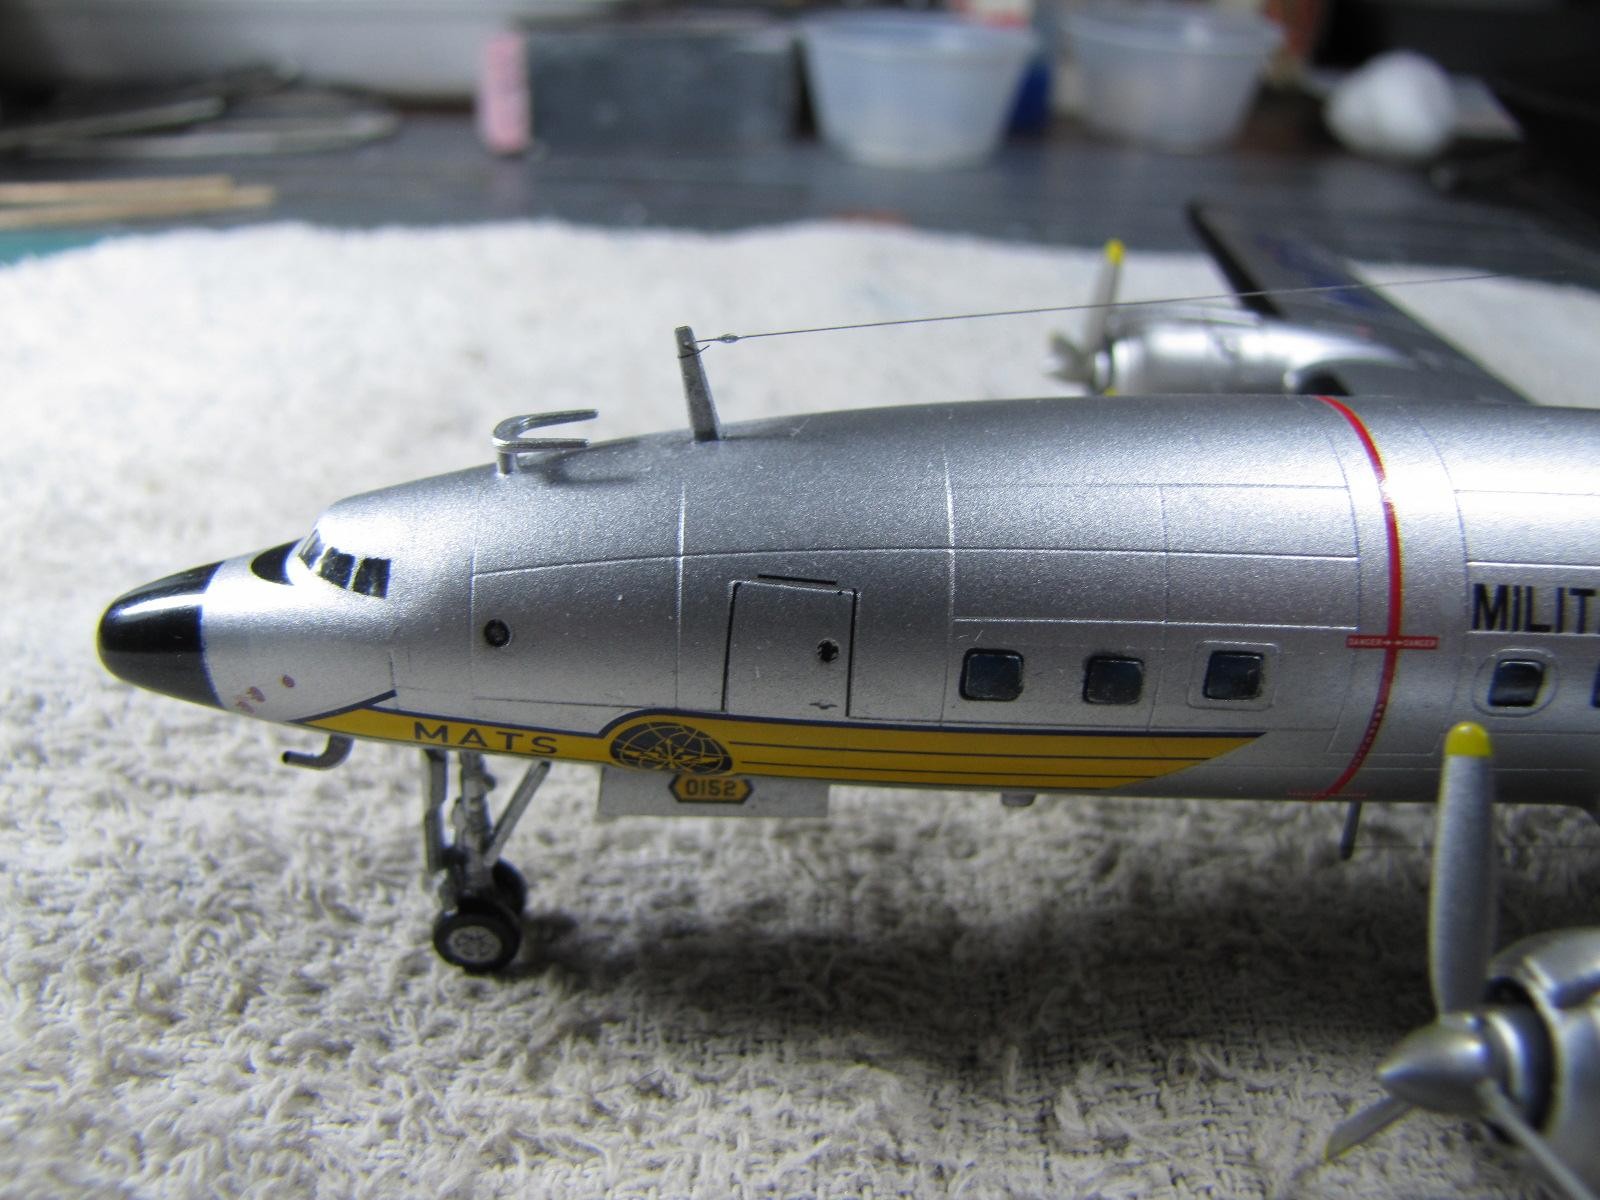
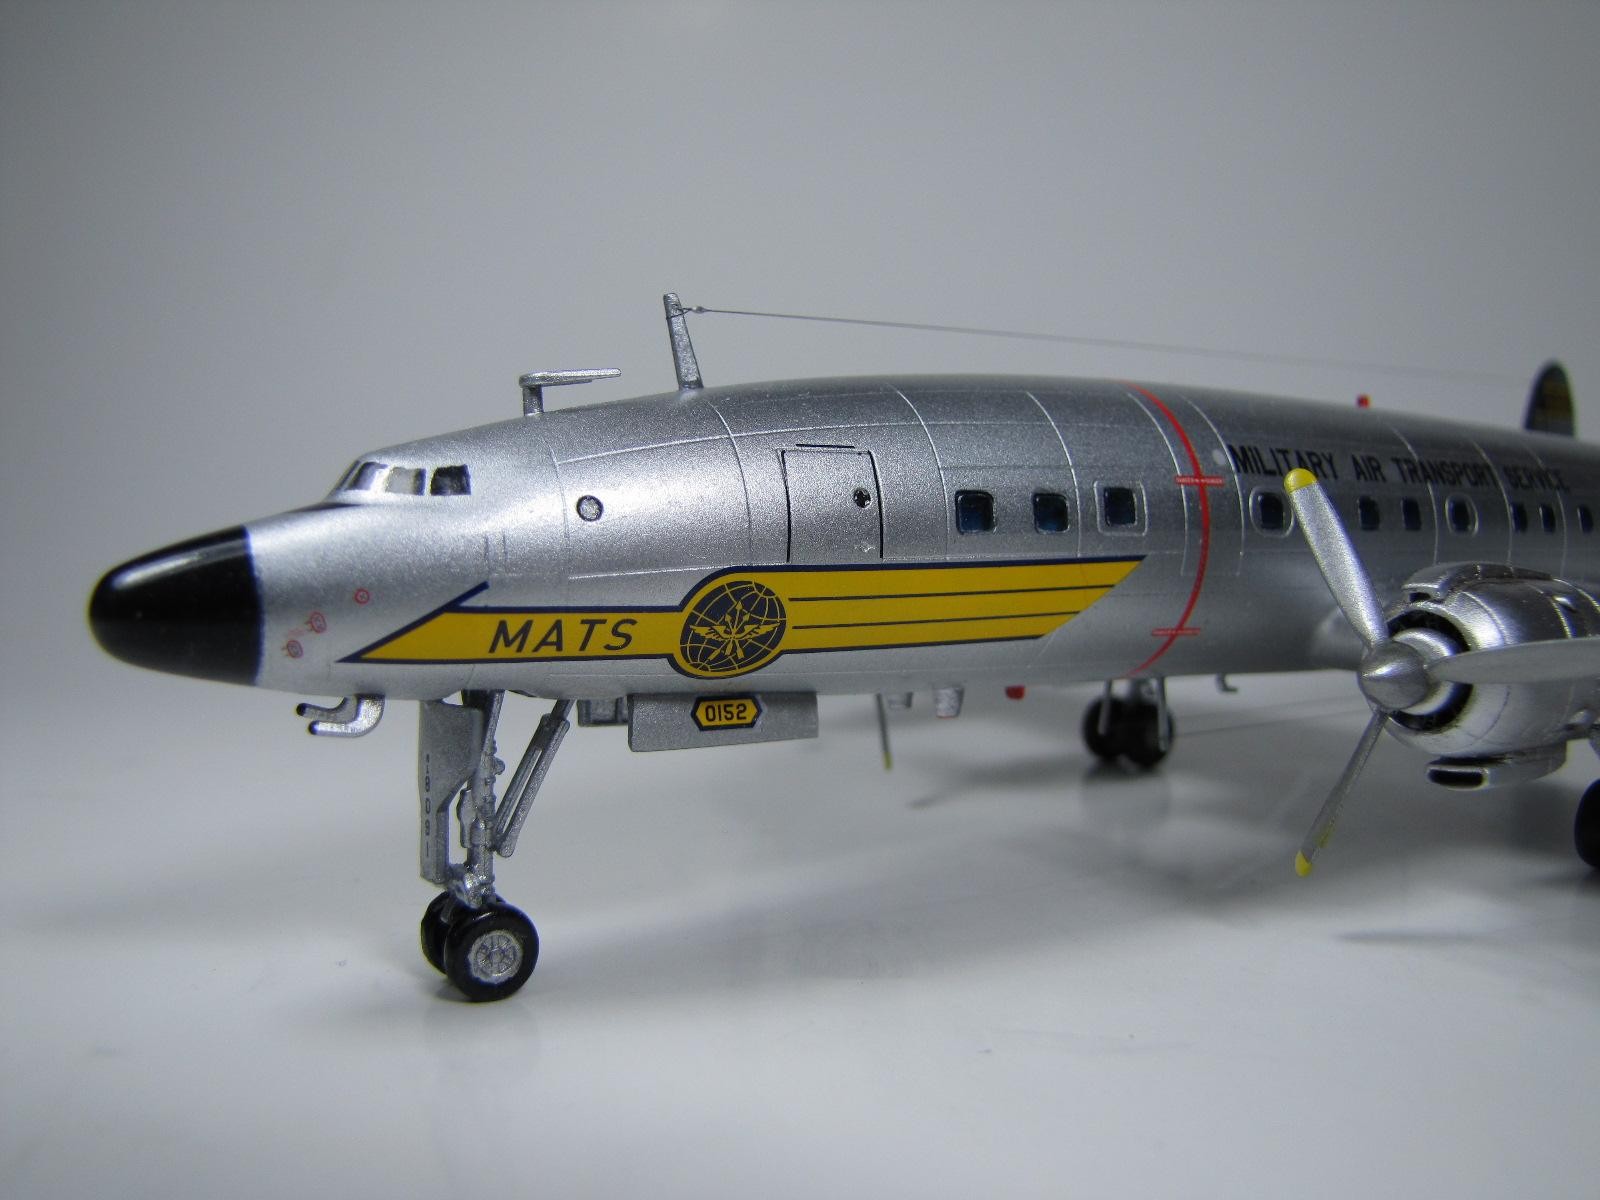
After opening the box I noticed that Revell made a large decal sheet to represent two different military aircraft so I chose to decal it with the "MATS" configuration.
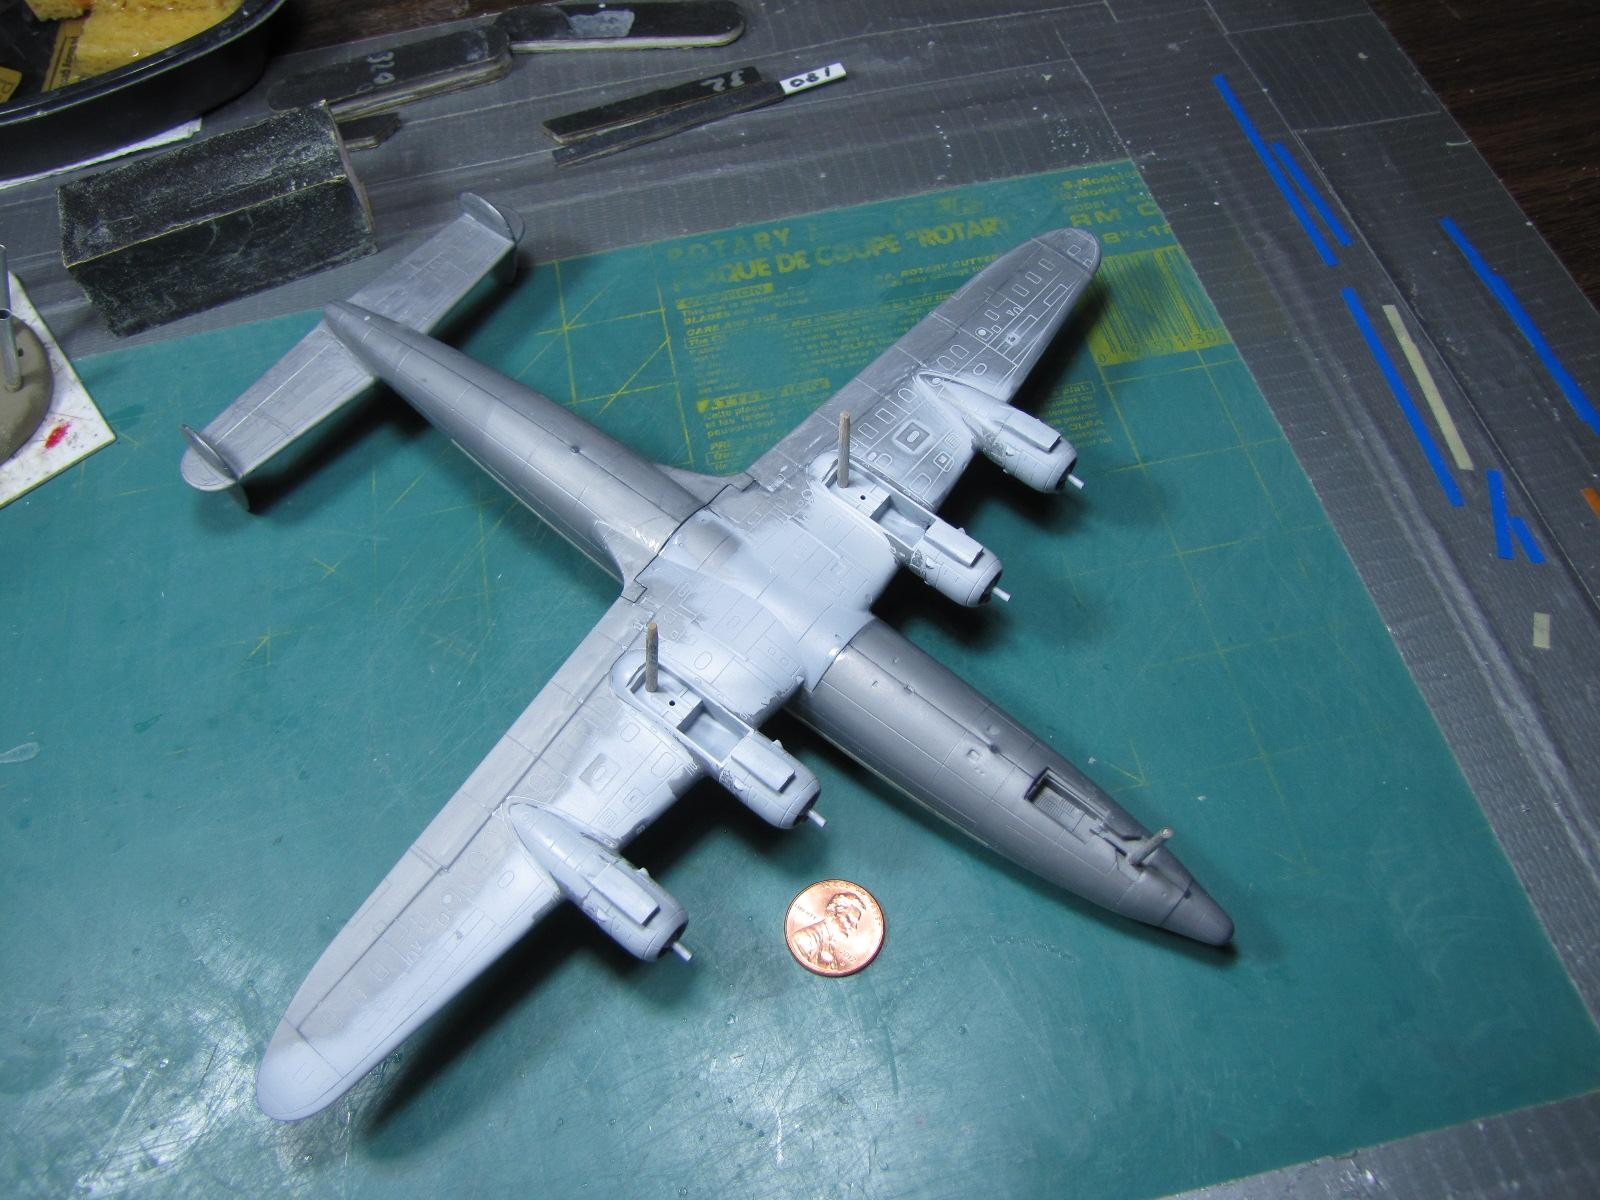
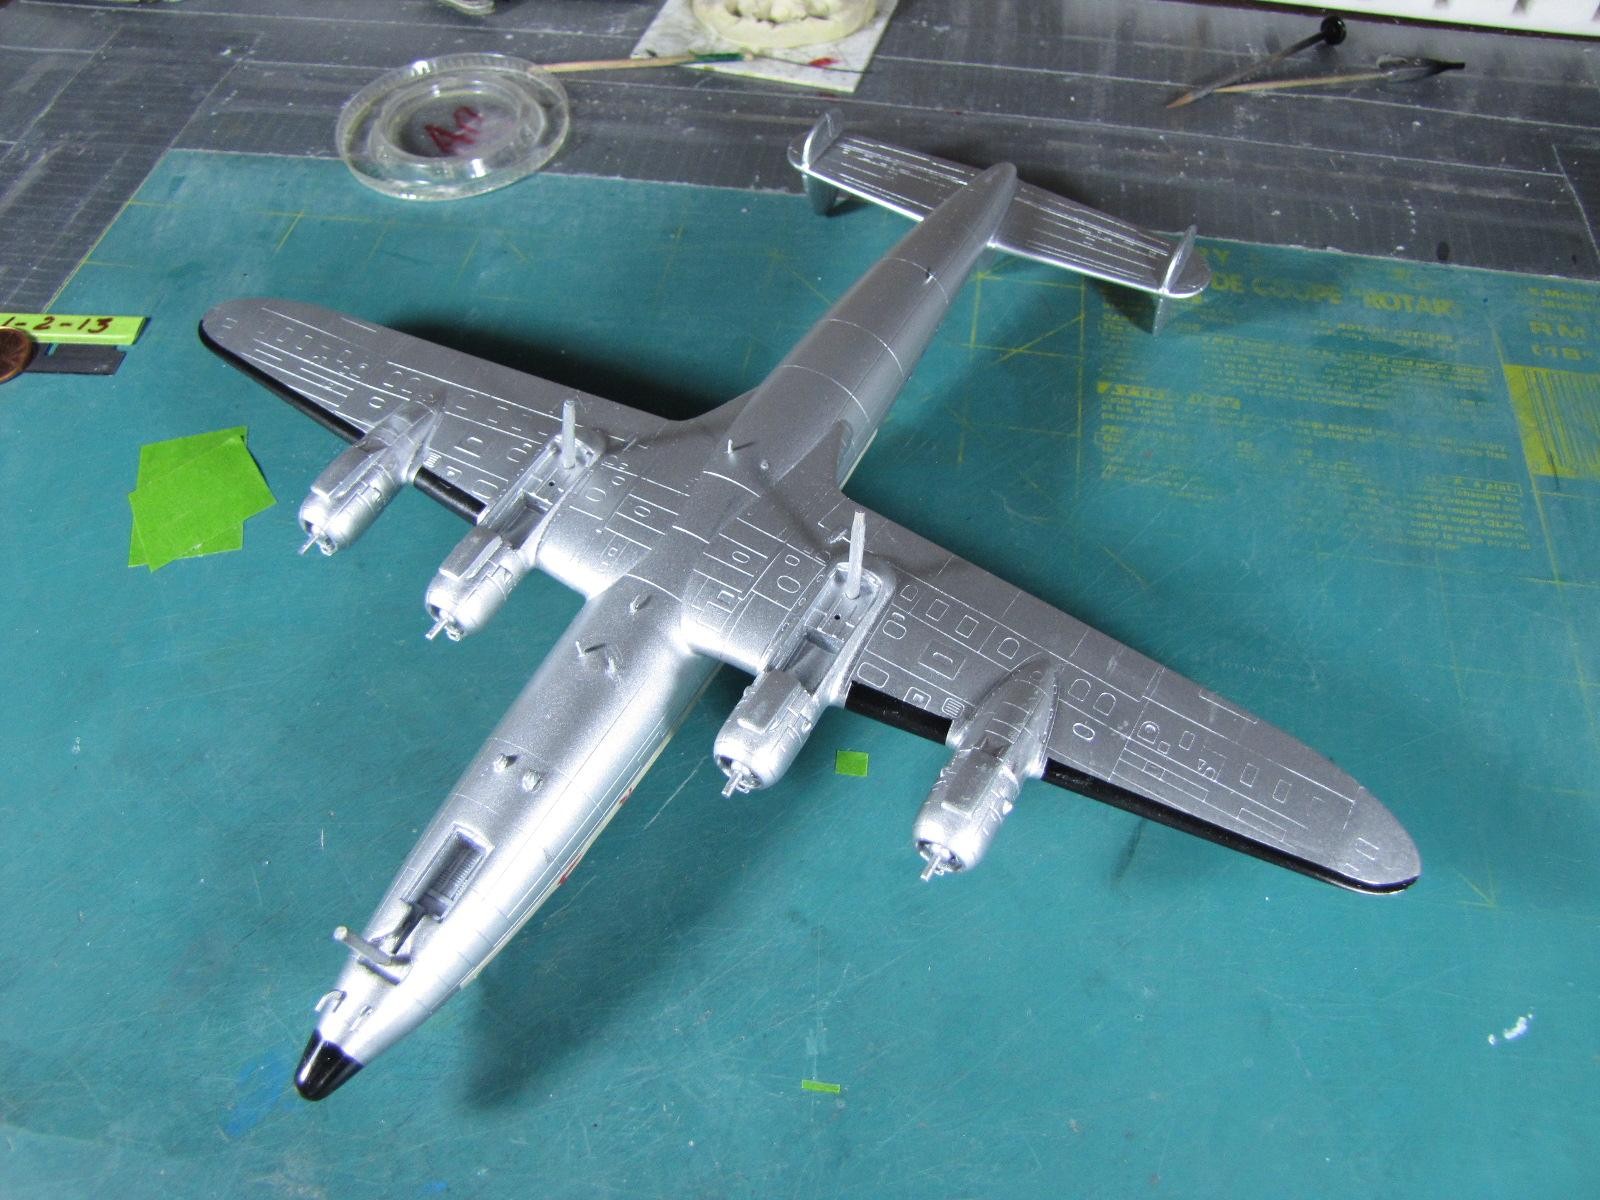
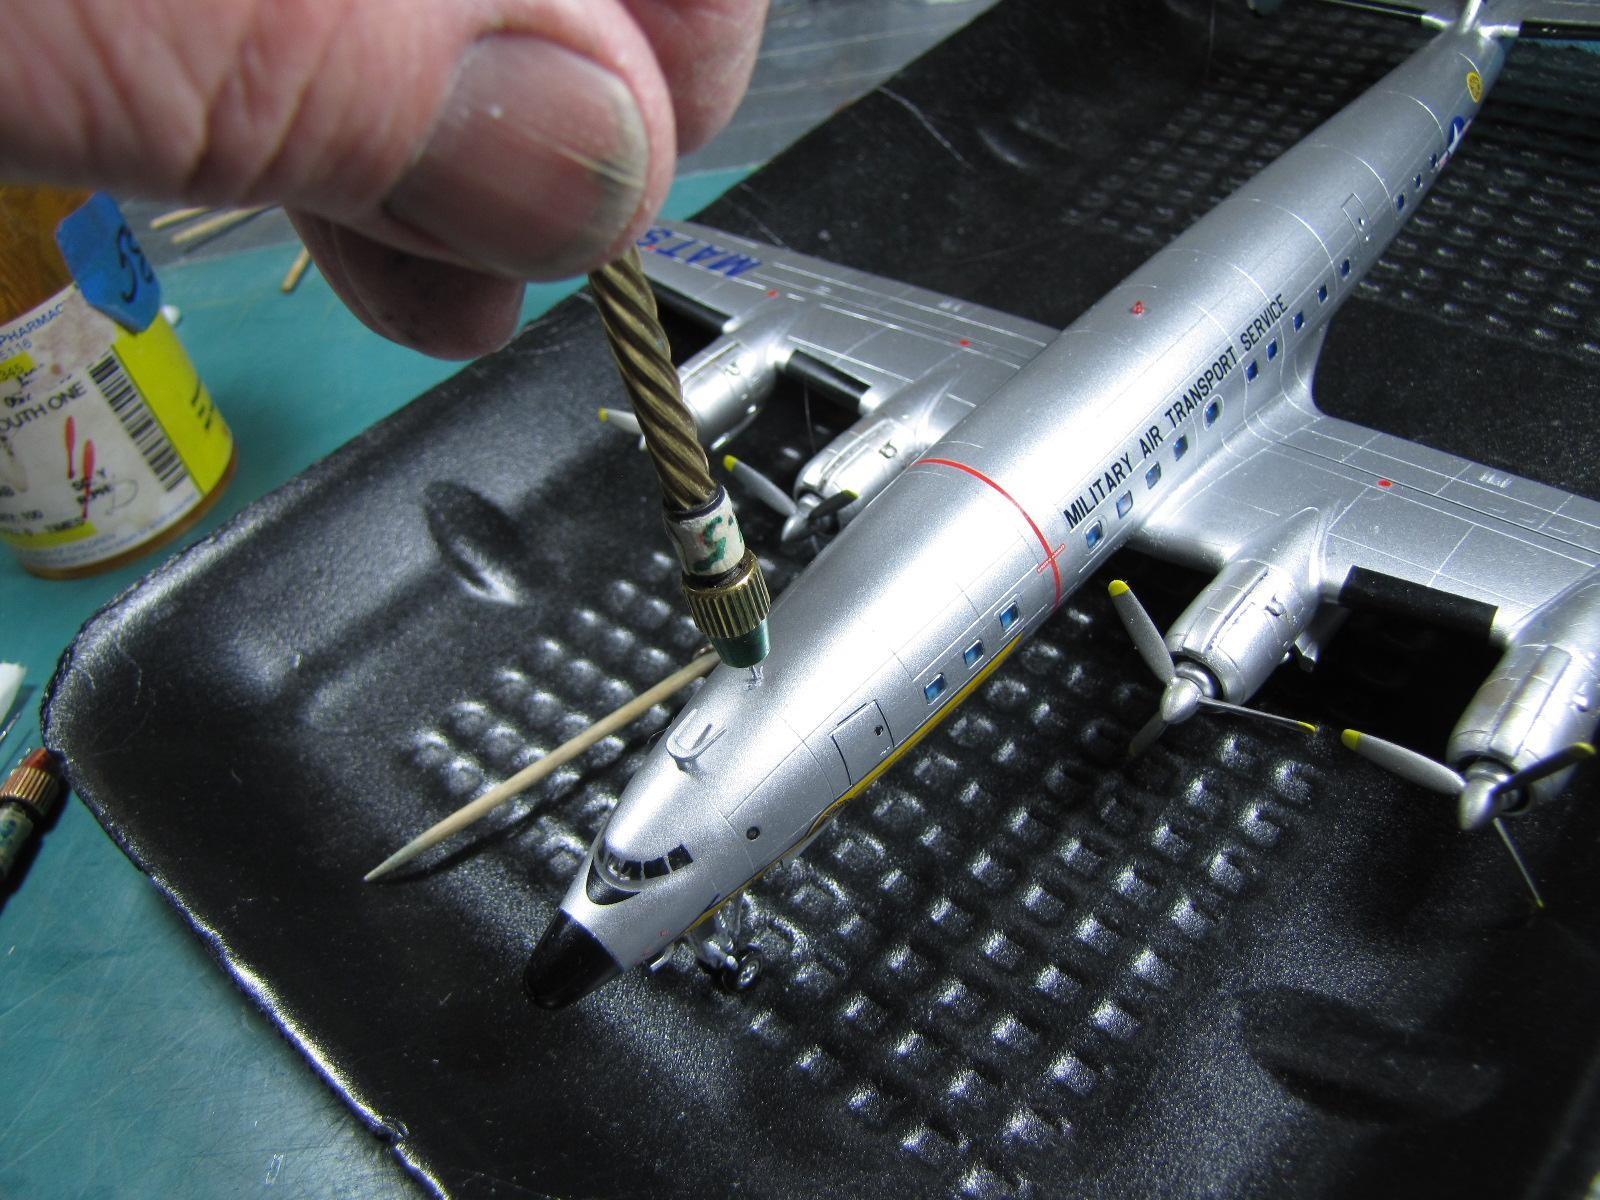
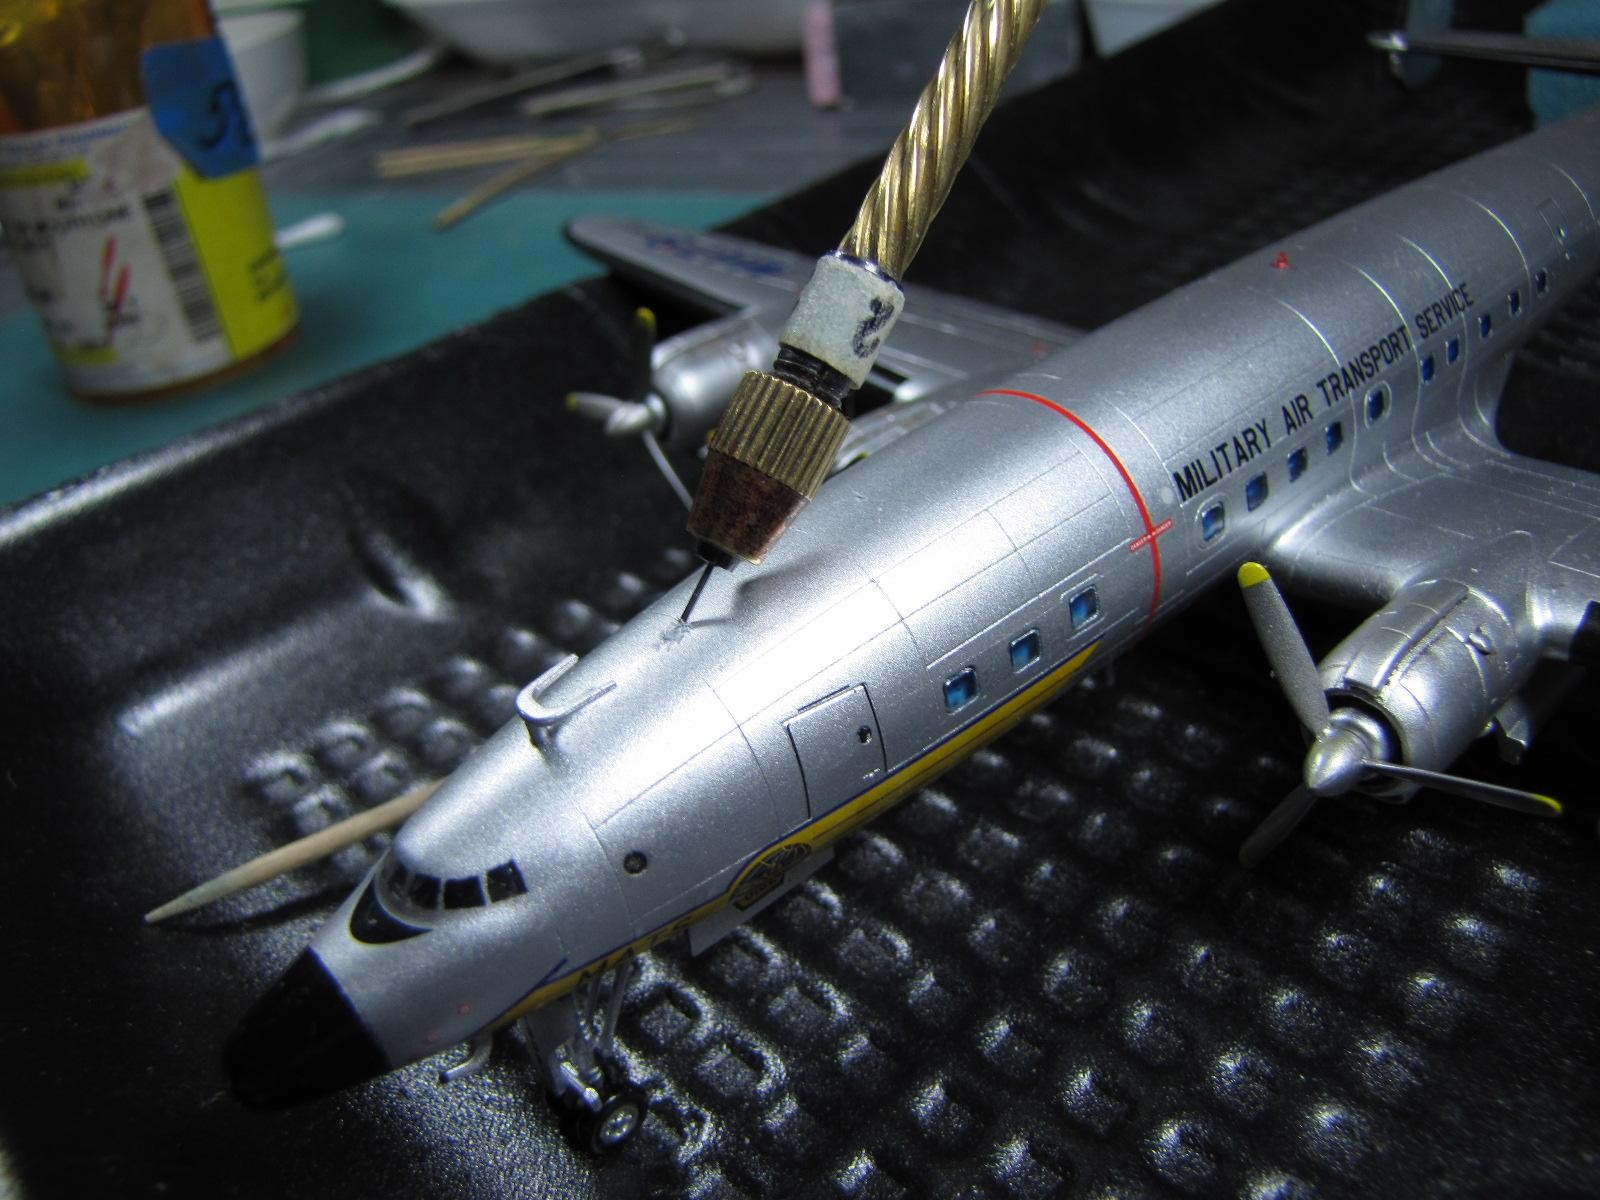
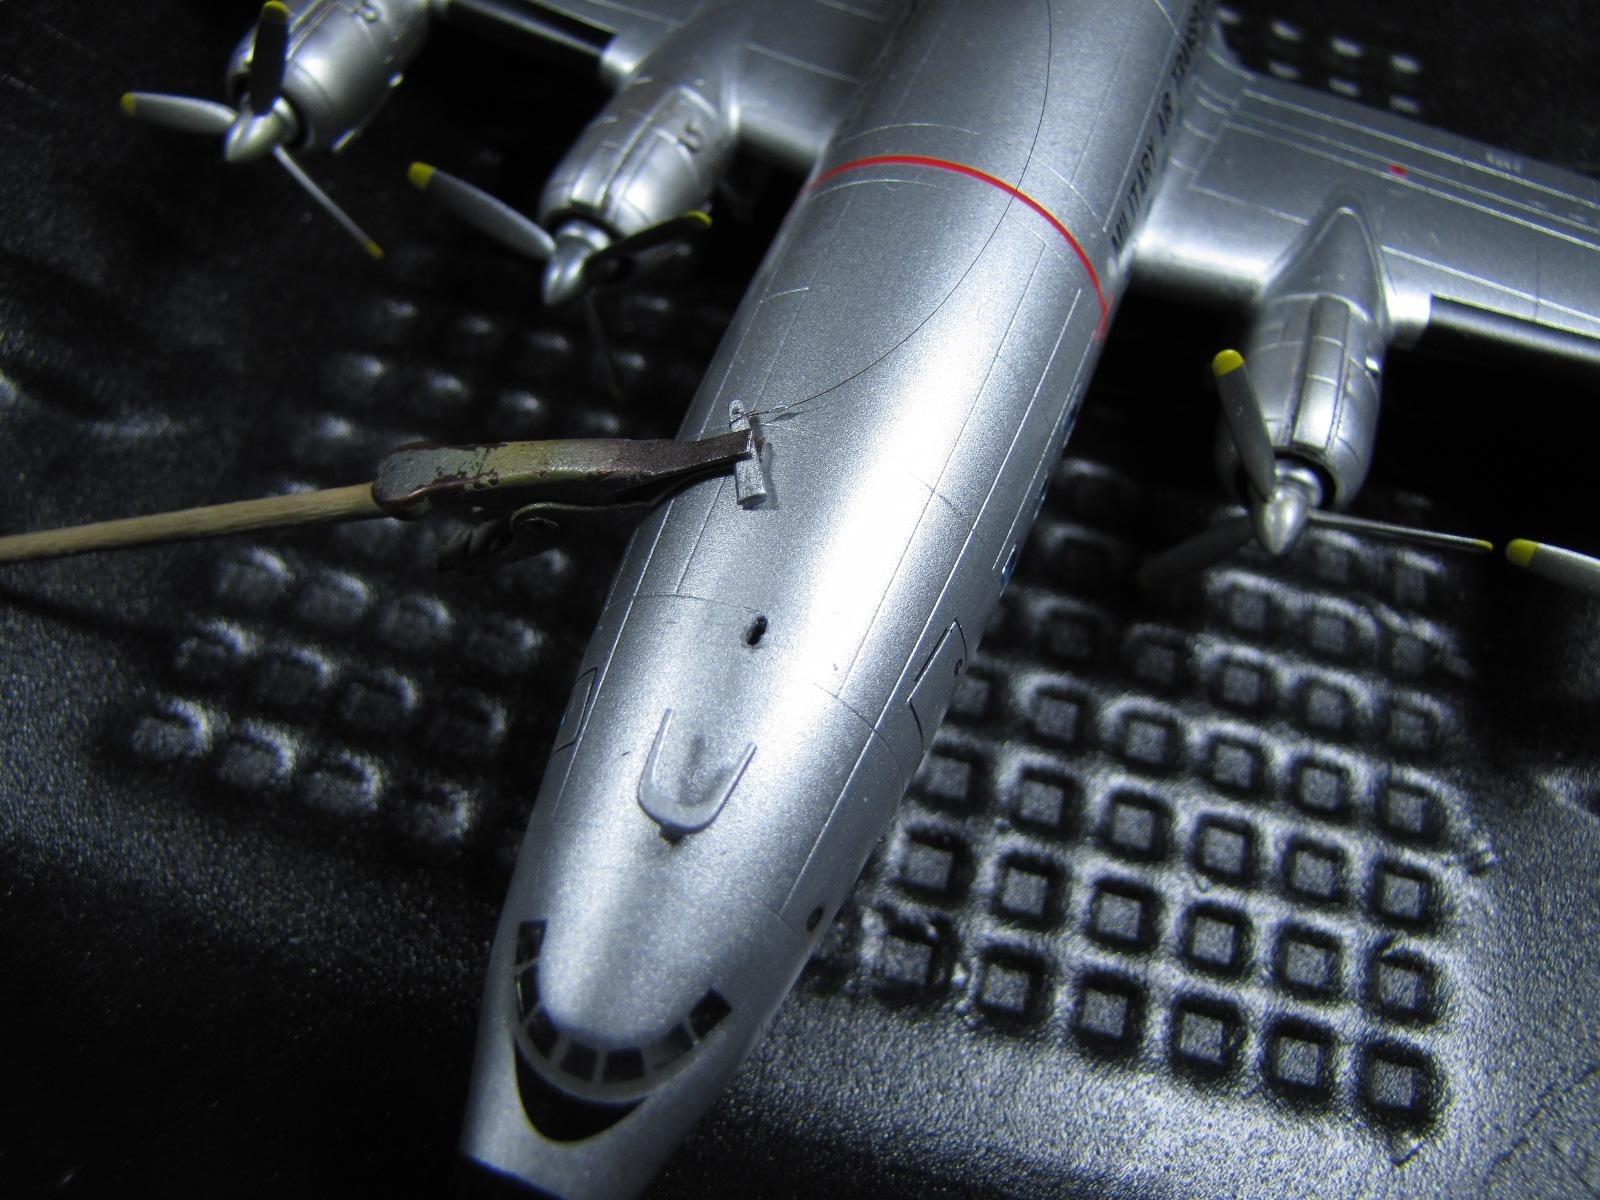
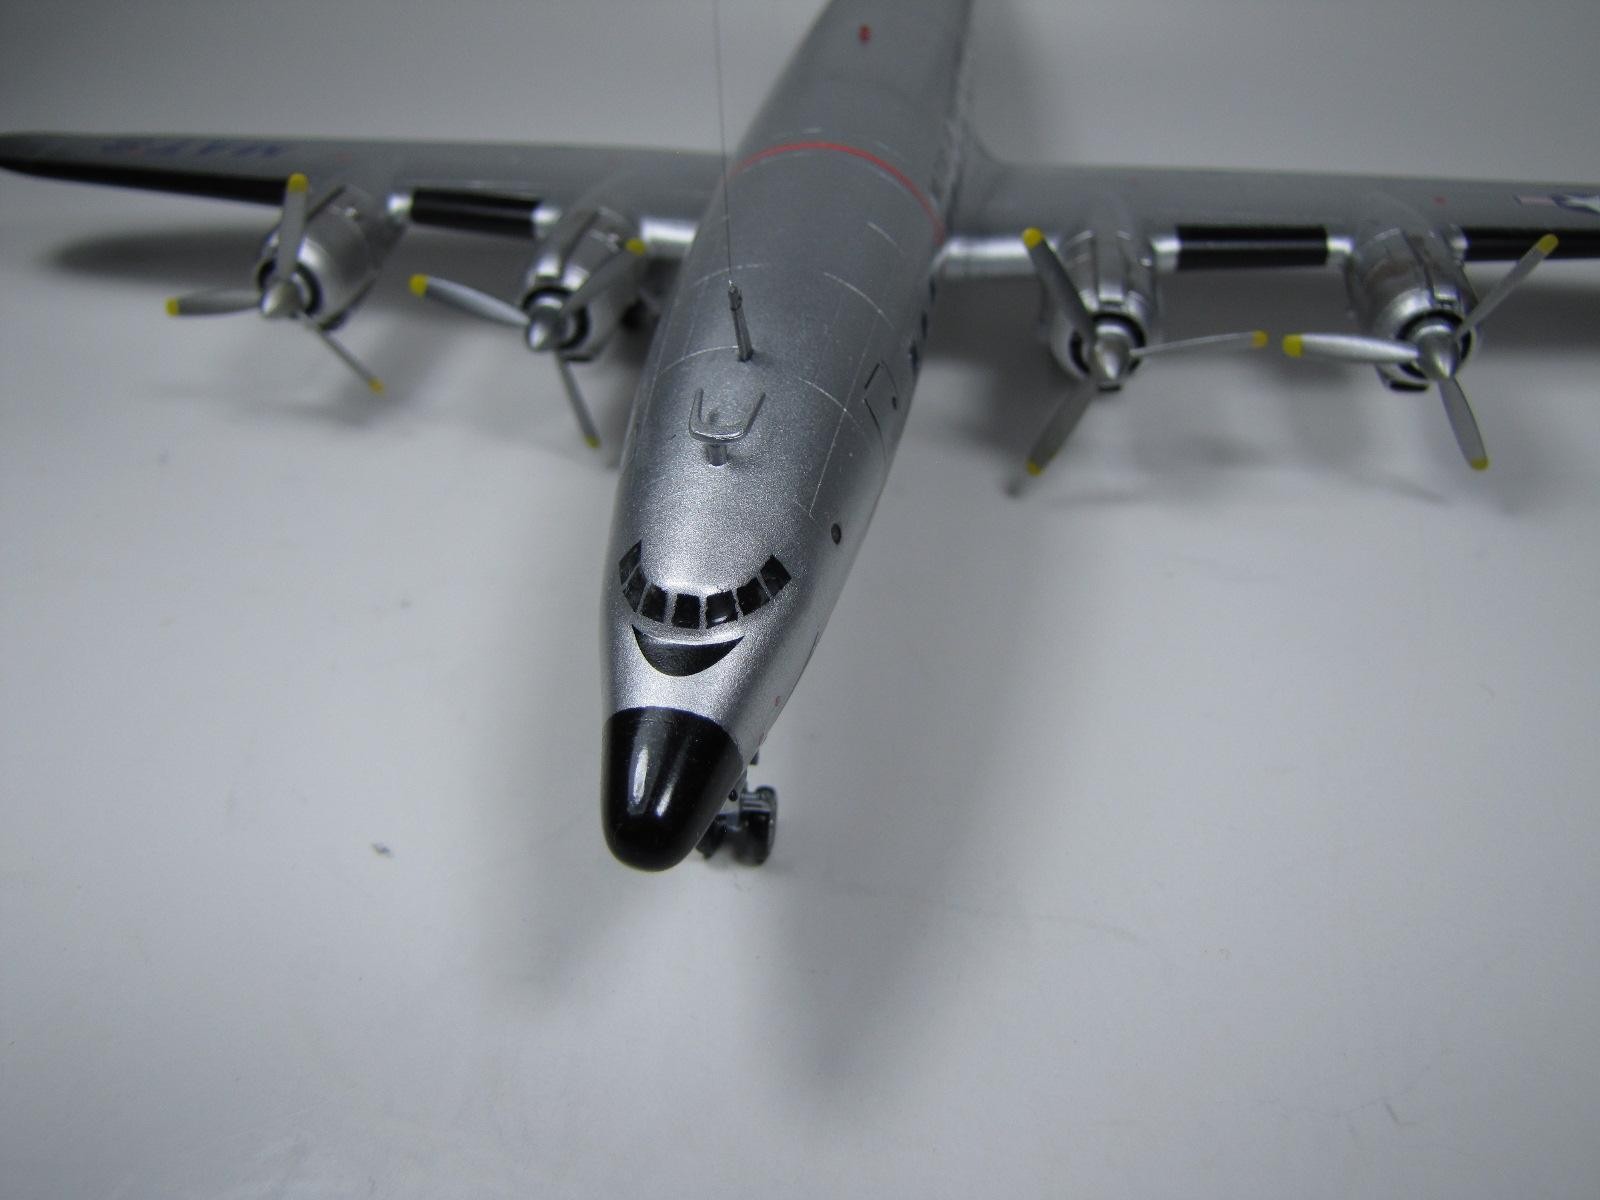
The model was made o.o.b; however I did add the single antenna wire to the model. I added some weight to the nose area, otherwise it would be a tail dragger as we call it in our model world.
It was glued together with my trusty thin super glue, then sanded down to 400 grit 3M wet/dry sandpaper, then I gave the model a very thin black Tamiya water wash and sanded it off. This method show's up any missing panel lines, sink marks, sanding scratches and any thing else you can think of.
The finished on the plastic has to be flawless because it was to be painted with my Tamiya semi-gloss aluminum paint. I started using this aluminum paint way back in 2007 and now it was 2012, so I have plenty of experience with it. My photos show some Tamiya Gloss Black paint as well.
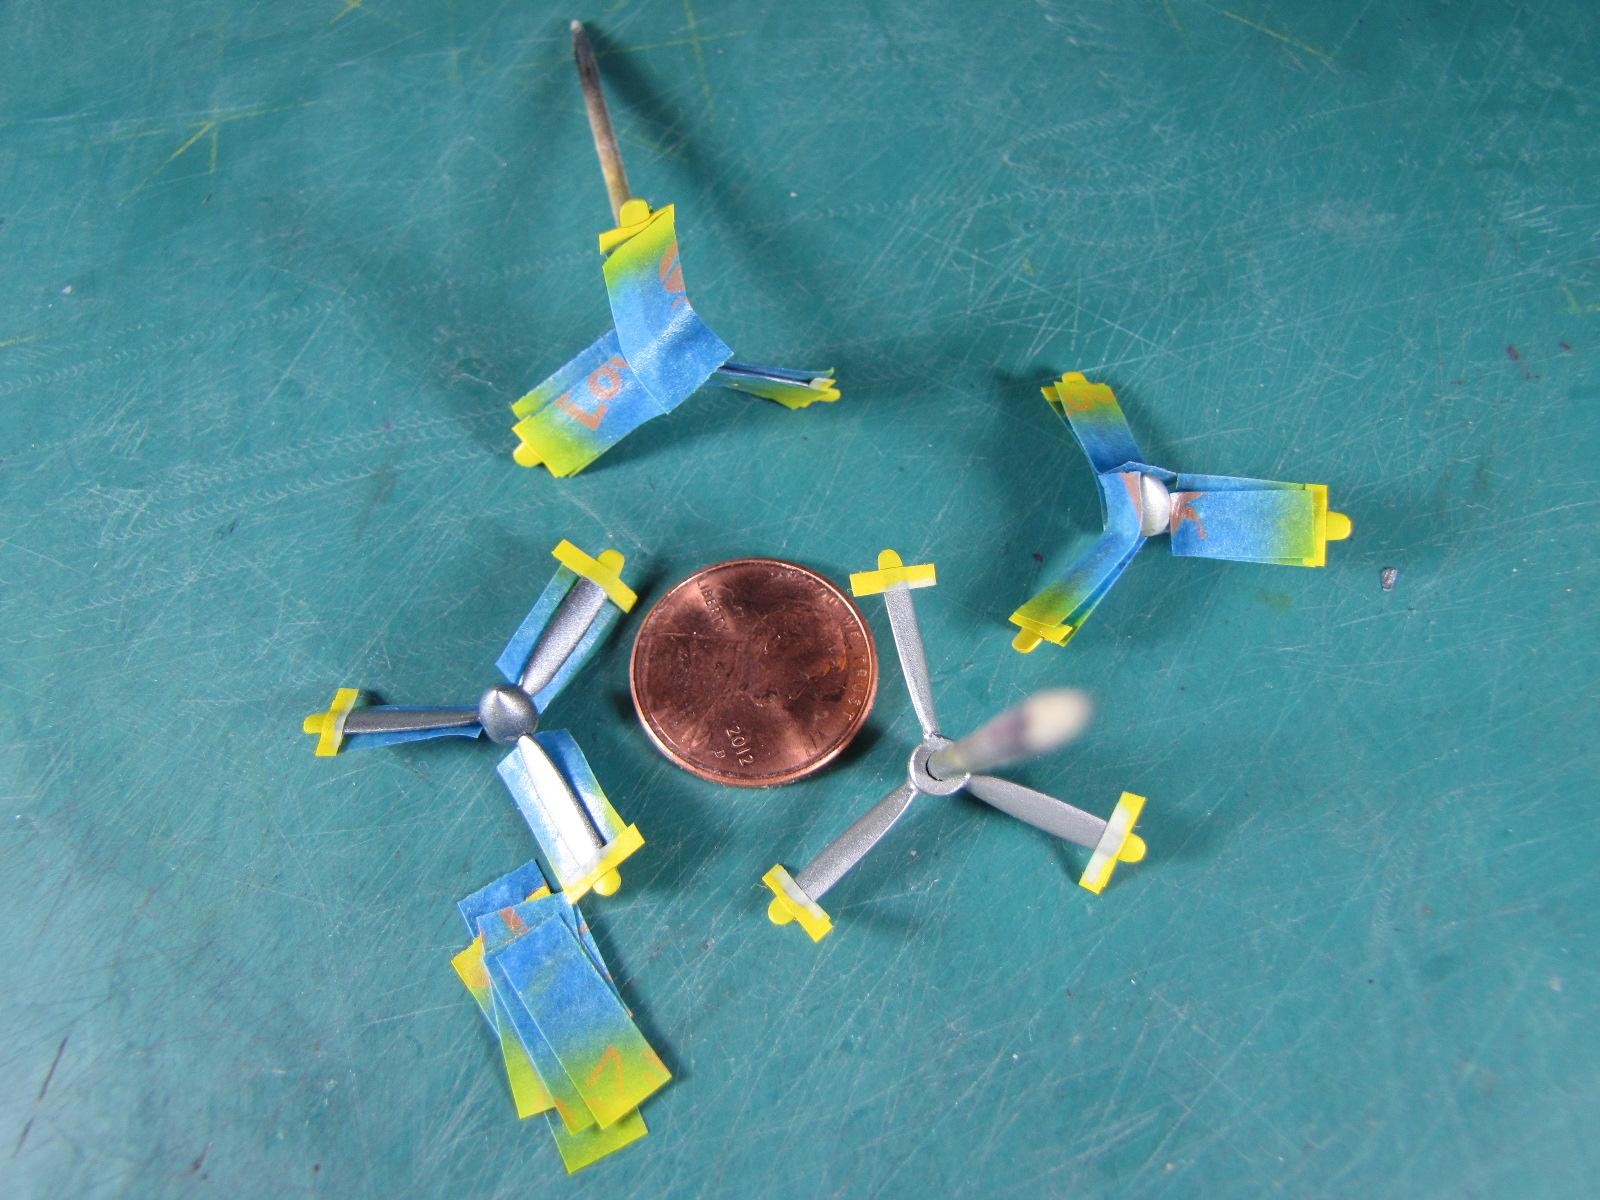
Right now it's early 2020 and I don't recall if I top coated the aluminum paint with Future Floor Wax before I added the decals, nor added Future after the decal's were put on. However, you will note that I "ALWAYS" cut around each letter and/or number and remove all the excess decal film. As mentioned before, I apply a drop or two of my premixed "MicroSol/MicroSet" solution on the decal before it's removed from it's paper backing then put another couple of drops of it on the model where the decal goes.
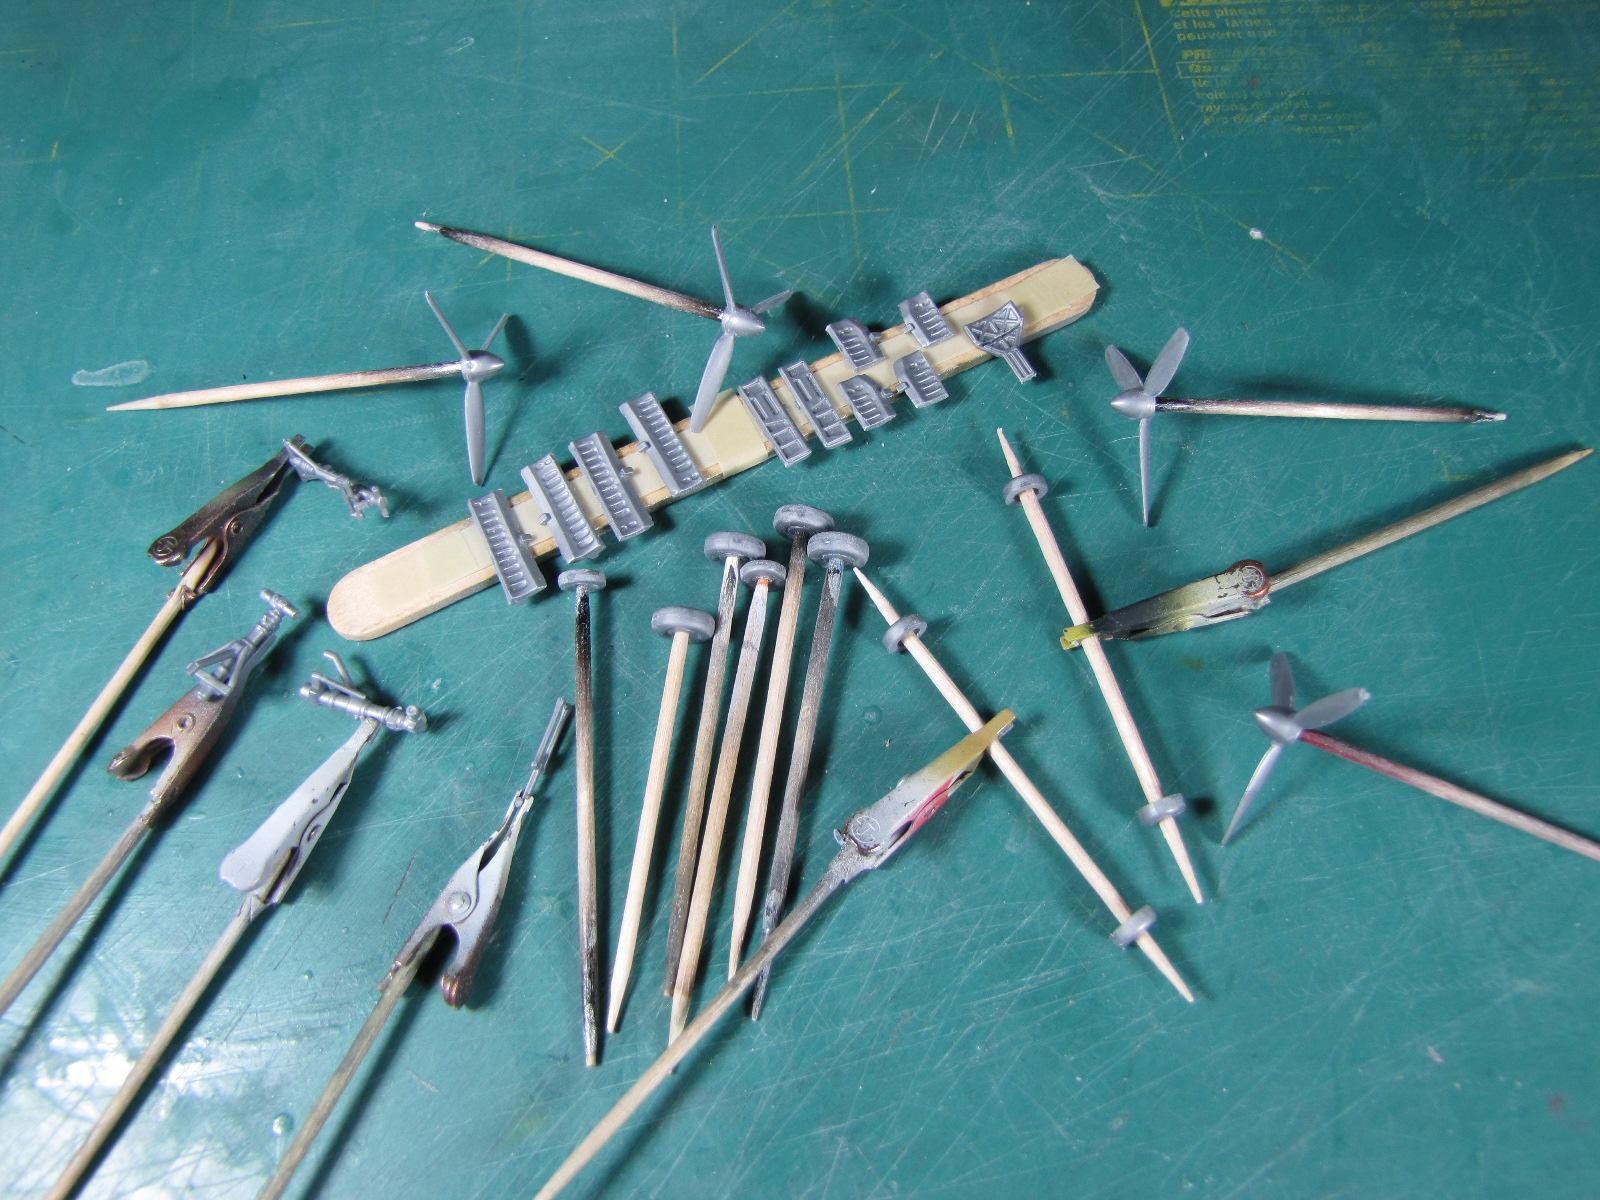
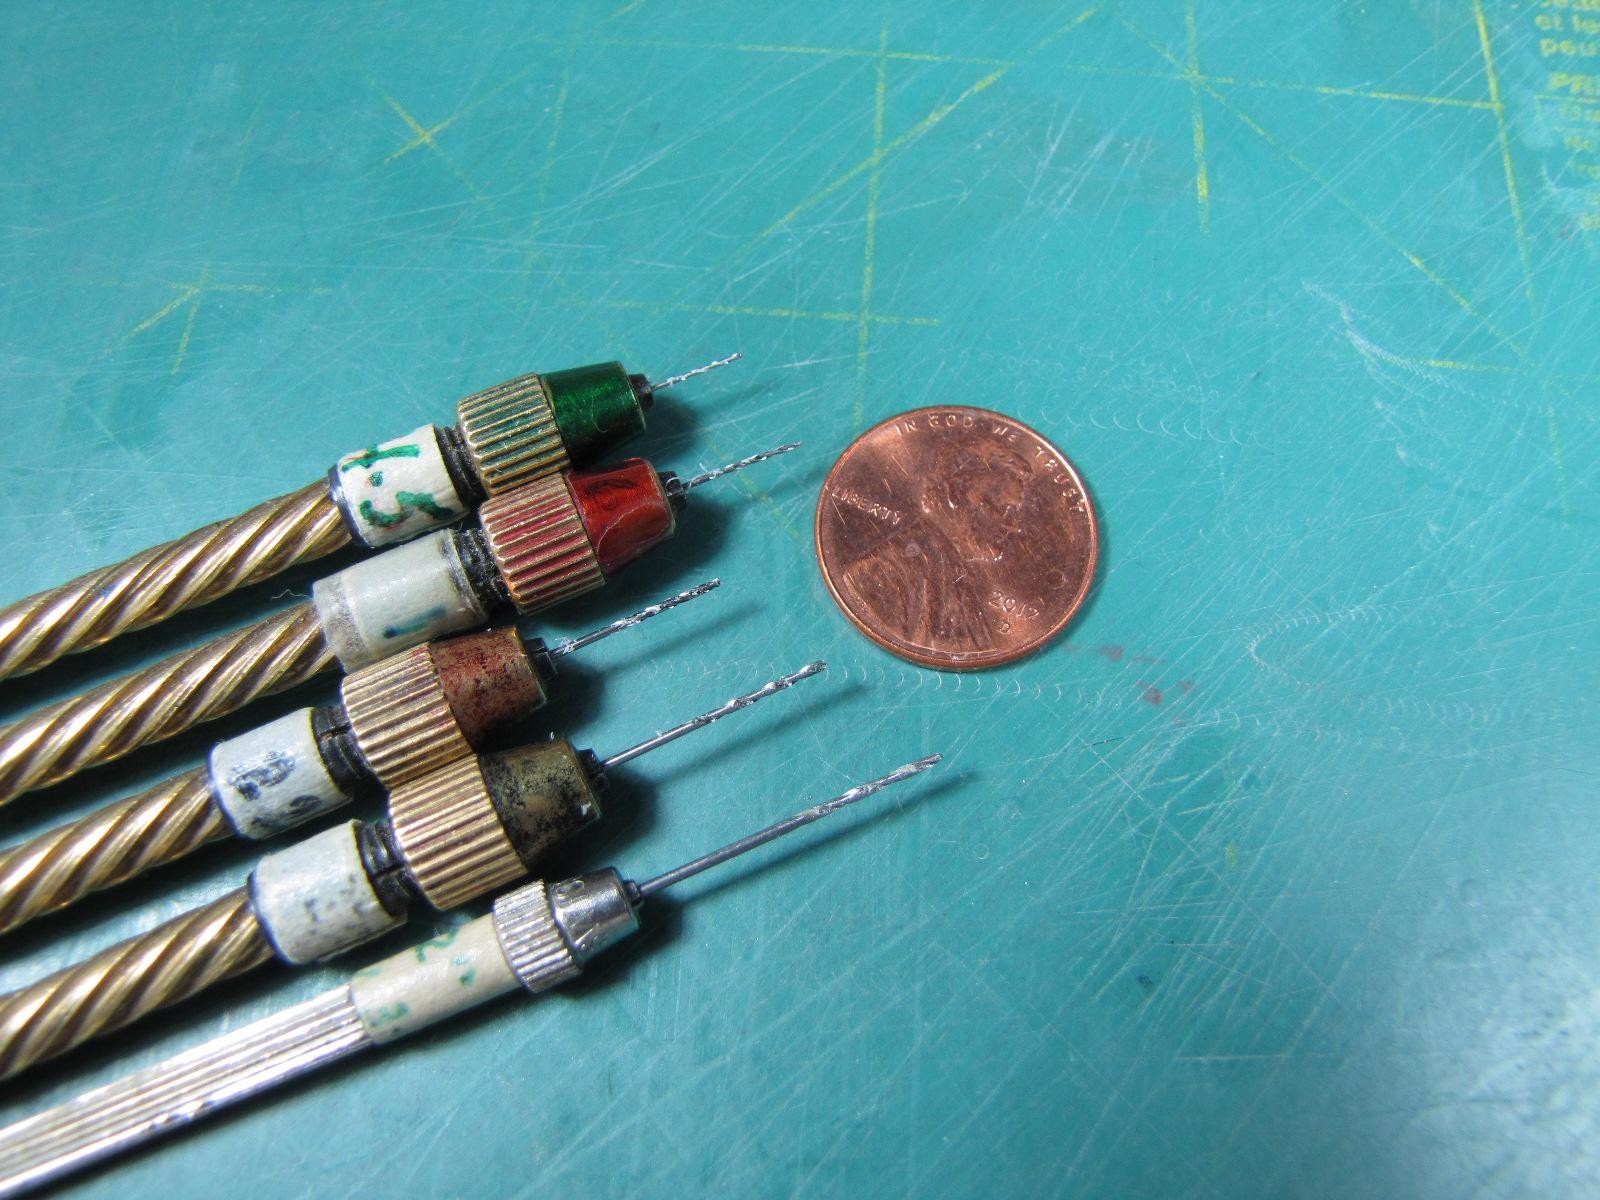
I show several of my small drills that I have used since the mid 1980's, which I use to buy from "Small-Parts Inc." The sizes range from 0.02" dia up to over 1/16." I don't recall where I got the little "Pin-Vises."
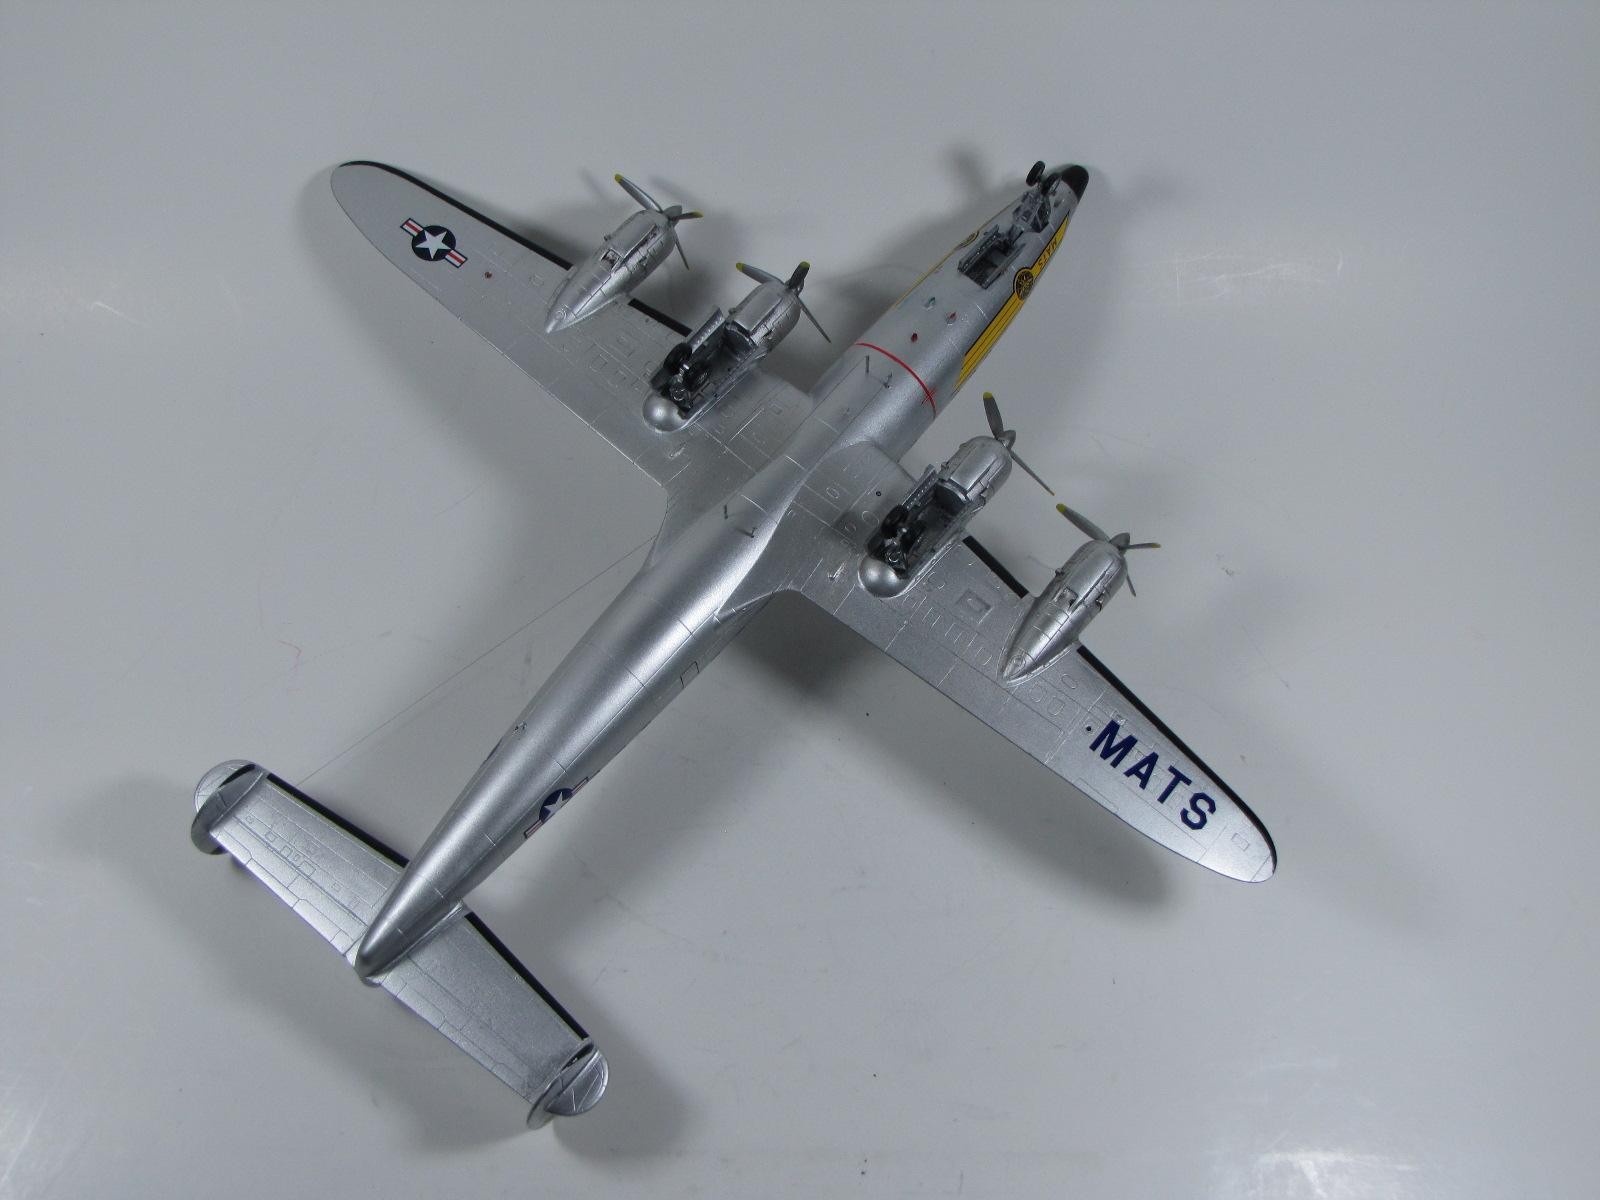
The photographs were taken on my model desk using my flexible paper that I piN and tape down on my work bench. NEXT COMES MY "TWA" airliner. Enjoy:RJW


Very cool build and subject matter!
Looks great! The Revell kit looks a lot more detailed then the Minicrafts .
VERY well done, Rodney! I LOVE Connies! I flew in a Super G Connie twice. I was only 8 but even then I noticed how beautiful those thoroughbreds really are!
I flew in one in 1958 from Cleveland, Ohio to Los Angeles, CA. I was almost 30, but it was still a thrill.
Does the model have recessed panel lines, or did you describe them?
Also, how do you calculate the value of $1400.00?
Very well done.
Hi James:
What do you mean with the word "describe"--?
Or do you mean "scribe."