Boeing F4B-4 dive-bomber
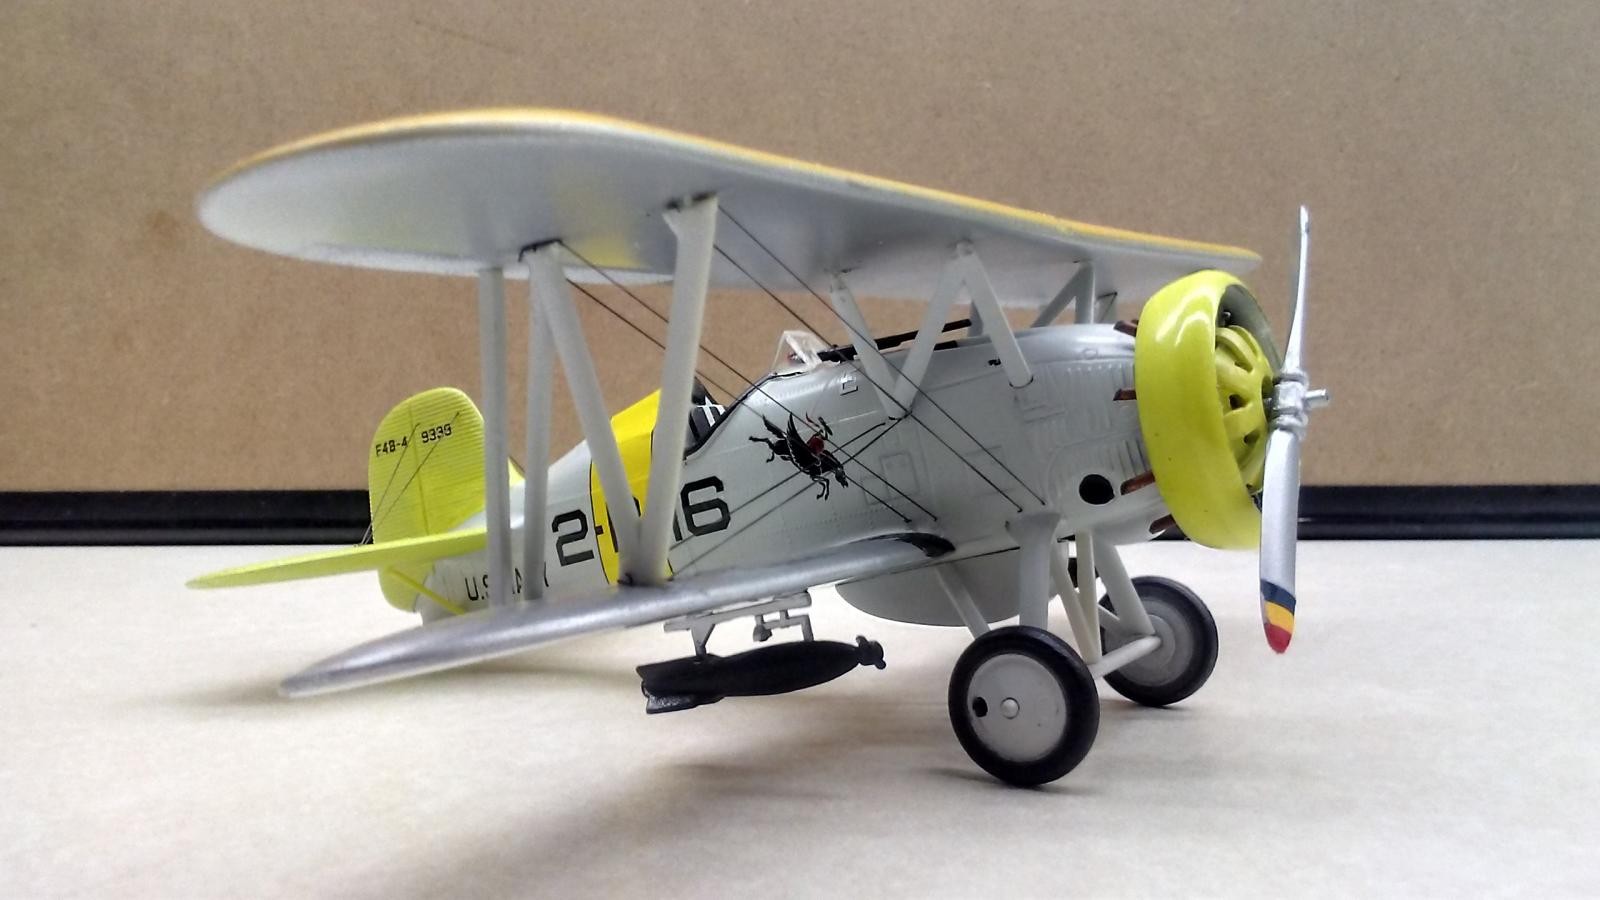
Built from 1928-1935, with tube steel fuselage, wood wings with fabric covering, ailerons of corrugated aluminum. The US Navy began heavily investigating the tactic of dive bombing in the 1920s and 1930s. Of aircraft in current service at the time, only the F4B fighter and the Vought O2U Corsair were strong enough to carry a 500 lb bomb in a dive. The final version -4 had semi-monocoque metal fuselage, came from factory with under-wing bomb racks - and stayed in service through 1935 with the Marines. F4B-4s received the first variable-pitch propellers on Navy aircraft.
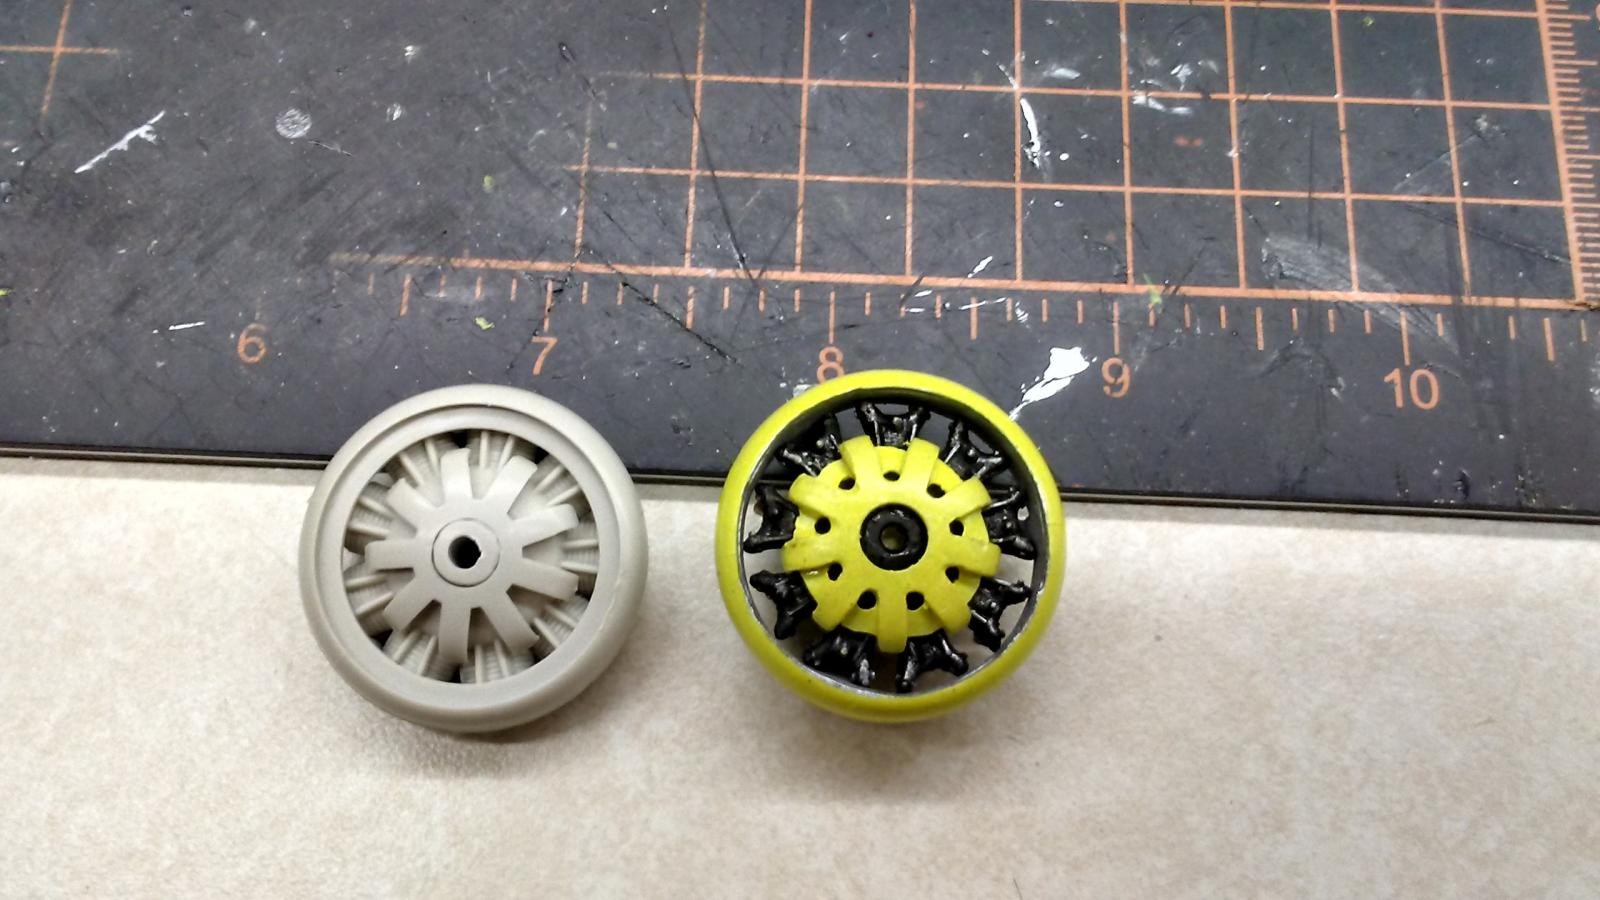
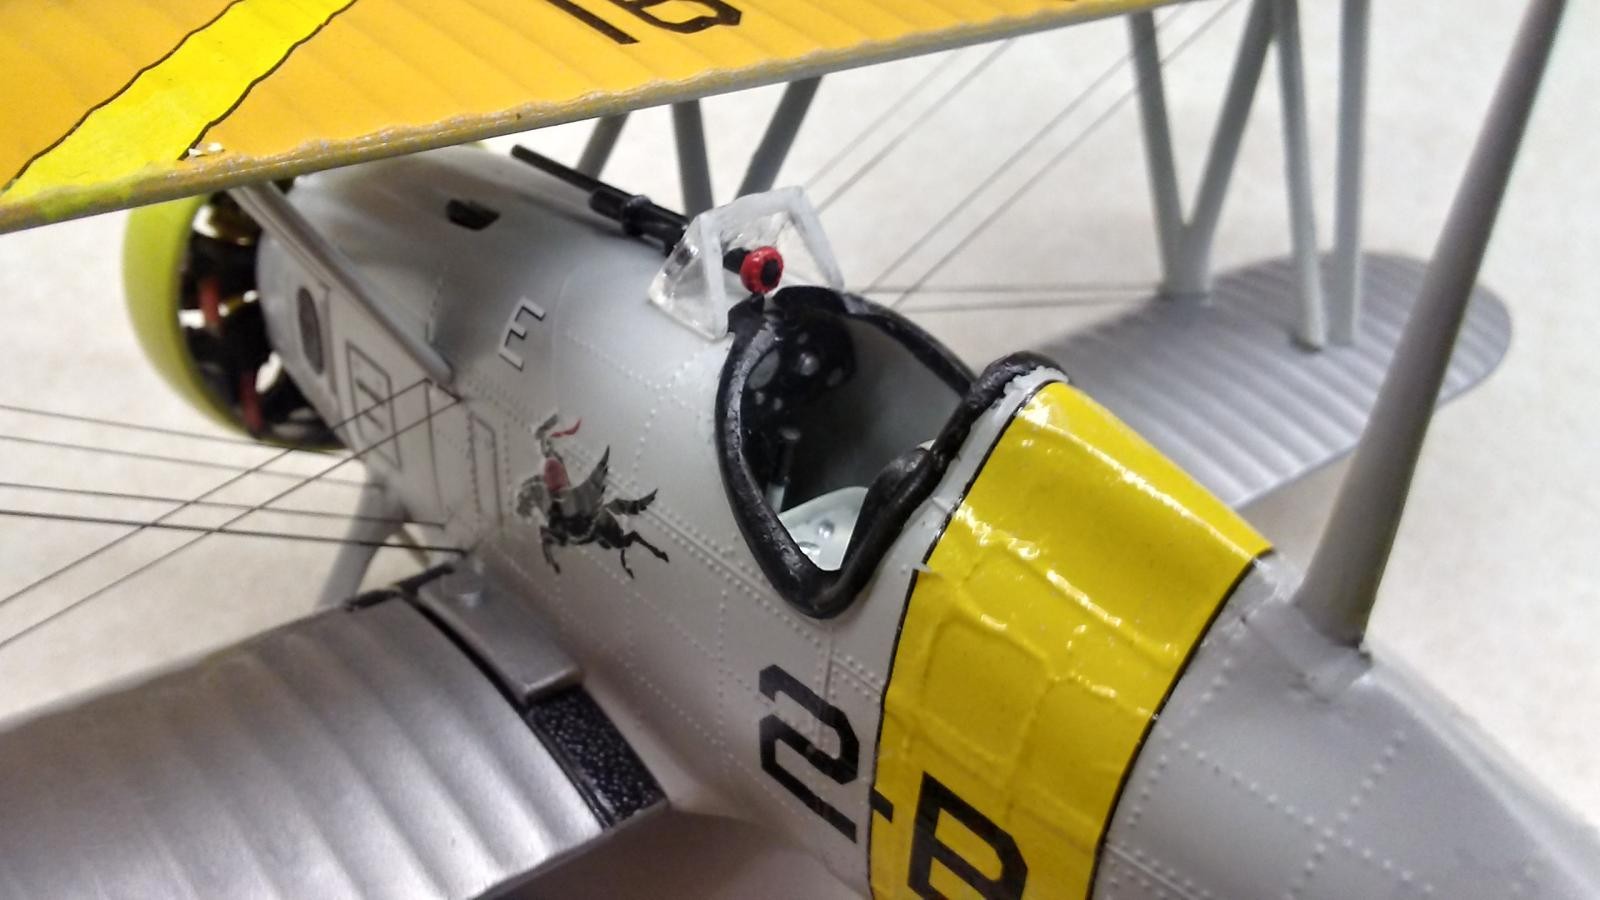
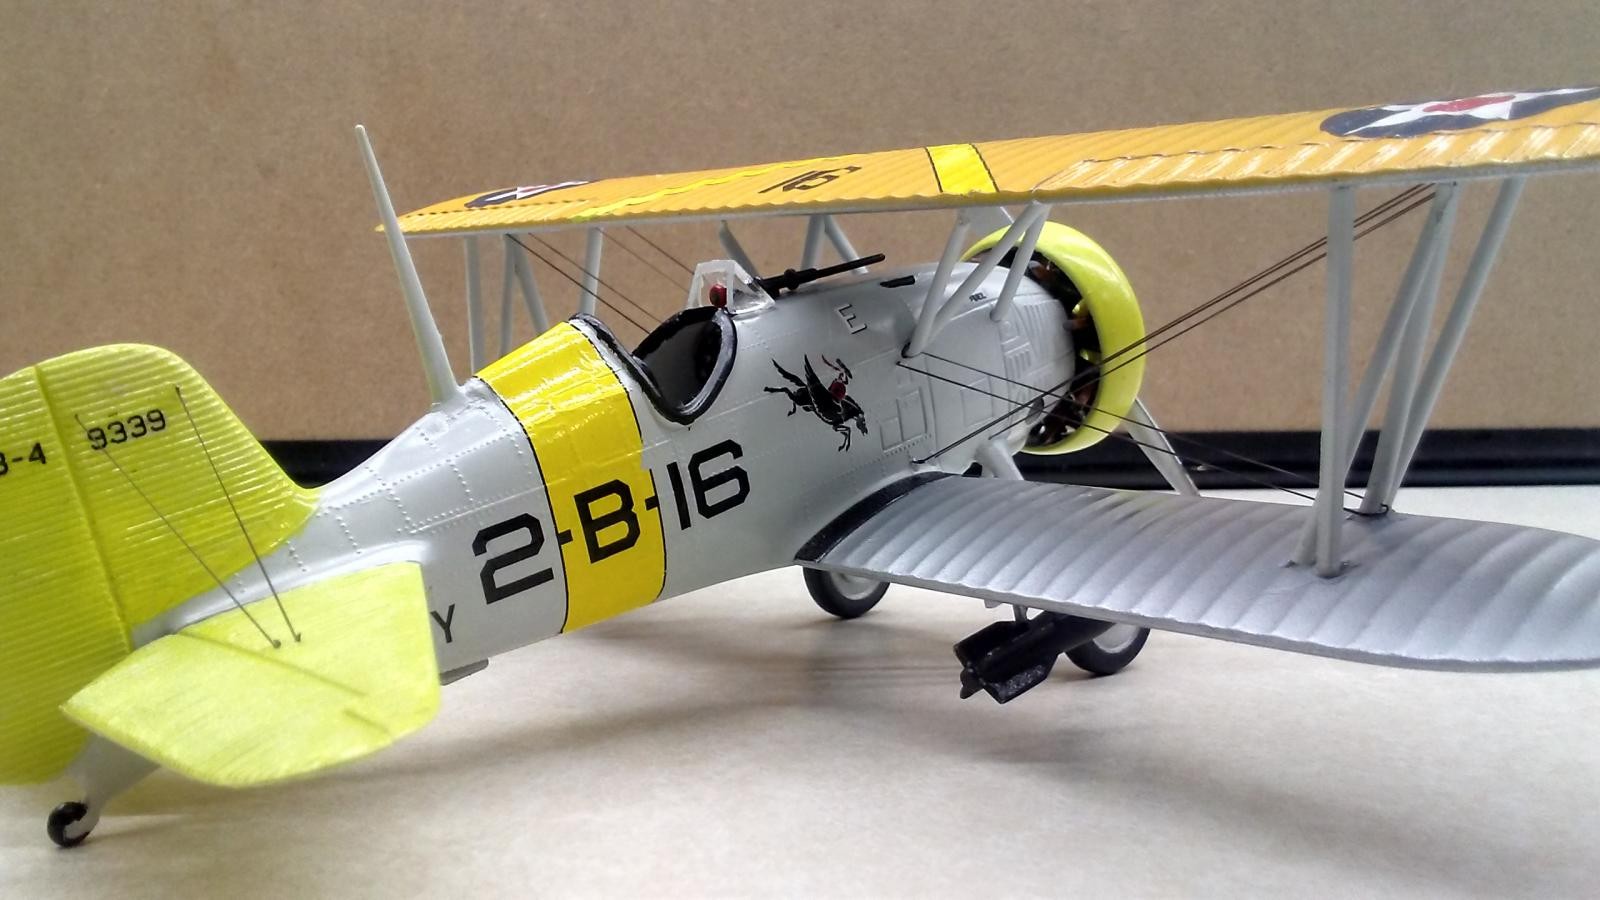
This aircraft is the Aurora KB kit from 1972. I made many little modifications to dress up a rather plain kit. The biggest changes were the engine and cowling area. The kit engine was replaced with a resin Pratt & Whitney R-1340 from Hawkeye Designs, to which was added push rods of fine wire and exhaust pipes of brass wire. The kit cowling was carved to remove the extra material around the rim, and the crankcase heater was modified to look more like the actual item. A bit of aluminum tube was used for the propeller shaft.
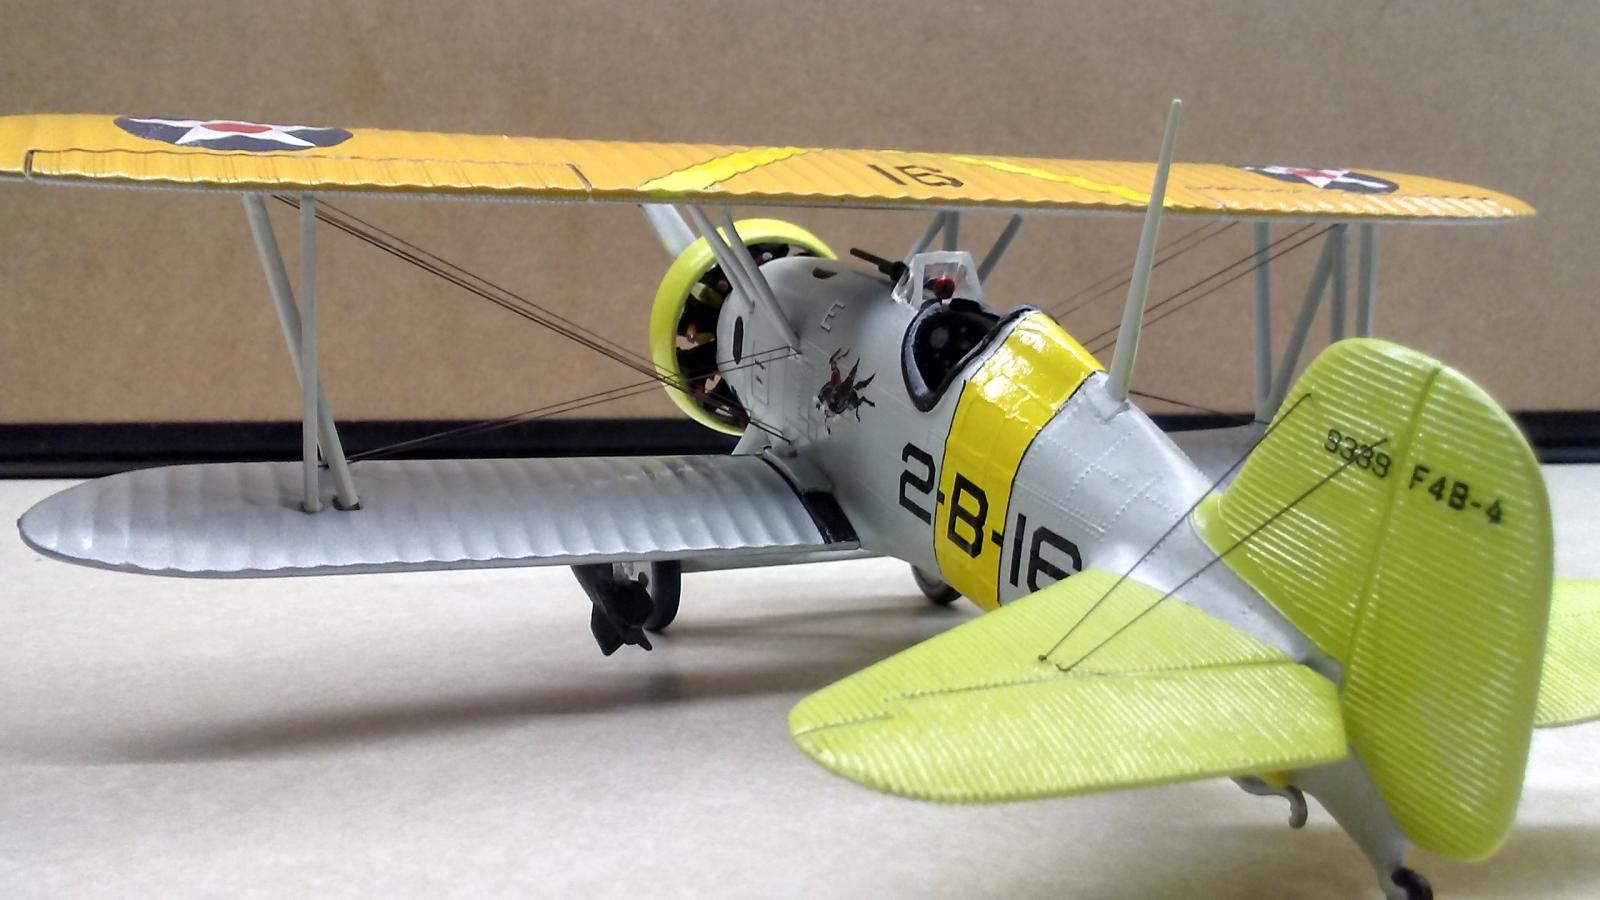
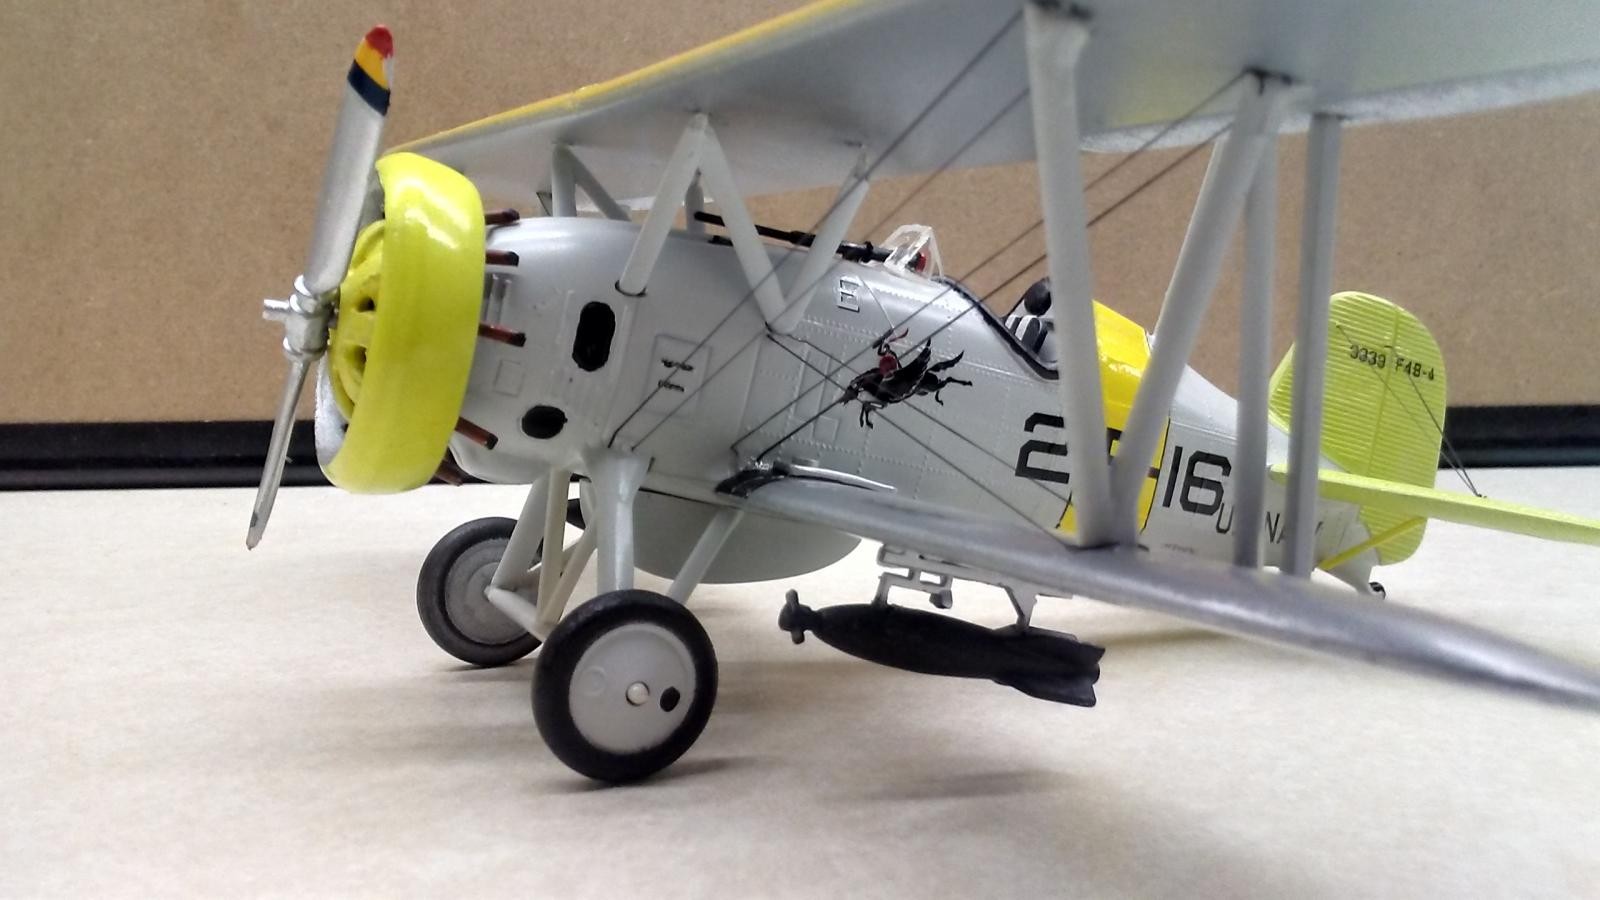
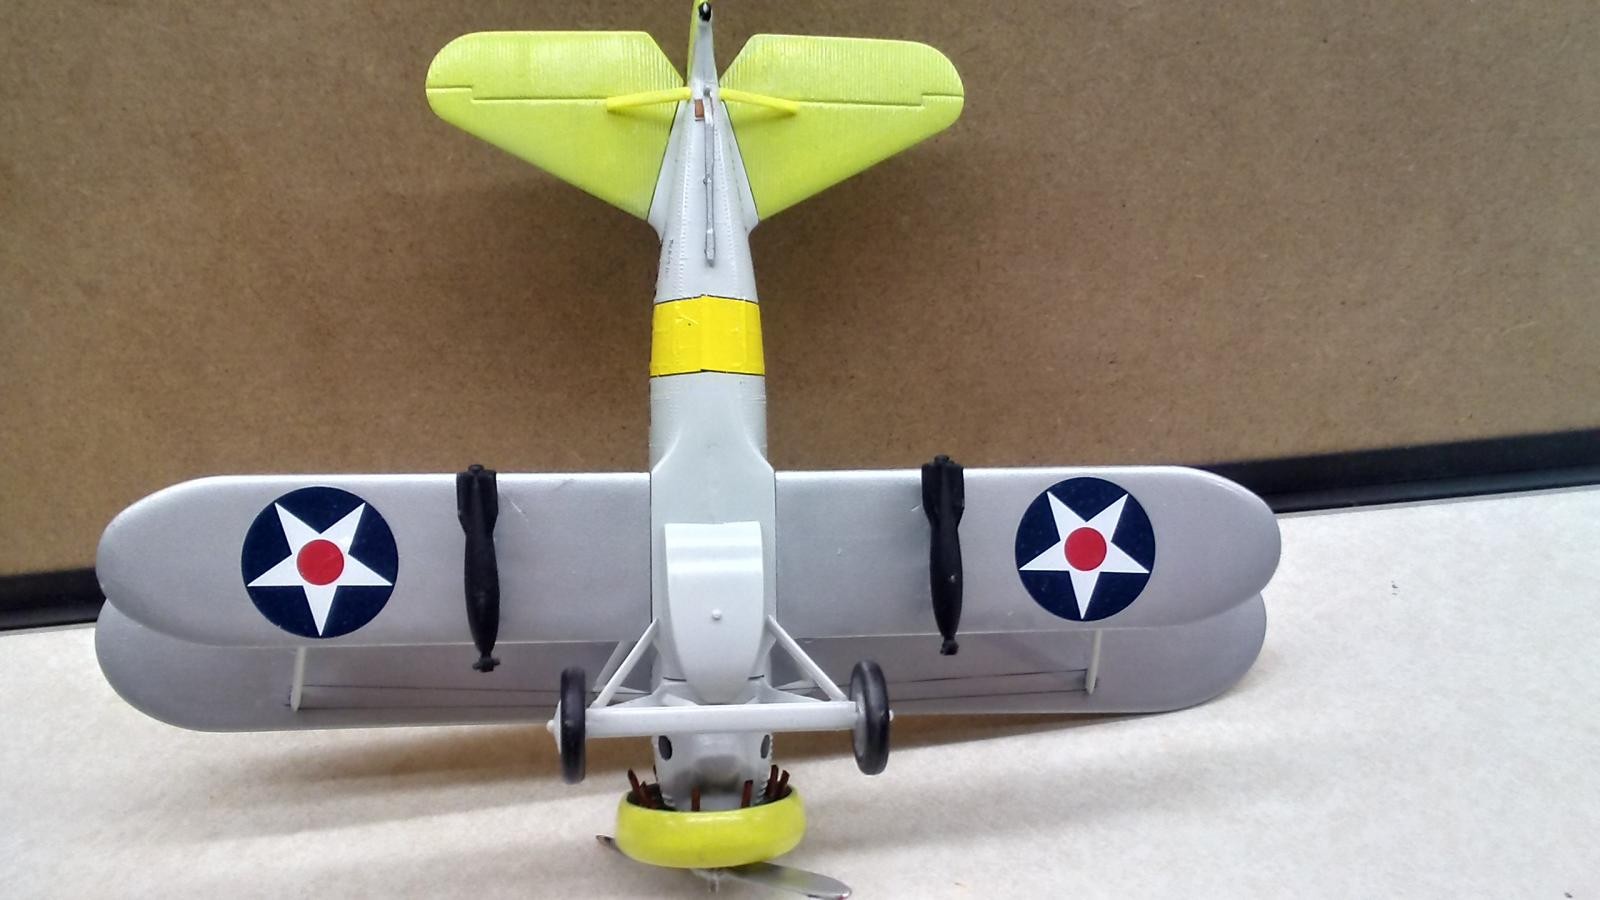
The cockpit was modified with a bulkhead behind the seat, and a joystick. The seat had some detail added, including seat belts made of masking tape. Bomb racks were added from the spares box. The central "V" in the landing gear was added as well as a small bumper pad underneath the tailhook, and struts underneath the elevators.
Painting was again a bit of a nightmare, with masking tape pulling off the previous coat. Lots of little flaws in the paint and decals, but fortunately I'm not a perfectionist! The original decals were unusable even with a new coat of bond sprayed on. I only managed to save (with much effort) the "F4B-4" lettering for the tail. So even though the model comes with markings for a bomber squadron, I still had to find spares to match. To my surprise, the fuselage band from a Curtiss BFC-2 fits nicely on an F4B.
The fuselage is painted Model Master light gray acrylic. The wings are Vellejo aluminum acrylic. The cowl and tail are Vallejo Lemon Yellow acrylic. Upper wing is Testors yellow with a drop of Testors orange. Rigging is, once again, fine EZLine.
This is my second one of these and it came out better than the first time, I'm pretty happy with it. Hope you like it too.


Sweet build of a classic kit. All that extra work certainly paid off.
That is a beautiful build of my favorite inter-war plane. Thank You!
I bet it was a blast to fly
Nice job Robert @robgenev665. I've found that the older kits require priming with a decent automotive primer from a spray can. Seams to work really well with Acrylics.
"Liked"!
I'll have to give that a try. Thanks!
Love classic kits! Nicely done! I just picked up the Hasegawa 1/32 F4B-4, your Aurora kit will be an inspiration.
That’s a very nice kit Rob. I think that you are going to like it.
That Hasagawa kit looks fantastic.
This is a fantastic build ! Ironically I was just looking at the 1/32 scale Hasegawa F4B-4 in my stash. After reading your article I might just have to take another look ! Very impressive work my friend.
“Liked”
Thanks Louis!
Great model Robert. Very beautiful plane and your build depicts this beauty. I like the enhancements you did, making an old kit look so nice. You inspired me to dig out my 1/32 Hasegawa.
All the best!
@fiveten thanks, Spiros!
Nicely done Robert, like the way you've been resurrecting some of those old kits. A little updating goes a long way, I like it.
Great job, Robert. I love that plane.
Looks great! you've brought the old kit back to life.
Nice work on an old kit - and an interesting clash of yellow! Well done.
I really appreciate all the positive comments. I was actually considering not posting the article because of all the flaws that I saw in my handy-work, but I've been very encouraged by the responses here. Thank you all!