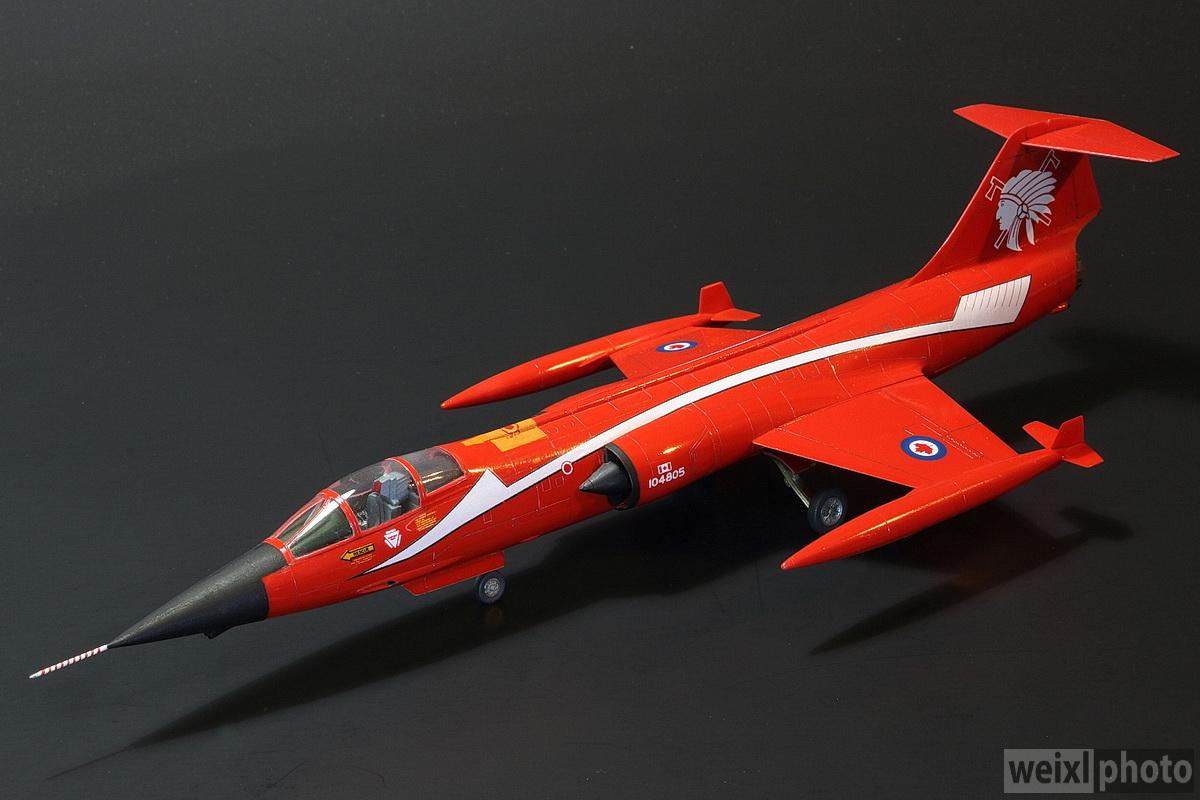
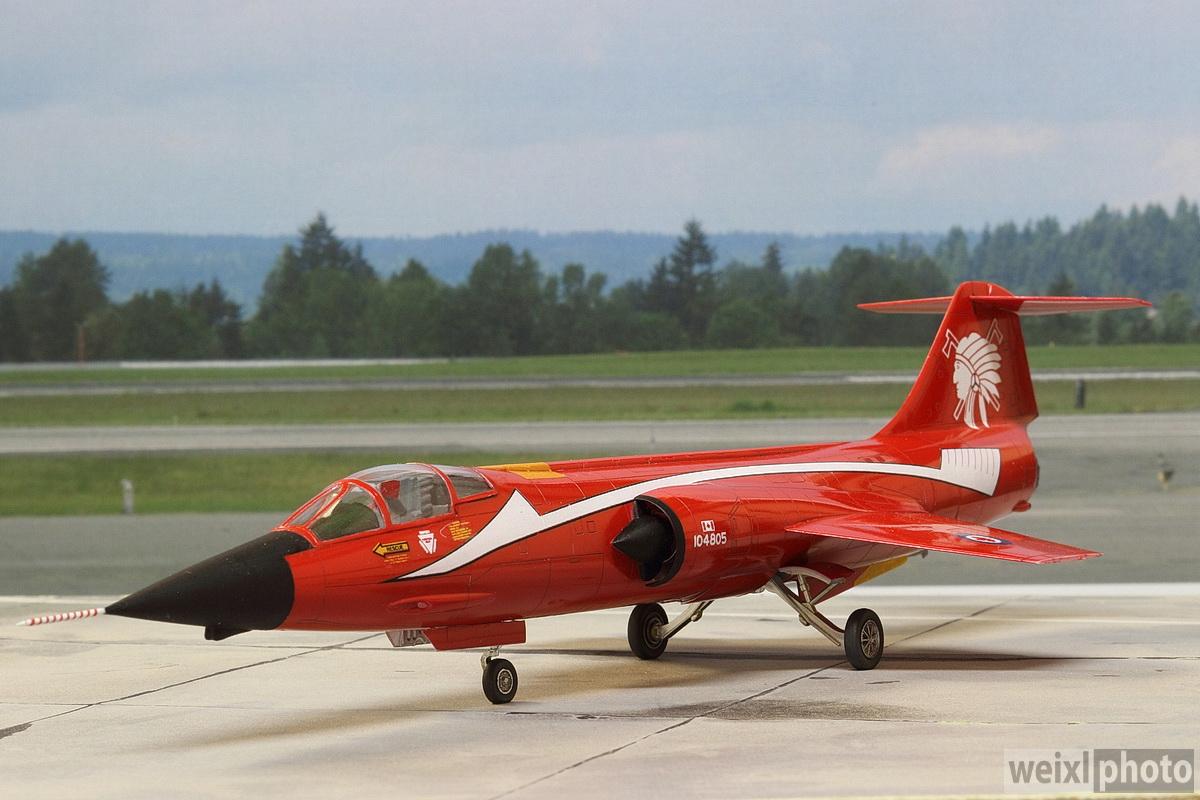
1/72 Esci AMT CF-104 Starfighter 421 Red Indian Squadron Canadian Armed Forces
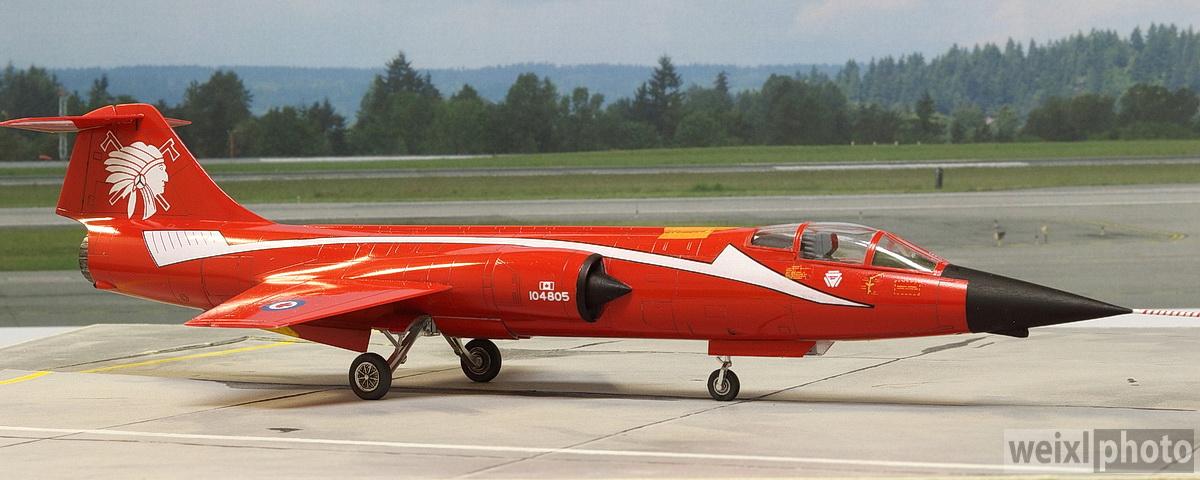
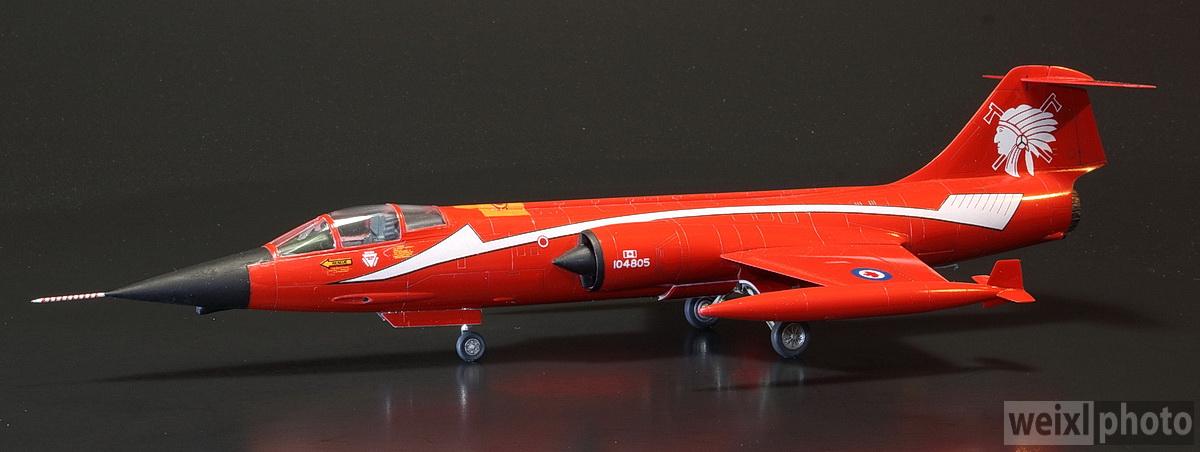
I am a big fan of the Lockheed F-104. My father flew the CF-104 with the Royal Canadian Air Force (RCAF) from 1961 to 1964. This model features a commemorative paint scheme for the Canadian Armed Forces (CAF) 421 Red Indian Squadron. In 1983 421 Squadron was celebrating 30 years of being based at Baden Solligen Germany. The 1/72 scale AMT kit uses the ESCI F-104 molds, which is a good thing, as the kit features very fine recessed panel lines and is generally a really nice little kit with great decals and a decent canopy. I built the kit with no modifications except for a pitot tube made from a sewing pin.
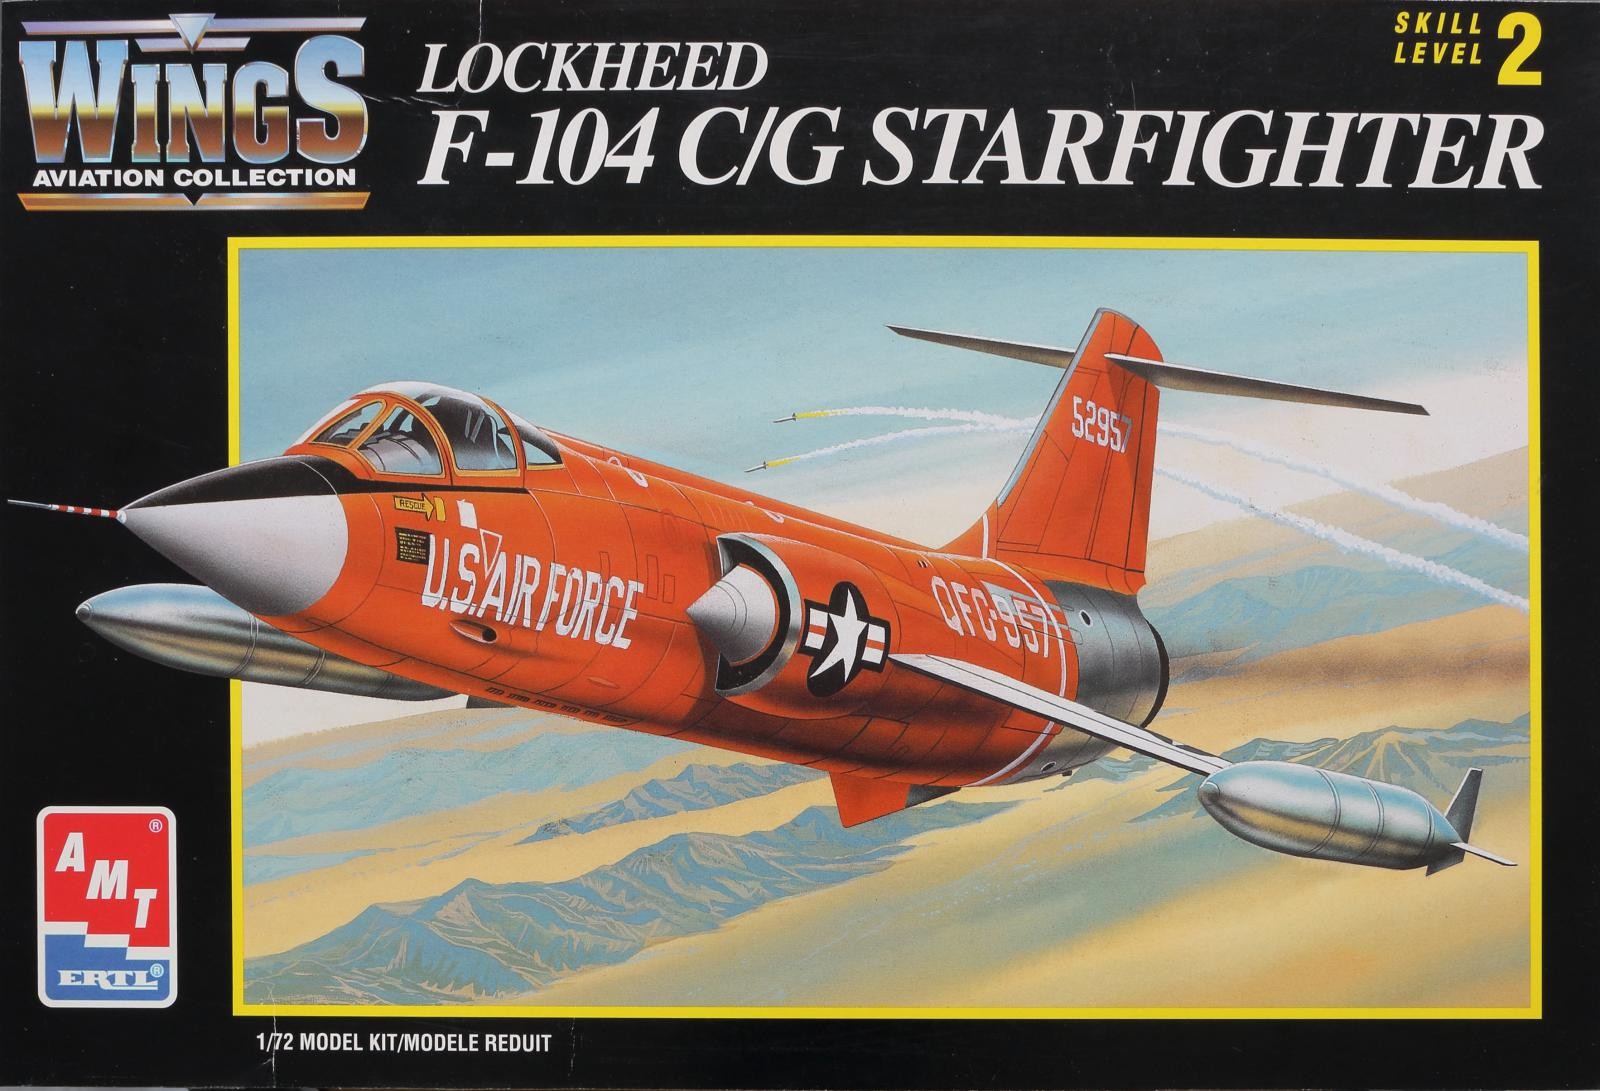
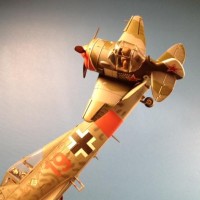
The kit includes both the short tail for the F-104A and the longer tail common to the F-104G and the CF-104. The decals have 3 colourful schemes including the box art USAF drone , the CAF Red Indian commemorative scheme and a colourful Luftwaffe F-104G retirement scheme.
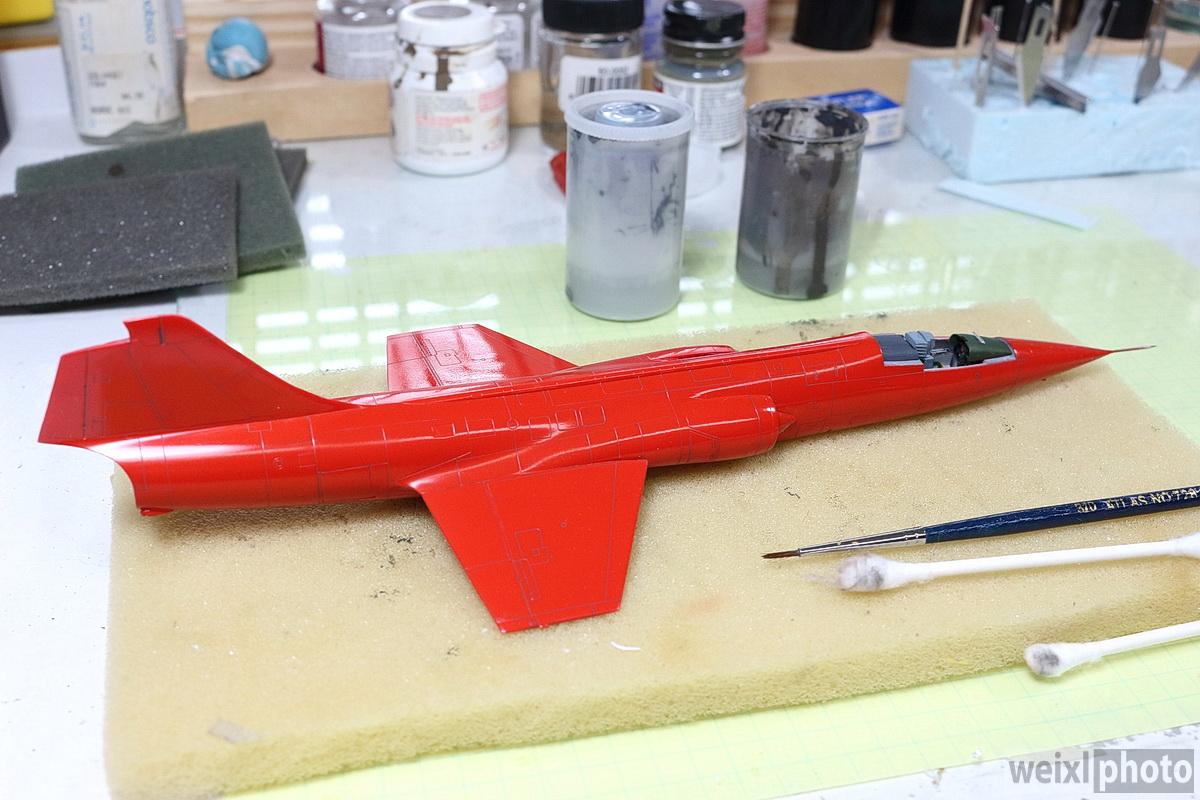
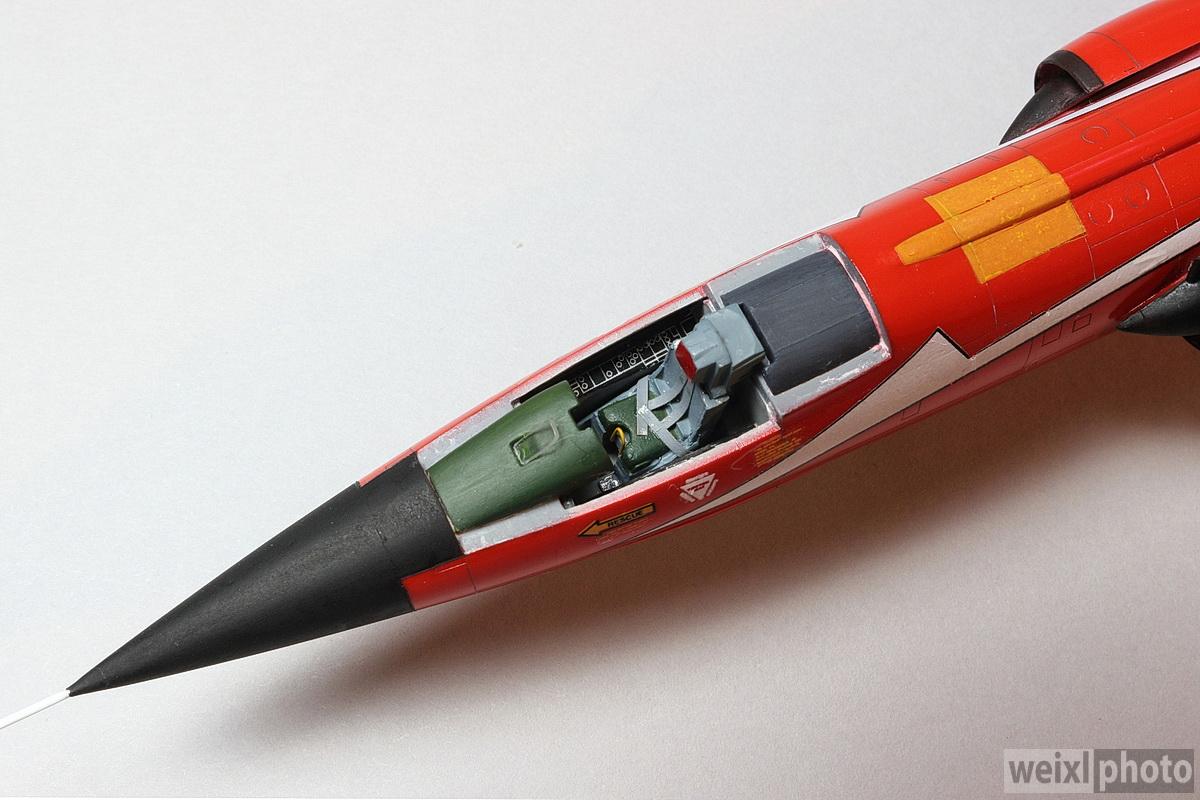
The kit goes together quite well, needing only a tiny amount of filler around the intakes. I dipped the canopy in Future to make it appear as clear as possible. The cockpit was dressed up slightly by adding tape belts to the C2 ejection seat. CAF Germany based CF-104s had small electronic warning receivers under the nose and on either side of the tail. The kit comes with these which is a nice touch.
To insure a nice glossy finish, I decided to forgo using a primer which in my experience can introduce unwanted orange peel, that can show up in the final finish. I lightly “scuffed” the plastic with a gray auto body scuff pad (approximately 400-600 grit equivalent) to give the paint something to bite into. I decanted Tamiya Bright Red from it's rattle can and sprayed it using my Paasche H airbrush at around 30 PSI. The Tamiya paint flows very nicely to give a glossy finish. After drying overnight, I rubbed down the first coat of paint using 3200 grit sandpaper. A second coat was airbrushed on and let to dry for a couple days. To get the smoothest paint possible, I rubbed the 2nd coat of paint down using automotive Turtle Wax polishing compound.
I accented the panel lines using a gray “sludge wash”, consisting of acrylic gray paint, water and dish soap. After the wash dried, I wiped off the excess with a dry twin tip or cloth. Next I applied the kit decals which were really good. I did not use a clear coat. The final step was to paint the radome and anti glare panel flat black as well as the candy striped pitot tube.


Don, that's a sweet paint scheme. Nice build.
Cheers,
Scott
Thanks Scott.
Nice work! I’m a big fan of Canadian F-104s. The ones your dad flew are my favorites in polished metal with large roundels and the red ensign on the tail.
Thanks John. You are correct sir! I will be building an early 60s RCAF CF-104 sometime in the future using the 1/48th Hasegawa kit and Leading Edge or Belcher Bits decals.
1 attached image. Click to enlarge.
That's another amazing scheme of the quite a few special schemes the Starfighters carried, Don
Beautifully executed, excellently painted and decalled.
All the best!
Thanks Spiros! Glossy finishes, especially in small 1/72 models, can be challenging as any "orange peel" can be quite evident in photos. Flat finishes can hide a multiple of errors, LOL.
Really nice job on the 104 Don, she's very impressive in that paint scheme.
Thanks Tom.
Very nice! That's a striking "missile."
Thanks Greg. Not much more that a J-79 engine, tiny wings and a bit of gas... Yee Haw.
Simply beautiful!
Thanks Robert.
Nicely done Don, looks good in red.
Thanks Allan. Pretty flashy and easier than bare metal finish!